Concept
For this week’s assignment, Shahram and I made a small musical instrument using an Arduino. We decided to create a pressure-sensitive drum pad that lets you play different drum sounds depending on how hard you press it.
The main part of the project is a force-sensitive resistor (FSR) that acts as the drum pad. When you press on it, the Arduino reads how much pressure you applied and plays a sound through a small buzzer. The harder you hit it, the longer the sound lasts, kind of like playing a real drum.
We also added a button that lets you switch between three drum sounds: a kick, a snare, and a hi-hat. So pressing the pad feels interactive, and you can change the type of drum as you play. It’s a really simple setup, but it was fun to experiment with.
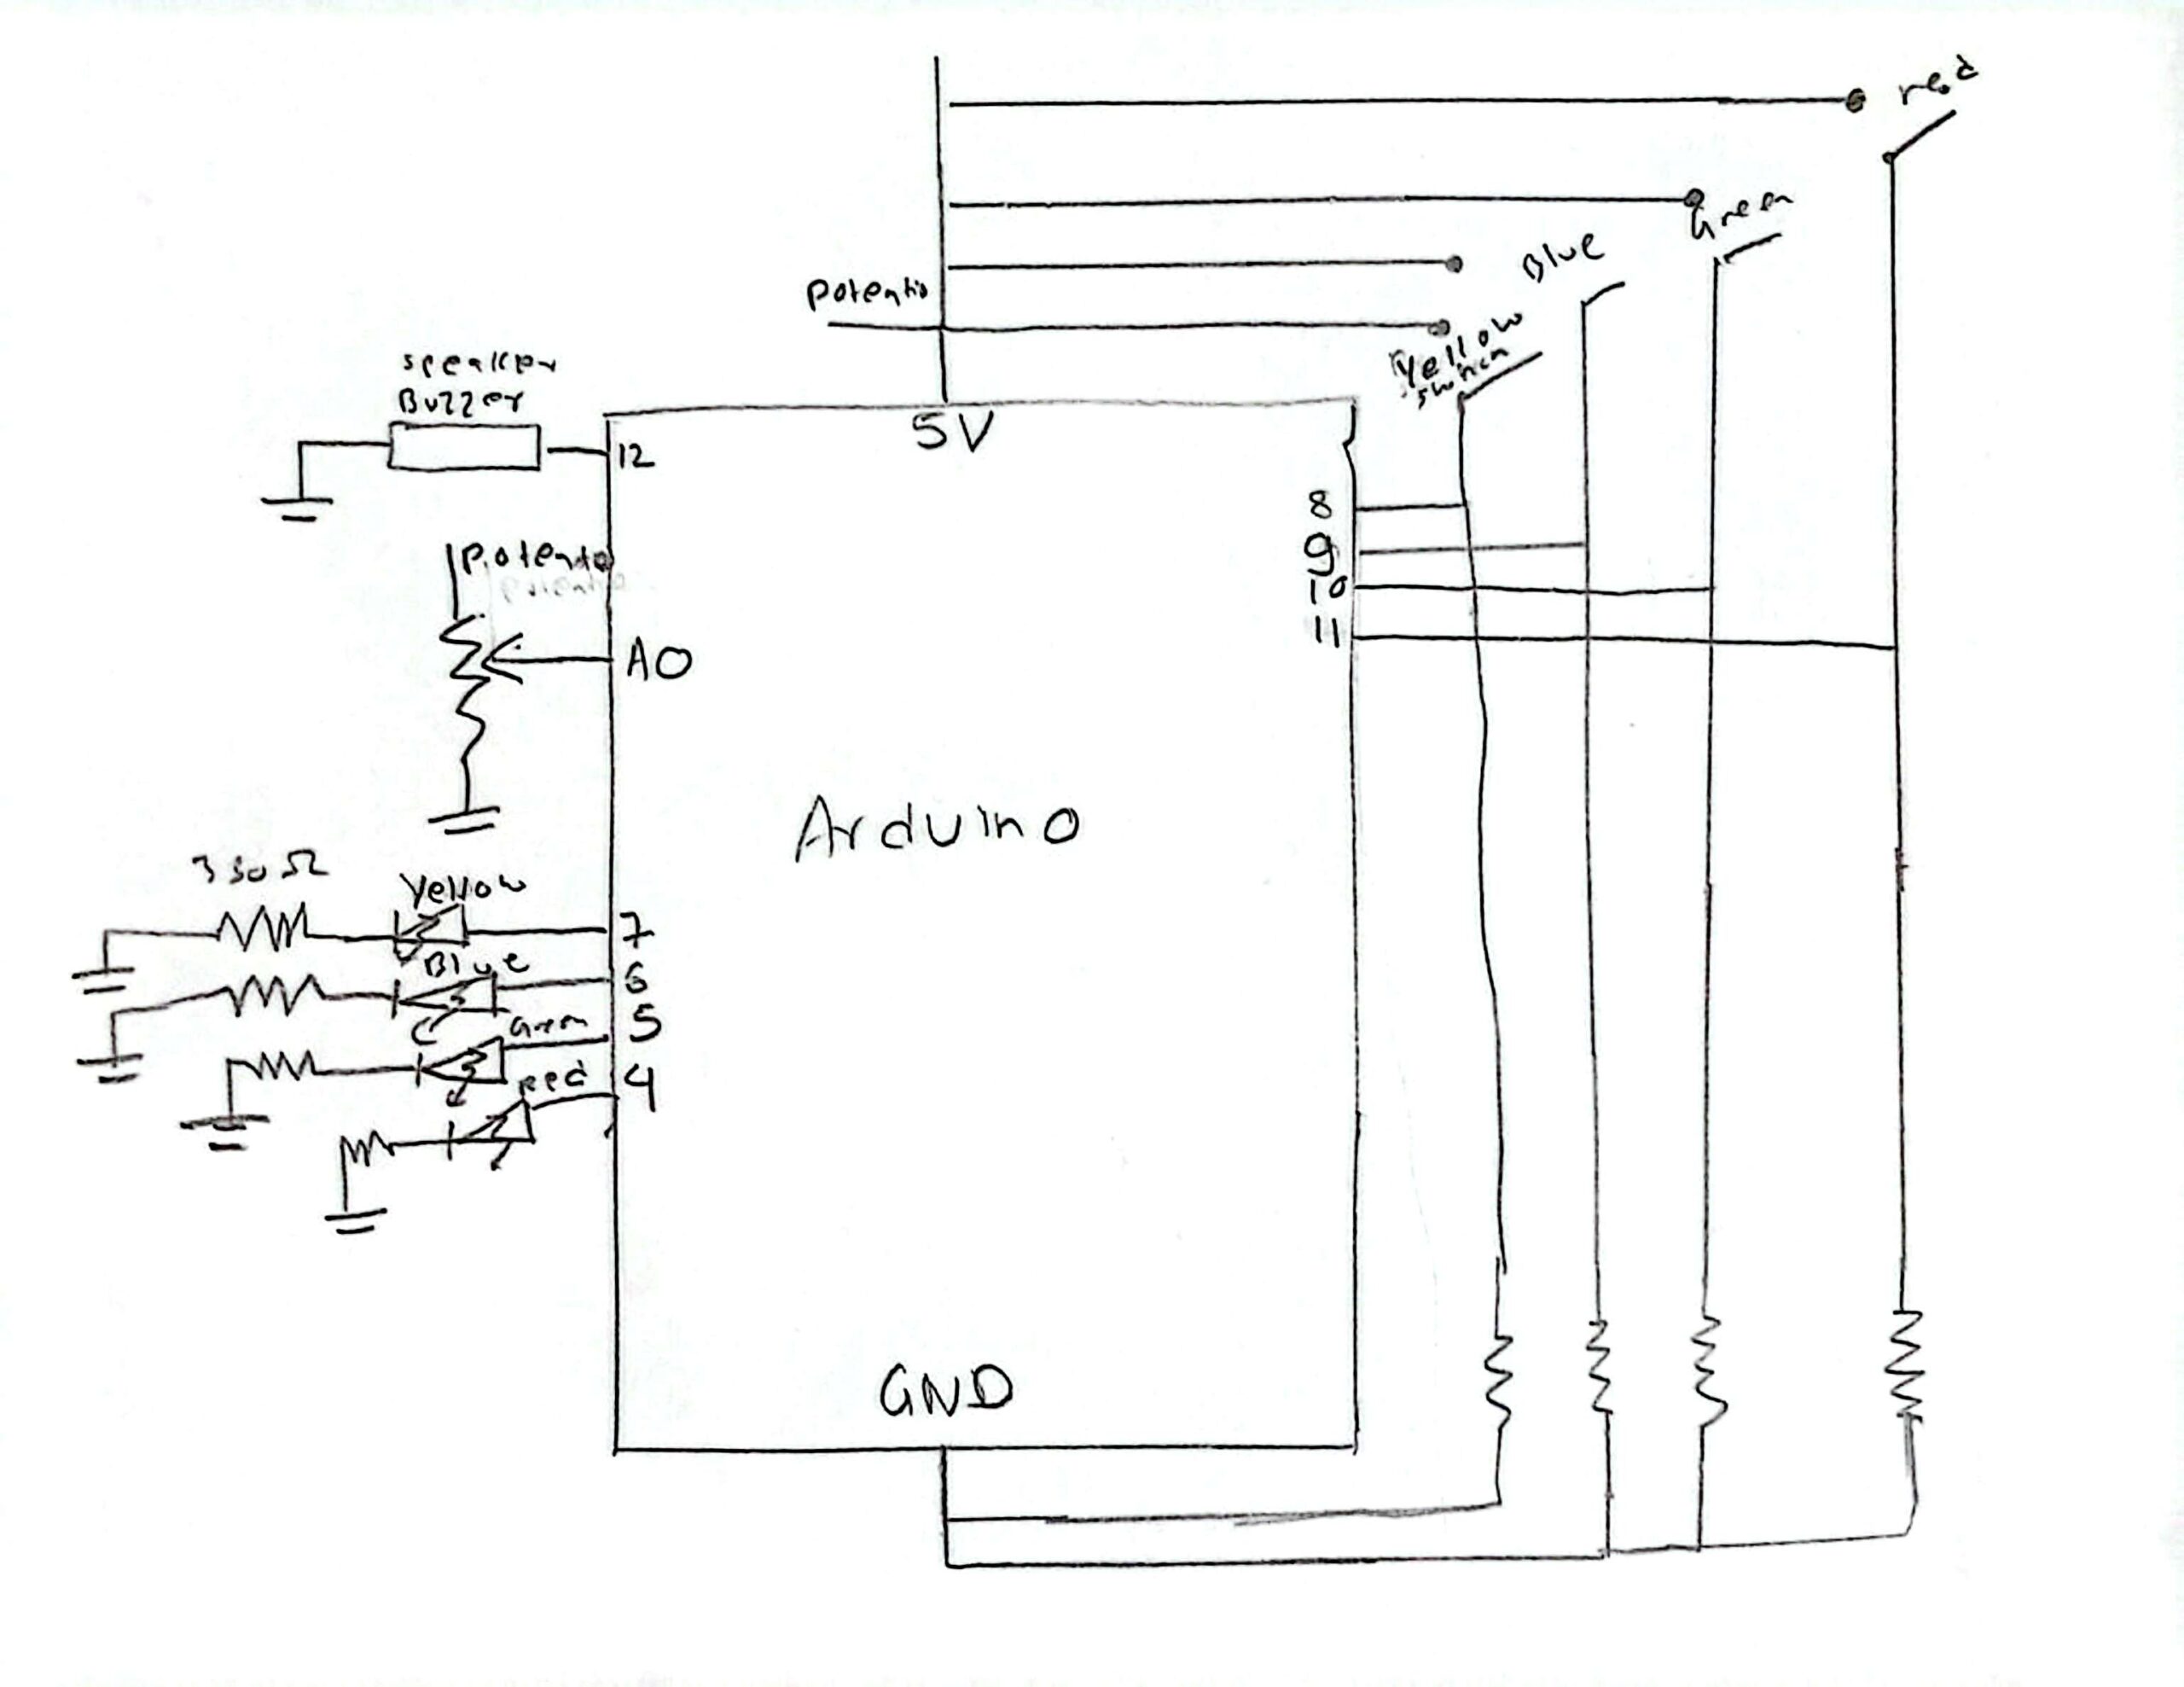
Schematic
Video Demo
const int FSR_PIN = A0;
const int BUTTON_PIN = 2;
const int PIEZO_PIN = 8;

// Drum sounds
int kickDrum = 80;             // low drum
int snareDrum = 200;           // mid drum
int hiHat = 1000;              // high drum

int currentDrum = 0;
int lastButtonState = HIGH;

void setup() {
  pinMode(BUTTON_PIN, INPUT);
  pinMode(PIEZO_PIN, OUTPUT);
  Serial.begin(9600);
}

void loop() {
  int pressure = analogRead(FSR_PIN);
  if (pressure > 20) {
    int duration = map(pressure, 10, 1023, 10, 200);
    // Play the drum sound
    if (currentDrum == 0) {
      tone(PIEZO_PIN, kickDrum, duration);
    } else if (currentDrum == 1) {
      tone(PIEZO_PIN, snareDrum, duration);
    } else {
      tone(PIEZO_PIN, hiHat, duration);
    }
    delay(50);
  }
  int buttonState = digitalRead(BUTTON_PIN);
  //if button was just pressed, we need to change drum sound
  if (buttonState == LOW && lastButtonState == HIGH) {
    currentDrum = currentDrum + 1;
    if (currentDrum > 2) {
      currentDrum = 0;
    }
    delay(200);
  }
  lastButtonState = buttonState;  // Store utton state
}
Future Improvements
For future improvements, we’d like to add a potentiometer to control the sound more precisely, allowing the player to adjust tone or volume in real time while drumming. We could also include LEDs that light up based on which drum sound is active and how hard the pad is hit. These additions would make the drum pad feel more dynamic, and visually engaging.