Final Piece
Physical Computing / Pieces
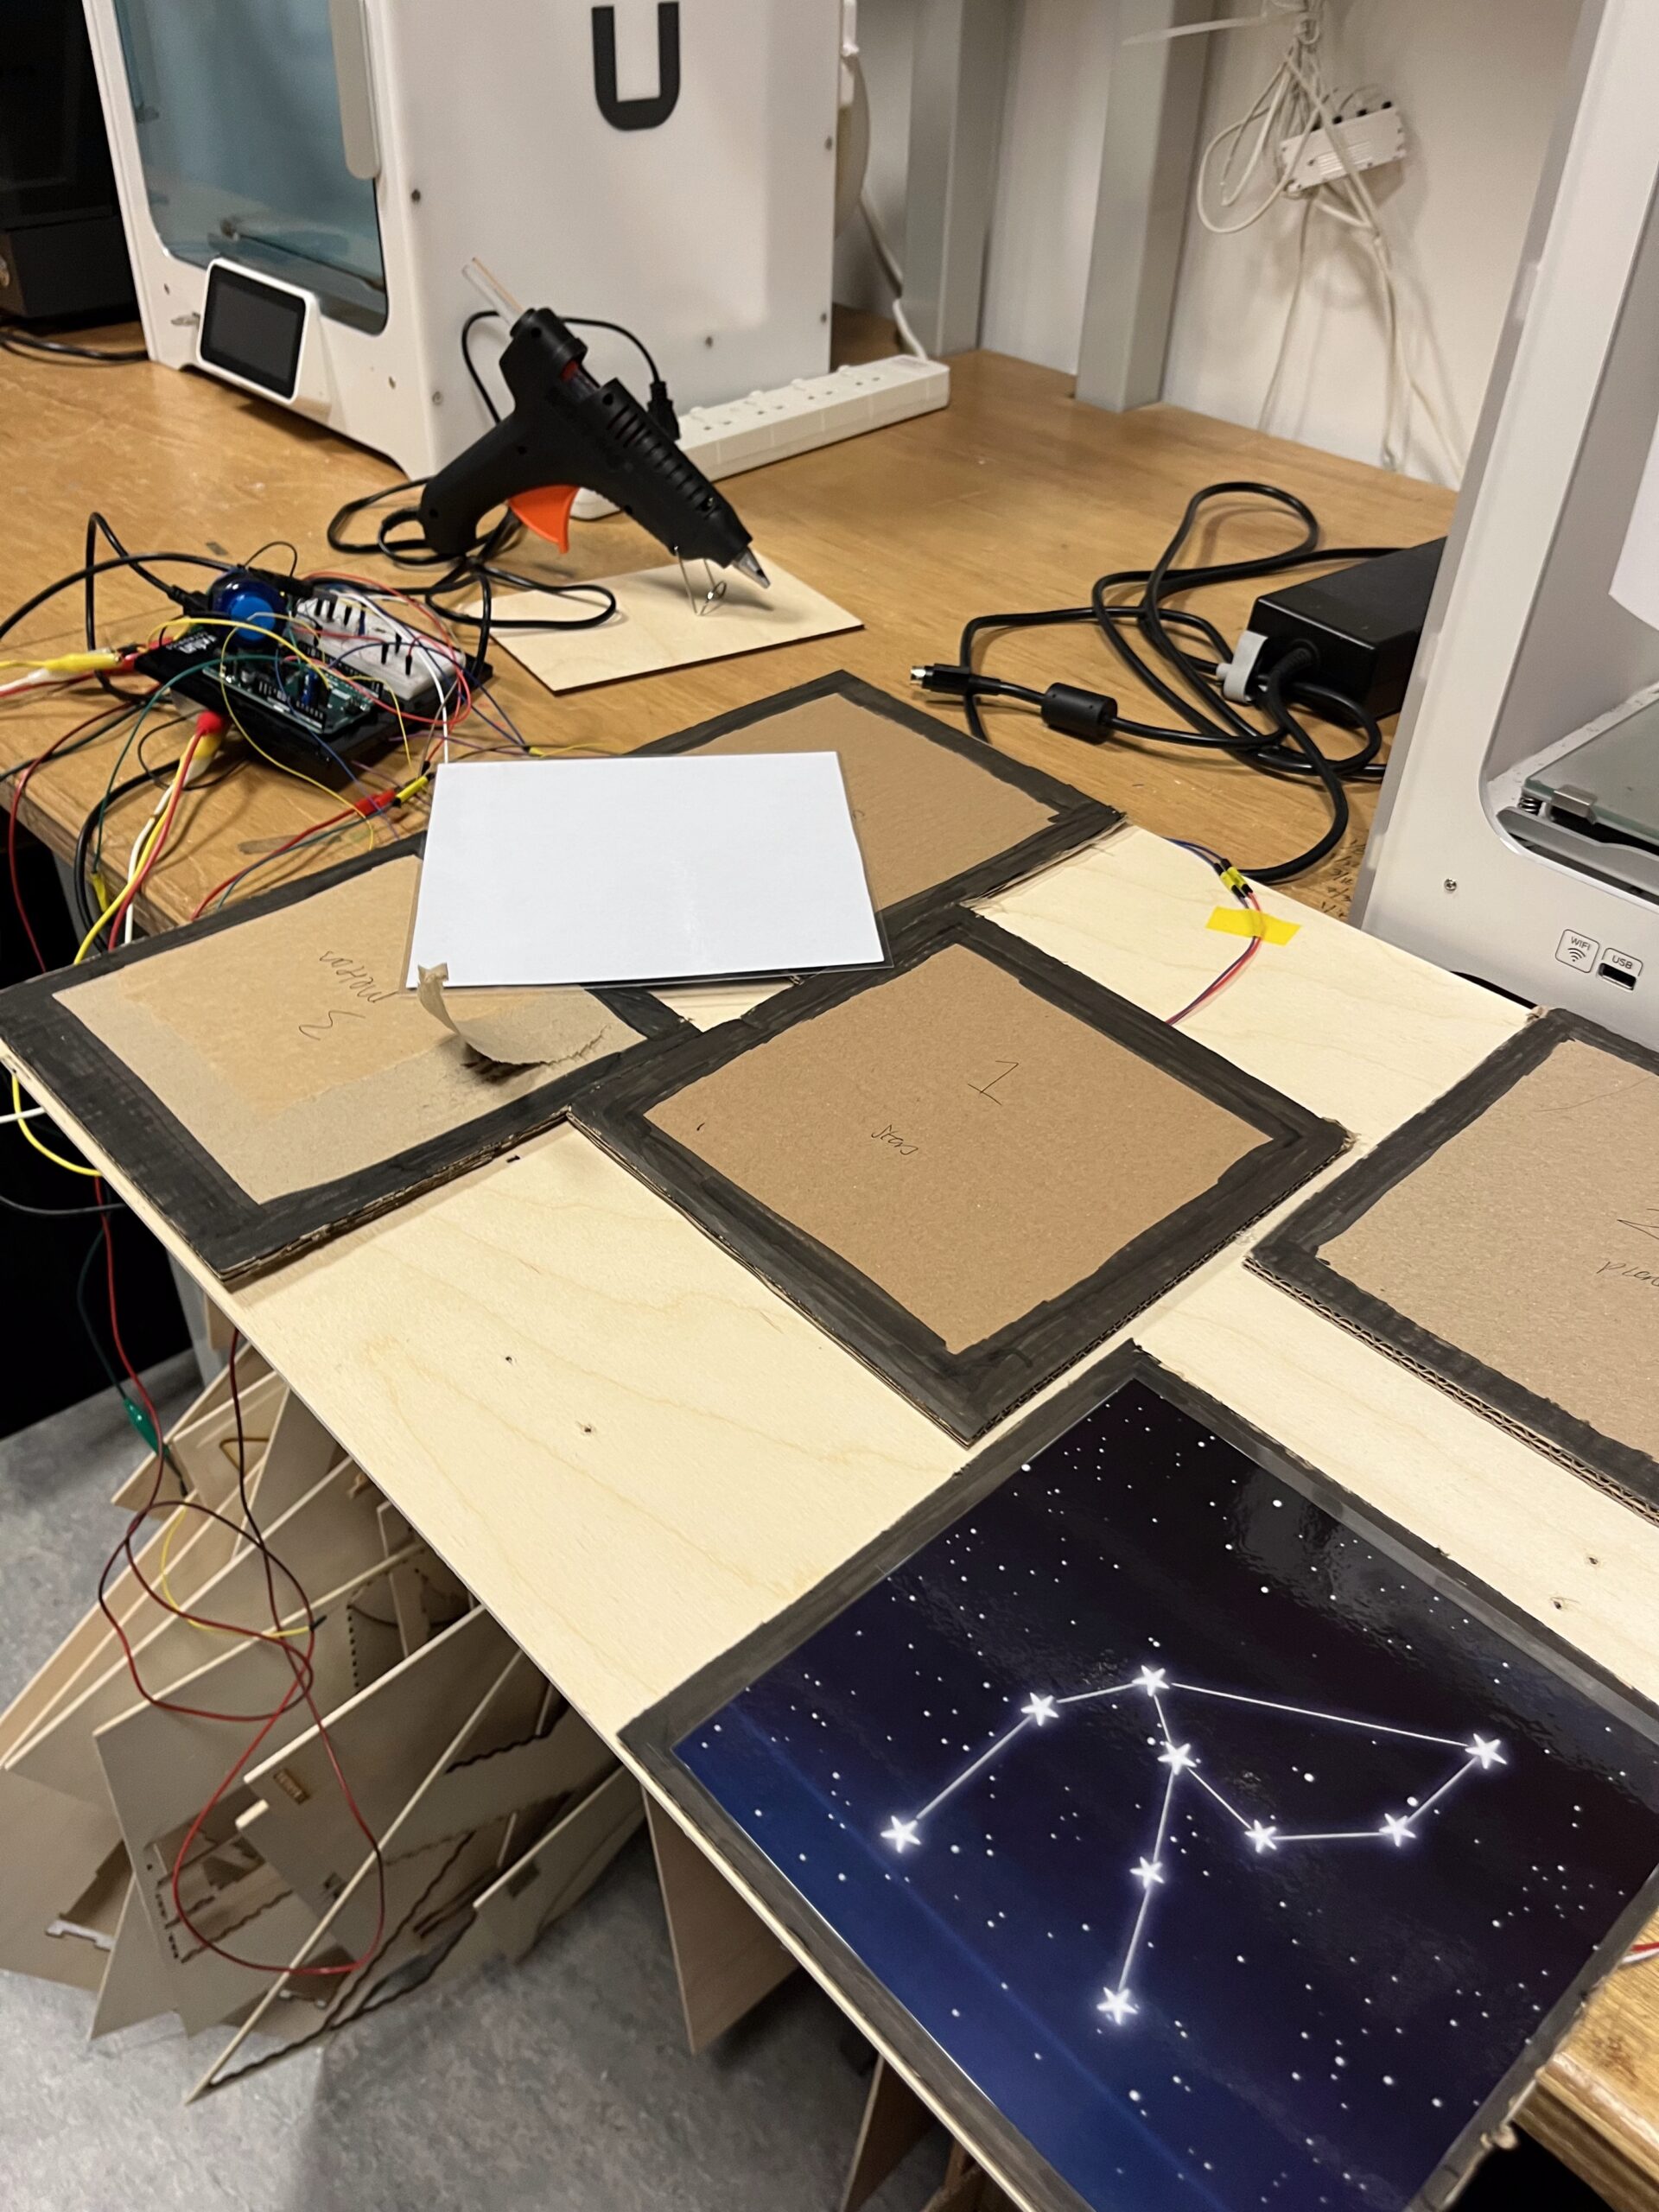
My work is all about space, and I wanted the installation to be on the floor. I glued my stepping pieces onto a single piece of wood, with each stepping piece made of cardboard and a hidden FSR beneath each cardboard tile. I painted the wood black, and also painted the cardboard stepping pieces and the boxes that held the button and potentiometer in black to keep a consistent aesthetic. I used the laser cutter in the IM lab and drilled a small hole for cable management.
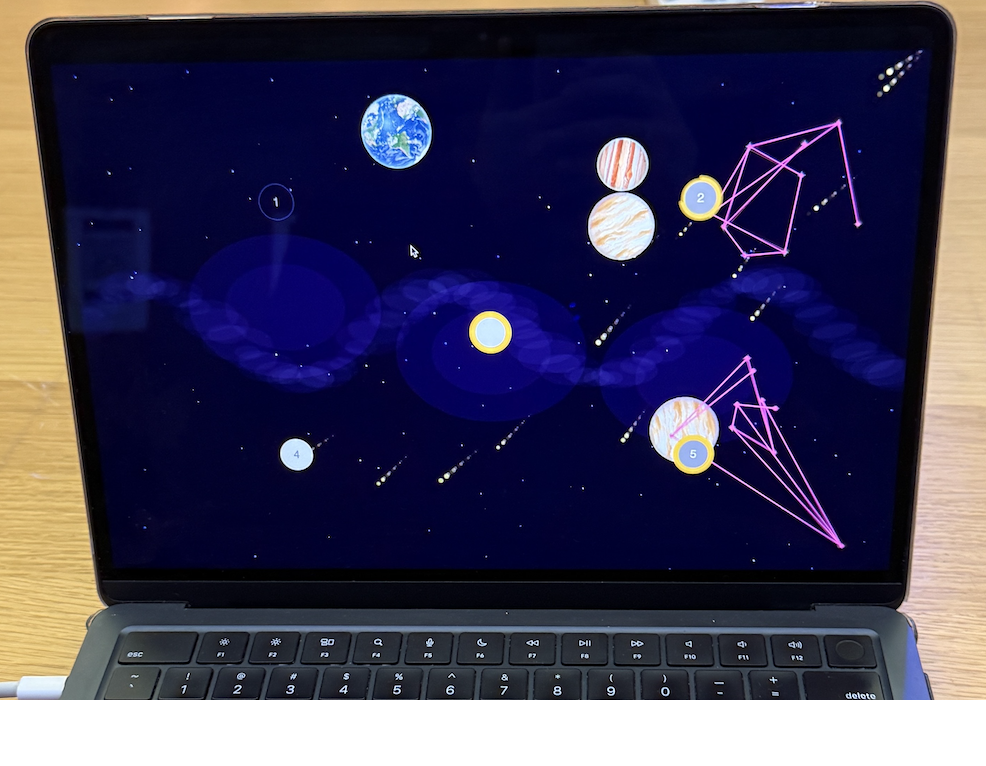
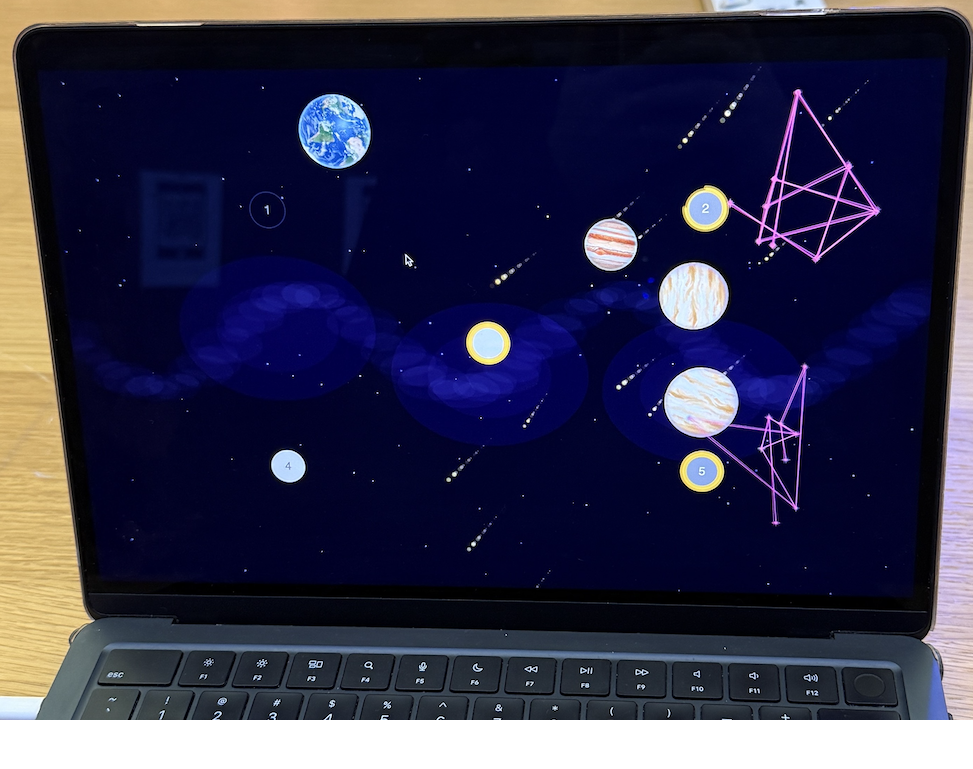
For the visuals, I added images on the “stones” to enhance the aesthetics. Each image represented the function of its corresponding stepping piece, for example, adding a planet, meteor, or stars. To keep the images stylistically consistent, I used Google Gemini (Nano Banana) for image generation. I laminated the images since people would be stepping on them, and I wanted to make sure they wouldn’t get damaged.
I also had to weld the wires together to extend them and have them stick to the potentiometer and button.
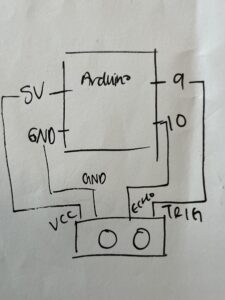
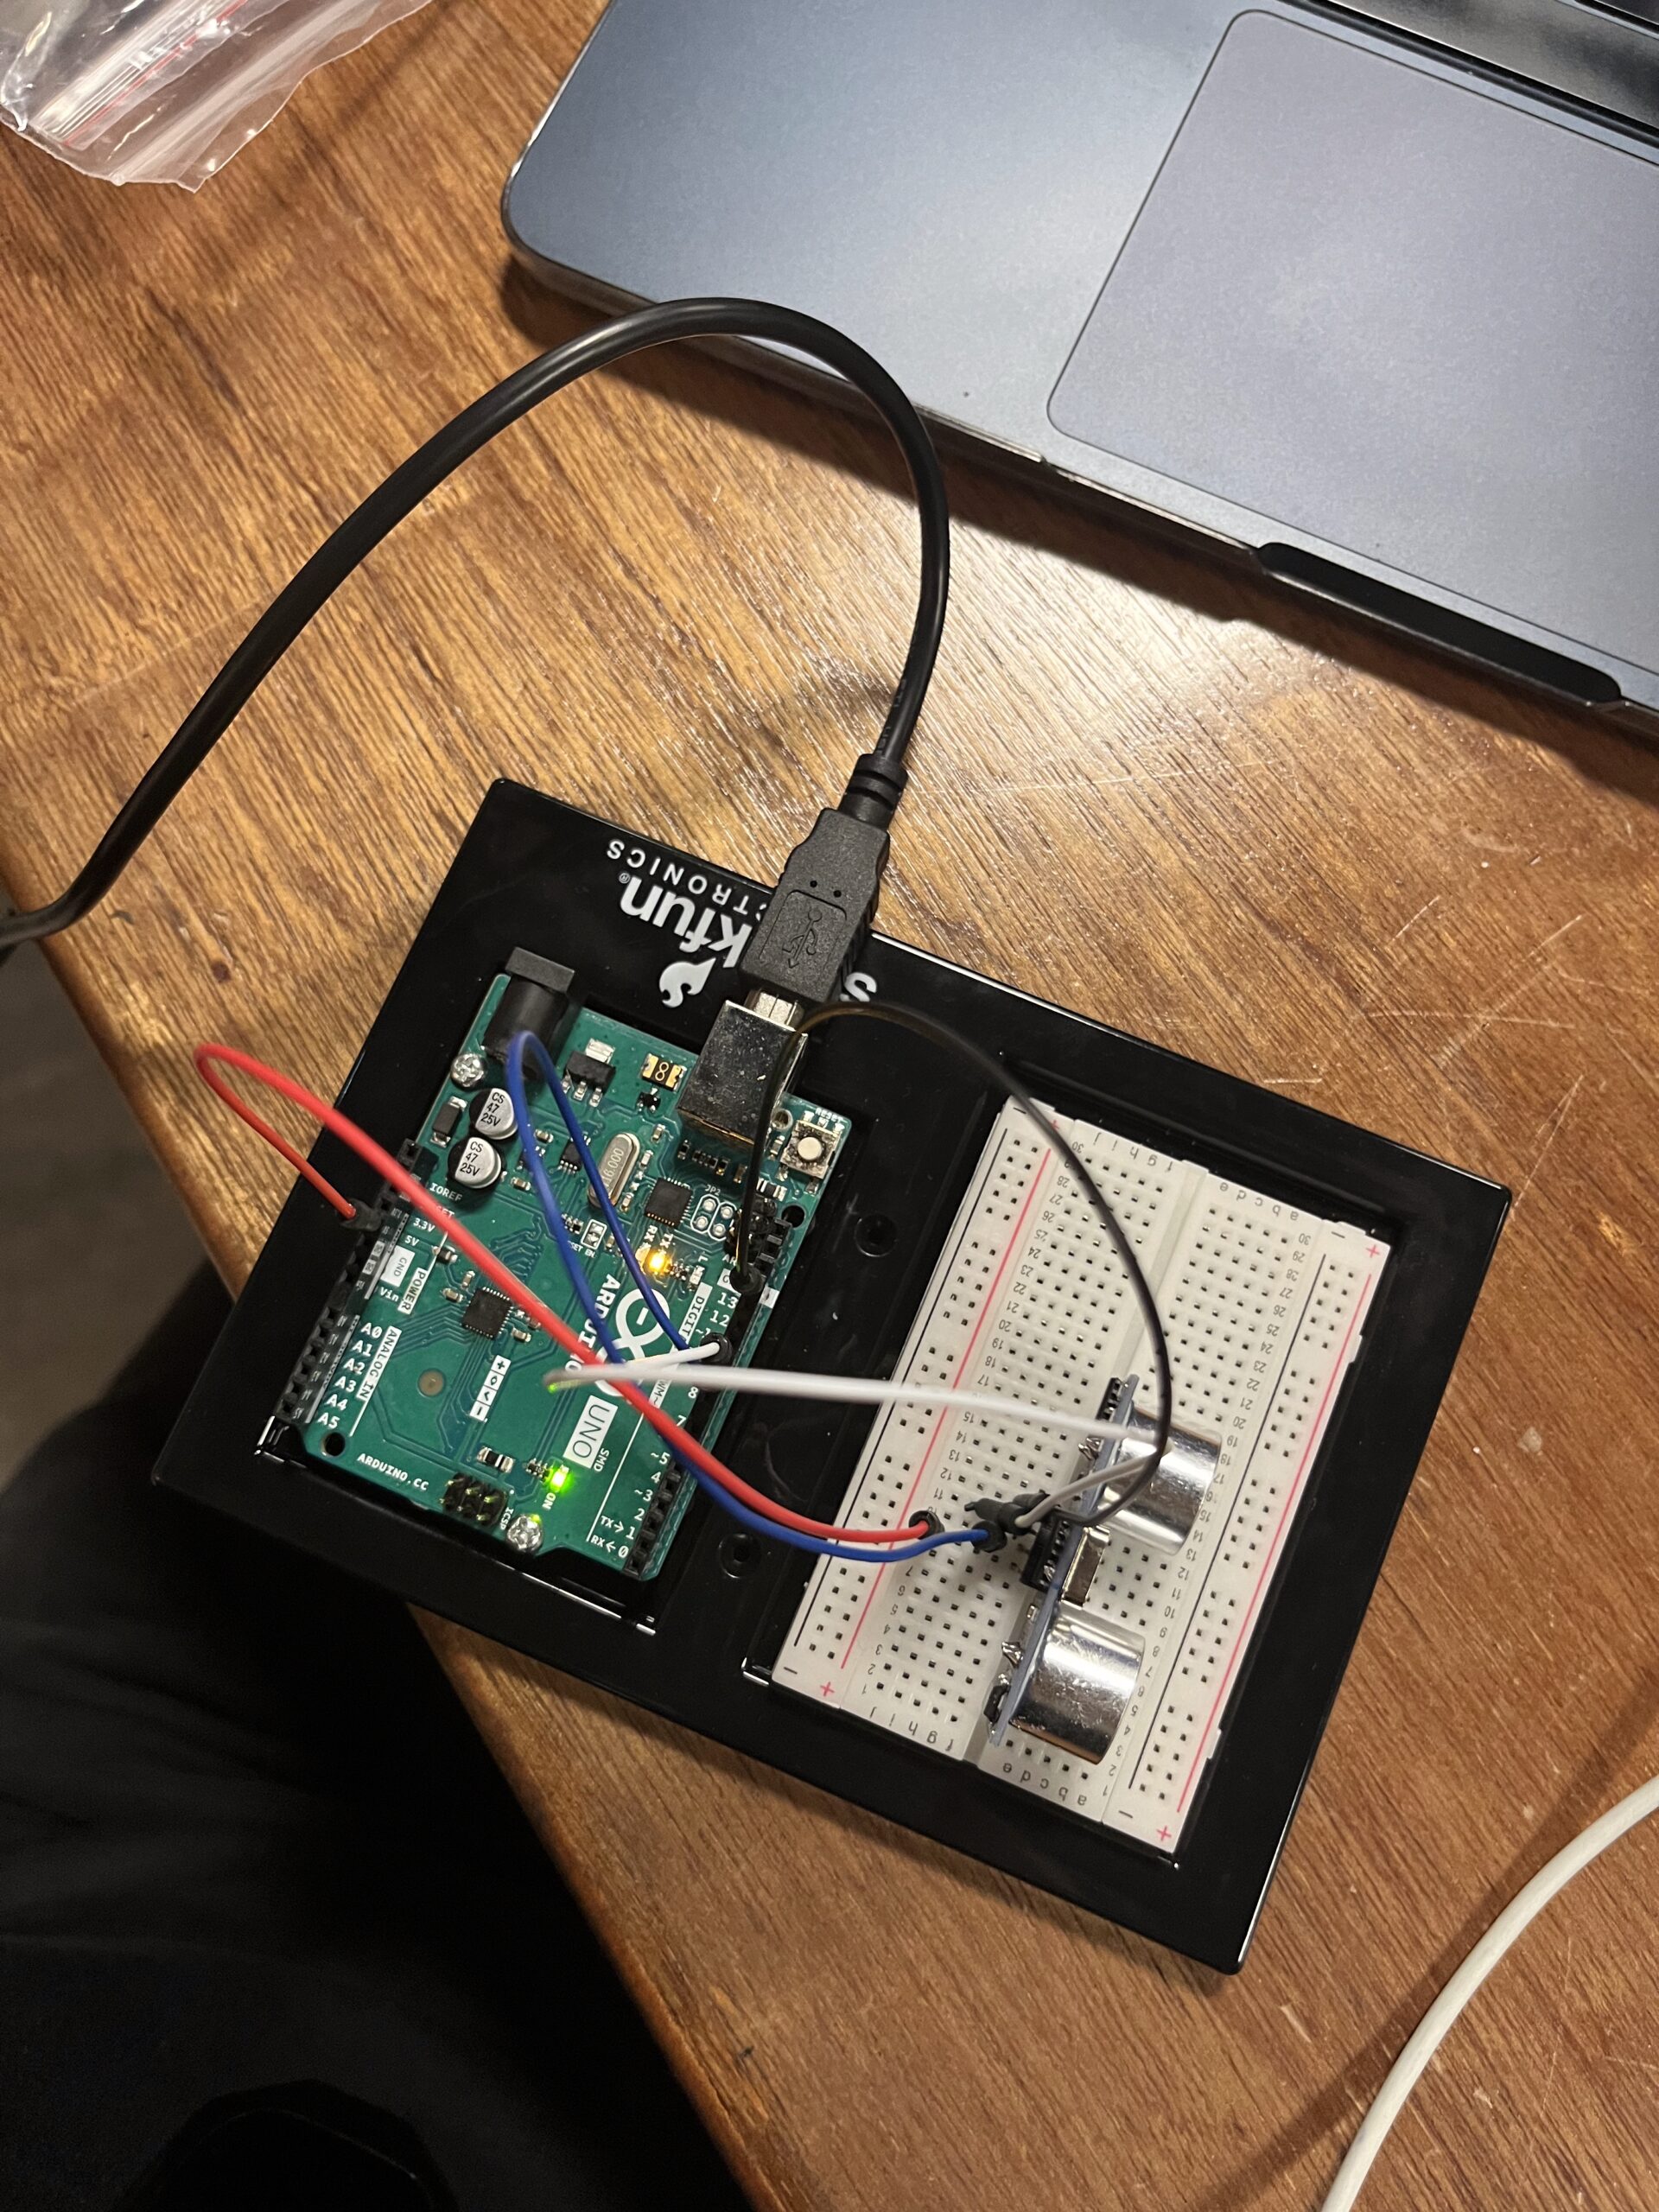
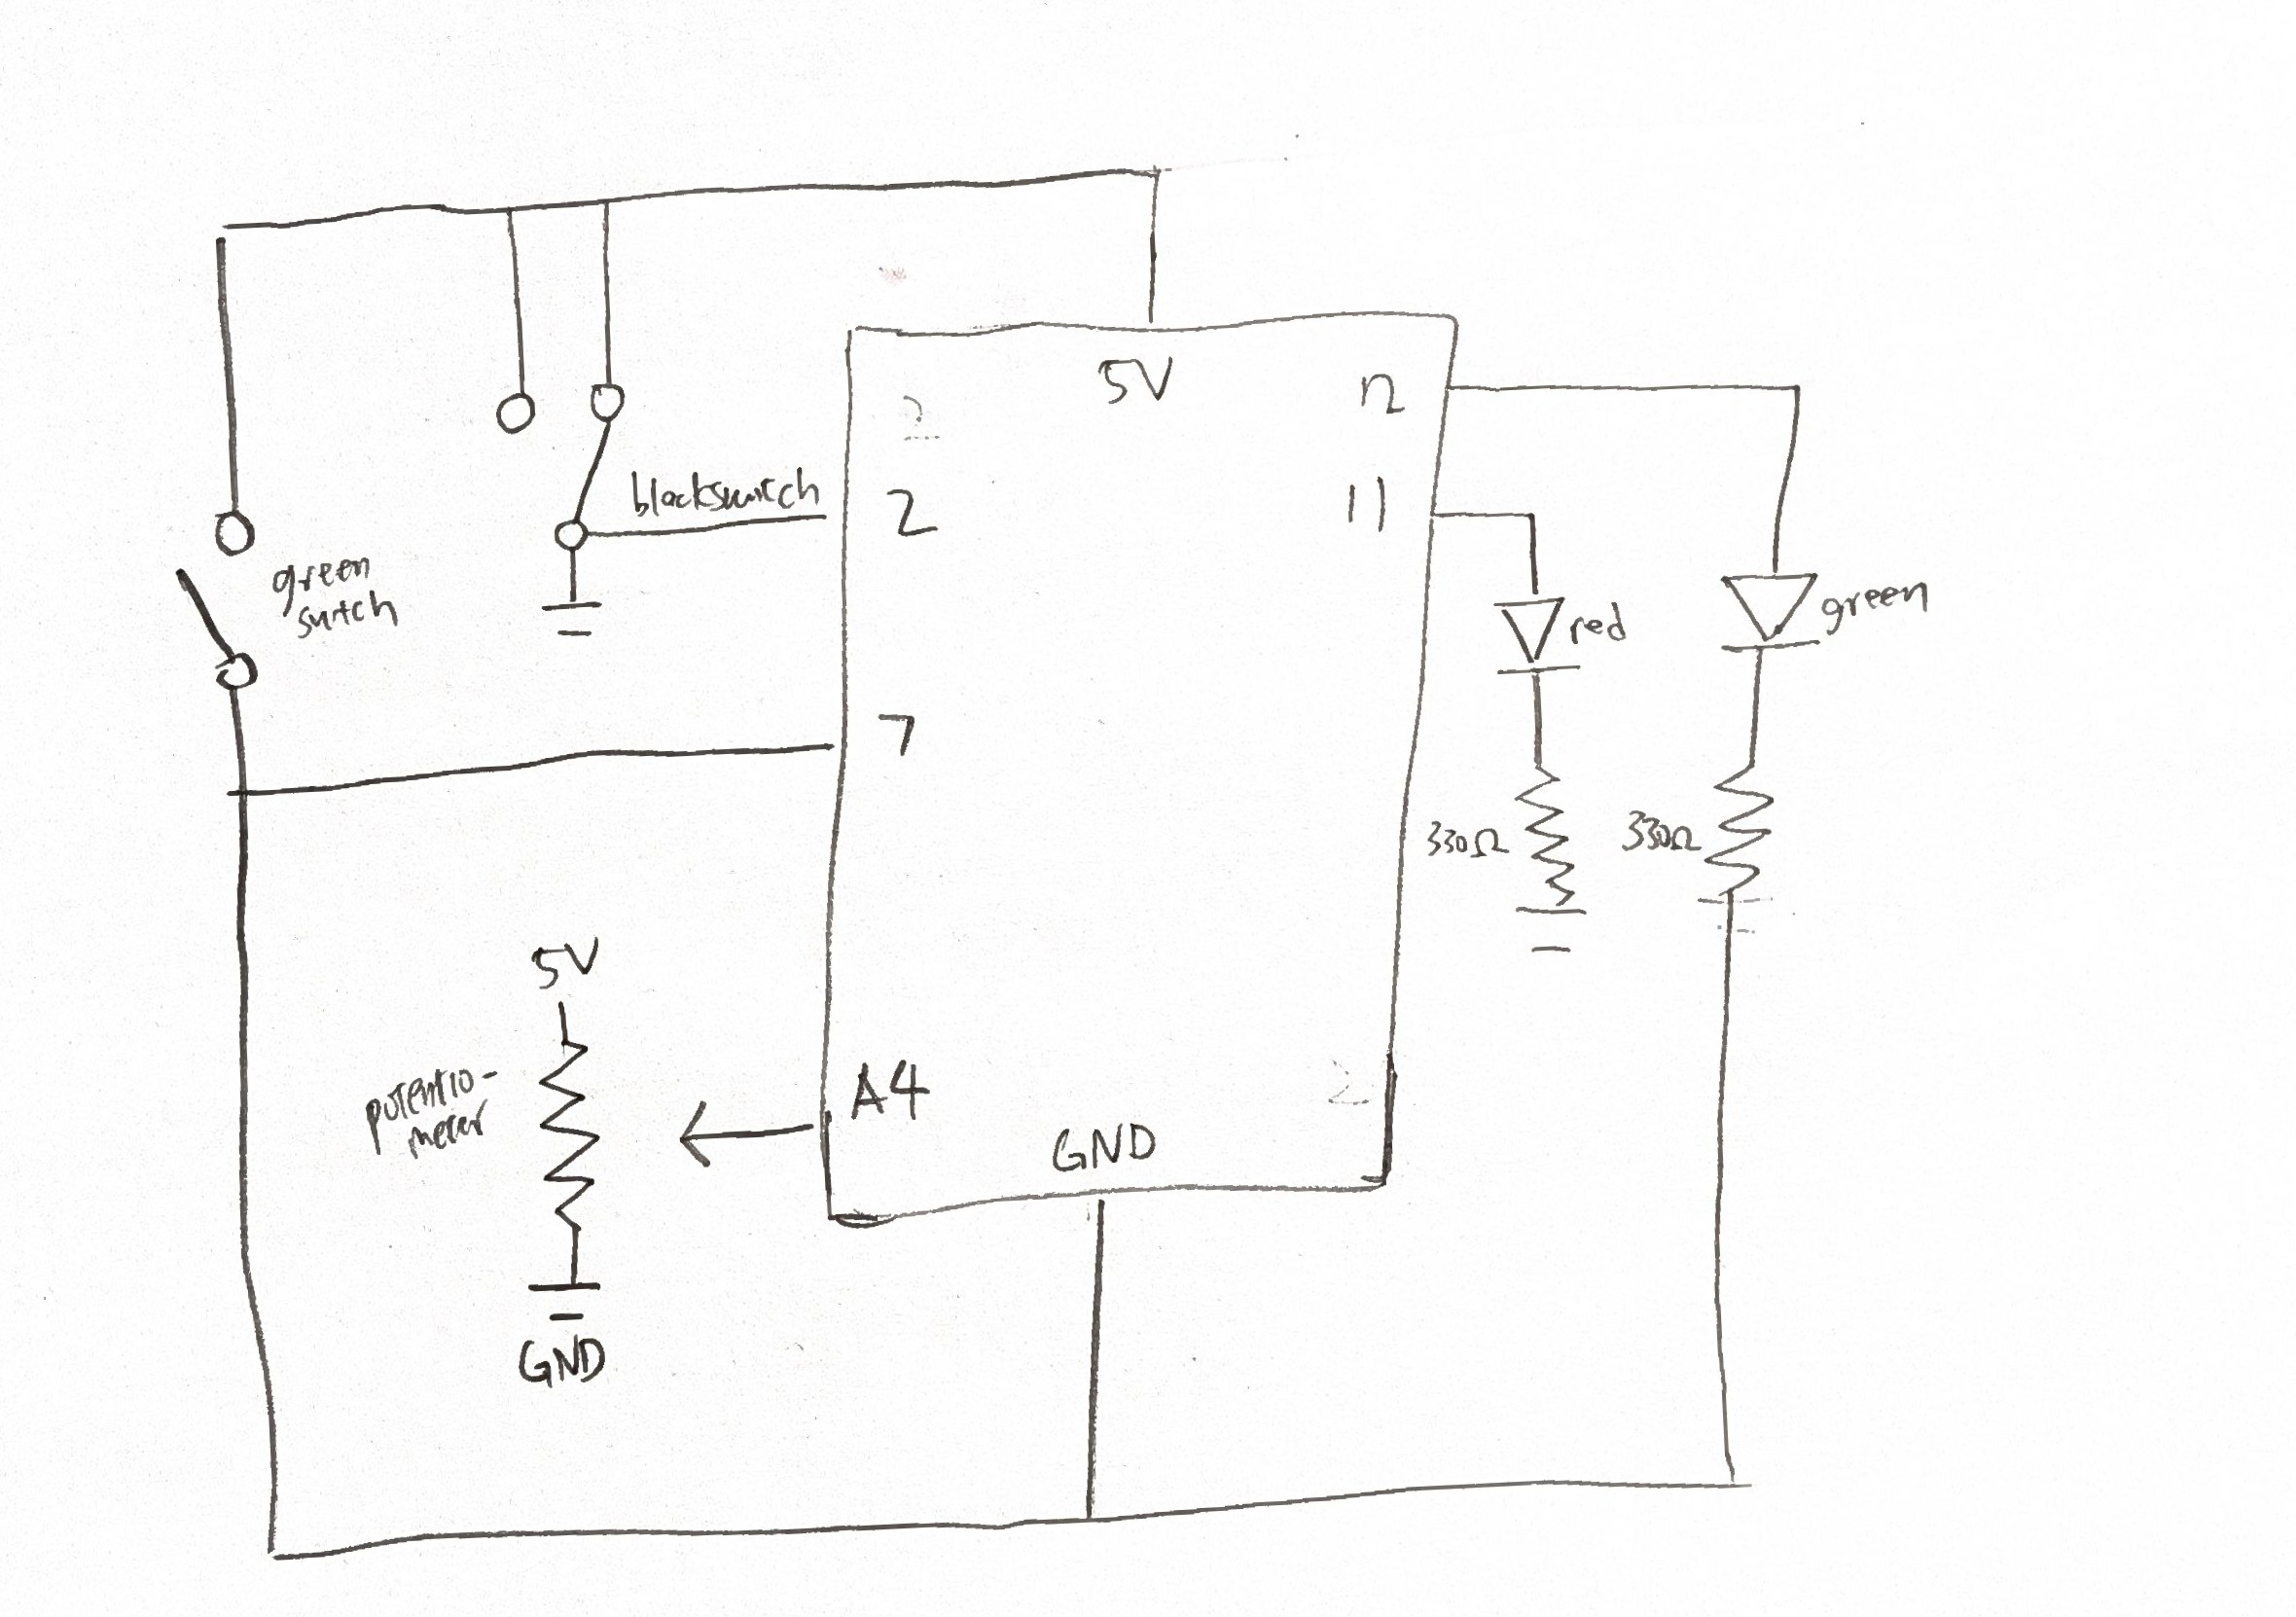
Arduino setup and code
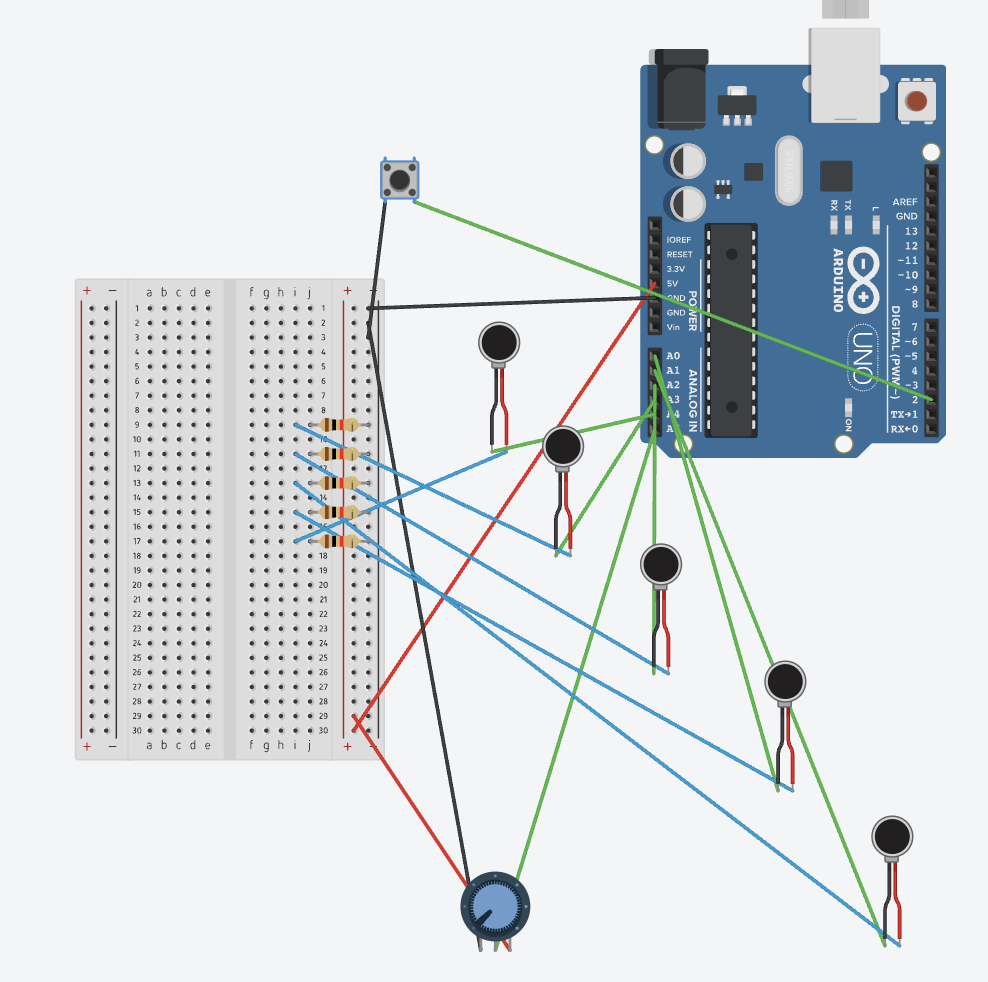
The rails came in really handy since I had five resistors for my five FSRs, so I could just connect all the resistors to the ground rail. I also used the 5V rail for my potentiometer. Some of the wires weren’t long enough, so I had to either solder them together or use jumper wires.
I needed to read the values of course, and for the button, I used input_pullup because I already had a lot of wiring so I wanted to keep the board cleaner.
Code
The main problem was that the FSR would occasionally send a 0 value, causing the whole screen to be spammed with meteors, stars, and planets, which resulted in significant lag, so I needed to change the code to implement proper debouncing, smoothing/averaging, and state confirmation to filter out false triggers. The solution includes a rolling average of three samples to smooth out noise, a 50 ms debounce time to ensure the state is stable before triggering, a minimum press time of 30 ms to confirm a press event, confirmed state tracking to prevent false positives, and hold detection that activates only after the button is verified as pressed.
I used Claude AI here to help come up with the solution because I had no idea what to do about the incorrect readings.
Code is in arduino.html in p5.js
Difficulties
There were mainly two difficulties. The first was more time-consuming than it was technically challenging: having several wires for seven different controls made organiscing and writing everything quite difficult. The second issue, which I mentioned earlier, was that the FSR values would randomly drop to 0 every few seconds even when there was no pressure applied, so I had to find a way to work around that.
User testing
Final code – https://editor.p5js.org/kk4827/full/ThmIIRv_-
Sounds from Pixabay
Images from Gemini Nano Banana