The final project is a Mini DJ Booth, a flat cardboard controller styled like a DJ console with painted “records” and four colored buttons on top. The cardboard box houses the Arduino and wiring, while the laptop screen becomes the virtual stage using p5.js. Each physical button represents a different beat or sound layer (for example: kick, snare, base, drums). When a user presses combinations of buttons, they can live-mix these layers while watching synchronized visuals, mimicking the feel of a compact DJ setup.
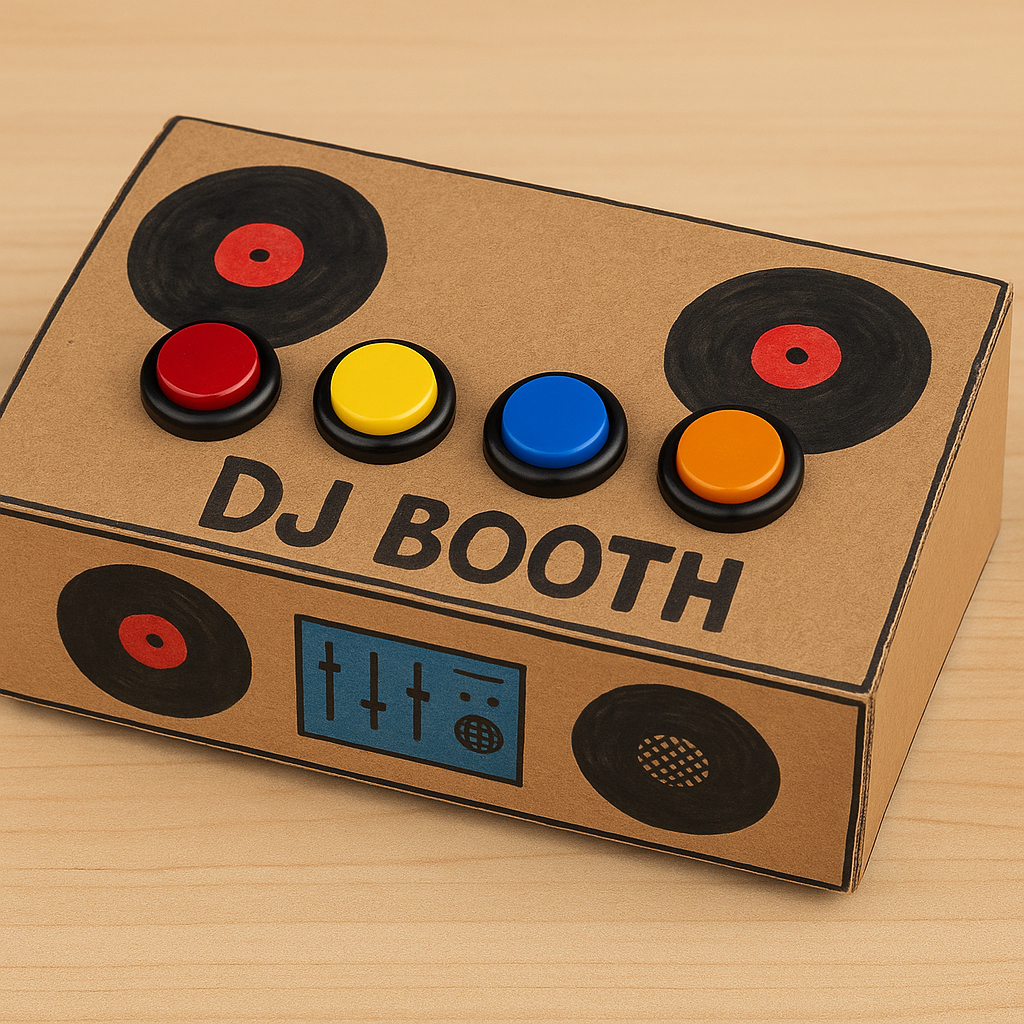 Generated with Chat GPT
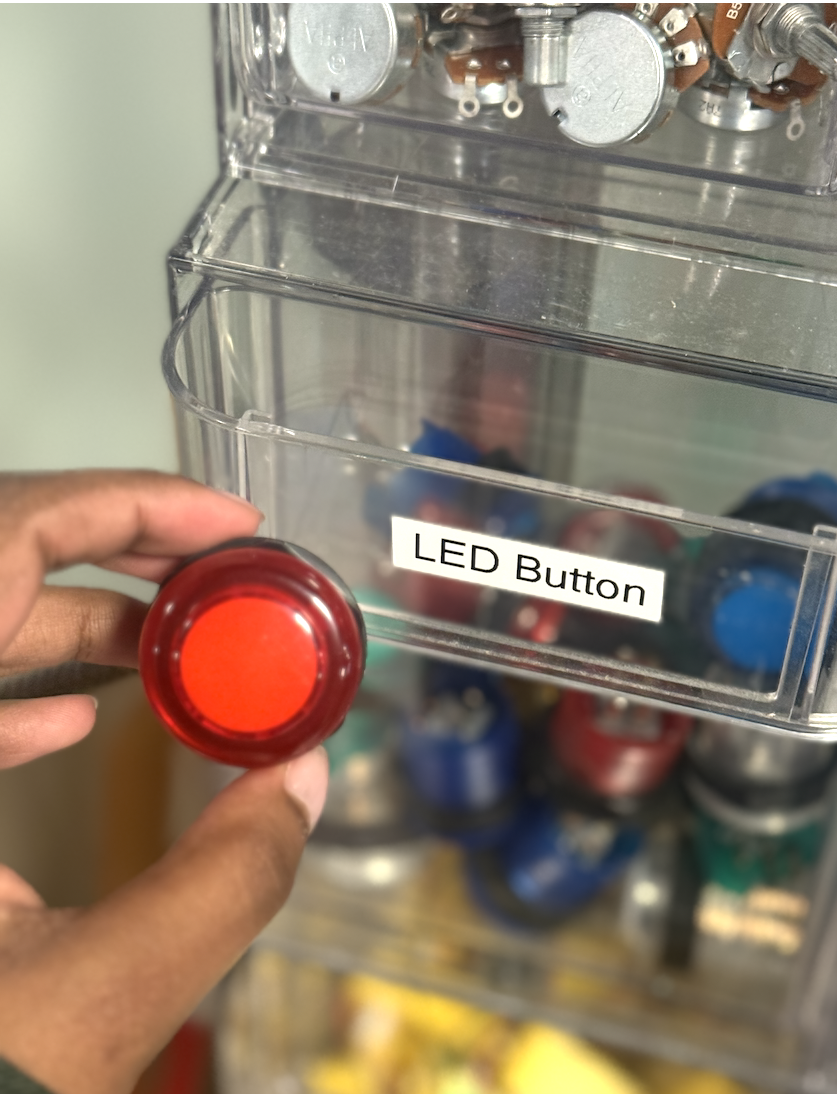
I haven’t started the actual coding yet, but right now I’m more focused on the physical build, especially because this will be my first time soldering and I want to make sure I do it cleanly and safely. During our lab tour, we saw the LED push buttons, and they’re honestly perfect for this project, they’re big, colorful, satisfying to press, and will make the DJ booth feel much more realistic and professional. My plan is to use scrap cardboard from the back of the lab to construct the box itself, painting it to look like a real DJ setup with turntables and controls. Once the physical build is stable, I’ll move on to connecting the buttons to the Arduino and then writing the p5.js code to bring the whole system to life.

On the Arduino side, the program will continuously read the state of the four input buttons using `digitalRead()`. Each button is wired with a pull-down (or pull-up) resistor so the Arduino can reliably detect presses. In the main loop, the Arduino will encode the button states as a simple serial connection and send this to the computer via USB using Serial.println(). The Arduino will not generate audio; its main role is to sense button presses quickly and transmit clean, structured data to p5.js so there is minimal latency between touch and feedback.
Here is a schematic example that I could potentially adapt for my final project:

Source: https://www.the-diy-life.com/multiple-push-buttons-on-one-arduino-input/
In the p5.js program, the sketch will receive the serial data, log the four button values, and use them to control both sound playback and visuals. For each button, p5 will toggle/keep looping the beat and (or optionally stop the sound, depending on the final interaction choice). In the p5 sketch I will download four different audio tracks and will generate distinct color schemes and animations for each active button, for example, different color blocks, pulsing circles over each painted “record,” or waveform-style bars that move with the beat. At this stage, communication is mostly one-way (Arduino → p5), but there is room to extend it later (e.g., p5 sending messages back to Arduino to drive LEDs of each button). I just want to note that I havent started working on the p5 visuals yet in terms of code because I’m still planning the overall mood and ambiance I want to set.
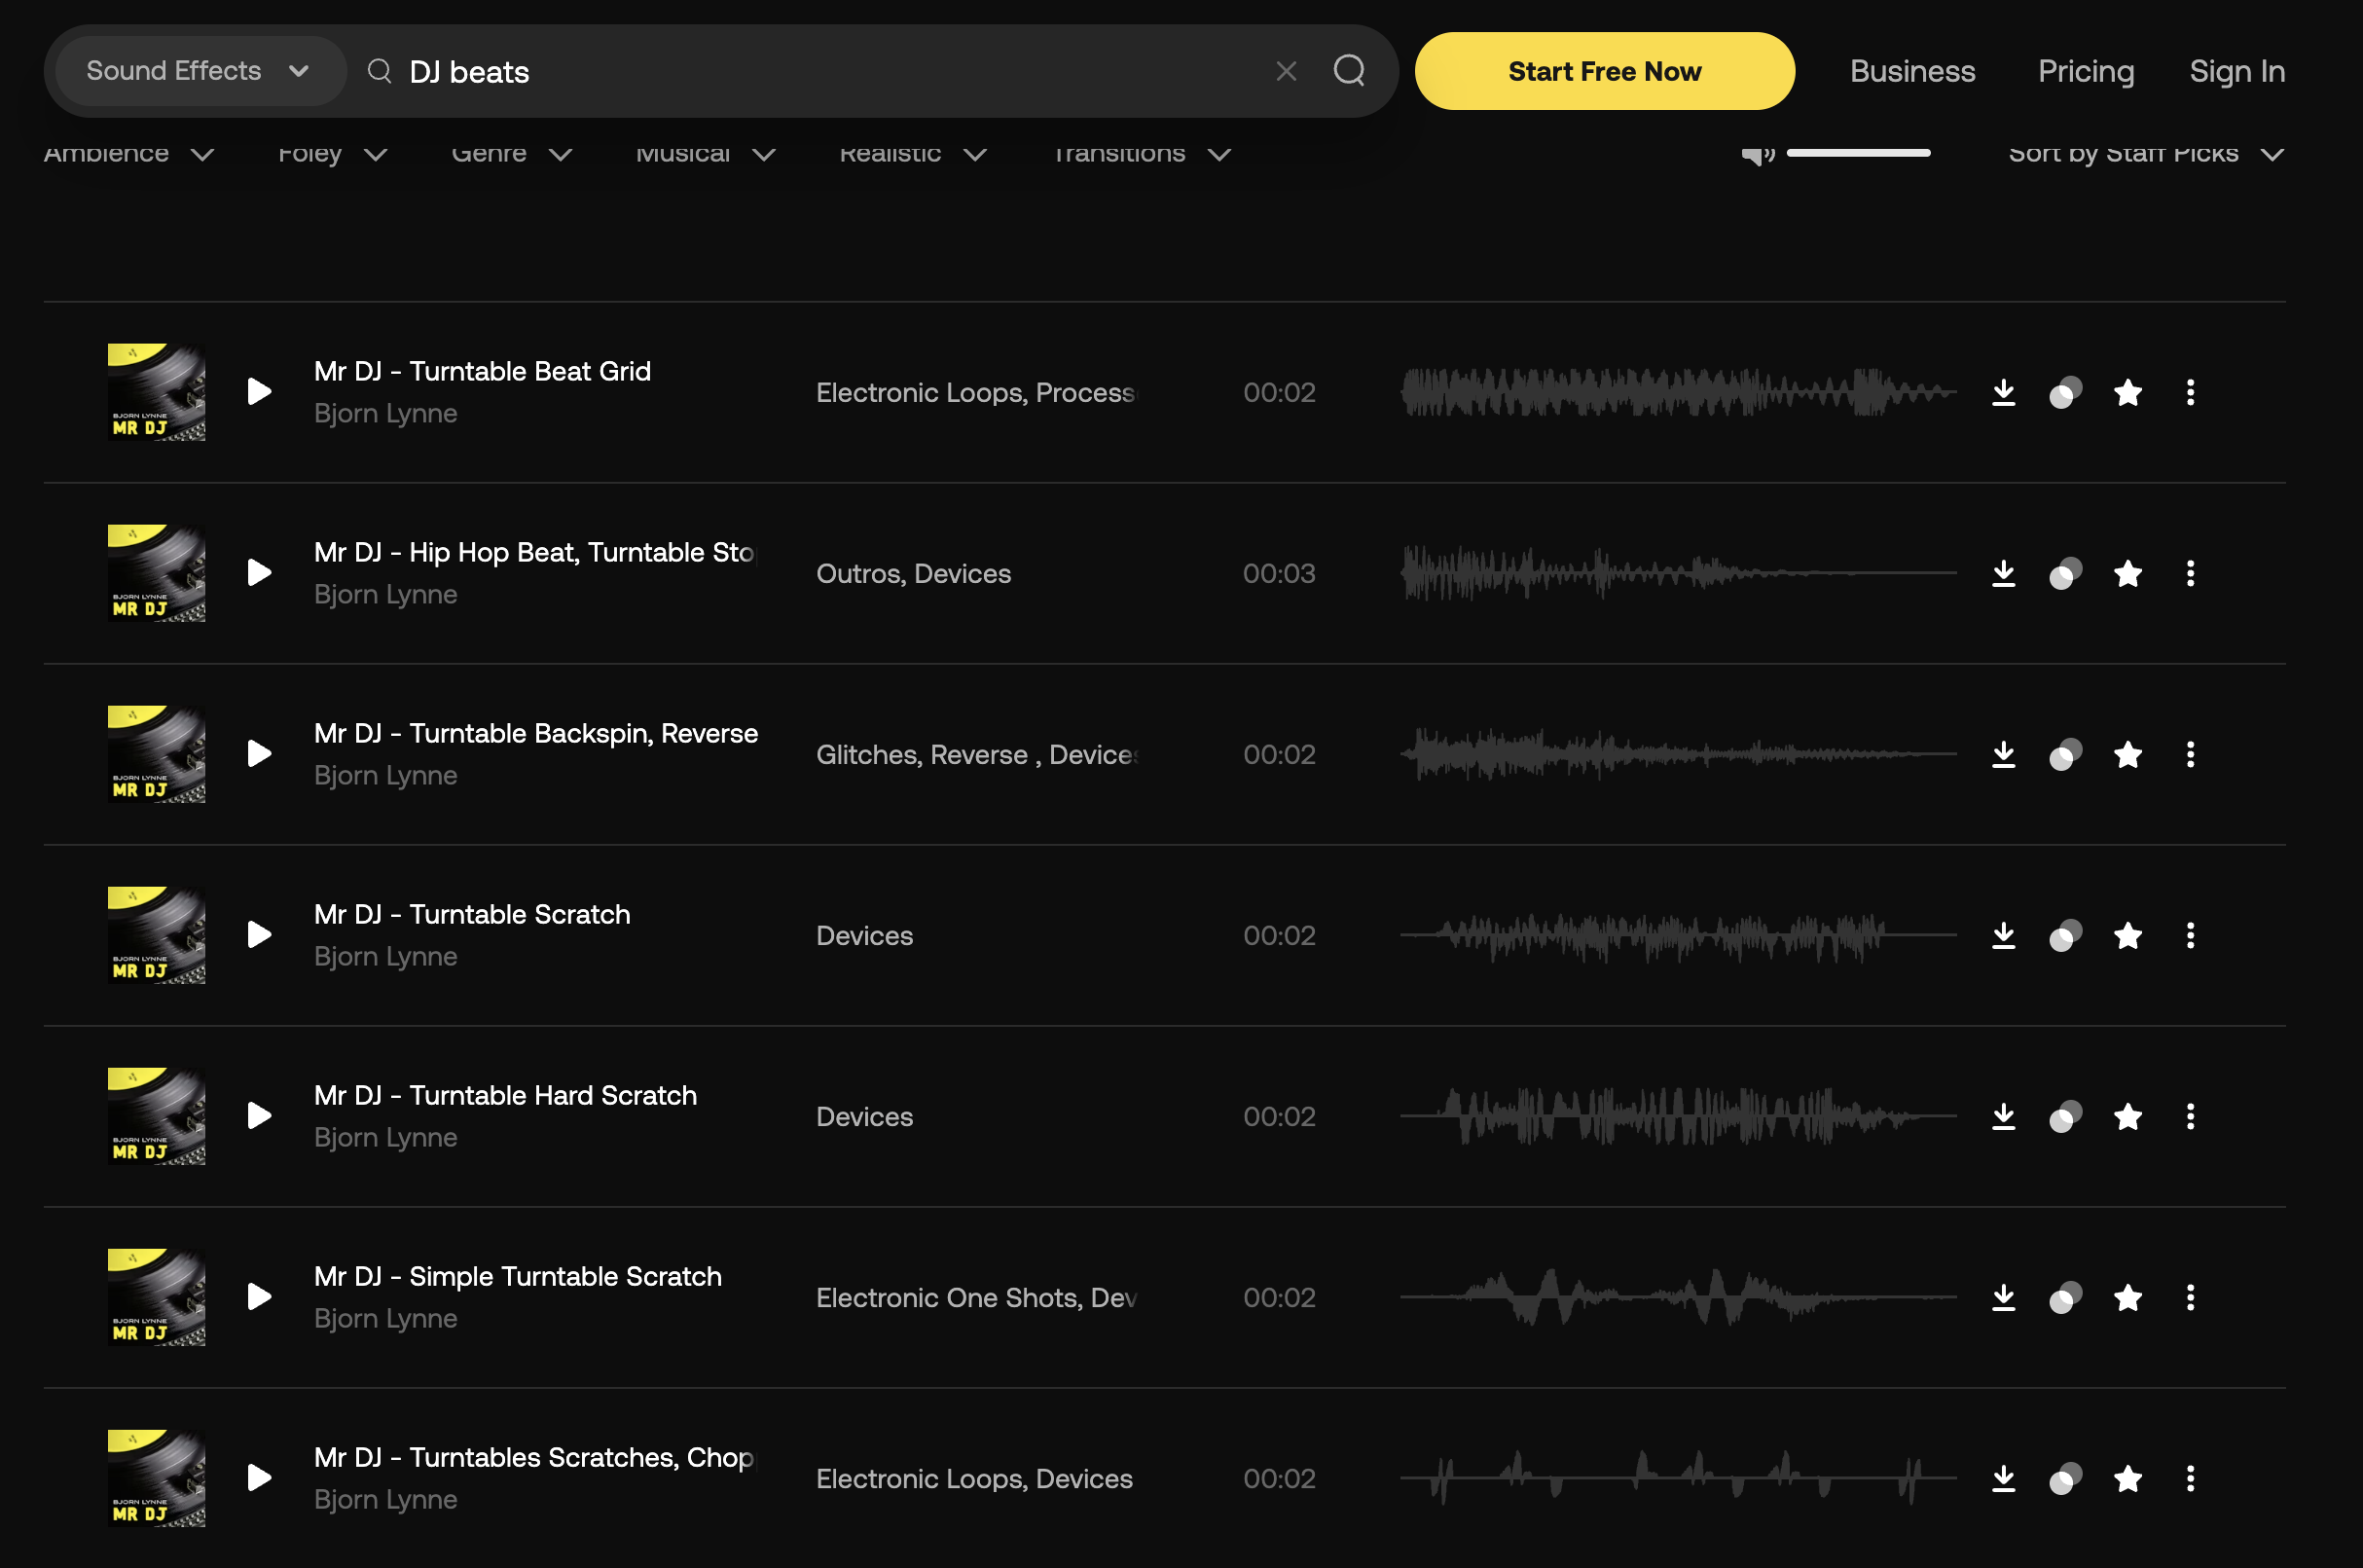
I found royalty free beats I could download for the audio: