
Concept:
Chic & Click is an interactive dress-up game where players create stylish outfits by mixing and matching hats, tops, and skirts on a mannequin. The project is inspired by the dressing games I loved playing as a child, which sparked my interest in fashion and interactivity. Before building the game, I researched similar games and gathered references to refine the concept of changing outfits, making sure that each clothing piece fits properly and looks visually appealing (I attached the inspiration image below). The mission of the game is to provide a fun and creative experience that allows players to explore their personal style. Interactivity is at the core of the game: players click on the hat, top, or skirt areas to cycle through clothing options, accompanied by audio feedback and visual effects like neon glows and a camera flash when taking a photo of their final outfit.
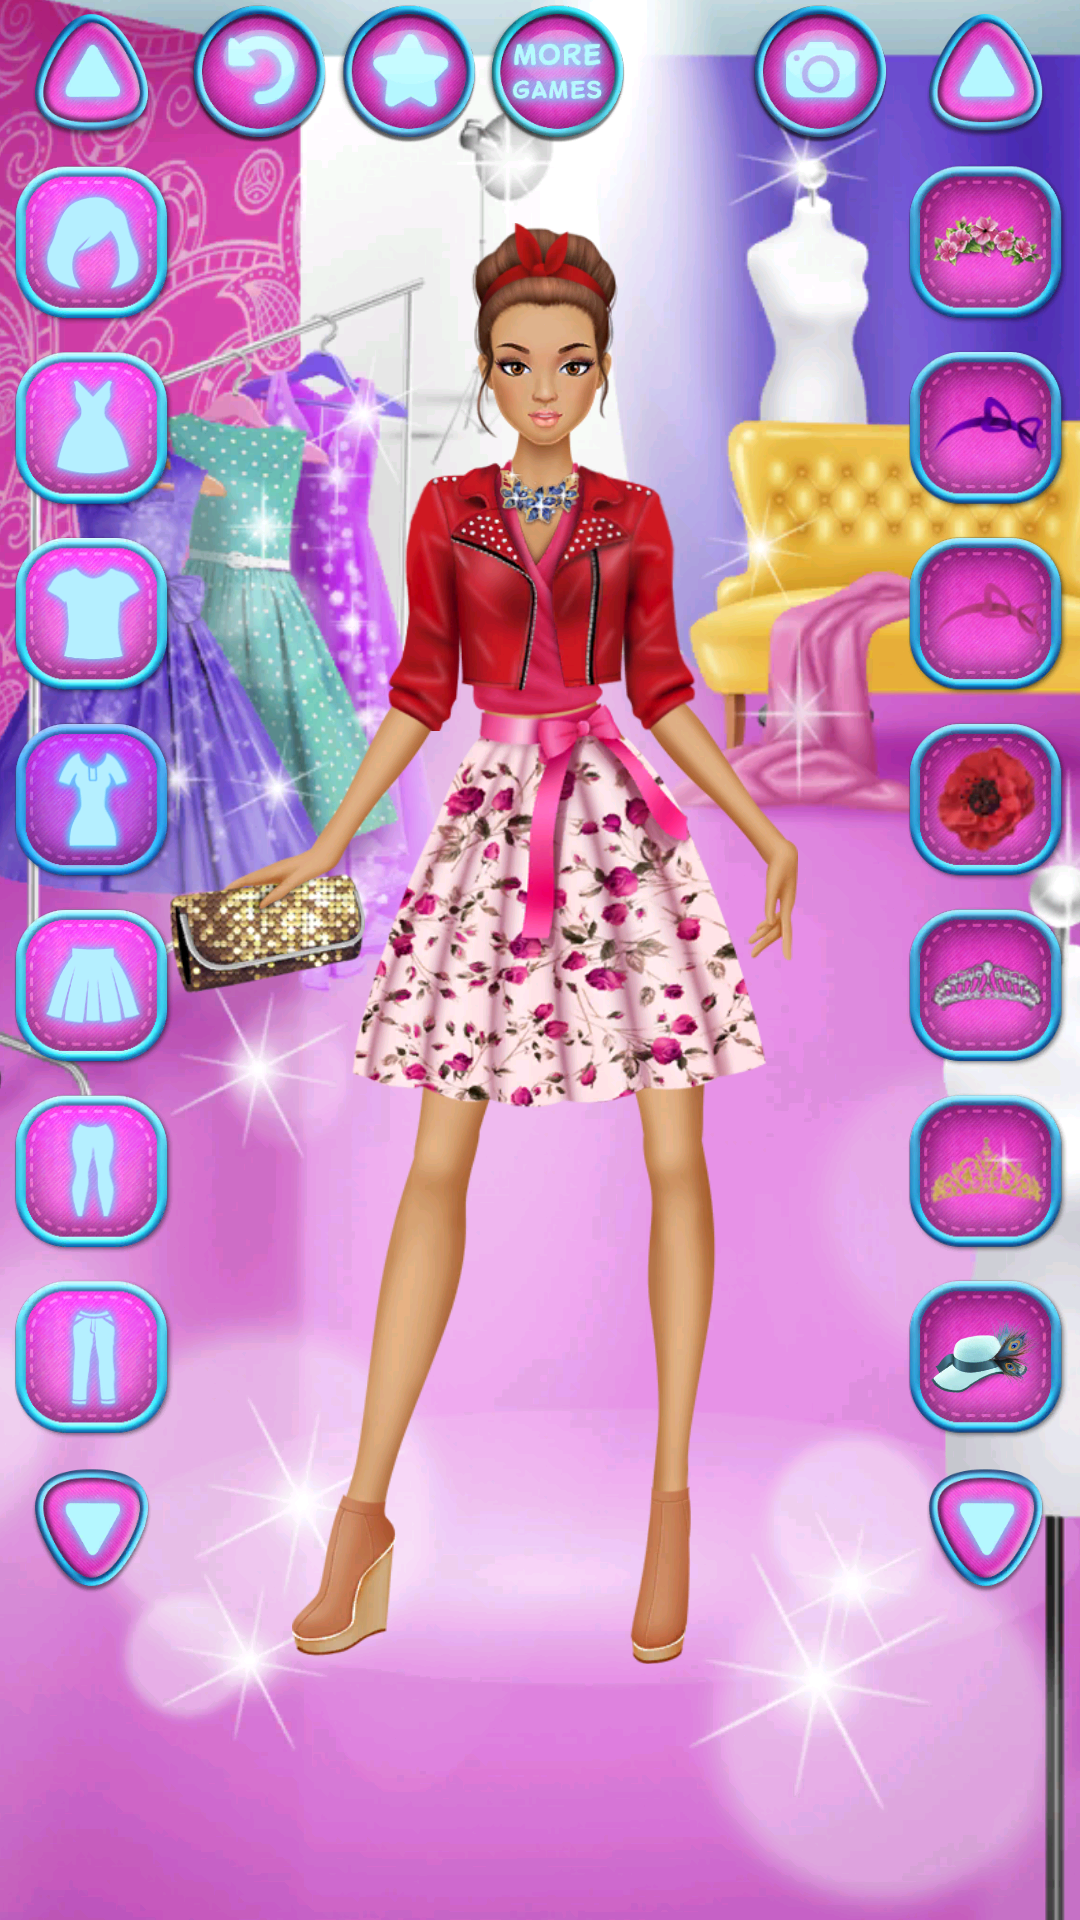
Inspiration from the dressing game:
Sketch:
Link to the sketch: https://editor.p5js.org/Aizhan/sketches/h5QYwQTMS
Key Elements of the Game:
Starting Page:
The game begins with a clean and minimalist start page designed to be visually pleasant, using pastel and calm colors throughout the game. On this page, players see the game cover and instructions, along with a “Start” button. When pressed, it transitions to the main playing page. The background image was designed using a ChatGPT image generator, while the button is created using shapes and text. The game can also be played in full-screen mode by pressing the “F” key, providing a bigger and more immersive experience.
Playing Page:
On the playing page, players can interact with the mannequin to change outfits. The clothing items—hats, tops, and skirts/pants were designed in Canva, with five options for each category, giving a total of 15 different clothing pieces. When a player clicks on a clothing area, they can go through the different options, and after the fifth item, it loops back to the first. The clothes come in various colors and styles, and each click plays a game click sound, making the game more engaging and interactive.
Result Page:
After clicking the “Finish” button, the chosen outfit is displayed on a result page with a photo studio background. A fun gaming song starts playing as the page appears, creating a celebratory mood. This page includes a “Take a Photo” button, which triggers a camera sound, a visual flash effect, and automatically downloads the screenshot to the user’s computer as “MyOutfit.png.” This allows players to save and share their styled outfits. The second button of the page is “Finish”, and as the users press the button, they move on to the next page.
Restart Page:
The restart page thanks the player for playing and provides a “Restart” button. The background image remains consistent with the aesthetic of the game, maintaining the calm pastel theme, and allows players to start a new round of outfit creation easily.
Code snippet and parts I am proud of:
I am proud of how I implemented the camera effect and photo feature. The flash effect combined with the screenshot download feels polished and gives the game a fun feeling To be honest, this was a last-minute addition, as I initially only had music and the background. The p5 references and tutorials really helped me bring it to life.
// Camera Effect
function drawCameraEffect() {
  let elapsed = millis() - flashStartTime;
  if (elapsed < 500) { // flash lasts 0.5 seconds
    fill(255, 255, 255, 150);
    rect(0, 0, width, height); // semi-transparent overlay
    image(cameraImage, width / 2 - 450, height / 2 - 400, 900, 750); // display camera overlay
  } else if (showFlash) { // save screenshot after flash ends
    saveCanvas(cnv, "MyOutfit", "png");
    showFlash = false;
  }
I am also proud of how I handled the clothing interactivity. Using arrays and a simple .next() function to cycle through hats, tops, and skirts kept the code clean and easy to manage, while keeping the gameplay smooth and responsive.
// Clothing class
class Clothing {
  constructor(images, offsetX, offsetY) {
    this.images = images;       // array of clothing images
    this.offsetX = offsetX;     // array of X offsets for each image
    this.offsetY = offsetY;     // array of Y offsets for each image
    this.current = 0;           // index of the currently displayed clothing
    this.show = false;          // whether to display this clothing
  }

  // Loops back to the first item after the last one
  next() {
    this.current = (this.current + 1) % this.images.length;
  }

  // Display the current clothing item on the canvas
  display(x, y, w, h, extraOffsetY = 0) {
    if (this.show) { // only draw if show is true
      let img = this.images[this.current];
      let aspect = img.width / img.height;       // maintain aspect ratio
      let targetW = w;
      let targetH = targetW / aspect;
      let offsetX = this.offsetX[this.current] || 0; // use offset for proper alignment
      let offsetY = this.offsetY[this.current] || 0;
      image(img, x + offsetX, y + offsetY + extraOffsetY, targetW, targetH);
    }
  }
}
I was also inspired by other students’ work to add neon hover effects on the buttons, which were fun to code and added polish without making the program more complicated.
function applyNeonEffect(btn) {
  let x = btn.x, y = btn.y, w = btn.width, h = btn.height;

  // Check if mouse is over the button
  if (mouseX > x - 20 && mouseX < x + w + 20 && mouseY > y - 20 && mouseY < y + h + 20) {
    // Apply neon glow effect
    btn.style("box-shadow", "0 0 10px #fff, 0 0 20px #fff, 0 0 30px #fff, 0 0 50px #fff");
  } else {
    // Remove glow when mouse is not over
    btn.style("box-shadow", "none");
  }
}
Problems/Future Improvements:
One of the most difficult parts of this project was getting the clothes to fit correctly on the mannequin. Each clothing image had a different size and shape, so I spent several hours trying to align them properly. At first, it was tricky because using the same coordinates for every clothing item caused them to look off. I solved this by creating offset arrays for X and Y positions for each clothing item. For example, topOffsetsX, topOffsetsY, skirtOffsetsX, skirtOffsetsY, and hatOffsetsY allowed me to manually adjust the position of each item so it would sit correctly on the mannequin.
Regarding future improvements, I would focus on a few key areas. One of them would be adding more clothing options and categories, like shoes, accessories, or jackets, would give the game more variety and customization. I could also implement a drag-and-drop feature so users can position clothes more freely instead of just clicking to cycle through them. Overall, this project was a great way for me to combine coding and design. I learned how to manage interactive elements, solve alignment issues, and create a smooth user experience. It also improved my problem-solving skills, especially when dealing with image alignment and user interactions. This midterm game gave me a better understanding of how design and programming can come together to create an engaging user experience.