
For this assignment, I worked with Bigo to connect p5.js with an Arduino. We completed three exercises to practice sending data back and forth between the physical and digital worlds.
Part 1: One Sensor to p5.js
In the first exercise, we used a potentiometer connected to the Arduino. This sensor controlled the horizontal position of a circle on the computer screen. The Arduino read the potentiometer value and sent it to p5.js, which then moved the circle left or right based on that input.
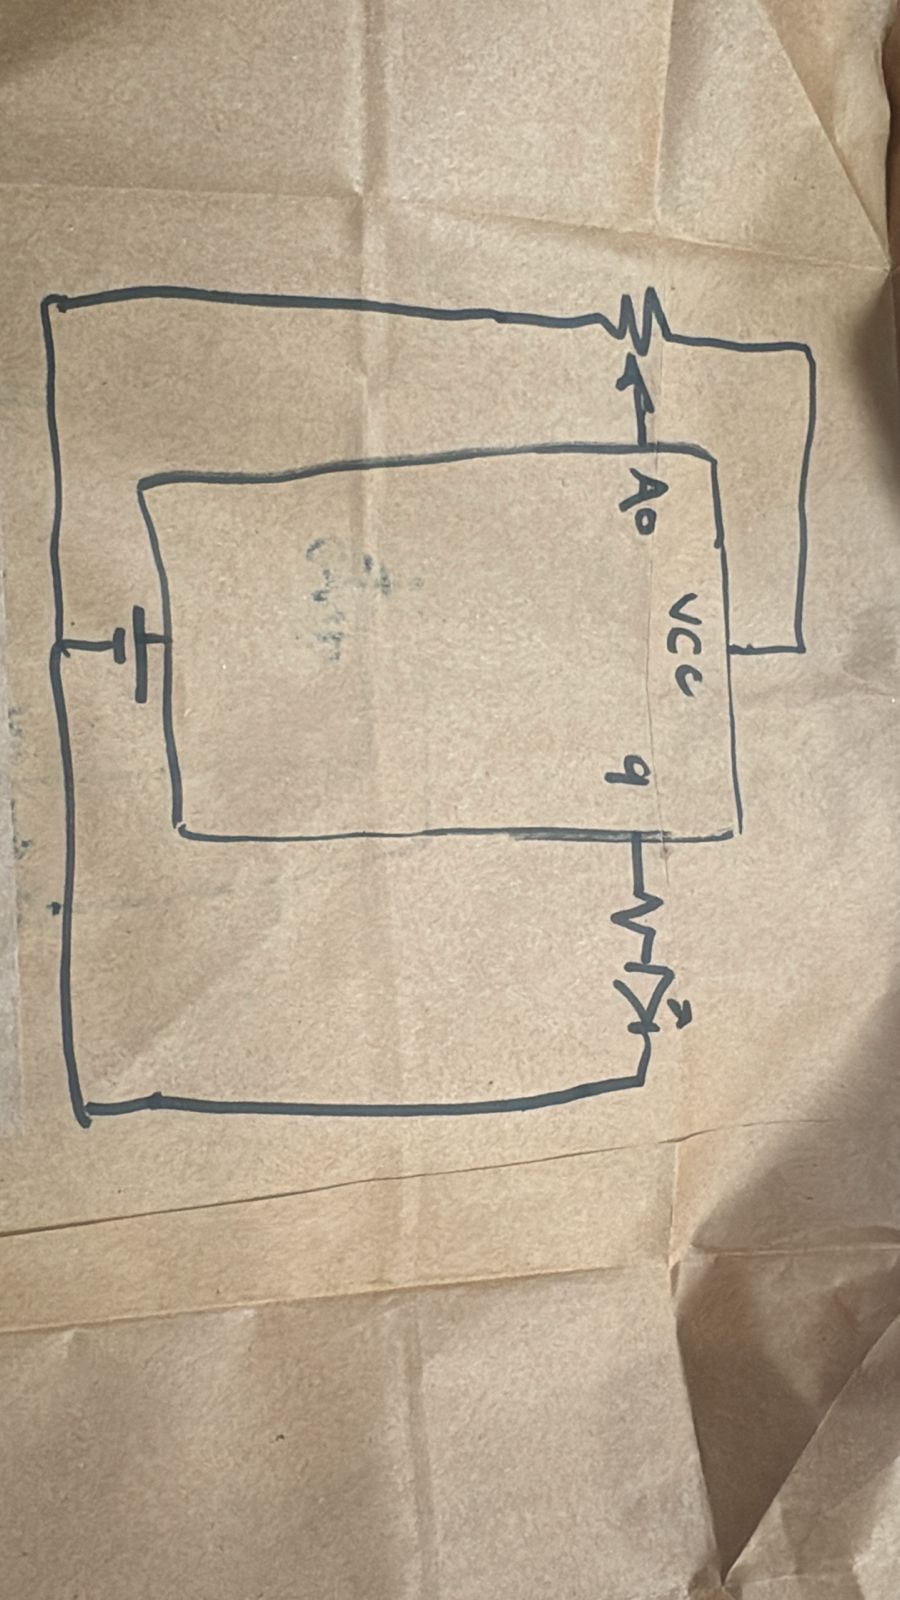
Schematic

Arduino Code
void setup() {
  Serial.begin(9600);
}

void loop() {
  // Read analog value and send it as a line of text
  int sensorValue = analogRead(A0);
  Serial.println(sensorValue);
  delay(20);
}
p5.js Code
let port;
let connectBtn;
let ballX = 0;
let sensorVal = 0;

function setup() {
  createCanvas(600, 400);
  background(50);

  port = createSerial();

  // Open the port automatically if used before
  let usedPorts = usedSerialPorts();
  if (usedPorts.length > 0) {
    port.open(usedPorts[0], 9600);
  }

  connectBtn = createButton('Connect to Arduino');
  connectBtn.position(10, 10);
  connectBtn.mousePressed(connectBtnClick);
}

function draw() {
  // Check if port is open
  if (port.available() > 0) {
    let data = port.readUntil("\n");

    if (data.length > 0) {
      // Update value
      sensorVal = Number(data.trim());
    }
  }

  background(256);

  // Map sensor val to canvas width
  ballX = map(sensorVal, 0, 1023, 25, width - 25);

  // Draw ball
  fill(0, 255, 100);
  noStroke();
  ellipse(ballX, height / 2, 50, 50);
}

function connectBtnClick() {
  if (!port.opened()) {
    port.open('Arduino', 9600);
  } else {
    port.close();
  }
}
Part 2: p5.js to LED Brightness
For the second part, we reversed the direction of the data. Instead of sending information from the Arduino to p5.js, we sent it from p5.js back to the Arduino. The ball on the screen acted like a virtual light bulb; dragging it upward made the physical LED brighten, while dragging it downward caused the LED to dim.
Arduino Code
C++
void setup() {
  Serial.begin(9600);
  pinMode(9, OUTPUT); //pmw pin
}

void loop() {
  if (Serial.available() > 0) {
    String input = Serial.readStringUntil('\n');
    int brightness = input.toInt();    // convert str to int
    brightness = constrain(brightness, 0, 255);    // just in case data is weird
    analogWrite(9, brightness);
  }
}
p5.js Code
JavaScript
let port;
let connectBtn;

// Ball variables
let ballX = 300;
let ballY = 200;
let ballSize = 50;
let isDragging = false;

// Data variables
let brightness = 0;
let lastSent = -1;

function setup() {
  createCanvas(600, 400);

  port = createSerial();

  let usedPorts = usedSerialPorts();
  if (usedPorts.length > 0) {
    port.open(usedPorts[0], 9600);
  }

  connectBtn = createButton('Connect to Arduino');
  connectBtn.position(10, 10);
  connectBtn.mousePressed(connectBtnClick);
}

function draw() {
  background(50);

  // ball logic
  if (isDragging) {
    ballX = mouseX;
    ballY = mouseY;

    // Keep ball inside canvas
    ballY = constrain(ballY, 0, height);
    ballX = constrain(ballX, 0, width);
  }

  // map brightness to y pos
  brightness = floor(map(ballY, 0, height, 255, 0));

  // send data
  if (port.opened() && brightness !== lastSent) {
    port.write(String(brightness) + "\n");
    lastSent = brightness;
  }
  //draw ball
  noStroke();
  fill(brightness, brightness, 0);
  ellipse(ballX, ballY, ballSize);
  stroke(255);
  line(ballX, 0, ballX, ballY);

}

// --- MOUSE INTERACTION FUNCTIONS ---
function mousePressed() {
  // check if mouse is inside the ball
  let d = dist(mouseX, mouseY, ballX, ballY);
  if (d < ballSize / 2) {
    isDragging = true;
  }
}

function mouseReleased() {
  // stop dragging when mouse is let go
  isDragging = false;
}

function connectBtnClick() {
  if (!port.opened()) {
    port.open('Arduino', 9600);
  } else {
    port.close();
  }
}
Part 3: Gravity Wind and Bi-directional Communication
For the final exercise, we brought all the concepts together using the gravity-and-wind example. We modified the code to add two new features.
First, a potentiometer was used to control the wind speed in real-time. Second, we programmed the Arduino so that whenever the ball hit the ground, an LED would turn on.
This part took some troubleshooting. I had to filter out very small bounces because the LED kept flickering while the ball rolled along the floor. Once that was fixed, I also added a visual arrow on the screen to show the current wind direction and intensity.
Arduino Code
void setup() {
  Serial.begin(9600);
  pinMode(9, OUTPUT); // LED on Pin 9
}

void loop() {
  // read & send pot value
  int potValue = analogRead(A0);
  Serial.println(potValue);


  if (Serial.available() > 0) {
    char inChar = Serial.read();

    // check for blink command
    if (inChar == 'B') {
      digitalWrite(9, HIGH);
      delay(50);
      digitalWrite(9, LOW);
    }
  }

  delay(15);
}
p5.js Code
let port;
let connectBtn;

let velocity;
let gravity;
let position;
let acceleration;
let wind;
let drag = 0.99;
let mass = 50;
let sensorVal = 512;

function setup() {
  createCanvas(640, 360);
  noFill();

  // Physics Setup
  position = createVector(width/2, 0);
  velocity = createVector(0,0);
  acceleration = createVector(0,0);
  gravity = createVector(0, 0.5*mass);
  wind = createVector(0,0);

  // Serial Setup
  port = createSerial();
  let usedPorts = usedSerialPorts();
  if (usedPorts.length > 0) {
    port.open(usedPorts[0], 9600);
  }

  connectBtn = createButton('Connect to Arduino');
  connectBtn.position(10, 10);
  connectBtn.mousePressed(connectBtnClick);
}

function draw() {
  background(255);

  // read for wind
  if (port.available() > 0) {
    let data = port.readUntil("\n");
    if (data.length > 0) {
      sensorVal = Number(data.trim());
    }
  }

  // map wind
  let windX = map(sensorVal, 0, 1023, -0.8, 0.8);
  wind.set(windX, 0);

  // apply physics
  applyForce(wind);
  applyForce(gravity);
  velocity.add(acceleration);
  velocity.mult(drag);
  position.add(velocity);
  acceleration.mult(0);

  // draw
  fill(0);
  ellipse(position.x, position.y, mass, mass);
  drawWindIndicator(windX);

  // detect bounce
  if (position.y > height - mass/2) {
      velocity.y *= -0.9;
      position.y = height - mass/2;

      // send blink command
      if (abs(velocity.y) > 1 && port.opened()) {
        port.write('B');
      }
  }

  // collision detection
  if (position.x > width - mass/2) {
    position.x = width - mass/2;
    velocity.x *= -0.9;
  } else if (position.x < mass/2) {
    position.x = mass/2;
    velocity.x *= -0.9;
  }
}

function applyForce(force){
  let f = p5.Vector.div(force, mass);
  acceleration.add(f);
}

function connectBtnClick() {
  if (!port.opened()) {
    port.open('Arduino', 9600);
  } else {
    port.close();
  }
}

// helper to visualize the wind
function drawWindIndicator(w) {
  push();
  translate(width/2, 50);
  fill(150);
  noStroke();
  text("Wind Force", -30, -20);
  stroke(0);
  strokeWeight(3);
  line(0, 0, w * 100, 0);
  fill(255, 0, 0);
  noStroke();
  if (w > 0.05) triangle(w*100, 0, w*100-10, -5, w*100-10, 5); // Right Arrow
  if (w < -0.05) triangle(w*100, 0, w*100+10, -5, w*100+10, 5); // Left Arrow
  pop();
}

function keyPressed(){
  // reset ball
  if (key==' '){
    mass=random(15,80);
    position.y=-mass;
    position.x = width/2;
    velocity.mult(0);
  }
}
Video Demonstration