Concept & Inspiration
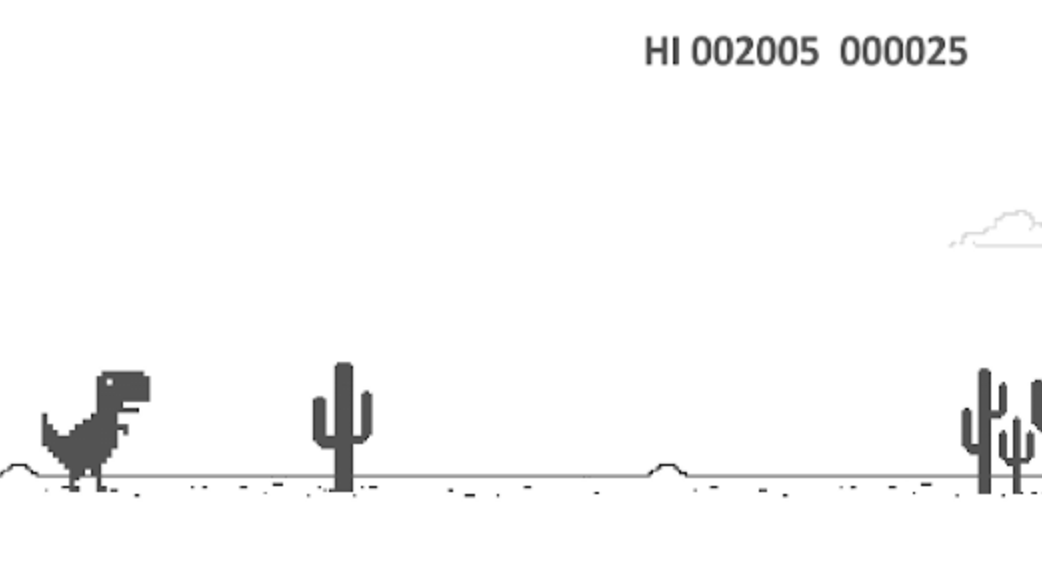
When I first started working on this project, the Wi-Fi didn’t work and I was welcomed with the familiar Google Dinosaur game on my screen that appears when there is no connection. That simple little dinosaur planted the idea in my mind for a playful take, a prisoner committing an escape through a pixelated desert. The prisoner is guided by the player as he jumps over cacti with rolling tumbleweeds in the background adding to the atmosphere as he attempts to outrun the inevitable collision that make the game end. I aimed to add some gamification to the work, so it is interactive in a way that directly affects the narrative, the user decides whether the prisoner escapes or not. The desert is dramatized with gradient skies giving it depth and atmosphere without breaking up gameplay. To make the character interesting and match the aesthetic of the original game, I added a pixelated body, clothing, and even simple facial features, so every dodge and every jump feels dynamic and personal. In retrospect on the project, I enjoyed taking a fundamental, well-known mechanic and making it something more story-based and visual. My objective was to make the user more in control of the narrative compared to my previous work, making each playthrough a lighthearted and engaging choice-based experience.
Code that I am Proud of
display() {
    rectMode(CENTER);
    noStroke();

    //Legs
    fill(255, 120, 0);
    rect(this.x - 10, this.y - this.legHeight / 2, this.legWidth, this.legHeight); //left leg
    rect(this.x + 10, this.y - this.legHeight / 2, this.legWidth, this.legHeight); //right leg

    //Feet
    fill(0);
    rect(this.x - 10, this.y, this.legWidth + 2, 5); //left foot
    rect(this.x + 10, this.y, this.legWidth + 2, 5); //right foot

    //Body (torso)
    fill(255, 120, 0);
    rect(this.x, this.y - this.legHeight - this.bodyHeight / 2, this.bodyWidth, this.bodyHeight); //torso

    //Arms
    fill(255, 120, 0);
    rect(this.x - this.bodyWidth / 2 - this.armWidth / 2, this.y - this.legHeight - this.bodyHeight / 2, this.armWidth, this.armHeight); //left arm
    rect(this.x + this.bodyWidth / 2 + this.armWidth / 2, this.y - this.legHeight - this.bodyHeight / 2, this.armWidth, this.armHeight); //right arm

    //Head
    fill(255, 220, 180);
    rect(this.x, this.y - this.legHeight - this.bodyHeight - 15, 20, 20); //pixel head

    //Prisoner beanie
    fill(255, 140, 0);
    rect(this.x, this.y - this.legHeight - this.bodyHeight - 25, 20, 8);//beanie band
    rect(this.x, this.y - this.legHeight - this.bodyHeight - 30, 16, 5);//top of beanie

    //Facial features
    fill(0); //eyes
    rect(this.x - 5, this.y - this.legHeight - this.bodyHeight - 20, 3, 3); //left eye
    rect(this.x + 5, this.y - this.legHeight - this.bodyHeight - 20, 3, 3); //right eye

    fill(150, 0, 0); //mouth
    rect(this.x, this.y - this.legHeight - this.bodyHeight - 10, 6, 2); //simple mouth
  }
}
With a goal of focusing more on the artistic and creative aspects of this assignment, I’d say I am most proud of the design of the prisoner for the game. I wanted to go for a more pixilated look to match the aesthetic of the original game and gave the design of the prisoner a lot of focus. I am proud of this code merging visual creativity with functional interactivity, the arms, legs, beanie, facial features were all carefully positioned to give personality, while integrating the goal look of the character. Through this code I learnt the importance of the visuals in determining the feel of the game.
Embedded Sketch
Reflection
The main challenge I ran into while creating this game I’d say was balancing the focus on visual design as well as on the functional side of the work. For example, designing the prisoner to be pixelated yet still have recognizable features required careful positioning. So I had to constantly test and adjust the sizes so that the character didn’t interfere with collision detection. However, at the same time it was a learning experience where I went more in depth into the possibilities that come with this program. Next time I’d like to focus more on creating a more detailed visual world where more elements are integrated to create an immersive work.