
Concept:
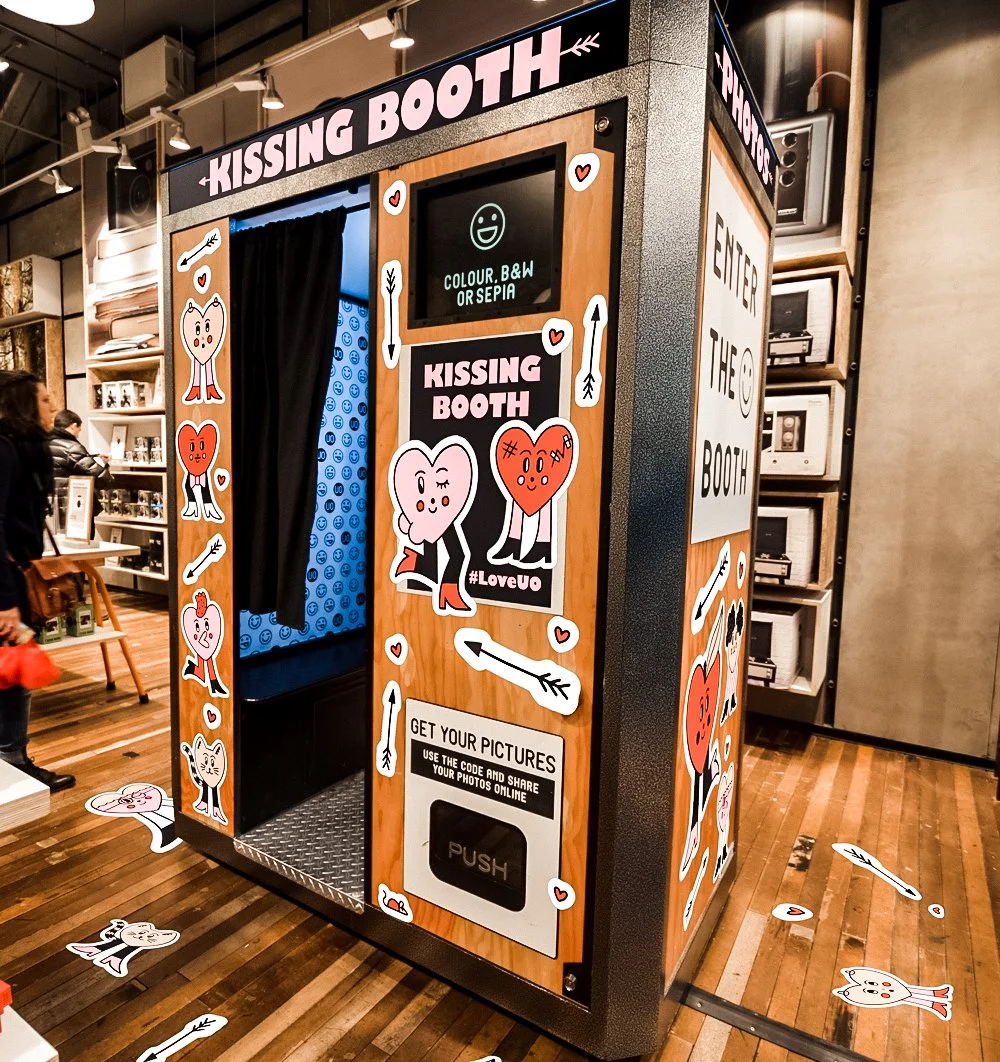
I think it’s safe to say that a lot of events on campus have photobooths, and even stores in malls. I wanted to do something similar, but fully digital. While my current sketch isn’t very aesthetic yet, I plan to model it after the Urban Outfitters photobooth, adding playful visuals and frames to make the experience interactive and fun, like a real-life booth.
 The user interacts with the photobooth through a series of pages. They start at the main booth screen, where they can click a button to enter their name on the Start Page. After submitting their name, they move to the Filter Page to see a live video feed and choose a filter by pressing the arrow keys. Once they select a filter and click “OK,” they reach the Frame Screen, where they can take a photo. Finally, the Thank You Screen appears with an option to restart, which loops them back to the booth, letting them take another photo. Each page guides the user step by step, making the experience clear and interactive.
Code design :
All the pages are in their own class.
-
- PhotoBooth: The main screen where users start. Displays the booth and a button to enter the next step.
- StartPage: Handles the user’s name input and the “Start” button to move to the filter selection.
- FilterPage: Shows a live video feed and lets users choose a filter using arrow keys, with an “OK” button to proceed.
- FrameScreen: Applies the selected filter to the video and allows the user to take a photo with a camera button.
- ThankYouScreen: Confirms the photo has been taken and offers a button to restart the booth.
- Flow control: currentScreen determines which class is displayed, and button/key interactions manage transitions between screens.
Difficulties:
I think that throughout implementing this, the filter page class was the most troubling. I had to use the translate function to mirror my video feed because I wanted a mirrored picture as the result, and I needed it to only apply this to the video, and not the text and button.
//mirror the video (so it feels like a mirror)

    push();

    translate(width, 0);

    scale(-1, 1);

    image(this.video, 0, 0, width, height);

    pop();
Another key part of the project is the filters and how the selection works. Each filter is applied as an overlay on the live video feed, and the user can browse through them using the left and right arrow keys. I also made sure the selection loops continuously, so moving past the last filter brings you back to the first one.
 //sepia filter overlay

    if (this.filters[this.currentFilter] === "sepia") {

      fill(112, 66, 20, 60);

      noStroke();

      rect(0, 0, width, height);


      //black & white filter using canvas filter

    } else if (this.filters[this.currentFilter] === "bw") {

      push();

      tint(255, 255);

      drawingContext.filter = "grayscale(100%)";

      translate(width, 0);

      scale(-1, 1);

      image(this.video, 0, 0, width, height);

      drawingContext.filter = "none";

      pop();

    }
nextFilter() {

    //go to next filter (wraps around)

    this.currentFilter = (this.currentFilter + 1) % this.filters.length;

  }


  prevFilter() {

    //go to previous filter (wraps around)

    this.currentFilter =

      (this.currentFilter - 1 + this.filters.length) % this.filters.length;

  }
To deal with, or let’s say minimize the risks with these two implementations, I first tested them out in a separate sketch on p5.js, and when I made sure they worked how I wanted them to, I added them to my project flow. I also added console logs to help me debug and then removed them once everything was working as expected.
Lastly, this project really tested my understanding of how order matters. I had to use .hide() a lot to make sure buttons and features weren’t carried on between screens.
Reflection:
Now that the structure is solid, I can focus on making it look appealing. I’m open to any suggestions and even suggestions for my current flow!