
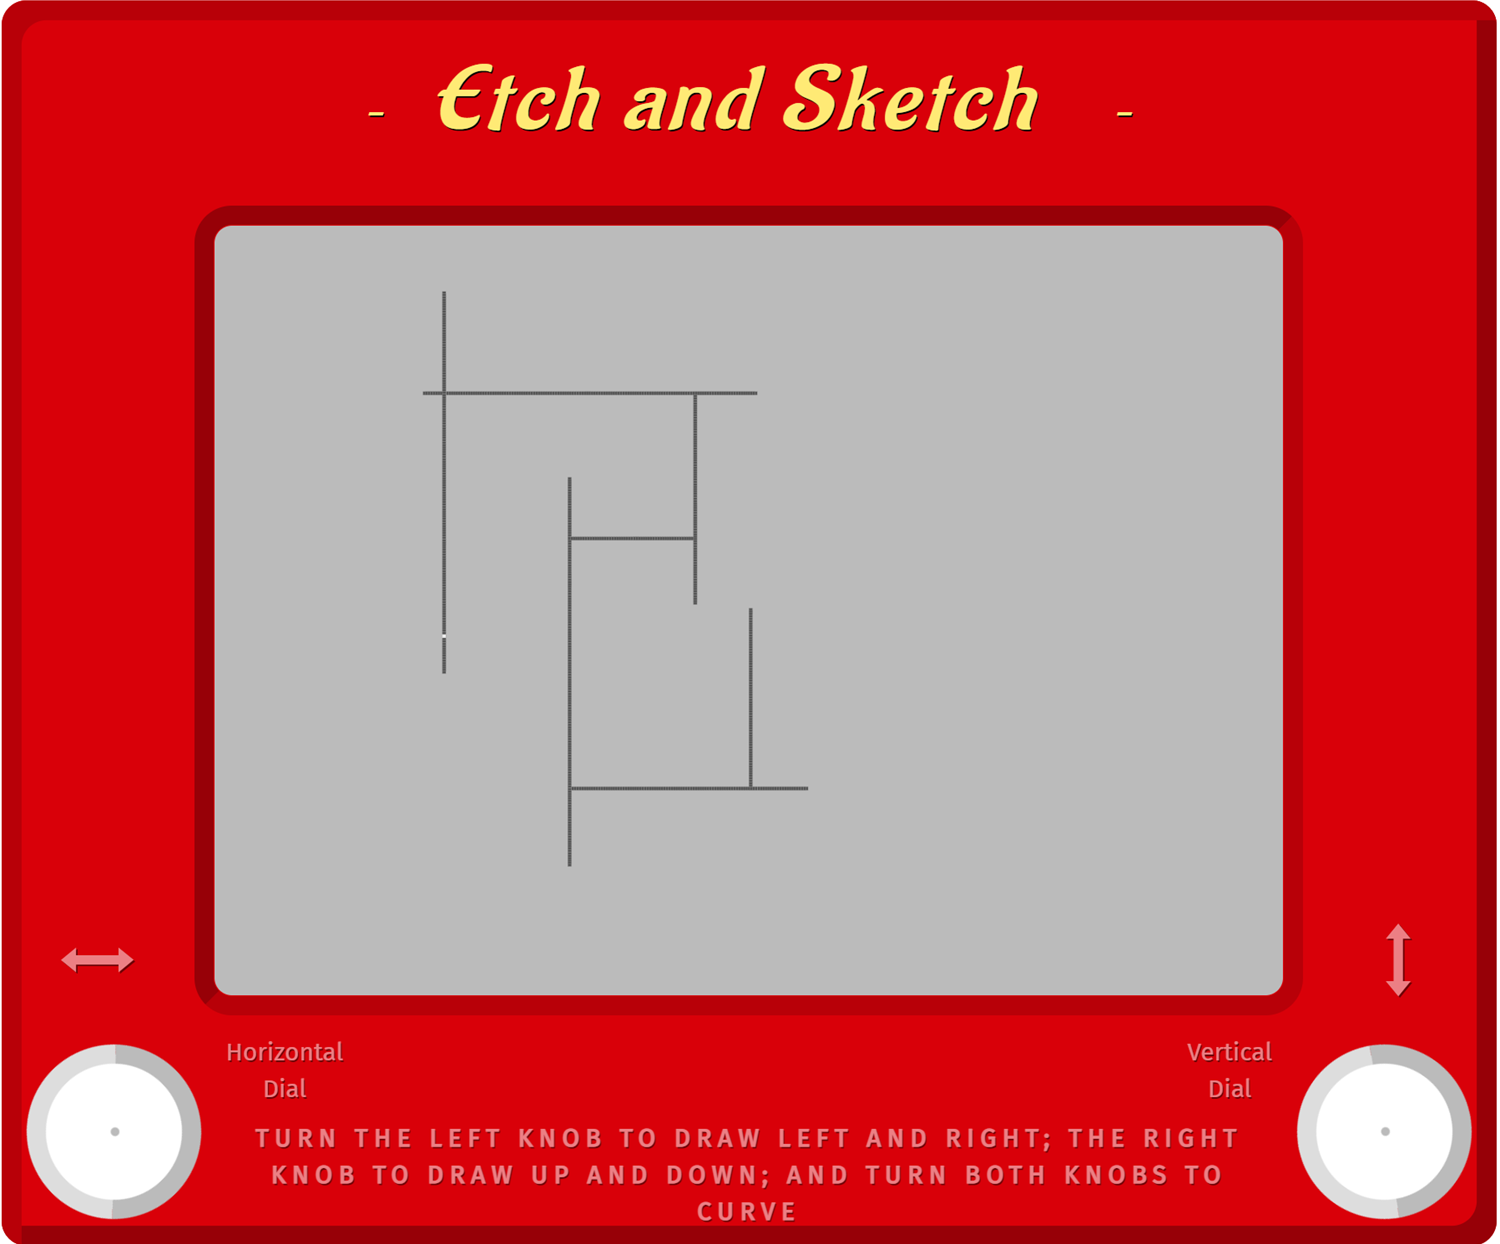
Finalized Concept
This project is a recreation of a 1950s drawing device, “Etch A Sketch,” where people used to turn knobs to maneuver a stylus that created lines on a screen. With two potentiometers and a button connected to an Arduino board, the on-screen cursor is user-controlled along the X and Y axes through the knobs, and every press of the button toggling a change in the color of the cursor instead of making lines. The p5.js interface has a start screen, reset button, and connect/disconnect buttons with a playful and unstructured experience that mixes body interaction with digital creativity.
Inspiration:
Arduino Program Design
Inputs:
- Potentiometer X (on the left side of the arduino board): Controls horizontal cursor movement
- Potentiometer Y (on the right side of the arduino board): Controls vertical cursor movement
- Button (at the center of the board): Detects user clicks to trigger a new random color
Output to P5:
- I handled the X and Y location of a cursor by two potentiometers and utilized a button for color change turning on/off within the Arduino code. The digital button state and analog values of the potentiometers are read, and then they are sent as a comma-separated line of values like
xValue, yValue, buttonStateover the Serial connection.Serial.begin(9600)is used to transfer data to the p5.js program in real time.
p5.js Program Design
Receives from Arduino:
- xVal and yVal: Mapped to canvas width and height.
- btnState: Toggles whether the user wants to change color.
Behavior in p5.js:
- Displays a “Press Start” screen before initiating the drawing area.
- After starting:
- A cursor (default system cursor) moves across the screen based on potentiometer input.
- On button press, it generates a new random color and enables drawing with that color.
- Unlike traditional Etch A Sketches, it doesn’t draw black lines, each button press sets a new RGB color for the drawing point.
- Includes buttons:
- Connect/Disconnect: Manage serial connection with Arduino.
- Finish Drawing: Clears the canvas, allowing users to start fresh.
Document Progress
- I connected two potentiometers to A0 and A1 for X and Y movement, and a push button to pin 2 for toggling color changes. Everything is grounded and powered correctly with 5V and GND from the Arduino Uno.
- In p5.js, I used the p5.webserial.js library to handle serial communication. After correcting some syntax (like avoiding port.on()), the connection was established and serial data flowed smoothly using readUntil(‘\n’).
- I added buttons in p5 for Start, Connect, Disconnect, and Finish Drawing. The canvas stays clean until the user hits start. Drawing only happens after the button is pressed, and each press generates a new random RGB color.
Challenges
- At one point, the drawing lagged or stopped updating. I realized it was due to buffering delays in reading data. I fixed it by reading continuously inside draw() and mapping incoming values correctly to the canvas range.
Next Steps
- Fix the lagging
- Document the visuals: screenshots, GIFs, and videos of the tool in action.
- Maybe add a “Save Drawing” button to export the canvas as an image.