
Finalized concept for the project
My final project helps users, especially beginners, to learn how to play the piano and learn how to jam to the blues music style. I created a mini-piano consisting of 2 octaves plus one key (spanning notes C4 to C6), which is a welcoming size for beginners. A visualization of a piano is displayed on the p5js sketch, which can be helpful for the piano player to see an animated pressed key and listen to the relevant audio for that pressed key.
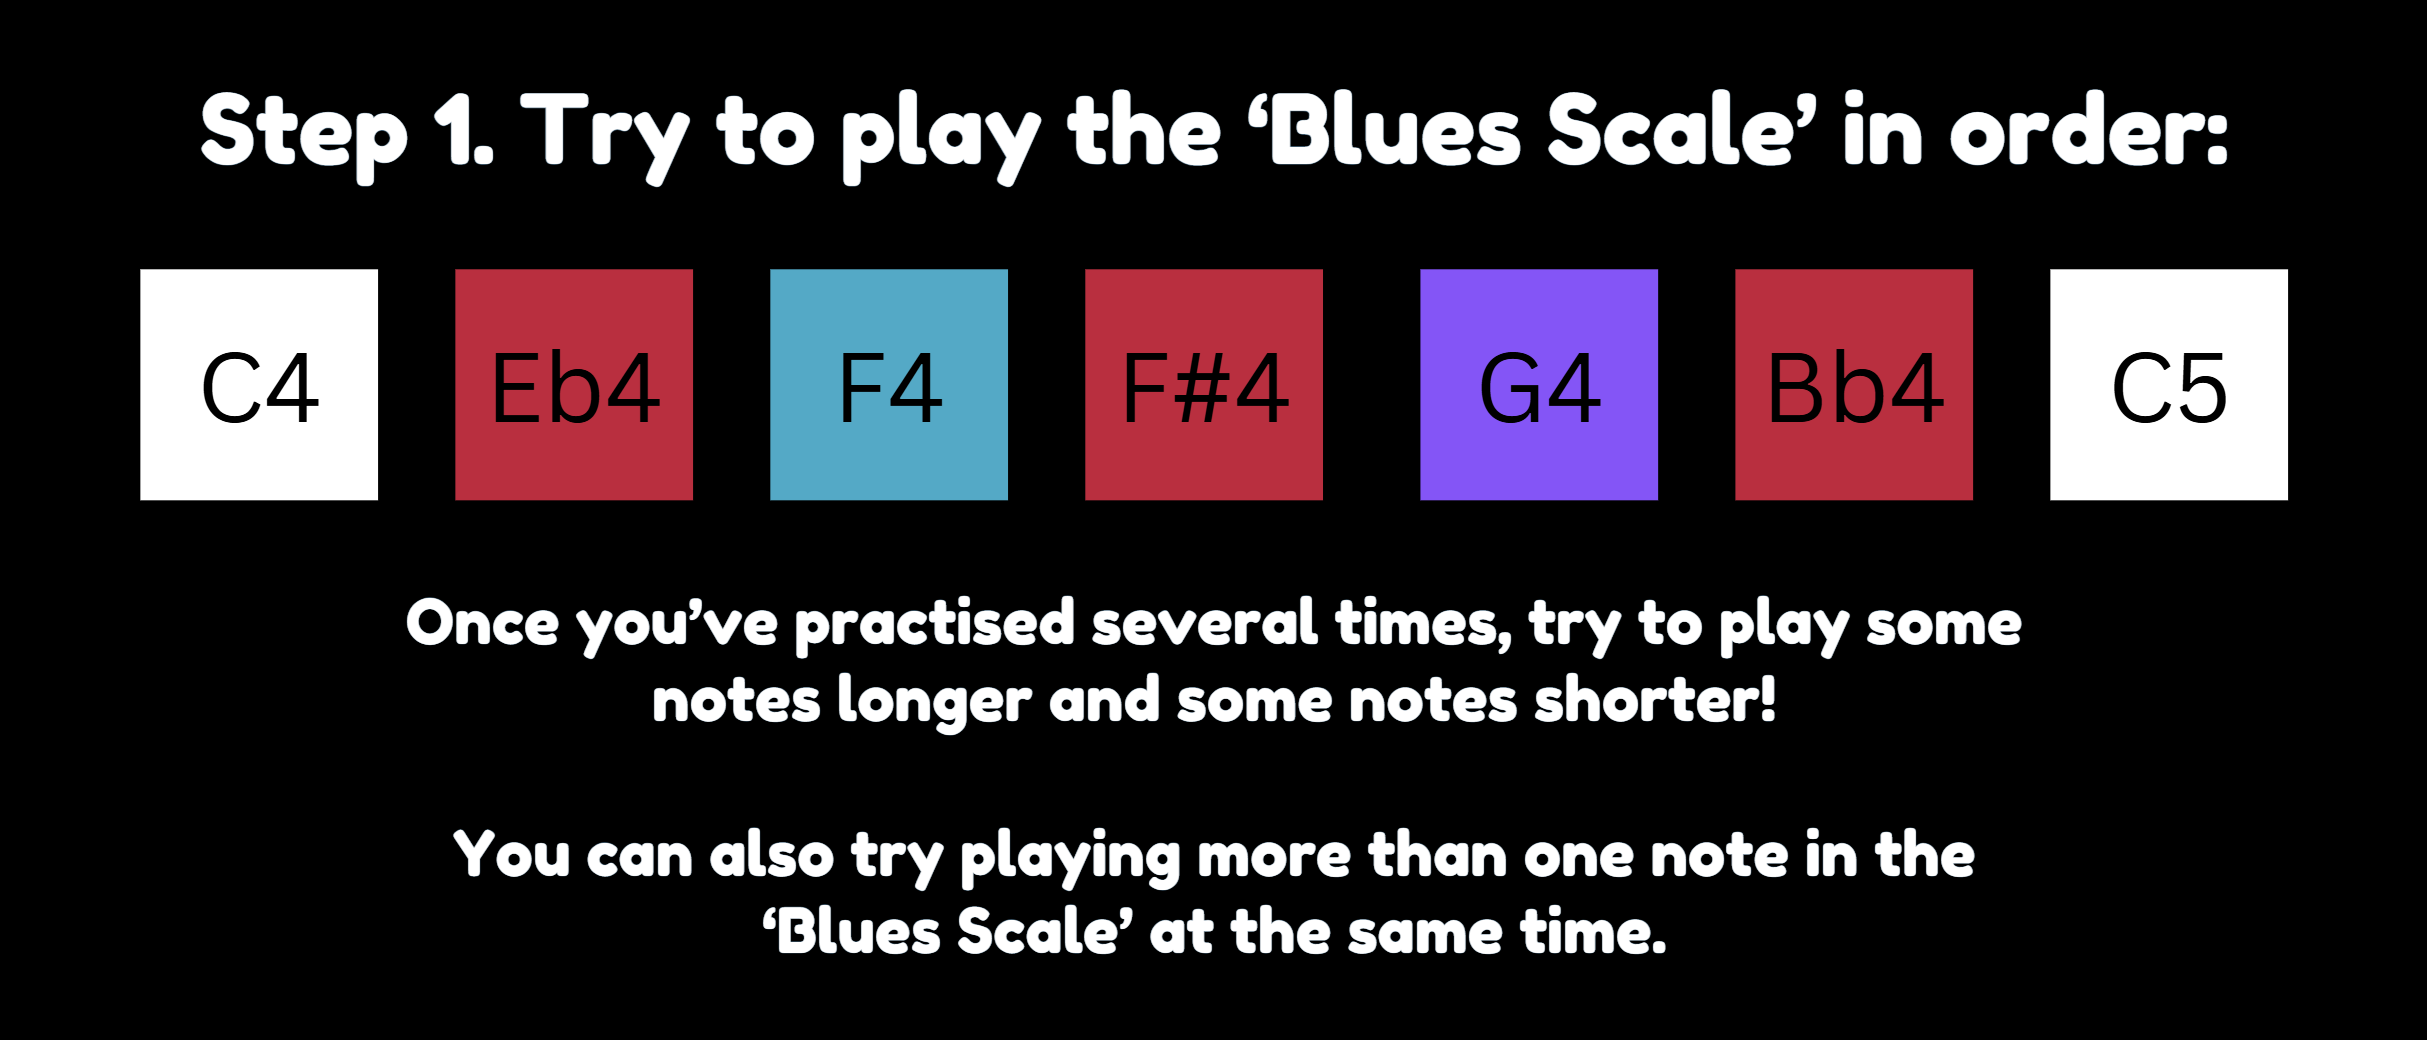
The piano is color-coded by note, so that note “C” is white, “D” is orange, “E” is red, “F” is blue and so on. This was a deliberate choice because seeing different colours on the piano can help users familiarize themselves with the positions of the keys over time. Additionally, I used this presentation slide deck with instructions to play the notes, color-coded, in order (example in Fig. 1). Thus, as users see the color-coded notes on the presentation and try to follow it, they could more quickly and easily match it to the note on the physical piano that they should play.
Design and description of what your Arduino program will do with each input and output and what it will send to and/or receive from P5
- Inputs:
- Force Sensitive Resistors (FSR) – Arduino program receives note state based on FSR readings vs press thresholds. If the readings meet the conditions, send to p5.
- Push buttons – Arduino program receives note state based on reading on whether button is pressed.
- No outputs
Design and description of what P5 program will do and what it will send to and/or receive from Arduino
In the communication from Arduino to p5, a string is sent line-by-line containing note name, followed by “=”, followed by note state (either 0 or 1 depending on if it’s considered pressed or not). activeSerialNoteStates is an important variable that stores the latest state (0 or 1) received from Arduino for each note name. Based on the current state of a particular key in activeSerialNoteStates, the handlePressEvent() and display() for that key is called.
Progress
Tomorrow and this Sunday, I could try to work on building the circuit.
References:
- Blues scale, E blues scale: https://www.youtube.com/watch?v=CjJwxtahGtw
- Major vs Minor Blues scales: https://www.youtube.com/watch?v=WWEchKvZwdE
- Pentatonic scales and blues scales: https://www.youtube.com/watch?v=Vj-BOmKgdE4