Planning Stage


Before we began to work, we needed to sort out a grand variety of details. Which materials were we going use? How would we use them? When would we meet and build our project? Given that Lily is a senior and has her capstone paper due in less than 2 days, and her presentation a few days before the final submission, our team needed to make sure we were properly managing our time and planning realistic deadlines according to our schedule. We wrote a detailed outline with parts of our project and internal deadlines that we plan to keep in order to make our project the best final project. During this initial planning meeting, we also gave our project the name Dance Breaker. It is an ode to breakdancing AND hints to how the game will work: the music will stop (break) and you need to press the sensors to un-break it. Get it?
We also created our internal deadline system into google calendar and set working hours. Once we had our work cut out for us, we began the execution of our plan.
Building Progress
Game Mechanics:
-
-
- We worked mostly on the P5.js code for the songs and serial connection. To do this he constructed a board with smaller sensors and pieces from a previous project that would allow for testing on a smaller scale. He also began to work with computer vision. The current p5.js sketch loads pixels and has a light threshold akin to previous class exercises. It took a long time to figure out how to mirror the image in order to have a comprehensive experience. Furthermore, he built conditional statements so that all sensors need to be pressed in order for a song to play. The arduino code should not require any changes after today except for the addition of the reward system.
- Next steps for the game mechanics are:
-
- Implement a functioning random timer (which was already created but not aligned with the music) to stop the song randomly and resume the game.
- Randomize the sensors that need to be pressed in order for the music to continue.
- Add a design to the computer vision beyond a threshold.
-
-
void setup() {
  Serial.begin(9600);

}
void loop() {
  int oneValue = analogRead(A0);

  int twoValue = analogRead(A1);

  int threeValue = analogRead(A2);

  int fourValue = analogRead(A3);

  int fiveValue = analogRead(A4);


    int sensorValue = oneValue;
    Serial.print(sensorValue);
    Serial.print(",");
    sensorValue = twoValue;
    Serial.print(sensorValue);
    Serial.print(",");
    sensorValue = threeValue;
    Serial.print(sensorValue);
    Serial.print(",");
    sensorValue = fourValue;
    Serial.print(sensorValue);
    Serial.print(",");
    sensorValue = fiveValue;
    Serial.print(sensorValue);
    Serial.println();
    delay(1);

  }
Physical Component: Dance Mat and Projector
-
-
- We booked the necessary materials (a vertical projector, a camera) through the portal.
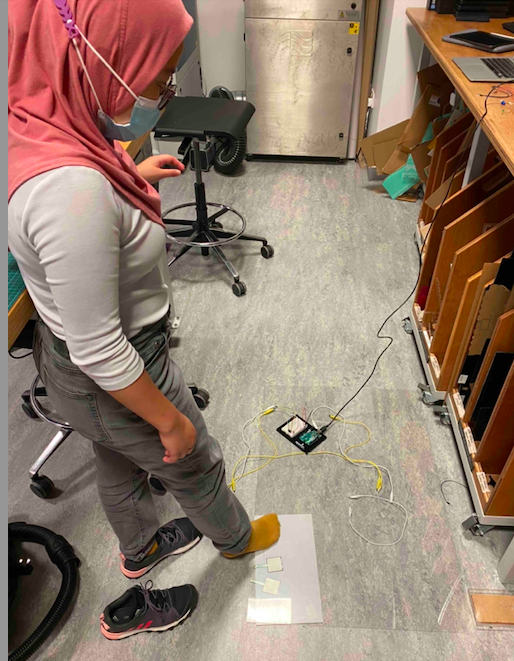
- We also picked up the necessary sensors and acrylic to build our dance mats. We ran some simple tests with the materials in order to make sure that they work as imagined, and have begun to build the illustrator sketches for the laser cutting.
- Next steps for the physical components are:
- Finish the illustrator design and laser cut the materials
- Print Stickers and Logo
- Cut and assemble the base.
-