
Description:
This project consisted of creating a musical instrument using Arduino
Idea:
My initial idea was to create a piano with various features. I was thinking of using four buttons to resemble the piano keyboard, using the photoresistor to control the volume, use a knob to “travel through the keyboard” or change the keys played in the button, and using the bell curve technique when playing the buttons. However, I realized I had no method of controlling the volume emitted, and therefore I could not implement the photoresistor and the bell curve technique I had in mind. After careful thought, I decided to implement the buttons for the keyboard, the knob to change the keys, and a recorder that registers what has been played.
Challenges:
The first challenge I encountered was with the buttons themselves. I had to try for more than an hour to make the buttons work. However, I later realized that the real problem was in the physical Arduino instead of the code. Another problem I faced was with the recording part. I could manage to record the notes being played but the problem was that the notes were recorded 5-6 times each. I could solve this problem by allowing each button to play only once at a time. The problem was fixed but with the cost of not being able to play the same note more than one time in a row.
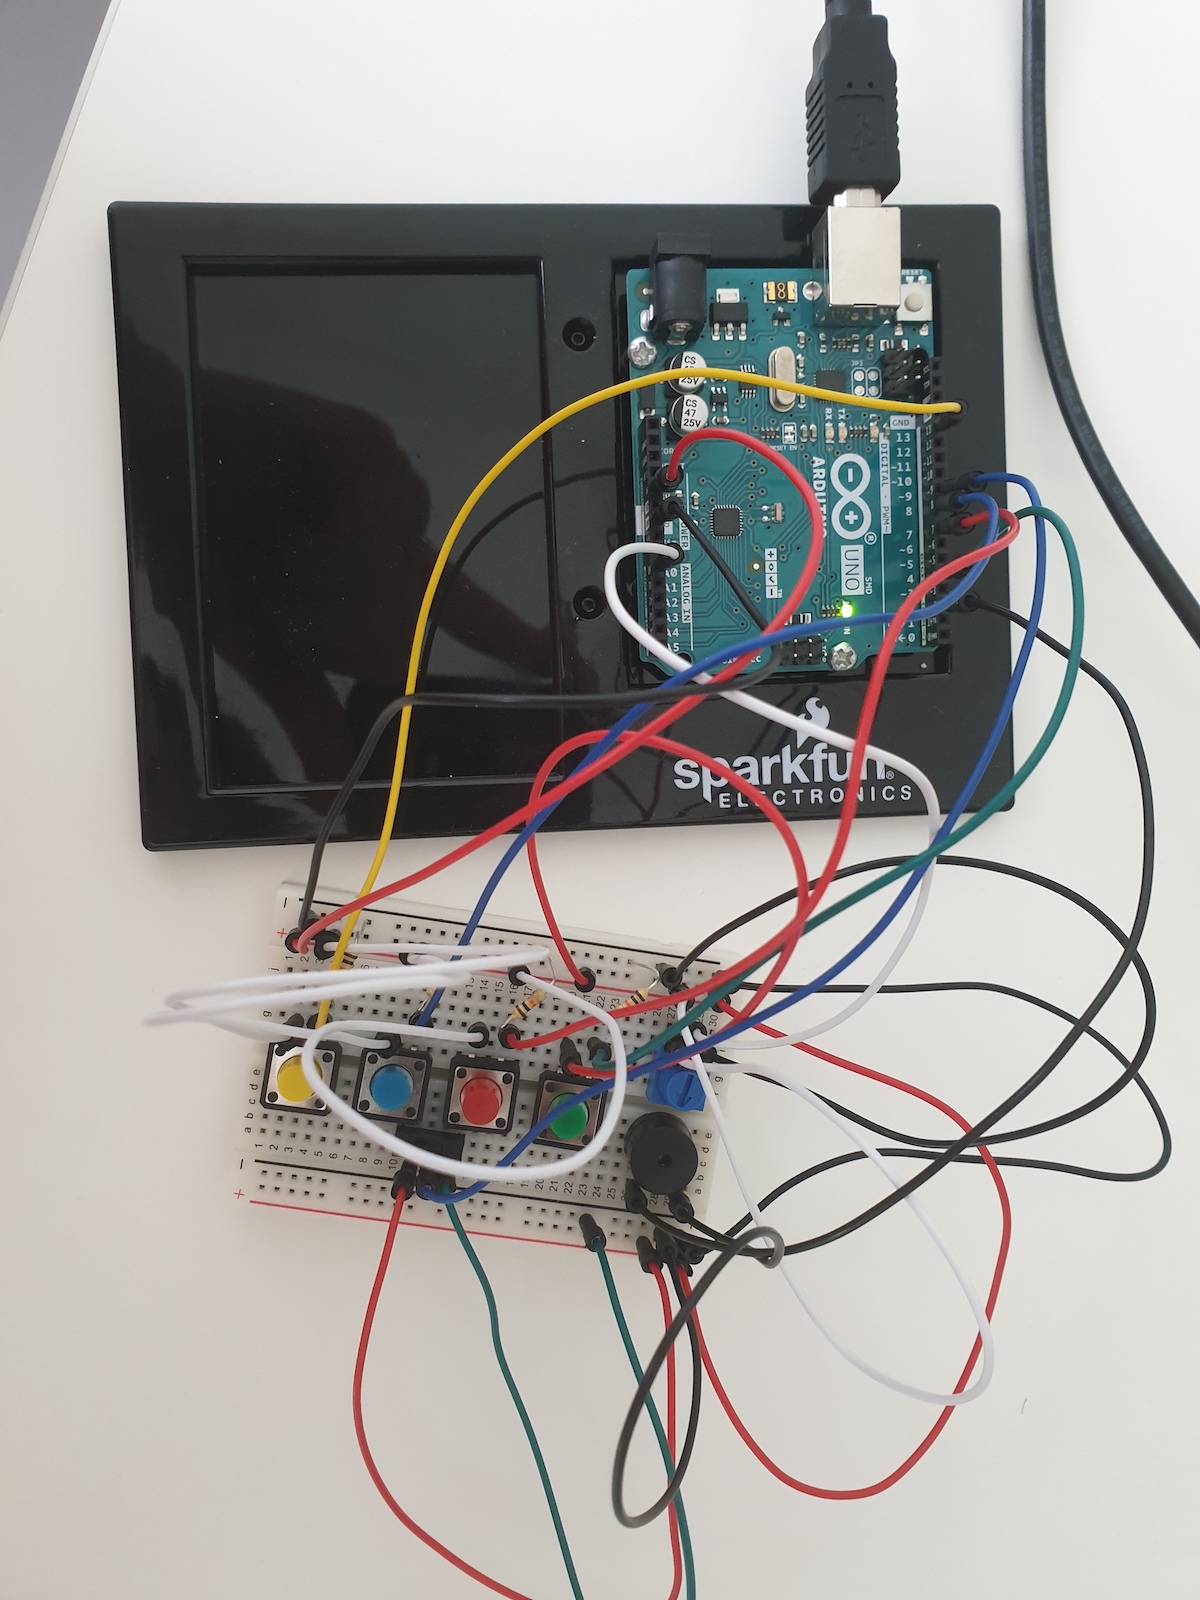
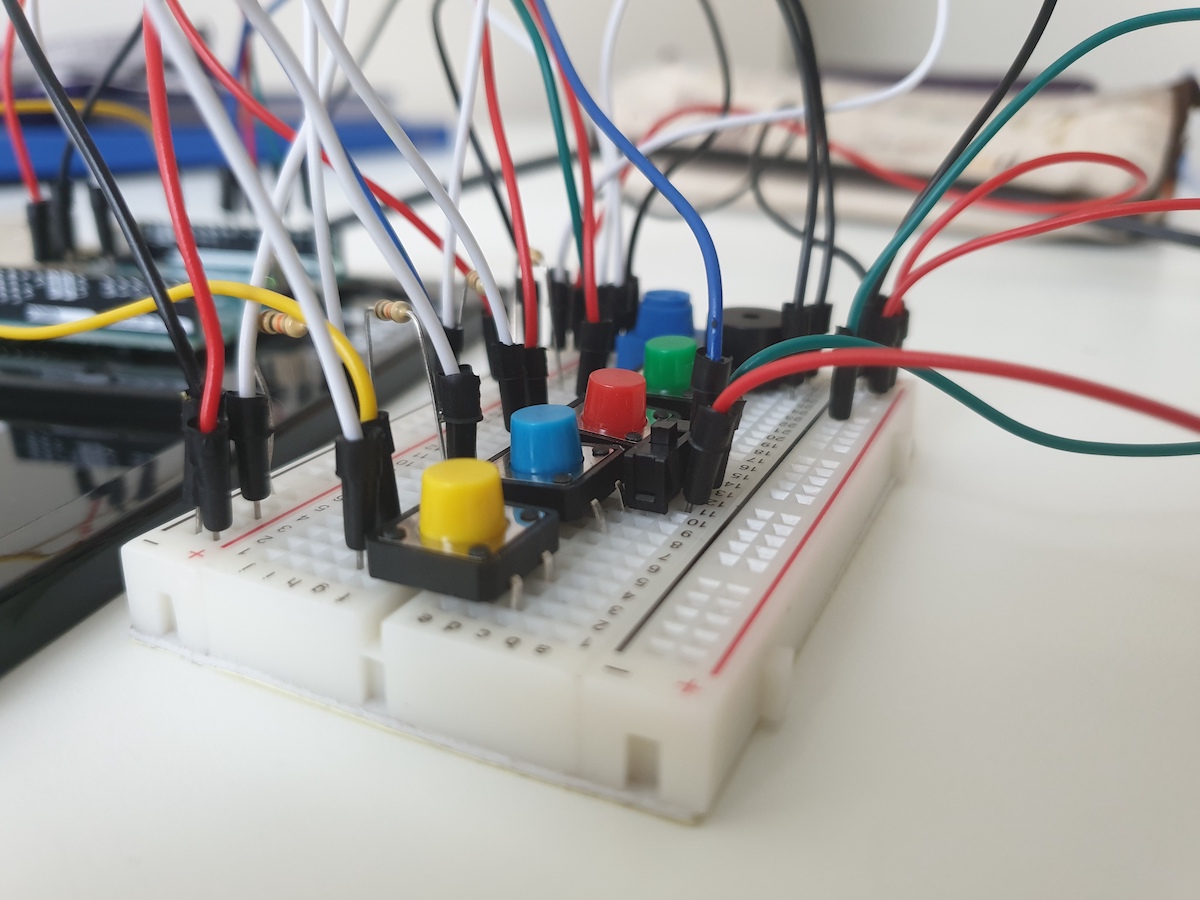
Process
For this project, first I started working with the physical Arduino. I connected all the buttons and the speaker. Then I started coding and attempted at creating and producing sounds through the speaker whenever a button was pressed. The speaker was making only two sounds and was making them continuously so I worked on solving this problem. I realized the problem was with the physical Arduino so I had to solve this problem first. Then I implemented the knob to play different parts of the piano. I stored the notes in a 2D array where there were 22 columns representing multiple parts of the piano and controlled by the knob, and 4 rows controlled each by a button. After this was working I tried to use a switch to power on or power off the piano. It worked and then I tried to use the recording part. This was accomplished by storing the notes played into a single array and then playing this array when the switch is changed to “off”.
#include "pitches.h"


const int buttonPin[4] = {13, 8, 7, 4};
bool prevButtonState[4] = {LOW, LOW, LOW, LOW};
const int tonePin = 2;
const int knobPin = A0;
int powerswitch = 9;
int button= 5;
int replay[100] = {};
int j = 1;
int prevbutton = 5;


long timer = 0;
int timerLength = 75;


//=======================================

int notes[22][4] = {{NOTE_B0, NOTE_C1, NOTE_CS1, NOTE_D1}, {NOTE_DS1, NOTE_E1, NOTE_F1, NOTE_FS1}, {NOTE_G1, NOTE_GS1, NOTE_A1, NOTE_AS1},
                    {NOTE_B1, NOTE_C2, NOTE_CS2, NOTE_D2}, {NOTE_DS2, NOTE_E2, NOTE_F2, NOTE_FS2}, {NOTE_G2, NOTE_GS2, NOTE_A2, NOTE_AS2},
                    {NOTE_B2, NOTE_C3, NOTE_CS3, NOTE_D3}, {NOTE_DS3, NOTE_E3, NOTE_F3, NOTE_FS3}, {NOTE_G3, NOTE_GS3, NOTE_A3, NOTE_AS3},
                    {NOTE_B3, NOTE_C4, NOTE_CS4, NOTE_D4}, {NOTE_DS4, NOTE_E4, NOTE_F4, NOTE_FS4}, {NOTE_G4, NOTE_GS4, NOTE_A4, NOTE_AS4},
                    {NOTE_B4, NOTE_C5, NOTE_CS5, NOTE_D5}, {NOTE_DS5, NOTE_E5, NOTE_F5, NOTE_FS5}, {NOTE_G5, NOTE_GS5, NOTE_A5, NOTE_AS5},
                    {NOTE_B5, NOTE_C6, NOTE_CS6, NOTE_D6}, {NOTE_DS6, NOTE_E6, NOTE_F6, NOTE_FS6}, {NOTE_G6, NOTE_GS6, NOTE_A6, NOTE_AS6},
                    {NOTE_B6, NOTE_C7, NOTE_CS7, NOTE_D7}, {NOTE_DS7, NOTE_E7, NOTE_F7, NOTE_FS7}, {NOTE_G7, NOTE_GS7, NOTE_A7, NOTE_AS7},
                    {NOTE_B7, NOTE_C8, NOTE_CS8, NOTE_D8}};


void setup(){
  for( int i = 0; i < 4; i++){
    pinMode(buttonPin[i], INPUT);
  }
  pinMode(tonePin, OUTPUT);
  pinMode(powerswitch, INPUT);
  Serial.begin(9600);
}


void loop(){
  bool buttonState[4];
  int knobValue = analogRead(knobPin);
  int mappedValue = map(knobValue, 0, 1023, 0 ,22);
  bool powerSwitchState = digitalRead(powerswitch);

  if(powerSwitchState == HIGH){
    delete replay;
    for(int i = 0; i < 4; i++){
    buttonState[i] = digitalRead(buttonPin[i]);
      if( buttonState[i] == HIGH && prevButtonState[i] == LOW){
        button = i;
        prevbutton = i;
        replay[j] = notes[mappedValue][button];
        prevButtonState[i] = buttonState[i];
        for (int a = 0; a < 4; a++){
          if(a == i){
            continue;
          }
          else{
            prevButtonState[a] = LOW;
          }
        }
        j++;
        break;
      }

      if(button < 5){
        tone(tonePin, notes[mappedValue][button], 300);

      }
      button = 5;
    }
  }
  //Serial.println("ENDENDEND");
  else if(powerSwitchState == LOW){
    for(int k= 1; k <= j; k++){
      delay(300);
      tone(tonePin, replay[k], 200);
    }
  }
  Serial.println(mappedValue);
}
Conclusion:
I had to spend a lot of time on this project and when I first started I did not have in mind the part of recording what is played. Overall I was very proud of the outcome of this project. I did not expect it to result in this. Specifically, the recording idea was the part that I liked the most. This project made me learn to always keep in mind the importance of the physical Arduino and always double-check if everything is connected well.
Great recording device Rock! Could be a good compositional tool. Nice job!