Control the Big Bang!

This week was an especially difficult one because I had a lot of deadlines and tasks and responsibilities that needed to be done within the short time period of a week and adding to that I was just finding it quite hard to get the inspiration to create a piece of art. But thankfully it finally dawned on me and I decided to pursue a rather cliche idea but give it a twist thanks to all that I have learned in the recent days about Processing.

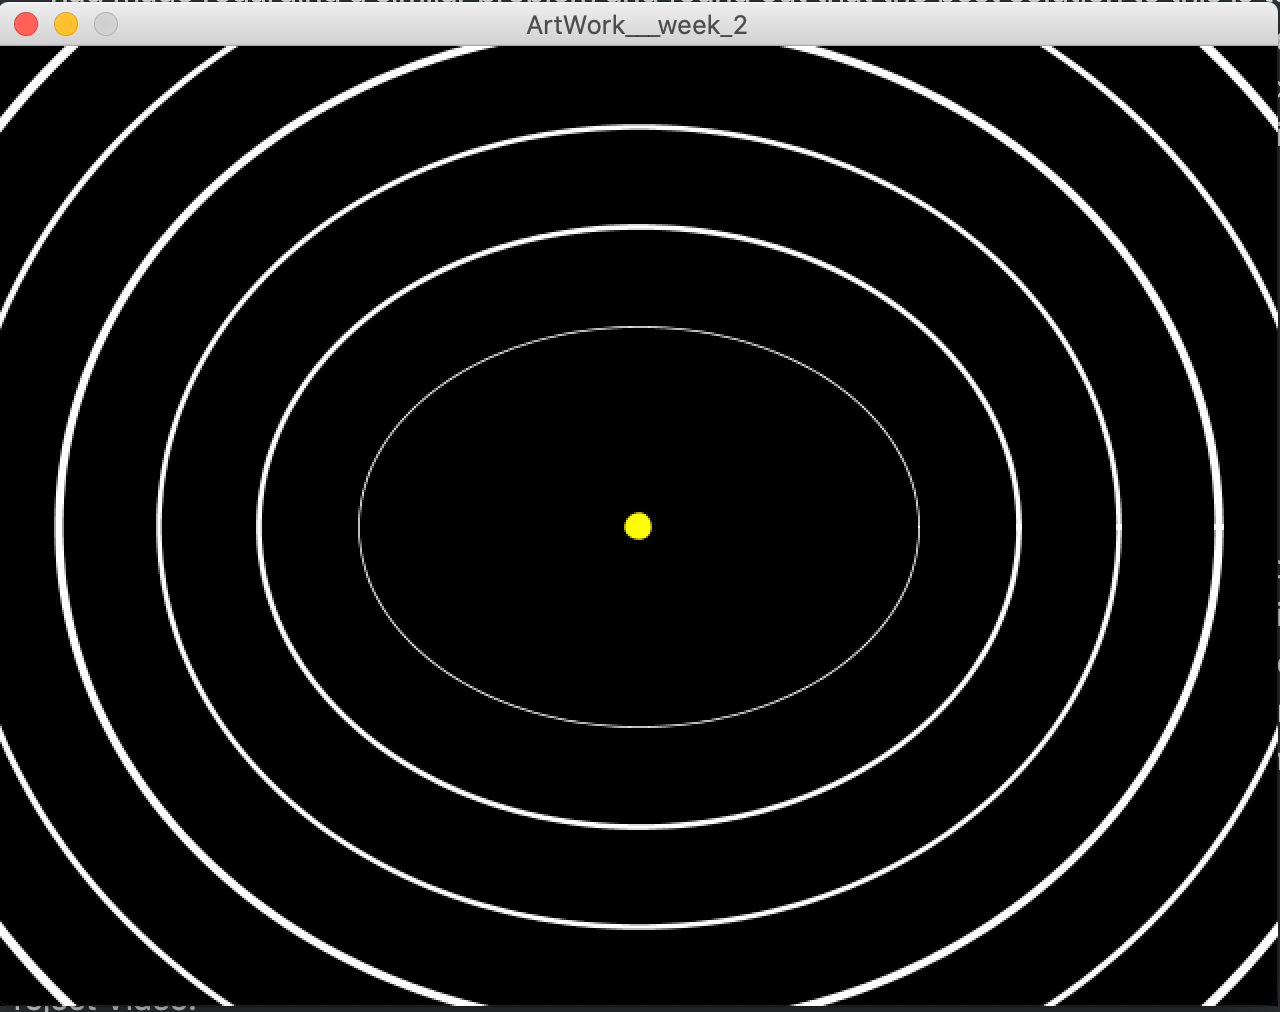
So I ended up creating my own idea of the big bang and created a star that can be controlled to be bigger or smaller and if it is bigger than a specific size, it erupts and ends up in an asteroid blast.

Difficulties:

  • As I mentioned before, I was really struggling to get an idea this week and tried coming up with multiple ideas to see what might work. However, none of them seem to really appeal to me but thankfully I decided to pursue the Big Bang Idea in the end.
  • The big challenge that I was facing apart from actually getting an idea to make something, was to get the asteroids to work. I had experimented with multiple different ways of trying to make them appear out of the screen but every time I tried a technique I would run into some kind of problems. Sometimes, the asteroids would not spawn properly, other times they would not move the way I wanted them to (appear out of a screen in a 3D sort of fashion) and basically would not give out the right sense of an asteroid blast that I had imagined.

Resolution:

  • In order to solve the asteroid problem, I decided to watch some videos that TheCodingTrain had made regarding a similar problem and found out that the best solution to this is to actually use the concept of classes. And so to implement that I made an asteroid class and added the functions, show and update to it. This allowed me to create multiple asteroids and then manipulate them in the way I wanted. Thus, the utilization of OOP helped me solve this problem.

Elements in the project

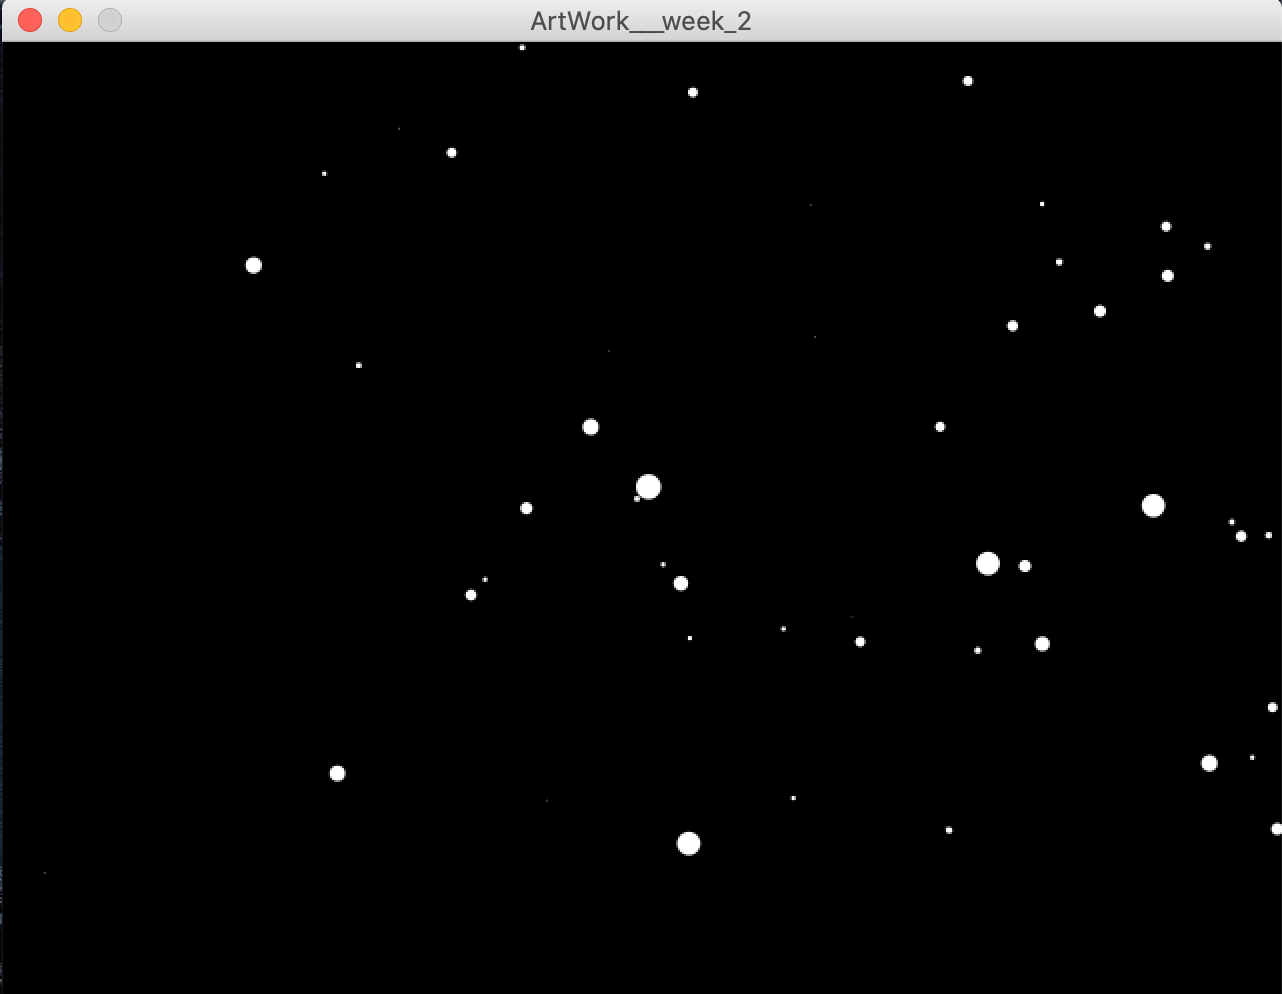
  • The project has two scenes – one of an exploding star and the other that of an asteroid blast. It revolves around the concept of a big star bursting so as to create an asteroid shower. The player can control the size of the star – making it bigger or smaller. Once the star reaches a certain limit of the size, going beyond that would cause it to explode and release an asteroid shower. At every point in the visual, the user can pause the animation and play it again and can also make it go faster or slower (done by altering the Frame Rate). During the asteroid shower, the user can control the speed by which the asteroids come using the mouse. Sliding it to the right will increase the speed whereas going to the left will decrease it.
Start Screen of a small star
Star getting bigger
Asteroid Shower

Concepts Learned:

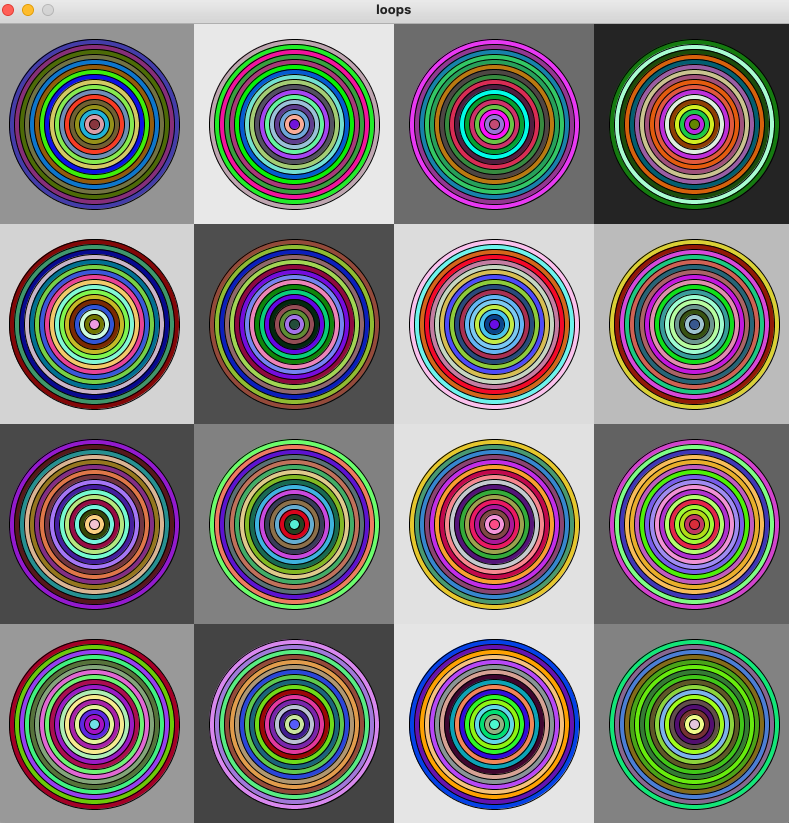
  • This project taught me how to better utilize the random and noise functions better along with obviously teaching me how to use loops to create art works. By using random and noise in this project, I sort of got this understanding that a noise is a more controlled expression of generating a random number between a specified range and the fact that its value is retained (or remembered) whereas in random I feel like the generation of random numbers is more uncontrolled and more dispersed if I were to say.
  • I learned to implement the concepts of OOP in processing.

Project Video:

I will be uploading a vlog about my experience with this project soon by tonight!

Project Code:

//this artwork is a depiction of a big bang and the asteroids that come after that
float speed = 0.01;   //for noise value of the star, determines the pace of the vibration like movement
float extent = 0.7;  //for noise value of the star, determines the limit to which size comes up and goes down
int StarSize = 10;   // variable star size that increases and decreases 

float StrokeSpeed = .01;  
float StrokeExtent = 0.7;
int StrokeSize = 5;     //for the throbbing effect of orbits

float noiseStrokeValue;    
float noiseStarValue;

color bg_color; 


float Asteroid_speed;    //to determine speed of asteroid


class Asteroid
{
  float Asteroid_x;
  float Asteroid_y;
  float Asteroid_d;


  Asteroid() 
  {
    Asteroid_x = random(-width, width);
    Asteroid_y = random(-height, height);
    Asteroid_d = random(width);  //helps create an illusion that it is a 3d space 
  }

  void update() {
    Asteroid_d -= Asteroid_speed;
    if (Asteroid_d < 1)
    {
      Asteroid_x = random(-width, width);
      Asteroid_y = random(-height, height);
      Asteroid_d = width;
    }
  } //allows for movement

  void show_Asteroid() {
    fill(255);
    noStroke();
    float sx = map(Asteroid_x/Asteroid_d, 0, 1, 0, width);
    float sy = map(Asteroid_y/Asteroid_d, 0, 1, 0, height); //taking a ratio and then increasing and decreasing it to make it look 3d
    float size = map(Asteroid_d, 0, width, 16, 0);
    ellipse(sx, sy, size, size);
  }  //shows random asteroids on screen
};

//Asteroid class to create asteroids and to update and show them on screen


Asteroid[] asteroids = new Asteroid[400]; // 400 Asteroids created
void setup() {
  size(640, 480);

  for (int i = 0; i<asteroids.length; i++)
  {
    asteroids[i] = new Asteroid();    // each element is made into an instance of the Asteroid class
  }
}

void draw() {

  background(bg_color);
  Asteroid_speed = map(mouseX, 0, width, 0, 20); //speed controlled by mouse Pointer
  if (StarSize < 510)  //first star gets bigger
    Big_Bang();
  else
    AfterMath();  //after a certain size it bursts and asteroids follow
}


void Big_Bang() {
  bg_color = color(0);
  noFill();
  translate(width/2, height/2);
  stroke(255);
  noFill();


  for (int s=2; s<8; s++)
  {

    strokeWeight(random(s));
    arc(0, 0, s*100+80, s*100, 0, TWO_PI);  //6 orbits created
  }

  noiseStrokeValue = noise(frameCount*StrokeSpeed);
  noiseStrokeValue += StrokeExtent;
  noiseStrokeValue *= StrokeSize;  //adding flashing effect to orbit
  
  noiseStarValue = noise(frameCount*speed);
  noiseStarValue += extent;
  noiseStarValue *= StarSize;  //adding movement to star


  stroke(255, 255, 0);
  fill(255, 255, 0);
  strokeWeight(noiseStrokeValue);
  circle(0, 0, noiseStarValue); //making star
}


void AfterMath()
{

  translate(width/2, height/2);
  for (int i = 0; i<asteroids.length; i++)
  {
    asteroids[i].update();
    asteroids[i].show_Asteroid();
  }
}


void keyPressed()
{
  if (key == 'a') //slow
  {
    
    frameRate(frameRate-20);
  }

  if (key == 'b') //pause
  {
    noLoop();
  }

  if (key == 'c') //play
  {
    loop();
  }
  
  if (key == 'k') //fast
  {
    
    frameRate(frameRate+20);
  }

  if (key == 'w') //increase_Star_size
  {
    StarSize += 50;
    print(StarSize);
  }

  if (key == 's') //decrease_Star_size
  {
    StarSize -= 50;
    print(StarSize);
  }
}

void keyReleased()
{
  frameRate(60);
}


Creating Art using Loops – Week 2

This week, we were supposed to create some form of art (although mine looks like art no one would see) through the use of loops learned in class. The more difficult part for me was to come up with an idea which I could then expand on. I ended up taking inspiration from “Random Squares” by Bill Kolomyjec, and played with it a little to draw circles instead of squares.

Initially, I created a grid by dividing the canvas into rows and columns. This was pretty simple.

Next, I used a nested for-loop which first went over all the rows in the grid, and for each row, it went over all the columns in that row.

For each cell in this grid, my main goal was to create circles with decreasing radius. Initially I wrote a lot of code to do this (which I then took a screenshot of to realize how dumb my approach was), but then I realized that it was very repetitive. I simply used another for loop for each cell, which could draw for me as many circles as I wanted. This resulted in the use of a triple nested for-loop (a for-loop in a for-loop in a for-loop), something I was very proud of.

The dumb approach (before I used loops to draw circles)

Finally, I decided to play with colours. This took a long time trying to get the right combination (and I was never able to find it). I ended up using random colors for each of the circles which would change every time the draw function was called. I also used random greyscale shades for the background of each cell. I created two versions of the final work, one where the circles were in greyscale and the other where I used RGB colors.


Trigger Warning: Bright Flashing Lights

Lastly, I have changed the frameRate for this program. After experimenting, I set it to 5 where it gives the best effect. Last week, I also promised to try my best to make my code as dynamic as I could, and so I did.

float rows;
float cols;
float sqwidth = 200;

void setup() {
  size(800, 800);
  frameRate(5);
}

void draw() {
  rows = height/sqwidth;
  cols = width/sqwidth;

  //going over each row
  for (int i = 0; i < rows; i++)
  {
    //going over each column
    for (int j = 0; j < cols; j++)
    {
      fill(random(0, 255));
      noStroke();
      rect(i*sqwidth, j*sqwidth, sqwidth, sqwidth);
      
      //making multiple circles in each cell of the grid
      for (int k = 30; k < 200; k+=10)
      {
         stroke(0);
         //fill(random(0, 255), random(0, 255), random(0, 255));
         fill(random(0,255));
         circle(i*sqwidth + sqwidth/2, j*sqwidth + sqwidth/2, sqwidth - k);
      }
    }
  }
  
  //random greyscale backgrounds to give a different effect
  if (frameCount % 10 == 0)
  {
    background(random(0, 255));
  }
}


Week 2: Life Under the Palm Trees

Inspiration:

I was sitting near the library when I looked out the window and saw palm trees. I associate them with this place, with summer, with happiness. I remembered how we decided to count them with my friend when we first arrived, and that there are exactly 36 palms. I liked the geometrical arrangement of palms, so I decided to use them as inspiration for my artwork.


Process:

I stylized the palms into swirling lines of varying heights using the random function and the for loop to arrange these strokes into a circle. To make them dynamic, I used the rotate function. In order to understand how they work, I watched this video-tutorial.

I divided the screen into identical rectangles, I used two for loops, placed the spinning palms and their trunks in the form of circles there.

It was necessary to do something with the background, and I wanted to add an interactive part. I watched this video to understand how it works. I decided to make a pattern using arc functions, which, if reduced, resembles a tile on the ground, and if increased, it looks like benches located under palm trees. The way the size changes seemed very symbolic to me, and that’s why I called this work “Life under the palm trees”.


Result:


Code:

//ART WORK

float arcSize = 80;
float yStep = 100;


void setup() {
  size(600, 600);
}

void draw() {
  
  background(224, 224, 224);

  mouseX = constrain(mouseX, 10, width);
  mouseY = constrain(mouseY, 10, height);

  yStep = mouseY;
  arcSize = mouseX;

  noFill();
  stroke(160, 160, 160);
  strokeWeight(5);

  for (int y=0; y<height; y+=yStep) {
    for (int x=0; x<width+arcSize; x+=arcSize) {
      arc(x, y, mouseX, mouseY, 0, TWO_PI);
    }
  }
  
 //grid 

  for (int i=-50; i<width+50; i+=100) {
    for (int j =-50; j<height+50; j+=100) {
      noStroke();
      rectMode(CENTER);
      rect(i, j, 100, 100);
      fill(153, 76, 0);
      ellipse(i, j, 20, 20);
      noFill();
      pushMatrix();
      translate(i, j);
      scale(0.25);

  //palms 

      stroke(76, 153, 0);
      for (int a=0; a<360; a+=1) {
        float x = random(30, 80);
        float y = random(80, 130);
        pushMatrix();
        rotate(radians(a));
        strokeCap(ROUND);
        strokeWeight(4);
        line(x, 0, y, 0);
        popMatrix();
      }
      popMatrix();
    }
  }
}


week 2 Using Loops

Inspiration and process

The second week project is related to loops. I decided to work with rectangles, but at first tried to make the pattern strictly ordered. At this particular moment I got an idea about the color to make each rectangle different to each other. 

Then I changed my mind and decided to play with haotic order of the objects drawing on this template from Computer_Graphics_and_Art_May1976

The final result you can watch in this video, the speed of rectangles is not so fast, so we can follow display order of the objects.

The final result is the second one. It can looks like messy as the colors are randomly in background, stroke and rectangles. That is way at first try I commented some part of the code to follow the behavior of the objects.

Code

The code seems to be very short and easy, but I spent a lot of time trying to come to the result I wanted. The one problem I faced is color. First I declared 3 global variables each as a random number and then used them in the background() function, fill() and stroke() in different order to get different combinations of color. This caused the problem that each rectangle was the same color as previous. The solution is to repeat colors inside the loop.

float r=random(0,200);
float g=random(0,200);
float b=random(0,200);

  void setup() {
  size(640, 480);
  background(g,b,r);
  frameRate(1.6);
  
}
  void draw() {
  for (int x = 0; x < width; x += 10) {
    
      float y=random(height);
    //rw is rectangle weight
      float rw=random(80);
      float r=random(8,200);
      float g=random(7,200);
      float b=random(9,200);
      stroke(b, r, g);
      fill(r,g,b);
      rect(x, y, rw, rw, 10);
    //noLoop(); 

    }}


I feel like this project is not really interactive, but after the video “ Casey Reas’ Eyeo talk on chance operations” I was really fascinated with random function and played more with varieties of colors.


kinda art [week 2]

For this assignment of the week, I had an inspiration to recreate Bob Ross’s paintings of the forest. So it’s a great mixture of tall creepy, out-of-nowhere trees and mesmerizing mountains drawn at the back with the reflection of this all being translated on the surface of the water.

Bob Ross style paintings by Kevin Brooks - Back to Bob! Had fun doing this painting again, 2 hours well spent 😊👍 | Facebook

Even though it’s not that tidy, I love how the shape of the tree is chaotic and saved from both up and down when you have no background set.


float rotate=0;
float r=0;
color forest= color(128,128,0);

void setup() {
  size(1020,640);
  colorMode(HSB,255);
  
}

void draw(){

  stroke(forest);
  
  for (float x=0; x<width; x+=1){
    point(x,height*noise(x/100, rotate));
  }
  //stroke(forest);
  //for (float x=0; x<width; x+=3){
  //  point(x,height*noise(x/200, rotate),50);
  //}
  //stroke(forest);
  //for (float x=0; x<width; x+=5){
  //  point(x,height*noise(x/300, rotate),10);
  //}
  
  rotate+=0.01;
}


but once you put the background to any color, it doesnt save the previous drawings of that line, which is not smth i’m looking for.

next thing i wanted to draw a river by the forest, for that i drew line instead of points and gave stroke color with 4 arguments in it, 4th one being the alpha that gives the transparance from 0 to 255.

when you have no background line of water overwrites itself and covers the previous forest lines, so it’s a clash of two.

However, when I tried to add the background it reminded me of the waves by the seashore, so lovely, soothing, and relaxing.

IMG_3625 

That’s when I decided to go with this idea of imitating sea waves on a sunny day.

float rotate=0;
float r=0;
color forest= color(128,128,0);
color water= color(100,149,237);
void setup() {
  size(1020,640);
  
  
}

void draw(){
  
  background(255,238,161); 
 

  for (float x=0; x<width; x+=1){ 
    stroke(255);
    line(x,height/2+150*noise(x/500, rotate), x, height);
  } //layer1 of wave
  for (float x=0; x<width; x+=1){  
    stroke(water);
    line(x,height/2+200*noise(x/500, rotate), x, height);
  }//layer2 of wave
 
  
  rotate+=0.01;
}


Week 2 sufferings

Inspiration that is way out of my league

I am fascinated by the fact that these organic snake is actually a code and not a hand drawn artwork. Overall, the idea of making or attempting to make organic shapes from loops sounds very appealing to me!

I was doing my ellipse loop with the help of “for” function from Processing.org site. I was trying to figure out what each thingy in a bracket meant and manipulated them accordingly. I managed to get a very beautiful loop of circles all the way down to the screen and wanted to make them turn so its similar to a snake. So, I decided to try rotate function. I added it to the code and the image below happened.

I lowkey considered leaving it like this, because it looked pretty :D, but then reality hit me and I had to do some other stuff.

And after these painful screenshots of doing everything and at the same time nothing:

Aruzhan Temirgaliyeva Week 2 Intro to IM  –  press here to see the painful three screenshots I managed to make while suffering on this awful abomination that I cant even call a code. No, this is on the same level as omg why do I have such a poor time management

I came to this final product:

  1. I decided to create a clock since I couldn’t figure out how to make an angular transition of a loop to resemble that  snakes movement and bending;
  2. I created 4 lines of ellipse loops using “for” and “noise” function;
  3. I played around with coordinates to make them align properly;
  4. I found Youtube video on how rotation and angles were made and decided to try it, since there still was a lot of hope I had for making a snaky bending thingy (foolish me);
  5. I tried the code, however couldn’t incorporate it with ellipses and make two separate loops connect.
  6. So I just lost hours understanding that the coordination system is like a paper. How, when you translate you change the coordinates not of the shape but of the grid and the paper itself. How popMatrix saves the coordinates and push returns them to their original state and so on.
  7. Then I just added as far as I could understand the lines and another ellipse to the center of the clock in order to finish of the whole image.
  8. And using lerpColour added gradient between 2 colours so it looked pretty!
//the coordination system is like a piece of paper
//VELOCITY = change in position over time
// ACCELERATION = change in velocity over time
// angle is an angular position, not a vector, single number
float b = 0;
float s = 0;
float a = 0.0; // a is some angle
float aVelocity = 0.0; // angular velocity's some amount
float aAcceleration = 1;
int fromC;
int toC;
int interA;
int interB;

void setup() {
  size(1100, 700);
} 

void draw() {
  background(255);
  stroke(1);
  fromC = color(255,200,200);
  toC = color(230, 0, 0);
  interA = lerpColor(fromC, toC, 0.33);
  interB = lerpColor(fromC, toC, 0.66);

  //ellipse width down
  for (int i=0; i<width; i+=1) {
    s = s + 1;
    float x = noise(s);
    x = map(x, 0, 1, 0, 1100);
    fill(fromC);
    ellipse (x, 600, 50, 50);
  }
  //ellipse height right
  for (int i=0; i<width; i+=1) {
    b = b + 1;
    float x = noise(b);
    x = map(x, 0, 1, 0, -685);
    rotate(PI/2);
    fill(fromC);
    ellipse (x, 1000, 50, 50);
  }
  //ellipse height left
  for (int i=0; i<width; i+=1) {
    b = b + 1;
    float x = noise(b);
    x = map(x, 0, 1, 0, -685);
    rotate(PI/2);
    fill(interA);
    ellipse (x, 50, 50, 50);
  }

  //ellipse width up
  for (int i=0; i<width; i+=1) {
    s = s + 1;
    float x = noise(s);
    x = map(x, 0, 1, 0, 1100);
    fill(interB);
    ellipse (x, 50, 50, 50);
  }
  //god bless the coding train guys
  aAcceleration = map(mouseX, -0, width, -0.001, 0.001);
  a+= aVelocity; //velocity changes its position
  aVelocity += aAcceleration; // velocity changes acceleration
  translate(500, 350);
  rotate (a);
  line(0, 0, 100, 200);
  translate(100, 100);
  fill(toC);
  ellipse(-100, -100, 100, 100);
}
Conclusions and lessons to be drawn:
  • If you think you can do it, you cant;
  • If you have a couple hours to do a week’s work, shame on you and no chocolate for you, life is bitter when you have poor time management;
  • Computer rooms are cold;
  • God bless guys from YouTube channel “The Coding Train” and professing.org;
  • My work fits the meme about”Expectations VS. Reality” :’)
Reference list:
  • https://py.processing.org/reference/lerpColor.html
  • https://www.youtube.com/watch?v=8ZEMLCnn8v0&list=PLRqwX-V7Uu6bgPNQAdxQZpJuJCjeOr7VD&index=8
  • https://www.youtube.com/watch?v=YcdldZ1E9gU&list=PLRqwX-V7Uu6bgPNQAdxQZpJuJCjeOr7VD&index=2
  • https://www.youtube.com/watch?v=qMq-zd6hguc