Concept
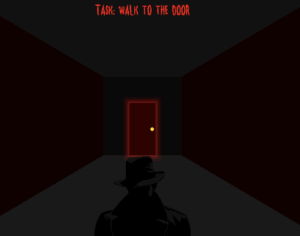
An Unusual Case is a horror mystery game, inspired by escape rooms, where there are scattered clues around the game in each room, and the user will have to identify them to move on to the next room and solve the mystery. Else, they are forever trapped in the room. The concept aims for the user to both have an engaging and entertaining experience while thinking through the clues and pushing them to think outside the box. Focusing on the player’s problem-solving and creative skills. Clues never give away the answer directly, rather they push the player to apply critical thinking and pattern recognition.
To make the game even more engaging, the themes of the game visual design are darkness and the melancholy which tie in well with the color palette consisting of deep shadows and muted tones. The mood is further curated by the sound effects that go from very quiet background noises to loud and sudden jumpscares, a mix that is intentional to keep players on edge and engaged. This horror aspect is not just for the sake of enticing fear but also to pull the players into the emotional tension of the situation, thus making every choice and revelation feel more powerful. In the end, An Unusual Case has the ambition to be a combination of mental challenge, appealing story, and spooky atmosphere, giving players a very deep and engaging experience.
Code Snippet
draw() {
    // Perspective scaling for hallway
    let scaleFactor = 200 / wallDist;
    let w = wallSize * scaleFactor;
    let h = wallSize * scaleFactor;

    let cx = width / 2;
    let cy = height / 2;
    let left = cx - w / 2, right = cx + w / 2, top = cy - h / 2, bottom = cy + h / 2;

    // Draw hallway walls
    fill(20, 0, 0); noStroke();
    quad(0, 0, left, top, left, bottom, 0, height);
    quad(width, 0, right, top, right, bottom, width, height);

    // Fog effect
    this.fogAlpha = 40 + 20 * sin(millis() * 0.005);
    fill(0, 0, 0, this.fogAlpha);
    rect(width / 2, height / 2, width, height);

    // Door setup and glow animation
    let doorWfull = w / 3, doorH = h / 1.5;
    let doorX = cx, doorY = bottom - doorH / 2;
    doorBounds = { x: doorX, y: doorY, w: doorWfull, h: doorH };

    if (!doorOpen) {
        let elapsed = millis() - this.lastGlow;
        if (elapsed < 3000) this.glowAlpha = 60 + 40 * sin((elapsed / 3000) * TWO_PI);
        for (let i = 1; i <= 3; i++) {
            fill(255, 0, 0, this.glowAlpha / (i * 1.5));
            rect(doorX, doorY, doorWfull + i * 12, doorH + i * 12, 8);
        }
    }

    // Door animation and jumpscare trigger
    if (doorAnim > 0.01 && !this.jumpscareTriggered && doorAnim > 0.4) this.triggerJumpscare();

    // Player movement and sound
    let moved = false;
    if (moveForward) { wallDist = max(50, wallDist - 2); moved = true; }
    if (moveBackward) { wallDist = min(800, wallDist + 2); moved = true; }
    if (moved && !footsteps.isPlaying()) footsteps.loop();
    else if (!moved) footsteps.stop();
}
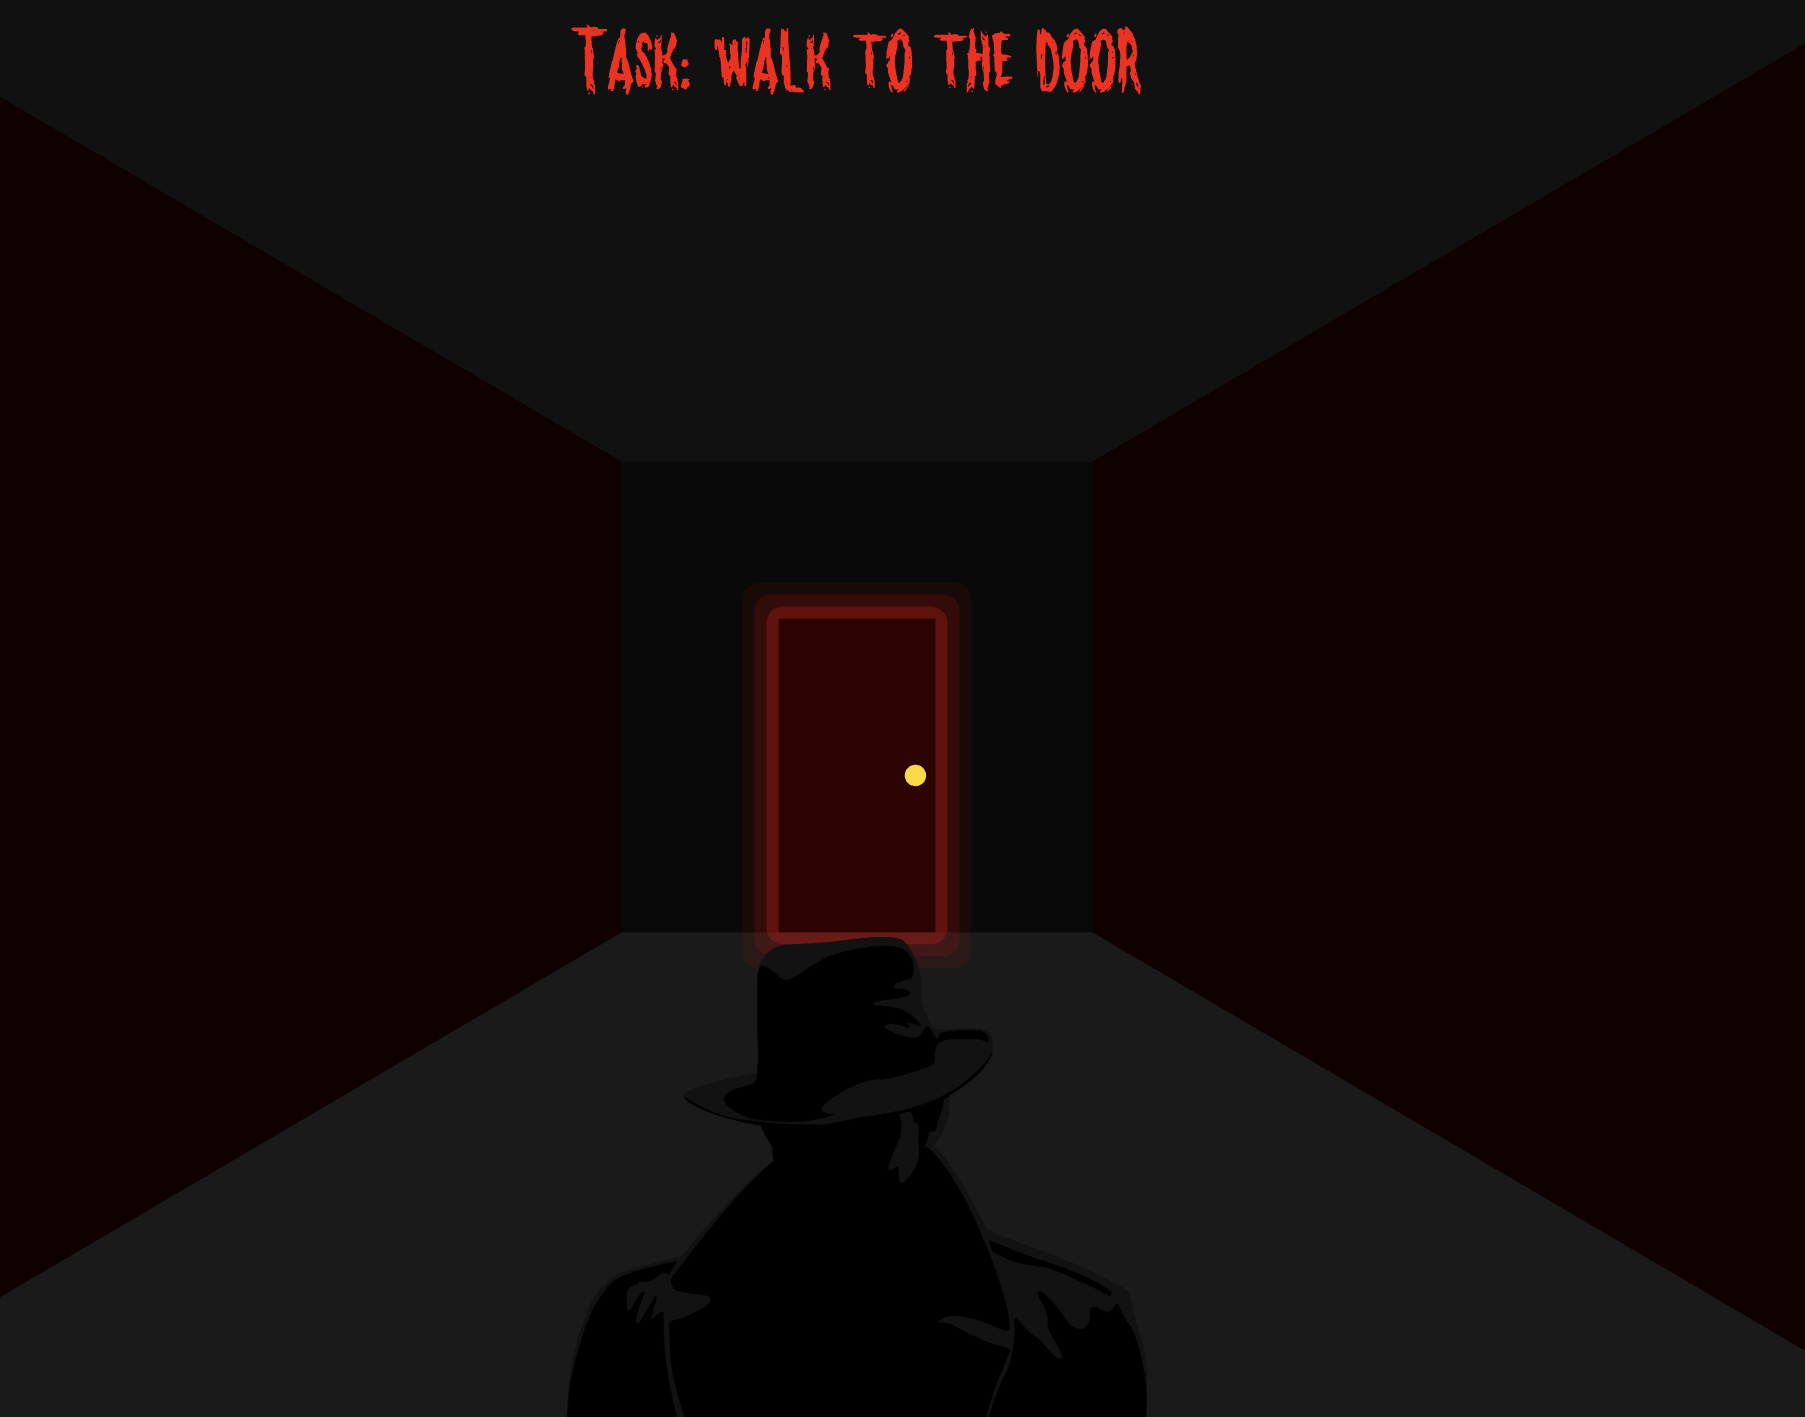
The Hallway.draw() function is something I am exceptionally proud of because it is the technical core of the game, where several systems meet to provide an engaging player experience. This function takes care of complicated animations like wall scaling to make the scene appear deeper, glowing door effects to attract the player, and fog shading for ambiance. It combines player movement, door collision detection, footsteps and door interaction sound effects, and even a jumpscare mechanism, all with smooth transitions and low latency bringing together the essence of the game. It’s the moment when the player moves from curiosity to fear, which characterizes the game, and a quality that really binds An Unusual Case together. I’d say I spent a lot of time on it because it is the first scene and first impressions matter so I wanted a hallway that communicated the message of the game well through both aesthetic and functionality.
Embedded Sketch
Game Design
The game is designed in such a way that the main elements are separated into classes where the game and the environment are organized at the same time. The Hallway class is the one in charge of rendering a perspective corridor for the main exploration area and controlling the movements of the players. Animations of the doors, glowing effects, jumpscare triggers, and other events are all part of the Hallway class’s responsibilities.
The wordGame class is a puzzle where the player needs to unscramble the letters to form the correct words in order to move ahead. This class is responsible for selecting the words to be scrambled, performing the scrambling, validating the input, displaying the result, and transitioning the player to the next room based on the success or failure of the player. Another module, FindObject, creates an interactive mechanic of search in darkness where the player using the flashlight effect looks for the hidden key, making the experience more fun and engaging. It uses the clipping effect of the flashlight, placement of the object, and cues for interaction.
The officeReveal class works up to a narrative turning point by presenting a final interaction between the player and a document that reveals the mystery’s resolution. It is responsible for various scene elements, such as rendering, glowing highlights, paper enlargement, and reveal transitions where the player has the option to restart. Last but not least, the Character class is in charge of the rendering, scaling, and positioning of the player’s avatar to ensure there is no visual discontinuity among the scenes.
Reflection
The process of organizing the code and making sure that all classes worked together perfectly was difficult but it also proved to be a great learning experience. The communication between the hallway, rooms, mini-games, and animations was difficult and took up a lot of time, especially when trying to keep transitions smooth and the functions consistent. This experience brought to my attention how we can integrate a lot of the techniques we learnt through readings into our work such as signifiers as I learnt through user testing where more visual assistance was needed in certain places. I see the potential in this project for future expansion, more levels, different types of challenges, and even improving the current ones, enriching the game and making it more captivating. I had such a great time creating this interactive experience and it has piqued my interest to keep working on it even after the class is over, through experimenting with the features, improving the design and making it a more complete and engaging mystery game.