Final Project: Completion & Presentation

After over two weeks of drawing, coding, testing, and fighting bugs, I finally finished my game Haluhalo!! I’m really proud of what I’ve achieved.

Project Description

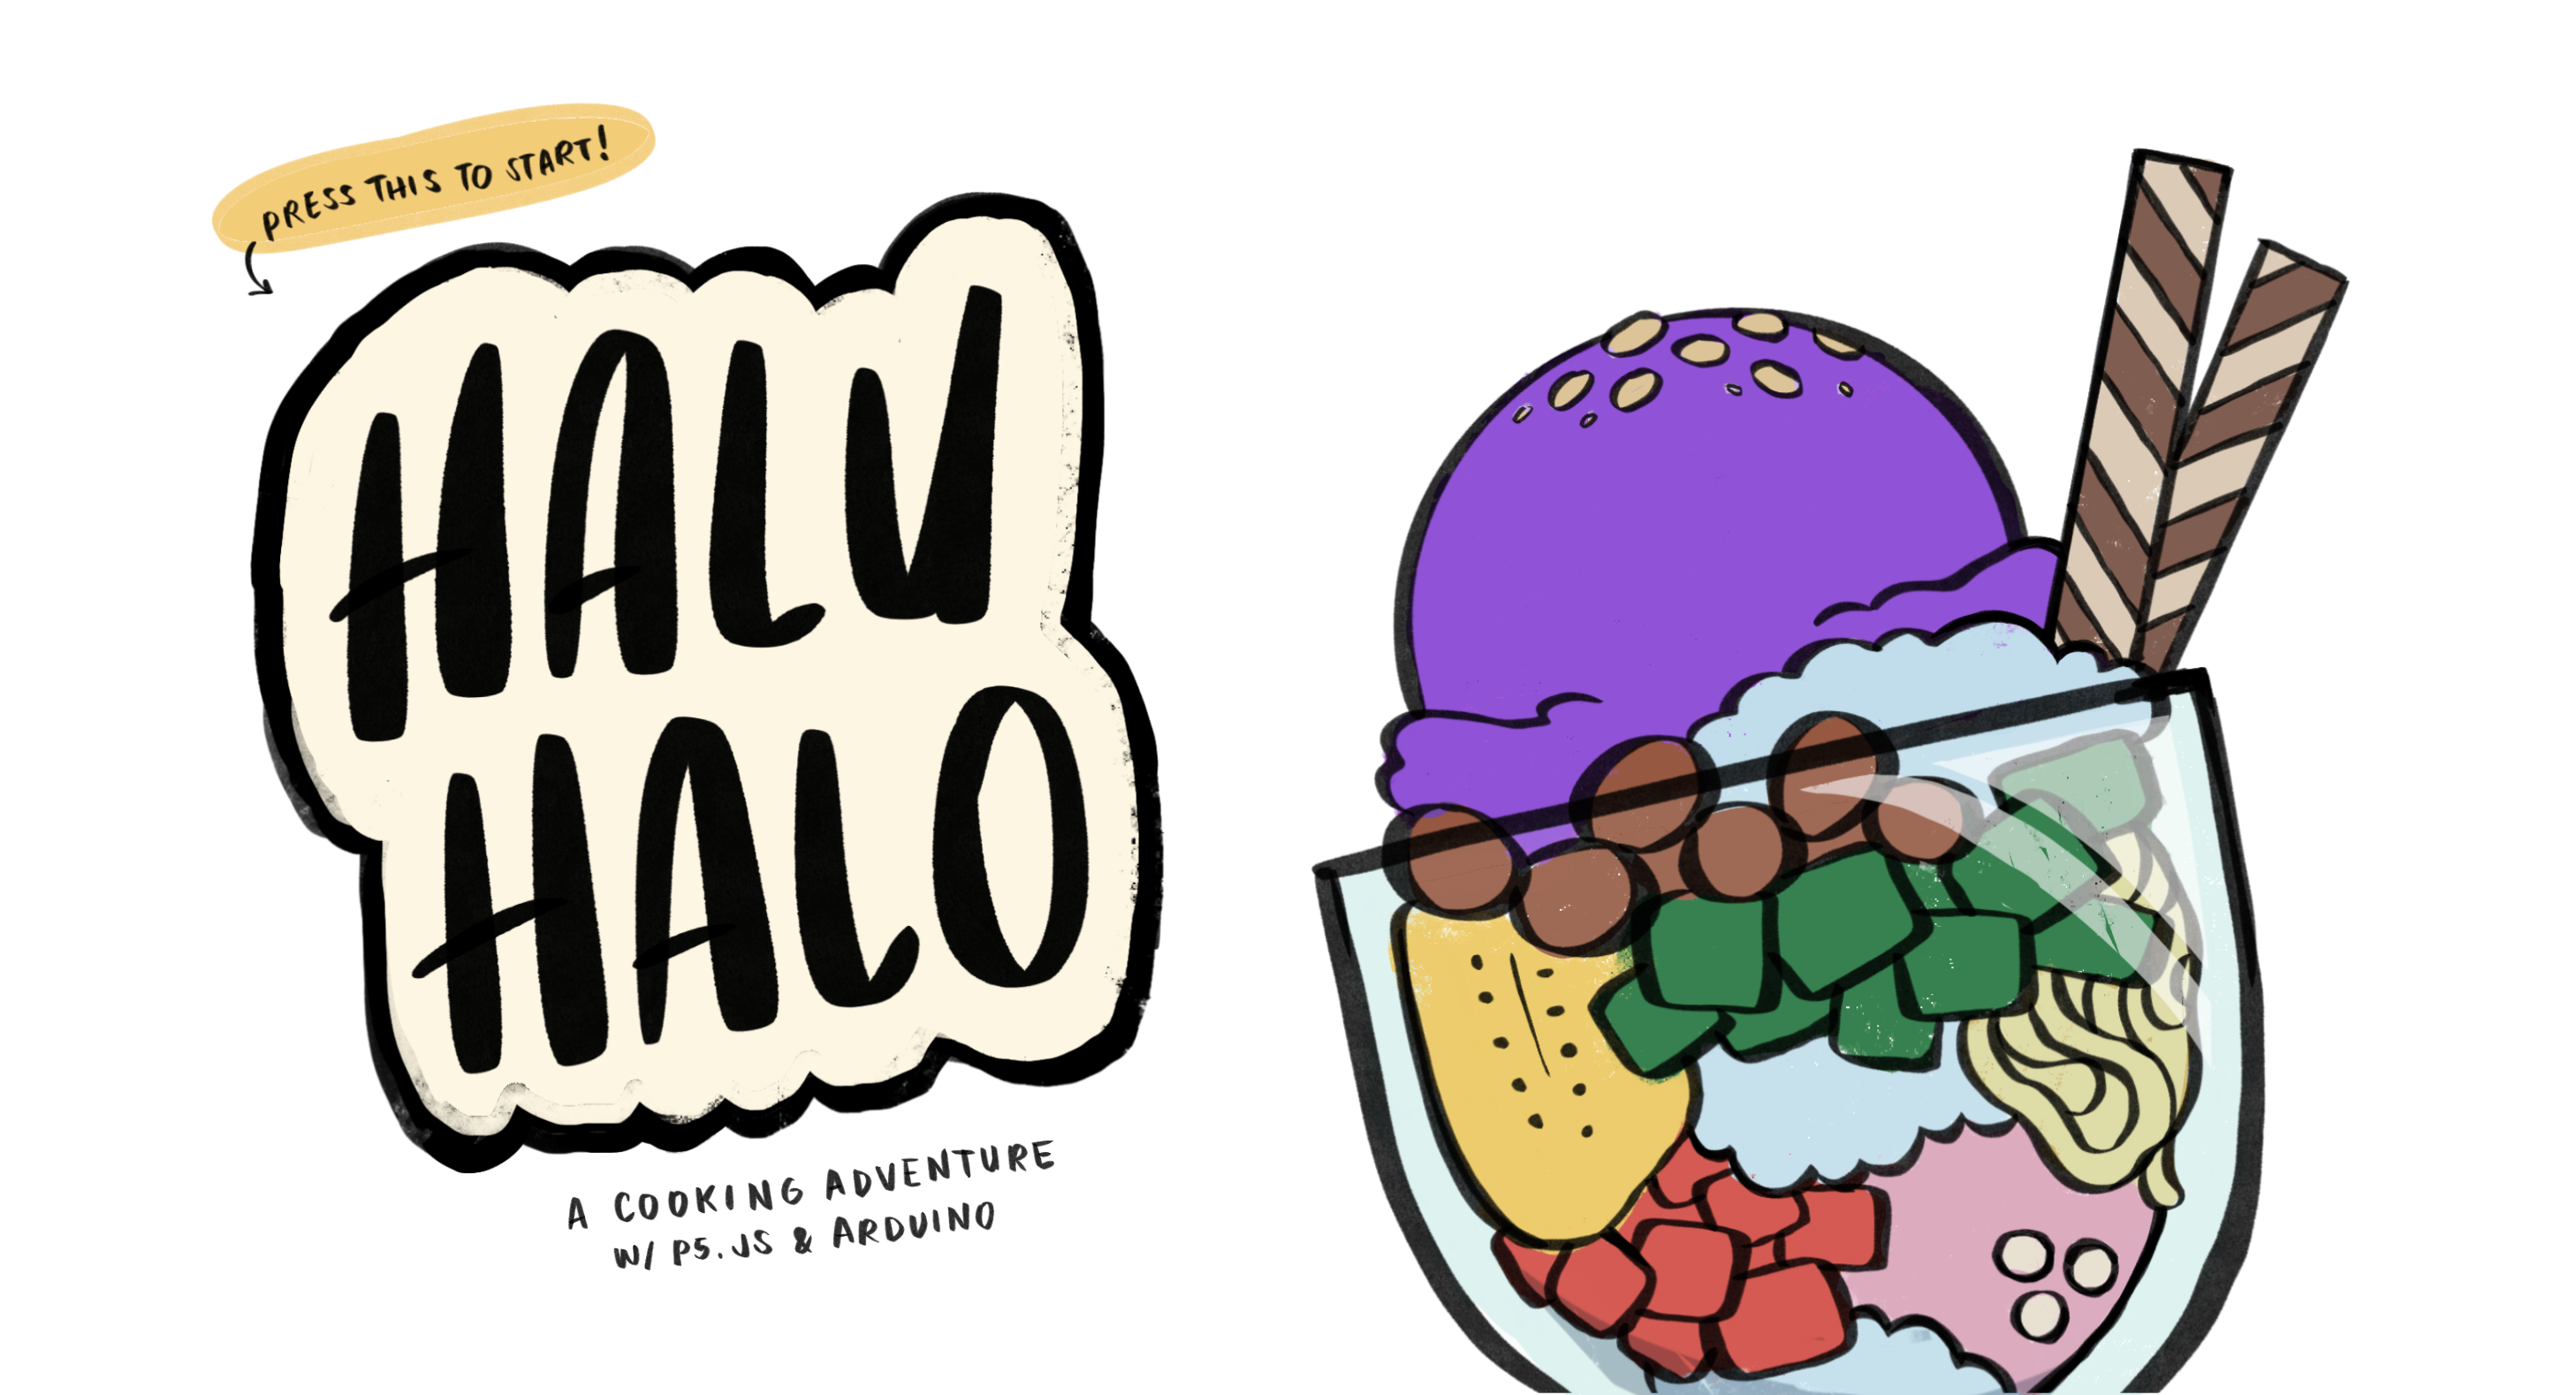
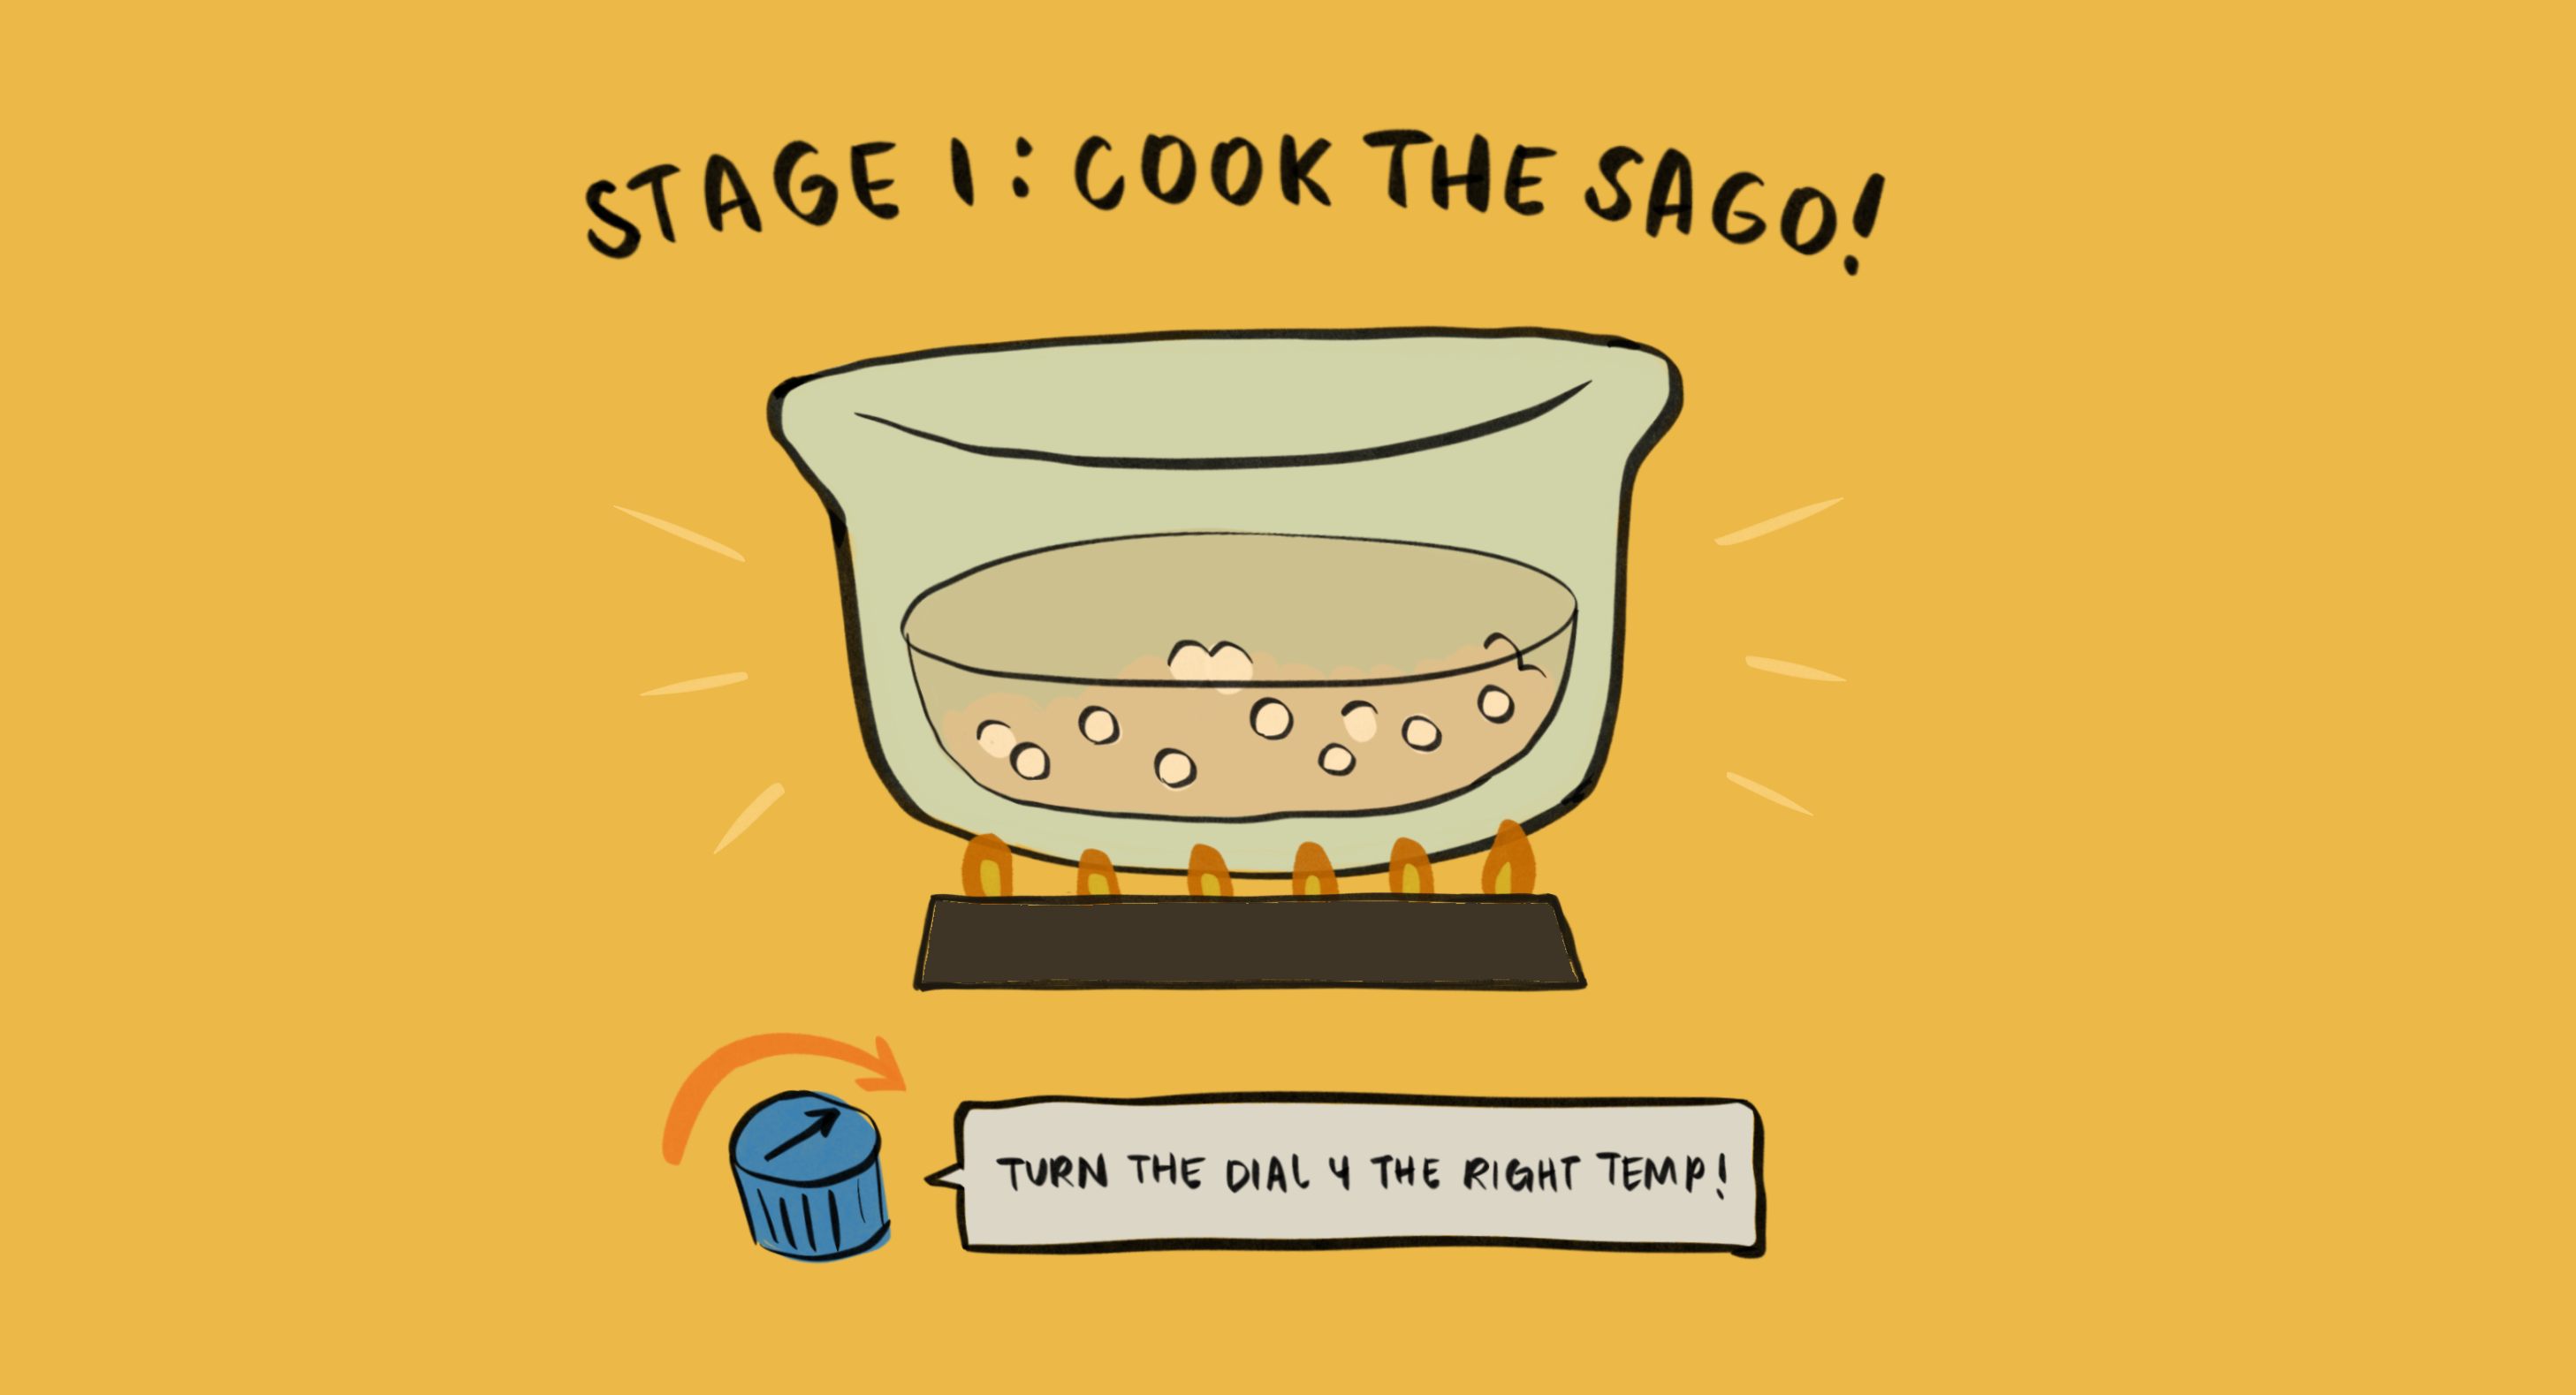
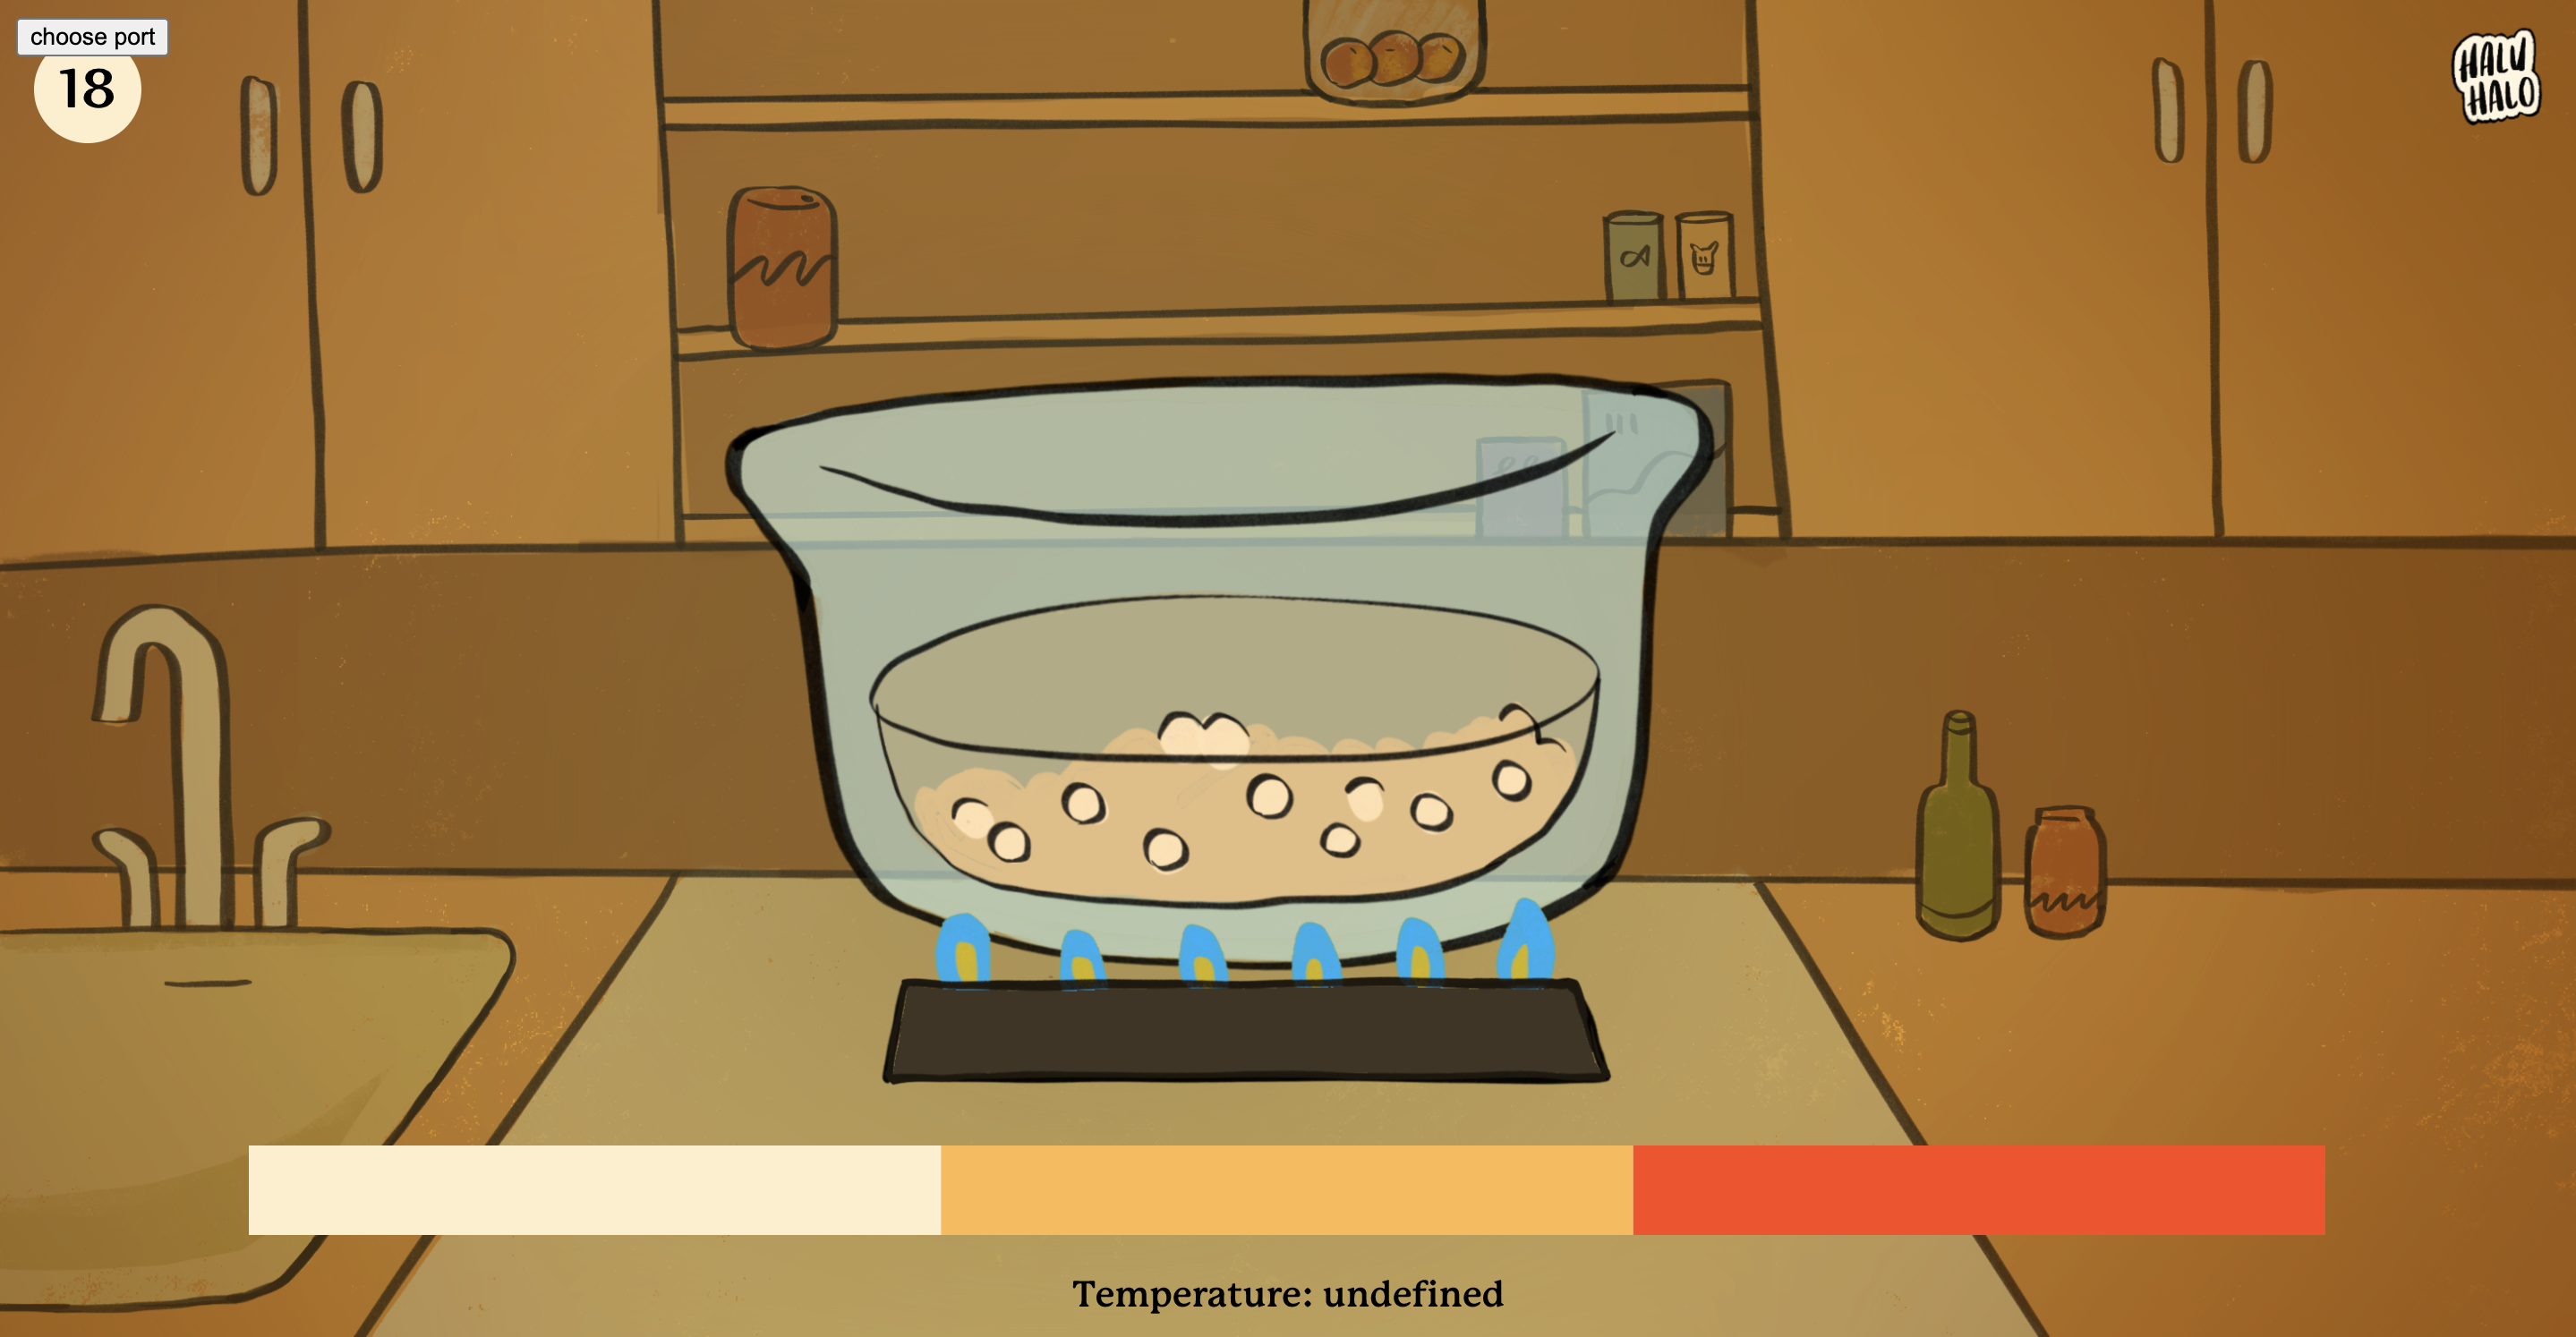
In Haluhalo, you get to make haluhalo: one of my favorite classic Filipino desserts. This sweet, cold treat is made up of of all sorts of ingredients: beans, coconut jelly, fruit jellies, tapioca pearls (sago), fruits, and preserves that are mixed with crushed ice, milk, and simple syrup and topped off with ube ice cream and chocolate wafer sticks. You play by in three stages: cooking the tapioca pearls by manipulating the temperature with a potentiometer, catching the many ingredients with Posenet tracking, and blending up the milk and ice mixture with a button.

Coding

There were two challenging parts of the process. The first was debugging, which is always a bit frustrating, and the second was refactoring and restructuring the code so that it was less prone to breaking and easier to edit. This was particularly important because the code uses webserial and p5.js, as well as snippets from my previous projects, so it ended up being 800+ lines long before I started paring it down.

Below is a snippet of me using gamestates and outcomes to move between functions.

//success  
if (outcome=="win") {
    //success
    image(success, 0, 0, w, h);
    if (mouseIsPressed && mouseX>w/2 && mouseY>h/4 && mouseY<h-200) {
      gameState=3;
      outcome = "none";
      tutorial=true;
    }
  }
  
  //failure
  if (outcome=="lose") {
    //failure, try again
    image(time, 0, 0, w, h);
    if (mouseIsPressed && mouseX>w/2 && mouseY>h/4 && mouseY<h-200) {

      //reset displayIng
      displayIng = [ban2, coco2, ice2, redg2, stick2, greeng2, nata2, ube2];
      ings = [];
      gameState=2;
      outcome = "none";
      tutorial=true;
    }
  }

During this project, I had a long, annoying hurdle with sound and music and another separate issue with the tutorial screens that ended up being solved by a simple if else loop and a function. Sometimes, complex problems really have simple solutions.

Working on the code for this project reminded me that coding isn’t about typing up everything as quickly as possible. In fact, that method takes way more time than planning ahead. It’s better to think carefully about your structure before implementing so you can maximize the use of variables, functions, and classes rather than hardcoding what you need.

Design and Illustration

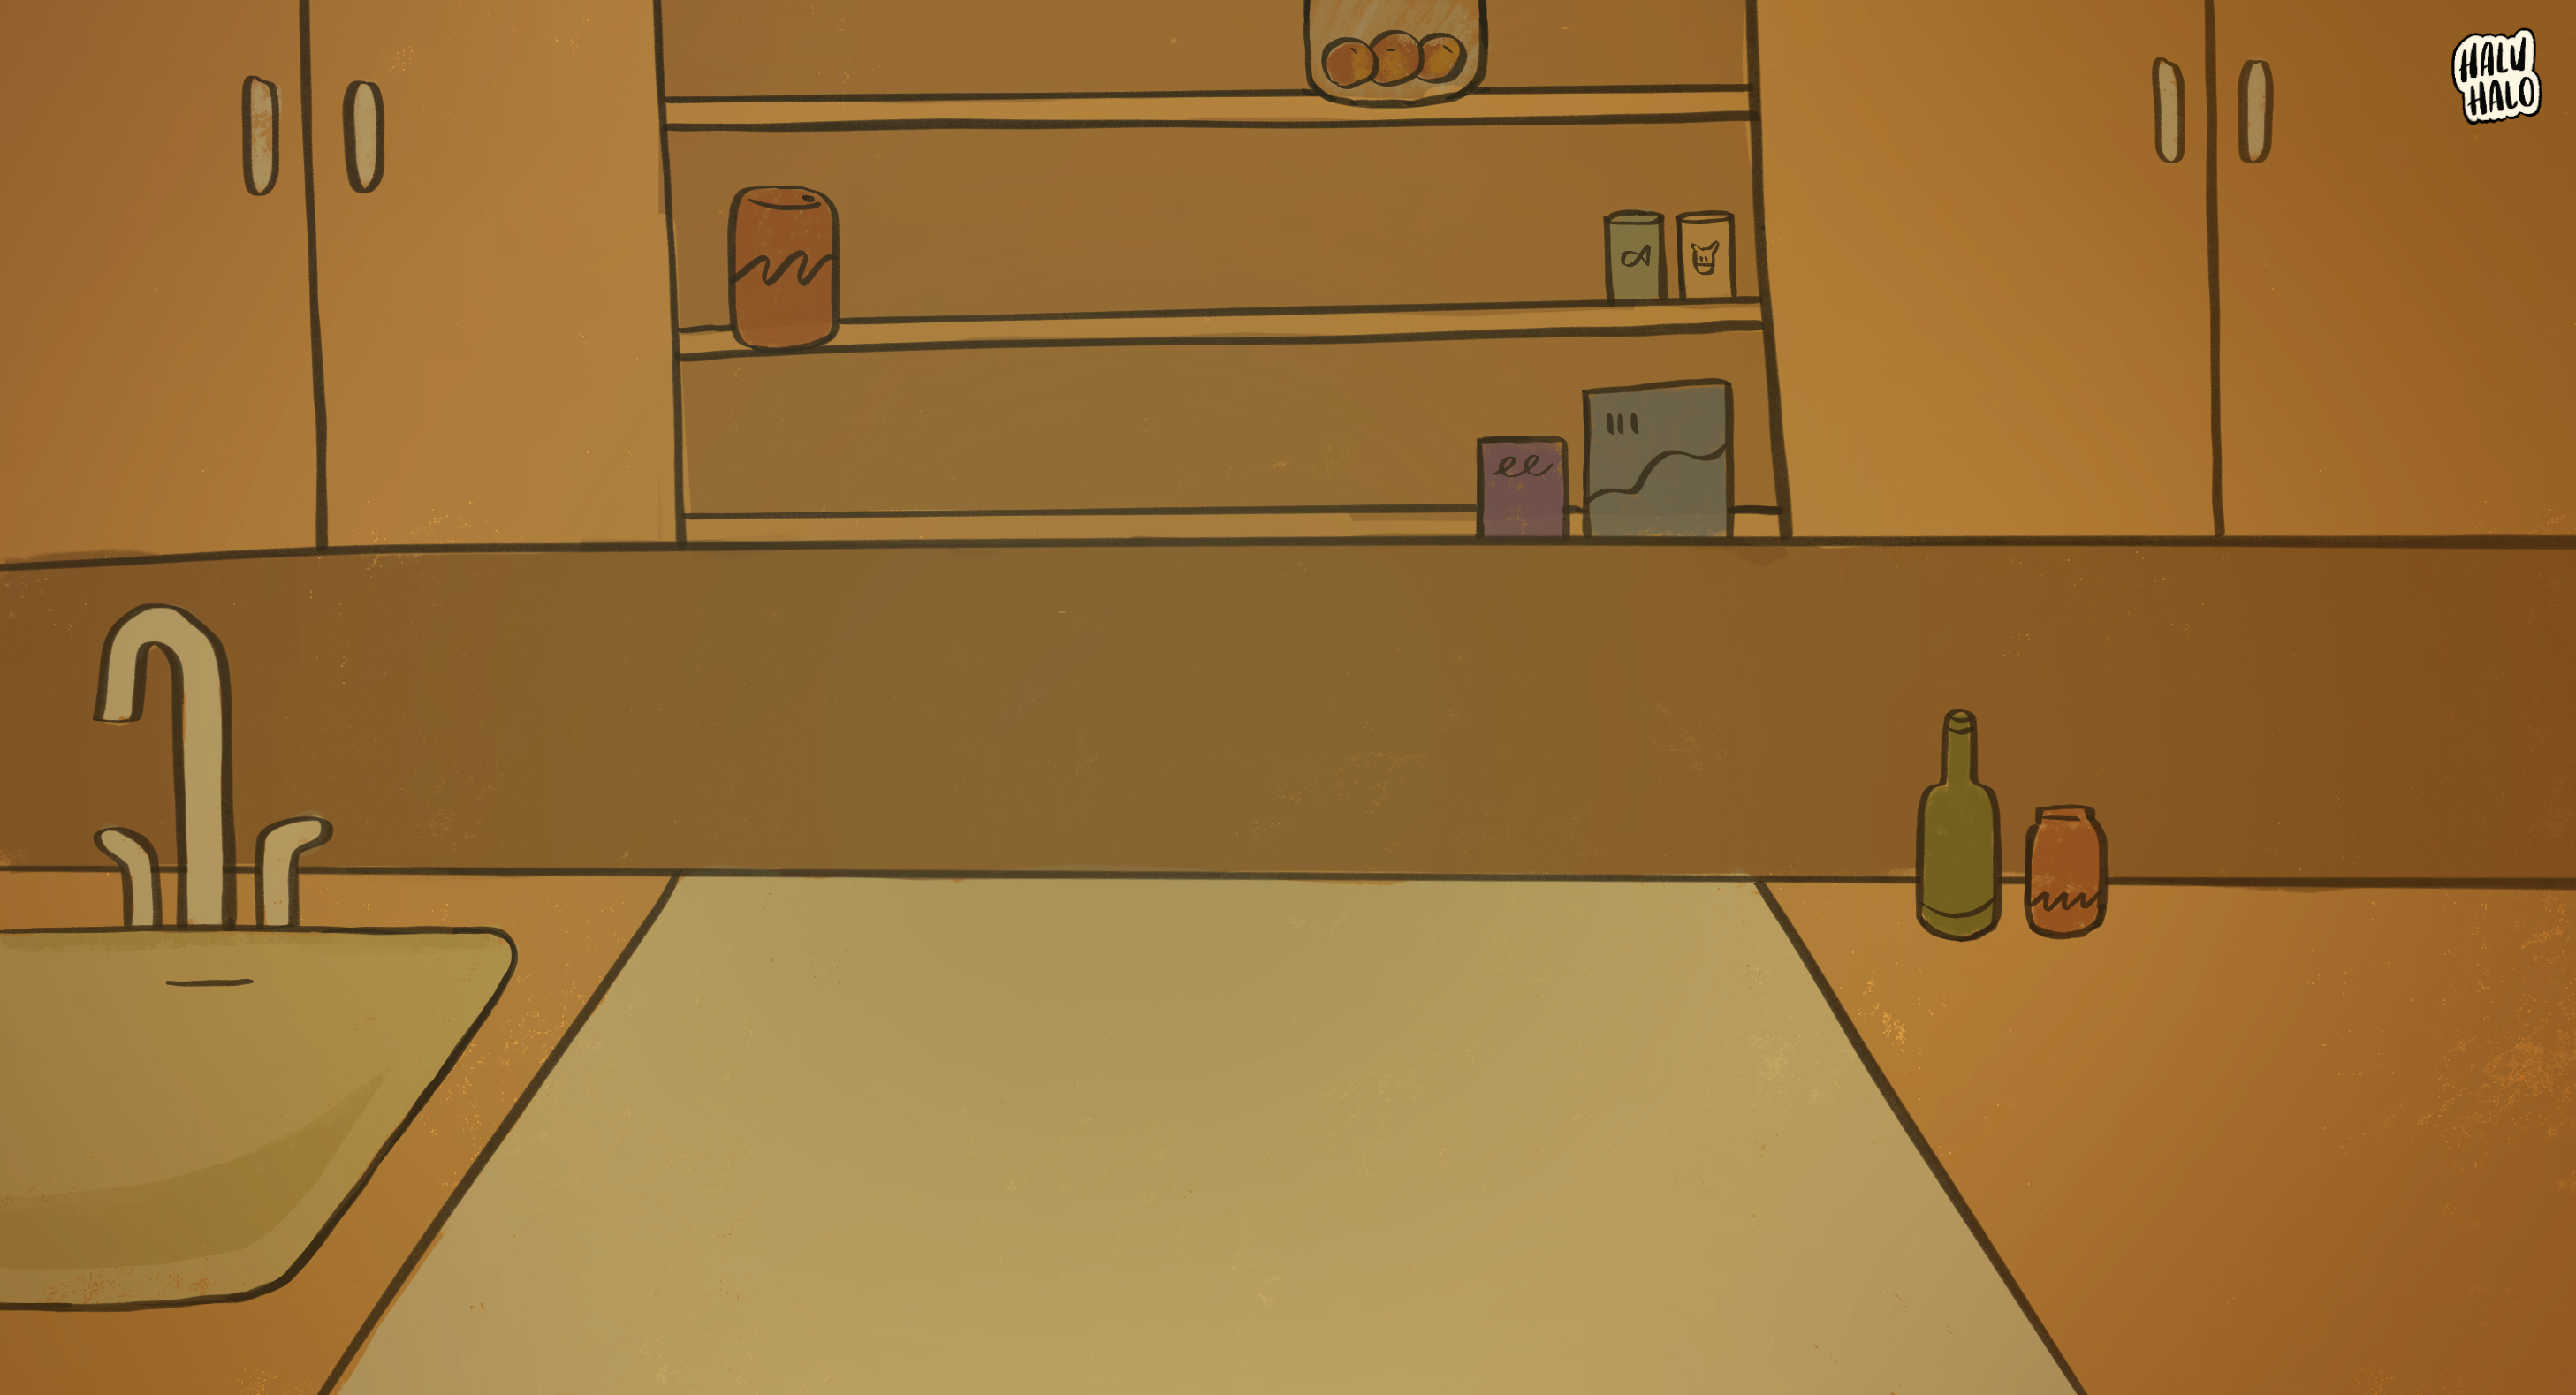
My favorite part of this project was making the designs and illustrations I made for the game. I worked hard to make them distinct, organic, and really cohesive rather than the usual stuff that we end up importing and drawing with p5.js. It took a lot more time than normally just importing images, but I think that it’s worth it.

I’ve already shown a lot of images of the designs, so here’s just one last picture of me playing + a video of the final demo! I’m really happy with this screen in particular because the sidebar on the right serves a triple purpose: it shortens the otherwise ultrastretched screen, introduces the haluhalo ingredients, and teaches the user that they have to get all eight ingredients before they can proceed. No tutorial instructions needed!

No description available.

Video Demo

Sketch Link

https://editor.p5js.org/paulinekowee/sketches/cFHpjwPWd

Reflections

When I came into this class, I really wanted to focus on making games and experiences that were user-friendly, fun, and distinctly playful. Since I have some background in CS, I actually wanted to take a break from a lot of heavy coding, and instead try to play more with design and UI, which I think I succeeded with through this final project.

I ended up not adding more of the flairs and add-ons I envisioned, which was a great decision. Originally, I tried out using servos to move around a haluhalo cup, some soldered strings of lights, and a piezo buzzer, but realized that they would just distract from the overall experience, so I took them out. I also cut out unnecessary filler scenes to cut the game down to a 1-2 minute experience. With the extra time, I was able to refine the user experience and making the game more playable, convenient, and less prone to breakage, especially because the hardware is relatively simple.

All in all, I’m excited to show the game for the IM Showcase! Thank you to everyone for an awesome semester. I learned a lot and got to work on a lot of cool things. 🙂


Final Project Progress: User Testing, Bug Fixing


I’ve made pretty good progress on my final game. I worked on the physical user interface of the Arduino, all the remaining illustrations and UI screens, the second and third stage of the game, and the Arduino code that will connect with p5.js. I stripped down a lot of the unnecessary and unreasonably inconvenient features to focus on delivering a simple but effective game.

Snapshots of the progress and the process:

No description available.

No description available.

No description available.

No description available.

No description available.

No description available.

I also made this physical halo halo cup, but I’m still deciding if I want to use it.

No description available.

All I have left to do for the final project are: fixing the sounds and music (which are getting corrupted :’)) and fixing a few bugs caused by restructuring and refactoring the code.

I had a few friends, including an IM major senior, user test it. The process helped me spot a few bugs, adjust the difficulty level, and give more time for each user. User testing also helped me realize that I should be clearer with the instructions, especially for Stage 2, where people have to step 3 feet away to get the best effect for posenet tracking.

If I have time, I am thinking of maybe adding one last little extra feature: a photobooth that uses Posenet so you can take a picture while wearing a little halo halo hat or some halo halo accessories. However, I’ll be prioritizing putting out the fires created by the bugs and the music, and also surviving the rest of the week.

Sketch is here: https://editor.p5js.org/paulinekowee/full/cFHpjwPWd

Final Project Progress Update

For my final project, I’m making a multi-stage cooking game for one of my favorite Filipino desserts, haluhalo.

So far, I’ve made quite a bit of art for the game. I’ve stuck to a style that’s more organic and colorful so that the art can feel more friendly and fun.

Here’s the sketch so far!


I’ve wired the digital switch and potentiometer, and I’ve implemented the potentiometer for Stage 1, so you can cook the sago if you hit the right temperature.

At first, I really hit a wall with this project and felt very tired of it, but the encouragement of other people really helped. After some reflection, I realized that I was feeling a bit tired because a lot of the work was just producing a lot of illustrations rather than more complex technologies that I hadn’t tried before.

As a result, I decided to try and make the project more ambitious, and to involve vectors, Handsfree.js, animations, interactivity, and maybe even some facial recognition and 3D via Three.js. Here is my revised plan.

I still have a lot to go, namely:

  1. A lot of UI screens (failure and success) — I’m thinking of ways to make this less taxing or more reusable without losing the organic handdrawn vibe
  2. Making the physical parts of the physical interface — I’m thinking of using wood and fabric rather than cardboard, and maybe 3D printing some of the more complex elements so they look more cool.
  3. Making the Posenet, video, and Handsfree work :’DDDDD

It’ll be very terrible and very fun. I’m excited to post the next update!

Final Project Proposal

No description available.

For my final project, I’m planning to make an Arduino and p5.js based game where the user can help make haluhalo, a classic Filipino dessert. I chose this concept not only because I miss haluhalo, but also because I wanted to insert some more meaningful story elements. I’m a Chinese person born and raised in the Philippines, and I’m often asked about how I feel having these two “identities”. Haluhalo to me represents a way of seeing that difference not as a one-or-the-other choice, but as a a celebration of many different elements that together make something awesome.

The experience will be split into 4 game phases with 3 story phases in between. Below is the storyboard.

No description available.

Game Stages

The first stage involves using a potentiometer to control the heat for a pot that is cooking sago. I will give the user 30 seconds, in which time they have to keep the heat at the right levels as requested by the p5.js screen. I’ll be borrowing inspiration from my Swampy temperature calibration game for this.

In the second stage, they will use Posenet to play a game where they need to punch ice and other fruits to break them into smaller parts for use in haluhalo. I’ll be borrowing inspiration from my Posenet Ant Smasher game for this.

In the third stage, I’ll be making a blender with a servo motor and a button where the user will have to blend just enough but not too much that the blender explodes.

In the last stage, they will again use posenet to catch the ingredients in the glass as they fall down.

Story Stages

These four stages will be punctuated by story segments between a daughter and a mother, where the mother and daughter will explain a little bit about the history and context behind haluhalo, as well as the metaphor I mentioned, where it can be seen as a celebration of difference rather than a choice between them

All in all, I expect this to be a challenging experience because I want to make the illustrations myself and make them very polished, as well as involve animations and other things, but I’m excited to get started.

Week 11: In-class Exercises

EXERCISE 1

Extending the potentiometer example demoed in class, we created a smiley ball that bounces horizontally across the screen whose velocity was dependent on the value of the potentiometer. Inside our Arduino code, we write the value of the potentiometer as serial output to the p5.js sketch:

void loop() {
// put your main code here, to run repeatedly:
int potentiomenter = analogRead(A0);
int mappedPot = map(potentiomenter, 0, 1023, 0, 255);
Serial.write(mappedPot);
delay(100);

The corresponding breadboard is shown below:

[image]

Inside our p5.js sketch, we created our smiley ball by making a simple Circle class with an x and y position and a move() method. The move method() doesn’t change the ball’s y position, as it remains constant along the horizontal axis height/2, but it does update the x position, which is calculated using the variable inData – the value of the potentiometer read from Arduino. A snipped of the code is shown below:

class Circle {
constructor(x, y, d) {
this.x = x;
this.y = y;
this.d = d;
}
move() {
if (this.x<=50) {x = 1;}
else if (this.x>=550) {x =-1;}


let y;


if (inData==undefined) {
y=0;
} else {
y = inData;
}


this.x+=(y/20)*x;
}

Finally, a demo of the final product is shown below:


EXCERCISE 2

We thought that the first exercise was rather bland in terms of visuals, so for this exercise we wanted our p5.js sketch to be more interesting. We made the connection of a sun rising and falling to the brightness of an LED, hence our sketch shows a sun against a mountain landscape that can “rise” and “fall” by pushing the up and down arrow keys. As the sun “rises”, the sky changes to a bright magenta color, and when the sun “falls”, the sky deepens to a dark blue color. We achieved this by having the sun’s y position (also built from the Circle class of Exercise 1) determine the rgb values of the background, as demonstrated in the following code:

function draw() {
background(300-c.y, 100-c.y, 100+c.y);
c.display();
c.move();


var rightBrightness = map(c.y, height, 0, 0, 255);


outData = rightBrightness; // setup the serial output
serial.write(outData); // write to serial for Arduino to pickup

This seamless gradient effect then corresponds to the brightness of an LED on our Arduino board.

[image]

The sun’s y position is stored as outData, which is then sent to Arduino. Inside our Arduino code, we map the incoming value to a scale of 0 to 255 and use that value to analog write the LED brightness. A snippet of this code is shown below:

void loop() {
if (Serial.available() > 0) { // see if there's incoming serial data
incomingByte = Serial.read(); // read it
led2brightness = map(incomingByte, 0, 255, 0, 255); // map the input value to the brightness for second LED
} else { }
analogWrite(ledPin, led2brightness); // write the brightness to the led pin 2


}

Finally, a demo of the finished product is shown below:


EXERCISE 3

For the final exercise we were required to incorporate bidirectional serial communication, basically using the arduino to control a p5js sketch, and using changes in the p5js sketch to produce changes to the arduino. On the arduino, we used a distance sensor to affect the change of wind in p5js to make the ball move. On the p5js sketch we programmed it in such a way that everytime the ball bounces an LED lights up depending on the velocity of the ball.

Week 10: Musical Instrument

OVERVIEW

for this weeks musical instrument project, we created a DJ setup using servo motors and a piezo buzzer. A digital switch controls the piezo buzzer, which cycles through a series of melodies, while two potentiometers control the servo motors. The potentiometer on the left hand side controls the speed at which the arms rotate, while the potentiometer on the right hand side controls how wide the arm sweeps. A demo of the instrument is shown below. 

DESIGN 

Our original idea was that we wanted to create some type of percussion instrument that would play rhythms rather than notes,  since using the buzzers as the main focus of the instrument felt a bit predictable. Interestingly, the sound and movement of the servo motors reminded us of turn tables, and hence our DJ idea was born. We also really liked using potentiometers to control the rhythm of the servo motors, because the twisting motion of the potentiometers felt very intuitive and similar to the actual motion one would use on a turn table. To add more interest, we decided to add on a buzzer that would play “techno” music to make the entire piece have a clear “club” or “house” atmosphere. 

SCHEMATIC

A schematic of our board is shown below:

CODE 

The instrument gets its input through two analog sensors – the potentiometers, and one digital sensor – the button. As mentioned above, the analog sensors control the servo motors, or the turn tables. Inside our program, the value obtained by the potentiometer is stored in a variables sensorValue1 and sensorValue2. The former is then used to control the delay, or how fast the motor arm is sweeping, while the latter controls the degree to which the arm motor sweeps. This is demonstrated in the code below:

for (pos1 = 0; pos1 <= 60 + sensorValue2/20; pos1 += 1) {
... 
    myservo1.write(pos1);              
    myservo2.write(pos1);
    delay(sensorValue1/50);    
}

On the other hand, the digital sensor controls which melody the piezo will play. Our program has an array of 3 different techno melodies (called melodies[], each 16 notes each. We cycle through each melody by defining a variable called melodyState, which ranges from 0-2, corresponding to the length of the melodies[] array, and increments each time the button is clicked. This is demonstrated in the following code:

In the beginning of loop() calculating the melodyState:

int buttonState1 = digitalRead(pushButton1);

 if (buttonState1==HIGH) {
   add = true; 
 }

if (add) {
   melodyState++;
   add=false;
 }
if (melodyState>=3) melodyState=0;

Using melodyState to index into the melodies[] array:

if (pos1%frequency==0) {
  tone(5, melody[melodyState][melodyCount], length);
  delay(50);
  noTone(5);

  melodyCount++;
  if (melodyCount >=16) { 
    melodyCount = 0; 
  }

CHALLENGES  & IMPROVEMENTS

One of the challenges of this project was the wiring. Because we had so many elements we wanted to incorporate, we did struggle with the circuit getting cut off in certain places where we added new elements. Also, because we used two potentiometers, and one of them was directly connected to 5V, and all other elements were connected to this potentiometer, this meant that when it was turned all the way down, all the power was shut off and the circuit broke. In terms of what we would like to improve, we thought it would be cool to add lights that would flash in correspondence with the melody that was playing, though because our board was already very cluttered, we opted against it. (As shown in the demo, it is a little difficult to maneuver given the tight space). We do, however, think it is worth experimenting with spreading our circuit across multiple breadboards. For example, it would be nice to have the servo motors and potentiometers on one board, and the buzzer and lights on another.  

Week 9: Analog & Digital

For this week’s assignment, I initially thought of doing a stoplight or a guessing game, but when I searched around on this website, I saw that many people have already done those concepts. I therefore decided to put a little spin on things by making a stoplight-esque guessing game. Since the potentiometer reminded me of a shower temperature dial, I made a temperature guessing game called “Swampy’s Shower”, where you help a little bathing crocodile get his desired water temperature.

I started out by assembling the basics: a blue, yellow, and red LED connected to three different pins, a digital switch to start and restart the game, and an analog potentiometer to serve as our shower dial. This was fairly straightforward, but it took so many wires. For the “interface” of the game, I used a piece of cardboard that I would slot into the breadboard to label the controls / signals. The one in the picture below is an initial version that I revised in order to also have instructions for the switch and knob.

No description available.

I had the greatest difficulty with making the digital switch because I plugged some things wrong, so I kept getting random values. Thankfully, Google and Youtube saved the day, and I got it working.

From there, writing the code was also fairly straightforward because I built my program off the Analog Switch program from class. I used a simple if else statement to compare the dial entry vs a randomly generated temperature. The switch, when pressed, starts the game. The game ends when the yellow pin flashes (when the temperature is just right!) and you can restart it again with the switch.

  if (sensorValue == randNumber) {
    Serial.println("JUST RIGHT");
    digitalWrite(yellowPin, HIGH); //just right
    digitalWrite(bluePin, LOW);
    digitalWrite(redPin, LOW);
    delay(2000);
    start = false;
  } else if (sensorValue > randNumber) {
    digitalWrite(yellowPin, LOW);
    digitalWrite(bluePin, LOW);
    digitalWrite(redPin, HIGH); //too hot
  } else if (sensorValue < randNumber) {
    digitalWrite(yellowPin, LOW);
    digitalWrite(bluePin, HIGH); //too cold
    digitalWrite(redPin, LOW);
  }

} else { //turn everything off
    digitalWrite(yellowPin, LOW);
    digitalWrite(bluePin, LOW);
    digitalWrite(redPin, LOW);
}

I tried having the LEDs flash (e.g. if the temperature is closer, the light would flash faster) but it was more distracting and annoying (and kind of made the game too easy too), so I decided to keep things simple and have the blue light be on if it was too cold and the red light be on if it was too hot. The only things I might improve would be more shower functionality (a way to turn water on? drain or fill the tub?) or maybe making the brightness of the bulb an indicator of the closeness of the answer.

No description available.

I’m very happy with my final product. Watch it here:


Week 8: Unusual Switch

For my unusual switch, I instantly thought of a guillotine. It appealed to me because the words “hands-free” made me think of how guillotines kind of symbolize hands-free killing – you didn’t kill the person, you just put their head in a place where gravity would deliver a knife to deliver the final blow.

In the same way, my hands don’t actually connect the switch. I just lift the guillotine into a position from which gravity finishes the job.

First, I sketched out my design for the simple guillotine, with a place to insert someone’s “head” at the bottom and a smaller piece of cardboard with copper tape at the bottom to serve as the knife. Instead of someone’s neck, I would place the ends of two wires in the guillotine. When the “knife” hits the bottom, the copper tape conducts electricity and connects the two wires, completing the circuit.

Then, I started crafting. I found some copper tape and started tracing out pieces of cardboard. I decided to connect my pieces by intersecting them at cut slits, which would be cleaner and more stable than hot glue.

No description available.

From there, I cut the pieces out with a box cutter and assembled them.  My intial prototype looked great, but the knife would spin and go everywhere as it fell down. To remedy this, I added hot glue “tracks” to guide the path of the knife, added a cover that would ensure the knife fell in a straight line, and inserted two washers into the cardboard to make it heavier, and therefore fall in a more guillotine-like fashion.

No description available.

Just for fun, I made a little tombstone in front of which the LED lights up, so it kind of looks like a candle in front of a grave (probably of the person who died in the guillotine.) I embellished the guillotine with a little of my extra copper tape, hooked it up to the Arduino, and tweaked it until it worked.

I’m pretty happy with the finished product! The guillotine is sturdy, the “switch” works when the knife goes down, and the if you turn the audio of the video on, the slice of the knife sounds pretty compelling. In a future version, I might try to add a pulley system or a platform so that it’s even more hands-free (right now the video makes it look like it’s still responding to my hands), but for something small, portable, and mobile, I think this is great. I’m excited to do more fun stuff with Arduino!

No description available.

No description available.


Midterm Project: Ant Smasher + Posenet

For my midterm project, I created Ant Smasher, one of my favorite childhood games.

I spent a lot of time on it and am very proud of how it turned out. There’s:

    • multiple game settings
    • music and sound effects for squishing ants and losing
    • a swatter cursor
    • hover effects on the buttons
    • different types and speeds of generated ants
    • a timer
    • 3 lives that you can visually deplete
    • a visual effect as the ants eat the candy
    • custom designed start and end pages
    • a settings page to choose settings from

The ants splice off the list when they die or go offscreen, and everything resets (though your high score is stored) so you can keep playing again and again.

I also think I did a good job of writing OOP for the ants and more modular code so that I could easily reuse functions for buttons and text styles. The code is quite readable and makes more sense. I can definitely feel that I’ve improved, though in the future, I’d invest even more effort into planning upfront so that the code can be even more efficient.

//creates an ant object
class Ant {
  constructor(img, size, speed, n) {
    this.x = random(100, width)-100; //x position
    this.y = 0; //y position
    this.size = size; 
    this.speed = speed;
    this.img = img;
    this.n = n; //noise
    this.dead = false;
    this.timeDied = 100000;
  }
  
  display() {
    image(this.img, this.x, this.y, this.size, this.size)
  }
  
  move() {
    //if thing pressed
    if (noseX>this.x && noseX<this.x+this.size && noseY>this.y &&noseY<this.y+this.size) {
      
      this.speed = 0; //stop moving
      image(blood, this.x, this.y, this.size, this.size) //blood splat
      this.dead=true; //mark dead
      squish.play(); // audio
      score++
      
    } else {
      
      let randList = [-this.n, this.n];
      this.x+=random(randList);
      this.y += this.speed + random(randList);
    }
  }
  
}

The only thing I would add, and I honestly might do this if I just finish my other midterms first, are other themes: e.g. Spaceship Smasher, Rat Smasher, Campus Cat Smasher, Worm On A string Smasher, etc. Same concept, different sprites, and a way to change them in the settings, probably by using global variables. I just have to fix the settings page to make space for them.

Random other thoughts about what to add: multiple soundtracks, psychedelic video backgrounds, animated sprites, notification banners for when you reach certain milestones, a leaderboard, etc. I would have done these, but I didn’t think they would add much to the final product, and might just be a lot of work for slightly more distraction.

The final sketch is here. Play it with love.

Just for fun (and to procrastinate my other midterms), I made a version you can play with ML Pose Net on fullscreen. I fixed the scaling of the design elements and adjusted the gameplay settings so that they match this style of play, which is slower but so much more fun. Your nose plays the swatter. If you can play this on hard mode, you’re the GOAT.

Play on fullscreen only here. Best on 11 or 13 inch screens.

(I would have set it to innerWidth and innerHeight, but the proportions of the designs get wonky, and the ants go wild.)

All in all, I’m incredibly happy with how this turned out. The only thing I would add or change is that I wish I had invested more time and effort to learn about particle systems and vectors, which might have added even more complexity and cool stuff to my work.  There’s always more that I can think of to be ambitious about, but given my constraints, I’m thrilled with what I’ve made.

Week 5: Midterm Updates

For my midterm, I want to work on a super pumped up, full specs, IM-ified, super ultra Ant Smasher. I played Ant Smasher a lot as a kid, and it was awesome. I want to replicate that experience with p5.js.

The goal is to have ants / enemies run down from the top of the screen at various speeds/patterns, have them explode when smashed, and include sounds, animations, and various themes (e.g. not just ant smasher, but fruit slicer, rocket shooter, butterfly catcher, etc.) or levels of difficulty to make the game more fun. I also want to store high scores and names in a quasi-leaderboard to make it feel like a real game.

So far, I’ve built out a basic version where the ants / enemies are objects that randomly fall down, and there is a very simple login screen. There is a timer, a score counter, and a way to stop ants and count them in the score.

I’m planning to work on it over the weekend to add animations, levels, different kinds of enemies, perlin noise, skins, 3 “lives” that you can deplete, and game over screens. I’m also planning to illustrate my own ants, rockets, etc. in my own game sheets if I have time.

I’m expecting to face some challenges with keeping everything organized, so I might break up the code files or make a game design document to remind myself of all the mechanics going on.