Hello there, we are back in the game! Let’s start off by recalling the inspiration.
Inspiration
On a Saturday night, NYUAD students tend to have more meal swipes than they need. Students face the dilemma of either stacking more food with their extra swipes or losing all the swipes the next day.
The idea then is to create a game where the player (student) would try to collect as much food as it can on a movable food tray.
To win this game, just make the most of your meal swipes, just be patient and stack away as much food as you can. Choose wisely, more healthy food is worth more points. You gonna lose the meal swipes any way so the more points you acquire, the better.
Oh, don’t forget we are working with time ( the 30seconds surprise) 😄.
What were the next steps?
1. Create the assets
2. Work on the game mechanics
3. Add sound to make it lively
4. working mainly on the gameplay screen and polishing the start and end screen
Assets
Created an Item Class that has a draw function and a method to check whether an item collides with another. Using inheritance, I created a Player class and a Food class.
Let me spare you the details and focus on the fun part. So now to create a player, I just needed to use an image of a tray. To create the food items, I just needed to use png images of the food I wanted.
Game Scenes
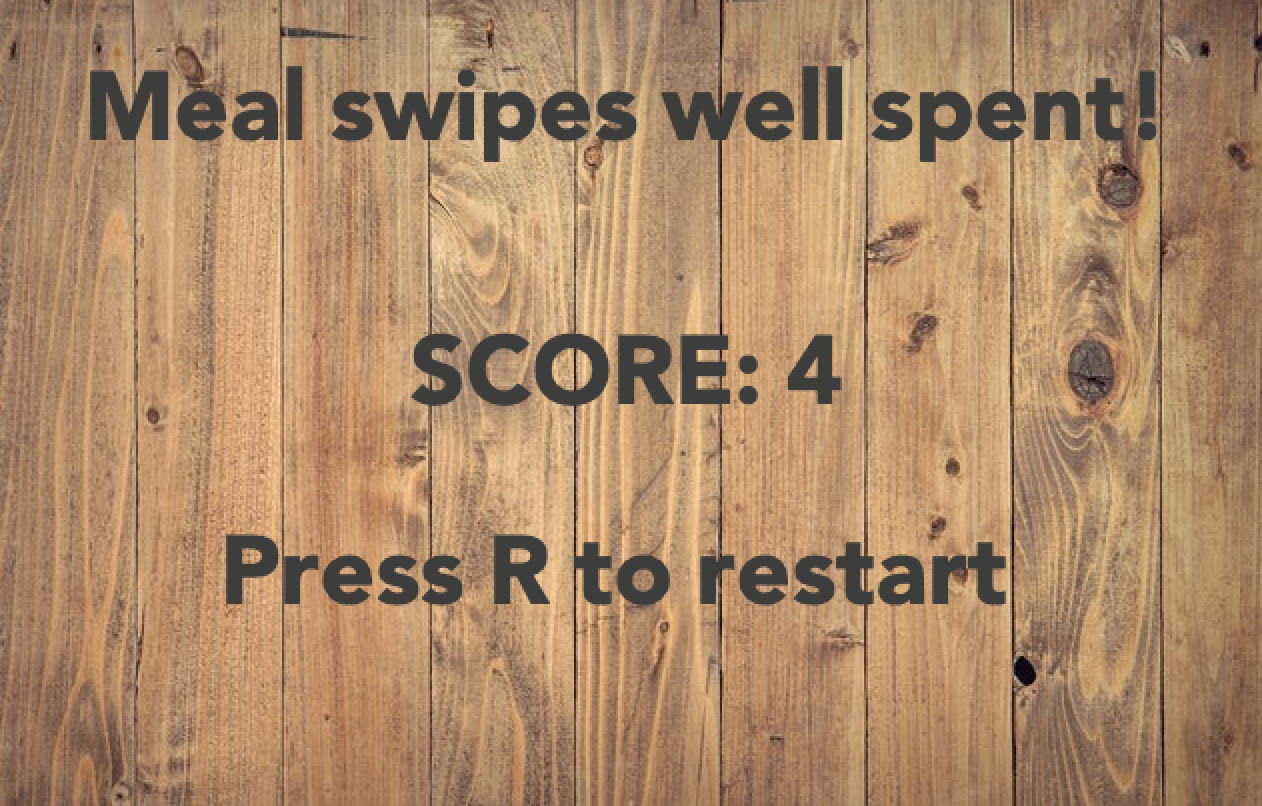
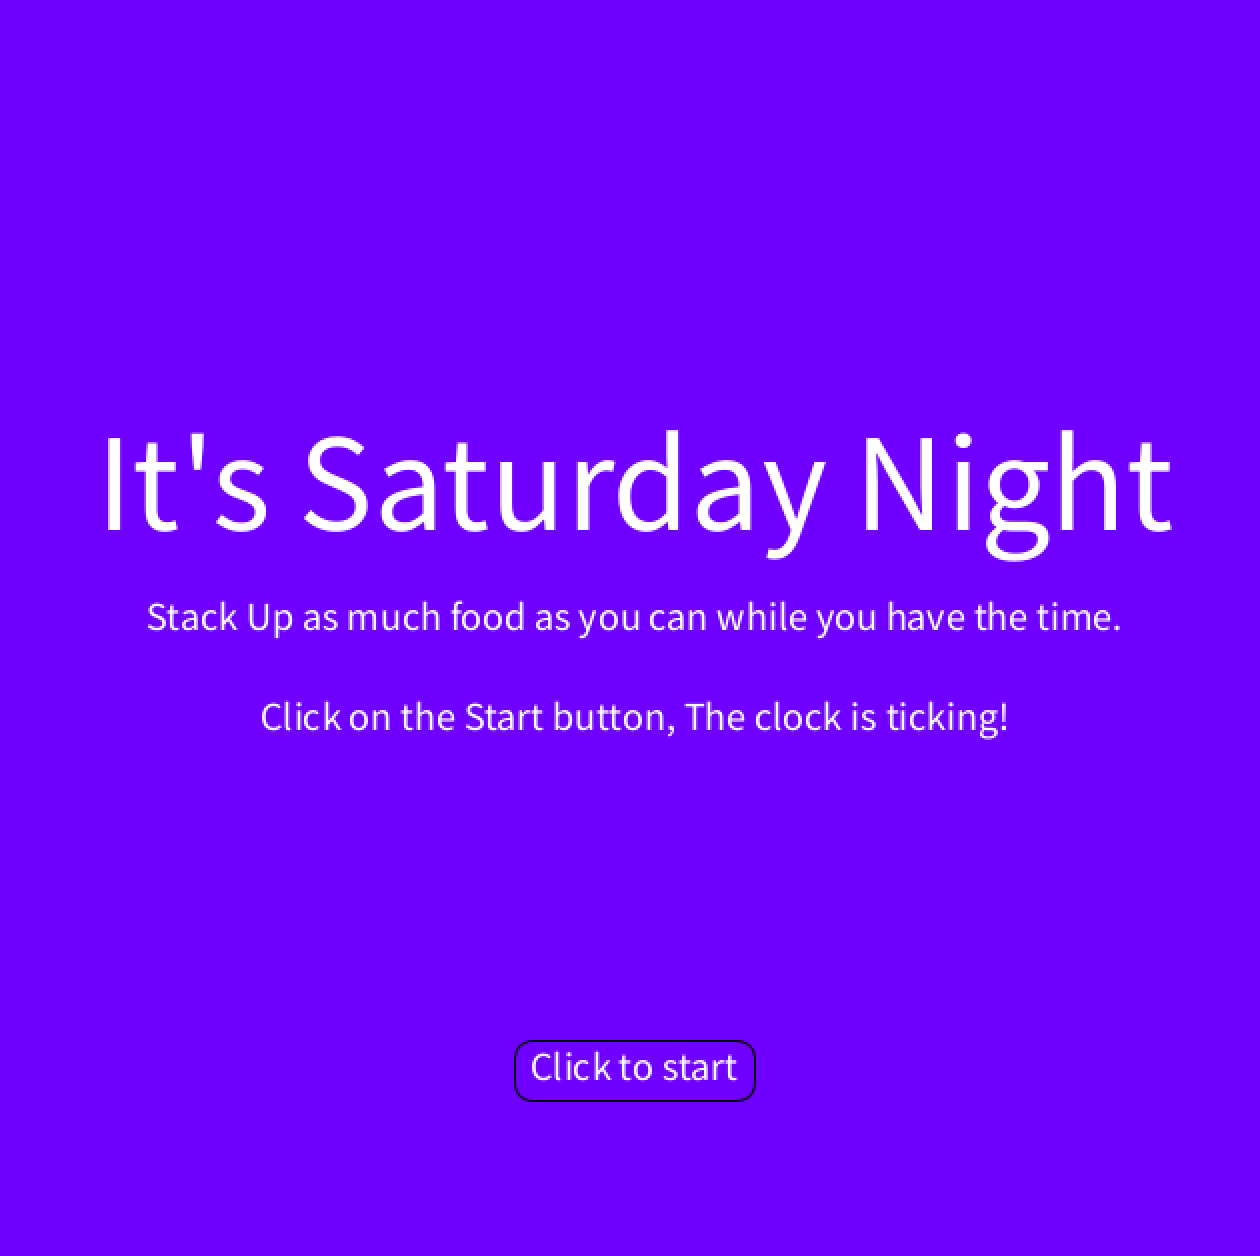
The game has three scenes. The starting page, the game window, and the win/restart page. The starting page has instructions on how to start the game. The user is informed of the countdown timer. In the game scene, there is the score on the top right, the timer on the top left. There is also the player (student holding tray) and falling food. The win/ restart page just shows the text, the score, and the key to press to restart the game.


Game Mechanics
So as mentioned earlier, when the game begins, the food starts falling, and the player has to navigate the tray to catch as much food as it can within 30 seconds. The healthier the food, the more points the player accumulates.
Sound
There is the main theme song playing in the background and a catching sound ( boip).
Demo
Challenges
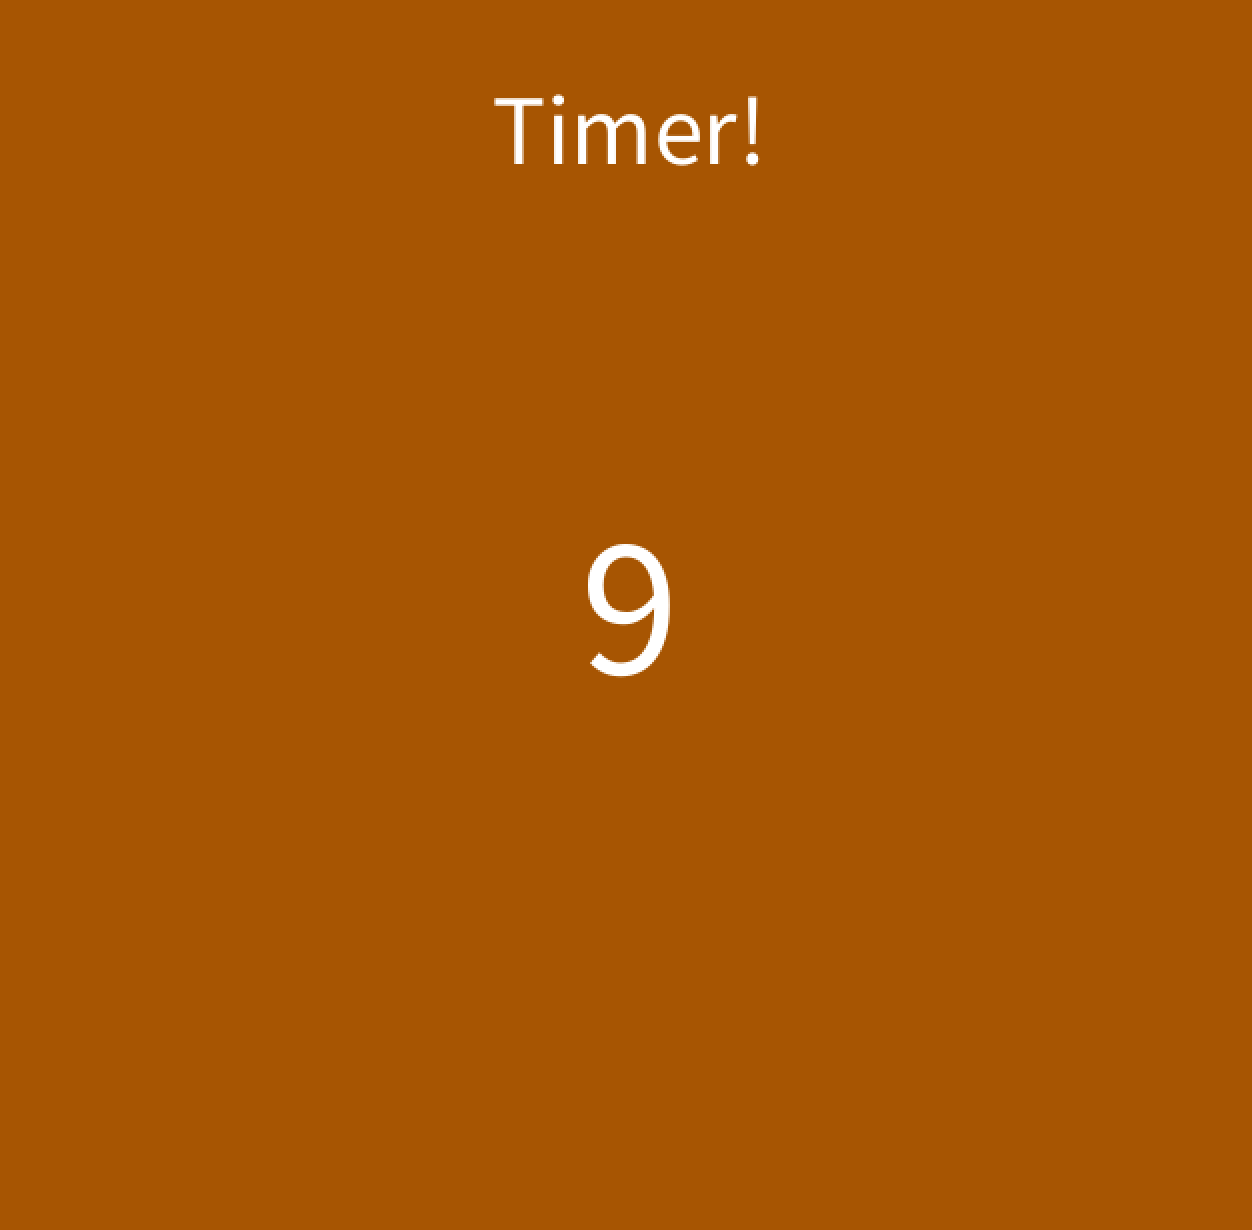
Timer!
Yeah I know I mentioned this earlier but the timer was still printing negative values. I solved this by starting the timer once the user press ENTER to begin the game.
Sound!
Since my theme music is short, I was getting this weird noise when the game state changes. I had to check whether the theme was not playing so that I can play it again.
Also, the theme sound was drowning the catch sound. I fixed this by reducing the volume of the theme music when the game starts.
Code
– Timer
//credit : http://www.cs.du.edu/~leut/1671/09_Fall/ProcessingNotes7.pdf
// converted the display into a countdown

class Timer
{
  long startTime ; // time in msecs that timer started
  long timeSoFar ; // use to hold total time of run so far, useful in
  // conjunction with pause and continueRunning
  boolean running ;
  int x, y ; // location of timer output

  Timer(int inX, int inY)
  {
    x = inX ;
    y = inY ;
    running = false ;
    timeSoFar = 0 ;
  }


  int currentTime()
  {
    if ( running )
      return ( (int) ( (millis() - startTime) / 1000.0) ) ;
    else
      return ( (int) (timeSoFar / 1000.0) ) ;
  }

  void start()
  {
    running = true ;
    startTime = millis() ;
  }

  void restart()
    // reset the timer to zero and restart, identical to start
  {
    start() ;
  }

  void pause()
  {
    if (running)
    {
      timeSoFar = millis() - startTime ;
      running = false ;
    }
    // else do nothing, pause already called
  }

  void continueRunning()
    // called after stop to restart the timer running
    // no effect if already running
  {
    if (!running)
    {
      startTime = millis() - timeSoFar ;
      running = true ;
    }
  }


  void DisplayTime(int totalTime)
  {
    int theTime ;
    String output = "";

    theTime = currentTime() ;
    output = output + (totalTime - theTime) ;

    // println("output = " + output) ;
    fill(150, 0, 200) ;
    PFont font ;
    font = loadFont("Avenir-Black-48.vlw") ;
    textFont(font) ;
    text(output, x, y) ;
  }
}
– Objects
//game objects
class Item {
  PImage image;
  float xlocation;
  float ylocation;
  float _width;
  float _height;

  Item( PImage _image, float _xlocation, float _ylocation, float new_width, float new_height) {
    image = _image;
    xlocation = _xlocation;
    ylocation = _ylocation;
    _width = new_width;
    _height =new_height;
  }

  // draw item on screen
  void draw() {
    image(image, xlocation, ylocation, _width, _height);
  }

  //check intersection
  Boolean Intersect(Item newItem) {
    float itemwidth = newItem._width;
    float itemheight = newItem._height;
    float  itemxloc = newItem.xlocation;
    float itemyloc = newItem.ylocation;

    if (itemxloc < xlocation + _width &&
      itemxloc + itemwidth > xlocation &&
      itemyloc < ylocation + _height &&
      itemheight + itemyloc - 50
      > ylocation) {
      return true;
    }


    return false;
  }
}

class Player extends Item {

  Player( PImage _image, float xloc, float yloc, float w, float h) {
    super(_image,xloc, yloc, w , h);
  }

  void moveLeft(){
    if (xlocation - 10 > 0 ){
       xlocation -= 10;
    }

  }

  void moveRight(){
     if (xlocation+_width+10 < width ){
       xlocation += 10;
    }
  }

}


class Food extends Item {

  float speed;
  float originalspeed;
  int value;

  Food( PImage _image, float xloc, float _speed , int _value, float w, float h) {
    super(_image,xloc, random(-300, -100), w, h);
      speed = _speed;
      originalspeed = _speed;
      value = _value; // food value
  }


  //fall
  void fall(){
    ylocation = ylocation + speed;

    // add some velocity

    speed += 0.05;

    // reset to
    if ( ylocation > height){
       ylocation = random(-300, -100);
       speed = originalspeed;
    }
  }


}
– Game
// game itself

class Game {

  PImage bgimage;
  PImage playerimage;
  PImage [] foodimages;

  SoundFile catchSound;
  SoundFile backgroundMusic;

  Timer timer;
  int totalGameTime;


  Player player;

  Boolean timeOut;
  int score;

  ArrayList<Food> Fooditems;

  int foodspeed;


  Game(PImage _bgimage, PImage _playerimage, Timer _timer, PImage [] _foodimages, SoundFile _catchSound , SoundFile _backgroundMusic) {
    bgimage = _bgimage;
    playerimage = _playerimage;
    foodimages = _foodimages;
    timer = _timer;
    catchSound = _catchSound;
    backgroundMusic = _backgroundMusic;


    totalGameTime = 30; // 30 seconds
    timeOut = false;


    Fooditems = new ArrayList<Food>();

    score = 0;
    foodspeed = 3;

    player = new Player(playerimage, width/2, height - 80,200,100);
    createFood();
  }


  void play(){
    backgroundMusic.amp(0.1);

     if(!backgroundMusic.isPlaying()){
        backgroundMusic.play();
     }

    drawGameScene();
    moveFood();
    checkIntersection();
    checkGameOver();
  }

  void createFood(){
    // food value is based on food type
    // height and width of food is 10% of original size
    // the x coordinates of each food is random

     for ( int i = 1; i < 7; i++){
       int foodtype = int(random(5));
       Fooditems.add(new Food(foodimages[foodtype],random(30,width-100), foodspeed, foodtype,foodimages[foodtype].width*0.1,foodimages[foodtype].height*0.1));
     }


  }

  void drawGameScene(){
     timer.DisplayTime(totalGameTime);
     showScore();

    // draw fruits
    for (int i =0 ; i < Fooditems.size() ; i++){
      Fooditems.get(i).draw();
    }

    // draw player
    player.draw();
  }


  void moveFood(){
     for (int i =0 ; i < Fooditems.size() ; i++){
        Fooditems.get(i).fall();
    }
  }

  // stockFood once one is removed from stack
  void stockFood(){
     int foodtype = int(random(5));
     Fooditems.add(new Food(foodimages[foodtype],random(30,width-100), foodspeed, foodtype,foodimages[foodtype].width*0.1,foodimages[foodtype].height*0.1));

  }


  // check if player touches food

  void checkIntersection(){

     for (int i =0 ; i < Fooditems.size() ; i++){
       if (player.Intersect(Fooditems.get(i))){
           score  += Fooditems.get(i).value;
           Fooditems.remove(Fooditems.get(i));
           catchSound.play();
           stockFood();
       }
    }
  }


  void checkGameOver(){
     if(timer.currentTime() == totalGameTime){
        timeOut = true;
        timer.pause();
     }

  }

   void restartGame(){
     timer.restart();
     timeOut = false;
     score = 0;

   }


  void showScore(){
       fill(60);
       text("Score: " + str(score), width - 140, 60);
  }

  void showGameOver(){

     if(!backgroundMusic.isPlaying()){
        backgroundMusic.play();
     }


     backgroundMusic.amp(1.0);

     text("Meal swipes well spent!", width/2, 80);

     text("SCORE: " + str(score), width/2,height/2);

     text("Press R to restart ", width/2,height/2 + 100);

  }


}
– Main
import processing.sound.*;

// THE TWO MAIN SCREENS
// 0: Start Page (Instructions)
// 1: Game Window and Restart


SoundFile backgroundMusic;
SoundFile catchSound;

PImage backgroundImg;
PImage fruitImg;
PImage fruit2Img;
PImage playerImg;

PFont times;

int gameScreen = 0;

Timer timer ;

Game game1;

void setup() {
  size(640, 425);

  backgroundMusic= new SoundFile(this, "theme.mp3"); //change song length
  catchSound= new SoundFile(this, "boip.mp3");

  backgroundImg = loadImage("data/wood.jpg");

  playerImg =  loadImage("data/holdingplate.png");

  PImage [] foodsimgs = { loadImage("data/pizza.png"), loadImage("data/coke.png"),
    loadImage("data/fries.png"), loadImage("data/yoghurt.png"),
    loadImage("data/salad.png") };

  timer = new Timer(35, 60) ; // make the display at location (35,60)

  frameRate(30);


  game1 = new Game(backgroundImg, playerImg, timer, foodsimgs, catchSound, backgroundMusic);

  backgroundMusic.play();
}

void keyPressed() {
  if (key == CODED) {
    if (keyCode == LEFT) {
      game1.player.moveLeft();
    }

    if (keyCode == RIGHT) {
      game1.player.moveRight();
    }
  }
}


void draw() {


  if (gameScreen == 0) {
    startScreen();
  } else {
    background(game1.bgimage);
    if (!game1.timeOut) {
      game1.play();
    } else {
      game1.showGameOver();

      if (keyPressed && (key == 'R' || key == 'r') ) {
        game1.restartGame();
      }
    }
  }
}


void startScreen() {
  background(loadImage("data/market.png"));


   times = createFont("Times New Roman",60);


  textFont(times);
  textAlign(CENTER);
  fill(0, 408, 612, 204);
  textSize(60);
  text("It's Saturday Night", width/2, height/2-40);
  textSize(18);
  text("Stack Up as much food as you can by moving left and right with the arrow keys.", width/2, height/2);
  text("The clock is ticking!", width/2, height/2 + 50);
  textSize(20);

  //added rectangle as a highlighter to serve as a signal to the user
  rectMode(CENTER);
  rect(width/2, height-100, height/2, 30, 10);
  fill(255);
  text("Press Enter to start !", width/2, height-95);
}

void keyReleased()
{
  if ((keyCode == ENTER))
  {
    gameScreen = 1 ;
    game1.timer.start();
  }
}
Here is a link to the code repo on Github
Credits
Let’s show appreciation to http://www.cs.du.edu/~leut/1671/09_Fall/ProcessingNotes7.pdf and https://github.com/jb3dahmen/CatchTheFruitComplete for the timer class and game mechanics idea respectively.