So, here it is! After fixing hundreds of errors and spending countless man hours, we finally have our project– DJ Falcon!
DJ Falcon:
Using Arduino and p5js, we created DJ Falcon, an audio mixer set that modifies tracks and makes everyone jam to the tunes. The mixer also has a visualizer whose waves sync with the audio being played.
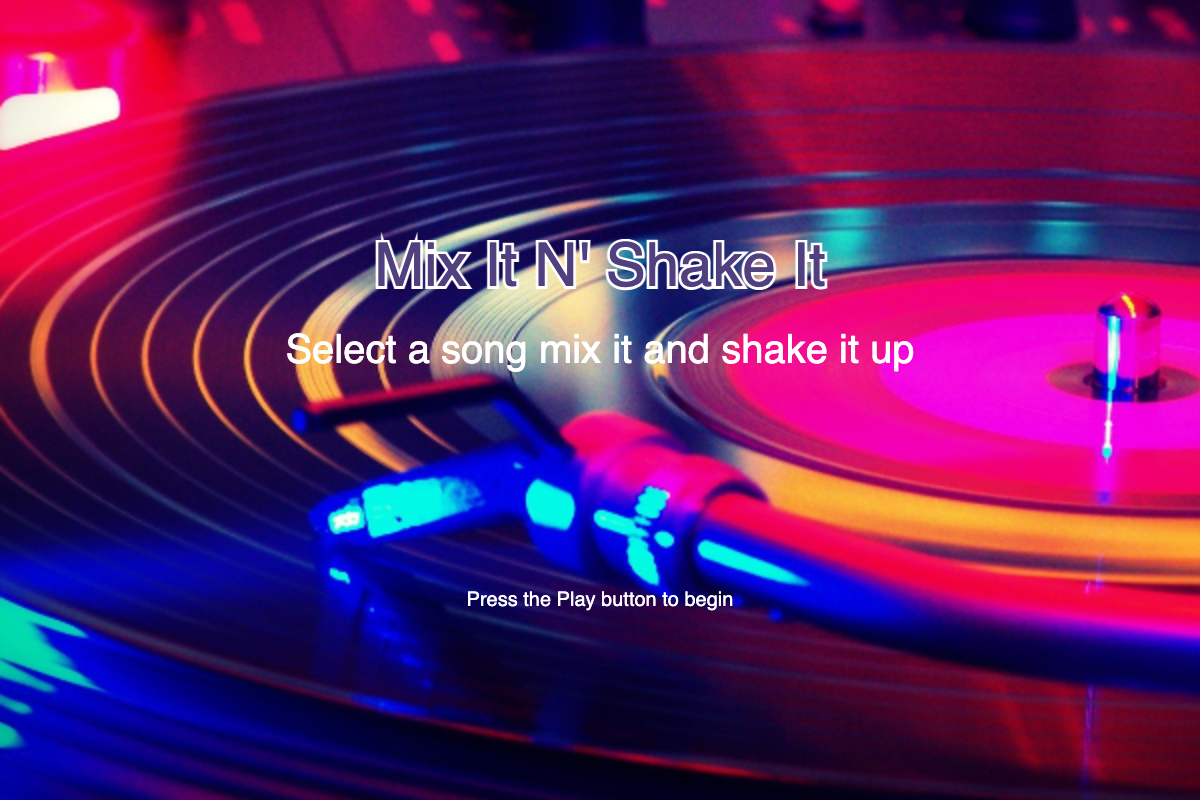
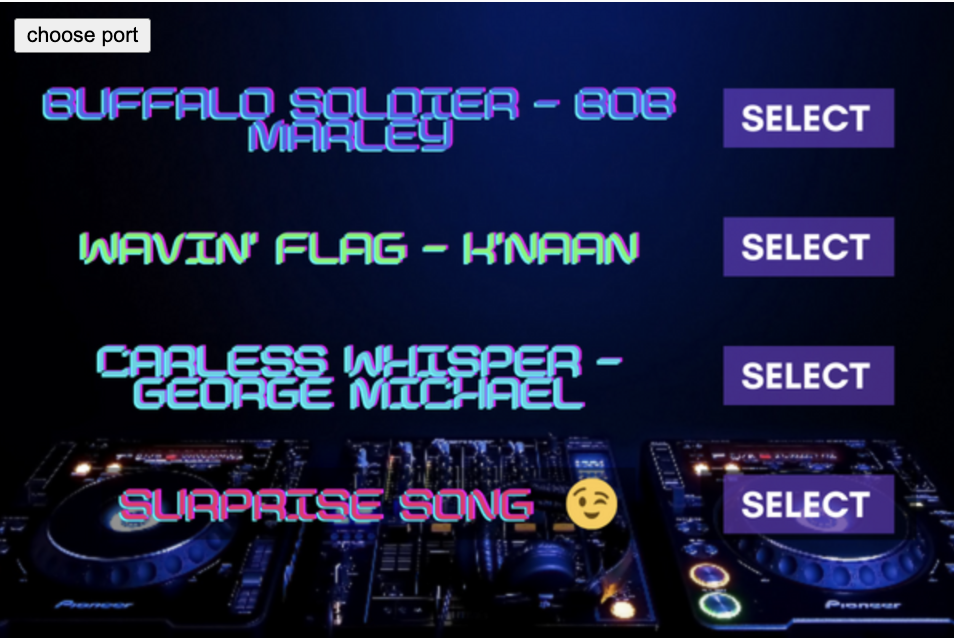
The user is welcomed with this screen:

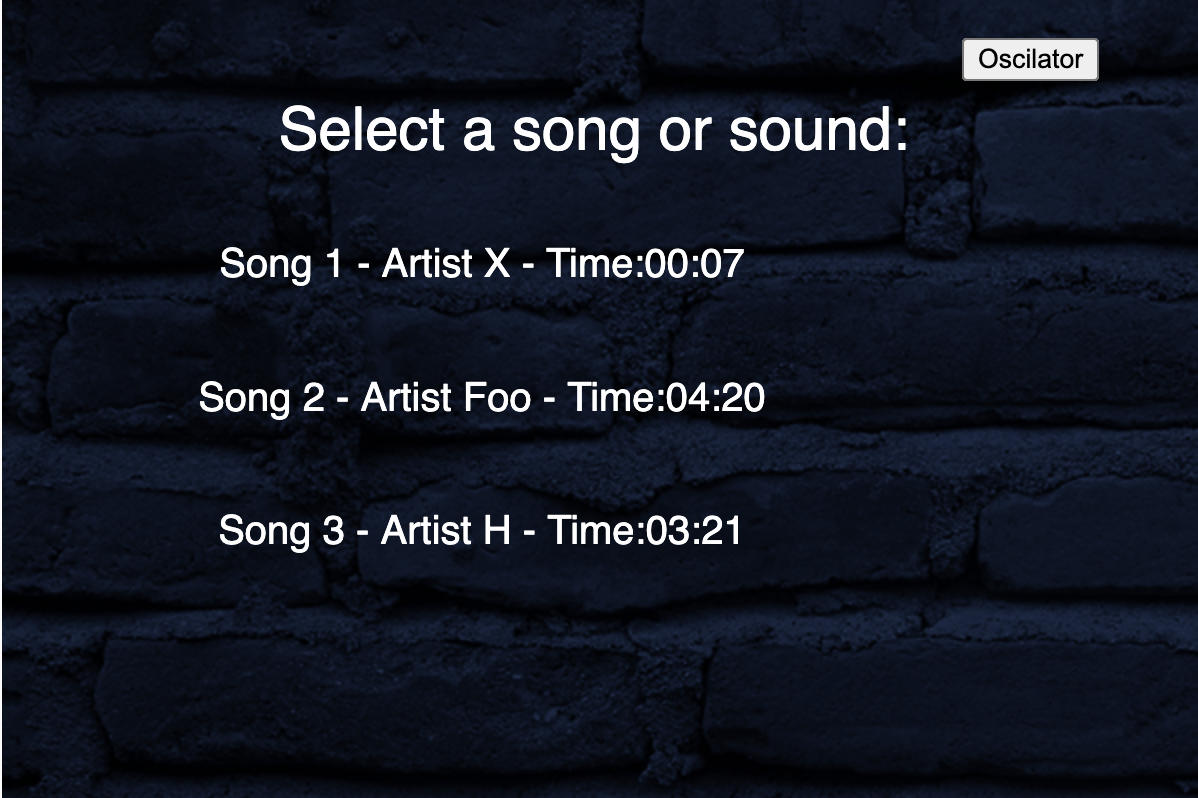
You can then choose a song from the list to mix:
Then you rotate the knobs on the mixer to shake things up!
The Process:
There are two parts to this code – the p5js part and the Arduino part.
Components Used:
_ztBMuBhMHo.jpg?auto=compress%2Cformat&w=140&h=140&fit=fill&bg=ffffff) Arduino UNO board
Arduino UNO board
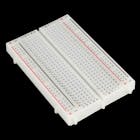 Breadboard
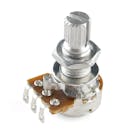 Rotary Potentiometers (2)
 Push down Switch (1)
 Resistors
 Jumper Wires
Apps and Online Services:
 Arduino IDE
 p5js
The Process:
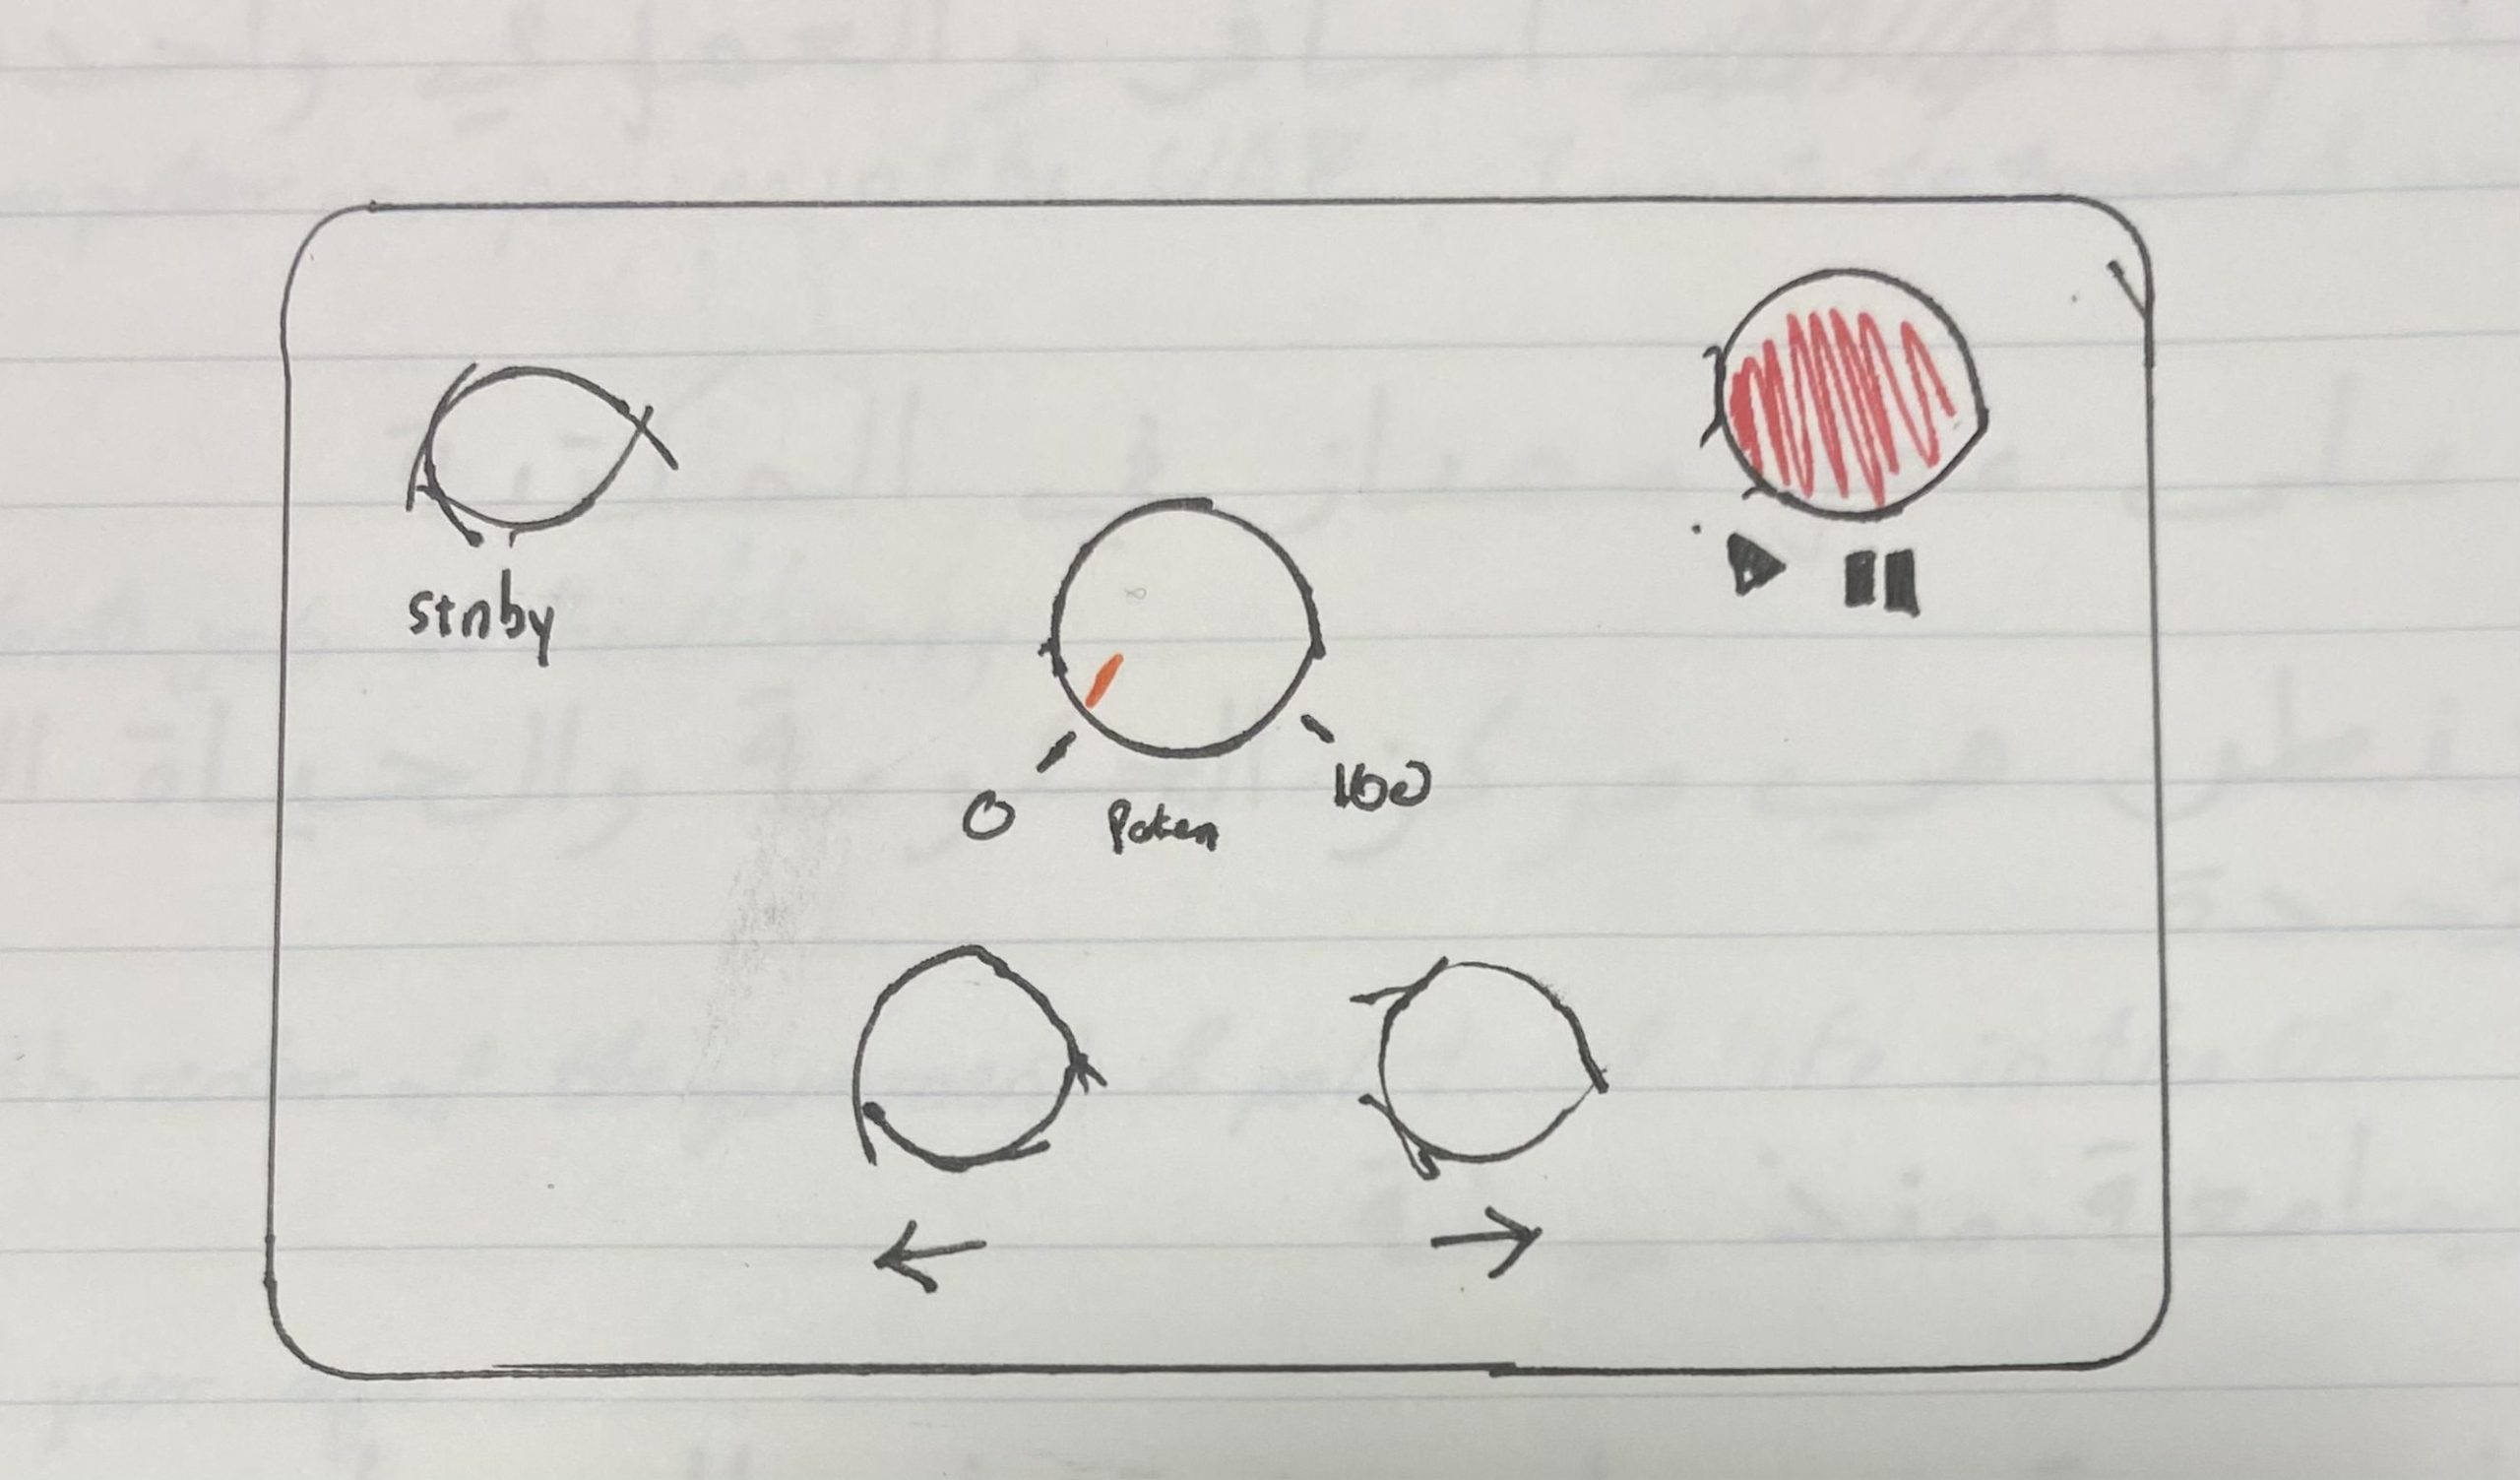
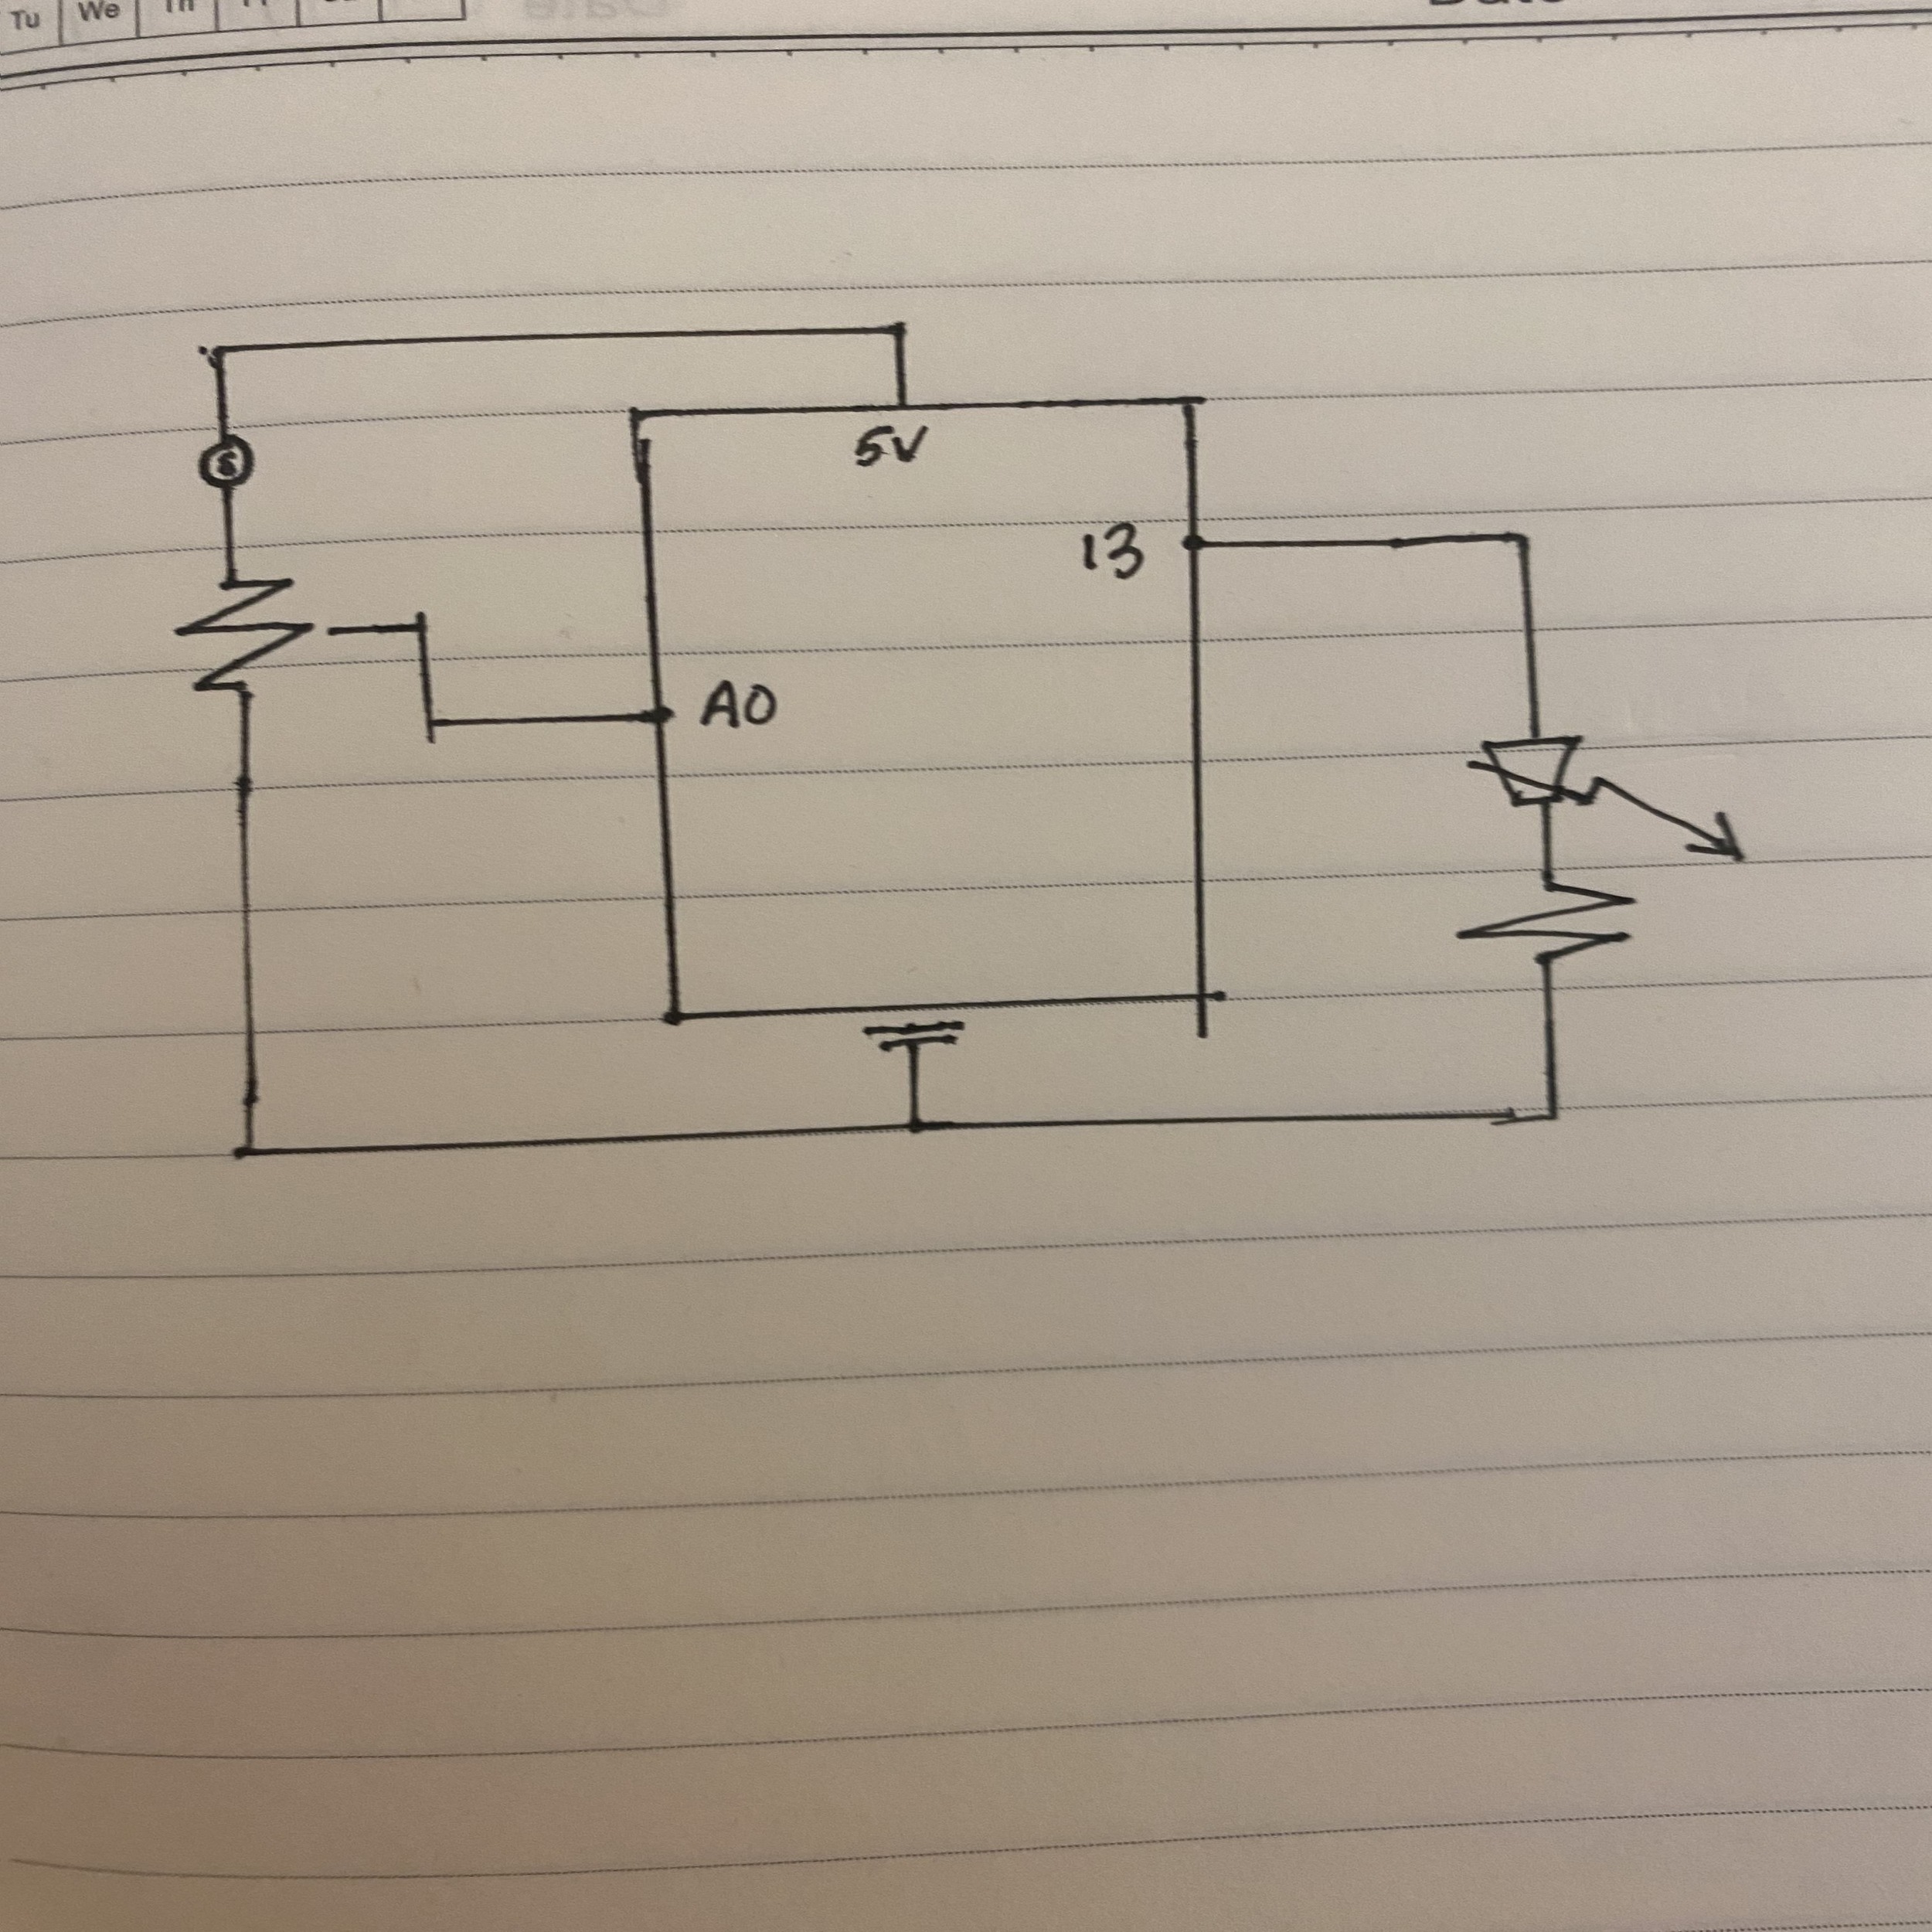
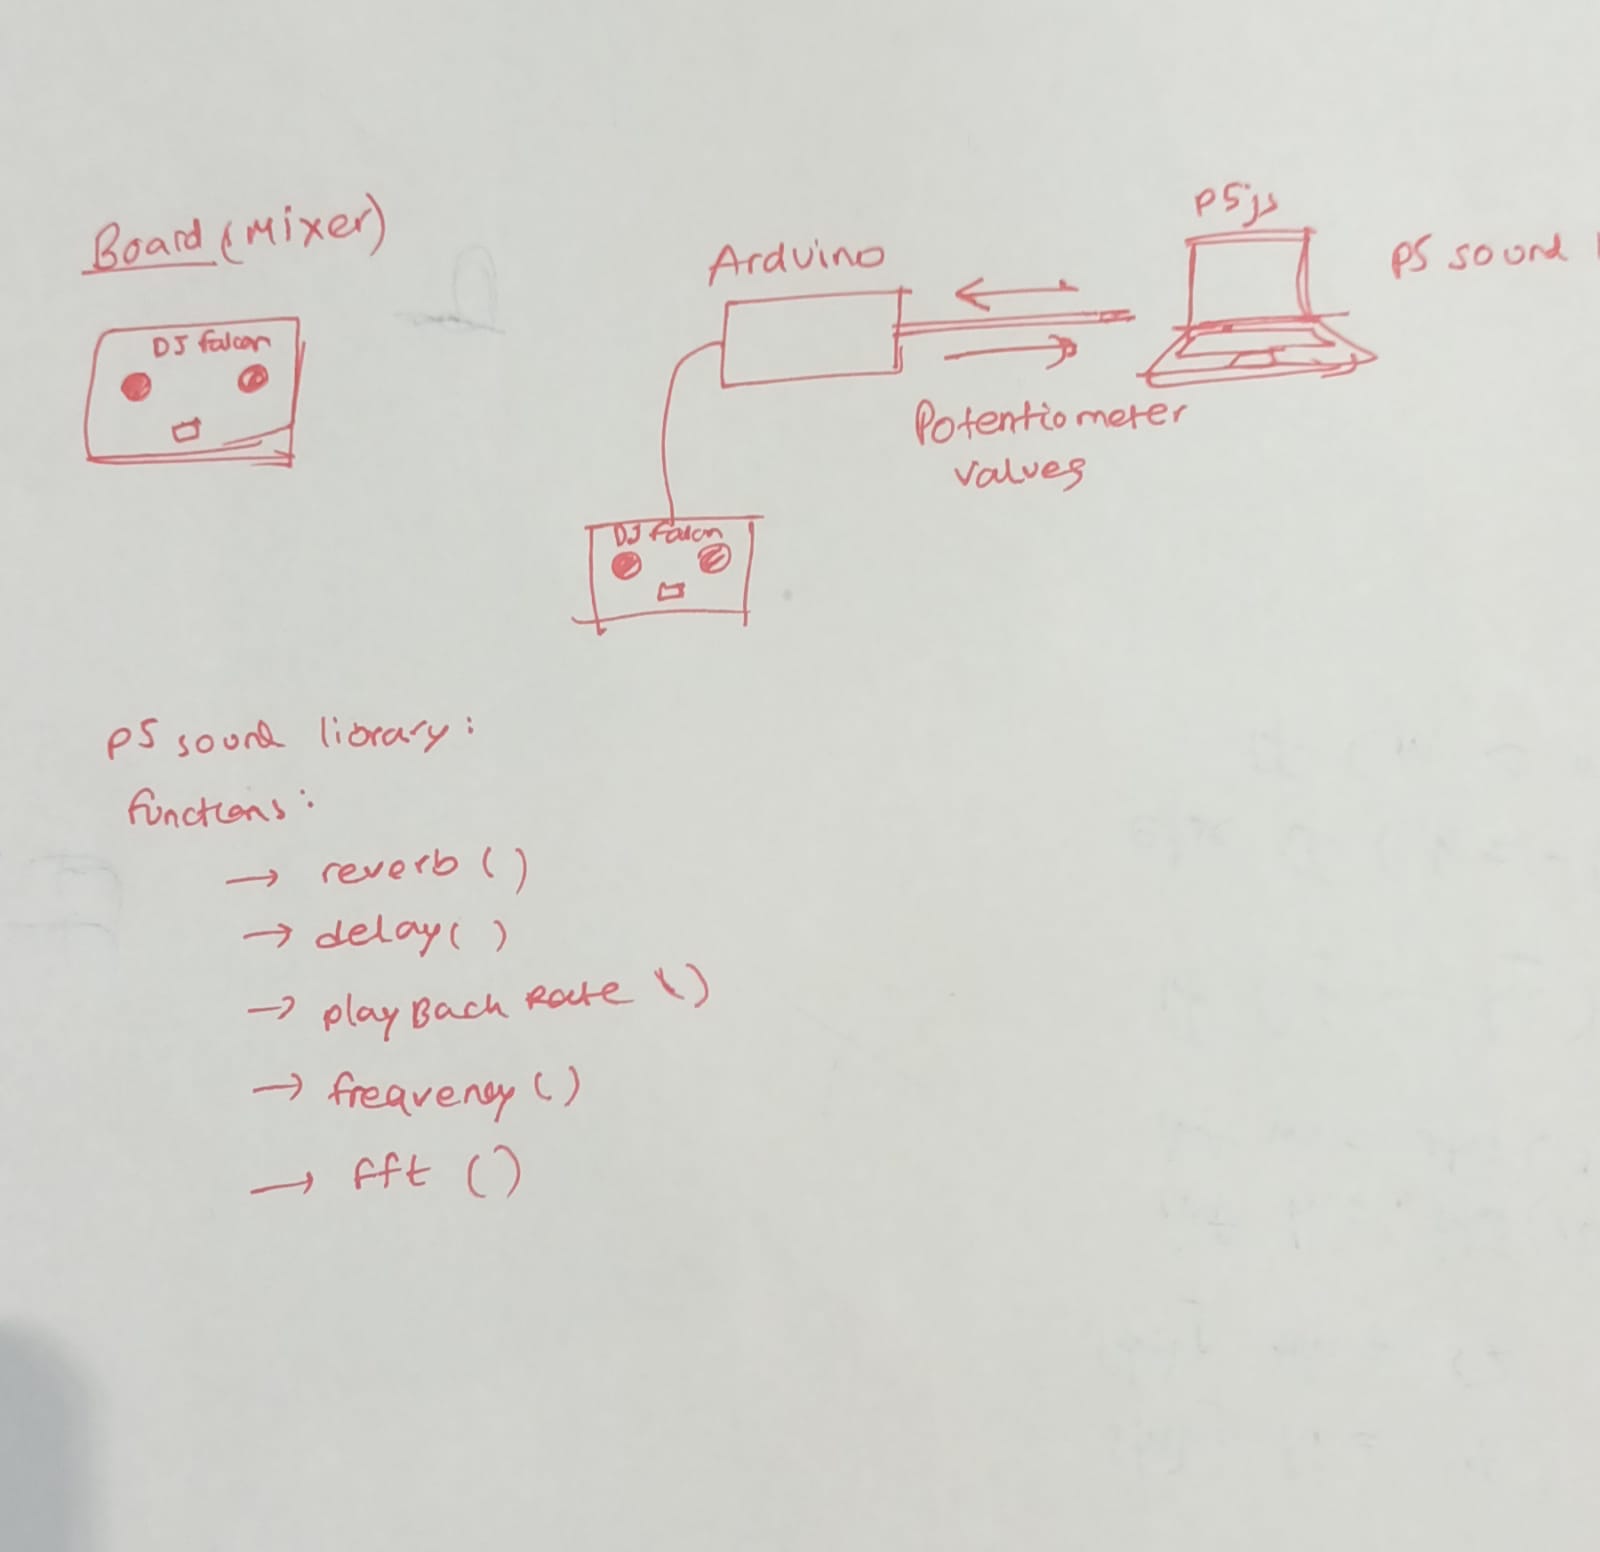
We started the project by drawing out everything first in a notebook. Here’s the very first (very rough) sketch of our idea:
I decided to work on the interface for the mixer and took care of the code and fixing the issues that came up, while QM was going to put together the circuit and the hardware. After setting up the basic circuit on the breadboard and building a very basic interface with buttons on p5js, we had to connect the both.
We then incorporated the p5js sound library in our p5 code. We used the built in reverb, delay, frequency functions and tested those out together by uploading an mp3 file on p5js. It was all working fine. We had to then figure out how to take values from the potentiometer, map them, and use them as arguments for the sound functions.
But before that, we had to write code for reading the values from the pin. QM got to writing the code for the Arduino IDE while Daniel got to figuring out how to take those inputs in p5js. This is where we hit our first roadblock. We just could not figure out the correct p5js library for serial communication and also couldn’t figure out how to separate the values we got from the potentiometer and store them in variables. With a little help from Professor Ang, we finally figured out the right library and used a list to store our values from where we used split() and trim() function to separate the values from each input. This is the bit of code that helped us do it:
function serialEvent() {
if (serial.available() > 0) {
serialData = serial.readLine();
if (serialData) {
// false if serialData == null
console.log(serialData);
serialData = trim(serialData); // remove trailing whitespace
serialValues = split(serialData, ","); // split the string to array
console.log("serialValues ", serialValues);
rev_value = Number(serialValues[0]);
console.log("Rev: " + rev_value);
rate_value = Number(serialValues[1]);
console.log("Rate: " + rate_value);
play_value = Number(serialValues[2]);
console.log("Play/pause: " + play_value);
standby_value = Number(serialValues[3]);
console.log("Standby: " + standby_value);
rev_mapped = map(rev_value, 0, 1023, 0, 100);
rate_mapped = map(rate_value, 0, 1023, 0, 200);
console.log("rev mapped: " + rev_mapped);
console.log("rate mapped: " + rate_mapped);
}
}
}
It’s also worth mentioning that some of the code for the serial connection were reusable code snippets written by Professor Sherwood and Ang from class examples.
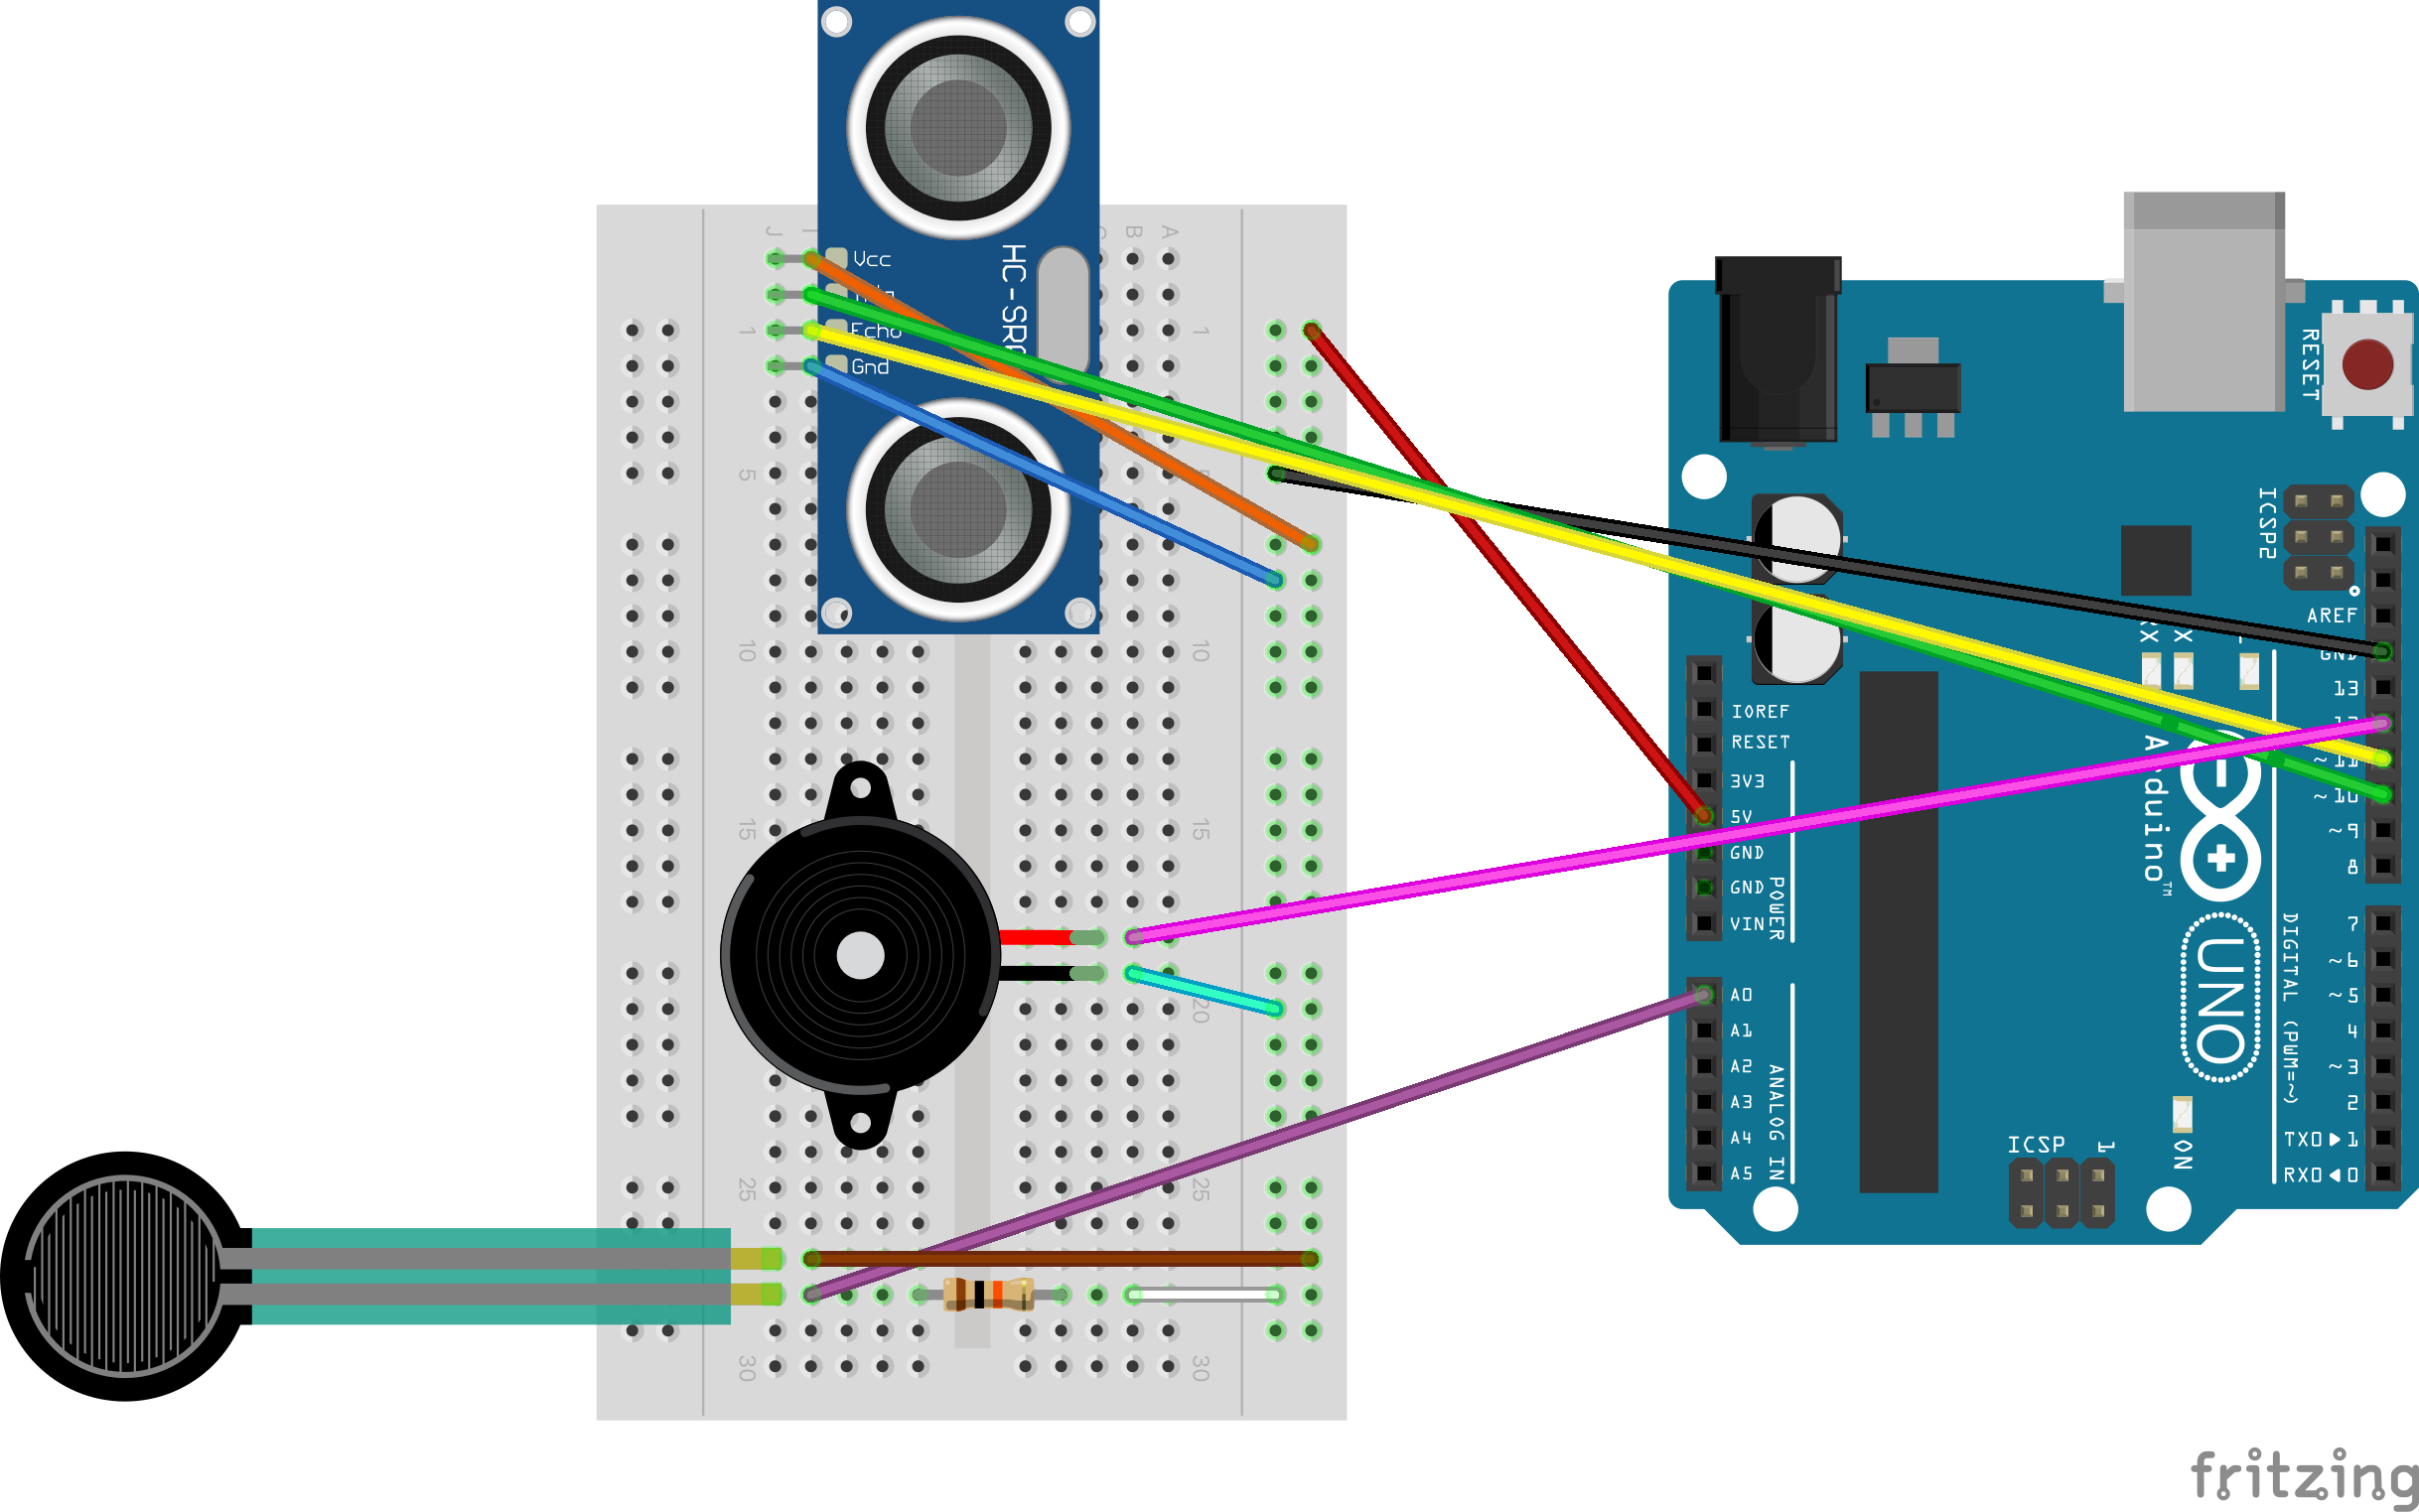
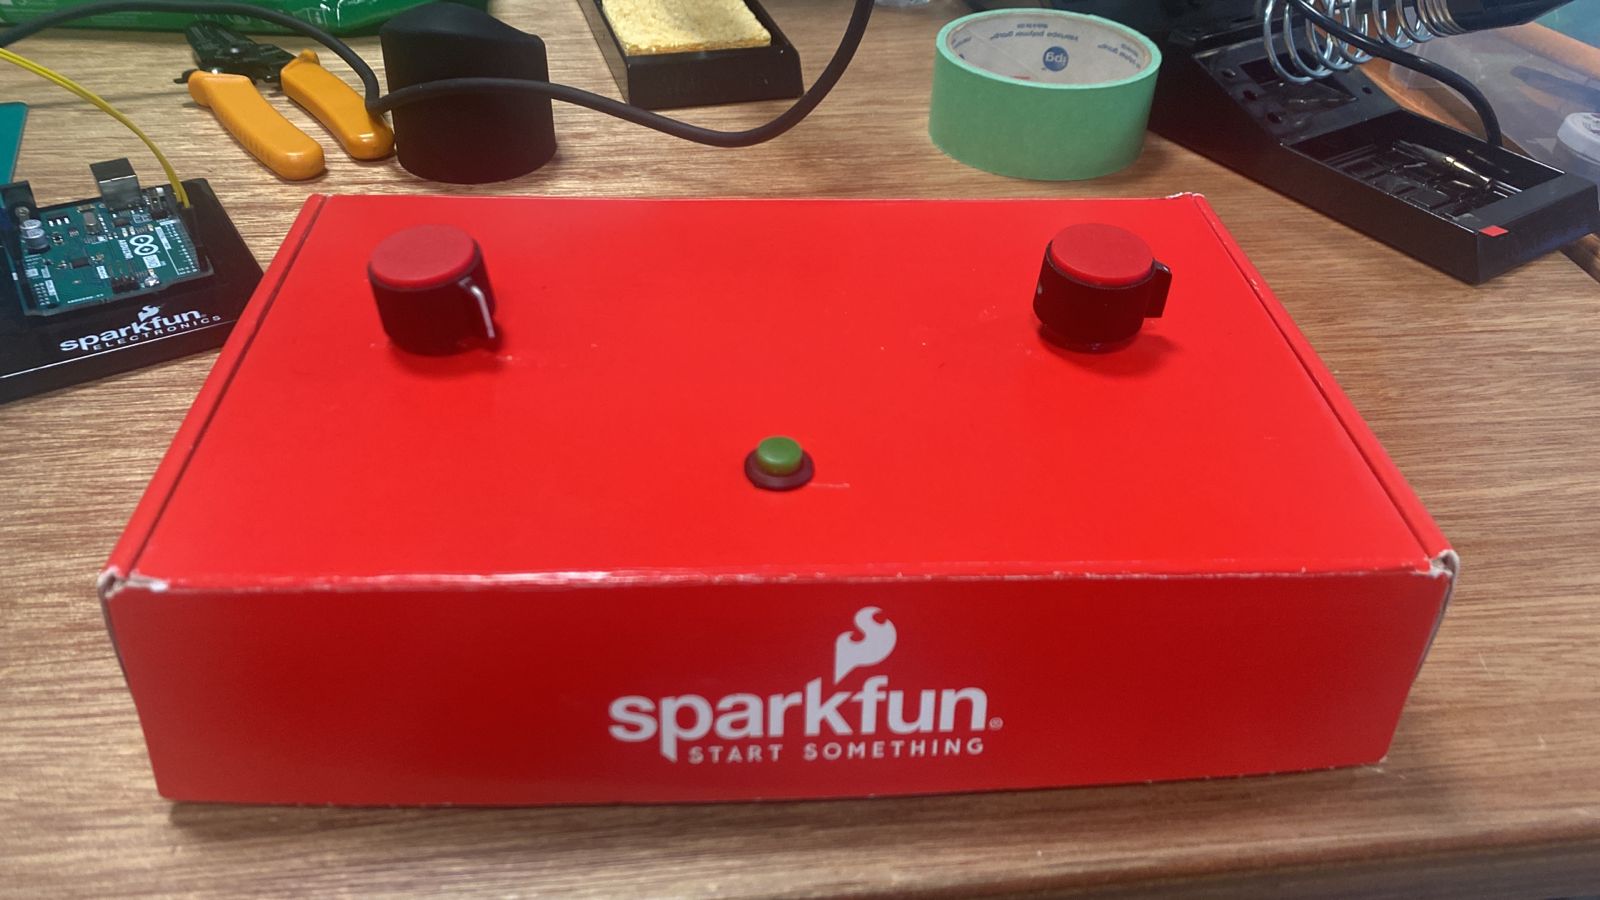
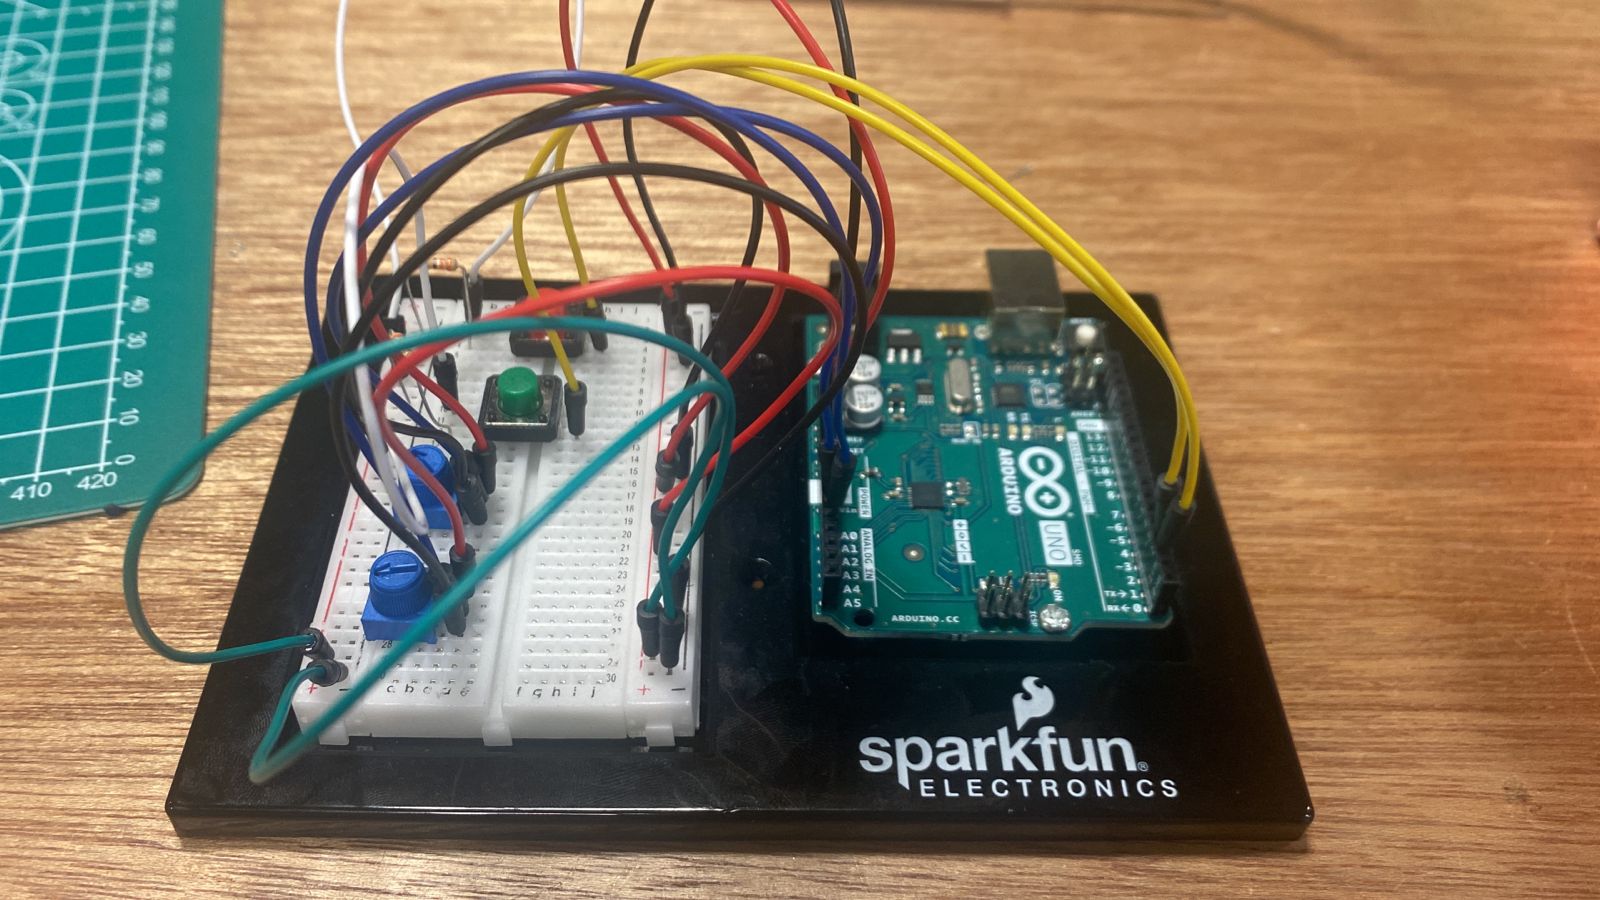
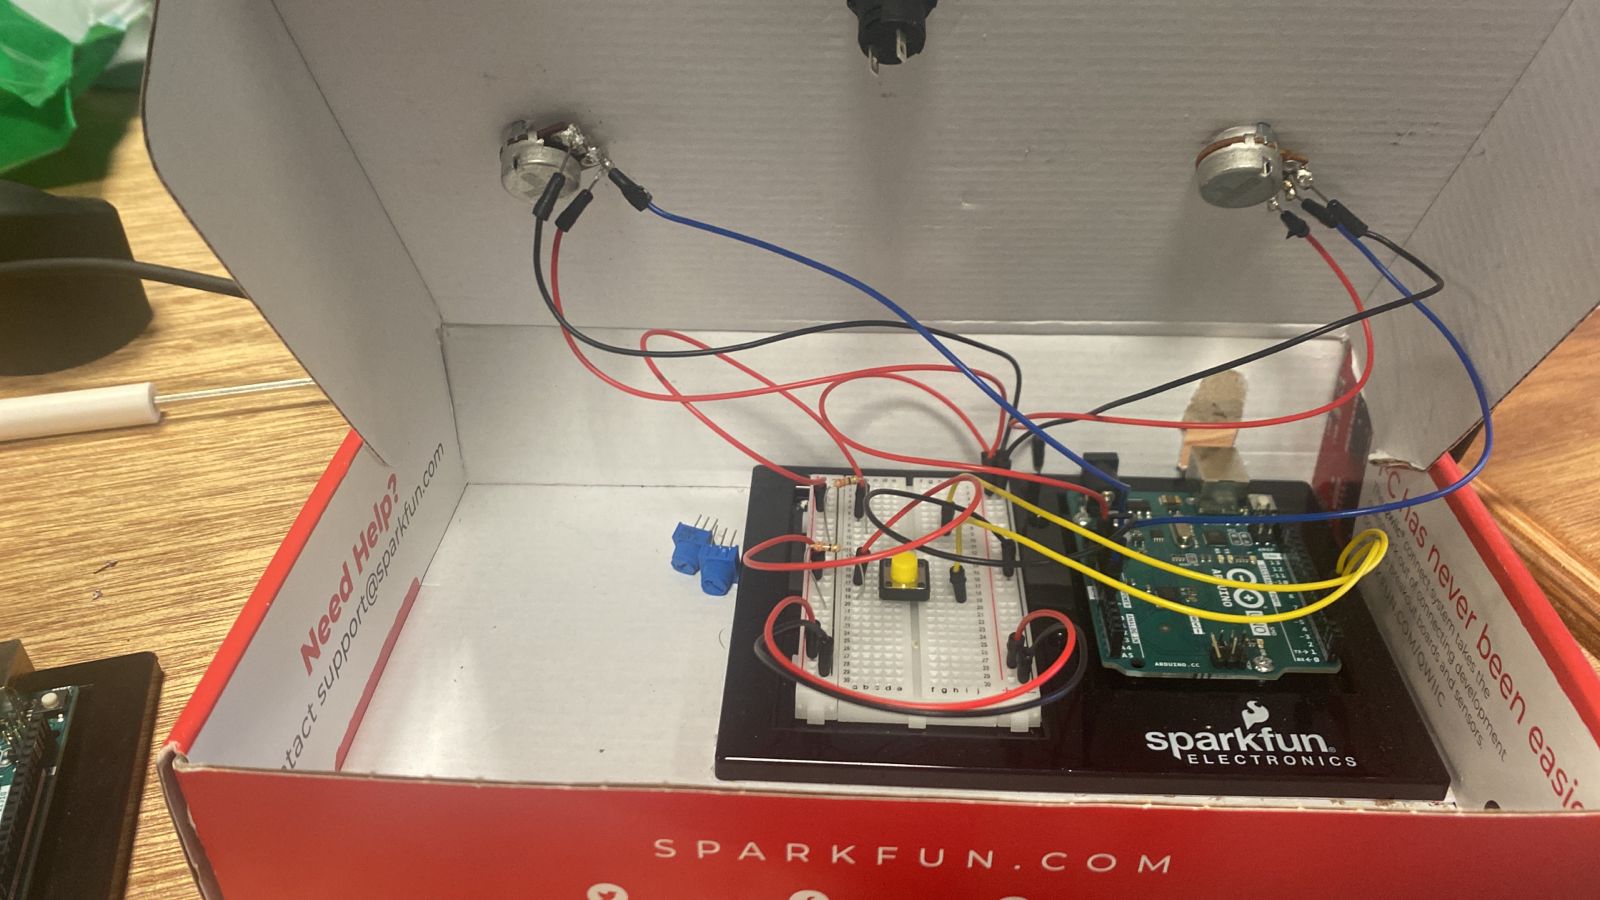
This is how our board looked:
Once we connected the Arduino board and had the serial connection going, it was now time to map the values to fit into the arguments. I had a pretty solid grip on the ranges for the different music functions like the dryness and wetness of reverb, due to being a music major, and had a good understanding of how our random values would translate to what we hear (QM also ended up learning a fair bit about music at this point from Daniel).
But even then, it wasn’t smooth sailing. Although we had an understanding of the values, p5 was playing its sly tricks with us with the inner working (or should I say, inner loopings!) of the draw() function causing a haphazard in the music where multiple tracks were playing by overlapping each other and it sounded more like a cacophony than a vibey night at a club.
One evening, after working for more than 5 hours continuously trying to solve these, we decided to call it a night and come back the next day.
Maybe sleeping on the bugs helped, because the next day, after the both of us worked simultaneously on our own laptops trying to fix the bugs, QM had a slight hint of a breakthrough when one of the buttons successfully paused the music without looping. Still it wouldn’t make it play again.
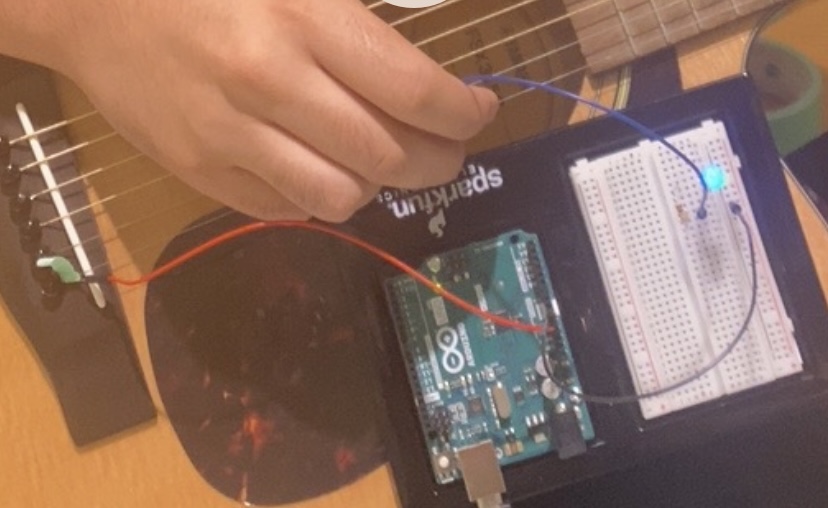
But then…(drumrolls) a moment of genius from Daniel and some tweaking of the code and suddenly everything worked! Words fail to describe how victorious we felt at that moment:
Now it was time to put everything together. QM, with a noob-level experience in soldering decided to solder the board together and Daniel would give a finishing touch to the interface, incorporating a dope background, cool fonts and a cleaner look. Here’s some of that scrappy soldering work:
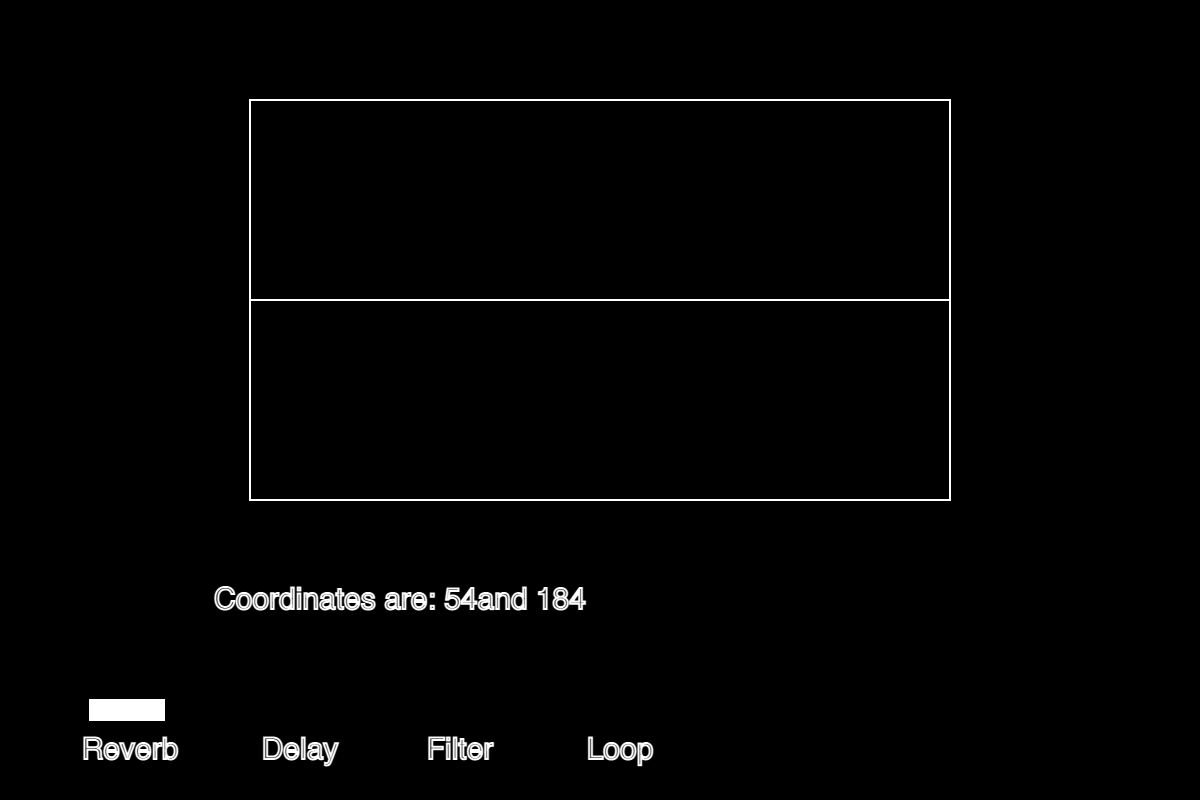
And here’s Daniel’s work on the interface:
We were both happy with the font and the look of the mixer and the DJ Falcon mixer was ready.
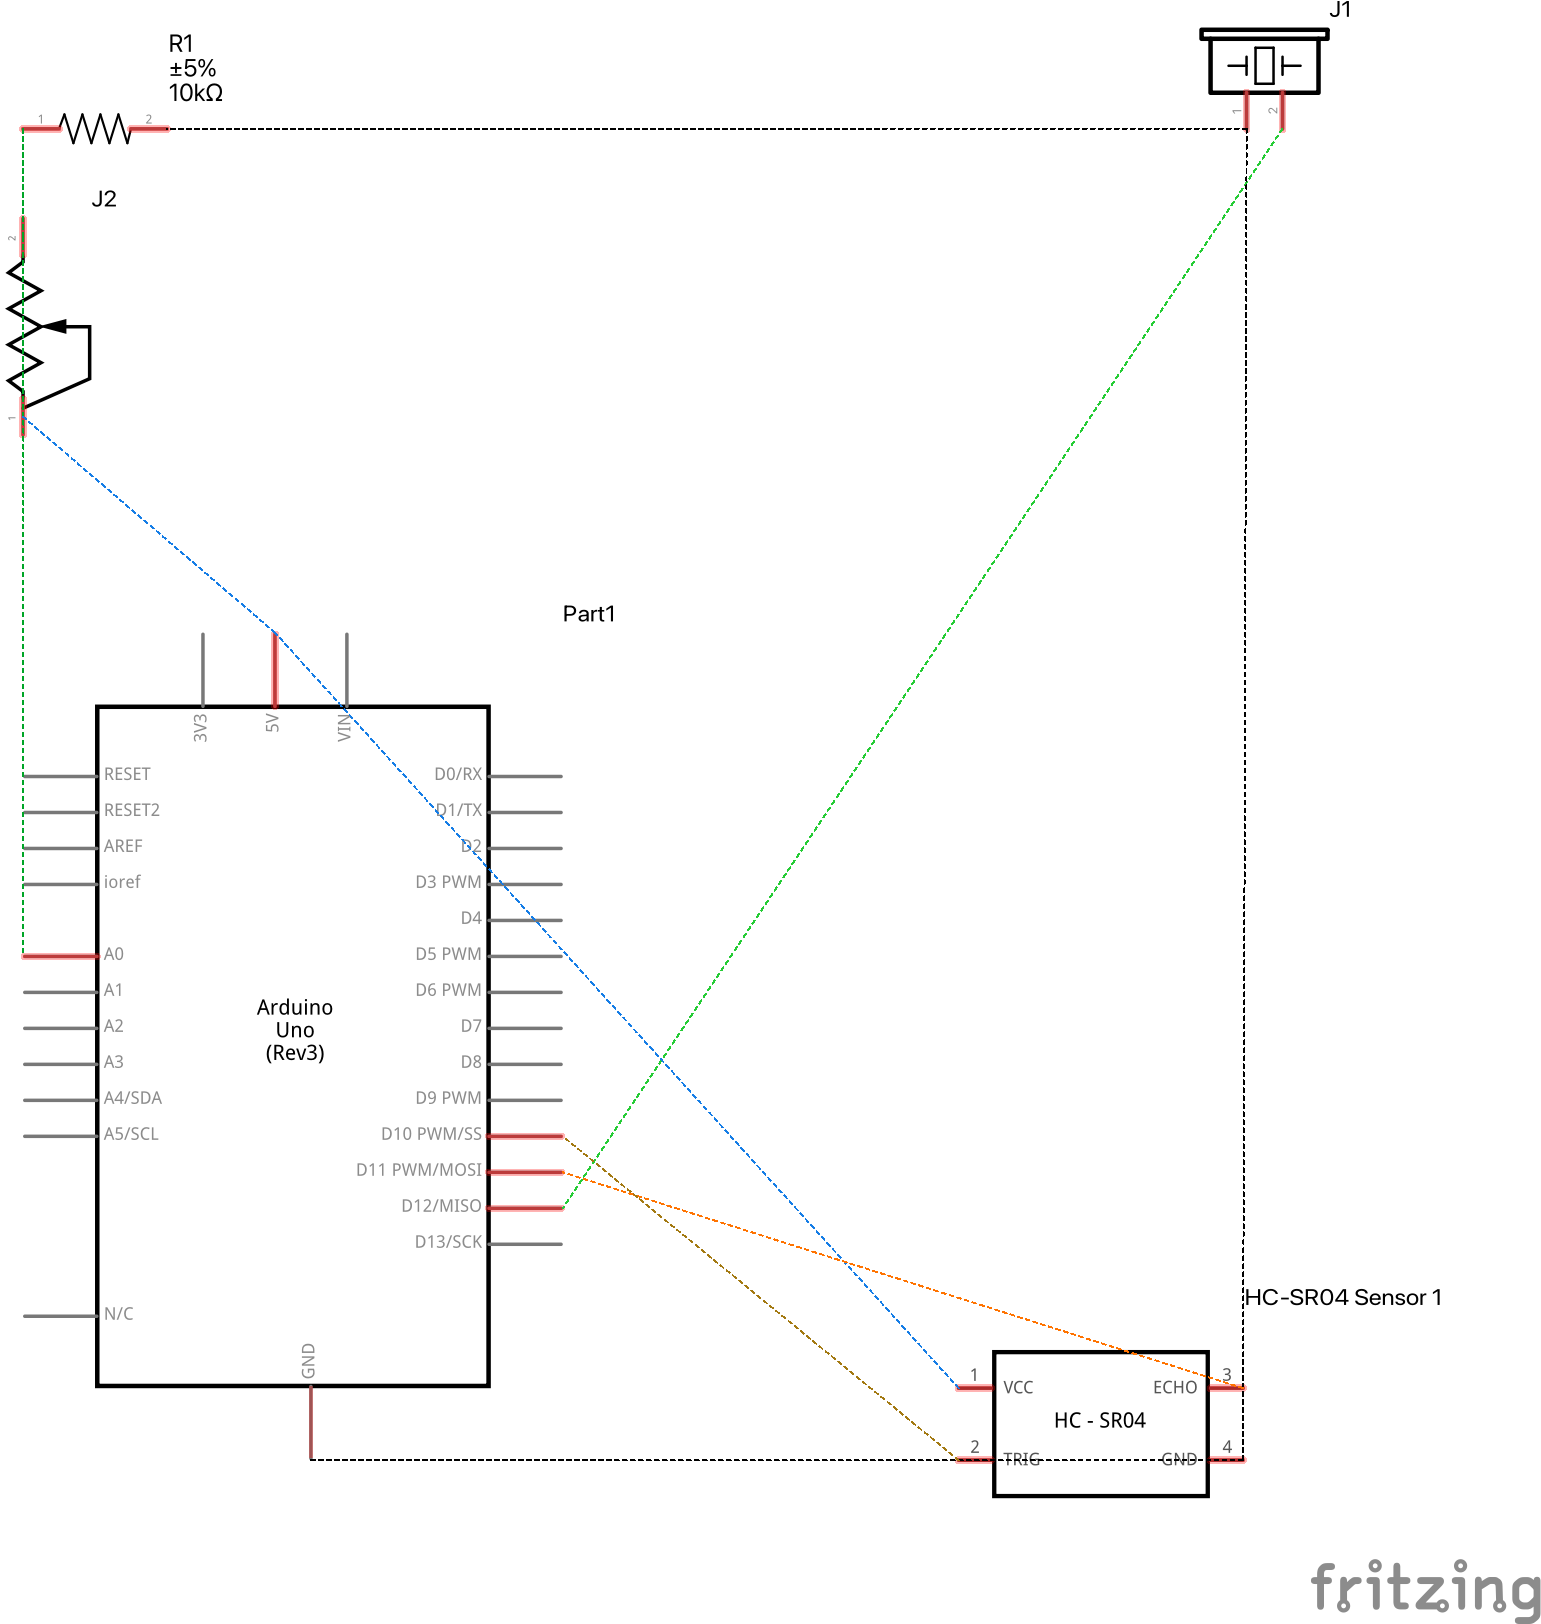
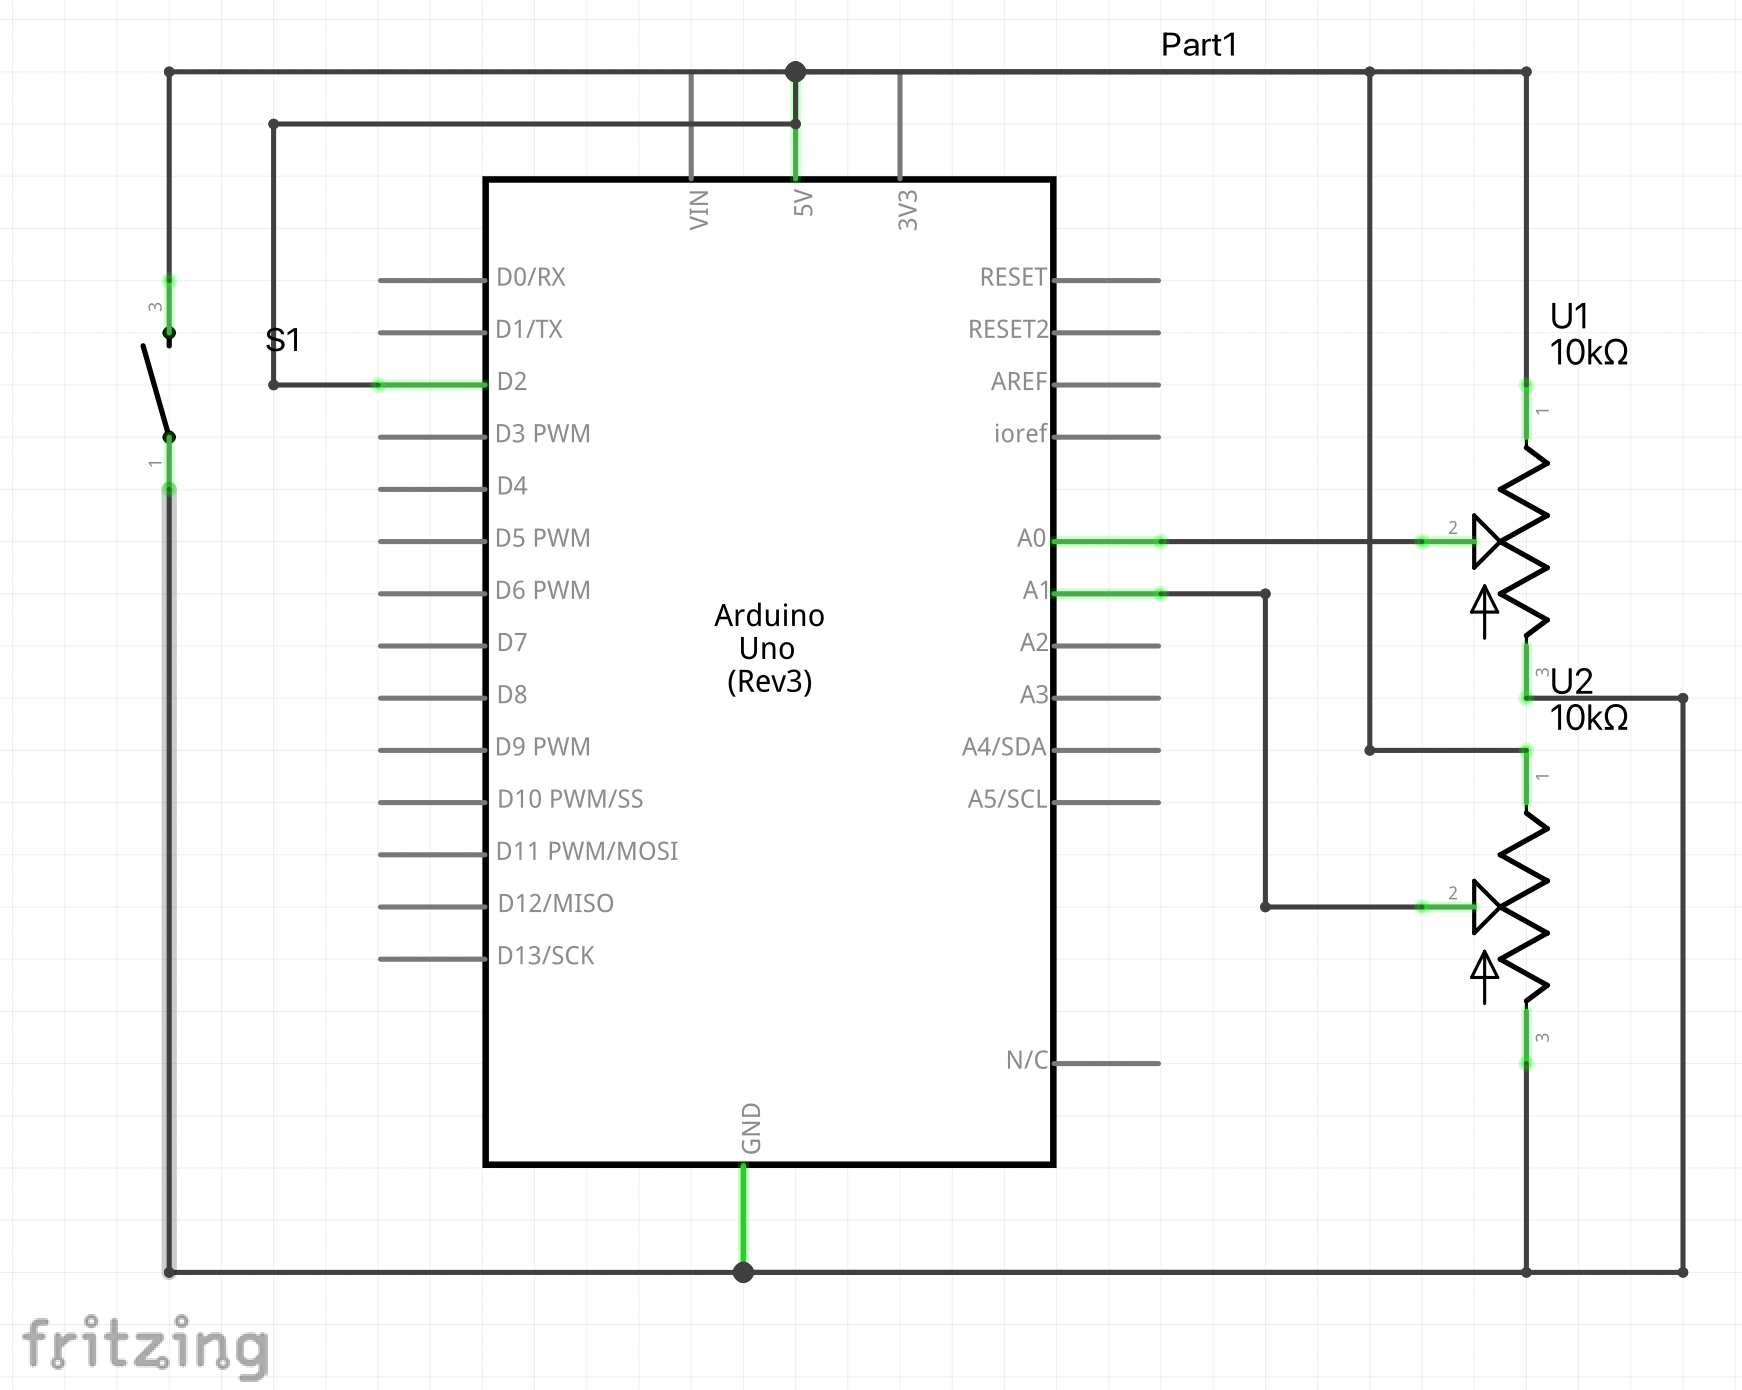
The Schematic:
Code: Arduino IDE
const int switchPin1 = 2;
const int switchPin2 = 3;
void setup() {
Serial.begin(9600);
pinMode(switchPin1, INPUT); // initialize serial communications
pinMode(switchPin2, INPUT);
}

void loop() {
// read the input pin:
int pot = analogRead(A0);
int mappedPot = map(pot, 0, 1023, 0, 255);
Serial.print(pot);
Serial.print(",");
int potRev = analogRead(A1);
int mappedtest = map(potRev, 0, 1023, 0, 255);
Serial.print(potRev);
Serial.print(",");
int button1 = digitalRead(switchPin1);
int button2 = digitalRead(switchPin2);
Serial.print(button1);
Serial.print(",");
Serial.println(button2);
delay(1);
delay(100);
}
Code for p5js:
Improvements:
We had more ambitious ideas in mind like using the delay() feature and a standby button but those were causing bugs due to the draw() function of p5js, but we’re sure these can be implemented in the future.