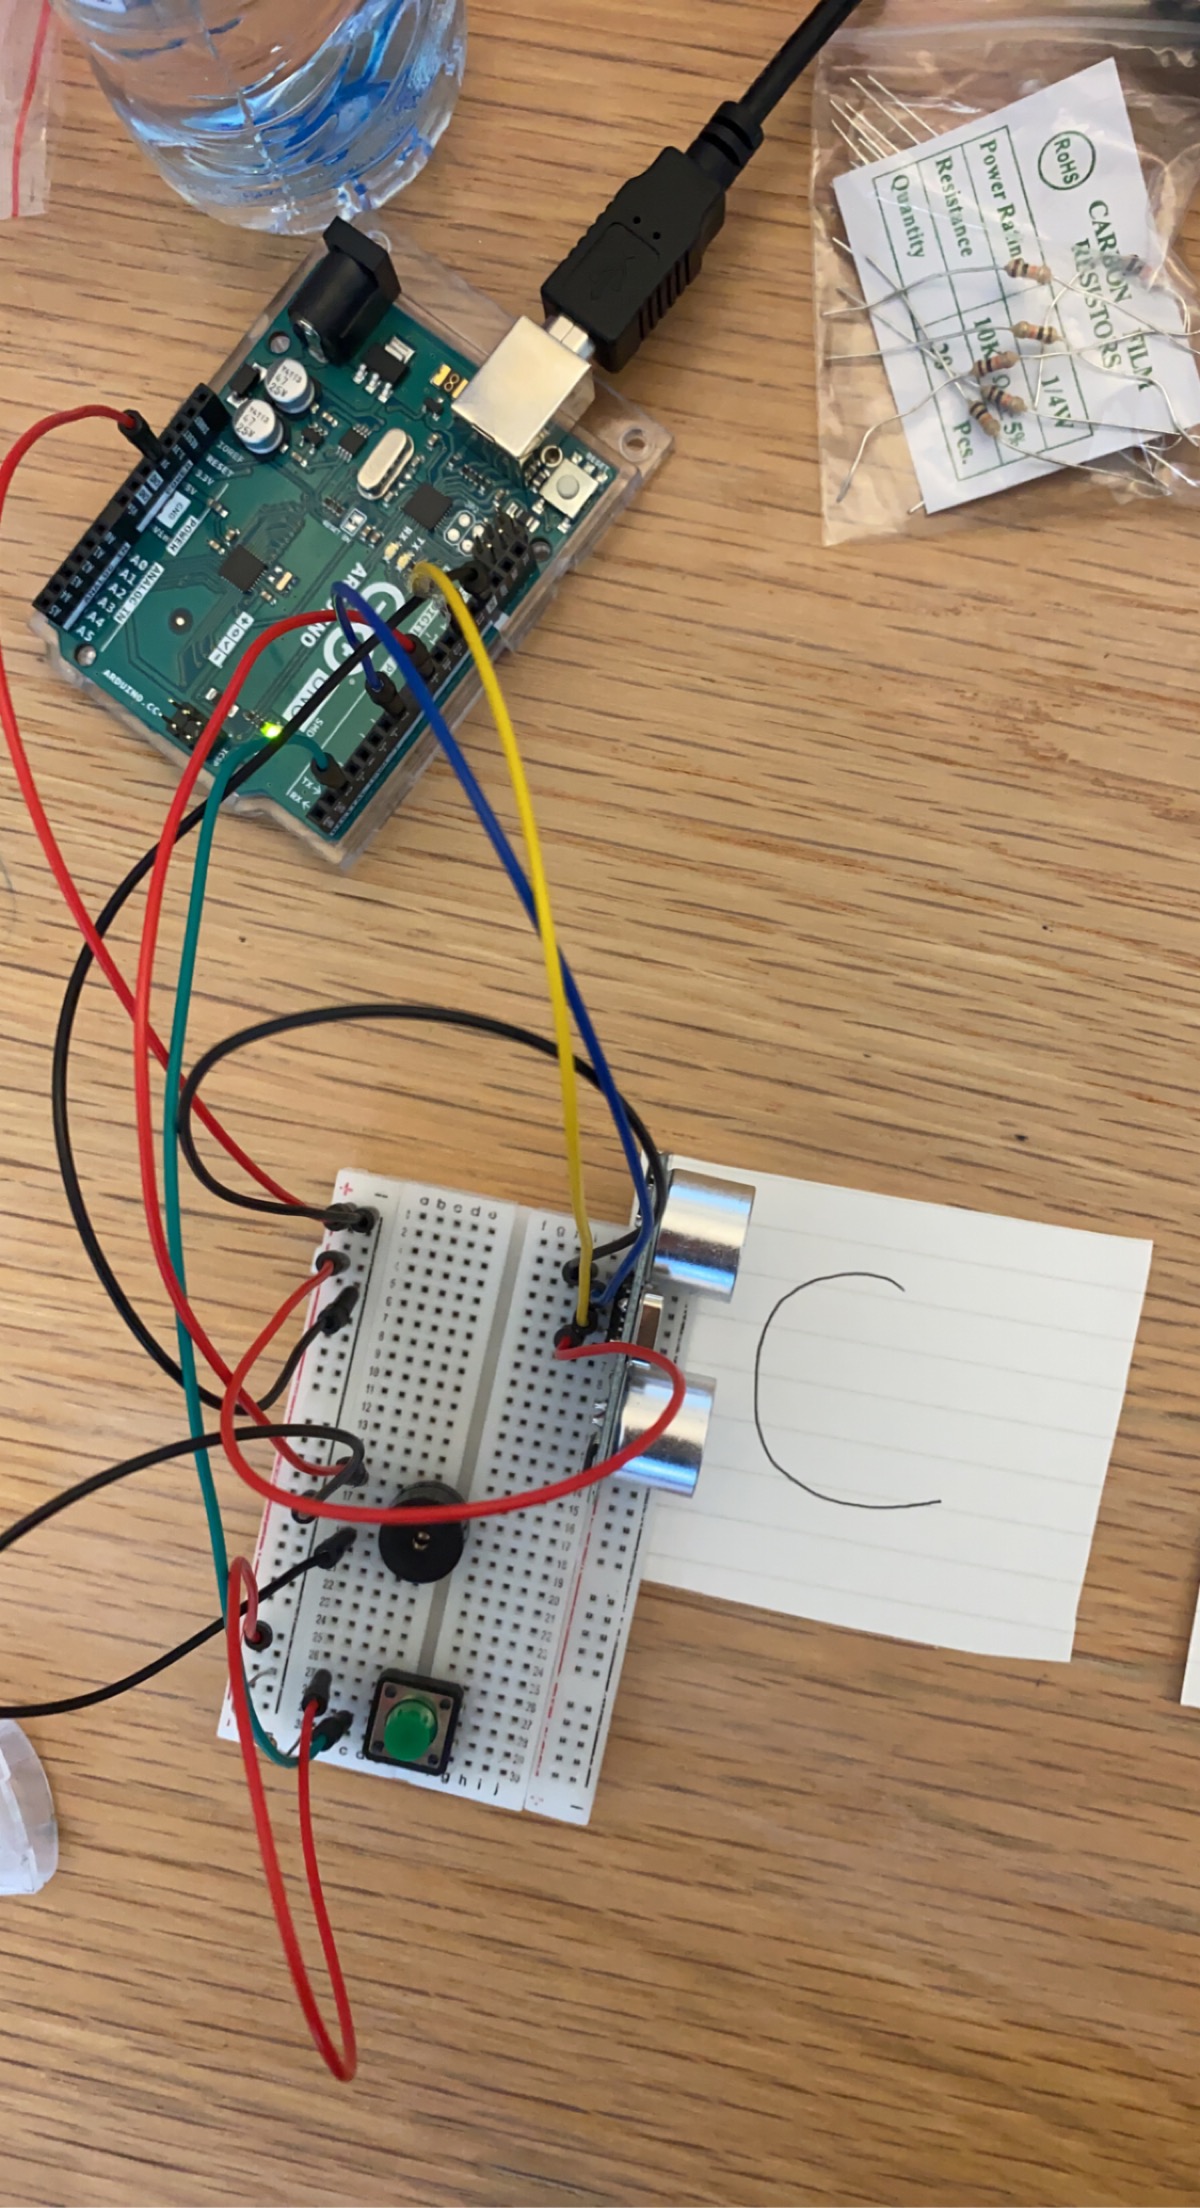
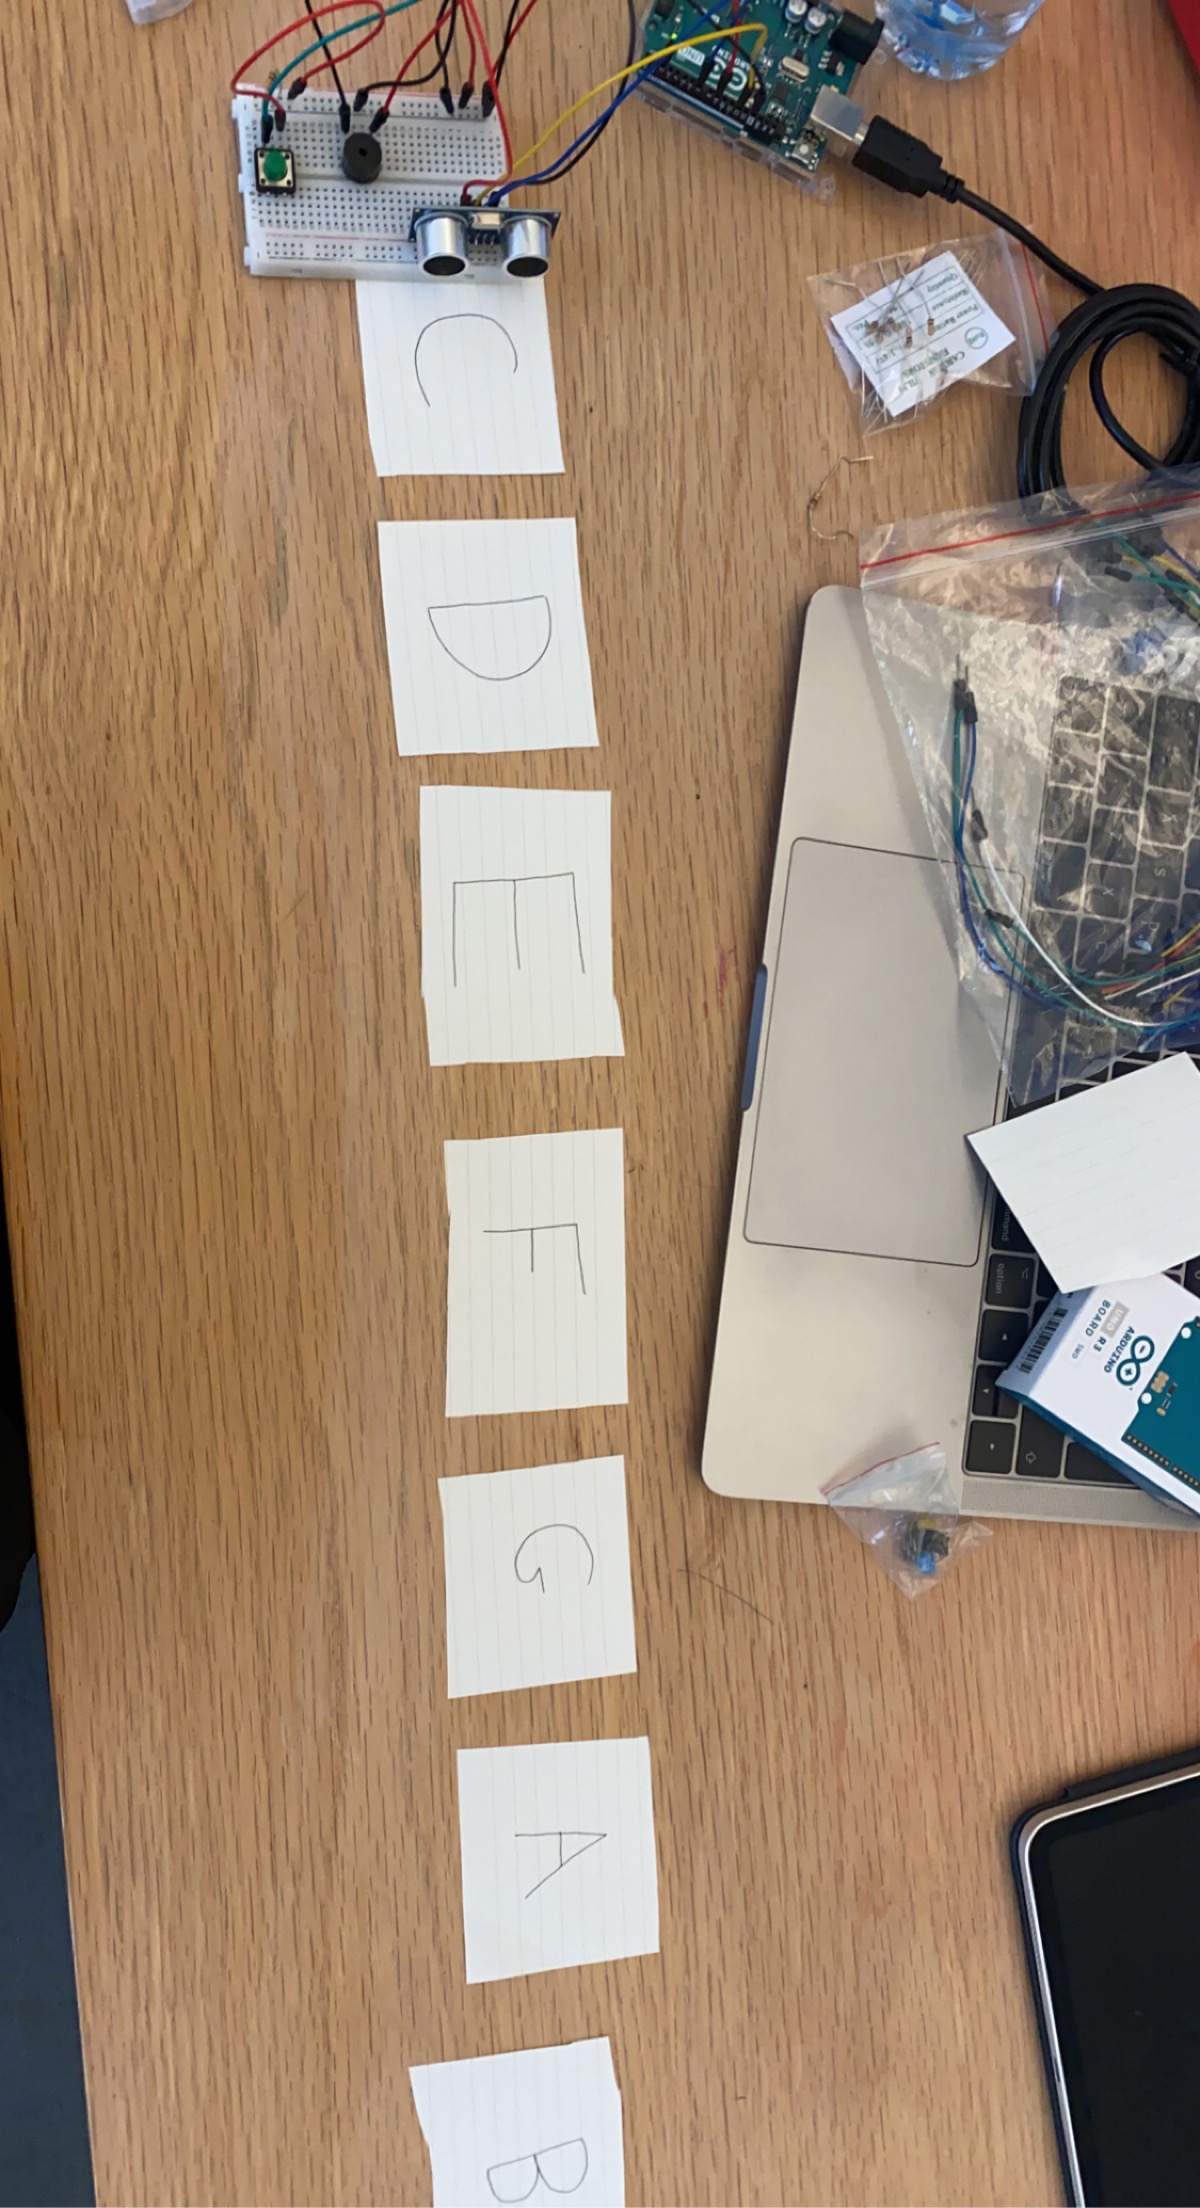
Aisha – Final Documentation

Initially, I wanted to create some sort of ball-scrolling game where a ball has to jump from platform to platform without falling down. However, I struggled with creating the 3D platforms for it and having it rotate so I then moved on to my next idea. As a kid, I used to love the game ‘Doodle Jump’, a mobile game where you have a doodle and have it jump from platform to platform, avoiding the enemy and falling down. Therefore, I decided to create my own variation of the game called ‘Hop’.

Creating the code on p5js was the biggest challenge for me. I had issues with having some platforms show, having the doodler not scroll past the screen as well as all through platforms. But with the help of https://codeheir.com/2021/03/13/how-to-code-doodle-jump/ and codeTonight I managed to fix these issues.

I printed an instructions page for users to look at before playing  the game which looked like this:

Here is a link to the p5 and Arduino code: https://editor.p5js.org/aishaalketbi_/sketches/KQIfnEUMj

This is the game:

I’m really proud of the game itself, I enjoyed coding it and whilst doing it I realized I loved coding games in general.


Future improvements:

  • I would like to make my controls look prettier. This is what it looked like:

  • I wanted to add white platforms and have them disappear when the player jumped on them however I couldn’t figure it out and decided to remove it.


Aisha Design Meet Disability Reading

The reading talks about how the design of products aids people with disability. It was really interesting as I never really thought of how certain designs do accommodate people with disabilities – I’m usually unaware of it.

The author mentions that the traditional views on design for disability have been to hide the disability which creates a negative connotation. Not only does it hide a part of the person, but it may also tell the person that they should be ashamed to publicly show and express their disability which could actually be a part of what makes them who they are.

An example of a design for the disabled they gave is eyewear. Glasses have shown the way some people may divert from this traditional view. There are many ranges and styles for eyeglasses giving people the choice to pick out what seems more comfortable and fashionable to them. There are also many people nowadays buying eyeglasses just for the aesthetic even if they have no prescription for them. However, if we look at another design they mentioned such as a prosthetic leg many people may associate negative connotations with it and may hide it due to it ‘not being goodlooking’ even though it is totally functional. I definitely think this needs to change. I don’t think anyone should have to feel that they are ashamed of their disability.

The last thing I want to mention is that I definitely agree with the fact that these designs should be as simple as possible. The main point of these designs is to help people who are disabled. The designs should be simple enough for the users to be able to use them to their full potential without stressing them out.

Aisha – Ball Run Game Final Project Concept

For my final project, I want to create a 3d type of game where the ball has to jump on obstacles. The further you get the higher your score will be similar to subway surfer. To make it physically interactive, I want to have the Arduino connected to a glove so the user can move/tilt their hands to guide the ball onto the obstacle. If this doesn’t work I will use buttons to move left/right and jump. Once the ball falls a game-over screen will be displayed with the user’s score, high score, and option to restart the game.

Assignment 8: Serial Communication

Group: Aisha, Hessa, Joonha

Schematics includes all three exercises:

Exercise 1:

Arduino Code (Credit to Hessa):

void setup() {
  Serial.begin(9600); // initialize serial communications
}
 
void loop() {
  // read the input pin:
  int potentiometer = analogRead(A0);                  
  // remap the pot value to fit in 1 byte:
  int mappedPot = map(potentiometer, 0, 1023, 0, 255);
  // print it out the serial port:
  Serial.write(mappedPot);
  //Serial.println(mappedPot);
  // slight delay to stabilize the ADC:
  delay(1);                                            
}

p5js:


Exercise 2:

Arduino Code (Credit to Aisha):

int LED = 5;
void setup() {
  Serial.begin(9600);
  pinMode(LED, OUTPUT);
  // start the handshake
  while (Serial.available() <= 0) {
    Serial.println("Wait");  // send a starting message
    delay(300);               // wait 1/3 second
  }
}
void loop() {
  // wait for data from p5 before doing something
  while (Serial.available()) {
    int brightness = Serial.parseInt(); 
    if (Serial.read() == '\n') {
      analogWrite(LED, brightness); // turn on LED and adjusts brightness
      Serial.println("LIT"); 
    }
  }
}

p5js:

Working Video:


Exercise 3:

Arduino Included in the p5sketch (Credit to Joonha)


Working Video:

Aisha & Marija – Musical Instrument Assignment

For this week’s assignment, we were struggling to come up with an idea so we scouted the internet for inspiration. We came across this video https://www.youtube.com/watch?v=J8XNTHETgxU and thought it was a perfect and cool idea! The concept is essentially playing notes by moving your hands at a certain distance away from the ultrasonic sensor. The notes we used were C,D,E,F,G,A,B. The materials we needed were one breadboard, 9 wires, one ultrasonic sensor, one switch, one 10ohms resistor, and one piezo buzzer.  We also placed down pieces of paper with the notes on it to help us navigate the keys.

This is an attempt at drawing the schematic:

This is what the breadboard looked like:

This is the final outcome where we played mary had a little lamb:

This is the code we are most proud of:

// plays note at a certain distance

if (distance < 0 || distance > 50  || buttonState == LOW) { //if not presed and not in front

   noTone(9); //dont play music

 }

 else if (( buttonState == HIGH)) {  //if pressed

   int sound = map(distance, 0, 50, 0, 6);  //map distance to the array of notes
   tone(9, notes[sound]);  //call a note depending on distance

 }

Future improvements:

  • Not sure if the schematic is correct
  • When we would reach A or B the sound would sometimes become fuzzy or cut out so it would be nice if we could fix that.
  • It would be better if we designed our own keyboard.

Aisha – Analog & Digital

For my assignment, I initially wanted to have the LED lights off and then turn them on via the switch. Whilst holding the switch, I wanted to use the light sensor to change the brightness by hovering my finger over it. However, I couldn’t figure out how to use the light sensor whilst using a switch. It wasn’t working for me, unfortunately. So instead, I used the switch for blinking lights in sync and the light sensor to decrease the brightness whilst it is covered. For this, I needed: wires, resistors, a pushbutton, a light sensor, and LED lights.

I implemented the code we did in class for blinking and got help from this youtube video https://www.youtube.com/watch?v=d6xLaTxFVM4 to decrease the brightness via the light sensor.

This is the code I used for decreasing the light when the sensor is covered:

void loop() {
  // put your main code here, to run repeatedly:
  int buttonState = digitalRead(pushButton);
  ldr = analogRead(A0);
  brightness = map(ldr,0,1023,0,255);

   analogWrite(6, brightness);
   analogWrite(3, brightness);
}

Schematic Diagram:


Project:


Future Improvements:

  • I’d like to do my original idea
  • I also would like the brightness of the LED light when the sensor isn’t covered to be brighter.
  • I’d also like to get more confident doing the schematic drawing as it did take me a while to figure it out.


Aisha Reading Response – Physical Computing’s Greatest Hits (and misses) & Making Interactive Art: Set the Stage, Then Shut Up and Listen

The reading, ‘physical computing’s greatest hits (and misses)’ gives out the message that the professor has been constantly telling us throughout this course. That is, we shouldn’t build our idea as it has been used before but rather learned from the way it was used and alter it to add our own original touch. The writer then goes on to give ideas for interactive projects made such as theremin-like instruments, gloves, floor plans, video mirrors, and much more. The glove was definitely the most fascinating to me as I’m thinking of incorporating it into my final project idea (building a game where hand movement can move players to avoid obstacles). 

The second reading explains how we shouldn’t interpret our own work as when we do we are essentially describing what will happen and how the audience will react to this certain interactive media. However, as we mentioned in a previous reading, observing, communicating, and listening are essential to making an object interactive. So what should be done is first, make an initial statement by building your project or designing its behavior then remain silent. After this, allow the audience to take in the project, letting the decide how it works, what each aspect means, and how they will respond to it. By doing this, you should observe their actions listening to what their behavior says about the project, whether it’s easy to understand if they feel emotionally affected by it, and so on. Thus, inventors should limit the amount of bias and instructions they give to a user as the only way to get honest feedback is to stay quiet and observe.

Aisha – Assignment 5: Switch

For my assignment, I decided I wanted to create something that was fun and could keep me busy for quite some time. Thus, I decided to create a ball-tossing game where the ball has to enter the cup in order for the LED switch to light up. I used the standard materials within the Arduino kit (wires, resistor, LED light) as well as a small foam cup, a silicon ball wrapped in aluminum, and tape.

Initially, I wanted to have the wires taped at the bottom of the cup. After testing out whether the aluminum ball would light up the LED, I realized it wasn’t going to work and instead made holes in the side of the cup for the wires to fit through and sort of catch the ball when it fell (with the help of tape to keep the wires steady).

Images:

Wire going into the side of the cup
Empty Cup
Cup with the ball inside

Video:

Future Improvements:

  • Something that I wanted to do but couldn’t figure out was to add another LED light for a sort of backboard and if the ball hits the background the other LED will light up so I think it would be really to do that.
  • It would also be cool to add more cups assigned to different lights.
  • Material-wise, I think using a more stable and rigid cup would be useful as it sometimes does move if I hit and miss it. Furthermore, I could add a piece of cardboard or paper in the bottom of the cup to make the wires stable and rigid as I had problems (which I eventually fixed after finding the right angle and using tape on the outside of the cup) where the piece of aluminum wouldn’t touch both wires thus not lighting up the LED.


Aisha – Floor Is Lava Midterm

Concept:

For my Midterm Project, I decided I wanted to create a sidescroller game similar to Super Mario and Geometry Dash. After contemplating the idea of the game, I chose to create a floor lava game.  The user starts on the left side of the map with the aim of getting to the finish line (right side of the map). The user must jump on platforms to avoid falling into the ‘lava pit’ and dying. There is a title screen displaying the name, levels (Easy, Medium, and Hard),  and instructions. The user can pick any level to start off with.  If the user falls into the ‘lava’ a screen will be displayed informing them that they lost and they can go back to the menu. If they successfully reach the other side, a screen will be displayed informing them that they have won and that they can go back to the menu. There is a continuous lava sound playing in the background of the game.  Link to game: https://editor.p5js.org/aishaalketbi_/sketches/LH21rAmDW

How the Game Works:

With the help of Chris Courses on Youtube (Mario Game Tutorial with JavaScript and HTML Canvas), I managed to get things working. I first created a Class of the Player and Ground to test whether scrolling, collision, and movement would work. I gave my Player a constant velocity. For collision, I created a for loop that detected If the player was on top of the ground it would not fall through. For scrolling the ground, I coded that once the player reaches 450 on the X axis, the ground X axis would be decreased to the left to create the illusion of scrolling. Once I managed to get that working I added the platform as well. Here is the code for scrolling:

if (player.x < 450) {
      player.x += player.xg;
      player.xg += player.v;

      ground.forEach((ground) => {
        //moves the ground to the left to create the illusion of scrolling
        ground.x -= 10;
        scrollOffset += 5;
      });
      platforms.forEach((platforms) => {
        //moves the ground to the left to create the illusion of scrolling
        platforms.x -= 10;
      });
    }

Furthermore, with the help of Mangs code, I allowed the background to scroll continuously.

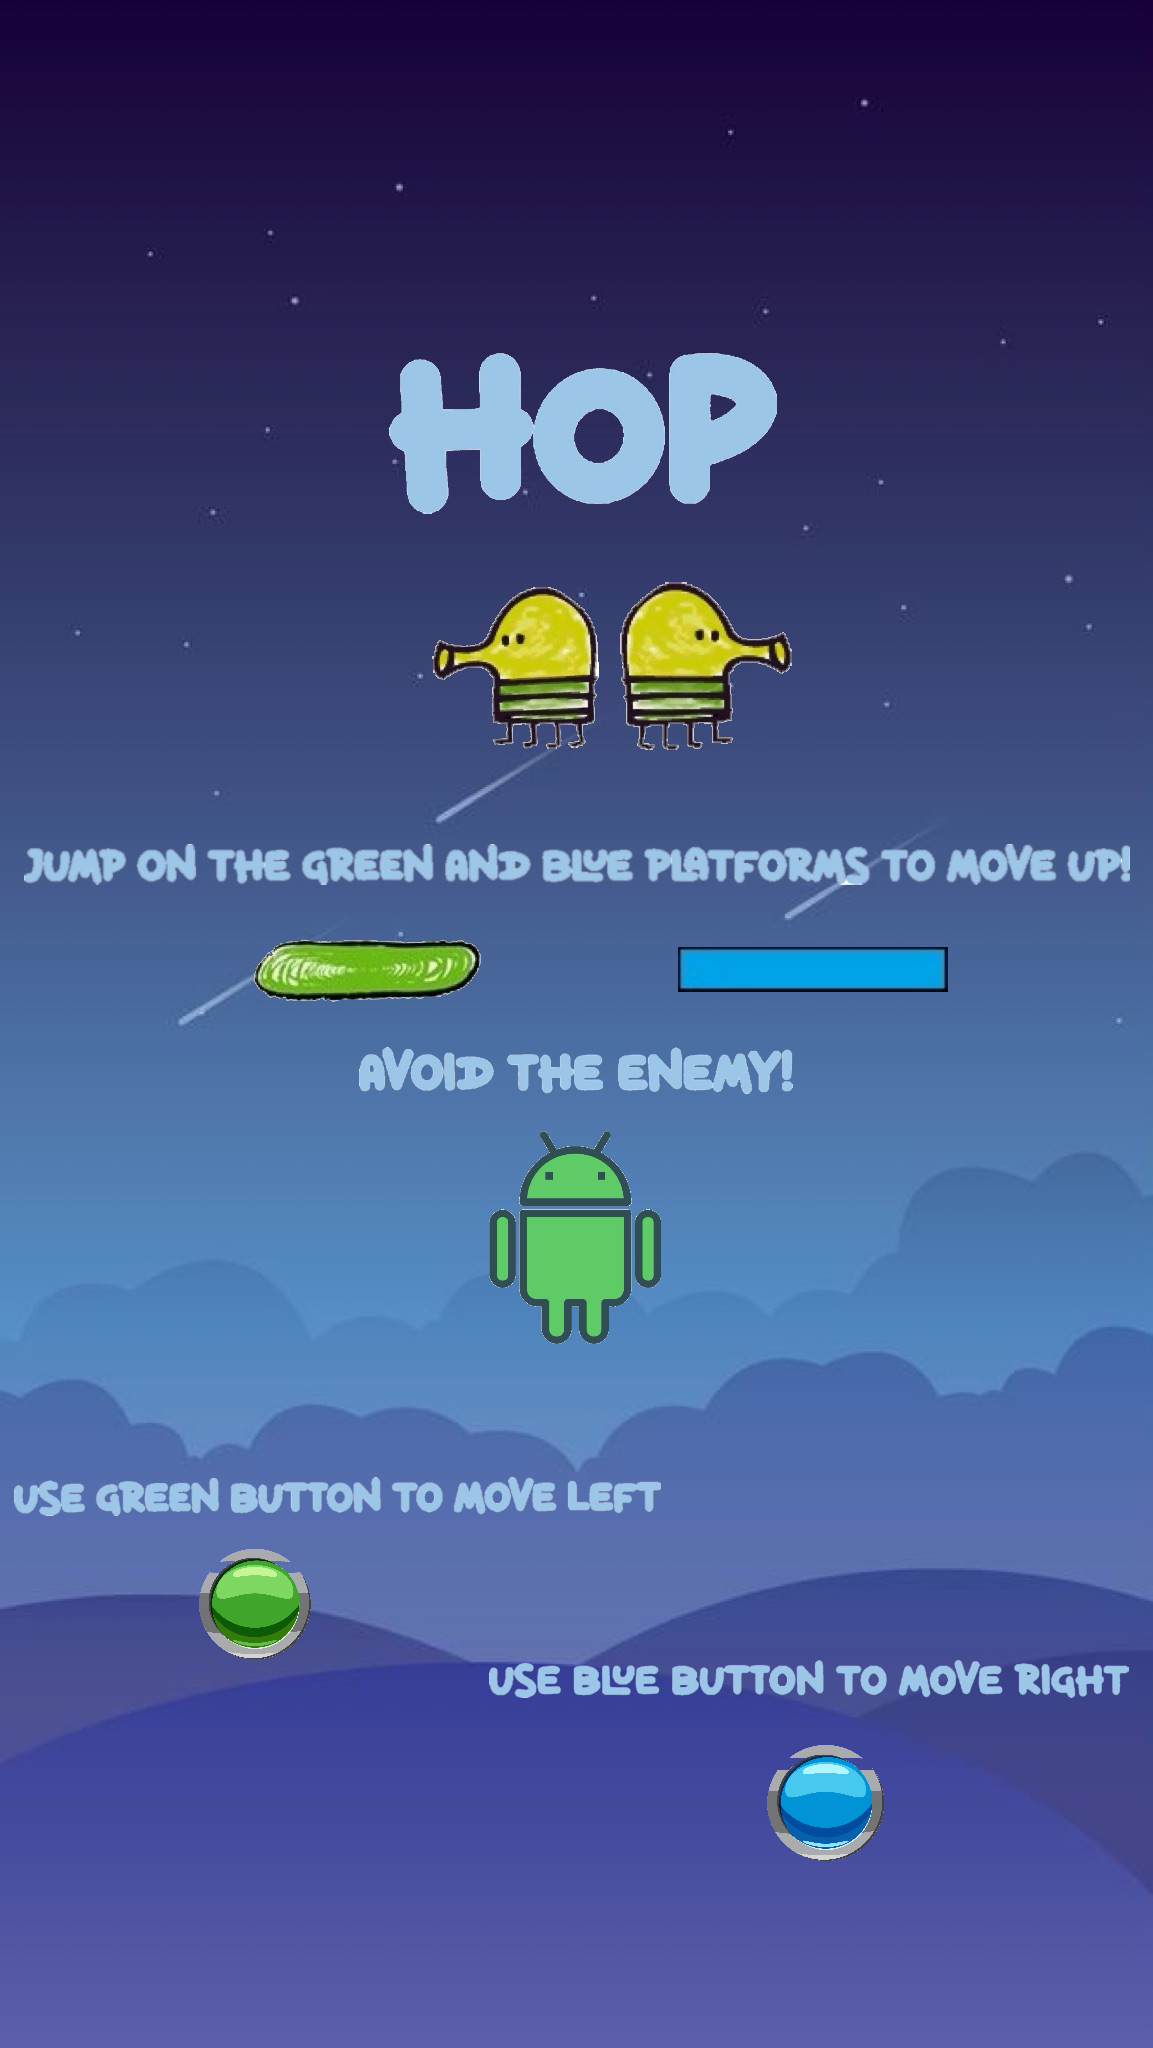
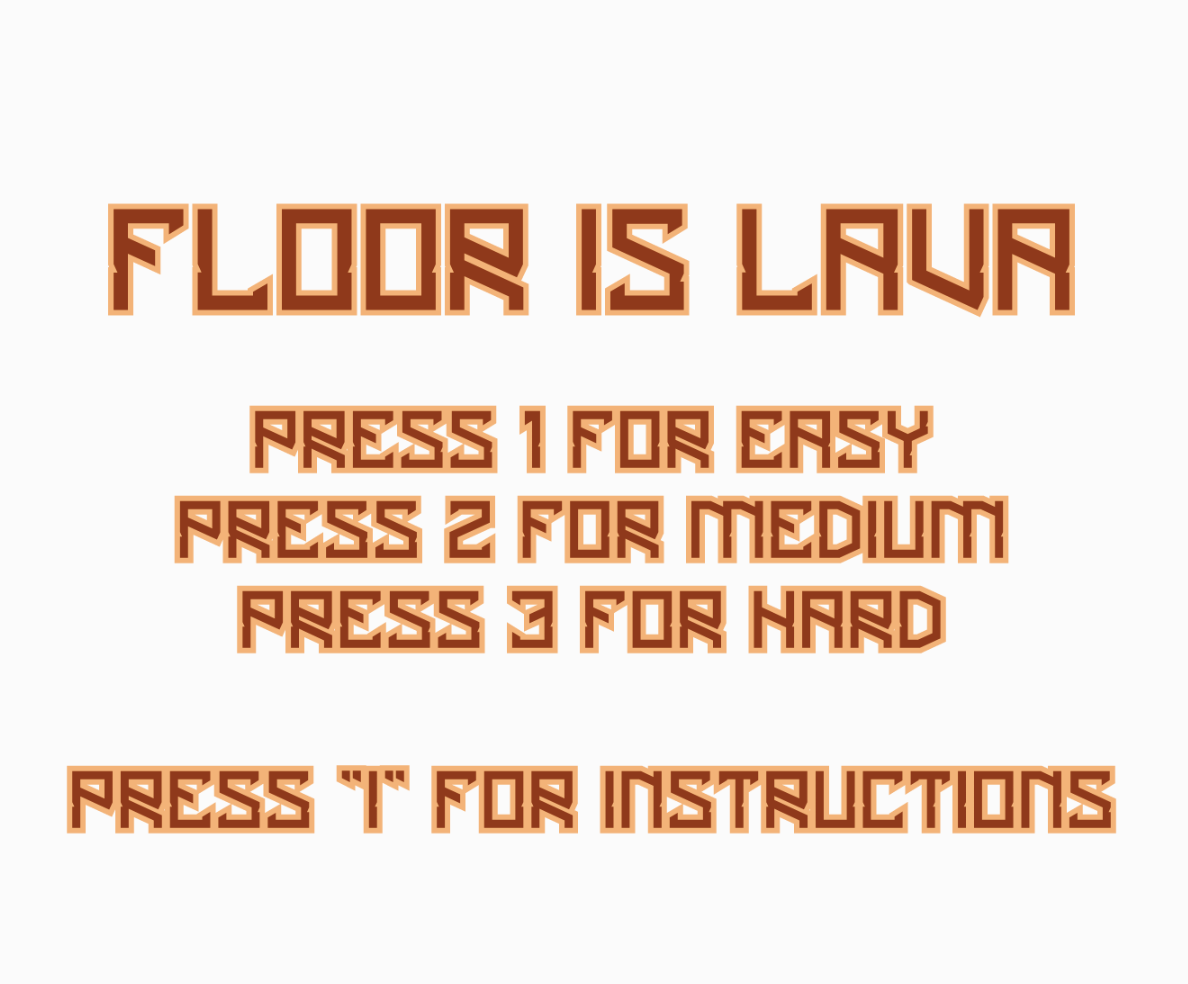
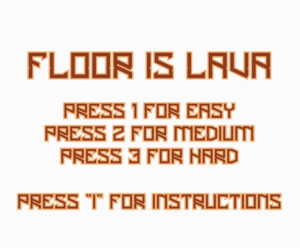
The function keypressed is essential to my code as it not only allows the user to jump with the use of gravity but also allows the user to navigate between different levels and to the menu. Here is a photo of the title screen:

Good Game Design:

Originally I was only going to put platforms (the shorter platform) for the user to jump on however, I decided to add both longer (the ground) and shorter platforms to make the game more difficult for the user. The key pressed-up function also is a good game design as the user doesn’t have to worry about moving the ball itself, all they have to do is jump.


Challenges:

There were a few challenges I came across. Firstly, I wasn’t sure how to use a for loop for the platforms and the grounds. It didn’t seem to work when it came to changing the position. So to tackle this, I used Chris Courses code which made it much easier and simpler for me. This is the code and it is the one I’m most proud of:

// collision (ball stops above platorm)
    ground.forEach((ground) => {
      if (
        player.y + player.d <= ground.y &&
        player.y + player.d + player.yg >= ground.y &&
        player.x + player.d >= ground.x &&
        player.x <= ground.x + ground.width
      ) {
        player.yg = 0;
      }
    });

    platforms.forEach((platforms) => {
      if (
        player.y + player.d <= platforms.y &&
        player.y + player.d + player.yg >= platforms.y &&
        player.x + player.d >= platforms.x &&
        player.x <= platforms.x + platforms.width
      ) {
        player.yg = 0;
      }
    });

Furthermore, adding a sound took longer than usual as for some reason it would say “Loading…” when I clicked play for so long.

Here is the game:


Aisha Assignment 4 – Data Visualisation

Initially, I wanted to create some sort of data visualization surrounding the 2021/2022 season of the premier league. I ended up creating one showing the amount of points each team got that is indicated by the size of the circle allocated to them.

This is it:


However, I didn’t like the idea so I did more research as to what I could do for this assignment. I stumbled upon weidi youtube video on visualization  (https://www.youtube.com/watch?v=u-RiEAQsXlw&t=1536s) and decided to replicate her idea with my own data. I chose to display google trends of the football club Chelsea that occurred in the past 12 months. Through mouse pressed the user is able to switch between a circular graph to a bar graph each showing the trends.

This is the result:

The code I’m most proud of is the function to allow the graphs to switch.

//global variable
let graph = true;

// included in the draw function

if (graph) {
    CircularGraph();
  } else {
    BarGraph();
  }

  Button(buttonX, buttonY, buttonW, buttonH, "SWITCH GRAPH", 10);
}


function mousePressed() {
  if (dist(mouseX, mouseY, buttonX, buttonY) < 15) {
    graph = !graph;
  }
}


Improvements for the future:

  • I’d like to create my own group bar graph from scratch
  • I’d also like to use my own coding rather than rely on someone else (hopefully I manage this through practice)
  • Include a cool background
  • Include more data.