Car with functions:
https://editor.p5js.org/aaronsherwood/sketches/iyX7uqP8M
Car with Object-Oriented Programming (and with an array of cars):
Car with functions:
https://editor.p5js.org/aaronsherwood/sketches/iyX7uqP8M
Car with Object-Oriented Programming (and with an array of cars):
My assignment is more of an exploration and me having fun with the code trying to create something. I found this assignment much harder than the self portrait and I spent a lot of time trying out different code combinations to fully understand what the code does and how it changes the image. I started having fun when I got the hang of it though!
After browsing endlessly through the magazines and articles, I decided I was going to build a piece that resembled the following design by Georg Nees. I thought that using six different items in my work with different patterns would allow me to play arround with the functions we learned in class and further grasp the concept of randomness and noise.
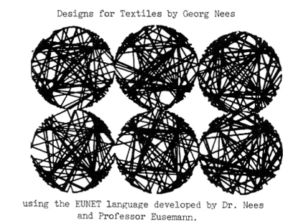 My first order of business was to draw the six circles on screen. Unlike the original piece, I decided it would look better if I prevented them from touching each other. This, because I wanted to use different colors on each. Below are some pictures of the initial code and experimentation.
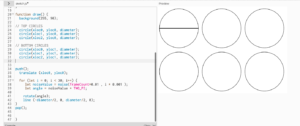
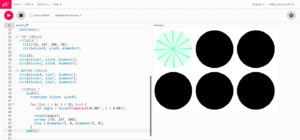
As soon as I set up everything I began to play arround with lines. I realized that, in order to build something to resemble the picture I was basing myself on, I would need lines with different lengths, and thus decided to play a little with the shapes I knew. I did this because I wanted my focus to be on for() loops, noise and randomness. Hence, I created three pairs of patterns that would give my art a symmetrical and unique feeling.
The more I worked on the project, the more I made it my own. I changed a lot of components I was not expecting to, and the last few hours of work were spent making sure that all of the elements made sense together and that the piece was aesthetically pleasing. Overall I am very happy with the final product. In the future, I would like to spend some time figuring out how to randomize the beginning and endpoints of the lines to, perhaps, do something more similar to the original piece.
The final product is composed of:
Throughout the process, I lost all my work once because my computer crashed when I used i+3 as opposed to i+=3 when writing a noise function. One of my biggest takeaways is to constantly save the code, and to document the process. Never losing anything again 🙂
To be frank, I found this assignment much harder than the face portrait. While I tweaked my code for hours only to be rewared with incremental improvements, I wasnt able to achieve the art piece I envisioned with my current level of expertise. I wanted to model the haphazard, random and continues movement of air particles trapped in a container but I could only get to the particle part. Something like the gif below.
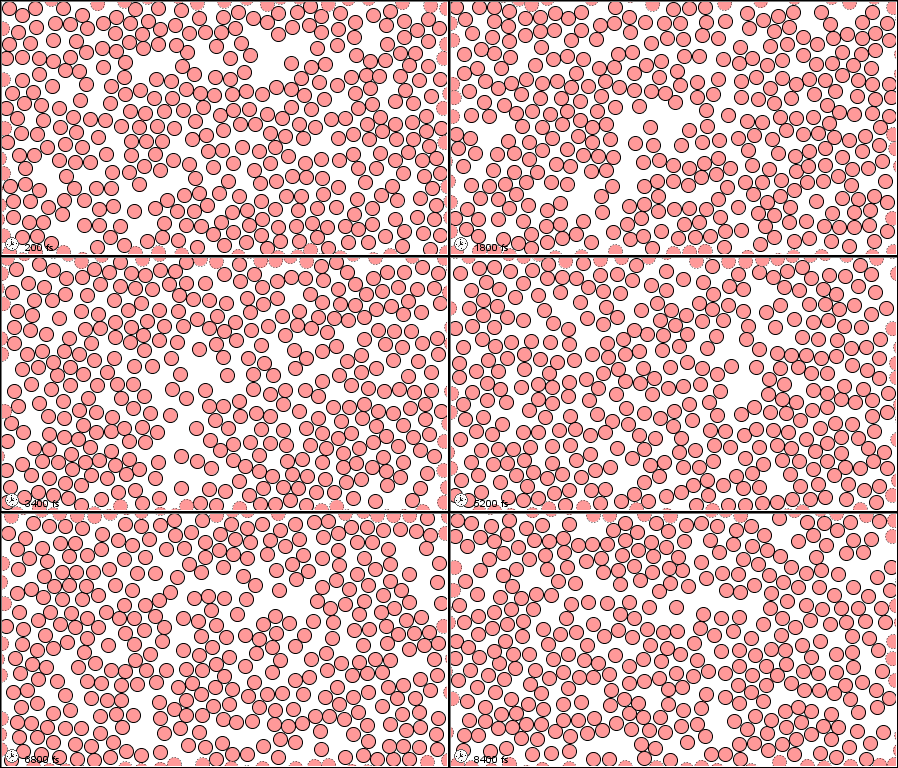
But I unfortunately couldn’t figure out how to move my many “air particles” once they had spawned in at random locations. Even with adjusting the circleX and circleY components the particels did not move. I will continue practicing p5.js and search up more tutorials so I am better prepared for the next assignments.
I had many ideas to do this assignment, yet I was stuck with a fixed idea of recreating this picture.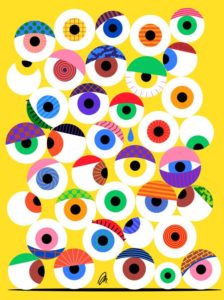 (https://www.pinterest.com/pin/594827063294340838/) and making it as if it was an animation. During the process, I was hoping to do a random change of pupil colours, I tried to play with the code many times yet I could not make the desired work. Apparently, I over-thought this assignment without considering that I do not have background knowledge. I used the “for” loop to generate many random eyeballs. Generally, I believe that I should have put more effort into making the assignment more complex in terms of coding rather than focusing on the superficial part, which took too much time. In the future, I will be more focused on understanding the basic concepts instead of being too concerned with the appearance of the project and just trust the process, but, at least, it was fun.
Initially, I wanted to replicate this artwork but with hands:
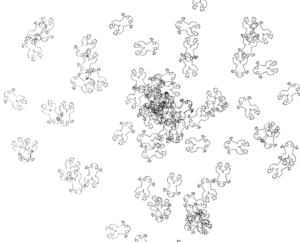
However, as I began this attempt, I realize that making hands from scratch is complicated and I did not yet know how to make this class of code (i.e. the several lines of code to create the hand in the first place) to be put into a for loop to print out several hands in random points across the canvas. So I decided to scrap that idea and move to using shapes already programmed within p5js. I again did not want to go with 2D shapes so I decided to play around with 3D and chose the cone.
It was pretty straightforward after, using the for loop to make the cone spiral and rotate throughout the canvas. But then I changed a few lines of code and the cone began to spiral inwards to the center and then back out again – I still do not understand how or why and I cannot get it to go back to the original rotation.
So here is the final product – that includes two versions and one slightly different one:
Version 1: with no Fade
Version 2: with Fade – I could not make it turn out the way I wanted it to. The fade worked separately, but once interacting with the rotating shape, it blocked out the background of dragging cones.
Version 3: something a little different
The concept of my artwork is displaying the splash raindrops makes when it hits the puddle. I wanted circles to be created in random positions with different timings since not all raindrops drop at the same time.
First task: Creating a Circle in a random position
This task was fairly simple compared to the other one. I created my code in an object-oriented way by making an object named splash (which is stated as a function in the script). Then, I give two random variables that are used for the x and y coordinates of the circle.
for (i = 0; i < 20; i++) {splash[i] = new Splash(random(50, 350), random(50, 350), i*8);}
As a result, I create 20 circles that have random starting x,y coordinates.
Second task: Display the circle at different timing
It was challenging to find a way to make circles appear at different timings. The solution to this problem was to give different large number indexes to every circle that will constantly decrease until 0, and let them start to be drawn when the index becomes 0. This delays the initiation of drawing and results in displaying circles at different timing.
This is assignment is based on using loops to design art and it was more of automating the designs rather than doing repetitive things again and again.
While I had completed this assignment with another design, I got another idea after seeing a filter on Instagram and I wanted to merge these. However, I kept them separately for the time being The idea was around optical illusion as well.
It required heart shapes, so I took the heart shape function code from here.
To figure out the pattern and visualize what I wanted, I created a non-iterative model:
After some time of playing around with the code, I figured out how to loop and draw the hearts. However, now what was challenging was to have different colors. I used if-else conditions to alternate the colors using the odd-even method. The next challenge was to make sure the colors changed and for that, I used a random function.
✨ Final Look ✨:
—first design—
I browsed the web for inspiration, and with the first search result, I came across this P5js code with a few lines halfway through the screen.
The reference/idea:
It is a pretty simple use of lines. That gave me the inspiration to create a moving illusion pattern like this:
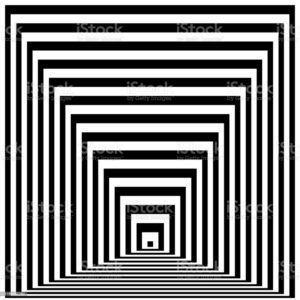
I started playing around with the code, changing colors, the orientation of the lines and it turned out like this, pretty different than what I expected.
Final Look:
I basically used loops, to draw lines in different orientations and spacing, used if-else conditions to change their colors. I also added a circle that moves with the cursor using mouseX and mouseY functions that changes its color on every click (used mousePressed function).
Before beginning this assignment, I was watching a ton of videos online. The loading symbol in the shape of a circle which would show up when the video was buffering stood out to me a lot. This shape and movement stayed in mind while I began assignment 2, and so I decided to center my work around that.
![]()
I was able to recreate the movement of the shape using a for loop by changing the length of the arc in each iteration. To mimic the multiplicity of speeds a loading bar has depending on internet connectivity/buffering speed, I also decided to make each arc move in different speeds ranging from (-2,2).
Since 1 arc wasn’t achieving a visually fulfilling motion, I decided to make multiple arcs using a for loop as well.
One challenge I faced for this project was making the ends of my arc lines fade off just like in the reference image above. In order to make up for that, I managed to successfully apply the lerp color gradient background which I attempted to use for Assignment 1 but was unable to, this time it worked well as part of my process.
Credits for the lerp gradient
I think this assignment was really challenging for me compared to the first. I was struggling to use p5 so I searched up many tutorials online on how to make generative art. I took inspiration on the professors example but with more squares, more color, and more randomness. I tried to play around with all the settings to conjure up something new as I was still trying to familiarize with p5.