DESCRIPTION
Using loops (for() or while()) in some way, along with everything that you’ve learned so far, make a simple work of art.
PROCESS:
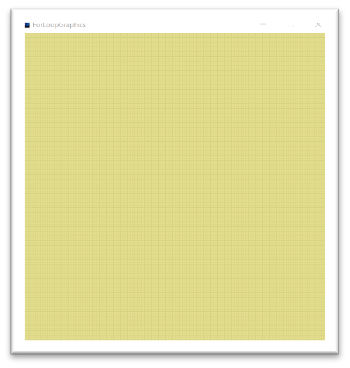
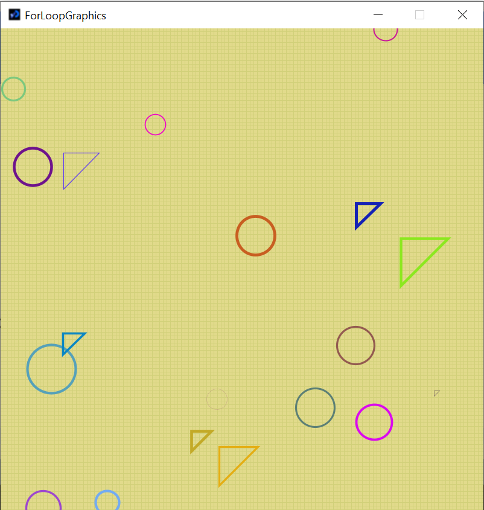
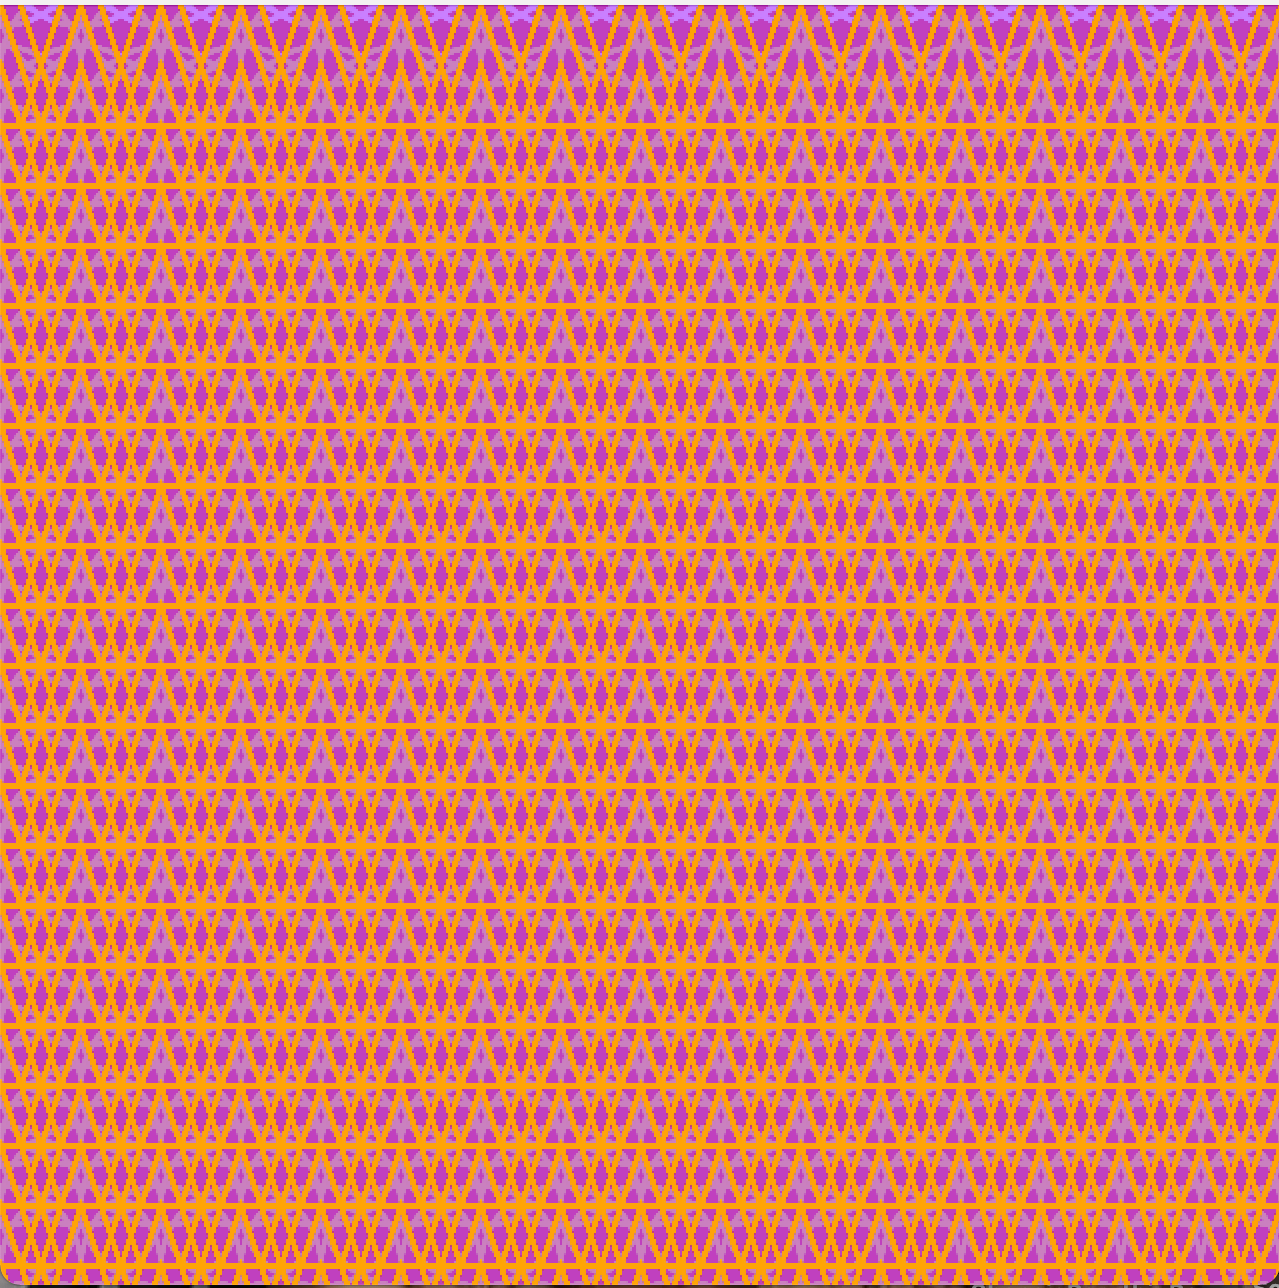
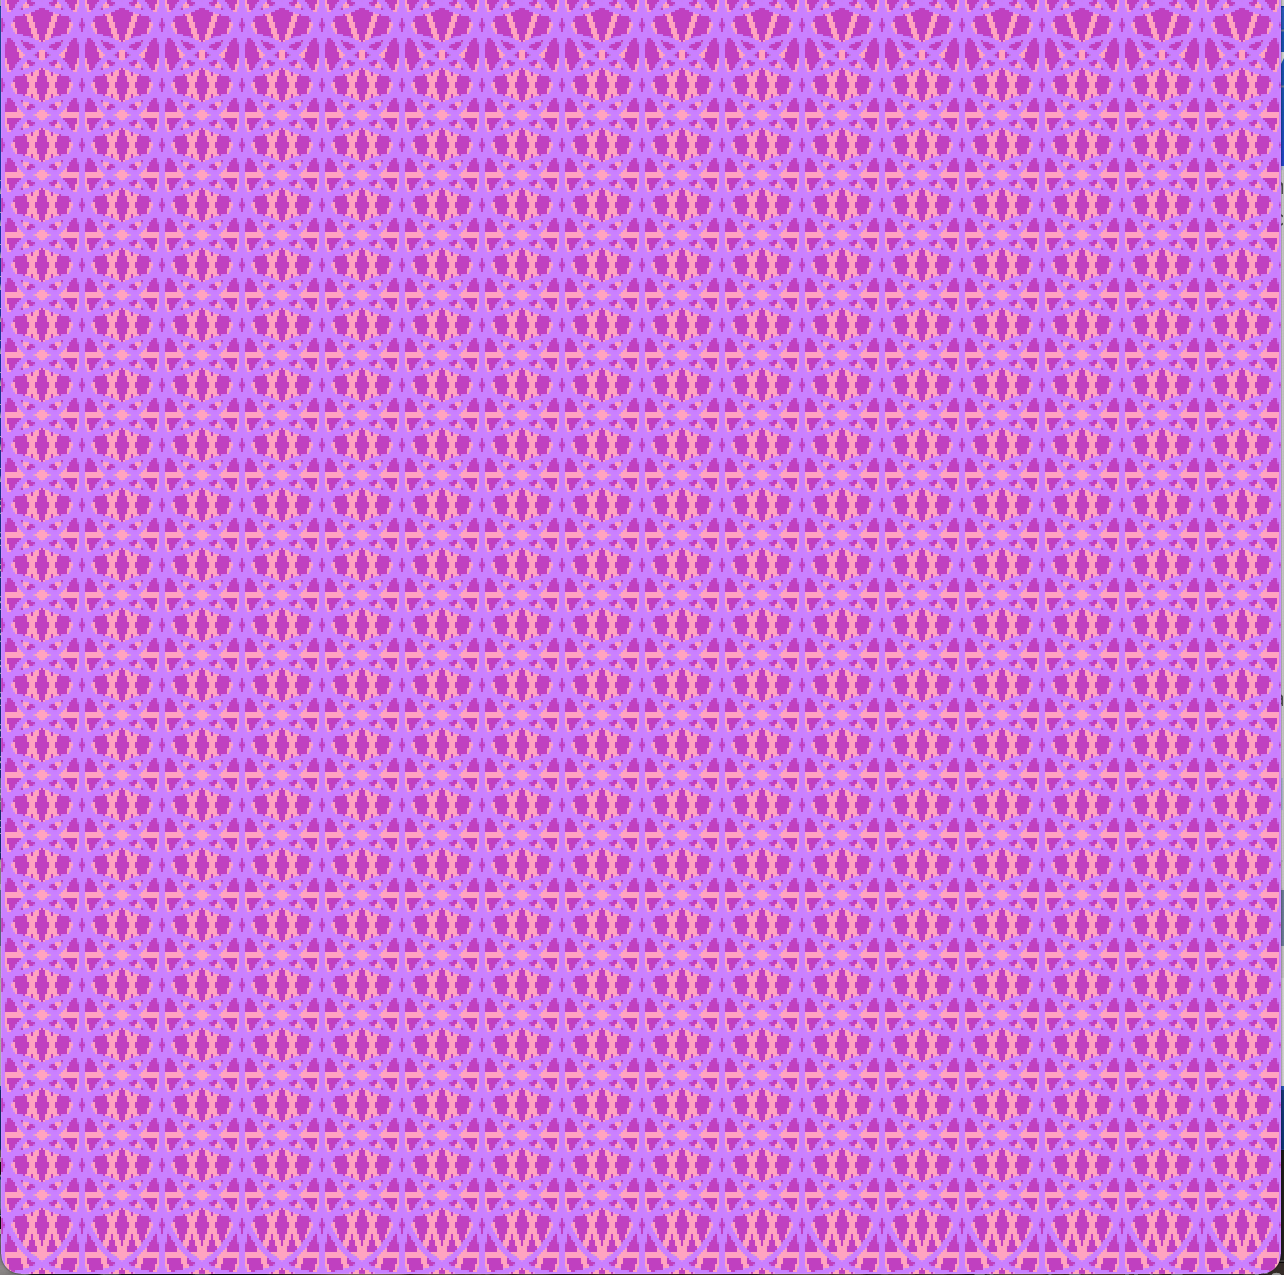
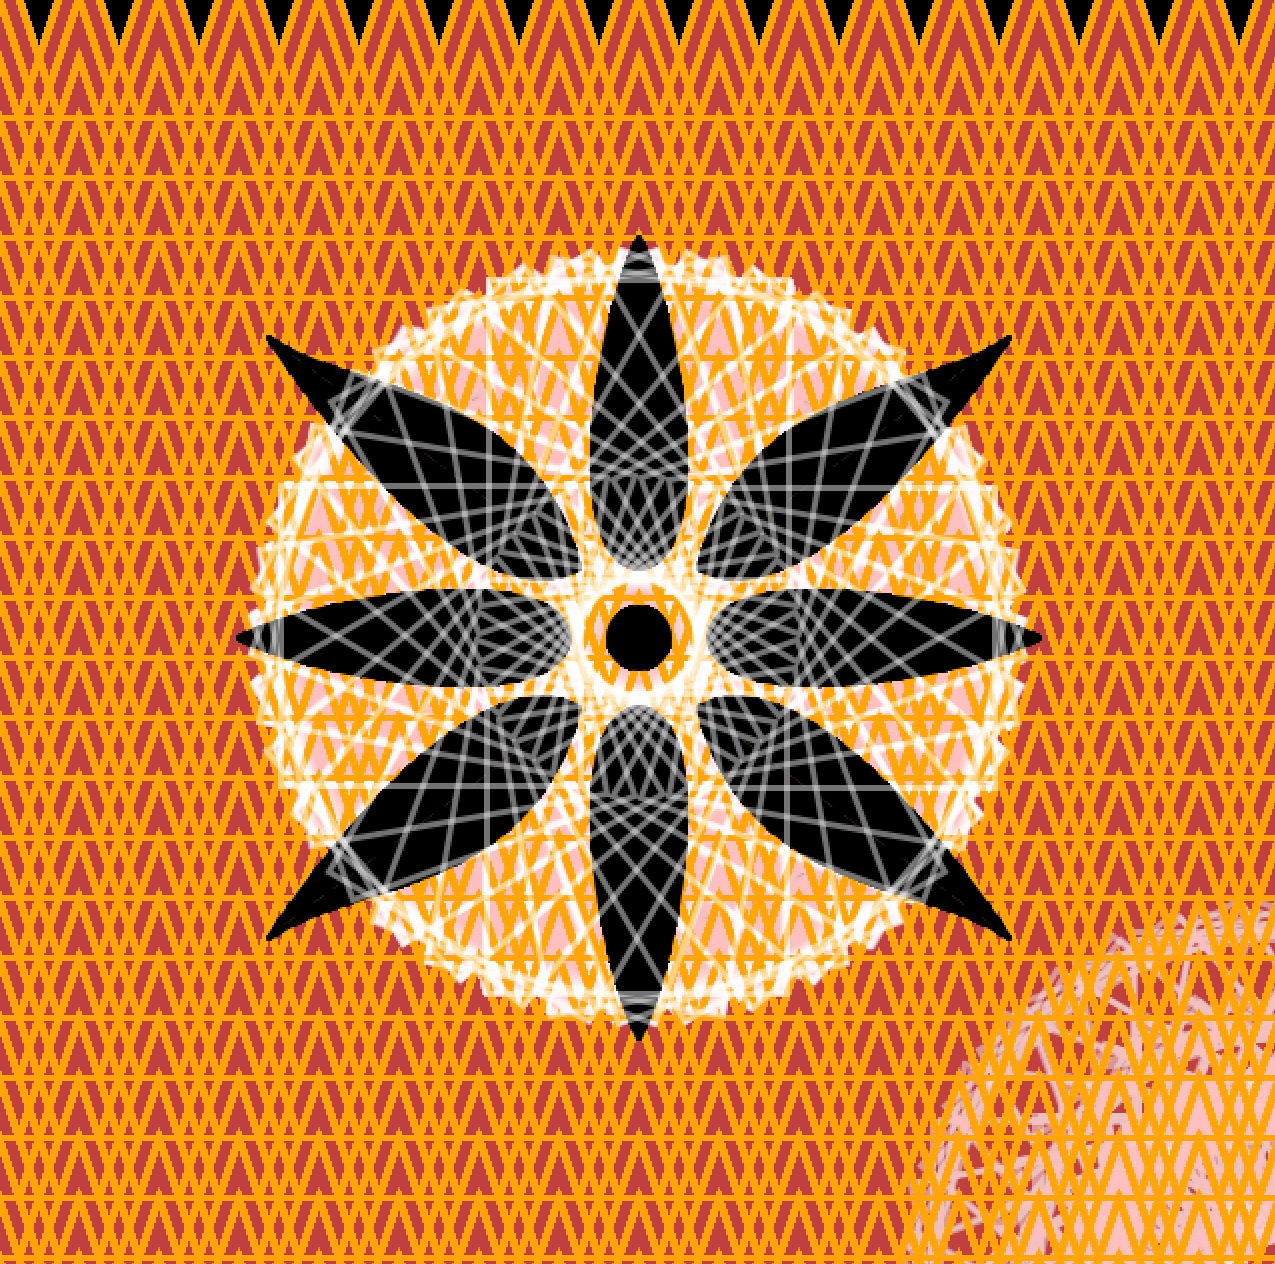
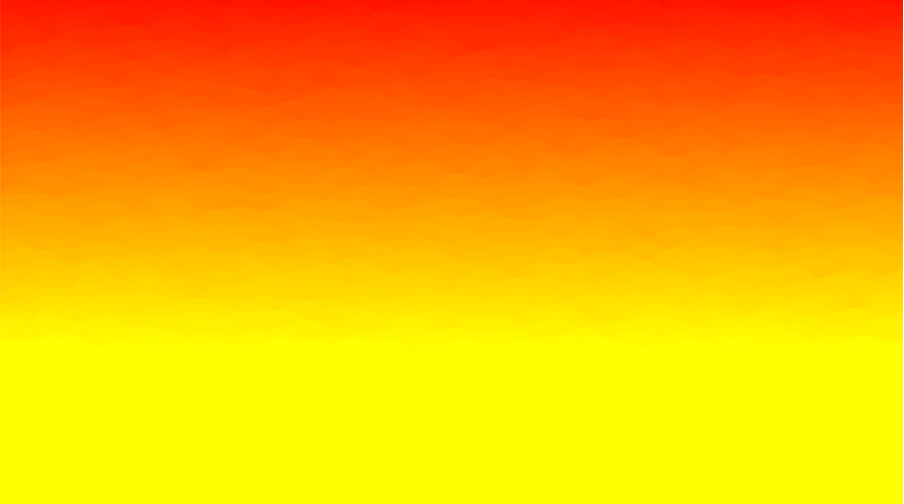
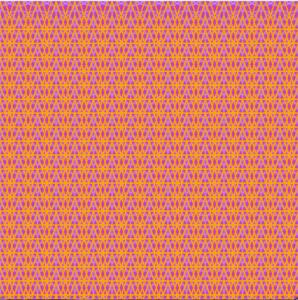
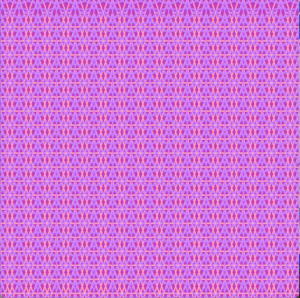
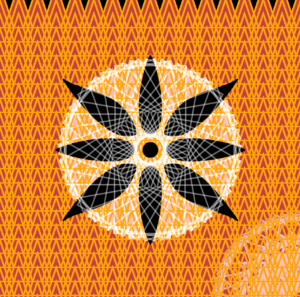
Background: I started with giving my design a base by making the background of the design black. Thereafter, I used the loop function to create several triangles as I filled them with partially transparent shade of orange and a strong stroke to highlight the image. I had another similar idea in mind where instead of orange triangles, I wanted to use purple circles. In the end, I used to the “mousepressed” function to help me switch between the two. Here’s how the two turned out to be:
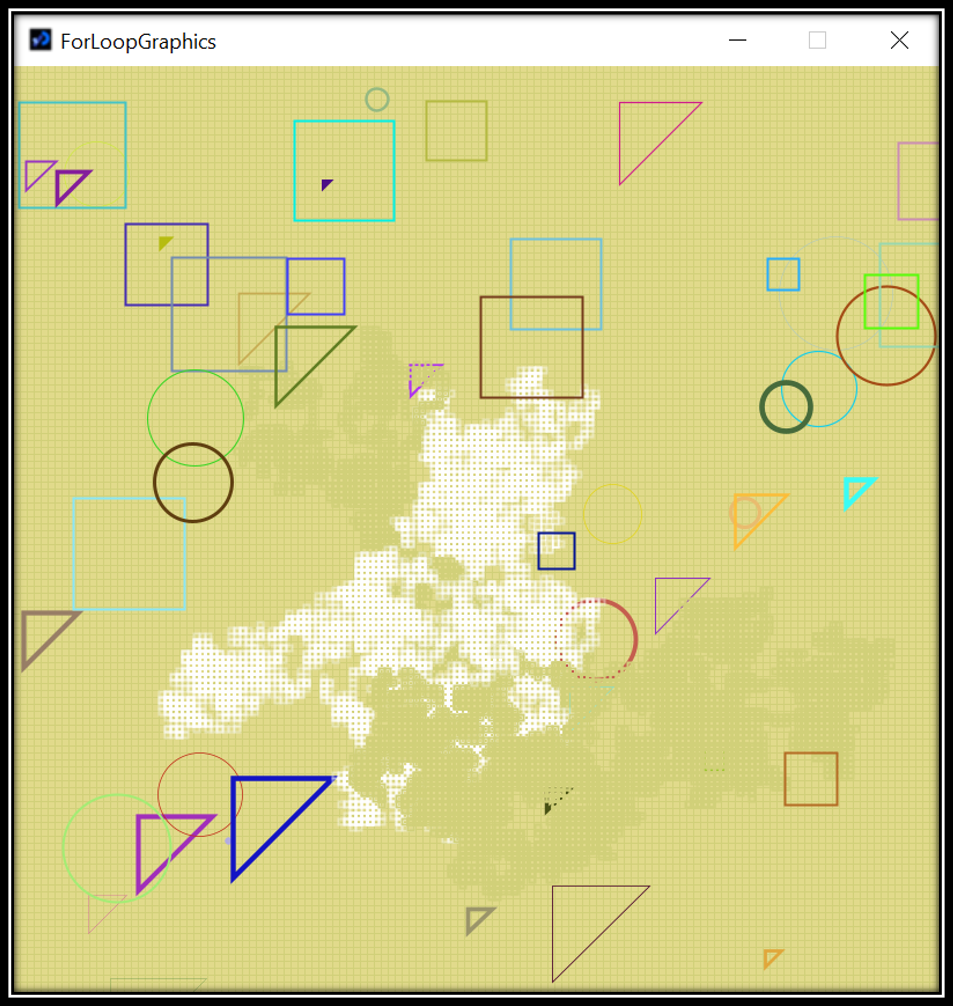
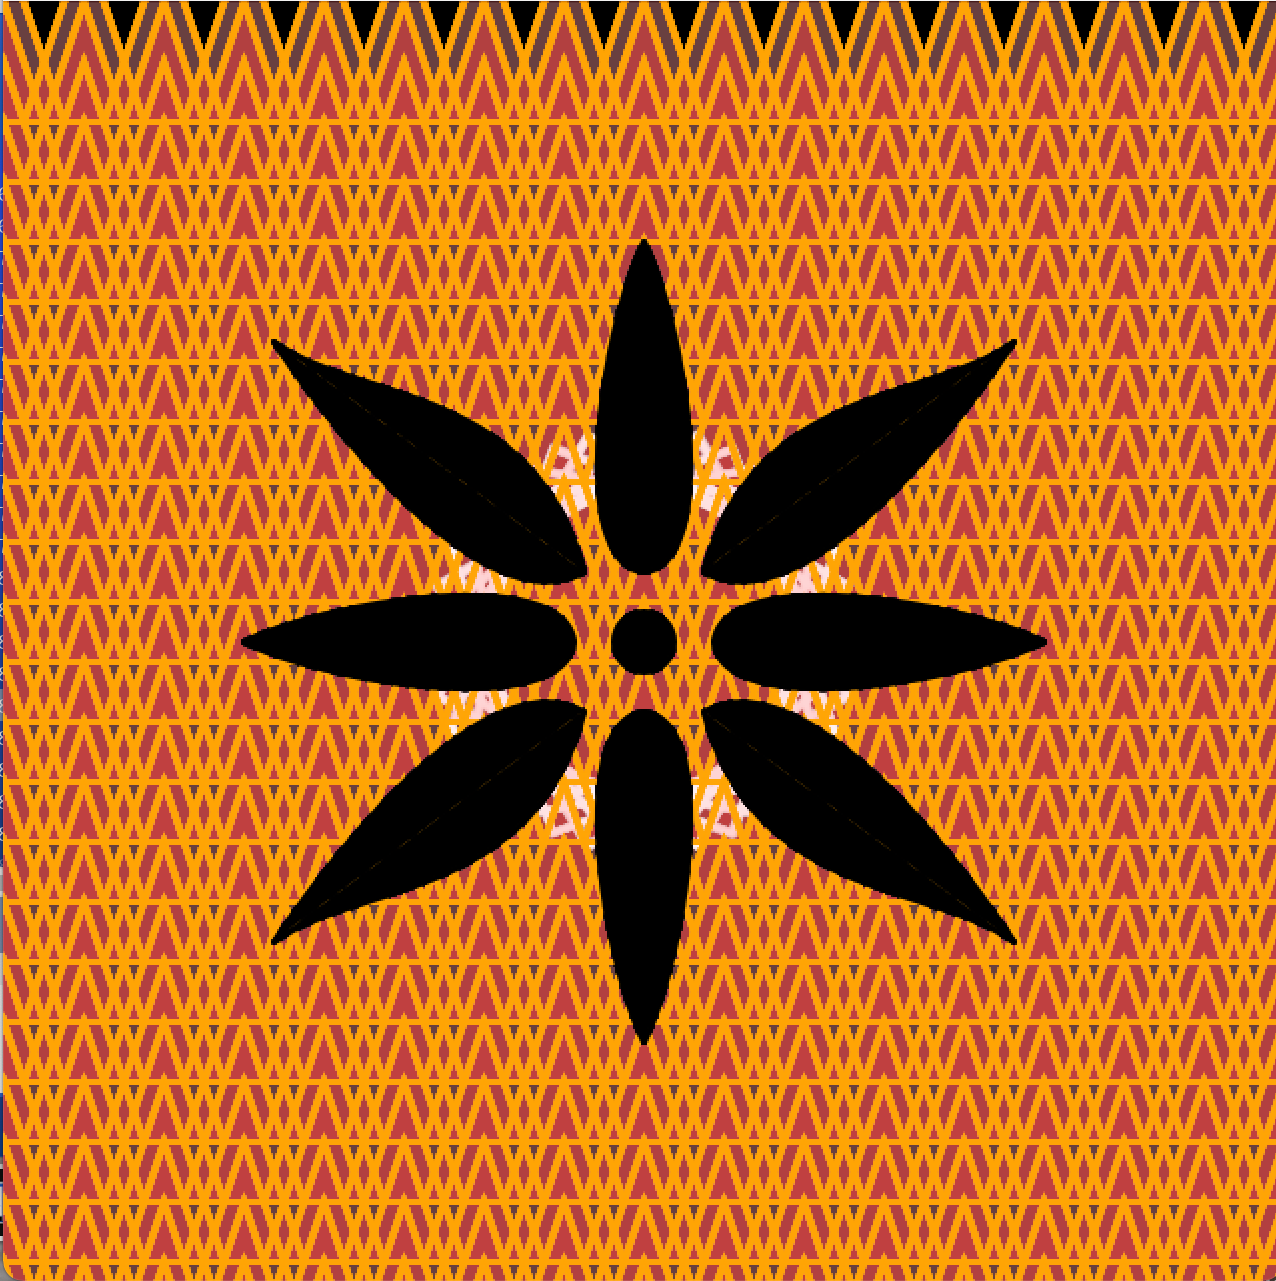
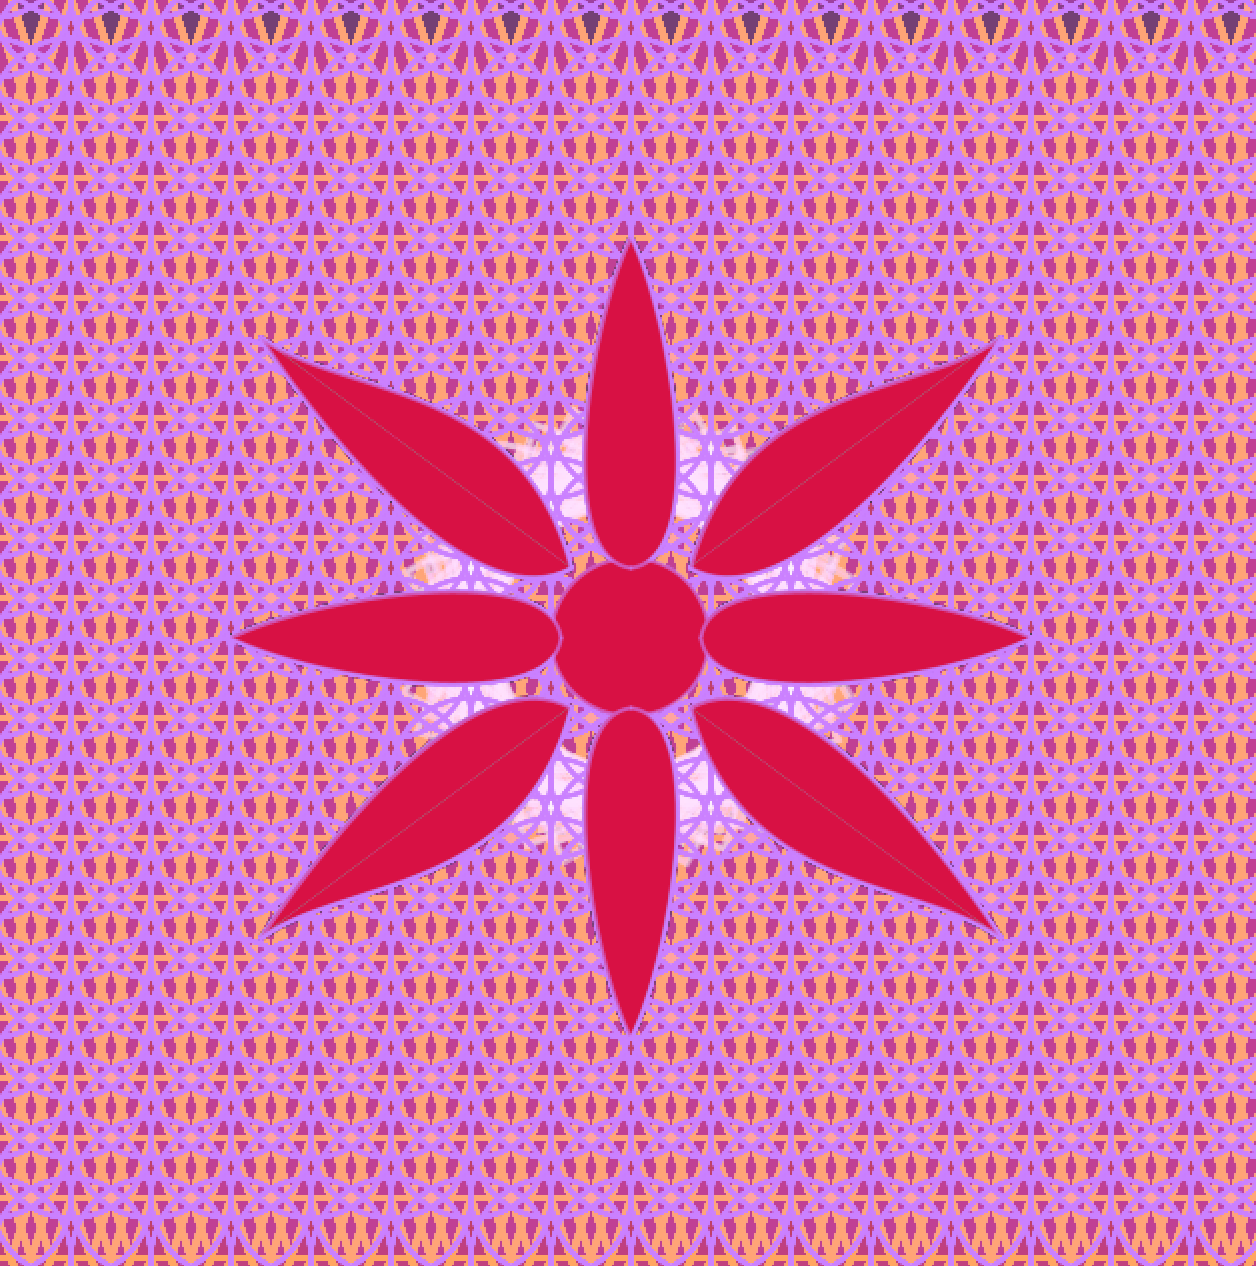
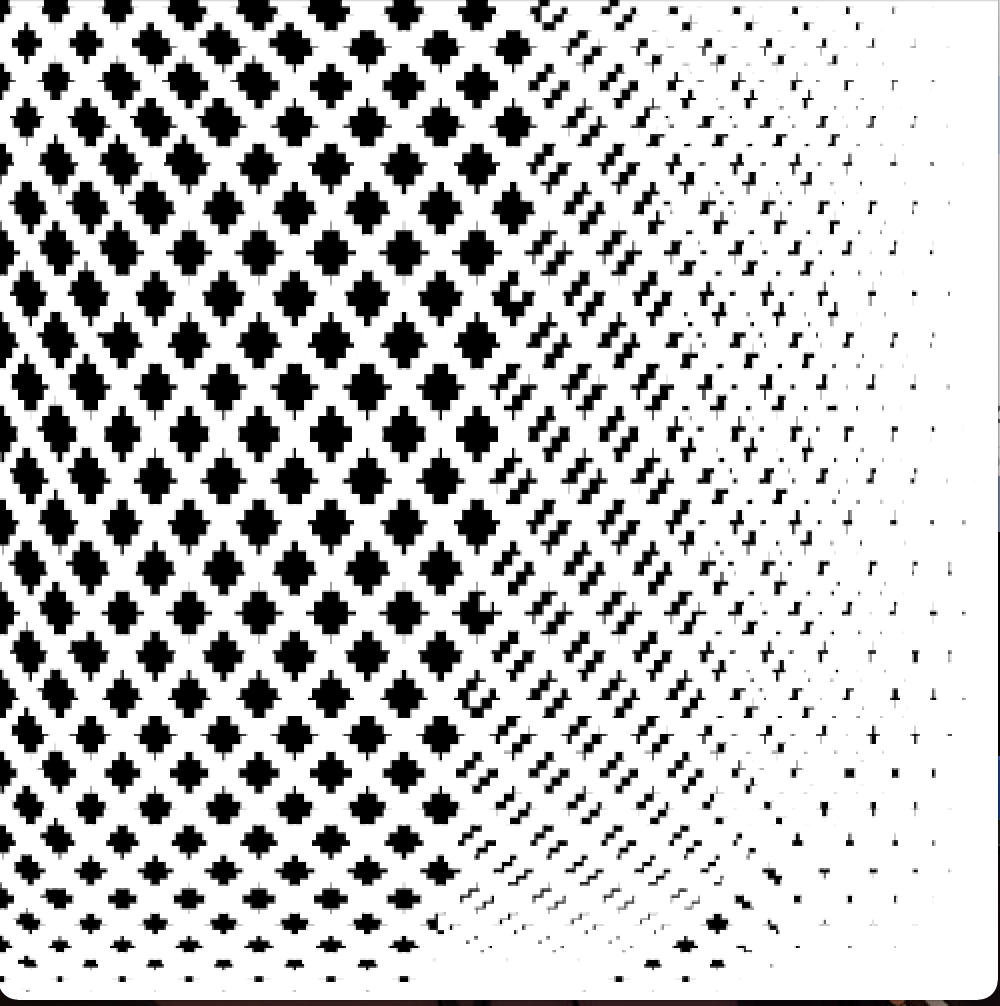
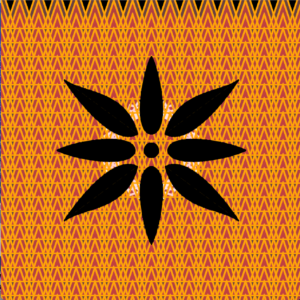
Foreground: After setting the background, I made a (sort of) flower in the middle as a part of my design, using the circle function as the the centre and the bezier function for the petals. Originally, I filled it with the colour black because it was going well with the orange background but then I used the random function for the colours when clicked using the mouse, to give it a mood-altering effect. I also change the circle’s diameter to random between 10 to 80 to give it a growing effect.

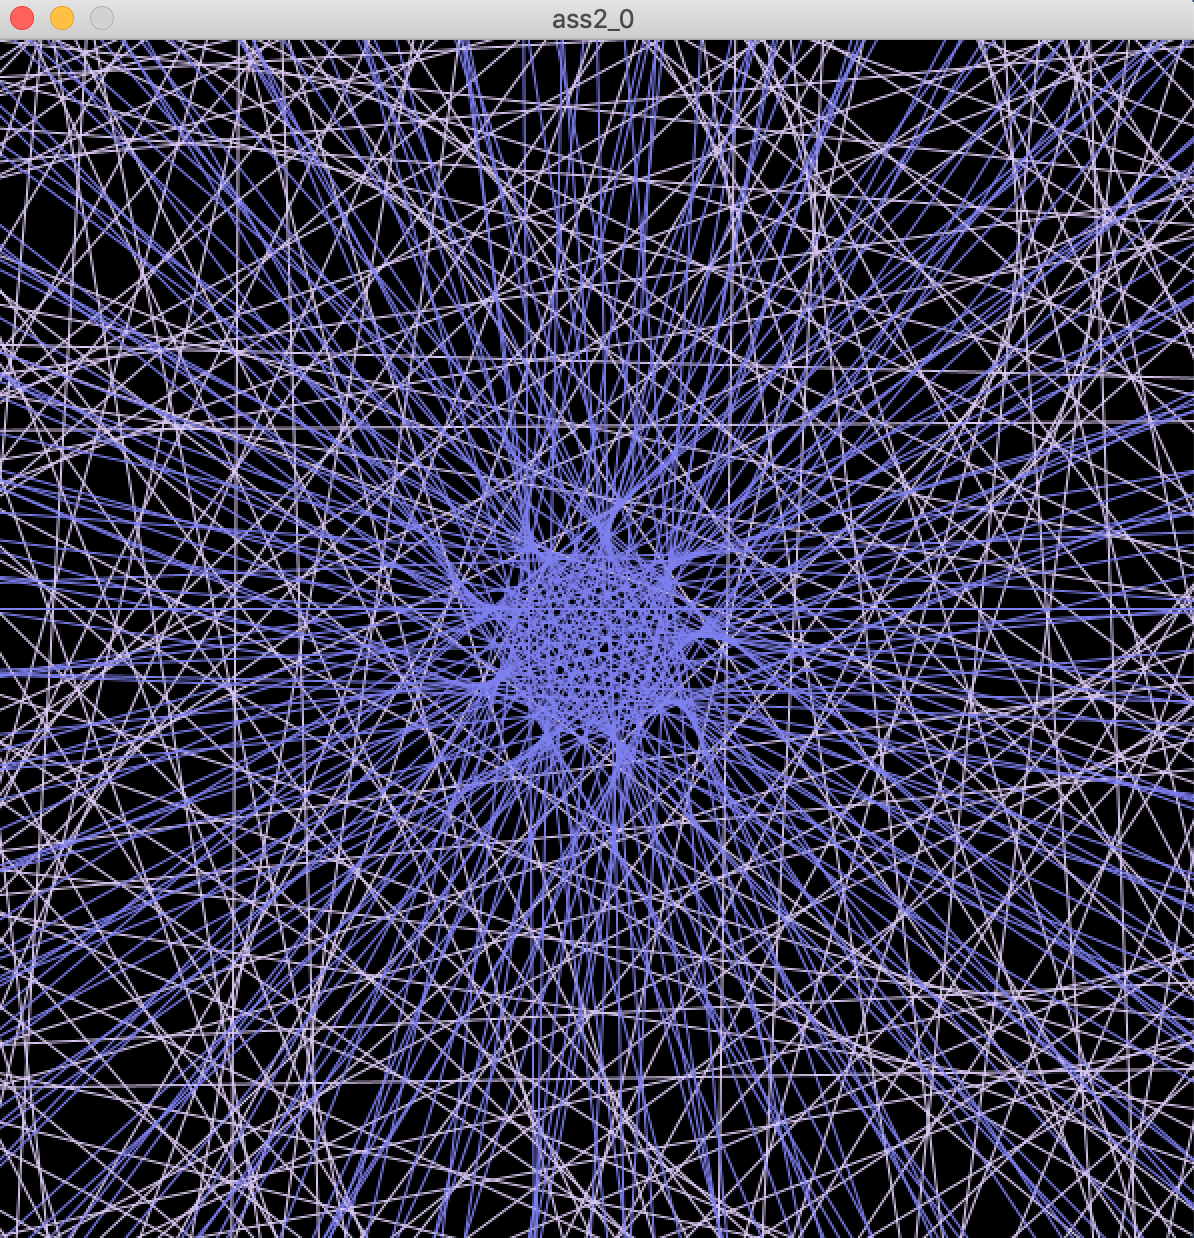
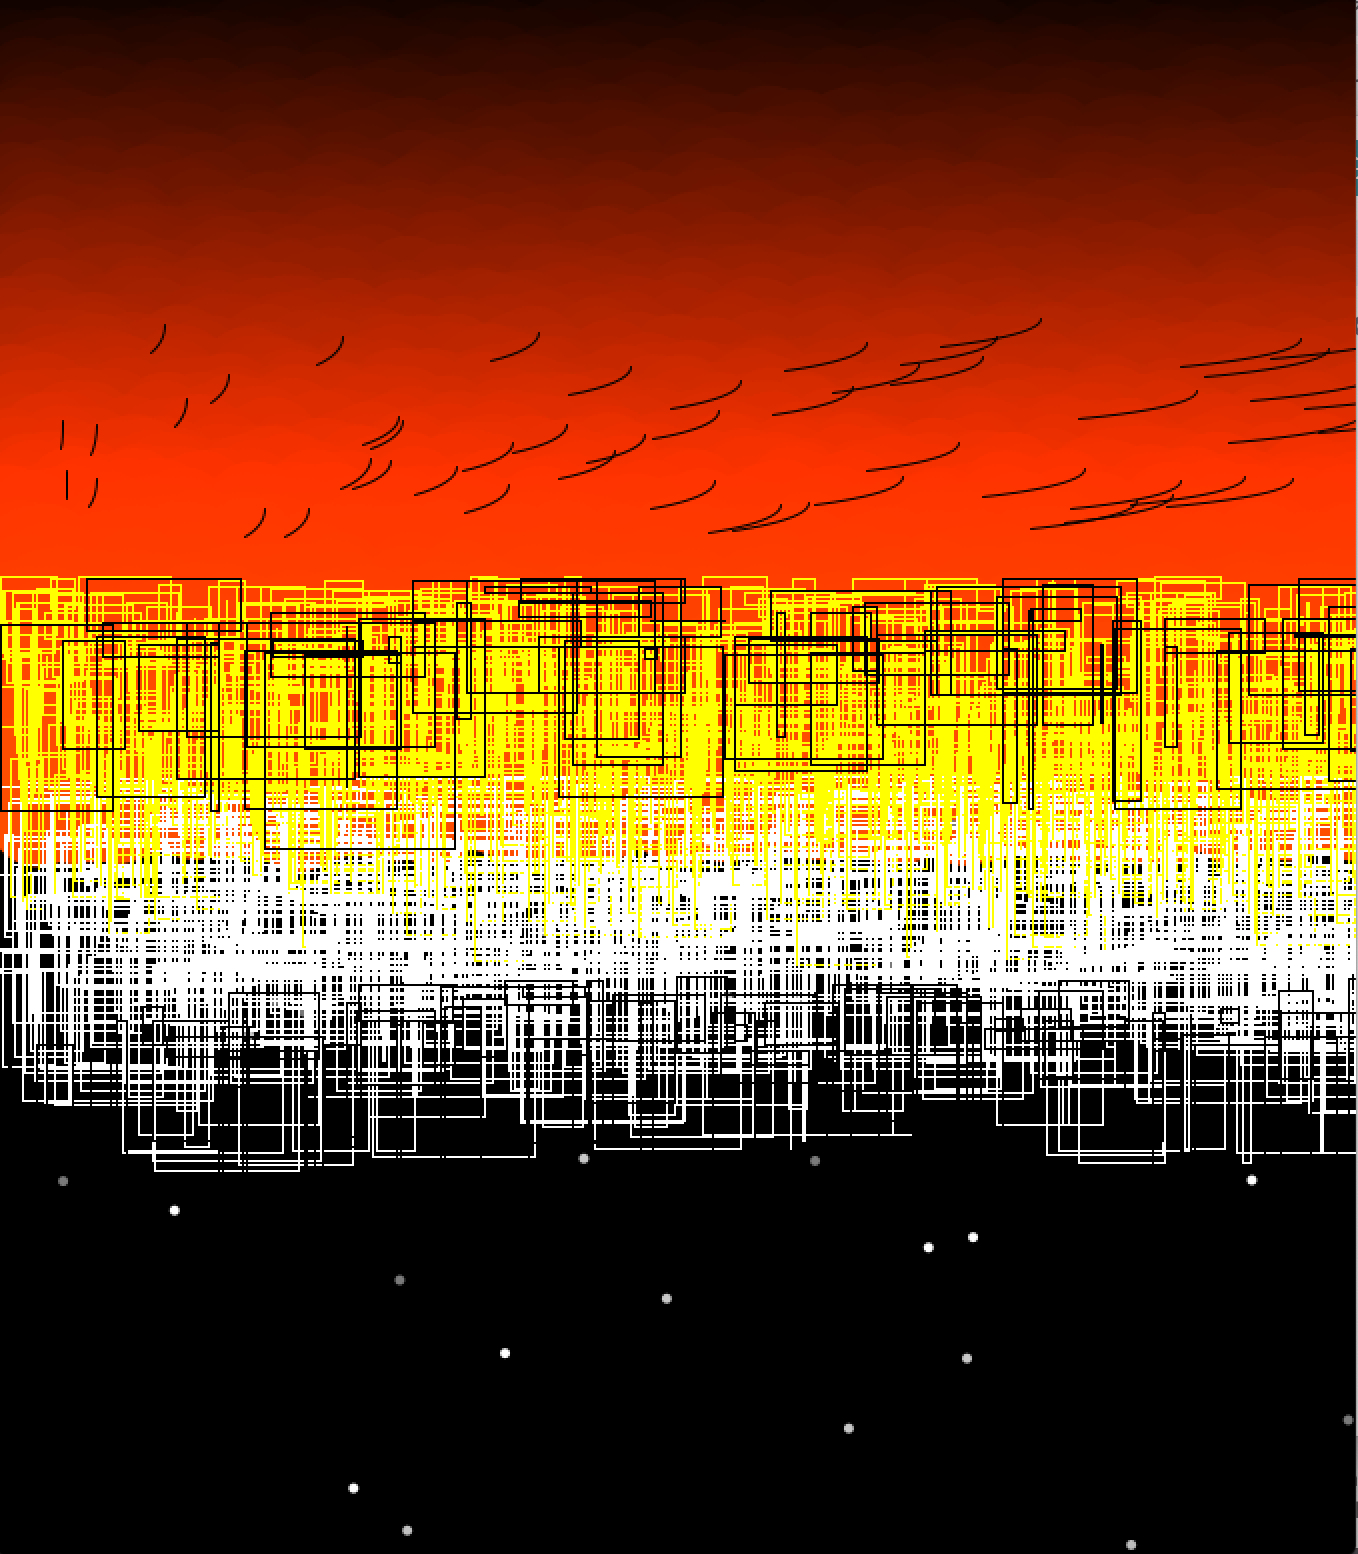
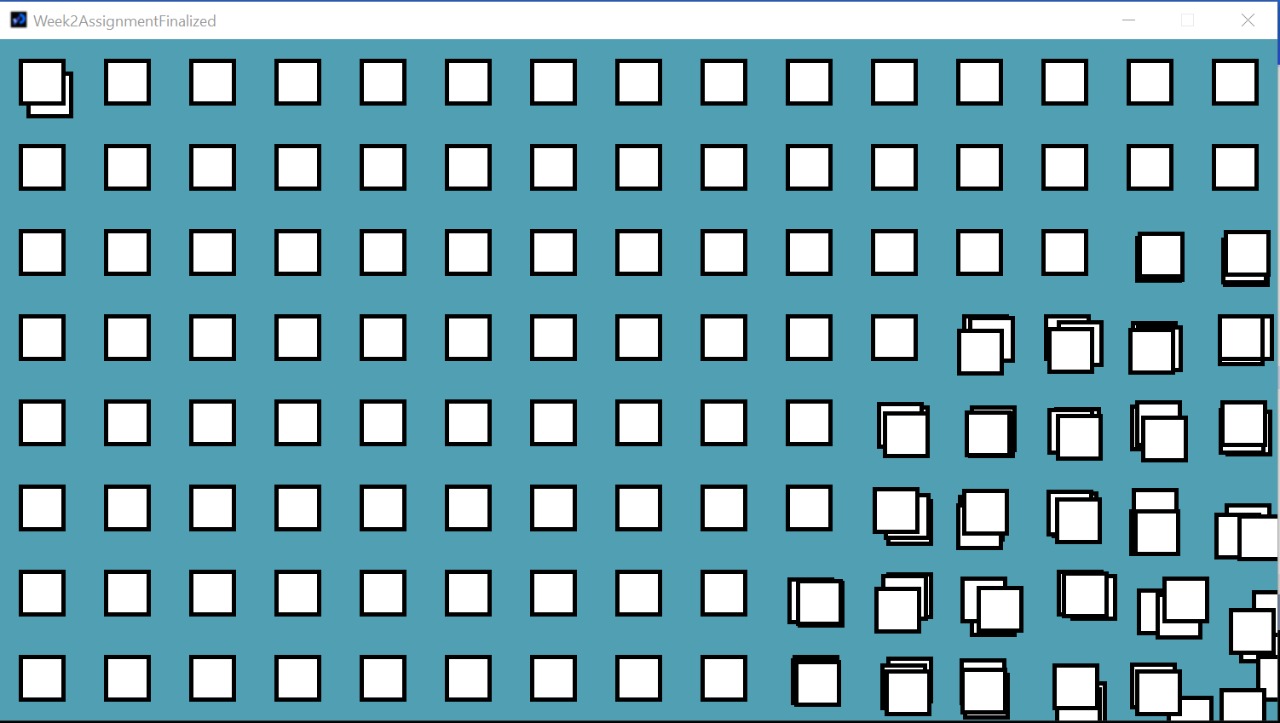
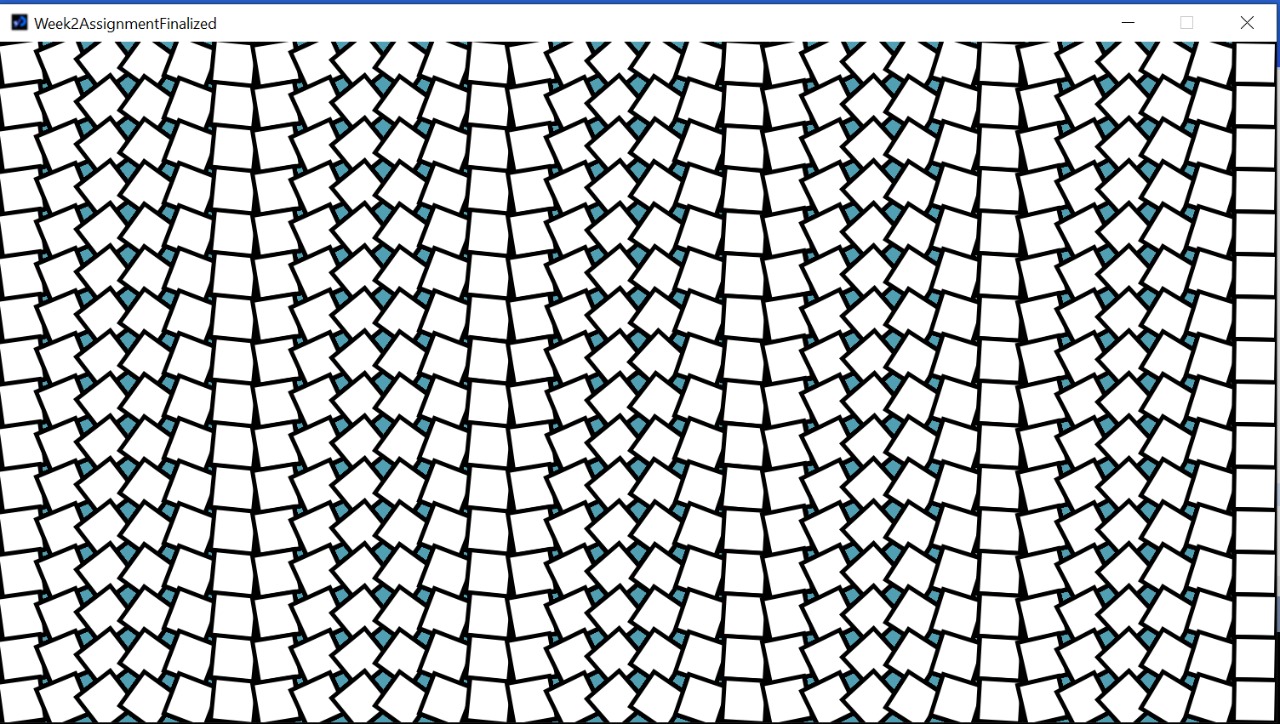
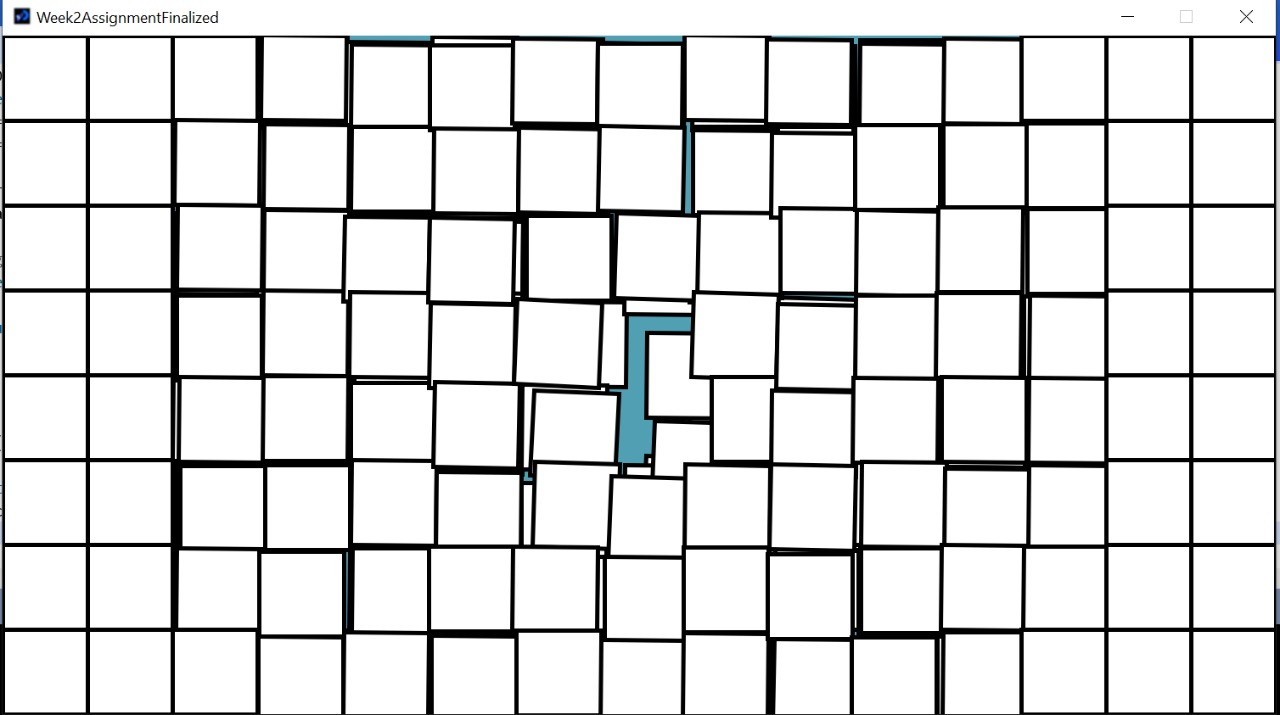
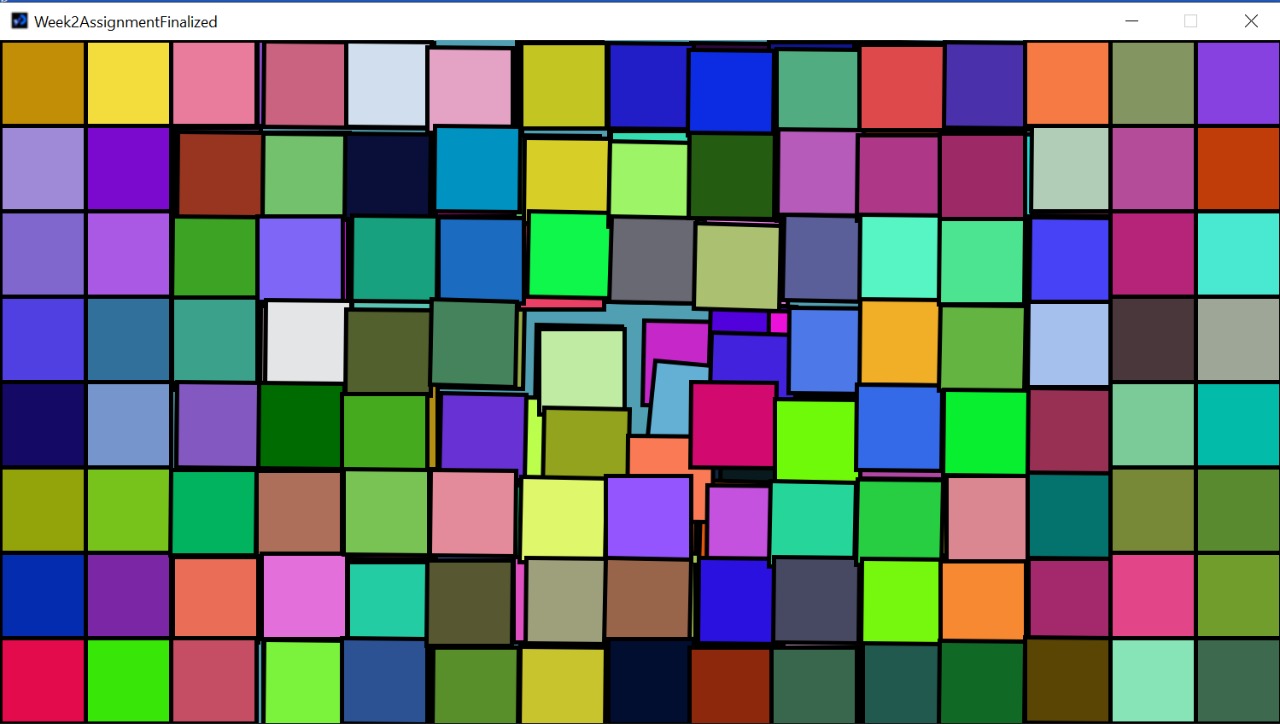
Finally I used the “keypressed” function, to give the final effect. For the last I saved the most difficult to figure out. I put the rectangles in a loop to create multiple of them, and used the rotate function and frameCount to put them in a circular motion giving it an aesthetic sense. A picture is also given below 🙂
Initially, It was challenging to make the design because of figuring out the rates and maths, but once I got the hang of it, it was extremely fun and satisfying.
void setup(){
  size(640,640); // size of the viewer
  background(0); //base
  //loop
  for( int i = 0; i<480;i++);
  };

//introducing the variables
int centerX= 640/2;
int centerY=640/2;
int rectSize = 150;
float angle;


void draw() {
  smooth();//smoothing the edges of the shapes
  //condition for the background
  if( mousePressed== true){
    fill(202,129,255,2);//purple
    stroke(202,129,255,155);
    strokeWeight(2);
 //loop
  for (int x = -40; x<= height; x+=40){
    for(int y= -30; y<= width; y+=30){
      circle(x ,y,80);
    }}
  } else {
    fill (255,190,70,2); //orange
    stroke(255,165,3,155);
    //loop
    for (int x = -40; x<= height; x+=40){
    for(int y= -30; y<= width; y+=30){
      triangle(x ,y,x-30,y+90,x+30,y+90);
    }}
  };
  //condition
  {if (mousePressed == true)
  {
  //filling with random colours with each frame
  fill(random(0,255),random(0,255),random(0,255));
  circle(centerX,centerY,random(10,80));//random diameter of circle
  //top petal
  bezier(centerX,centerY-35,centerX+40,centerY-40,centerX+20,centerY-160,centerX,centerY-200);
  bezier(centerX,centerY-35,centerX-40,centerY-40,centerX-20,centerY-160,centerX,centerY-200);
  //right petal
  bezier(centerX+35, centerY, centerX+40, centerY-40, centerX+160,centerY-20, centerX+200, centerY);
  bezier(centerX+35, centerY, centerX+40, centerY+40, centerX+160,centerY+20, centerX+200, centerY);
  //bottom petal
  bezier(centerX,centerY+35,centerX+40,centerY+40,centerX+20,centerY+160,centerX,centerY+200);
  bezier(centerX,centerY+35,centerX-40,centerY+40,centerX-20,centerY+160,centerX,centerY+200);
  //left petal
  bezier(centerX-35, centerY, centerX-40, centerY-40, centerX-160,centerY-20, centerX-200, centerY);
  bezier(centerX-35, centerY, centerX-40, centerY+40, centerX-160,centerY+20, centerX-200, centerY);
  //upper right petal
  bezier(centerX+30, centerY-35, centerX+75, centerY-10, centerX+145, centerY-90, centerX+185,centerY-150);
  bezier(centerX+30, centerY-35, centerX+55, centerY-130, centerX+145, centerY-120, centerX+185,centerY-150);
  //bottom left petal
  bezier(centerX-30, centerY+35, centerX-75, centerY+10, centerX-145, centerY+90, centerX-185,centerY+150);
  bezier(centerX-30, centerY+35, centerX-55, centerY+130, centerX-145, centerY+120, centerX-185,centerY+150);
  //upper left petal
  bezier(centerX-30, centerY-35, centerX-75, centerY-10, centerX-145, centerY-90, centerX-185,centerY-150);
  bezier(centerX-30, centerY-35, centerX-55, centerY-130, centerX-145, centerY-120, centerX-185,centerY-150);
  //bottom right petal
  bezier(centerX+30, centerY+35, centerX+75, centerY+10, centerX+145, centerY+90, centerX+185,centerY+150);
  bezier(centerX+30, centerY+35, centerX+55, centerY+130, centerX+145, centerY+120, centerX+185,centerY+150);
  } else {
    fill(0);//fill black
    stroke(0);
    //top petal
    bezier(centerX,centerY-35,centerX+40,centerY-40,centerX+20,centerY-160,centerX,centerY-200);
    bezier(centerX,centerY-35,centerX-40,centerY-40,centerX-20,centerY-160,centerX,centerY-200);
    //center
    circle(centerX,centerY,30);
    //right petal
    bezier(centerX+35, centerY, centerX+40, centerY-40, centerX+160,centerY-20, centerX+200, centerY);
    bezier(centerX+35, centerY, centerX+40, centerY+40, centerX+160,centerY+20, centerX+200, centerY);
    //bottom petal
    bezier(centerX,centerY+35,centerX+40,centerY+40,centerX+20,centerY+160,centerX,centerY+200);
    bezier(centerX,centerY+35,centerX-40,centerY+40,centerX-20,centerY+160,centerX,centerY+200);
    //left petal
    bezier(centerX-35, centerY, centerX-40, centerY-40, centerX-160,centerY-20, centerX-200, centerY);
    bezier(centerX-35, centerY, centerX-40, centerY+40, centerX-160,centerY+20, centerX-200, centerY);
    //upper right petal
    bezier(centerX+30, centerY-35, centerX+75, centerY-10, centerX+145, centerY-90, centerX+185,centerY-150);
    bezier(centerX+30, centerY-35, centerX+55, centerY-130, centerX+145, centerY-120, centerX+185,centerY-150);
    //bottom left petal
    bezier(centerX-30, centerY+35, centerX-75, centerY+10, centerX-145, centerY+90, centerX-185,centerY+150);
    bezier(centerX-30, centerY+35, centerX-55, centerY+130, centerX-145, centerY+120, centerX-185,centerY+150);
    //upper left petal
    bezier(centerX-30, centerY-35, centerX-75, centerY-10, centerX-145, centerY-90, centerX-185,centerY-150);
    bezier(centerX-30, centerY-35, centerX-55, centerY-130, centerX-145, centerY-120, centerX-185,centerY-150);
    //bottom right petal
    bezier(centerX+30, centerY+35, centerX+75, centerY+10, centerX+145, centerY+90, centerX+185,centerY+150);
    bezier(centerX+30, centerY+35, centerX+55, centerY+130, centerX+145, centerY+120, centerX+185,centerY+150);
  };

  }};

void keyPressed(){
      //condition
      if (key== 's');
      //for center
      translate(centerX,centerY);
      rectMode(CENTER);
      stroke(255,115); //white
      strokeWeight(3);
      noFill();
         //loop
        for(float a=0; a<360; a+=10){
       pushMatrix(); //saving the coordinate systerm
       rotate(radians(a)); //rotate
       rect(frameCount*rectSize*sin(radians(angle))*0.001,frameCount*rectSize*cos(radians(angle))*0.0001,rectSize,rectSize);//rectangle
       popMatrix();//restoring the coordintes saved
   };
   angle++;//increasing the angle
};

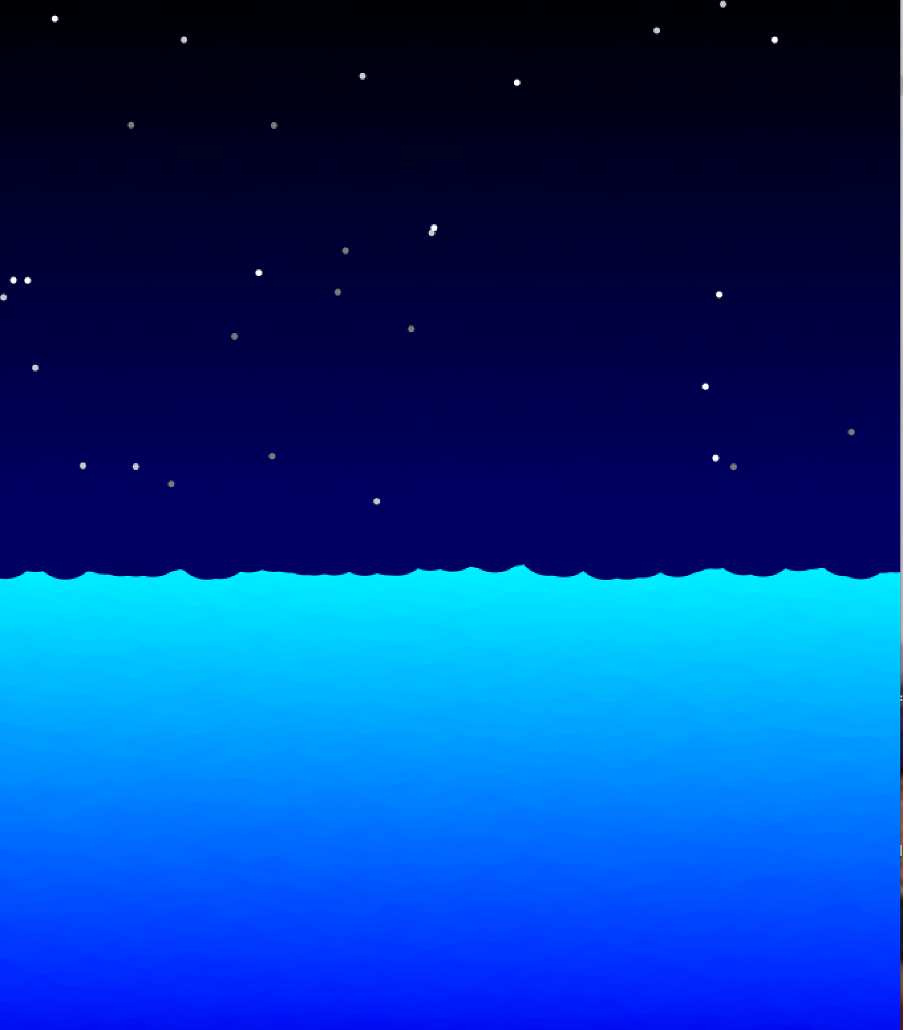
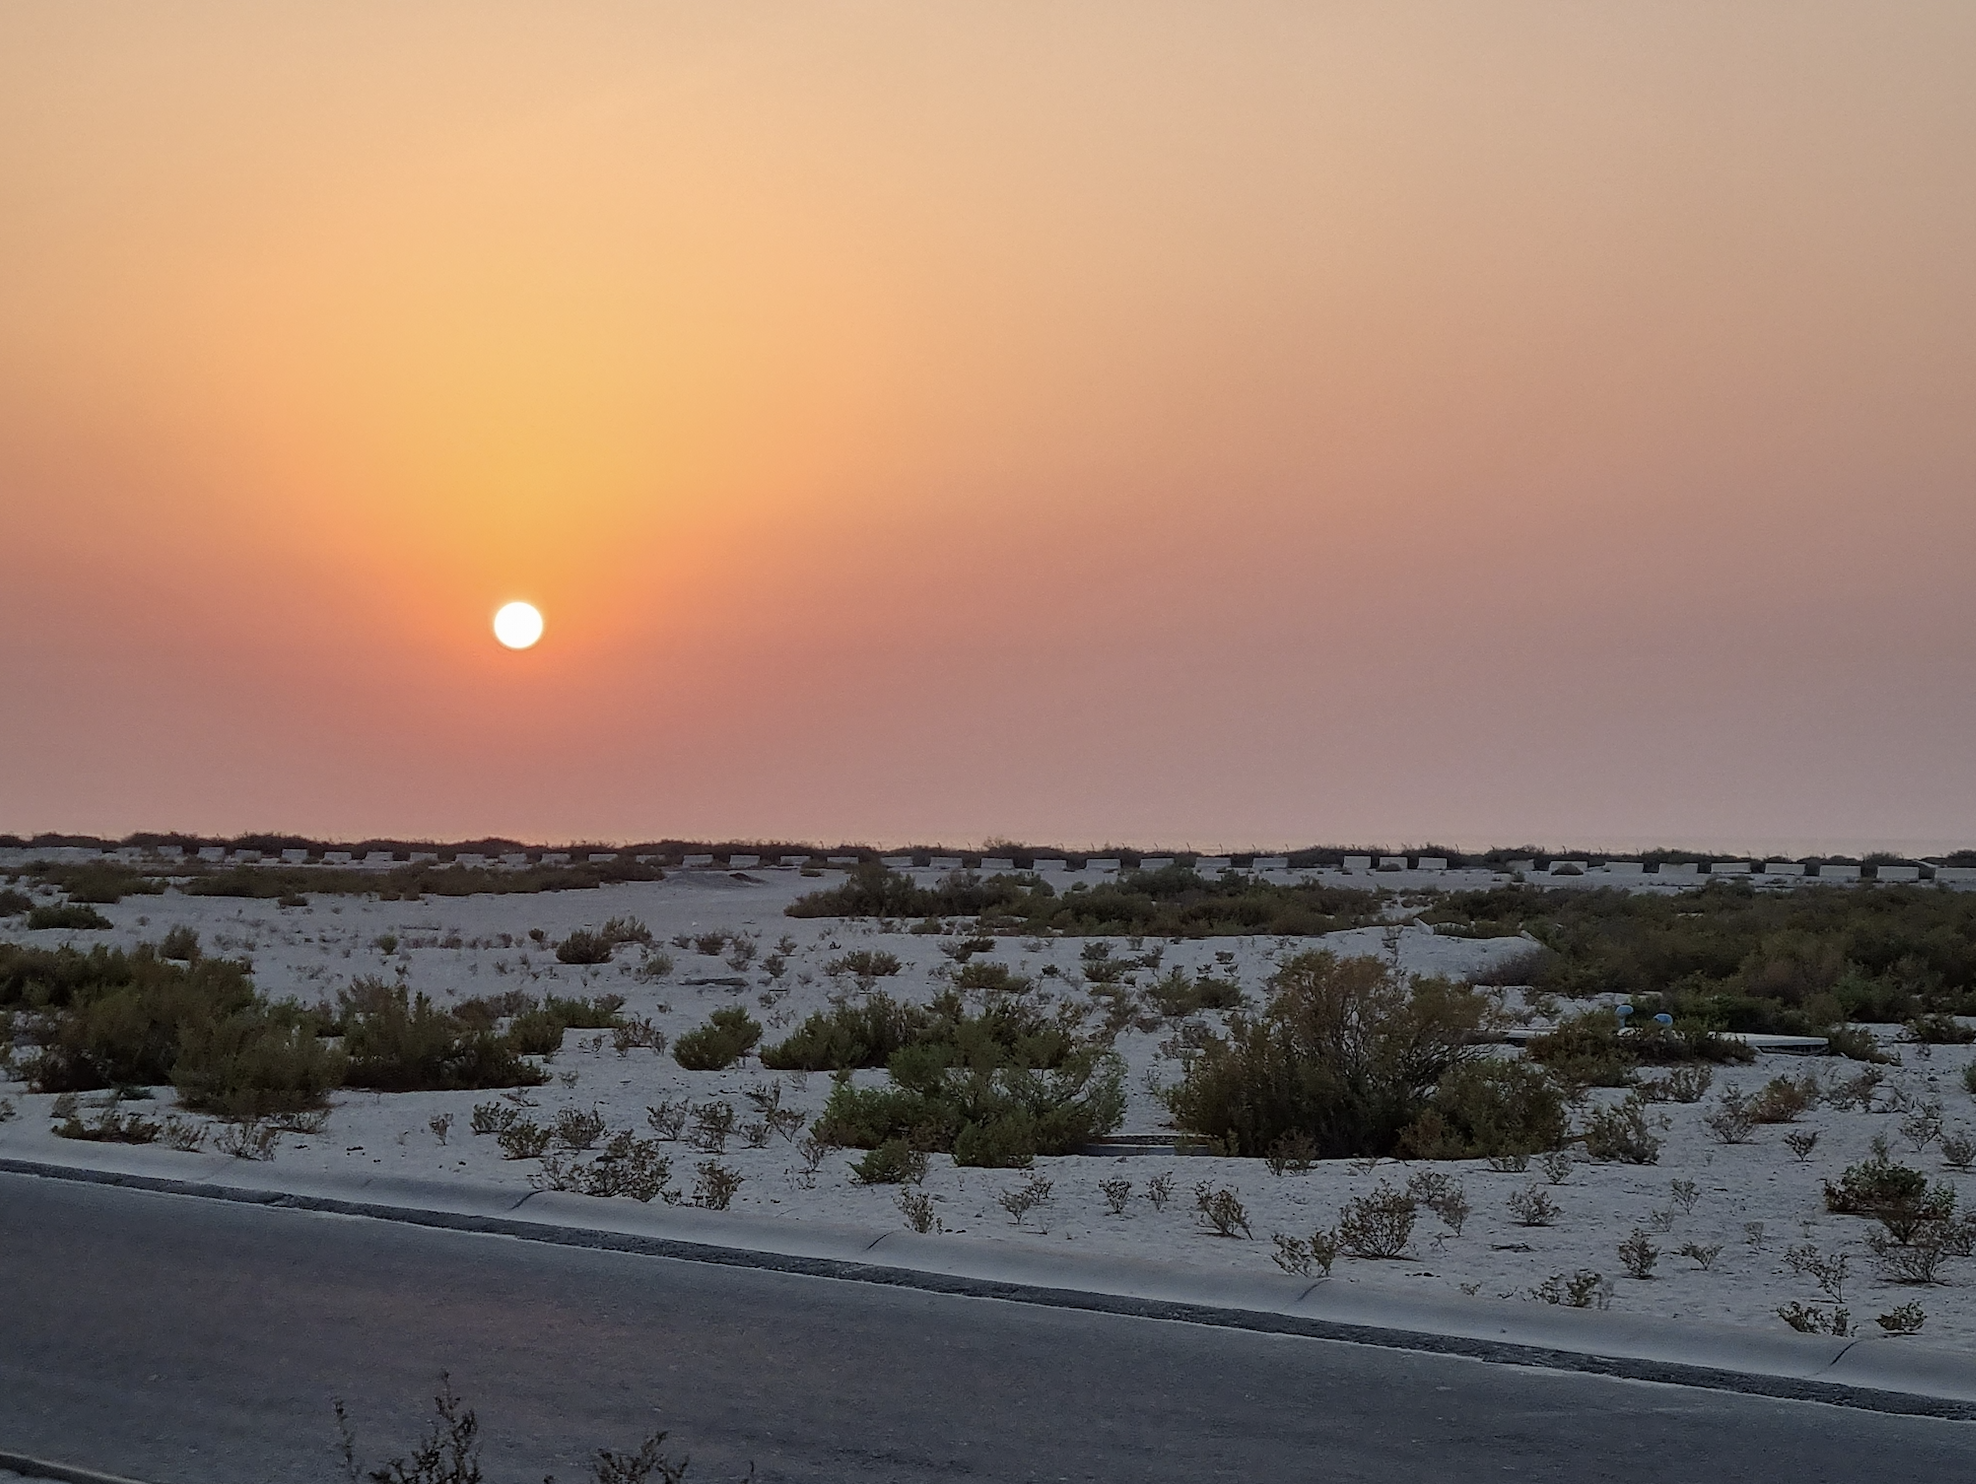 My beach photo