
The reading starts off discussing how computer vision technologies have become more and more accessible than in the past. They were restricted to military and law-enforcement use but now they’re available for artists and people of all crafts to enjoy and make something really beautiful. Some of the artworks reminded me of things we saw in class and discussed in the past like the belt installation. We saw one before that was the same concept but with mirrors, and we did something sort of similar with the googly eyes in processing. The reading discussed the technical aspects of computer vision a lot and was sort of dense, but it helped when it came to the various aspects of computer vision when it comes to detections, tracking, and interaction. The part of the reading that intrigued me the most was the one on the Suicide Box and how it recorded 17 suicide cases whereas the police only recorded 13. It showed how much social awareness artworks made with computer vision can raise.
Month: May 2019
Final Project Progress
My and Nisala’s final project is slowly coming to life. We started by finalizing the inputs we want to collect: 5 emotions (through 5 buttons), the stress level (using a microphone) and an energy level (using a potentiometer). Then we roughly sketched the way we want the data to be visualized- divided into 5 segments of 5 different shapes (based on the chosen emotion), having the microphone and potentiometer input adjust the size, speed, and radius of each individual shape.
When we started programming our first class, we struggled a bit with figuring out the logic of how to make individual shapes to be open to adjustments only until a new shape is drawn. We solved this by including a “submit button” at the end, which also makes it easier for the user to play around the different inputs, see how it reflects on the screen and submit the values only when all the inputs are finalized.
A similar problem occurred when we were recording the volume of the microphone input. The interaction was not clear- the volume kept changing even after the scream (so unless you were continuously screaming and simultaneously pressing the submit button, the size of the shape would not be changed). Therefore we decided to include another button, which would mimic the way we record voice messages on our phones. The user will simply hold the button down in order to record the scream – but even after that, he is able to record again and adjust other inputs before submitting the response.
The next uncertainty/challenge is definitely the physical part of the project that shapes the user experience. So far we heavily focused on the conceptual part and coding, therefore we really need to finalize how we are going to organize all of the components to achieve a smooth and straightforward interaction. We also need to figure out a couple of other details regarding the aesthetics of the shapes as well as how to distinguish the shape that is being adjusted at the moment from all the other ones that are already drawn.
Computer Vision and Gimmicks
It’s not hard to understand the basic components of computer vision and be absolutely astonished by it; immediately going to your computer and trying to figure out how to make something like this work. I, of course, have not taken the lesson on computer vision with Aaron, yet, but have my interests peaked nonetheless. This fascination with computer vision, I doubt, is rare. Given the range of artworks described in the post, I can imagine many artists running to their computers (and visions.. haha) to program beautiful artworks. The crux of my reaction, however, is the notion of the gimmick.
When does something highly desirable become a gimmick?
This happens in all forms of art design so frequently. Many are aware of the Great Marbling movement of the late early 2000s, or the drop shadows of the 90s. What started as innovative became both a trademark of a time period and an annoyance.
At first, this frustrates me, but I then think of this process as cyclical. This high saturation of a particular technique, art, or design in a particular time period can desensitize us to its beauty. But we quickly find balance. Drop shadows are now a classic if you will, maybe computer vision will become one too.
Final Project Update – Crisis? I think so.
The screen and buikding aspect – I took measurements of the screen and I am going to start building the box Tuesday afternoon. I’m not stressed about this at all, I think the box is going to turn out very pleasing aesthetically and visually. I know how high the screen will be off the desk, and its h x l measurements.
The Coding aspect – Remember when I mentioned those mental breakdowns? They’re hitting a bit too early with this project. All the code I spent time with the professor writing is gone. I didn’t save it, my laptop ran out of charge and now I have to remember what we did and try to do it again tonight. I – will not say anything else about that. Will probably have to book an appointment (or several) with a few lab instructors tomorrow and get it sorted out.
As for the visual aspect of the process, it is going well, I found a way to turn the drawings into vectors and to cut them perfectly for the interface.
Kyle Thinks About Computer Vision
I think it is valuable to learn about the history of computer vision, especially when considering the ways in which it affects our everyday lives. CAPCHA has been used since the 90s to prevent computers from doing human things online such as open accounts and buy things. In the last couple years however, Computers have become so good at processing images, that these tests have become obsolete. As a result, CAPCHA has had to innovate and develop new methods of getting passed computers. (If you are curious about this, check out episode 908 of the podcast, Planet Money, titled “I Am Not A Robot.”

Computer vision on its own is a powerful tool, and as the article discusses, can be used for many applications from interactive artwork to measuring human reactions. When used in combination with machine learning however, a whole new world of applications opens up. It gives hackers new ways to grab information, and researchers have been able to use it to analyze the content of millions of posts on social media. In this way, it is at the cutting edge of computer technology today.
But despite all the fancy applications, computer vision is just cool. There is something magical about being able to interact with a computer with only motion.
Reading on Computer Vision
As automation became one of the primary sector of human technology, computer vision has become an important field in the areas of computer science and interactive media studies. We have continuously seen a rapid development in algorithms to track movements and distinguish a certain specific figure among a crowd of people. As people gained depth knowledge in how computer vision works, more attempts to combine machine learning into the algorithm to automate the process has also been a high-interest for many aspiring computer scientists.
There are great uses with computer vision that can assist our lives, but relying it to replace our decision completely would be a problem – such as using computer vision system to find possible suspects. I was fascinated by the different applications and methods of computer vision, but I could not get rid of the thought of a recent issue on using facial recognition to identify suspected criminals. As Golan Levin says, “the reliability of computer vision algorithms is limited according to the quality of the incoming video scene, and the definition of a scene’s ‘quality’ is determined by the specific algorithms which are used to analyze it” (Levin). Yes, it is a technology that can be used in such cases, but I believe the technology is not just ready for such use to odd out human decision.
The issue of the above article may not be a problem – and could be forgotten in few decades – as our software and hardwares develop to overcome the quality and accuracy issues. However, the issue of “fully-trusting” the result of complex computer vision is a topic that we should continue to question.
Final Project Update
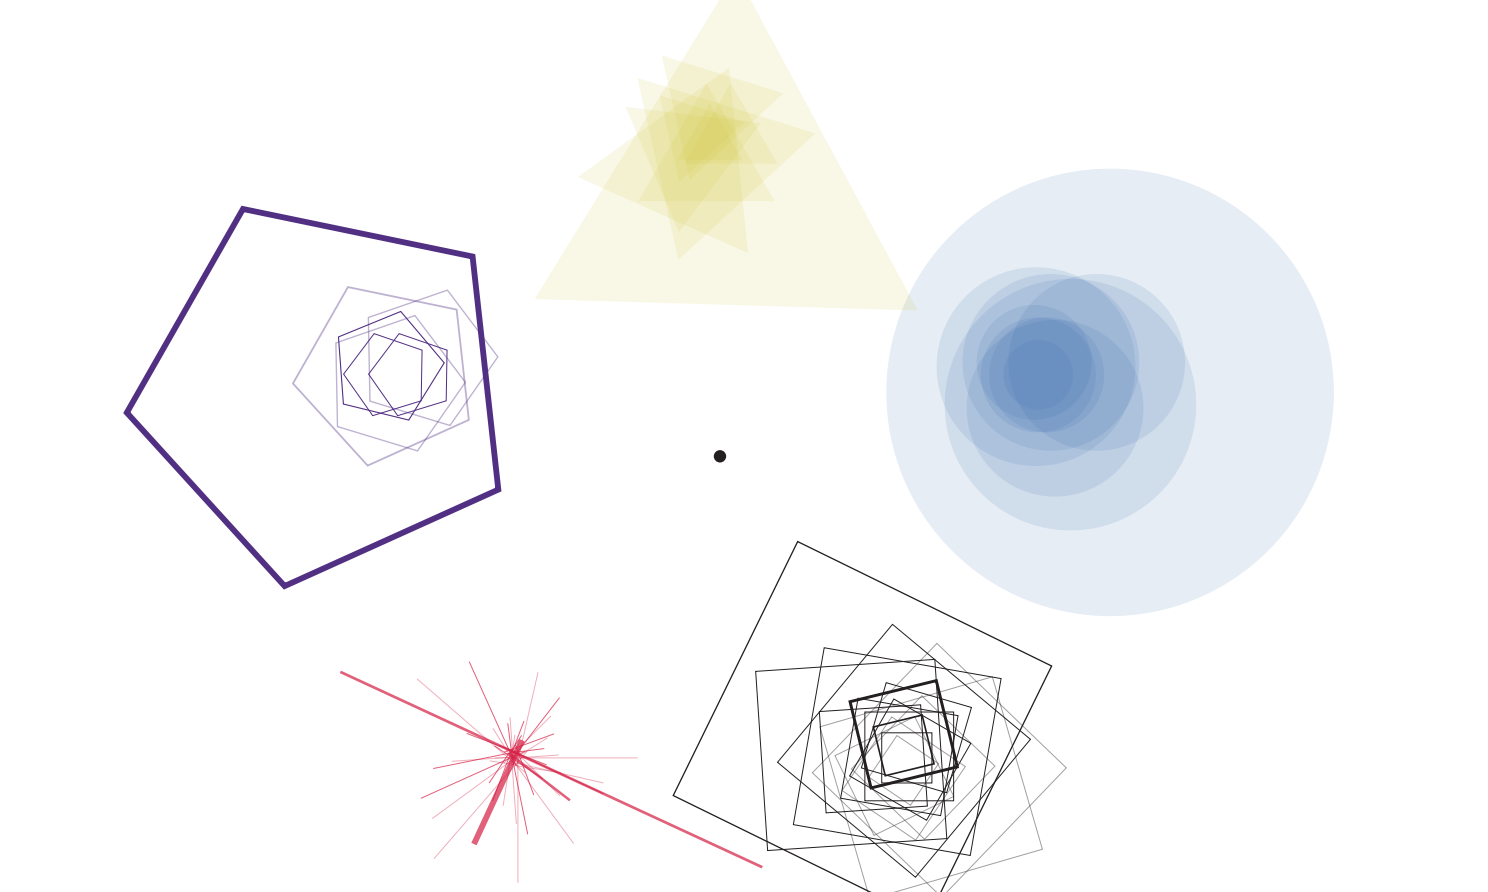
I am ashamed to admit that I only barely completed one and a half of the 3 challenges I had set out for myself last week – who knew learning was so difficult? Most of my accomplishments over the weekend consisted of referencing geometric code we created in class and finding a cool replacement for the blur effect, which is the wonderful library – Postfx, which is great for creating graphics. As for the second challenge concerning the Kinect, I watched most of the Daniel Shiffman’s videos on the thing and I intend to start hooking it up today. My last challenge involves connecting the Kinect to the pattern generated by the code, and making it possible for the user’s movements to control the movements of the pattern. I also intend to create a wayyyy cooler color palette.
A lil code:
import ch.bildspur.postfx.builder.*;
import ch.bildspur.postfx.pass.*;
import ch.bildspur.postfx.*;

PostFX fx;

PVector center;
Agents agents;

void setup() {
  size(1280, 720, P3D);
  frameRate(60);
  smooth(8);
  background(0);

  center = new PVector(width/2, height/2);
  fx = new PostFX(this);

  agents = new Agents();

  background(0);
}

void draw() {
  agents.run();

  float ratio = 0.5;
  float intensity = 10;


  fx.render()
    .blur(
    round(map(ratio, 0, 1, 0, intensity)),
    map(ratio, 1, 0, 0, intensity)
    )
    .compose();


  noStroke();
  fill(0, 15);
  rect(0, 0, width, height);
}
class Agent {

  PVector pos, startPos;
  float heading = random(TWO_PI);
  float startHeading = heading;
  float step = random(1.0, 2.5);
  float stepNext = step;

  color col;

  Agent() {
    this.pos = new PVector(random(width), random(height));
    this.build();
  }

  Agent(PVector pos, float heading) {
    this.pos = pos.copy();
    this.startPos = pos.copy();
    this.heading = heading;
    this.startHeading = heading;

    if ( pos.x > width / 2 ) {
      if ( pos.y > height / 2 ) {
        col = color(255);
      } else {
        col = color(0, 255, 0);
      }
    } else {
      if ( pos.y > height / 2 ) {
        col = color(255, 0, 0);
      } else {
        col = color(255, 0, 255);
      }
    }
  }

  Agent(PVector pos, float heading, color col) {
    this.pos = pos.copy();
    this.startPos = pos.copy();
    this.heading = heading;
    this.startHeading = heading;
    this.col = col;
  }

  void build() {
  }

  void update() {
    //callSensors(this);
    pos.add(new PVector(cos(heading), sin(heading)).mult(stepNext));


    if ( this.outOfBound() ) {
      pos = startPos.copy();
      heading = startHeading;
    }
  }

  void render() {
    stroke(col);
    vertex(pos.x, pos.y);
  }

  boolean outOfBound() {
    return (
      pos.x < 0 ||
      pos.x > width ||
      pos.y < 0 ||
      pos.y > height
      );
  }
}
creds to this github account for having great examples for working with postFX: https://github.com/cansik/processing-postfx/blob/master/examples/SimpleEffect/SimpleEffect.pde
Final Project Update
So far for my final project, I worked on the software for the game. I made 3 distinct classes: one for the raindrops, one for a timer and one for the ‘catcher’. I also added a timer onto the screen; however, it is currently counting up and needs to do the opposite. I also worked out how to print out the values for each time a raindrop intersects with the ‘catcher’ which I can further use to build the levels of my game. I also found the images I would like to use in an array to portray the growing flower and need to code this next as opposed to the ‘catcher’.
I found most aspects of coding thus far very difficult as I didn’t understand the logic to use, I solved this by asking a lot of questions from the Unix Lab. I’m still very unsure on how I am going to resolve all the upcoming issues regarding the animation aspect of the game and also connecting the IR camera.
Catcher catcher;    // One catcher object
Timer timer;        // One timer object
Drop[] drops;       // An array of drop objects
int totalDrops = 0;
int numCaught = 0; // Starting a count for the number of caught raindrops

PImage background;

void setup() {
  size(480, 270);
  background = loadImage("background.jpg"); // Putting in a background
  catcher = new Catcher(32); // Create the catcher with a radius of 32
  drops = new Drop[1000];    // Create 1000 spots in the array
  timer = new Timer(300);    // Create a timer that goes off every 300 milliseconds
  timer.start();             // Starting the timer
}

void draw() {
  background(255);
  // Set catcher location
  catcher.setLocation(mouseX, height);
  // Display the catcher
  catcher.display();

  // Check the timer
  if (timer.isFinished()) {
    // Deal with raindrops
    // Initialize one drop
    drops[totalDrops] = new Drop();
    // Increment totalDrops
    totalDrops ++ ;
    // If we hit the end of the array
    if (totalDrops >= drops.length) {
      totalDrops = 0; // Start over
    }
    timer.start();
  }

{
  text(timer.getTime(), 420, 50);
  fill(30);
  textSize(30);

  // Move and display all drops
  for (int i = 0; i < totalDrops; i++ ) {
    drops[i].move();
    drops[i].display();
    if (catcher.intersect(drops[i])) {
      drops[i].caught();
      numCaught++;
      print(numCaught);
    }
  }
}
}
class Catcher {
  float r;    // radius
  color col;  // color
  float x, y; // location

  Catcher(float tempR) {
    r = tempR;
    col = color(50, 10, 10, 150);
    x = 0;
    y = 0;
  }

  void setLocation(float tempX, float tempY) {
    x = tempX;
    y = tempY;
  }

  void display() {
    stroke(0);
    fill(col);
    ellipse(x, y, r*2, r*2);
  }

  // A function that returns true or false based on
  // if the catcher intersects a raindrop
  boolean intersect(Drop d) {
    // Calculate distance
    float distance = dist(x, y, d.x, d.y);

    // Compare distance to sum of radii
    if (distance < r + d.r) {
      return true;
    } else {
      return false;
    }
  }
}
class Drop {
  float x, y;   // Variables for location of raindrop
  float speed;  // Speed of raindrop
  color c;
  float r;      // Radius of raindrop

  Drop() {
    r = 8;                   // All raindrops are the same size
    x = random(width);       // Start with a random x location
    y = -r*4;                // Start a little above the window
    speed = random(1, 5);    // Pick a random speed
    c = color(50, 100, 150); // Color
  }

  // Move the raindrop down
  void move() {
    // Increment by speed
    y += speed;
  }

  // Check if it hits the bottom
  boolean reachedBottom() {
    // If we go a little beyond the bottom
    if (y > height + r*4) {
      return true;
    } else {
      return false;
    }
  }

  // Display the raindrop
  void display() {
    // Display the drop
    fill(c);
    noStroke();
    for (int i = 2; i < r; i++ ) {
      ellipse(x, y + i*4, i*2, i*2);
    }
  }

  // If the drop is caught
  void caught() {
    // Stop it from moving by setting speed equal to zero
    speed = 0;
    // Set the location to somewhere way off-screen
    y = -1000;
  }
}
class Timer {

  int savedTime; // When Timer started
  int totalTime; // How long Timer should last

  Timer(int tempTotalTime) {
    totalTime = tempTotalTime;
  }

  // Starting the timer
  void start() {
    // When the timer starts it stores the current time in milliseconds.
    savedTime = millis();
  }

  // The function isFinished() returns true if 5,000 ms have passed.
  // The work of the timer is farmed out to this method.
  boolean isFinished() {
    // Check how much time has passed
    int passedTime = millis()- savedTime;
    if (passedTime > totalTime) {
      return true;
    } else {
      return false;
    }
  }

  int getTime() {
    return millis()/600;
  }
}
Next, I’m going to be working on using the IR camera and learning how to program it with the interaction I would like.
Three Challenges by Paulin and Nick
The first challenge that we mentioned was to create a user experience that allows people to feel like their iron man. In order to beat this challenge the first step that we took was using a Kinect to detect the hand of a user and to detect whether this hand moves in the X, Y or Z axis. This weekend we learned how the infrared sensor of the Kinect works and how it can detect the distance of objects. So we created a processing program that detects the hand of the user when it’s in a specific distance and it puts an ellipse in the middle of the hand and then if the user moves his hand closer than the code change the color of the ellipse simulating that the user shot at a target. The code is attached.
import org.openkinect.freenect.*;
import org.openkinect.freenect2.*;
import org.openkinect.processing.*;
import org.openkinect.tests.*;
PImage img;

Kinect kinect;

void setup(){
  size(512,484);
  kinect = new kinect(this);
  kinect. initDepth();
  kinect.initDevice();
  img = createImage(kinect.depthWidth, kinect.depthHeight,RGB);
}

void draw(){
  background(0);

  img.loadPixels();

  int[] depth = kinect.getRawDepth();
  float sumX = 0;
  float sumY = 0;
  float totalPixels = 0;
  for (int x = 0; x<kinect.depthWidth; x++){
    for (int y =0; y< kinect.Height; y++){
      int offset = x + y*kinect.depthWidth;
      int d = depth[offset];
      if(d>400 && d<1000){
        img.pixels[offset] = color(255,0,150);
        sumX+= x;
        sumY+=y;
        totalPixels++;
      }
       else if(d>200 && d<400){
        img.pixels[offset] = color(128,255,0);
        sumX+= x;
        sumY+=y;
        totalPixels++;
      }
      else;
      img.pixels[offset] = color(0);
    }
  }
  img.updatePixels();
  image(img,0,0);

  float avgX = sumX/totalPixels;
  float avgY =sumY/totalPixels;
  fill(150,0,255);
  ellipse(avgX,avgY,64,64);
}
Credits to Daniel Shiffman from the Coding Train to teach us how to read kinect data
Our second obstacle was to create a glove that would represent one that would be identical to Iron Man’s. When we searched on Google, we found out that a replica of Iron Man’s glove was around 300 dirhams, but we realized we can still make something similar without paying that much. If we find a red glove and put metal ornaments and be careful with our design, we can achieve the similar glove and it’s also fine since we will be using kinetic glove movement. This means that the kinetic camera will only detect the hand rather than any light or design-related issues from the glove. Therefore, we can put more effort into making the glove as similar as possible.
Finally, our last challenge was to make the game more video-gameish in the sense that the game will be more interactive than just hitting the play button and playing the game. What we have come up, for more interactive play, is the function that allows users to write their names once they play the game and see who is on the top of the scoreboard. Not only that, we are also thinking of putting in an option button at the start of the game that will have controls to determine how fast the targets will appear, etc. Hopefully these updates will allow the player to have more freedom and thus have a better experience with our upcoming game.
Computer Vision for Artists and Designers
This detailed article embodies most of what I enjoy and love about interactive media. I enjoyed forming a deeper understanding of how computers are programmed to “see”, and the article provided a history lesson of some sorts as it detailed the origins of computer vision, and all the fascinating projects which nurtured this concept into the wonderful world of interactive media that we know and continue to develop today.
The first project that showcased the use of computer vision in interactive art was Myron Krueger’s Videoplace, and despite being first conceived in the early 1970s it seems to hold a lot in common with several modern digital art installations that I enjoy and am inspired by. I kept making mental references to the works of American immersive artist, Chris Milk, who creates large interactive installations that require the audience’s interactions. I found it fascinating how I could identify elements of elementary computer vision techniques in Milk’s and other artist’s work. This made me realize that despite the conception of certain computer vision techniques decades ago, much of them pertain and apply to interactive art in modern times. I also considered how there could be endless applications for this kind of creative technology, which could generate revolutionary changes in the fields of education, architecture, media, art, etc.
Furthermore, I noticed how prior to reading this article I was starting to consider how to operate elements of motion and presence detection for my project, since I intended to use a Kinect to detect body movements and mimic them through colors and patterns.
Chris Milk: