Concept and Inspiration
In this assignment we had to create a generative artwork using Object-Oriented Programming elements such as arrays and objects. In this project I tried to recreate the mythological rainbow bridge Bifrost. In Norse mythology, the Bifröst (also known as the Bifrost Bridge or the Rainbow Bridge) is a bridge that connects the realm of the gods Asgard to the mortal world Midgard. The Bifröst is depicted as a rainbow bridge that shimmers and changes colors. The concept of the Bifröst has been influential in works of fiction, inspiring elements of magic and fantasy in various forms of media. I tried to create an immersive experience of traveling using this Bifröst bridge, and tried to depict how it would look like from inside.
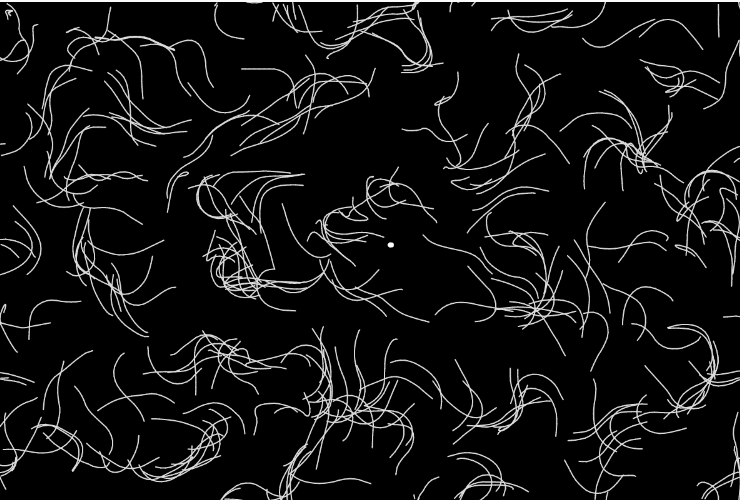
Draft 1
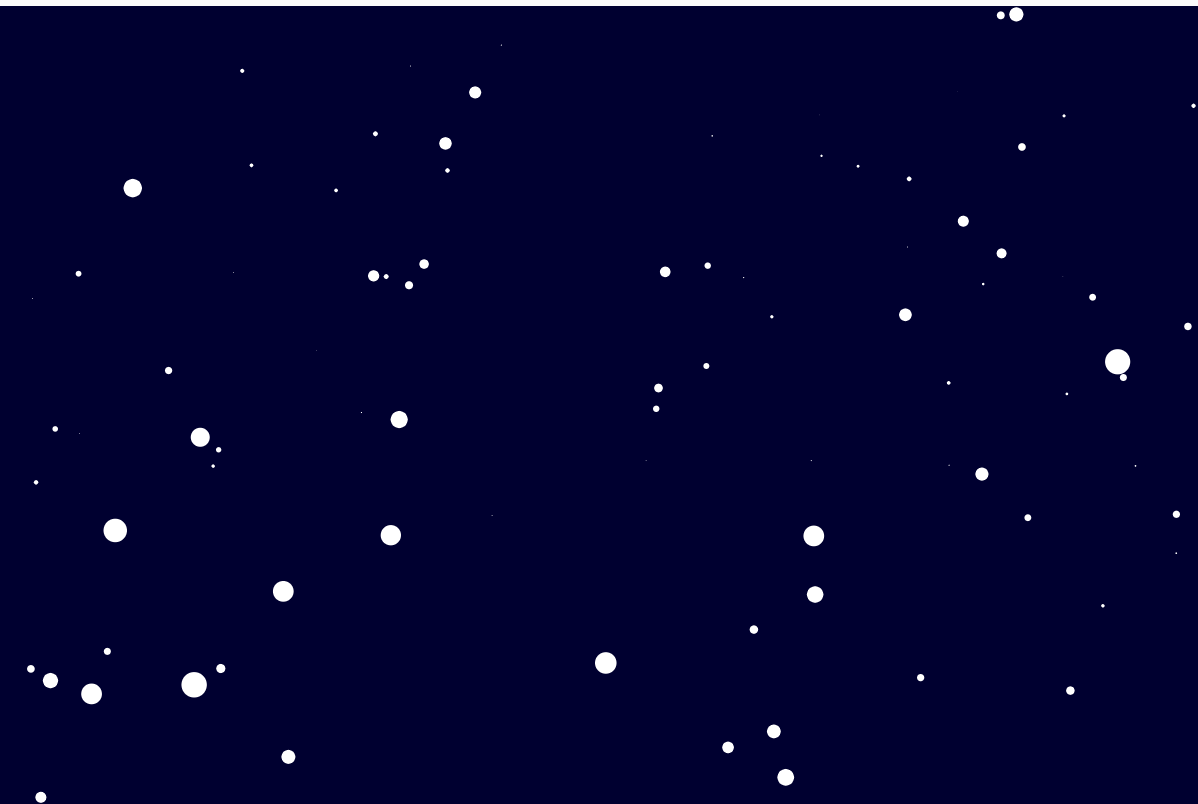
First I created a white stars on black background with an immersive movement. After testing out various angles and parameters for speed and size I integrated rainbow background change and increased the speed.
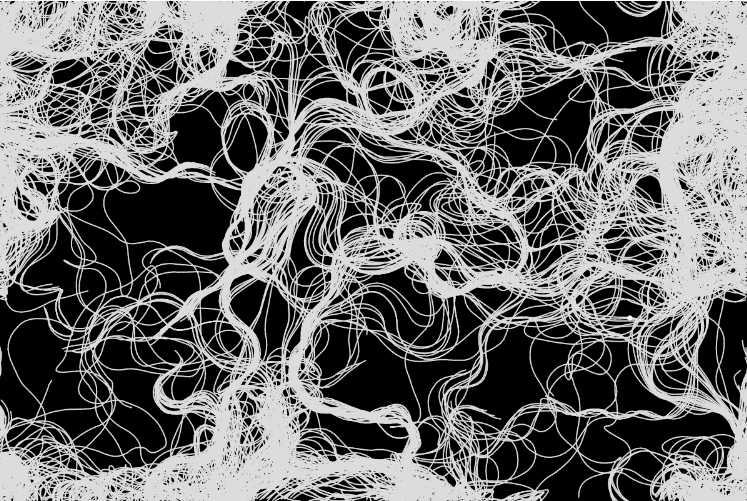
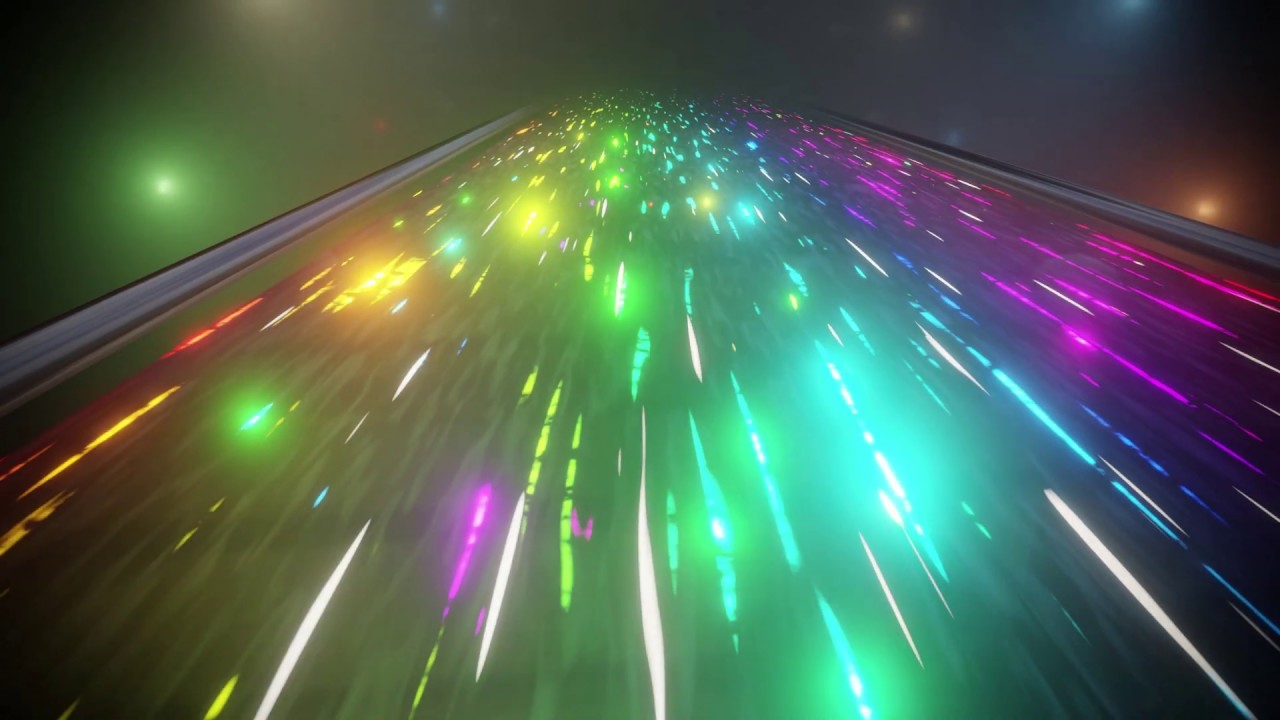
Final Version
In this assignment I paid extra attention to the structure, clarity, and organization of my program. I made use of functions as needed to organize structure of my program and tried to assign meaningful names for variables.
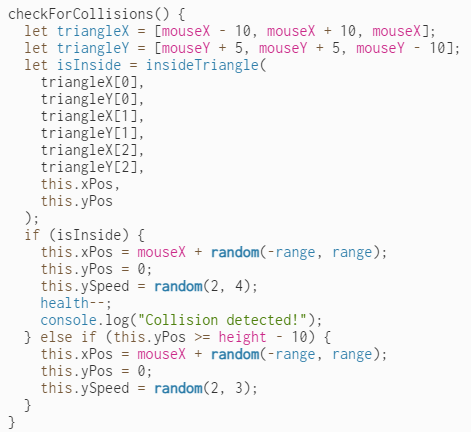
Code of Project
var star = []; // array to store all the stars
var numOfStars = 200; // number of stars to be displayed
var speed = 8; // speed at which stars move
var backgroundHue = 0; // hue value for the background color

// the setup function is called once when the program starts
function setup() {
  createCanvas(600, 400);
  for (var i = 0; i < numOfStars; i++) {
    star[i] = new Star(); // creates new instances of the Star object and adds them to the star array
  }
}

// the draw function is called repeatedly until the program is stopped
function draw() {
  backgroundHue = (backgroundHue + 1) % 360; // updates the hue value for the background color
  colorMode(HSB);
  background(backgroundHue, 100, 100);
  for (var i = 0; i < numOfStars; i++) {
    star[i].update(); // updates the position of each star
    star[i].show(); // displays each star
  }
}

// the Star object constructor
function Star() {
  this.x = random(0, width);
  this.y = random(0, height);
  this.z = random(0, width); // z-coordinate for the star (used for the 3D effect)
  this.h = random(0, 360); // hue value for the star color

  // updates the position of the star
  this.update = function () {
    this.z = this.z - speed; // reduces the z-coordinate to move the star towards the viewer
    if (this.z < 1) {
      this.z = width; // if the star goes off the screen, it reappears at the back
      this.x = random(0, width); // new x-coordinate
      this.y = random(0, height); // new y-coordinate
      this.h = random(0, 360); // new hue value
    }
  };

  // displays the star
  this.show = function () {
    noStroke(); // removes the stroke around the star
    colorMode(HSB);
    fill(this.h, 100, 100);

    // calculates the x-coordinate and y-coordinate of the star on the screen
    var sx = map(this.x / this.z, 0, 1, 0, width);
    var sy = map(this.y / this.z, 0, 1, 0, height);

    // calculates the size of the star based on its z-coordinate
    var r = map(this.z, 0, width, 32, 0);
    ellipse(sx, sy, r, r); // draws the star as an ellipse
  };
}
Challenges and Improvements
Creating a believable rainbow effect for the stars and the background can be challenging. It requires careful use of color gradients and blending modes to produce the desired visual effect. Another improvement can be made to star movement. Implementing realistic star movement can be difficult, especially when it comes to creating a 3D illusion on a 2D canvas. It’s important to carefully consider the equations used to move the stars, as well as the way they are drawn on the canvas