
This week, I have finished the processing code and done with the graphics for the project. However, unfortunate, I’m still figuring out the ways I could implement Arduino to Processing.
Category: Spring 2021
Week 14 Final Progress.
Summary:
For this week’s progress, the original plan was to accomplish at least 70% of the production of the project without counting the aesthetic part. However, while working on the project, there were several challenges that I encountered and currently, about 50% of the project is completed. I have started and almost completed the general function of the piano and also started implementing basic features that do not take that much time.
Progress:
import ddf.minim.*;
import processing.sound.*;
Game game;
String filename;
Minim minim;
AudioPlayer[] notes = new AudioPlayer[89];
int phase = 0;


void setup()
{
  size(910, 700);
  minim = new Minim(this);
  for (int i = 1; i < 89; i++){
      filename =  i + ".mp3";
      notes[i] = minim.loadFile(filename);
  }
  game = new Game(notes);
}

void draw(){
  game.drawGame();
  if(keyPressed)
  {
    if(key == 'd')
    {
      println('d');
      game.play0();
    }
    else if(key == 'f')
    {
      println('f');
      game.play1();
    }
    else if(key == 'g')
    {
      println('g');
      game.play2();
    }
    else if(key == 'h')
    {
      println('h');
      game.play3();
    }

  }
}


void keyPressed()
  {
    if(key == CODED)
    {
      if(keyCode == RIGHT)
      {
        game.moveright();
      }
      else if(keyCode == LEFT)
      {
        game.moveleft();
      }
      else if(keyCode == 'd')
      {
        println("here");
      }
      else if(key == 'f')
      {
        println("here");
      }
      else if(key == 'g')
      {
        println("here");
      }
      else if(key == 'h')
      {
        println("here");
      }
    }
  }

  void mouseClicked()
  {
    game.mouseClicked();
  }
class Game{
  Tile[] tilearray = new Tile[89];
  int screenx, screeny;
  int numoftiles = 89;
  Minim minim;
  AudioPlayer[] notes;
  int screenPosition;
  int whitekeys = 0;
  int blackkeys = 0;
  int screen = 0;
  int screenvelo = 120;
  int position = 0;
  Tile[][] notearray = new Tile[22][4];
  boolean isrecording;
  int phase = 0;
  Record record = new Record();

  Game(AudioPlayer[] sound){
    notes = sound;
    for( int i = 1; i < numoftiles; i++){
      if(i == 2 || (i - 5)%12 == 0 || (i - 7)%12 == 0 || (i - 10)%12 == 0 || (i - 12)%12 == 0 || (i - 14)%12 == 0)
      {
        tilearray[i] = new Tile(i, notes[i], 1, blackkeys);
        blackkeys++;
      }
      else{
        tilearray[i] = new Tile(i, notes[i], 0, whitekeys);
        whitekeys++;
      }
    }
    int j = -1;
    int k = 0;
    for(int i = 1;  i < numoftiles; i++)
    {
      if( (i-1)% 4 == 0)
      {
        j++;
      }
      k = (i - 1)%4;
      notearray[j][k] = tilearray[i];
    }
  }

  void moveright()
  {
    if(screen < 2540)
    {
      println(screen);
      position++;
      screen += screenvelo;
      for( int i = 1; i < numoftiles; i++)
      {
        tilearray[i].position(screen);
      }
    }
  }

  void moveleft()
  {
    if(screen > 0)
    {
      screen -= screenvelo;
      position--;
      for( int i = 1; i < numoftiles; i++)
      {
        tilearray[i].position(screen);
      }
    }
  }

  void play0()
  {
    notearray[position][0].playtile();
  }

  void play1()
  {
    notearray[position][1].playtile();
  }

  void play2()
  {
    notearray[position][2].playtile();
  }

  void play3()
  {
    notearray[position][3].playtile();
  }

  void indicators()
  {
    color c = color(255, 0, 0);
    for(int i = 0; i < 4 ; i++)
     {
       notearray[position][i].indicator(c);
     }
  }

  void startrecord()
  {
    if(isrecording == false)
    {
      isrecording = true;
    }
  }

  void mouseClicked()
  {

  }

  void drawGame()
  {
    for( int i = 1; i < numoftiles; i++){
      tilearray[i].drawtile();
    }
    indicators();
  }
}
class NotePlay{
  float posx, posy;
  AudioPlayer sound;
  boolean isSelected;
  int posinarray;

  NotePlay(AudioPlayer note, int position)
  {
    sound = note;
    posinarray = position;
  }

  void playNote()
  {
    stroke(255); //Change to yellow or other color
    sound.play(0);
    stroke(0);
  }


  void drawNote()
  {
   //circle();
  }

}
class Record{
  int size, capacity;
  NotePlay[] record;


  Record()
  {
    capacity = 20;
    size = 0;
    record = new NotePlay[capacity];
  }

  void addNote(AudioPlayer sound)
  {
    if(size + 1 == capacity)
    {
      capacity *= 2;
      NotePlay[] copy = new NotePlay[capacity];
      for( int i = 0; i < size; i++)
      {
        copy[i] = record[i];
      }
      record = copy;
    record[size] = new NotePlay(sound, size);
    size++;
    }
  }

  void deleteNote(int position)
  {

  }
}
class Tile{
  float type, number;
  float x, y;
  float tilew, tileh;
  AudioPlayer sound;
  AudioPlayer[] notes = new AudioPlayer[88];
  int keytype;
  color c;
  float xposition;


  Tile(int num, AudioPlayer note, int type, int xpos){
    keytype = type;
    if(keytype == 0)
    {
      tilew = 65;
      x = xpos * tilew;
      tileh = 330;
      c = color(255);

    }
    else
    {
      if(xpos == 0)
      {
       tilew = 50;
       x = xpos + (tilew/2);
      }
      else
      {
        tilew = 50;
        if(xpos%5 == 1)
        {
          x = 3 + 7*(xpos/5);

        }
        else if(xpos%5 == 2)
        {
          x = 4 + 7*(xpos/5);

        }
        else if(xpos%5 == 3)
        {
          x = 6 + 7*(xpos/5);

        }
        else if(xpos%5 == 4)
        {
          x = 7 + 7*(xpos/5);
        }
        else if(xpos%5 == 0)
        {
          x = 8 + 7*((xpos/5)-1);
          //println(x);
        }
        //x++;
        x *= 65;
        x -= tilew/2;
        println(x);

      }
      tileh = 250;
      c = color(100);
    }
    y = 300;
    sound = note;
    xposition = x;
  }

  void playtile(){
    if( game.isrecording == true)
    {
      game.record.addNote(sound);
    }
    sound.play(0);
  }

  void position(int screenposition){
    xposition = x - screenposition;
  }

  void indicator(color c1)
  {
    stroke(c1);
    noFill();
    rect(xposition, y, tilew, tileh);
  }

  void drawtile(){
    stroke(0);
    fill(c);
    rect(xposition, y, tilew, tileh);
  }
}
Progress Work:
I have started working on the general look of the piano. Also, I have implemented the basic functions of a piano such as playing the notes and traveling through the piano. The files for the notes have been all uploaded. The selection for the notes being played has also been implemented. Finally, I have been working on creating the recording feature of the piano.
Challenges:
For this week’s progress, the main challenge was finding and uploading the files for each note. This process took me much longer than I expected. The process required work for more than one day. This was because I could not find files for piano notes. When I finally did, the files required editing. I edited (cropped, change format). This process was much longer because I had to edit a total of 88 files. Another challenge I faced was ordering the tiles to resemble the form of a piano. This part is not 100% accomplished but it is only missing one part. This process required calculation for the position of the keys because pianos have both white and black keys and are distributed unevenly throughout.
Plan:
My plan for accomplishing this project on time includes finishing the technical aspect for this Friday. (All coding in Processing and Arduino). Then work on the aesthetic part on Saturday and Sunday so that I can accomplish finishing this project on time.
Final Project Progress (though it was mainly problems ;-;)
Quick summary from Armaan and Thaís
For the past few days we have been working on the Arduino part of the project and how it communicates with the Processing part related to the controller. We had a lot of technical difficulties because the program would load and then crash or a message would appear saying that the port was busy and thus couldn’t be opened by neither Processing nor the Serial window in Arduino.
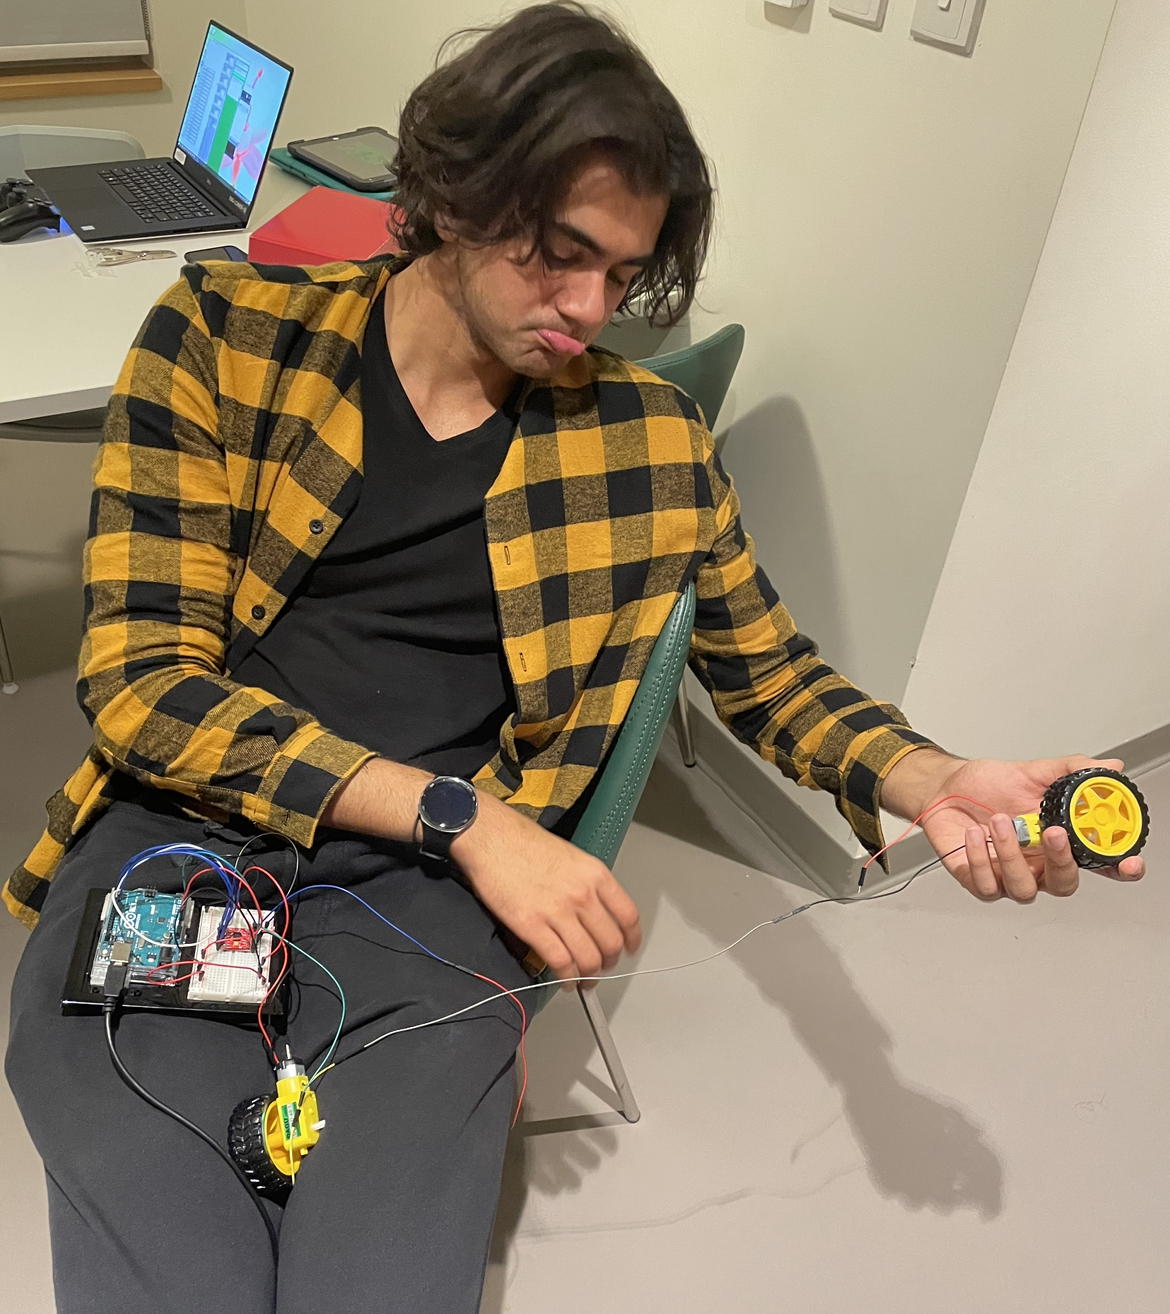
Additionally, the motors sometimes would stop working (wouldn’t move) thus, we couldn’t test the code properly until we got the wheels to move again. We discovered that this was due to the fact that the weight of the Arduino and the bread board was too much for the wheels. We then tried to separate the Arduino and breadboard from the wheels so that they could move without the weight. Unfortunately, this didn’t work since as we tried to extend the length of the wires, many of the extensions would get loose and disconnect, which frustrated our efforts to leave the wheels by themselves. Here is an image of Armaan to demonstrate the sadness we felt when we discovered our brilliant idea was a waste of time:
Since we didn’t want to waste more time, we decided to test the controls with the car in the air in order to check if whether the code we were doing worked or not. The idea is to use the game controller as an input to control the car, map the values of those inputs and then send it to Arduino.
One of the problems we had with this is that even though the joystick of the controller gives values very close to zero when you leave the joystick alone, once those values are mapped, it threw some weird values that made the motors keep on moving. We then had to establish a parameter (between -10 and 10) in order for the motors to activate the brakes. Additionally, the buttons of the controller (which can also be used as brakes) instead of giving a value of either 1 or 0 (as given in the configuration) was instead giving a value of 0 or 8. We also had to fix this by basically hardcoding the fact that the input of the button must be divided by 8.
Testing and fixing the code was very troublesome since every time we disconnected the Arduino the port number changed, so we had to check that the portname was the one we were currently using.
After much struggle, we were finally able to run the code effectively.
What we then decided to do was re-position the wheels below the Arduino in order to balance the weight better and try to see if the car would be able to move. Though it got better, there were still problems with the car stopping after a certain amount of time.
After much pondering, we noticed that the reason why the car was completely stopping was due to the fact that the wheels were curving because the tape we used wasn’t strong enough to hold them in place. We had to get the two sided tape that is used to hang frames from the wall. The position is not perfect, but it got the job done and allowed us to test the car on the ground. There were some issues with turning the car and also with how fast it can go, but after a while of trial and error, we finally succeeded.
Processing
For the processing part, besides using the controller library, we also want to display the road that the car must follow in order for the user to complete the circuit (similar to a spacial intelligence test). For that purpose, we decided to test out how to make sure that the player follows the designated path by using a sample circuit and a car image that will showcase the player’s position in the track.
To check the constrains of the player’s track, we decided to use PGraphics. There is a black and white copy of the track and what we do is check if the pixel color of a rectangle at the position of the car matches that of the outside of the track (white pixel on white pixel). Thus, if both pixels are white, the player will not be allowed to go through that zone.
This is the sample circuit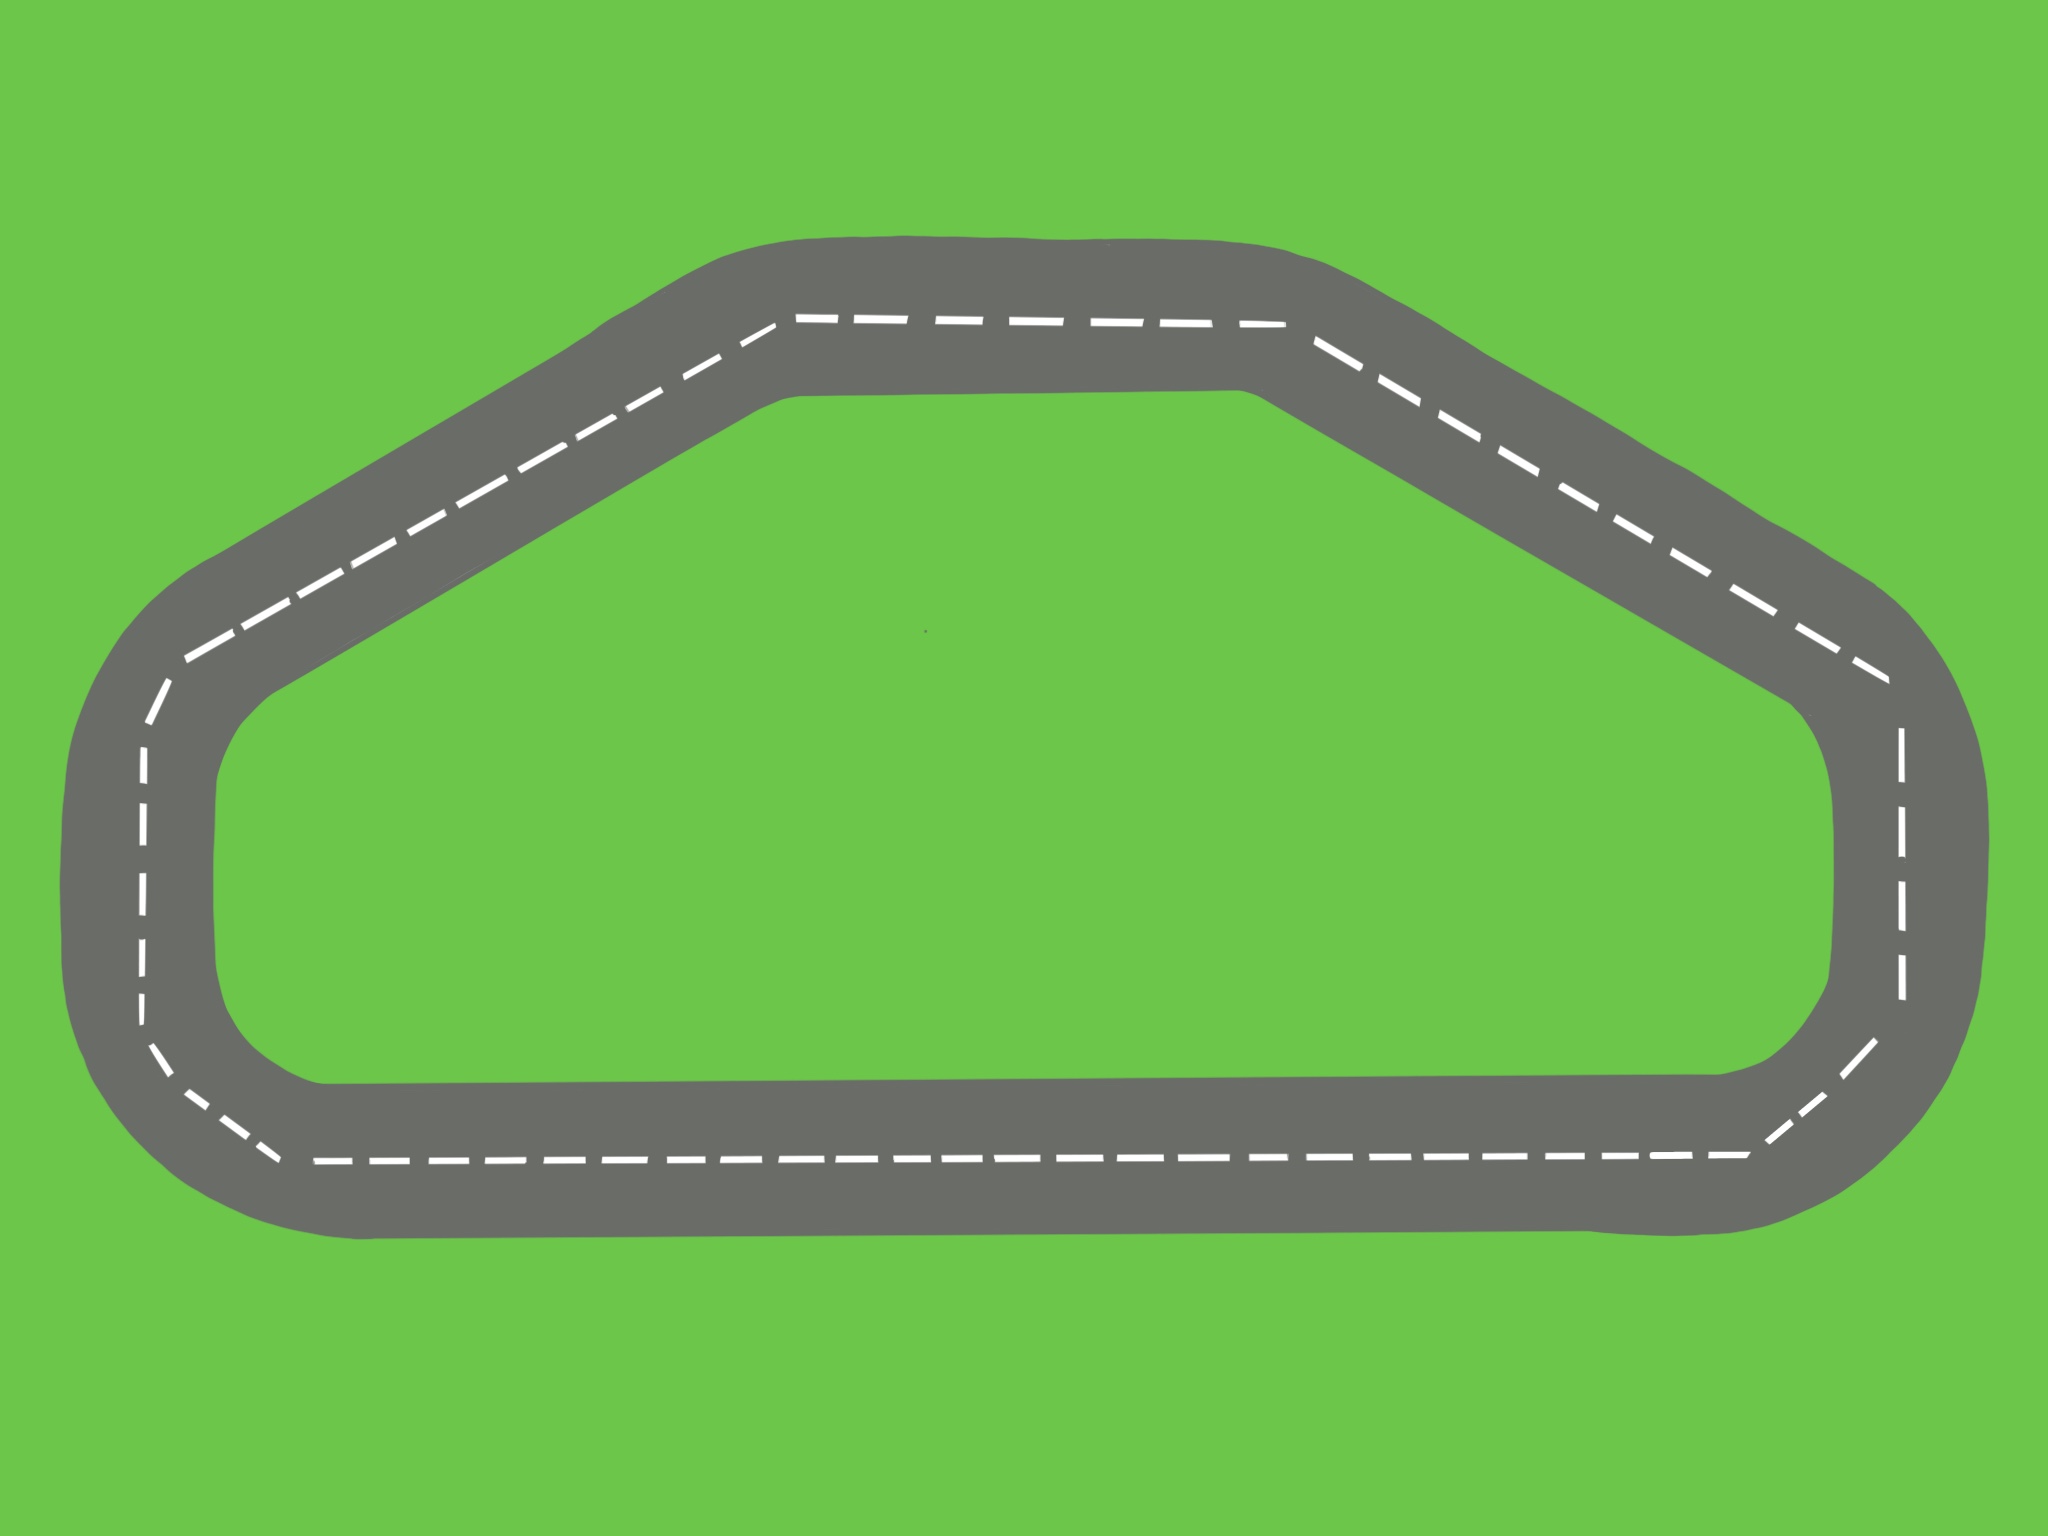
This is the black and white copy of the circuit

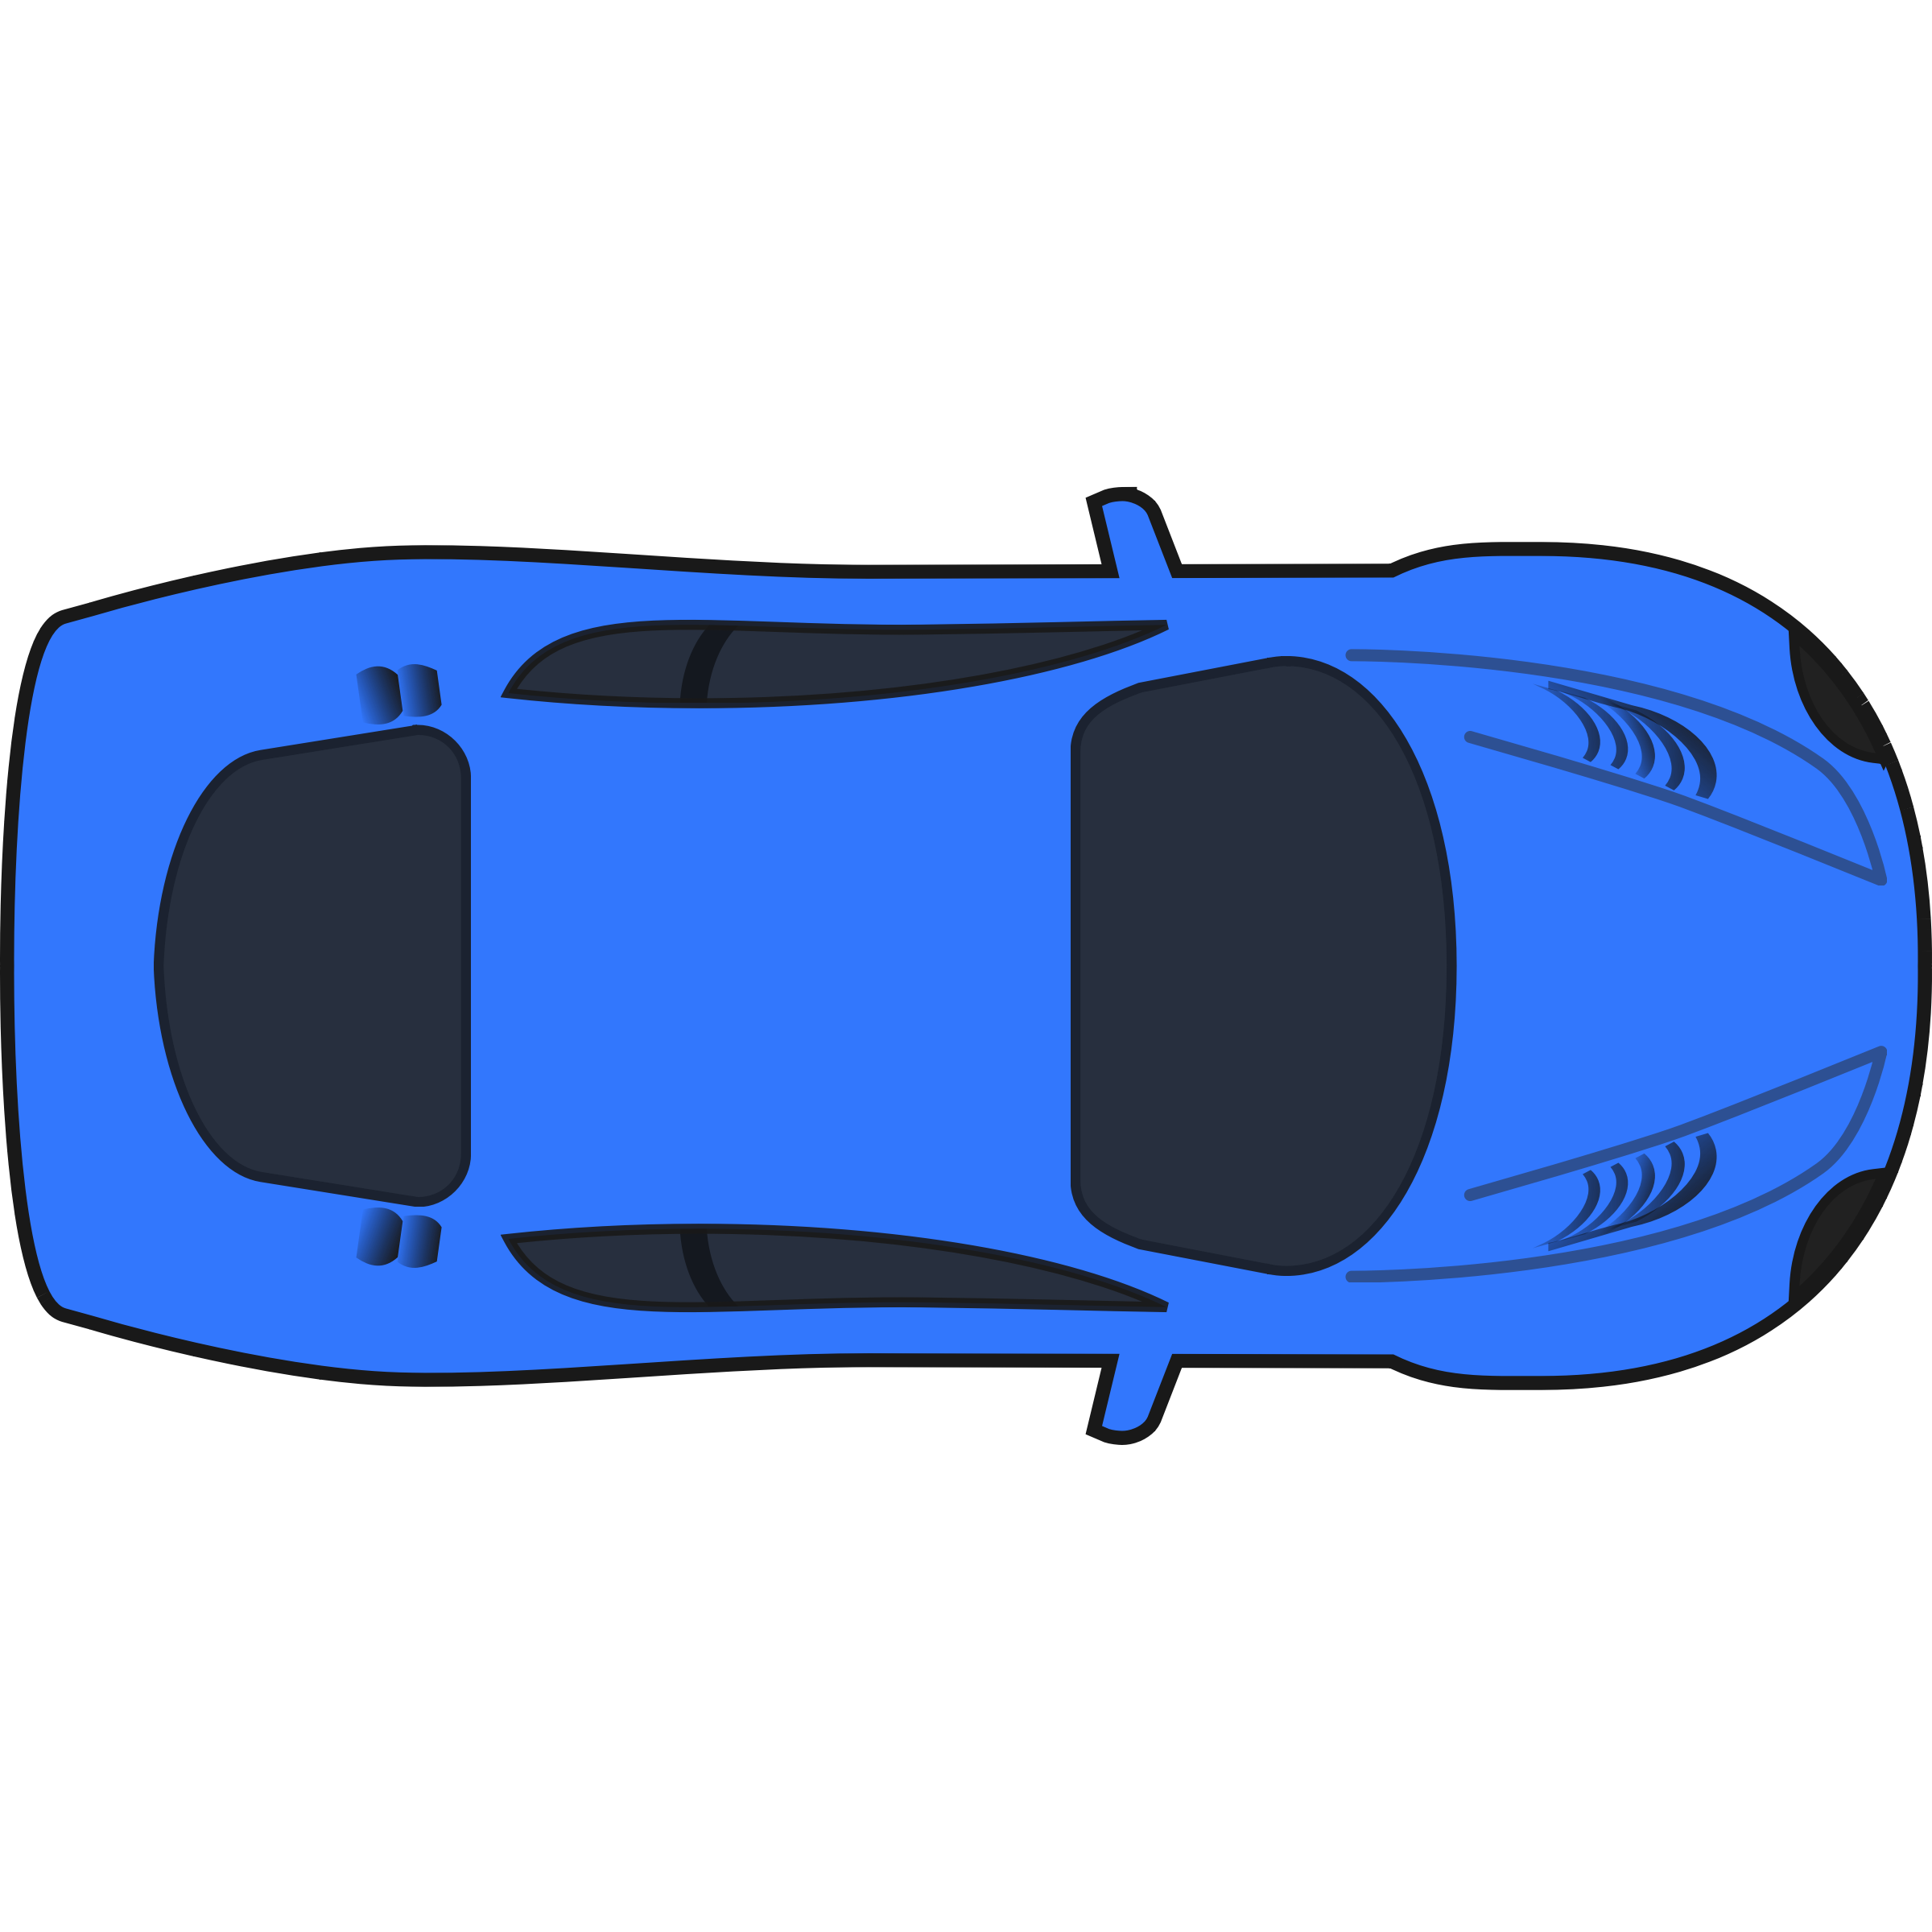
This is the car used to showcase the player position
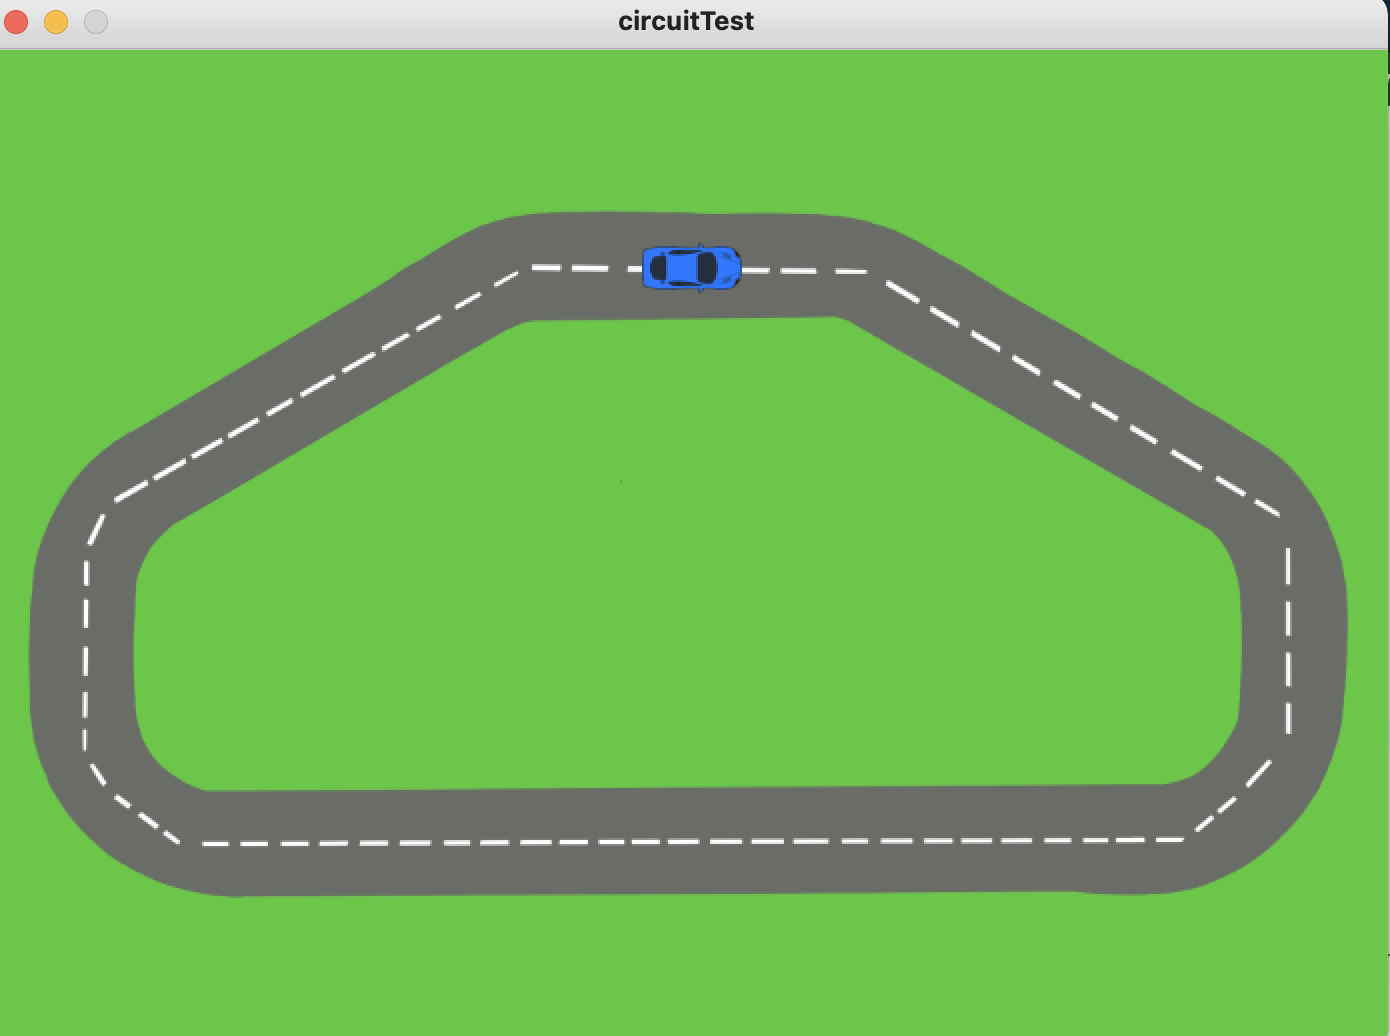
This is how processing showcased the track with the car along the path.
We are currently working on a more aesthetic model of the track and on a carton cover for the Arduino that will be both for aesthetics and to balance out the weight of the car in order to improve the performance of the car movement.
Note: The controller library that we are using works with our PSP controller only on Windows, so learning how to use the operating software also slowed us down a little, but we are now more comfortable using it (though we still use a Mac to do the Processing side that does not require the controls).
Final Project Update 2
Update:
The project is moving along well. We have most of the visuals working, the Arduino (bomb) connecting with Processing and reading/writing data, and about half of the game phases have been made. This has allowed us to do some play testing. We are moving along well despite some external circumstances.
Arduino/Processing Communication:
Arduino and Processing have to be constantly communicating within our game. Now every cycle Processing is writing to Arduino which LED’s to turn on, as well if to turn on the buzzer or now. Arduino responds with various inputs including the pressing of each button and the values of the distance meter and the potentiometer. By letting Processing handle the logic of which LEDs to turn on this allows the more powerful CPU of the computer to take the brunt of the calculations while the smaller Arduino processes will not be overwhelmed.
Game:
Following the instructions we posted last week, we have also began coding the game to be producing random outputs to Arduino and awaiting specific feedback from a user. The outputs have to be random so that the game is different each time, but controlled enough that we know what the possibilities could be and make sure the player can respond appropriately with what they are seeing.
To do so I coded a class which will contain functions for each phase of the game. Each phase will initially set some variables that are random generated, and then proceed to process inputs and compare them to these variables. Each function then decides if the user has passed this phase or if they have set the bomb off.
class GameStage {

  //Manage flow of game
  int gameStage; //Which instruction set is the player on?
  boolean pass; //Has the user passed the stage?
  boolean failed; //Has the bomb been set off

  //Timers used for flashing
  long timerStart;
  int flashLength;

  //Which stages have been set up
  boolean stageTwoSetup = false;
  boolean stageThreeSetup = false;

  //Stage 2 variables
  int numberOfLights;
  boolean flashing[] = {false, false, false, false};
  boolean onOff;

  //Stage 3 variables
  int order[] = {-1, -1, -1, -1};  //Order LEDs flash
  boolean buttonsPressed[] = {false, false, false, false};
  int orderIndex;  //Which button should be pressed (on 0th button, 1st, 2nd, or 3rd)
  boolean buttonUsed = false; //Used to determine if a button is being pressed


  //Default constructor
  GameStage() {
    gameStage = 2;
  }

  int runGame() {
    if (gameStage == 2) {
      return stageTwo();
    }
    if (gameStage == 3) {
      return stageThree();
    }
    return -1;
  }

  //Blink lights until the user moves the potentiometer to the right zone
  int stageTwo() {
    //If first time on stage
    if (!stageTwoSetup) {
      numberOfLights = int(random(4)+1);  //Set how many lights are flashing
      timerStart = millis();
      flashLength = 500;
      onOff = false;
      stageTwoSetup = true;

      //Set which lights will flash
      for (int i = 0; i < numberOfLights; i++) {
        int randomIndex = int(random(4));  //Set random lights to blink
        while (flashing[randomIndex] == true) {
          randomIndex = (randomIndex + 1)%4;  //Advance until there is an index set to false
        }
        flashing[randomIndex] = true;
      }
    }

    //Flash lights if needed
    if (millis() - flashLength > timerStart) {
      onOff = !onOff;
      timerStart = millis();
      for (int i = 0; i < 4; i++) {
        if (onOff) {
          lights[i] = flashing[i];
        } else {
          lights[i] = false;
        }
      }
    }

    //Check for a user input
    if (numberOfLights == 1) {
      if (potentiometer >= 512 && potentiometer < 777) {
        //In yellow
        gameStage++;
      }
    } else if (numberOfLights == 2) {
      if (potentiometer >= 0 && potentiometer < 256) {
        //In red
        gameStage++;
      }
    } else if (numberOfLights == 3) {
      if (potentiometer >= 256 && potentiometer < 512) {
        //In orange
        gameStage++;
      }
    } else if (numberOfLights == 4) {
      if (potentiometer >= 777 && potentiometer < 1024) {
        //In green
        gameStage++;
      }
    }
    return gameStage;
  }

  //Remeber the LED pattern, push the buttons in the same order
  int stageThree() {
    //Setup stage three
    if (!stageThreeSetup) {
      //Choose order of LEDS
      for (int i = 0; i < 4; i++) {
        //Chose random index to put light in order
        int randomIndex = int(random(4));
        while (order[randomIndex] != -1) {
          randomIndex = (randomIndex + 1) % 4;
        }
        order[randomIndex] = i;  //Asign light randomly in order
      }

      //Set timers
      timerStart = millis();
      orderIndex = 0;
      stageThreeSetup = true;
    }

    for (int i = 0; i < 4; i++) {
      print(buttonPressed[i] + ", " );
    }
    println();

    //Flash lights in order//If timer if 0 - 199ms
    if (millis() - timerStart < 400) {
      lights[order[0]] = true;
      lights[order[1]] = false;
      lights[order[2]] = false;
      lights[order[3]] = false;
    }
    //If timer is 200-399ms
    else if (millis() - timerStart < 800) {
      lights[order[0]] = false;
      lights[order[1]] = true;
      lights[order[2]] = false;
      lights[order[3]] = false;
    }
    //If timer is 400-599ms
    else if (millis() - timerStart < 1200) {
      lights[order[0]] = false;
      lights[order[1]] = false;
      lights[order[2]] = true;
      lights[order[3]] = false;
    }
    //If timer is 600-799ms
    else if (millis() - timerStart < 1600) {
      lights[order[0]] = false;
      lights[order[1]] = false;
      lights[order[2]] = false;
      lights[order[3]] = true;
    }
    //If timer is below 1200
    else if (millis() - timerStart < 3000) {
      lights[order[0]] = false;
      lights[order[1]] = false;
      lights[order[2]] = false;
      lights[order[3]] = false;
    } else {
      timerStart = millis();
    }

    //Look for user input
    //Look to see if no buttons are being pressed
    if (buttonUsed) {
      boolean tempNotUsed = true;
      for (int i = 0; i< 4; i++) {
        if (buttonDown[i] == 1) {
          tempNotUsed = false;
        }
      }
      if (tempNotUsed) {
        buttonUsed = false;
      }
    }

    //If no buttons are being pressed, look for one to be pressed, otherwise wait for them to be released before being used again
    if (!buttonUsed) {
      //Yellow button pressed
      if (buttonDown[0] == 1) {
        buttonUsed = true;
        //Check to see if the next button in the order is also a 0
        if (order[orderIndex] == 0) {
          orderIndex++;
        }
        //Wrong order
        else {
          fail = true;
        }
      }
      //Green button pressed
      else if (buttonDown[1] == 1) {
        buttonUsed = true;
        //Check to see if the next button in the order is also a 1
        if (order[orderIndex] == 1) {
          orderIndex++;
        }
        //Wrong order
        else {
          fail = true;
        }
      }
      //Red button pressed
      else if (buttonDown[2] == 1) {
        buttonUsed = true;
        //Check to see if the next button in the order is also a 2
        if (order[orderIndex] == 2) {
          orderIndex++;
        }
        //Wrong order
        else {
          fail = true;
        }
      }
      //Blue button pressed
      else if (buttonDown[3] == 1) {
        buttonUsed = true;
        //Check to see if the next button in the order is also a 3
        if (order[orderIndex] == 3) {
          orderIndex++;
        }
        //Wrong order
        else {
          fail = true;
        }
      }

      //Completed
      if (orderIndex == 4) {
        gameStage++;
      }
    }
    return gameStage;
  }
}
User Demo:
Here is an example of an early play test where I run through two of the stages of our game, but accidentally don’t follow the order of LED’s and set the bomb off!
Progress post and 26th of April post, because өмірдін саған не әкелетінің ешқашан білмейсін
I knew that I can never write a code from a scratch with my pathetic skills, so the first thing I did is search for anything related to using an analog sensor to trigger an audio file from processing. I found one very useful link:
Link to a useful project <– press
However, an analog sensor used there was quite different from ultrasonic thing that we used, so I ended up just looking over the project and trying to figure out how to do that with our type of sensor. Because there was a lot, I broke down all the steps into several categories.
- Make distance sensor measure distance and show it on the screen;
I succeeded in this part, here is the video:
And of course, it was done using this: press me
Confusion
So, here you can see my confusion with how the values were transferred to processing, and it was a success, however, I was not so sure about this so there are lots of awkward hand movements. Yeah…
Also, did you know that the suggestions you get for videos are actually the suggestion of the uploader? You now are seeing stuff I watch, lol
Anger
Here, you can see a mistake that repeated itself from the project about the wind and ball and stuff. First, the sound is not playing. In the first “confusion” part I did only background part whereas here I added the sound file to my code, so I was very angry at “outofbound” error I saw, but I later fixed it with a correct number for my port [0]. After that though, there was an error of null number and exception which was very confusing, as it did not highlight any line with a mistake in it inside the processing code. So, I sat there and questioned my entire existence for a couple of hours. Then, I remembered famous quote of Aaron Sherwood:
break down your code and test if every part is working
Aaron Sherwood, 2021
NB! – words might not be very accurate
In any case, I decided to test whether the sound is even working in processing. So, I inserted this code with changing audio file name to mine.
import ddf.minim.*;

Minim minim;
AudioPlayer song;

void setup()
{
  size(100, 100);

  minim = new Minim(this);

  // this loads mysong.wav from the data folder
  song = minim.loadFile("you_suffer.mp3");
  song.play();
}

void draw()
{
  background(0);
}
It worked, so I again looked at my code. Then, I realized, HAH, turns out I forgot to put “.mp3” part in the audio name… After doing that it worked and I kind of laughed till I cried for a little while. This was my mood for a while.
 Arduino code:

int trigPin = 11;    // Trigger
int echoPin = 12;    // Echo
long duration, cm, inches;

void setup() {
  //Serial Port begin
  Serial.begin (9600);
  //Define inputs and outputs
  pinMode(trigPin, OUTPUT);
  pinMode(echoPin, INPUT);
}

void loop() {
  // The sensor is triggered by a HIGH pulse of 10 or more microseconds.
  // Give a short LOW pulse beforehand to ensure a clean HIGH pulse:
  digitalWrite(trigPin, LOW);
  delayMicroseconds(5);
  digitalWrite(trigPin, HIGH);
  delayMicroseconds(10);
  digitalWrite(trigPin, LOW);

  // Read the signal from the sensor: a HIGH pulse whose
  // duration is the time (in microseconds) from the sending
  // of the ping to the reception of its echo off of an object.
  pinMode(echoPin, INPUT);
  duration = pulseIn(echoPin, HIGH);

  // Convert the time into a distance
  cm = (duration/2) / 29.1;     // Divide by 29.1 or multiply by 0.0343
 // inches = (duration/2) / 74;   // Divide by 74 or multiply by 0.0135

 // Serial.print(inches);
 // Serial.print("in, ");
 Serial.print(cm);
 //Serial.print("cm");
  Serial.println();

if(duration < 500) {
    Serial.println("T"); // send the letter T (for Trigger) once the sensor value is less than 500
}

  delay(250);
}
Processing code:
import processing.serial.*;
import ddf.minim.*;

Minim minim;
AudioPlayer player;

int lf = 10;
String myString = null;
Serial myPort;
int duration = 0;

void setup() {
  printArray(Serial.list());
  myPort = new Serial(this, Serial.list()[0], 9600);
  myPort.clear();
  myString = myPort.readStringUntil(lf);
  myString = null;
  minim = new Minim(this);
  player = minim.loadFile("audio_for_final.mp3");
}

void draw() {
  // check if there is something new on the serial port
  while (myPort.available() > 0) {
    // store the data in myString
    myString = myPort.readStringUntil(lf);
    // check if we really have something
    if (myString != null) {
      myString = myString.trim(); // let's remove whitespace characters
      // if we have at least one character...
      if(myString.length() > 0) {
        println(myString); // print out the data we just received
        // if number (e.g. 123) received, it will store it in duration, then use this to change the background color.
        try {
          duration = Integer.parseInt(myString);
          // As the range of an analog sensor is between 0 and 1023, we need to
          // convert it in order to use it for the background color brightness
          int brightness = (int)map(duration, 0, 1023, 0, 255);
          background(brightness);
        } catch(Exception e){}
        if(myString.equals("T")){
          if(player.isPlaying() == false){
            player.play();
          }

      }
    }
  }
}
}
Btw, the whole idea is that as Distance is small, there is a letter T printed and when processing receives that, it turns on the audio. Yep.
Plans further:
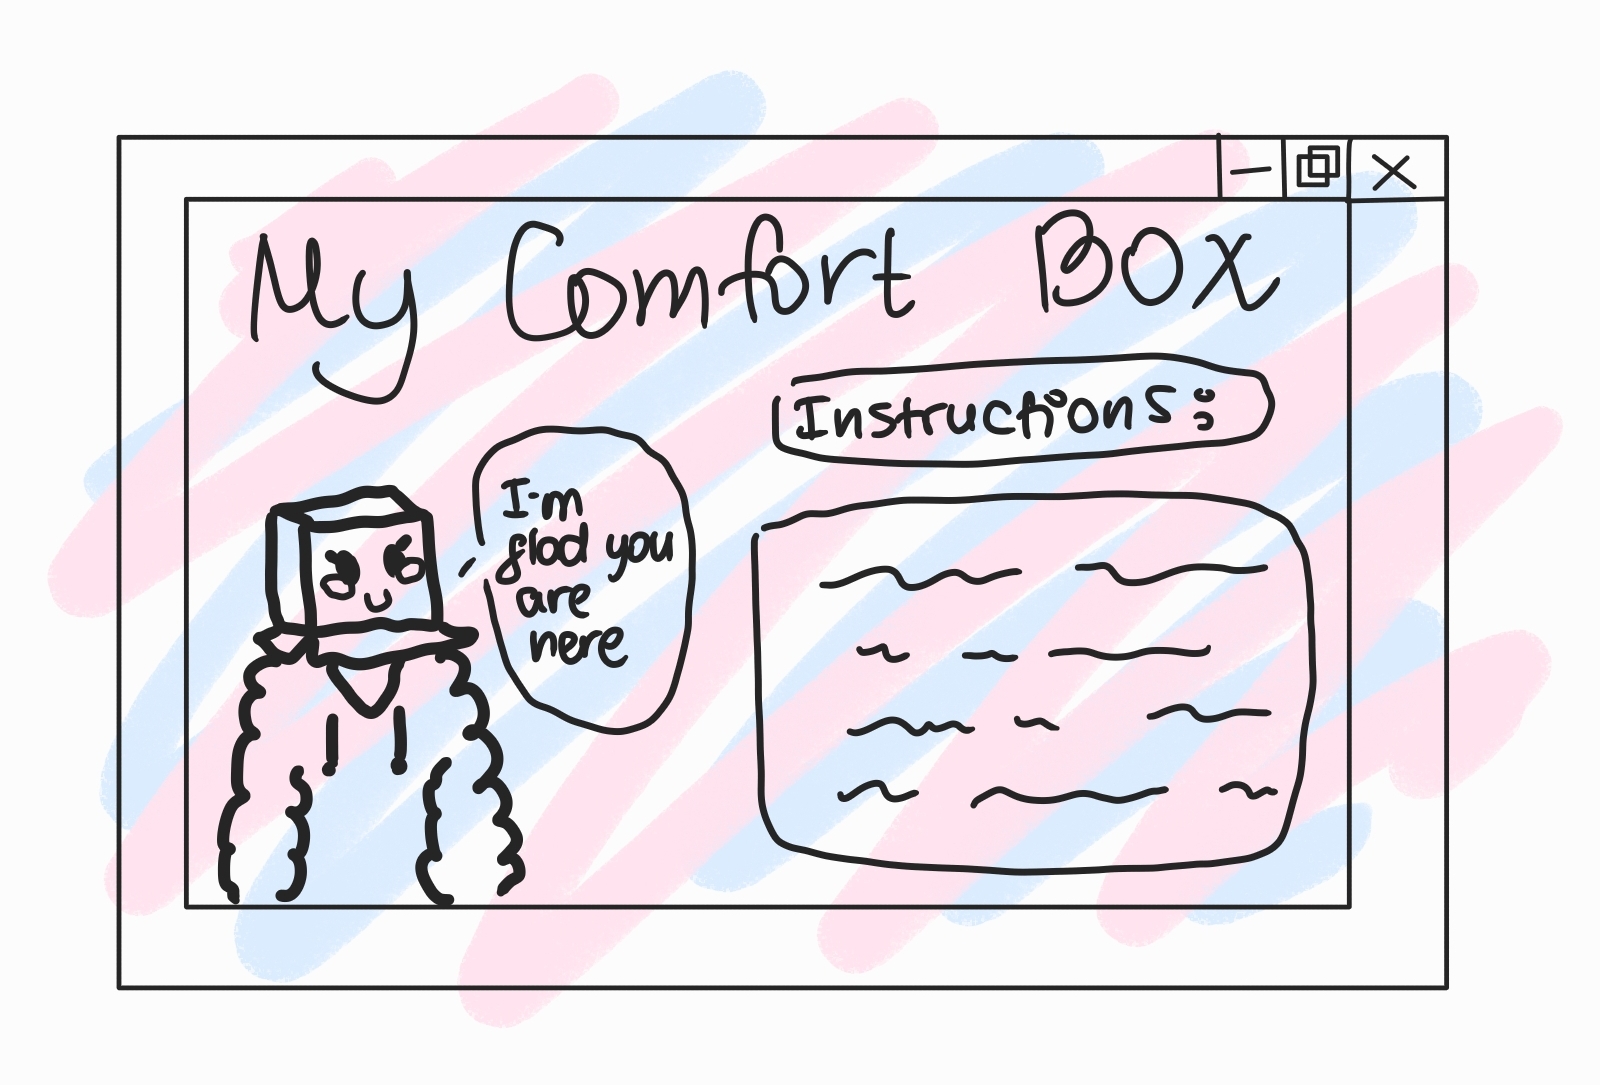
- create a sketch I did below, so instructions are more clear;
- find a box and somehow make Arduino board fit in it;
- decorate the box;
- If I manage, I would like to figure out how to stop the sound once box is removed.
Links:
- https://www.hackerscapes.com/playing-an-audio-file-with-processing/
- https://gist.github.com/timpulver/5ba4a29cddd543b4a900
- https://randomnerdtutorials.com/complete-guide-for-ultrasonic-sensor-hc-sr04/
[Week 14] Final project update – Ngoc and Maaz
This week, we started working individually on different parts of the game largely due to the nature of our virtually non-overlapping working hours (Maaz sleeps at 11 in morning which is when I wake up). Regardless, we sat together towards the end of the week to complete most of the functionalities of the game.
The code for the project can be found on the Github repository (which doesn’t have the latest code yet).
Demo & User testing #1
Demo
User testing #1
Processing
We started with coding the classes before integrating them. We started with the base classes like Item and Player which we then used to build the Level class and Game class. Maaz wrote the code for the Item class while I wrote the Player class and we tested the classes individually. After that, we had discussions on how to combine the two classes to start implementing the Level class, adjusting the base classes if necessary to get the classes to work together. Once Level was implemented, we then wrote a wrapper program (which will be cleaned up to make the Game class) to test all functions of Level.
Our main priority is to fully implement all the necessary game functions, especially the interactions between different classes as well as Processing – Arduino communication. Therefore, we used a lot of placeholders in the process (for example, though we had a list of sprites to use as items, we don’t have one for the player) as well as randomizations and default values (the items are appearing randomly and they all hold the same score for now). Using such placeholders and randomizations makes the game pretty easy for now (as can be seen in our user testing #1, where our player wins pretty quickly). We wanted to focus on having a version of the game that runs fully from start to finish. So far, we have managed to achieve this. For the rest of the project, we plan to make adjustments to existing functions in order to make the game more challenging. Some of the necessary adjustments include:
- Building a system of item values: as of now, all the items are worth the same value (for testing purposes). We plan to add an extra
Valueattribute to the Item class and vary the value given to each item. - Changing frequency of appearance of items: right now, the items are added randomly. We plan to control which items will appear at which level (for example,
Study awayshould only start appearing since sophomore year, andCapstoneshould only appear in senior year) and with different frequency (J-Termshould only appear once per year, and it should have a higher value). - Finishing up with the graphics: right now, the graphics are at a minimum to guide the user through all the functions of the game. We will sure be touching up the appearance of the game.
Arduino
Distance measuring sensor: We have been experimenting with this sensor ever since the start of the project. Please refer to previous posts for a detailed description.
https://intro.nyuadim.com/2021/04/19/final-project-progress-ngoc-and-maaz/ – Remote Control Testing
Potentiometer: We use the potentiometer to traverse the options on the screen, if available. The input value is mapped into the range of the number of available options, and the currently selected option is highlighted on the screen.
Button: The button is used in tandem with the potentiometer: while the potentiometer is used to traverse the option, the button is used to signify the actual selection of an option.
Tricolor LED: Initially, we planned on having 2 tricolored LEDs on the breadboard, each one of them corresponding to the two metrics of performance. However, with so many components on the breadboard, we ran out of pins to connect the two LEDs to. Also, it was hard to keep a track of which LED represented which performance. So we decided to have a single LED to show how good or bad the player was doing on the game. The LED would turn green if the player was doing well with regards to both academics and health, and it would turn red if the player did poorly in any of the two performances. In other cases, it would stay yellow. These signals were sent from Processing to Arduino to set the LED to the relevant color at that point in the game. This helped us to give an indication of the overall performance of the player.
Piezo buzzer: We decided to make the buzzer play a short sound whenever the player collided with any of the items. This was done by keeping a check within the checkCollision() method and sending a signal to Arduino to make the buzzer play a note. However, we noticed that it worked for almost all collisions except for a few, and we spent a lot of time trying to figure out why this problem occured. Even after trying out multiple different methods, it never gave perfect results, so we plan on working on it further in the coming week.
Graphics
Since our game was supposed to have items of 4 different categories, we realized that it was important to have enough items for all of them. The four categories are: academics – good, academics – bad, health – good, health – bad. We ended up making 19 different sprites using https://www.piskelapp.com/. This was a relatively hard process since getting the sprites to look good is always one of the most essential parts of making any game. Additionally, since the game is NYUAD-themed, it wasn’t possible to find relevant sprites on the internet and we had to make all of them on our own. All of the sprites are 100×100 pixels and most of the sprites have multiple frames; the Processing part of our game loops over all the frames to animate the sprites. This was a fun but tiring process, and below is a video of Maaz vibing to one of his favorite songs as he tries his luck with making some of the sprites.
Newer Mac Video Capture
Instructions summarized from here: http://wiki.iad.zhdk.ch/CV/904626177/Video+Library+2.0
Due to security features on newer Macs, Processing’s video capture examples can’t be opened on those machines (Catalina and >). Follow these steps to be able to use video capture (the first two only need to happen once):
- Install the latest release of the video library in Processing from here: https://github.com/processing/processing-video/releases
- In the terminal app, copy and paste the following to remove Processing from quarantine: `cd ~/Documents/Processing/libraries/video; xattr -r -d com.apple.quarantine *`
- You HAVE TO OPEN PROCESSING FROM THE COMMAND LINE now whenever you want to use the video camera: `/Applications/Processing.app/Contents/MacOS/Processing`
Week 13: Final Project Progress
After finalizing the idea for this project, I started to turn it into reality step by step. First of all, I wrote the rough plan so I can follow it and track my progress:
1. Make distance sensor work
2. Connect it to the Processing (easiest ellipses appear on the screen)
3. Work on the Processing interface: spots that will appear on the screen by generative art, words written
4. Add buttons to Arduino to choose colors in Processing
5. Add potentiometer to Arduino to change the intensity of the color/shape of the generative art
6. Add backgrounds and transitions – make interface user-friendly.
Now I am on the second-third step, where I am still working on the distance sensor and doing generative art in Processing. To learn how to work with ultrasonic distance sensor, I made its readings control the radius of the ellipse appearing on the Processing screen. I am thinking of adding its readings to the ArrayList which will serve as a dynamic array of spots appearing on the screen. For this I need to add class for spots/particles, and I am currently implementing it.
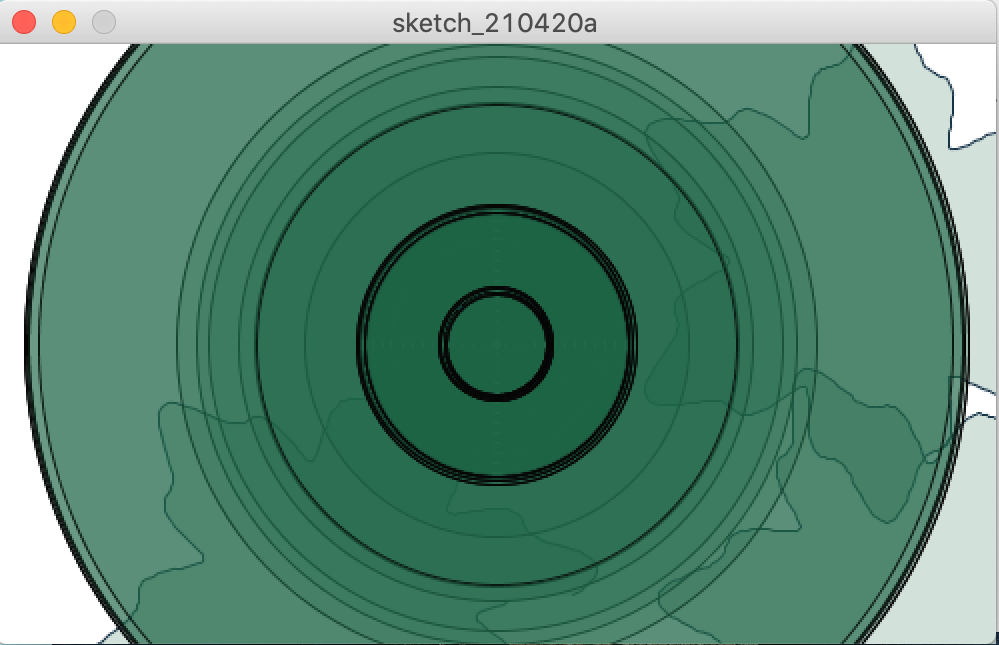
Talking about generative art, I am playing with shapes and colors, as user will do too. Here you can see how it looks for now:
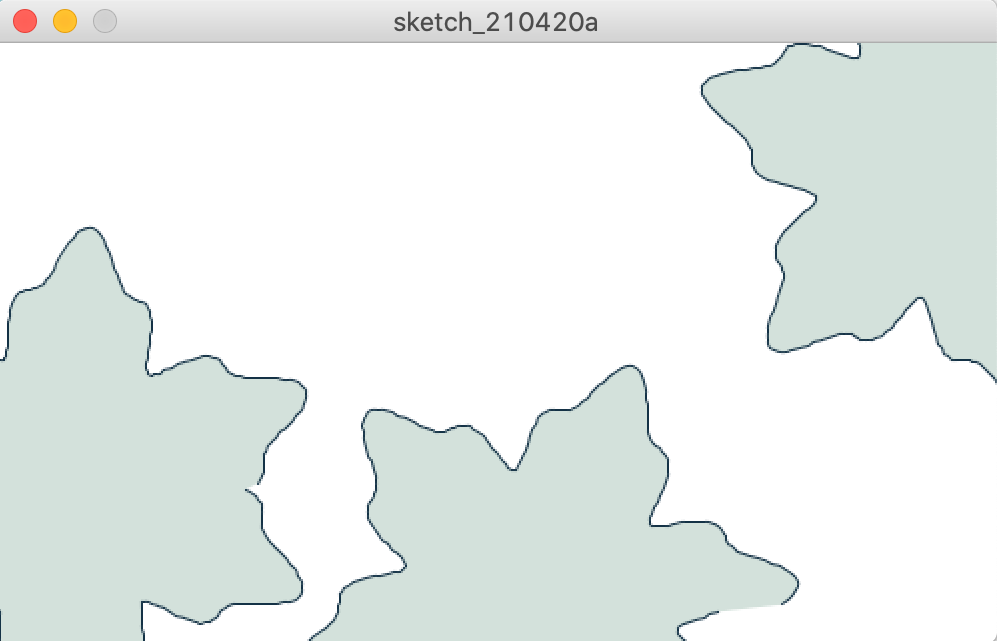
The code I have for now is on my GitHub.
Examples from class
Capacitive Touch
const int touchPin = 2;

void setup() {
  Serial.begin(9600);
  pinMode(3, OUTPUT);
}

void loop() {
  int capacitance = readCapacitivePin(touchPin);
  Serial.println(capacitance);
  if (capacitance > 3)
    digitalWrite(3, HIGH);
  else
    digitalWrite(3, LOW);
}


// readCapacitivePin
//  Input: Arduino pin number
//  Output: A number, from 0 to 17 expressing
//  how much capacitance is on the pin
//  When you touch the pin, or whatever you have
//  attached to it, the number will get higher
#include "pins_arduino.h" // Arduino pre-1.0 needs this
uint8_t readCapacitivePin(int pinToMeasure) {
  // Variables used to translate from Arduino to AVR pin naming
  volatile uint8_t* port;
  volatile uint8_t* ddr;
  volatile uint8_t* pin;
  // Here we translate the input pin number from
  //  Arduino pin number to the AVR PORT, PIN, DDR,
  //  and which bit of those registers we care about.
  byte bitmask;
  port = portOutputRegister(digitalPinToPort(pinToMeasure));
  ddr = portModeRegister(digitalPinToPort(pinToMeasure));
  bitmask = digitalPinToBitMask(pinToMeasure);
  pin = portInputRegister(digitalPinToPort(pinToMeasure));
  // Discharge the pin first by setting it low and output
  *port &= ~(bitmask);
  *ddr  |= bitmask;
  delay(1);
  uint8_t SREG_old = SREG; //back up the AVR Status Register
  // Prevent the timer IRQ from disturbing our measurement
  noInterrupts();
  // Make the pin an input with the internal pull-up on
  *ddr &= ~(bitmask);
  *port |= bitmask;

  // Now see how long the pin to get pulled up. This manual unrolling of the loop
  // decreases the number of hardware cycles between each read of the pin,
  // thus increasing sensitivity.
  uint8_t cycles = 17;
  if (*pin & bitmask) {
    cycles =  0;
  }
  else if (*pin & bitmask) {
    cycles =  1;
  }
  else if (*pin & bitmask) {
    cycles =  2;
  }
  else if (*pin & bitmask) {
    cycles =  3;
  }
  else if (*pin & bitmask) {
    cycles =  4;
  }
  else if (*pin & bitmask) {
    cycles =  5;
  }
  else if (*pin & bitmask) {
    cycles =  6;
  }
  else if (*pin & bitmask) {
    cycles =  7;
  }
  else if (*pin & bitmask) {
    cycles =  8;
  }
  else if (*pin & bitmask) {
    cycles =  9;
  }
  else if (*pin & bitmask) {
    cycles = 10;
  }
  else if (*pin & bitmask) {
    cycles = 11;
  }
  else if (*pin & bitmask) {
    cycles = 12;
  }
  else if (*pin & bitmask) {
    cycles = 13;
  }
  else if (*pin & bitmask) {
    cycles = 14;
  }
  else if (*pin & bitmask) {
    cycles = 15;
  }
  else if (*pin & bitmask) {
    cycles = 16;
  }

  // End of timing-critical section; turn interrupts back on if they were on before, or leave them off if they were off before
  SREG = SREG_old;

  // Discharge the pin again by setting it low and output
  //  It's important to leave the pins low if you want to
  //  be able to touch more than 1 sensor at a time - if
  //  the sensor is left pulled high, when you touch
  //  two sensors, your body will transfer the charge between
  //  sensors.
  *port &= ~(bitmask);
  *ddr  |= bitmask;

  return cycles;
}