Introduction:
As for the assignment, I played around with basic shapes on processing using java and got to know about coordinate systems and basic drawing functions which support sketching the idea on canvas with specified dimensions. In short, processing takes a long-term step to make life easier for artists. As from my perspective coding and programming with different languages consists of art and processing going hand in hand with programmers and artists to work under the same umbrella.
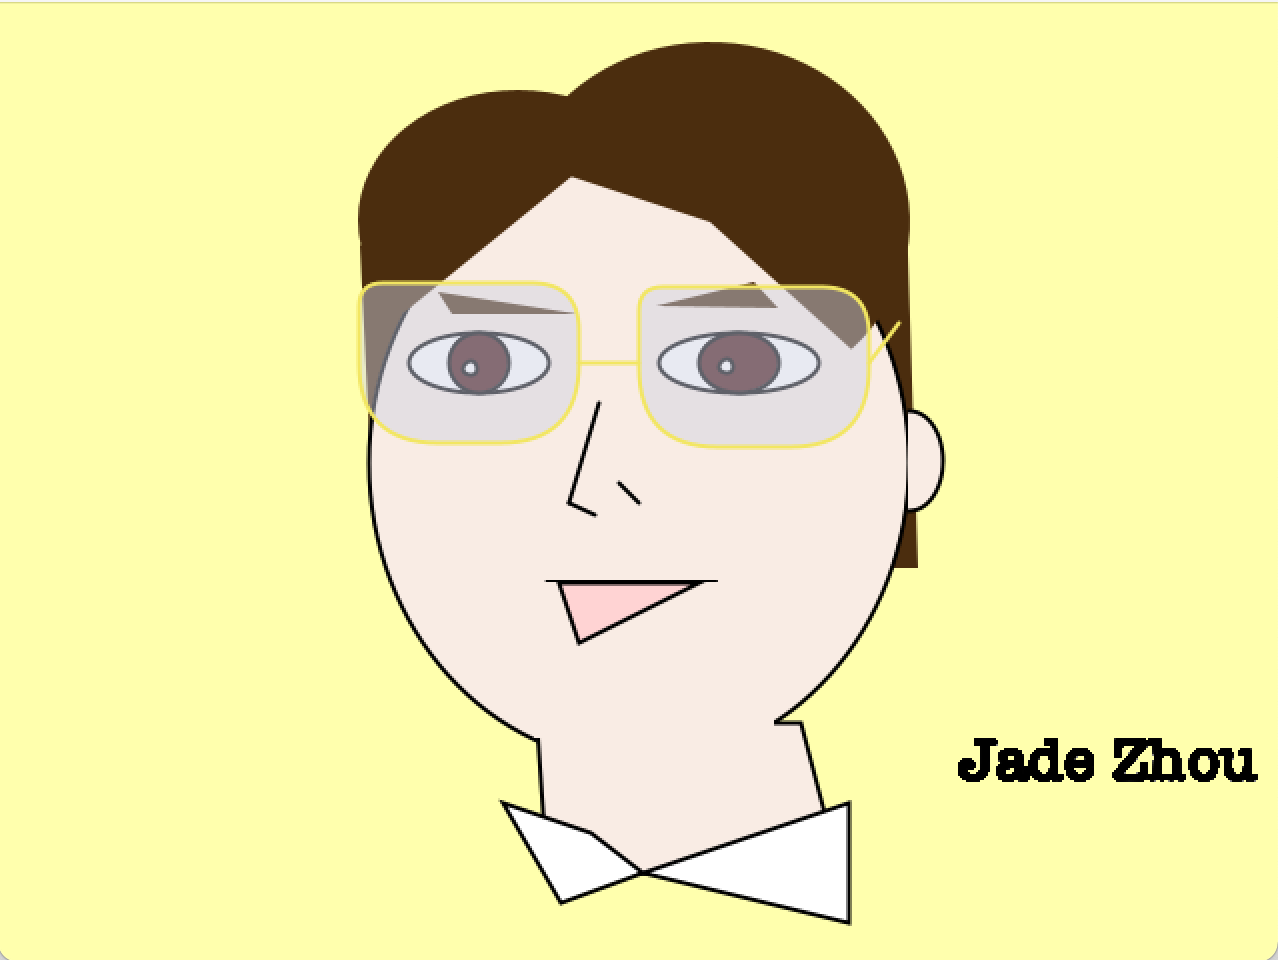
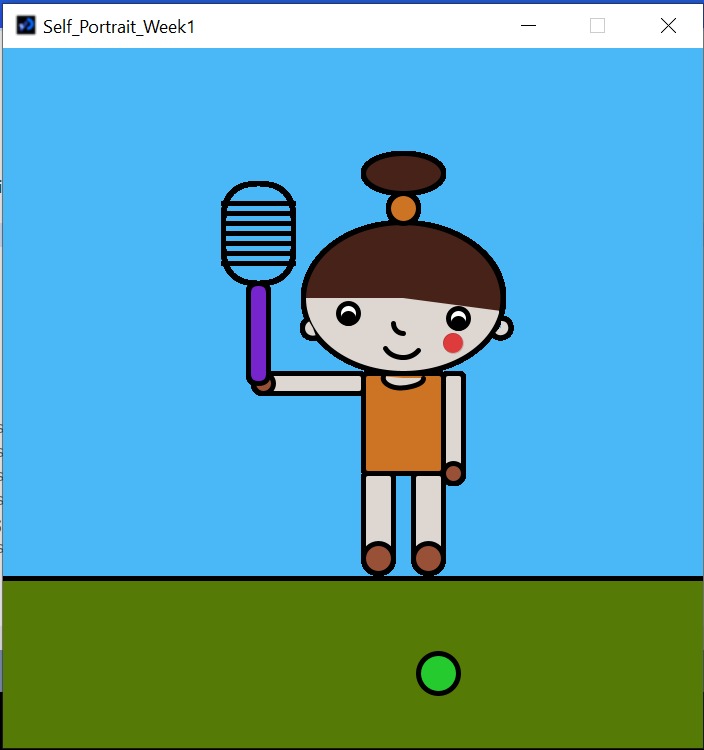
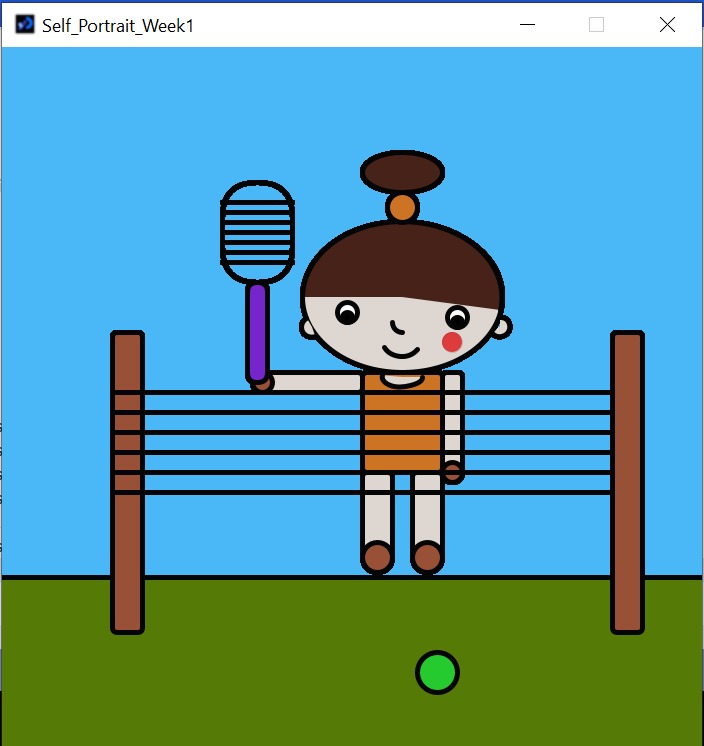
The inspiration behind MY self-portrait:
Although I am not a tennis player myself, my sister is a tennis enthusiast and enjoys playing tennis on a weekly basis. Last week, she had a session that I attended with her as a guest to consider signing up with her. She took a video of me as I was messing around in the end of the session, and it gave me an idea to construct this portrait.
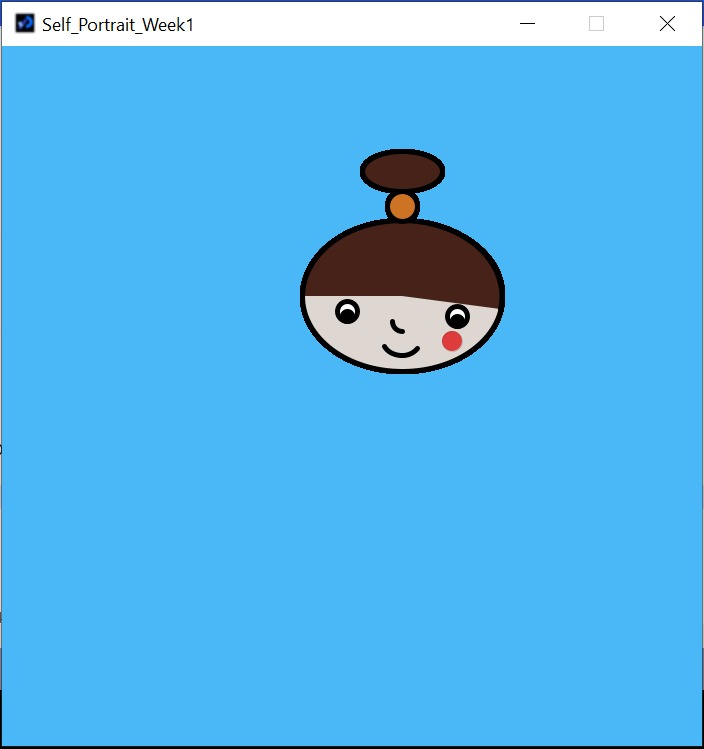
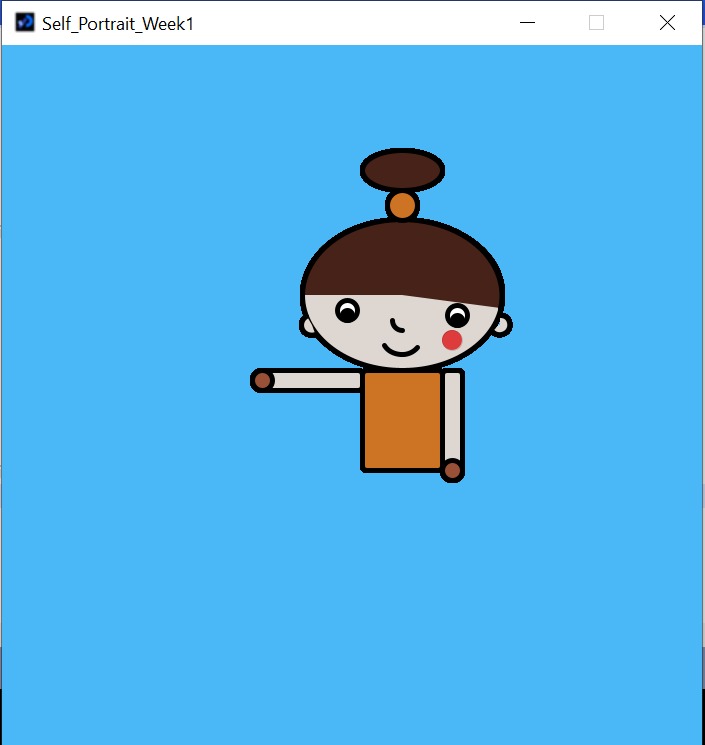
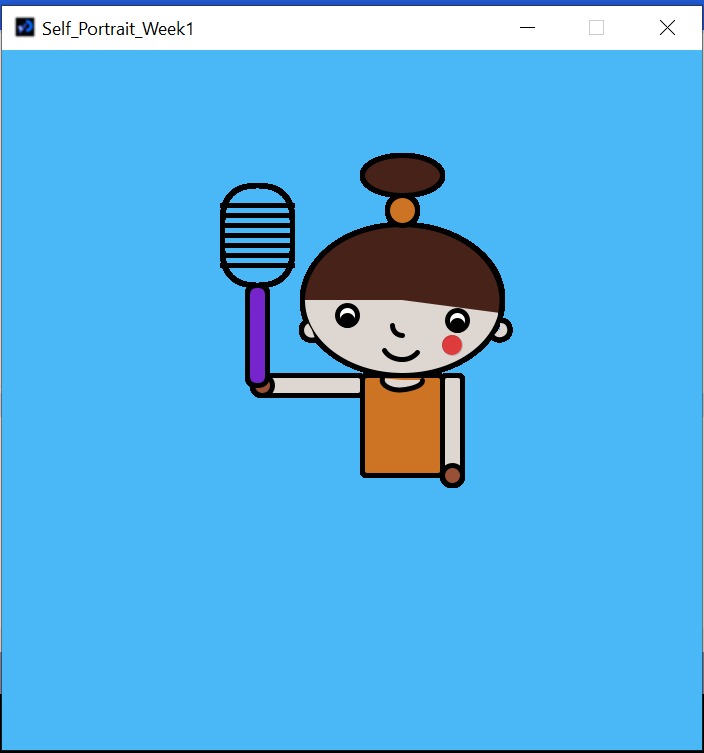
The red dot on my face is used to portray how red I was in the field. I am naturally allergic to the sun and the tennis class consumed my energy which led to me looking like a tomato by the end of the day. My orange shirt and tied ponytail are there to replicate how I looked in the video. The tennis ball is placed on the other side of the field to show that I hit the ball and it fell on the other side of the tennis net , and the purple tennis racket is also inspired from the same video.
Challenges and Problems:
The setup and configuration of the processing software are very easy, and it doesn’t take much time. The problem I faced was during the arc () function and the cutting of ellipse and circle shapes. Understanding the angles and implementation of curves on the right place of both face and body was a challenge on its own. I spent most of my time trying to understand the measurements of the shape and parameters of functions. It was even challenging to spend time learning the functions documentation published on processing. Thus, I did customization on some common shapes like the nose, neck, mouth, and ears by cutting the circular shapes on some angles. Finally, I felt challenged to handle the indentation point as it is not as efficient as other IDEs.
Procedure:
First of all, I worked on the two basic functions of processing which are setup() and draw() functions. Then, with a color selector, I selected relevant colors hex values and initialized global variables for each color with the specified naming convention. I put the colors as a global variable to remember the colors further in code. I researched and understood the 2D coordinate system and began coding global variables for the face and initialized the measurements in setup() functions. By initializing variables in setup() functions, it enhances the reusability of measurements throughout the code and my coding speed.
In the draw() function, I drew the face of the girl by using 2D primitive shapes including ellipse, rectangle, circle, arc, and line. I utilized global variables to fill up the shapes function parameters and do some mathematics by adding and subtracting values from the given parameters. For the face sketching, stroke() and fill() functions were used while the arc() function was mostly to draw the face and other body parts. I played with multiple parameters of the same functions to customize the shape accordingly. By joining multiple shapes, I succeeded to sketch out the girl’s body parts. Subsequently, I worked around the background environment for the ground part, the back sky as illustrated, and sketched the tennis net on it. The reason I placed the tennis net in the foreground was to visualize that the girl is standing on the other side of the tennis net. On the other hand, I drew a tennis ball by utilizing a circular shape that is placed on the frontal side of the ground to mimic my idea more accurately.
To draw the tennis bat, I first stored the hand position in terms of x and y coordinates in temporary variables and then used them to act as a placemark for the tennis bat. Moving on, a series of lines with equal distances on the tennis bat was drawn by using nofill() to give the tennis bat a sensible look. For the girl’s arms, two rectangles were drawn with a specified radius by using the body’s central point. The rectangles were later placed on the right and left sides of the body. For the legs, I calculated the distance from the body central point to place the legs under the body. To outline the shapes drawn, I utilized the strokeweight() function. When it comes to the face, I stored its central point x and y values as global variables. I drew the ear, nose, and eyes using the arc() function with extra parameters to customize the arc shape per the face posture.
//Colors
color haircolor,facecolor,shirtcolor,shoescolor, backgroundcolor,groundcolor,tenniscolor;

//BodyParts Measurements
float faceheight;
float facewidth;

float headheight;
float headwidth;

float hairbandheight;
float hairbandwidth;

float facex;
float facey;

void setup()
{
size(700,700);

//Colors
haircolor=#462218;
facecolor=#DDD6D1;
shirtcolor=#CD7324;
shoescolor=#985036;
backgroundcolor=#4AB7F7;
groundcolor=#557A06;
tenniscolor=#7525CB;


background(backgroundcolor);

//BodyParts Measurements
faceheight=150;
facewidth=200;

headheight=100;
headwidth=200;

hairbandheight=30;
hairbandwidth=30;

facex=250;
facey=400;

}


void draw()
{

//drawing face
fill(facecolor);
strokeWeight(5);
arc(facey, facex,facewidth,faceheight,radians(0),radians(360));

//drawing head
fill(haircolor);
arc(facey, facex,facewidth,faceheight,radians(180),radians(370));

//drawing hairband
float hairsposy=facey;
float hairposx=facex-125;
fill(shirtcolor);
arc(facey, facex-90,hairbandwidth,hairbandheight,radians(0),radians(360));

//drawing hairs
fill(haircolor);
ellipse(hairsposy, hairposx,80,40);

//drawing eye
fill(#FFFFFF);
ellipse(facey-55, facex+15, 20, 20);
fill(#000000);
ellipse(facey-55, facex+20, 10, 10);

//drawing eye
fill(#FFFFFF);
ellipse(facey+55, facex+20, 20, 20);
fill(#000000);
ellipse(facey+55, facex+25, 10, 10);


//drawing delight smile
fill(facecolor);
arc(facey, facex+40,40,40,radians(40),radians(150));

//drawing nose
fill(facecolor);
arc(facey, facex+25,20,20,radians(90),radians(180));

//drawing blush on cheeks
fill(#DE3C3C);
strokeWeight(0);
arc(facey+50, facex+45,20,20,radians(0),radians(360));


strokeWeight(5);

//drawing ears
fill(facecolor);
arc(facey-90, facex+30,20,20,radians(70),radians(240));
fill(facecolor);
arc(facey+98, facex+30,20,20,radians(270),radians(500));
//drawing body
fill(shirtcolor);
float bodyposy=facey;
float bodyposx=facex+75;
rect(bodyposy-40,bodyposx,80,100,5);

//drawing right arm
fill(facecolor);
rect(bodyposy+40,bodyposx,20,100,5);
//drawing right hand
fill(shoescolor);
arc(bodyposy+50, bodyposx+100,20,20,radians(0),radians(360));


//drawing left  arm
fill(facecolor);
rect(bodyposy-140,bodyposx,100,20,5);

//drawing left hand
fill(shoescolor);
arc(bodyposy-140, bodyposx+10,20,20,radians(0),radians(360));

//Drawing tennis racket
float handposy = bodyposy-140;
float handposx = bodyposx+10;
fill(tenniscolor);
rect(handposy-15,handposx-100,20,100,20);
noFill();
rect(handposy-40,handposx-200,70,100,35);
float nety=handposy-40;
float netx=handposx-200;
line(nety,netx+20, nety+70,netx+20);
line(nety,netx+30, nety+70,netx+30);
line(nety,netx+40, nety+70,netx+40);
line(nety,netx+50, nety+70,netx+50);
line(nety,netx+60, nety+70,netx+60);
line(nety,netx+70, nety+70,netx+70);
line(nety,netx+80, nety+70,netx+80);
//drawing slight showing neck
fill(facecolor);
arc(facey, facex+80,40,20,radians(0),radians(190));

//drawing legs
fill(facecolor);
rect(bodyposy-40,bodyposx+100,30,80,5);
rect(bodyposy+10,bodyposx+100,30,80,5);

//drawing shoes
float footposy=bodyposy-40;
float footposx=bodyposx+100;
fill(shoescolor);
arc(footposy+15, footposx+85,30,30,radians(0),radians(360));
arc(footposy+65, footposx+85,30,30,radians(0),radians(360));

//drawing grassy ground
fill(groundcolor);
float groundx=footposy+170;
float groundy=footposx-500;
rect(groundy,groundx,800,800,5);

//drawing tennis ball
fill(#25CB2E);
arc(footposy+75, footposx+200,40,40,radians(0),radians(360));


//drawing fence
fill(shoescolor);
rect(footposy-250,footposx-140,30,300,5);
fill(shoescolor);
rect(footposy+250,footposx-140,30,300,5);
stroke(5);
line(footposy-250,footposx-80, footposy+250,footposx-80);
line(footposy-250,footposx-60, footposy+250,footposx-60);
line(footposy-250,footposx-40, footposy+250,footposx-40);
line(footposy-250,footposx-20, footposy+250,footposx-20);
line(footposy-250,footposx, footposy+250,footposx);
line(footposy-250,footposx+20, footposy+250,footposx+20);

}
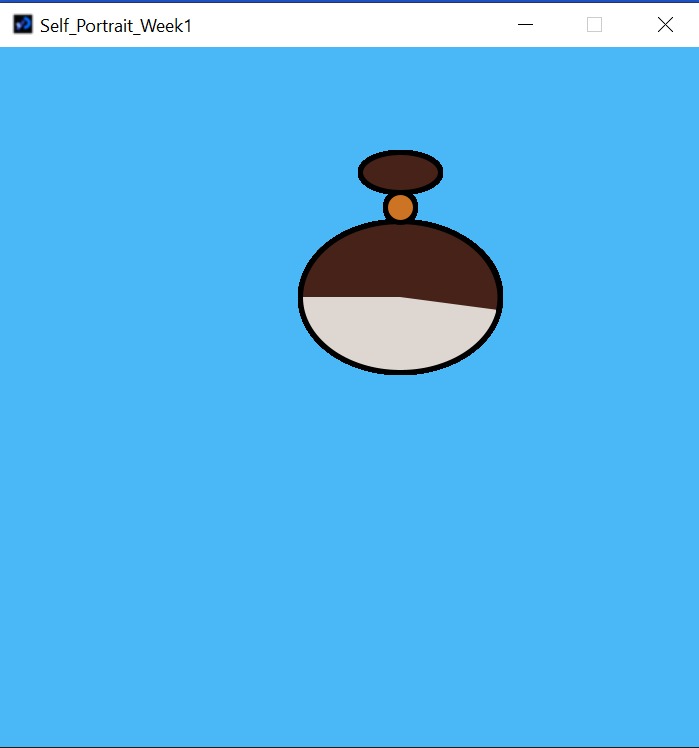
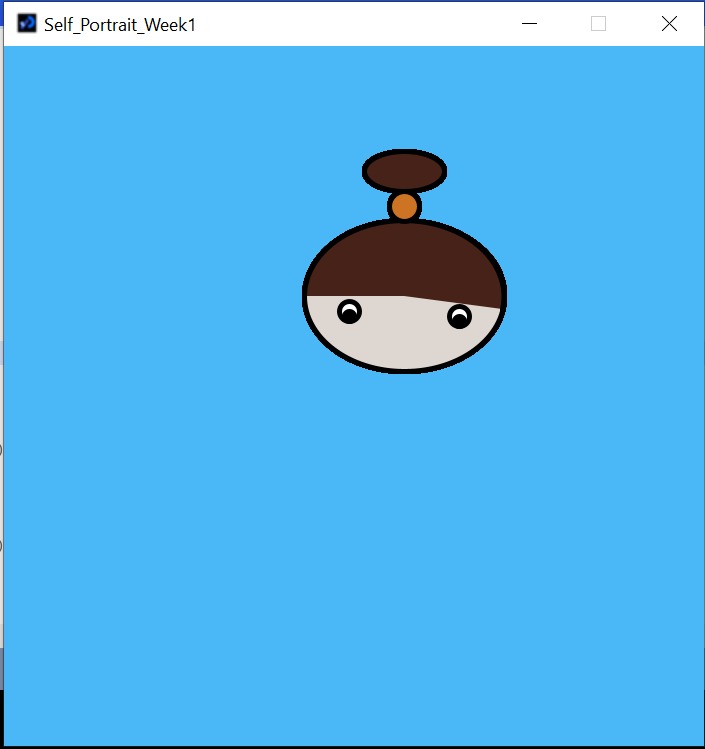
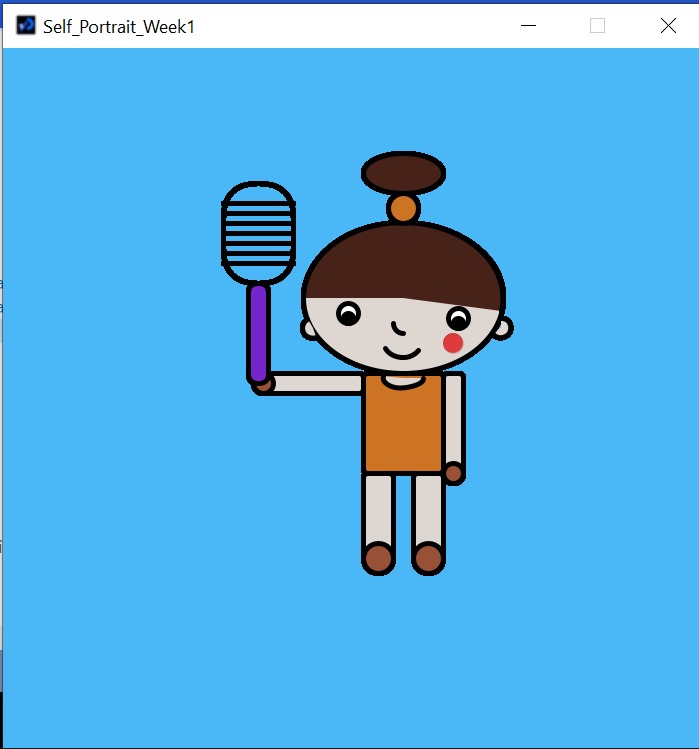
My Self-Portrait Final Edition:
Conclusion:
Working on this assignment allows me to dive into the basics of programming. To understand the basics of computer graphics and math behind the pixels. I learned my way by drawing basic shapes using simple coding on processing. Processing ensures the testing of coding most conveniently and more simply which I like most. There are no debugging configurations in processing. I tested each shape drawing simply by running the code efficiently and reliably.