I would like to start with “Making Interactive Art: Set the Stage, Then Shut Up and Listen” because it points out an idea I was not very comfortable with. Yesterday we had a presentation of our sound project for another IM class. Before giving the presentation, I raised the question of what would be better: first, give a chance for an audience to listen to the song and then give a presentation of what the project is actually about, or, vice versa. One of the senior IM students in my group said that it is much better to give them the freedom to interpret, and have their idea of the project rather than forcing our interpretation to them. The idea was the same as it was conveyed in the text because the interactive media project is not a research work with a clear thesis and arguments, it is a more exploratory object that needs to be interacted with. I liked the idea that the project created is “just the beginning of a conversation with the people who experience your work”. We have our idea about the project and we can make a short remark about what the project is about but nothing more because the audience should explore and understand its meaning themselves. Coming back to our sound project, I was worried that the audience wouldn’t understand the point of the project and what exactly we wanted to convey with that. This happened. Some of the audience didn’t get the point of our sound project, but because of the text, I understood that it is fine because not all conversations make sense either.
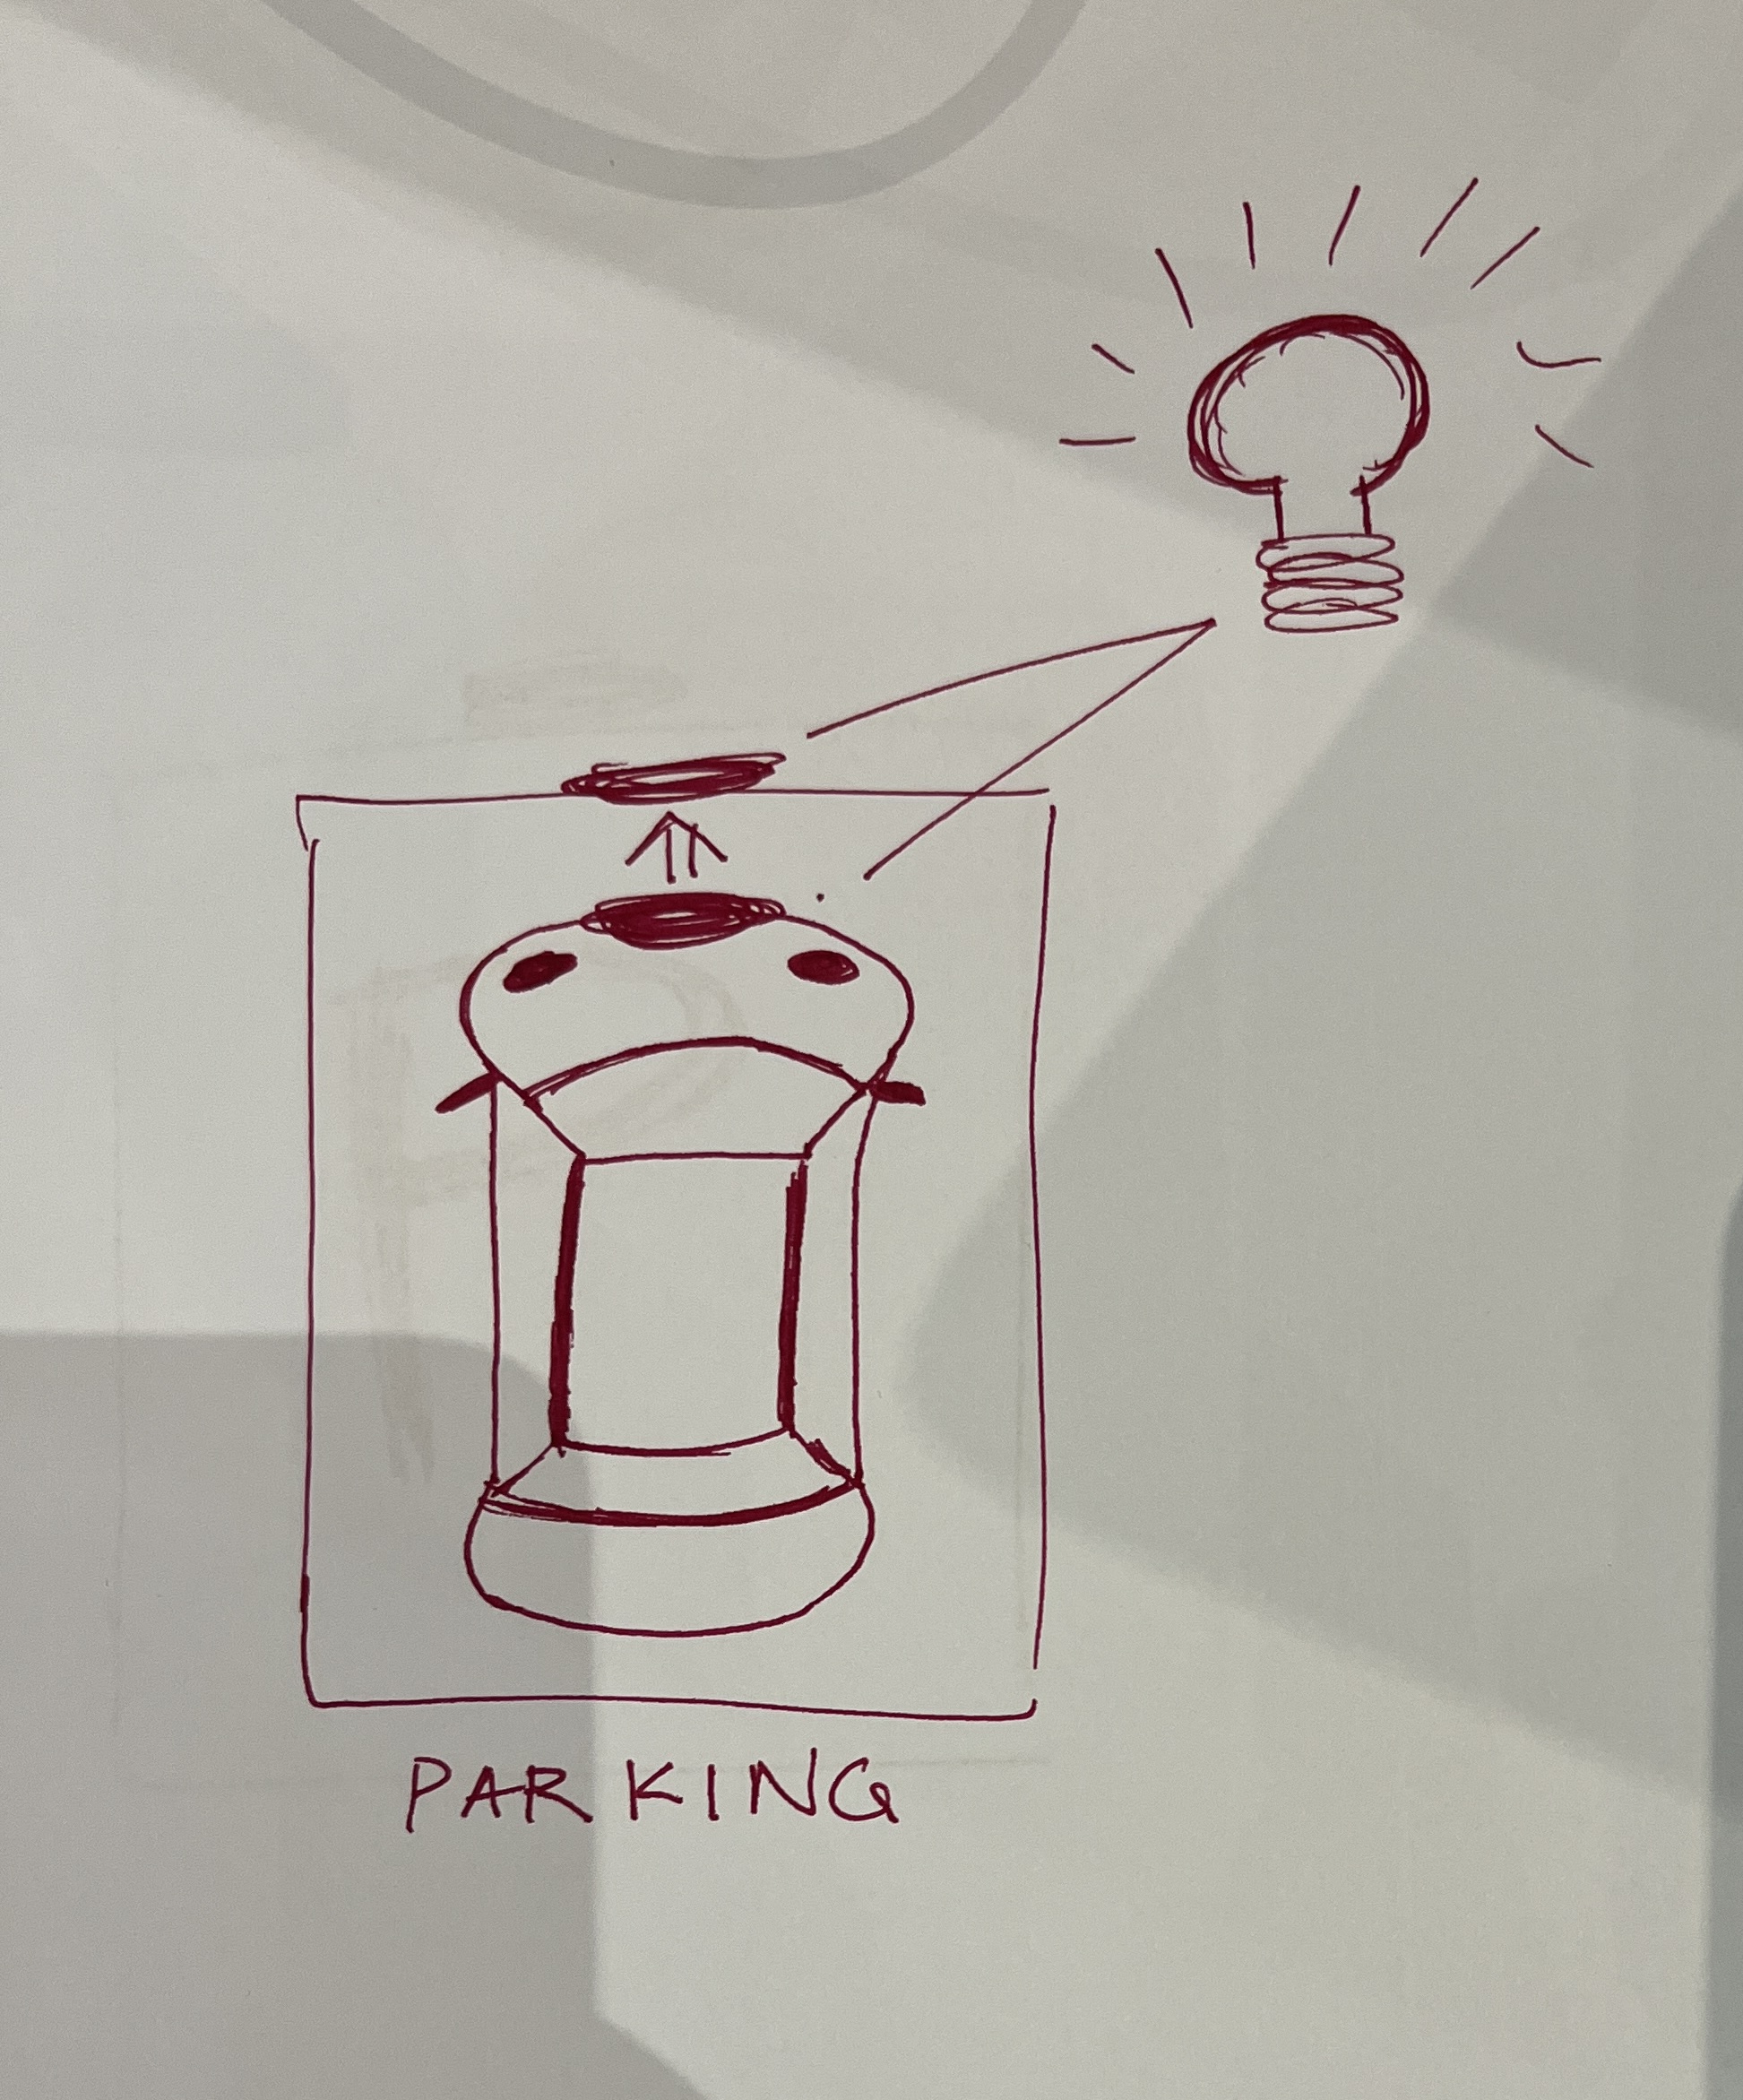
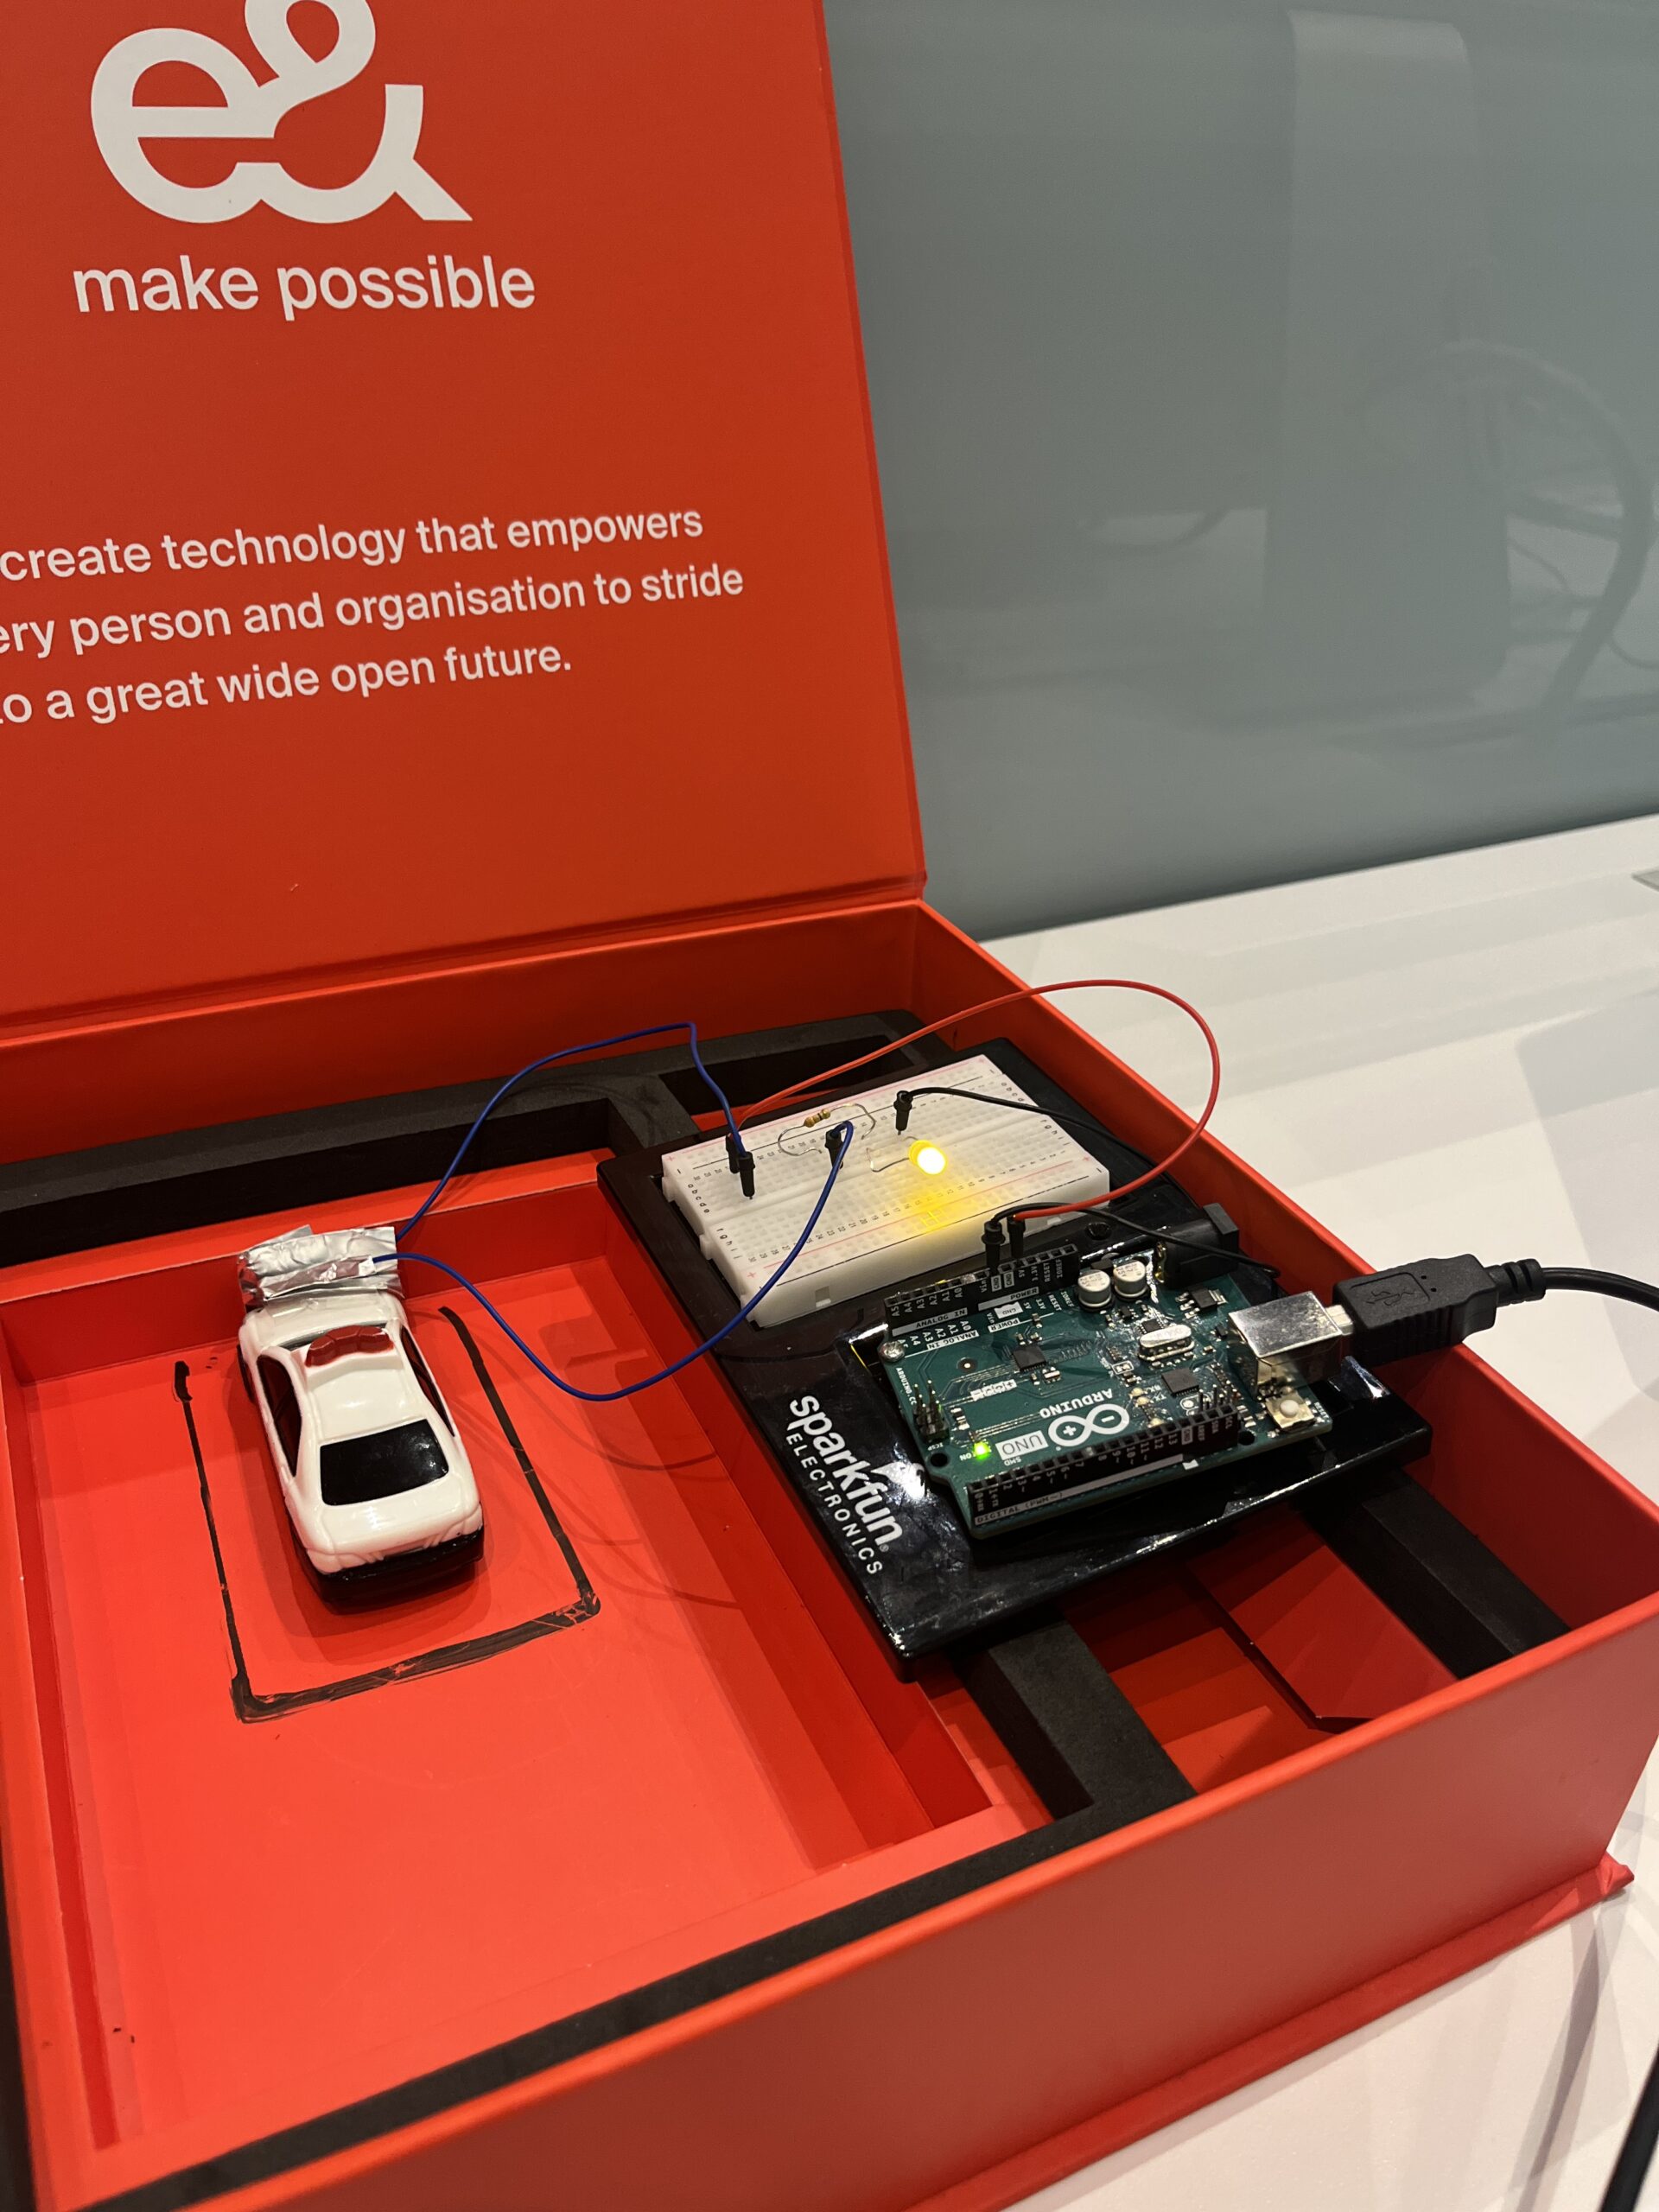
“Physical Computing’s Greatest Hits” felt like a selective collection of the simple, yet interesting physical computing project ideas. Starting from the musical instruments, and ending up with the interaction with the body, the article provides many ideas to get inspired from. Particularly, I loved the idea of floor pads as a space for dancing. As a child, I loved that kind of game in the gaming rooms of huge malls. It would be very interesting and exciting to create that by myself and give my little sisters to play with. I am not sure whether they would be as excited as I was with so much technological development nowadays. Although the article gives the basic idea about how each project is created, there are still many grey areas. It would be better if the author provided more technical elaboration on that.