
For my final project, I’m initially thinking about expanding my midterm project’s functionality physically, so that you’ll be able to control the music player through components of the arduino kit (next, previous, volume control, slider, shuffle), and the music player will communicate back with the arduino with maybe a light show or something to go with the music. I’ll have to look into a cool physical design as well along with code design to make it realer. That’s the idea for now, anyway!
Category: F2023 – Aya
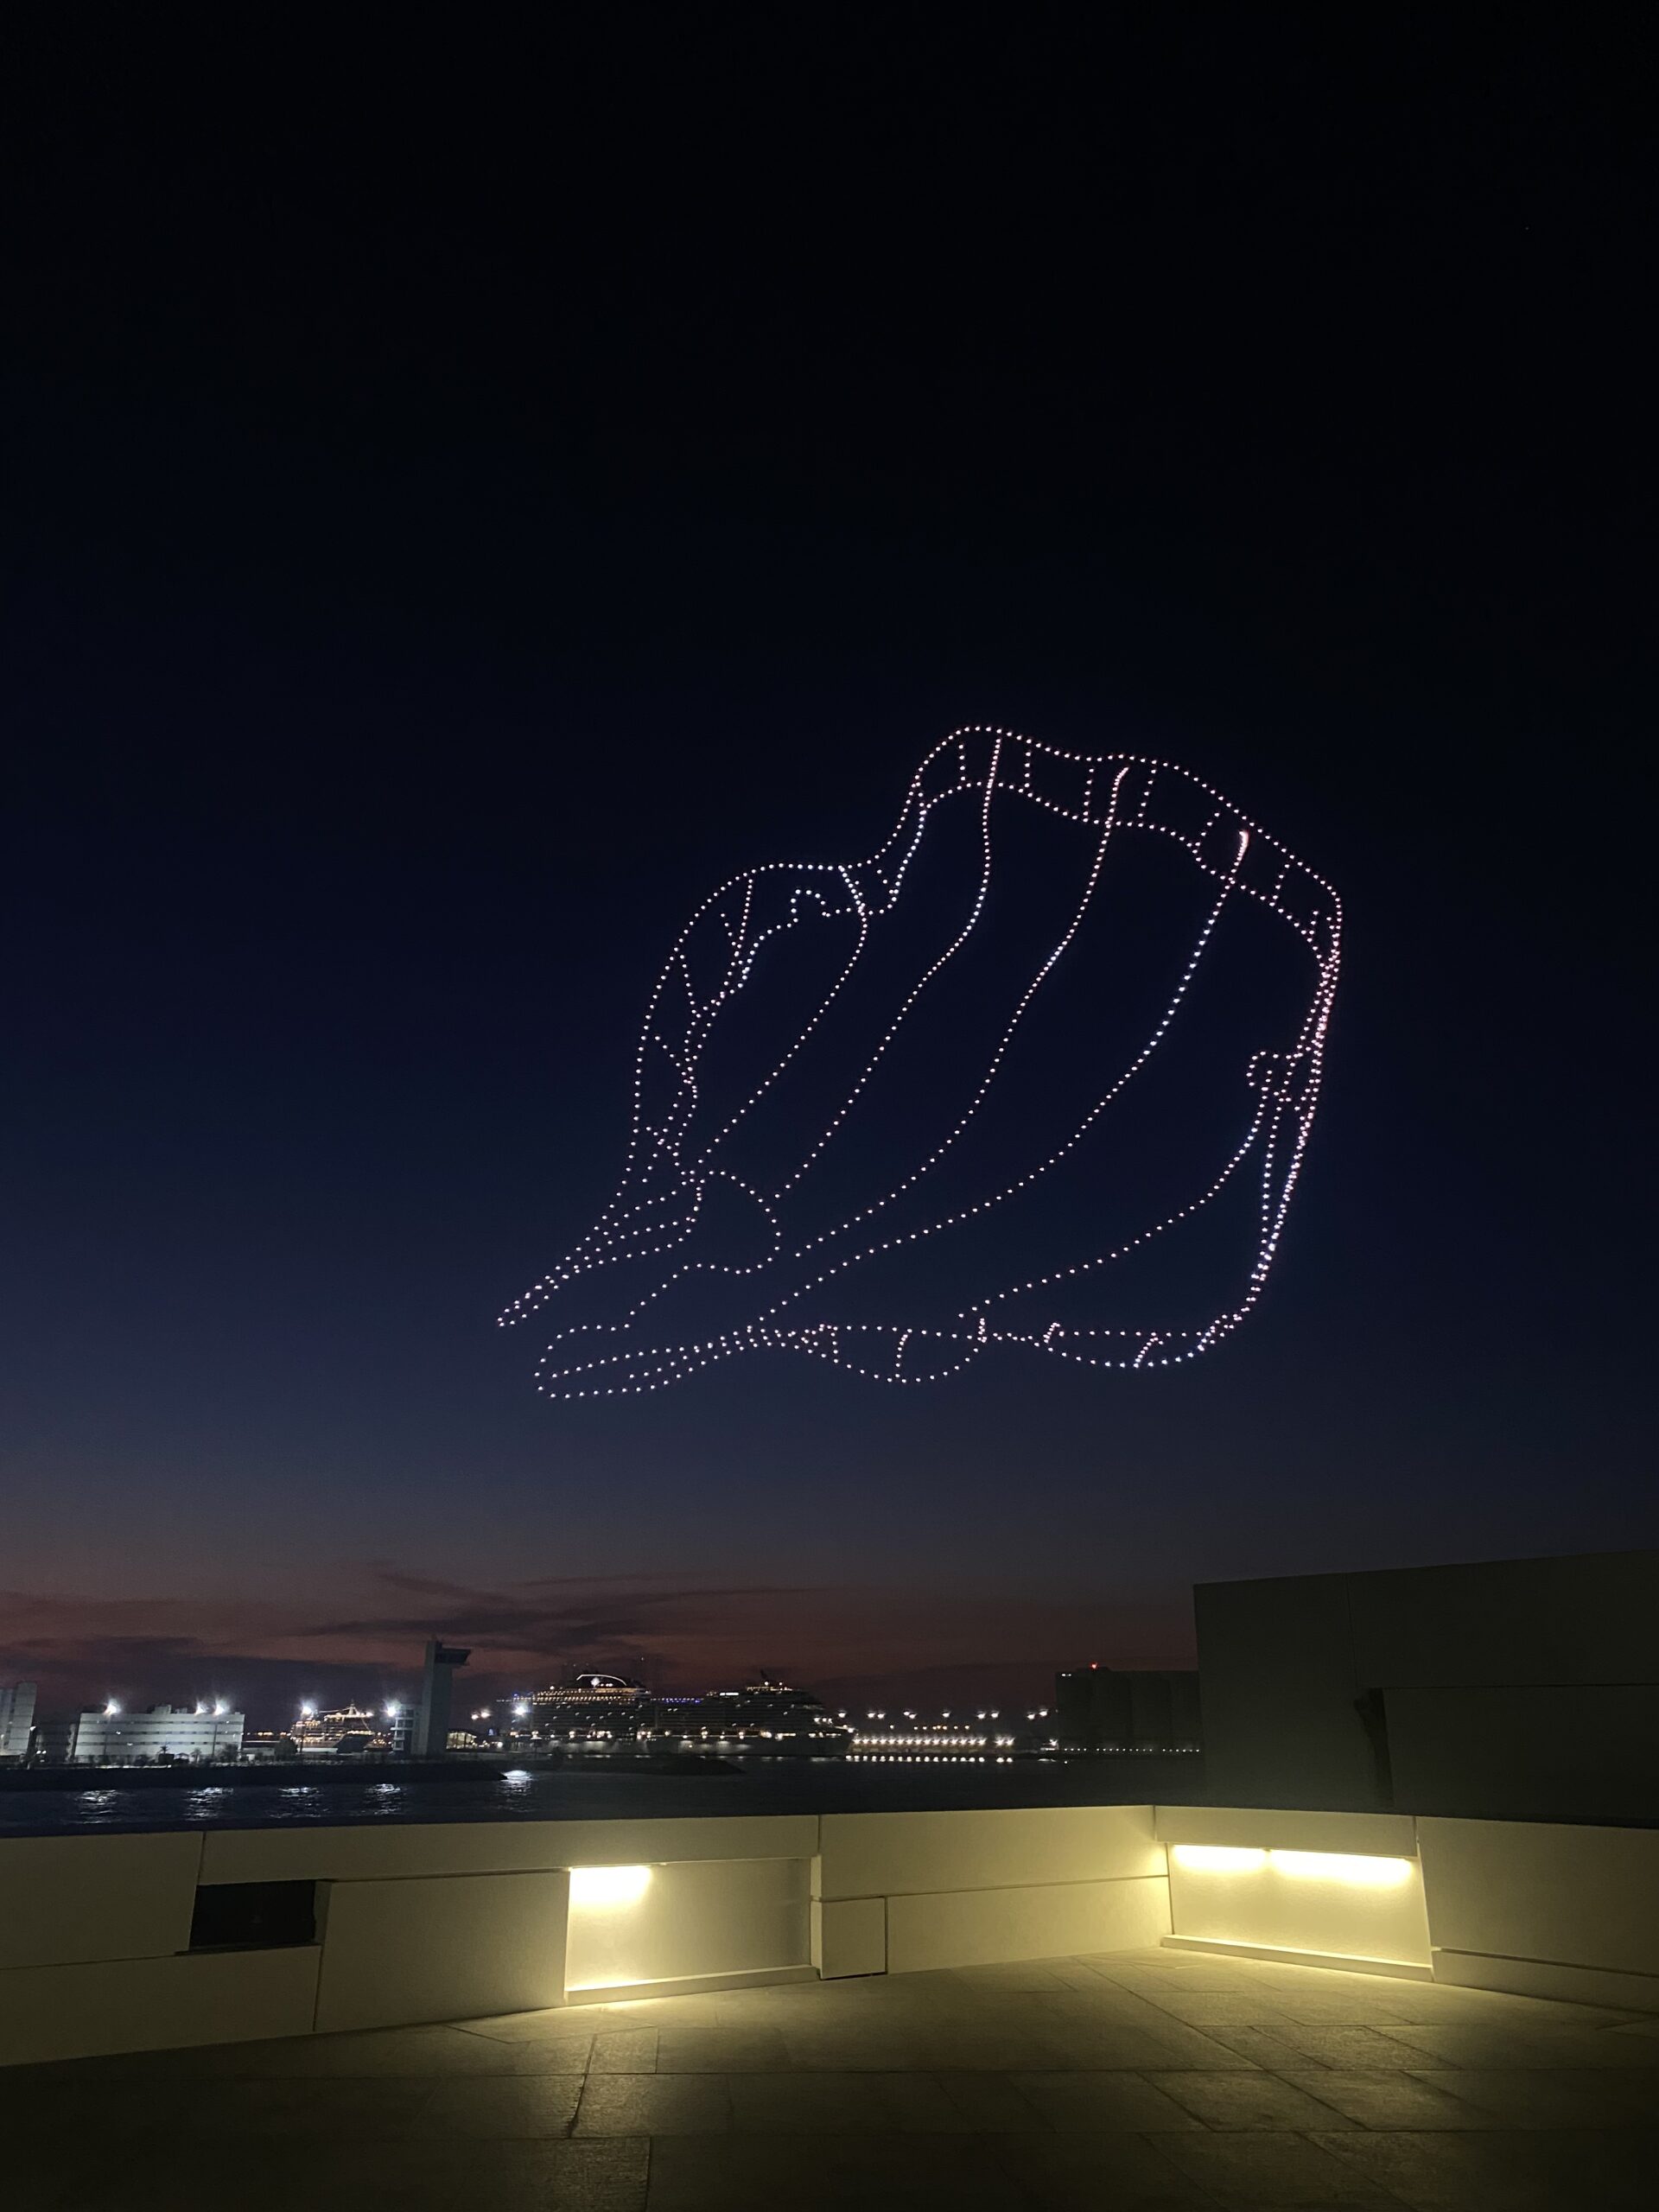
AeroMaestro- Preliminary Final Project Draft
Concept: “AeroMaestro”
My friend and I visited the Louvre Museum in Abu Dhabi on Sunday. Every night for the entire month, I would see objects lighting up the sky in patterns when I went out late. Upon closer inspection, I quickly discovered that these were drones operating a drone show at the Louvre. But on this specific day, we were positioned on the Louvre terrace, which provided us with the ideal height from which to watch the drone show. After giving it some thought, I’ve decided that this is the theme I want to explore for my final project because we were so close that we could even hear the drones whirring. I’m not sure how I’m going to do it, but I’d like to incorporate this into P5 and have a physical component on Arduino.
Setup:
Your touches on the joystick will translate into a language that the drones can understand thanks to an Arduino Uno and a joystick module. Your motion serves as a cue to them, influencing their formations and flight patterns. The drones will use P5.js as their gateway. The drones would receive commands from Arduino that would essentially give them life and allow their movements to be seen on screen. As the drones fly, every tilt and every movement of the joystick will be reflected in real time.
Interaction:
The user will be interacting with the drones by taking on the role of the conductor and essentially controlling their rhythm, motion, patterns, and position. I want it to feel more like an interactive art experience where you can use P5.js as a canvas and your gestures as the brush, rather than like operating a remote-control car.
Week 11: Initial Final Project Idea
I visited Manar Abu Dhabi last week. My favorite installation was a field of lights that pulsed with the audience’s heartbeat. When I saw it, I felt like I was in Elysium. It stole all the wind from me. Here’s a video of it here. I know I want to create an installation that involves a heartbeat, using sensors, and that’s the Arduino component. As to what detecting the heartbeat will do, I’m still iffy.
I’ve been having a lot of conversations with my dad these days about how disconnected we are from each other and from ourselves. I want to create a project that brings people more in tune with their inner selves and surroundings, using the heartbeat, which is, naturally, already a very intimate thing.
My first idea is maybe when two people’s hearts get in sync, something appears on P5JS screen. And when they’re not in sync, images appear that represent the dissonance that is happening. Or, instead of going that route, everyone’s individual heartbeat draws a unique picture that is added to a larger picture of everyone’s similar but different looking heartbeats. I’ve also been trying to come up with ways I could add poetry/words into this installation the way Andrew Schneider did with his. He did it perfectly.
Or, I’m seeing a circle that pulses on the screen with your heartbeat in something that looks like a universe (like what Pierre did). Something that gets the message of being a pulse in the universe across, and as steps are went through, new poems/words pop up.
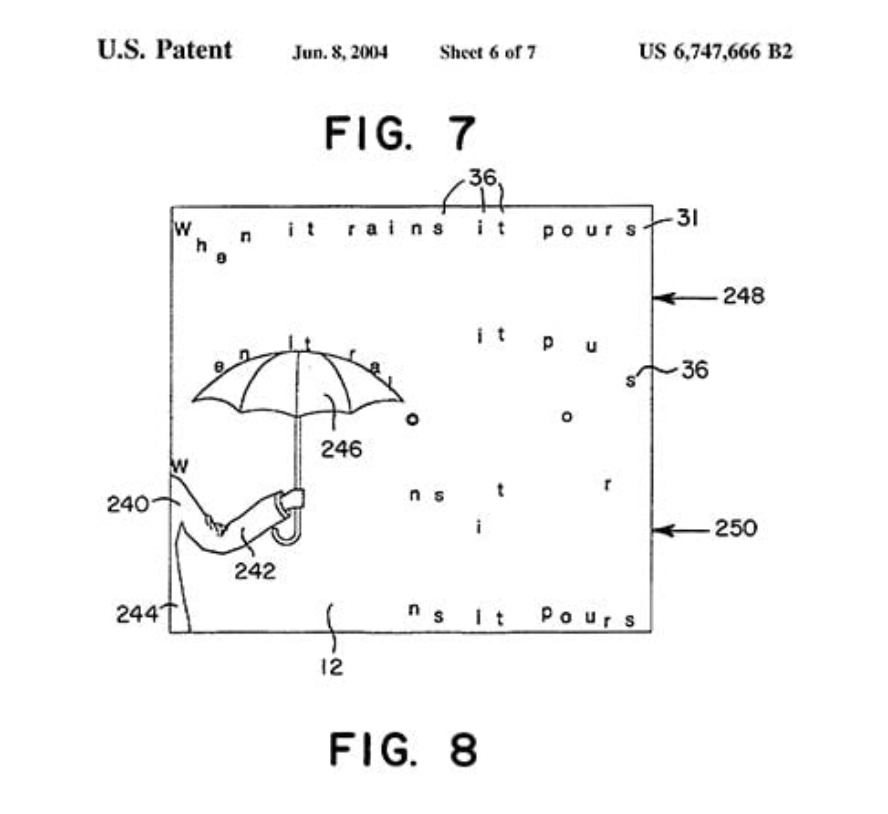
Here’s a project called “Text Rain.” I could incorporate words this way, perhaps. Maybe every time the circle pulses, words pop out, but how to make it more interactive so that it’s the audience’s words instead of my own…still unsure. Either way, I’m gonna put a moldboard below. I love Instagram archive pages. Because they have text like this. I want to capture the feeling these images evoke:

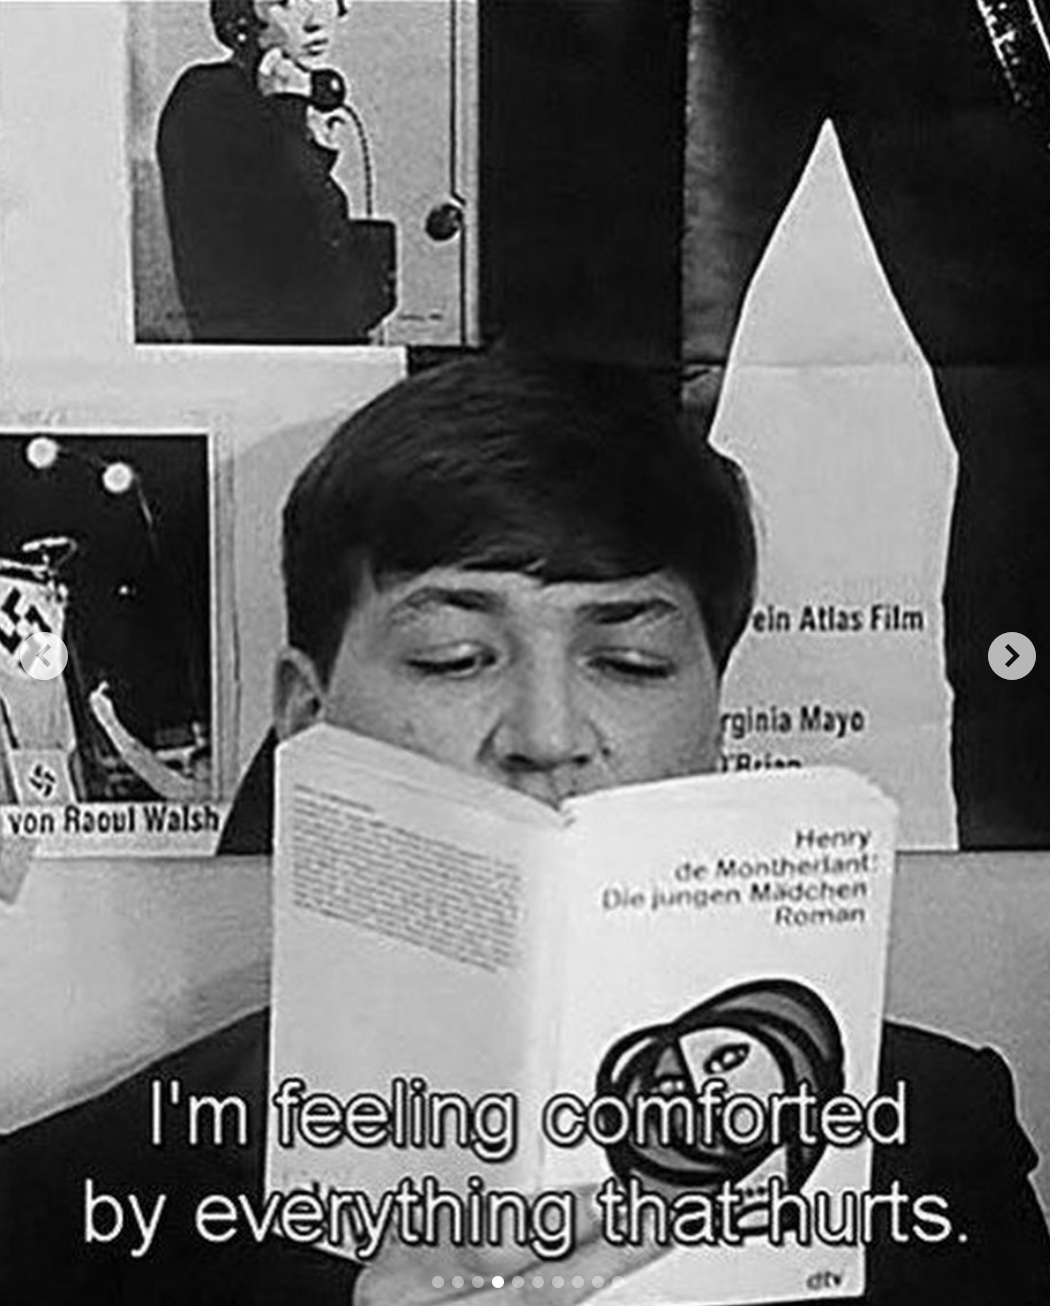
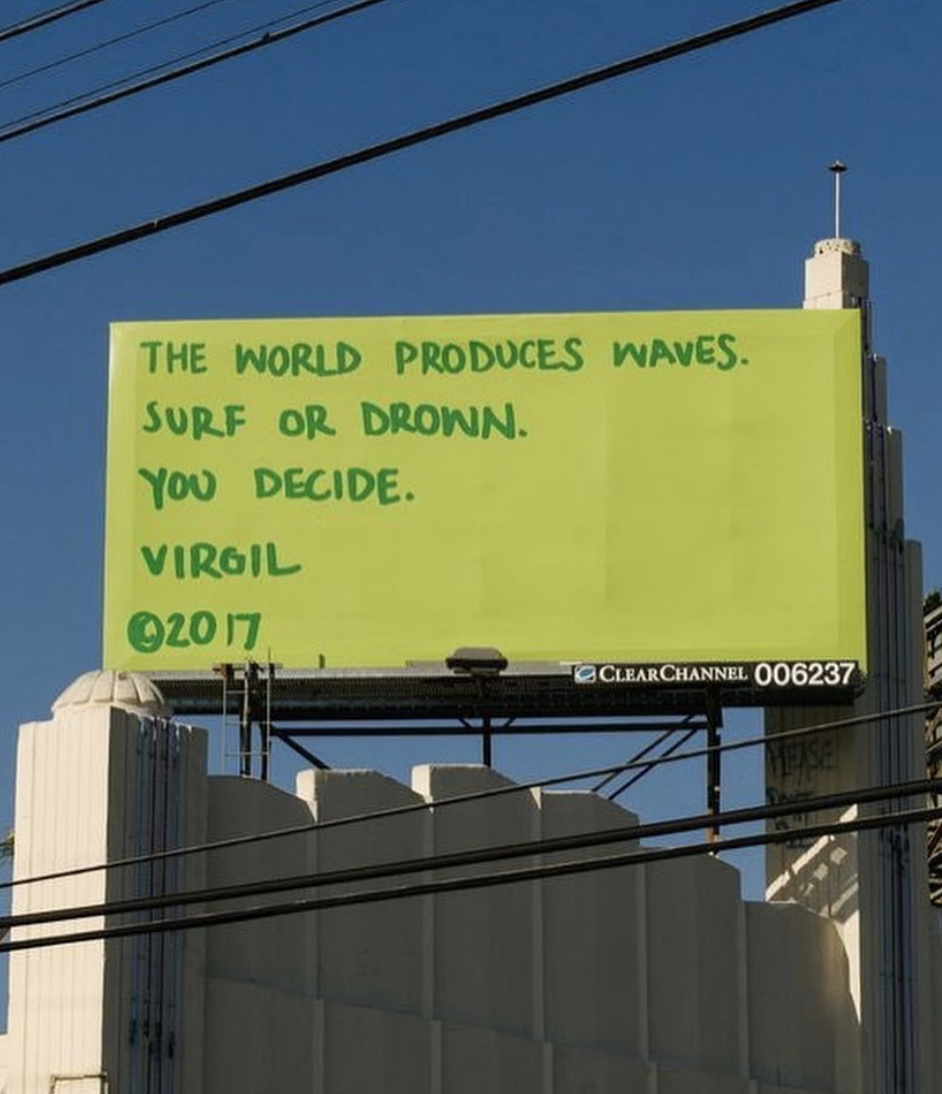
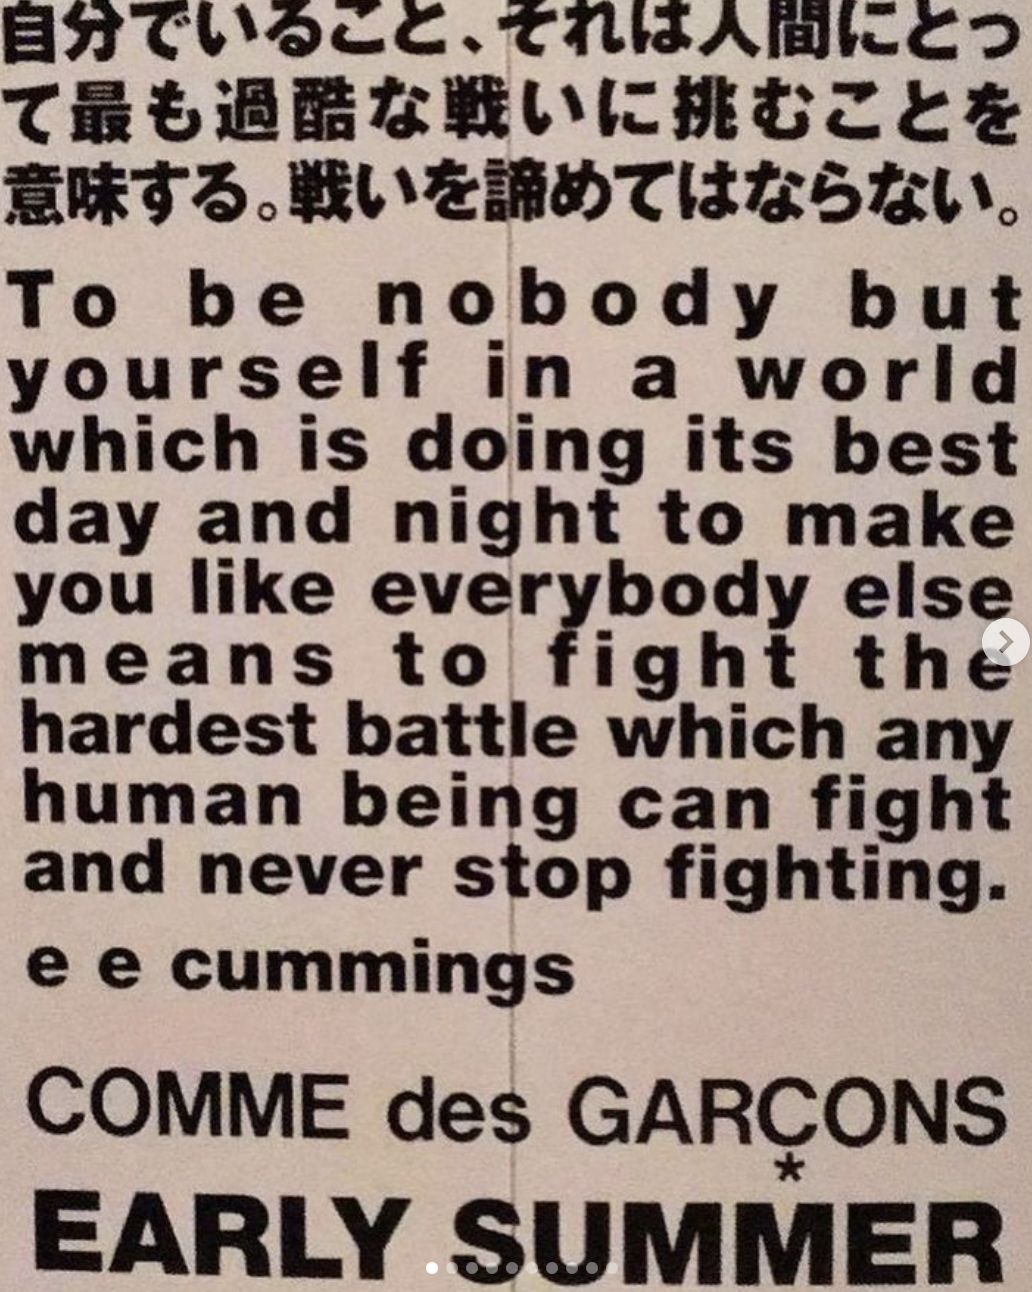

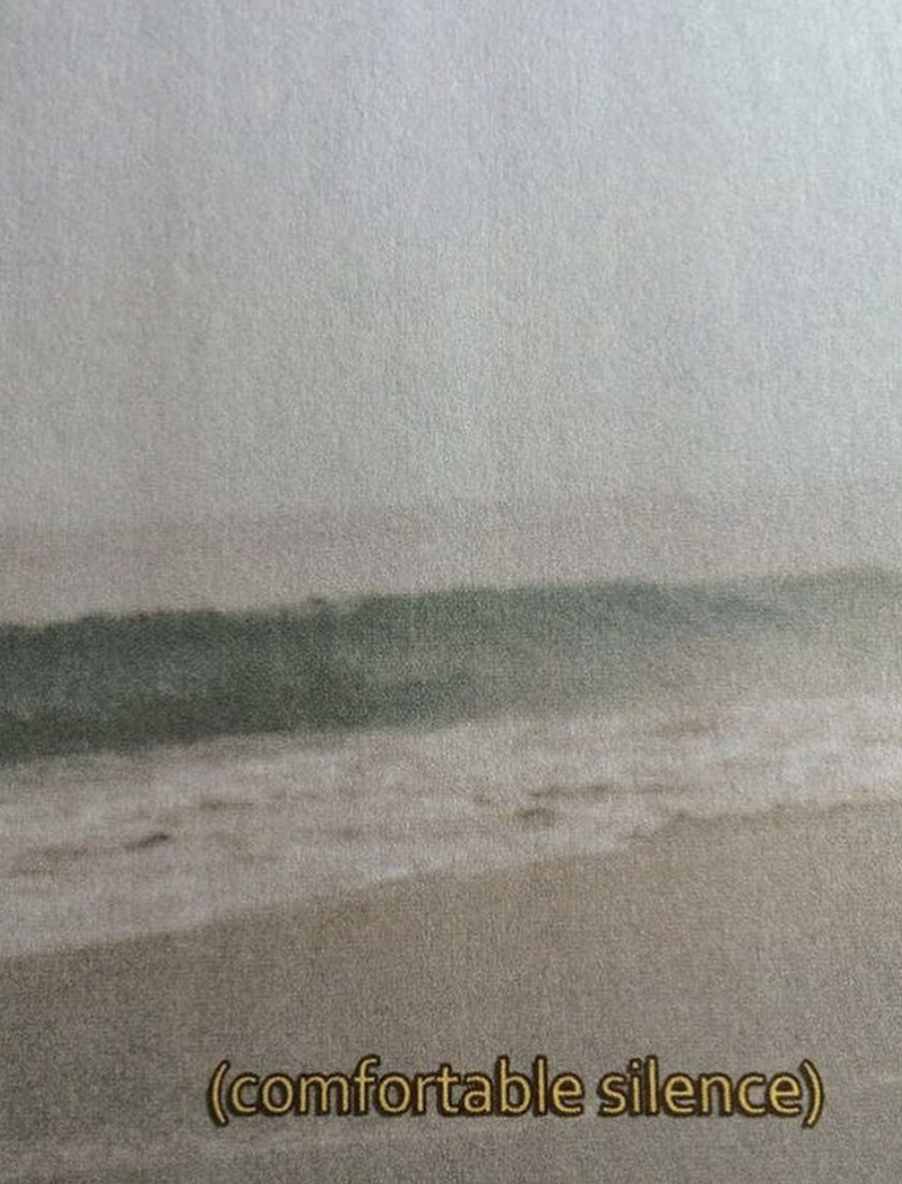
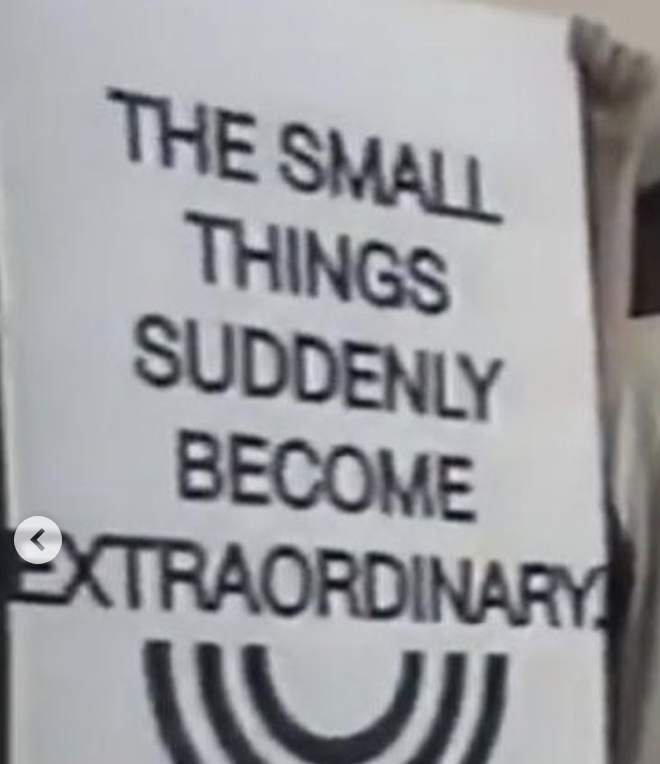
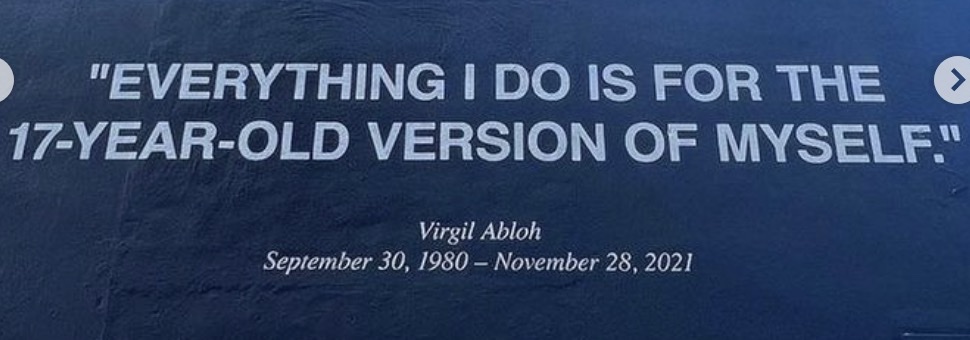
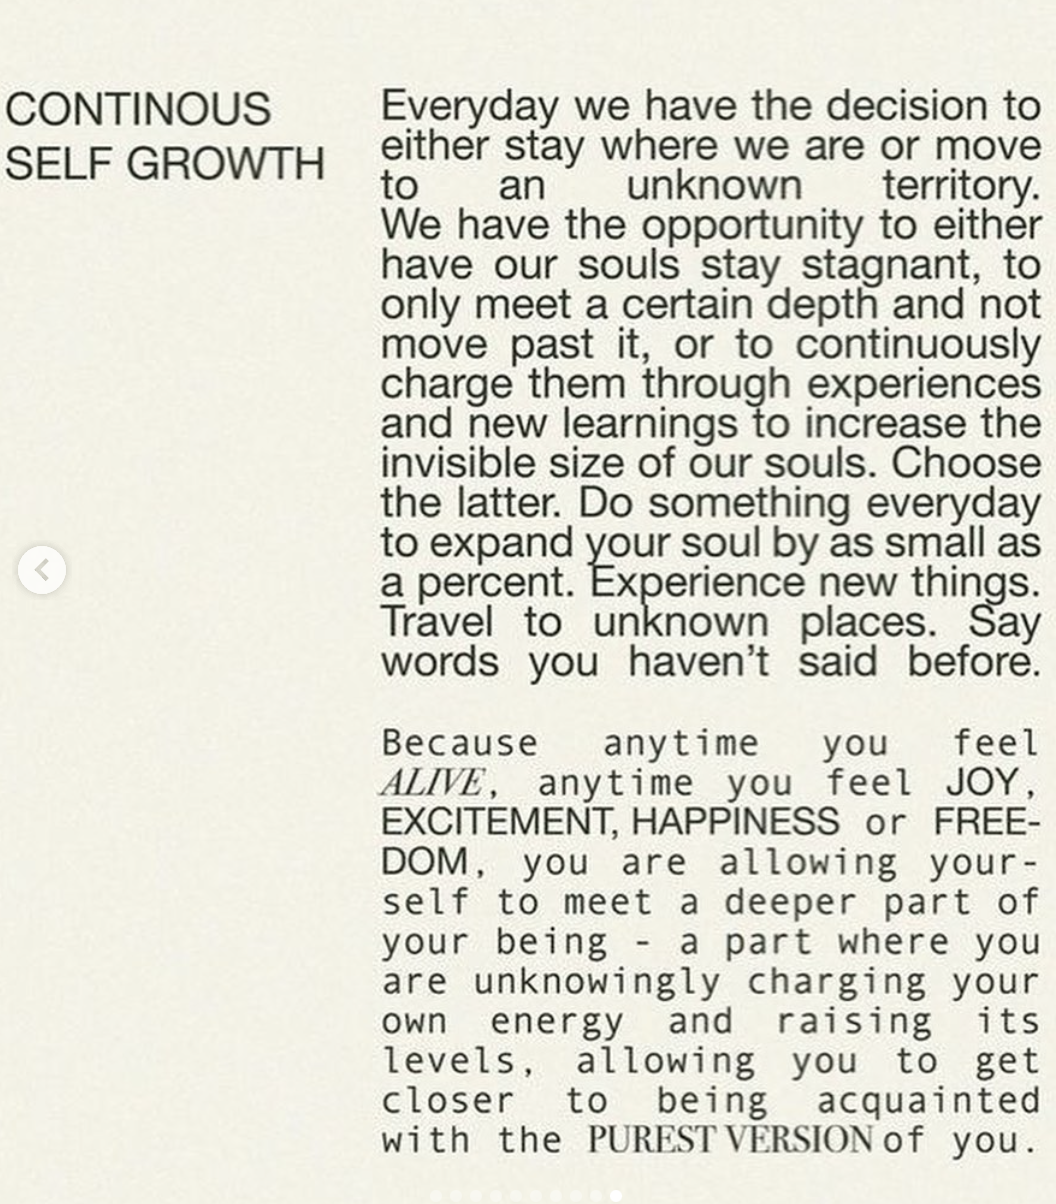
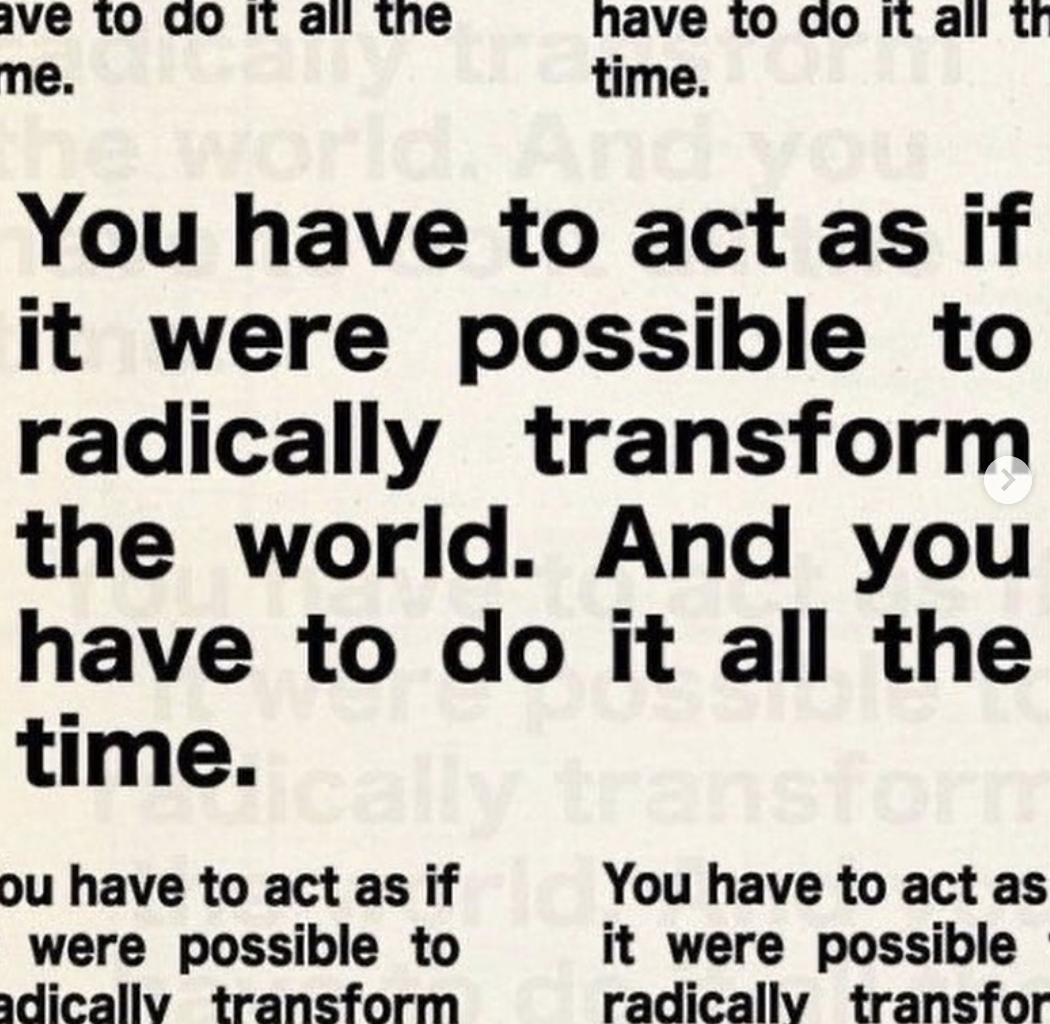
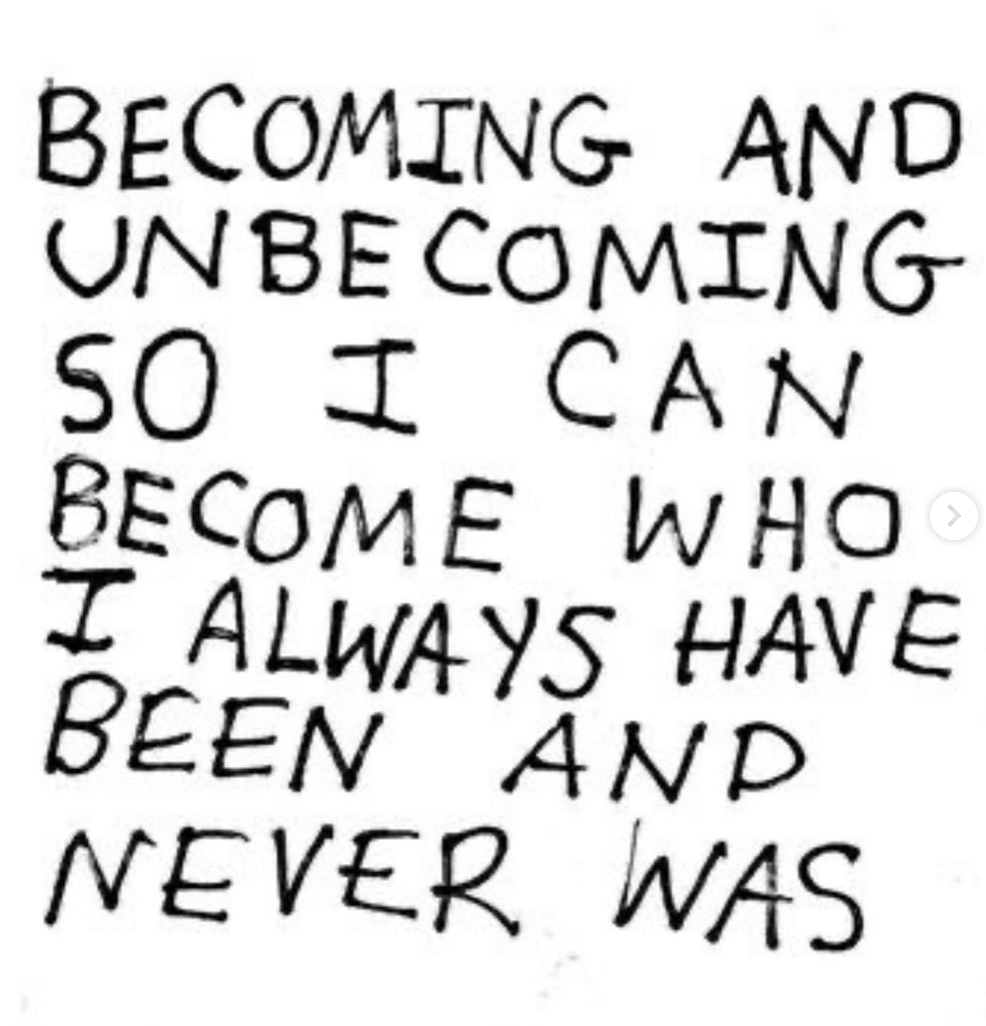
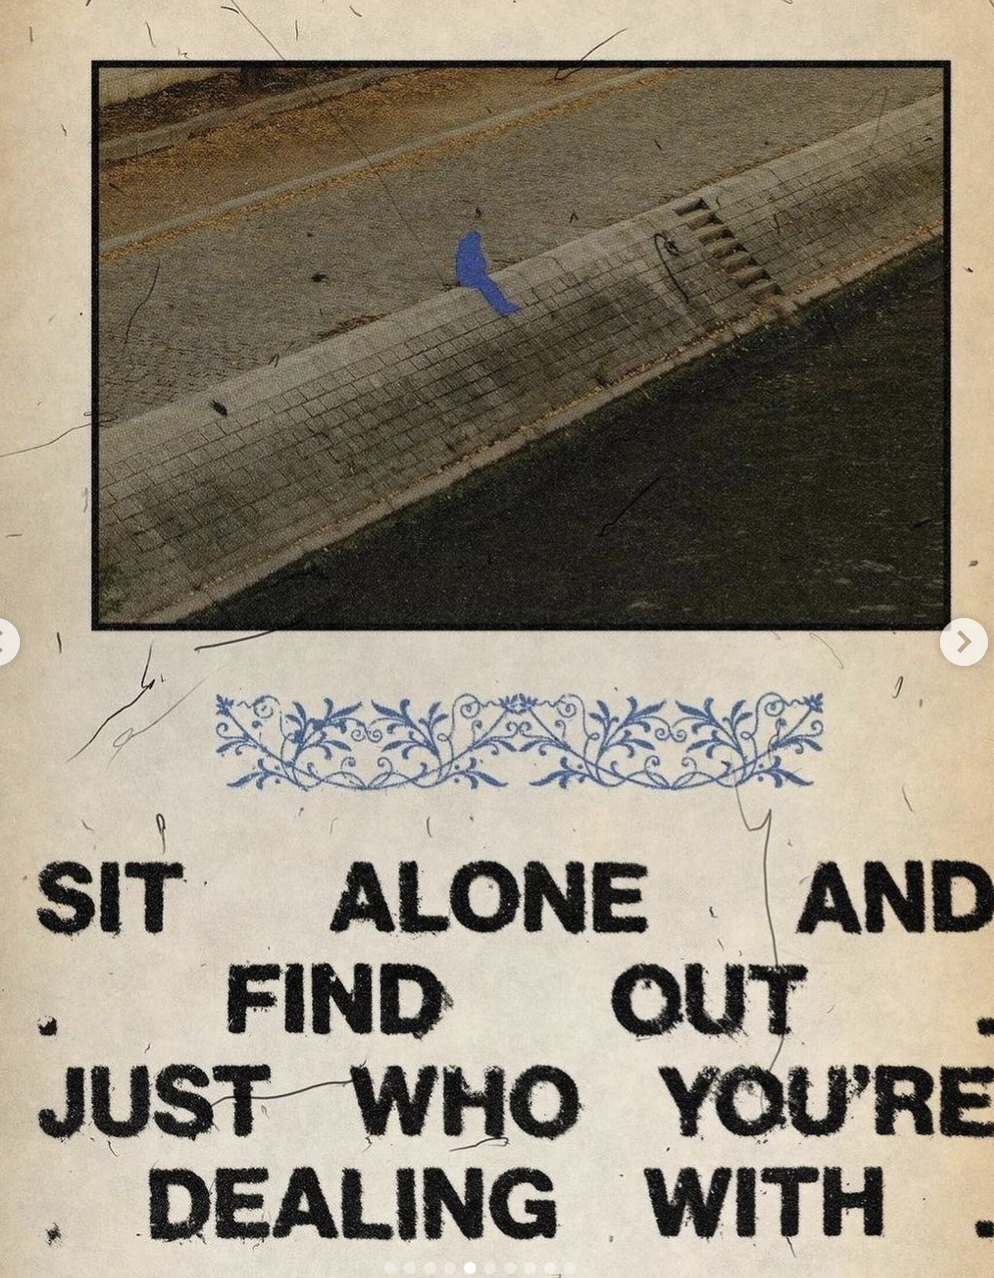
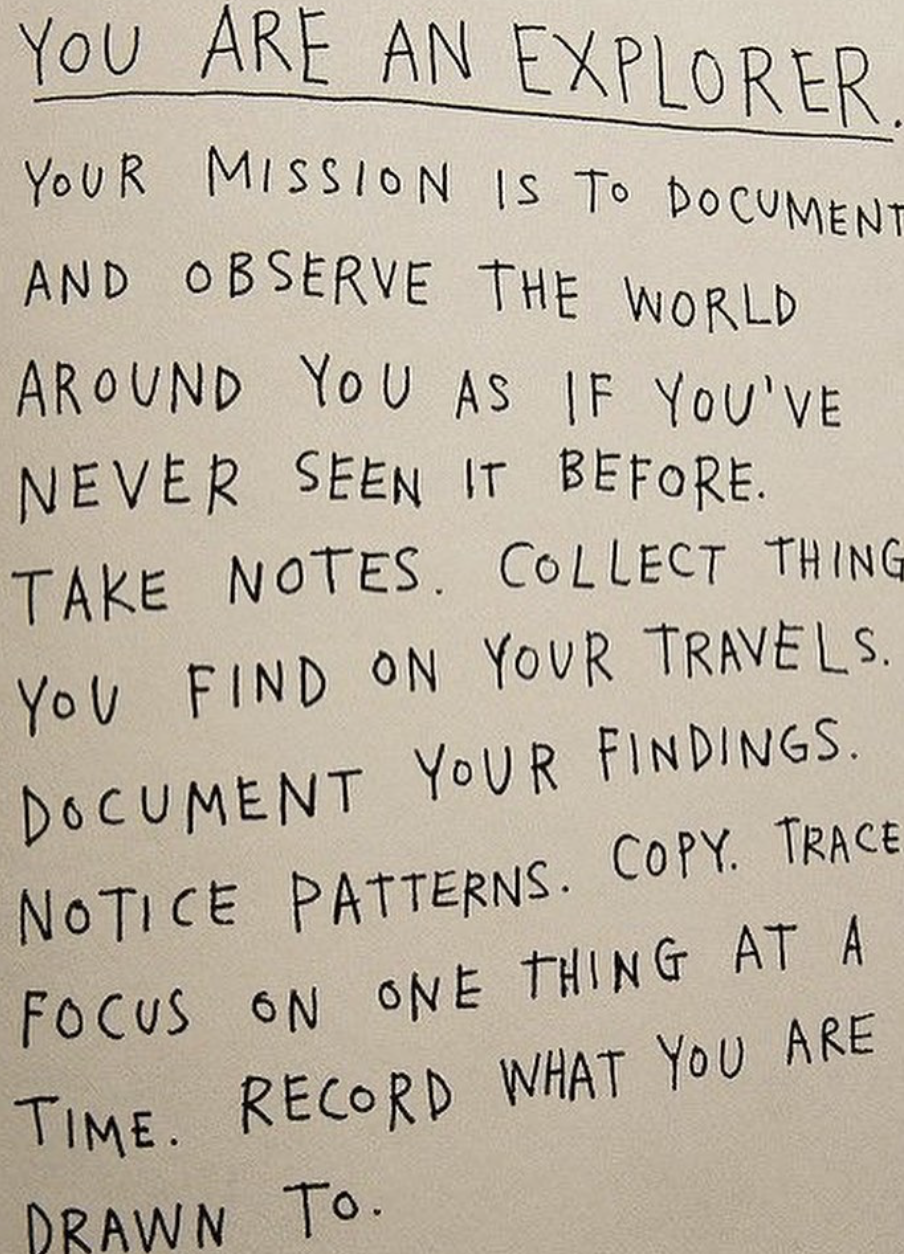
It’s a lot. But there’s a vibe. It should be more fleshed out but, things must come together eventually.
Reading Response – Week 11
This week’s reading, titled “Design meets disability,” intrigued me with its exploration of the intersection between design and the needs of individuals with disabilities. Prior to this, I hadn’t given much thought to the design aspects of products catering to the disabled community. My initial perspective was primarily focused on functionality, deeming it sufficient. However, the author emphasizes that functionality alone may not be the sole consideration. The incorporation of aesthetic appeal in design plays a crucial role in enhancing the user’s self-image.
The author delves into the analysis of various items such as spectacles (now referred to as eyewear), prosthetics, and other adaptive “equipment” designed for individuals with different abilities. It made me reflect on the challenges of introducing fashion into this realm, especially considering the diversity of needs. Unlike spectacles, which serve users regardless of eyesight effectiveness, prosthetics and hearing aids pose unique challenges. How can someone without amputation use a prosthetic, or how can individuals without hearing impairment benefit from hearing aids?
The transformation of spectacles into trendy “eyewear” appears to have been a successful evolution, but I question whether similar success is feasible for other assistive devices tailored for individuals with special needs. The reading has prompted me to consider the intricacies and complexities involved in merging design and functionality, particularly in the context of products meant to aid those with disabilities.
Week 11 : Reflection
The writer says that in the past, people thought it was better to keep disabilities hidden when making things, and that’s not good. It doesn’t just hide a part of the person but can also make them feel like they should be embarrassed about their disability, which is a part of who they are.
They talk about things made for people with disabilities, like glasses. Glasses show how some people don’t follow the old way of thinking. There are many types and styles of glasses, so people can choose what feels comfy and looks good to them. Some people even wear glasses just because they like how they look, even if they don’t need them to see better. But when they talk about something like a fake leg for someone who lost a leg, some people might think it doesn’t look good and hide it, even if it works fine. I really think this should change. No one should feel bad about having a disability.
I think the main problem isn’t the disability itself; it’s more about the places and things around that make it hard for people with disabilities. When places don’t have things that make it easy for them, it’s tough for them to do things like everyone else. So, if we make places easy to use for everyone and remove things that make it hard, it can help people with disabilities do things more easily and feel like they’re a part of everything.
Lastly, I agree that these things should be simple. When we make things for people with disabilities, the main goal is to help them. The things should be easy for them to use without making them feel stressed.
Week 11- Reflection
The author states that in the past, people thought it’s best to hide disabilities when making things, and this gives a bad feeling. It doesn’t just hide a part of the person, but it might also make them feel like they should be embarrassed to show and talk about their disability, which is actually a part of who they are.
They give an example of making things for people with disabilities, like glasses. Glasses show how some people don’t follow the old way of thinking. There are many kinds and styles of glasses so people can choose what feels comfortable and looks nice to them. Nowadays some people even get glasses just because they like how they look even if they don’t need them to see better. But if we think about another thing they talked about, like a fake leg for someone who lost a leg, some people might think it doesn’t look good and hide it, even though it works fine. I really think this should change. No one should feel bad about having a disability.
I think that disability itself isn’t the primary challenge; rather, it’s the environment that often creates difficulties for individuals with disabilities. When surroundings lack accommodations or accessibility features it becomes harder for people with disabilities to navigate and participate fully. So by creating inclusive environments and removing barriers, we can empower individuals with disabilities to engage more effectively and comfortably in various aspects of life, promoting equality and inclusivity for all.
The last thing I want to say is that I agree that these things should be simple. The main point of making things for people with disabilities is to help them. The things should be easy for them to use without making them feel stressed.
Final Project Idea
For my final project I envision revolutionizing waste management with an innovative automatic trash can that transforms the way we sort and manage our garbage. Imagine a single, sleek unit that dynamically categorizes different types of waste on its own, eliminating the need for multiple bins and the hassle of manual sorting. This intelligent trash can intuitively detects and segregates various materials like plastic, paper, and general waste as items are discarded, streamlining the recycling process effortlessly.
The system operates seamlessly, leveraging advanced sensors to identify the composition of incoming waste in real time. As items are tossed in, the trash can harnesses its sensor network to recognize the material type, swiftly directing each piece to its designated compartment within the unit. With a smart sorting mechanism at play, the trash can effortlessly organizes and manages the disposal, making eco-conscious living incredibly convenient for users.
This isn’t just a mere disposal unit; it’s a sustainable innovation aimed at promoting efficient recycling practices in households and public spaces. The simplicity of tossing items into a single receptacle while knowing they’ll be automatically sorted for proper recycling is not just convenient—it’s a step towards a cleaner, greener future.
Week 11: Elora and Saiki Assignment
Assignment 1: Move Ball With Potentiometer
I attached a picture of our setup below:
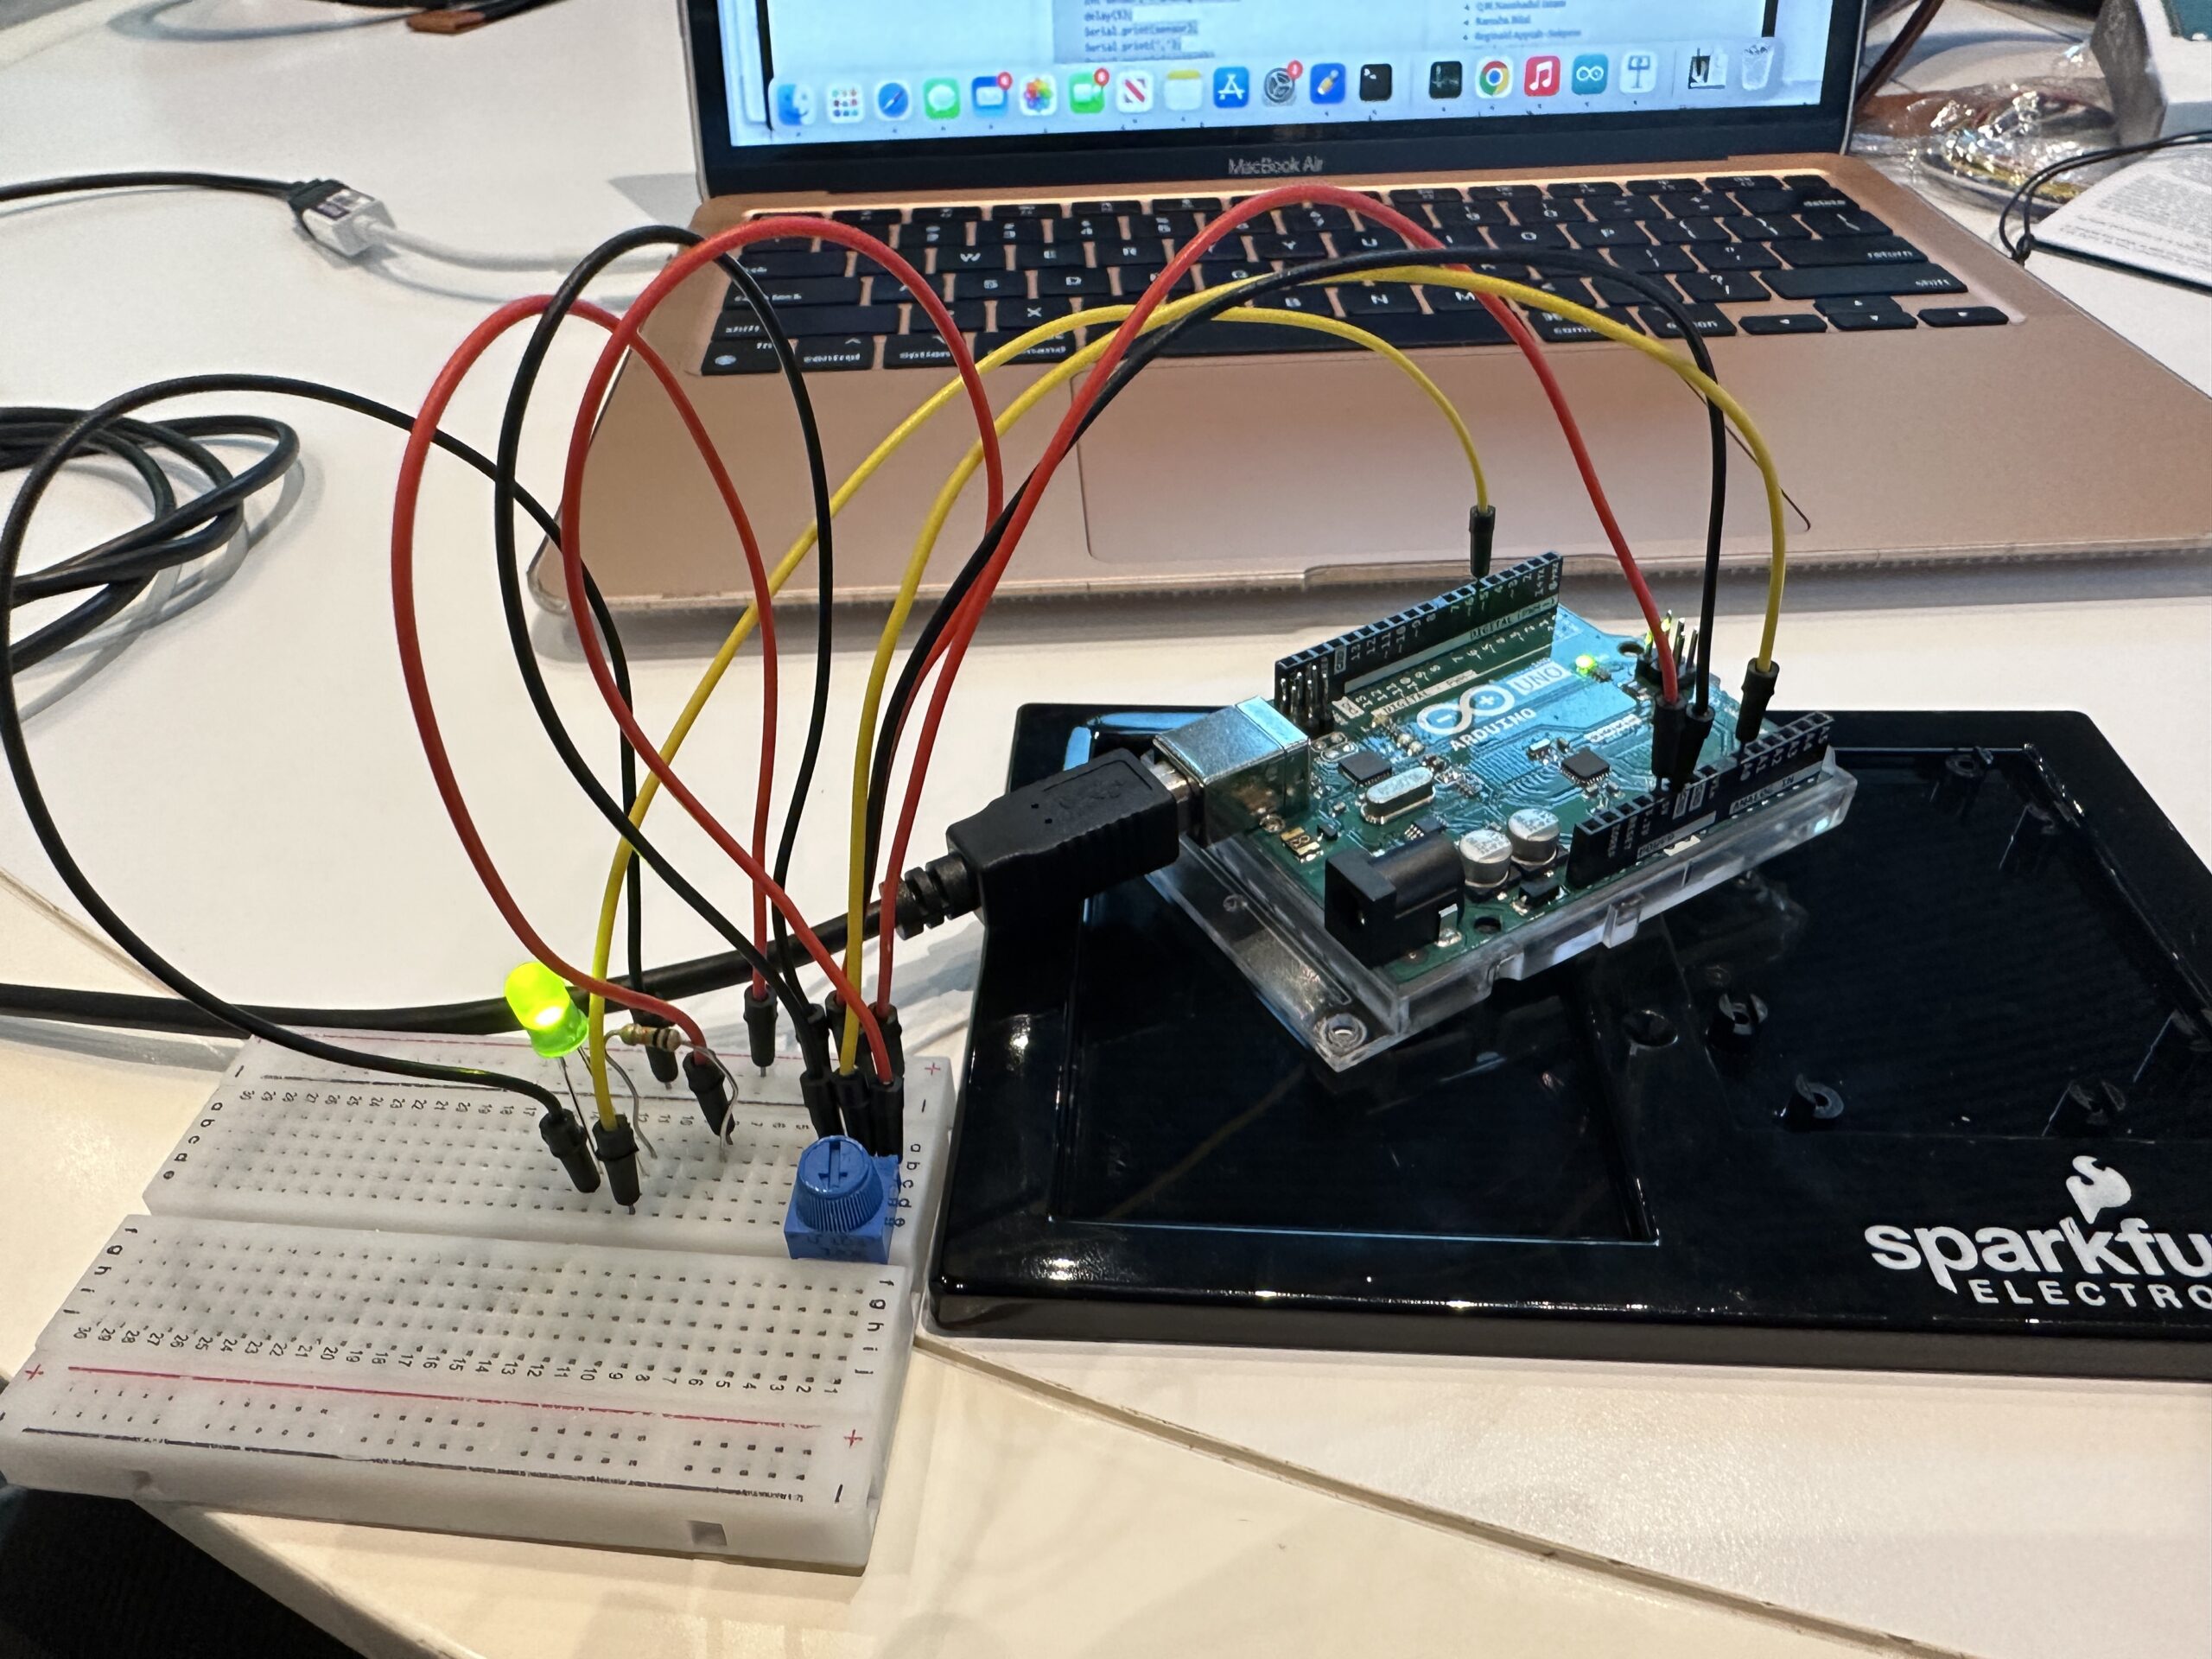
I took the P5JS sketch we used in class and made a few changes, seen here. First, we created the ellipse. When writing the parameters, we made the x value alpha, because the sketch already set alpha as the value that is reading the Arduino board. In order to read Alpha, we had to make sure we mapped the potentiometer range to the range of the P5JS screen. So when you turn the potentiometer, the x value changes, making the ellipse move backwards and forwards. See the important code snippet below:
ellipse(map(alpha, 0, 1023, 0, width),height/2,60);
Assignment 2: Control LED Brightness From P5JS
We took the same P5JS sketch from the slides and altered it, seen here. Here are the changes we made:
let value = map(mouseX,0,width,0,255);
right = int(value);
We created a new variable called value and then mapped the width of the P5JS screen to the LED values, so that as you moved your mouse horizontally across the screen, the LED brightened and dimmed. We used pin 5 because it supports PWM. The LED connected to Pin 5 was the “right” one in the code we used in class, hence why used “right” above to connect the LED and the P5JS bit above. We also had to go into the Arduino code that we had used in class and changed a bit of that as well.
digitalWrite(leftLedPin, left);
analogWrite(rightLedPin,right);
// digitalWrite(rightLedPin, right);
As you can see, we commented out the digitalWrite regarding the right pin and replaced it with analogWrite so that the LED didn’t just turn on or off, but actually got dimmer and brighter on a spectrum.
Assignment 3: Make The LED Turn On When The Ball Bounces
Here is our video. Here is the link to our sketch.
We combined the Gravity Wind example from the slides with the other P5JS sketch from the slides and changed a few things, seen below:
ellipse(position.x,position.y,mass,mass);
if (position.y > height-mass/2) {
velocity.y *= -0.9; // A little dampening when hitting the bottom
position.y = height-mass/2;


right = 1;
}


else {
right = 0;
}
We went to the part of the code where the ball hits the ground, and made it so that the Arduino read the LED as “right,” and the LED turned on (1) and off (0) depending on whether the ball was touching the ground or not.
On a side note, we also made sure that whenever you pressed n, that was how a new circle appeared. Because when we combined the two sketches, it had already been written that pressing the space bar makes the serial bar pop up.
if (key=='n'){
mass=random(70,80);
position.y=-mass;
velocity.mult(0);
Assignment 4: Control Wind With Potentiometer
Last but not least, we made the ball move left and right with the potentiometer by adding this bit of code.
wind.x = map(alpha,0,1023,-1,1);
We mapped the values of the potentiometer onto the wind values already established in the code. So that when we turned the potentiometer right, the ball went right (1) and left (-1) when we turned the potentiometer left.
Week 11: Final project concept
Concept :
programs used:
sampler
arduino
p5js
For my concept i would like to make an instrument that plays according to what i programmed on p5js.
i am still not sure, but for now this is my initial idea.
i got the idea from this Youtube video :
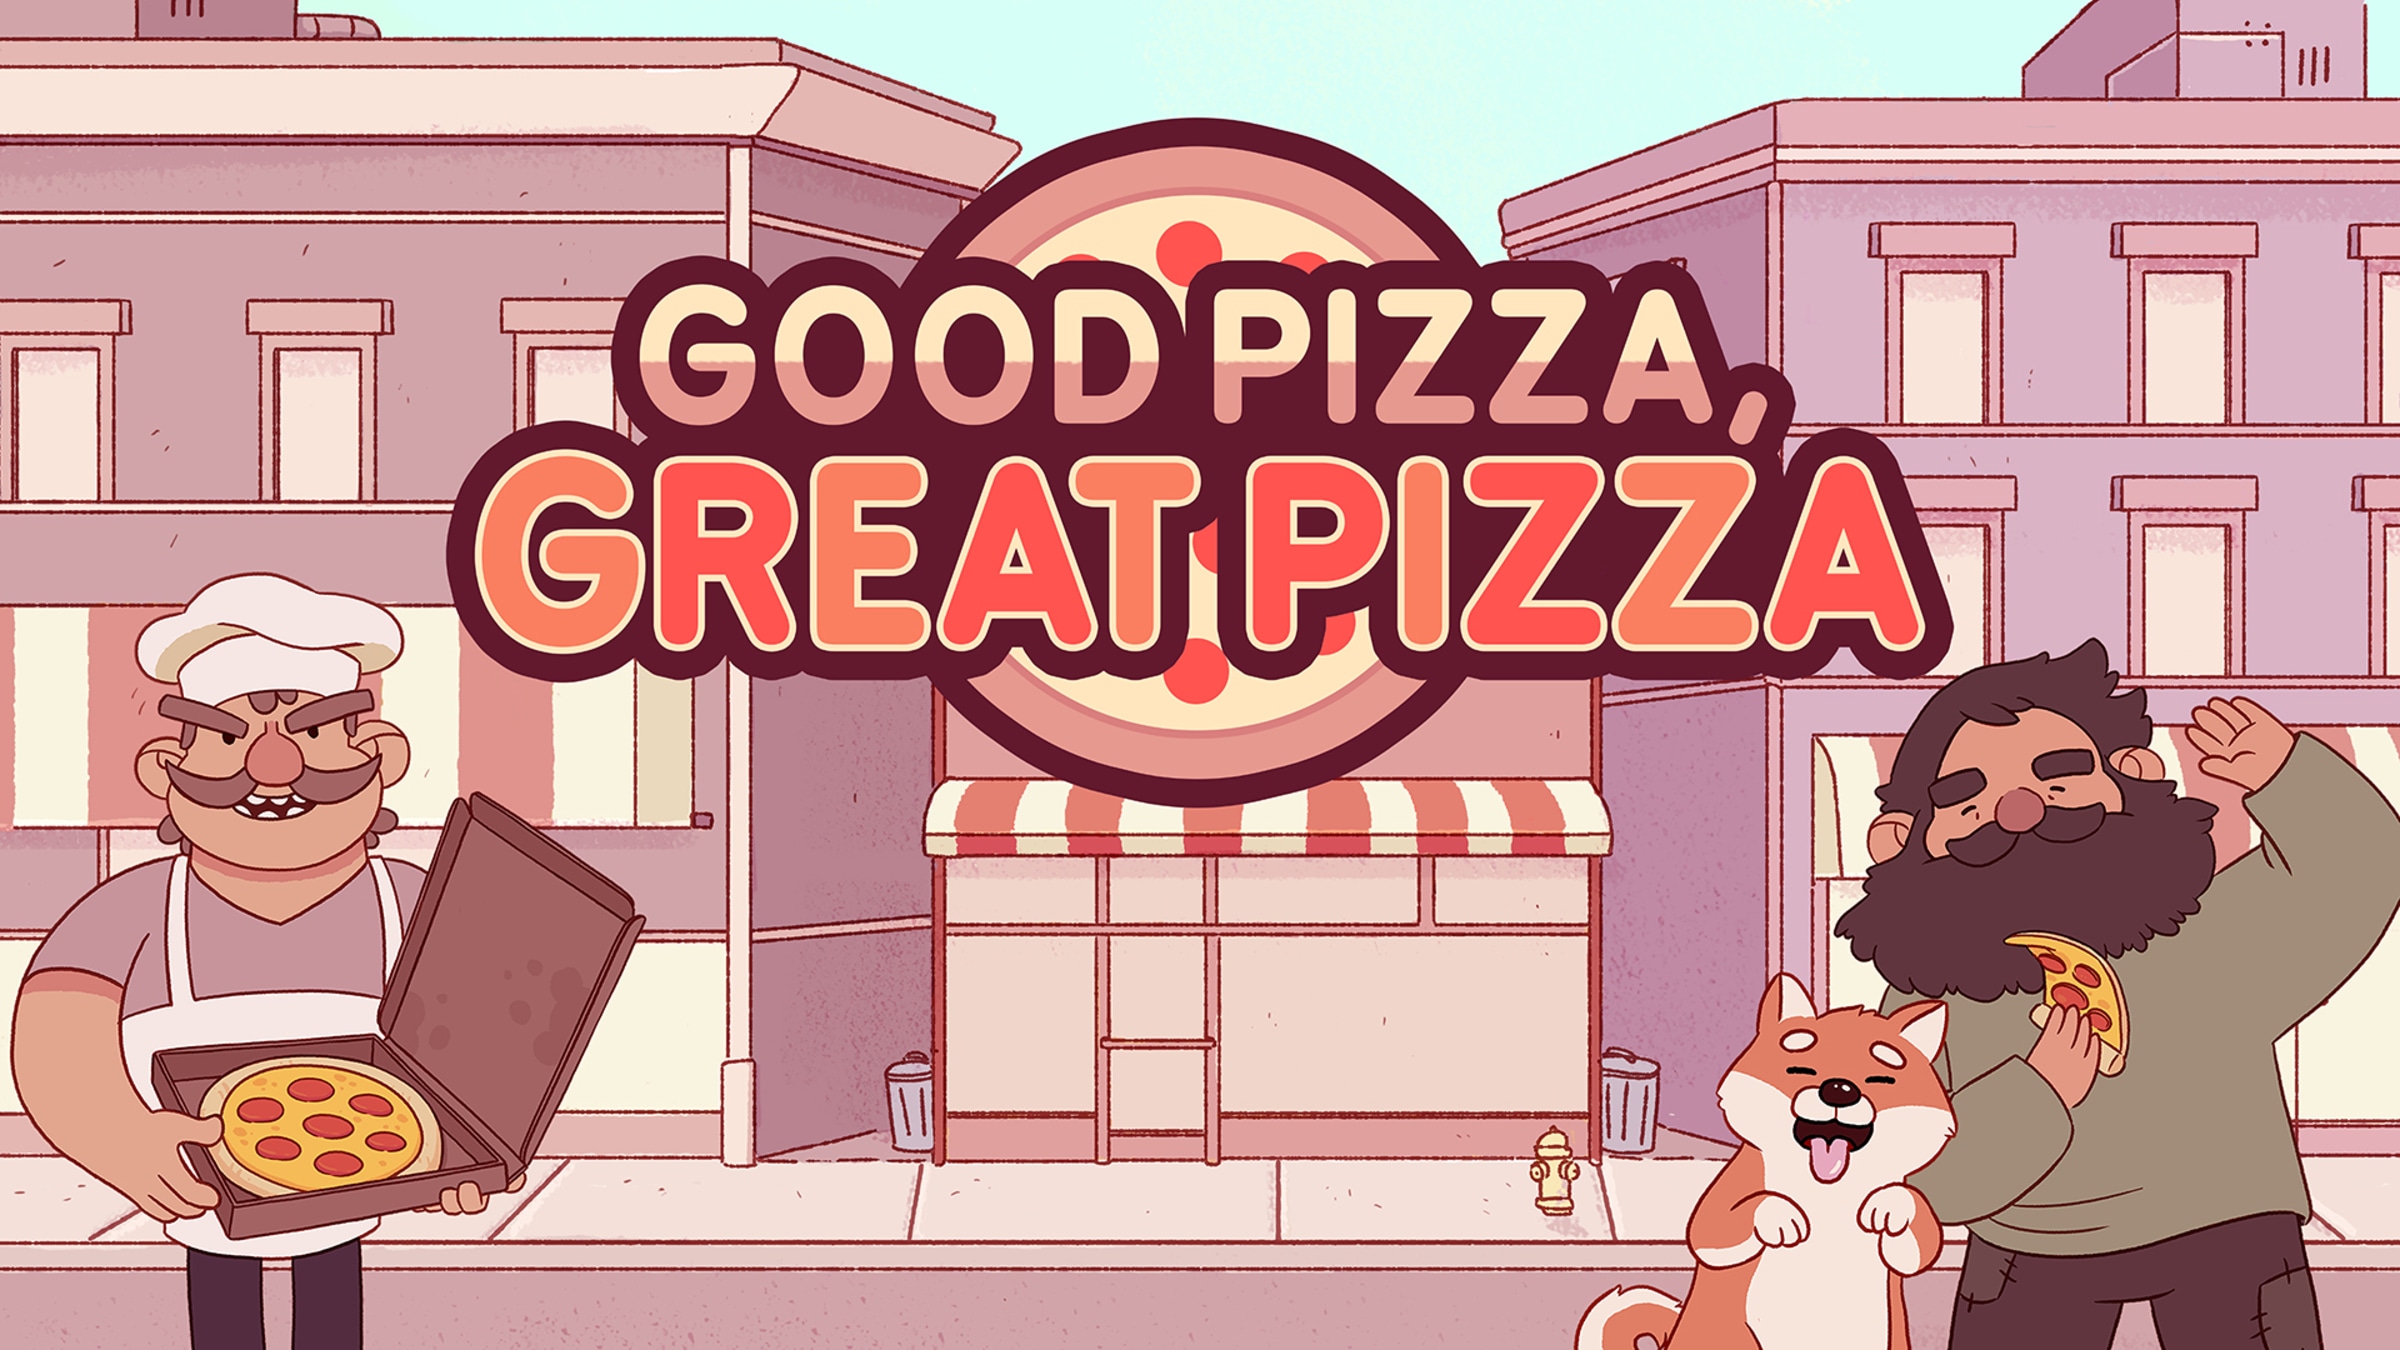
Final project prompt: Pizza Making
I intend to make a pizza making game using P5.js and arduino. The aim is to use analog sensors to control placing the toping on a certain place and also cook it at the right time.
inspo:
Good Pizza, Great Pizza

Papa’s Pizzeria
