For my final project idea i was unsure for a quite long time. Initially, it was an “art therapy app” as you can read in the previous post, but implementing some approaches in this app, i realised that in this particular program you are not creating new art pieces, but interact with existing ones. So I switched to this name.
Description
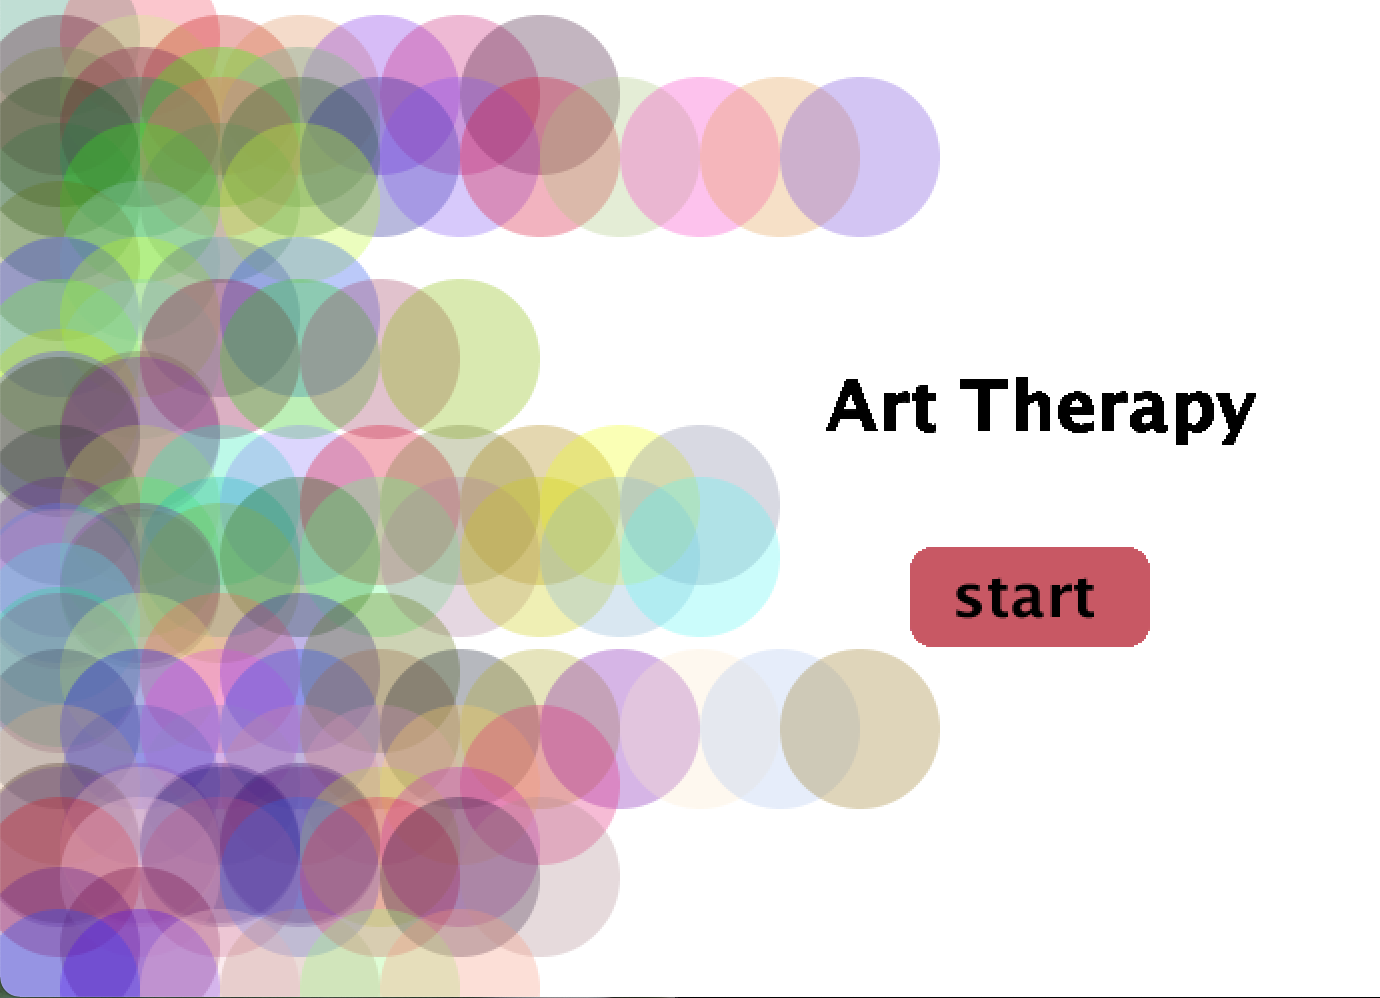
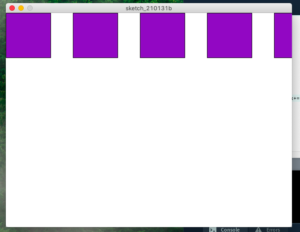
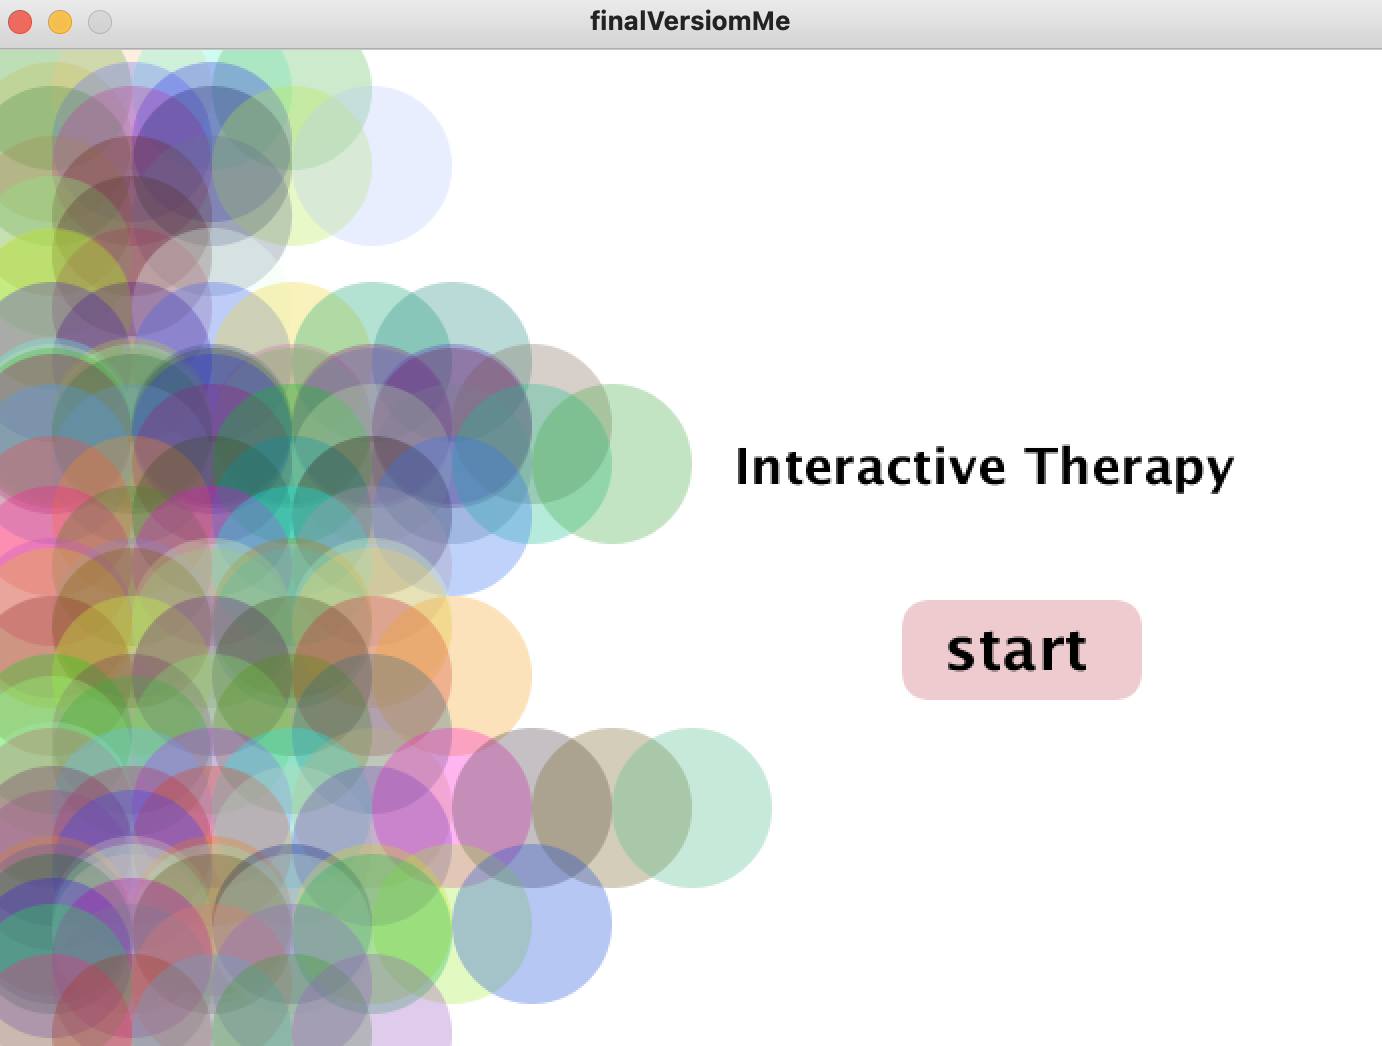
- Welcome screen
App has first welcome screen with the button to start. Circle design is based on functions with some random statements, that is why each time program executes user gets different, a little bit unexpected design

- Modes screen
In this part user gets a question “What do you feel?” and 3 options of the answer. There are different …. Inside each mode. Design is kind of similar to the previous tab to support the app style, but not copy the first idea. Based on the user’s choice screen moves to the next slide
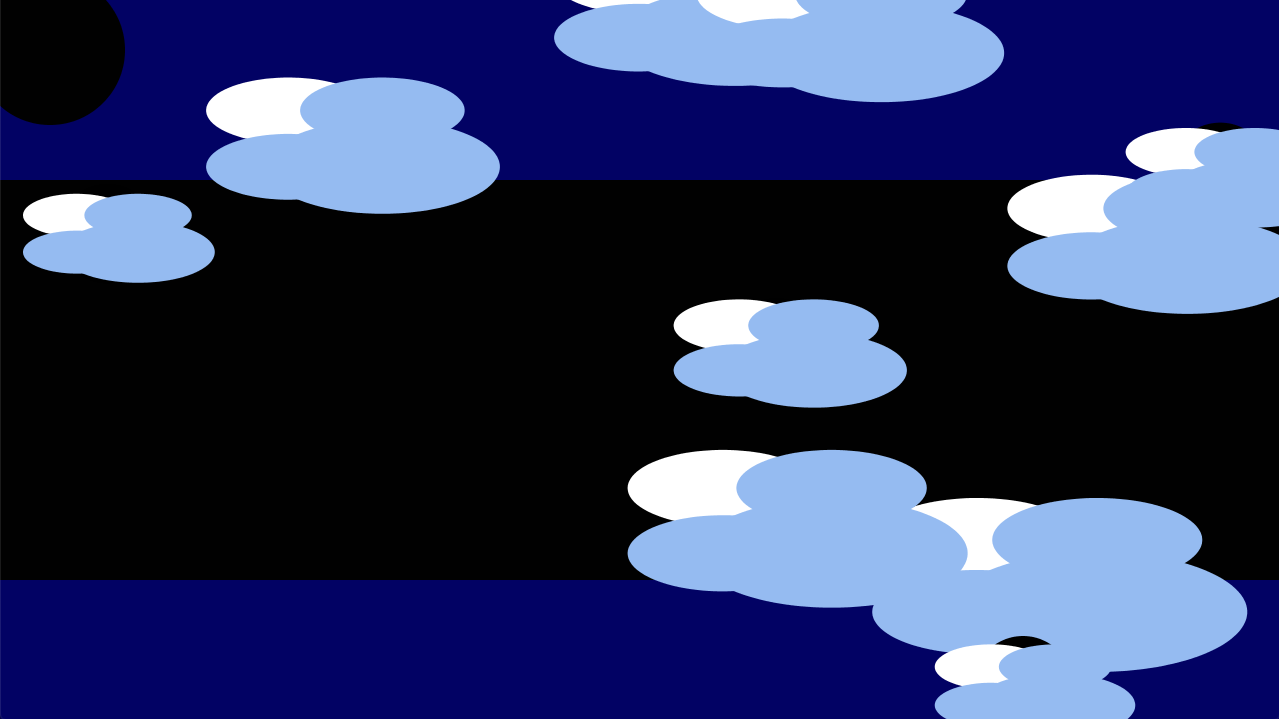
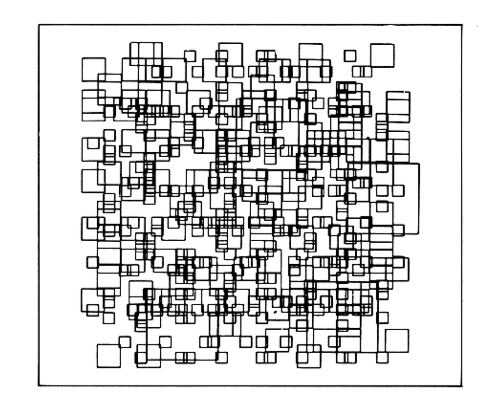
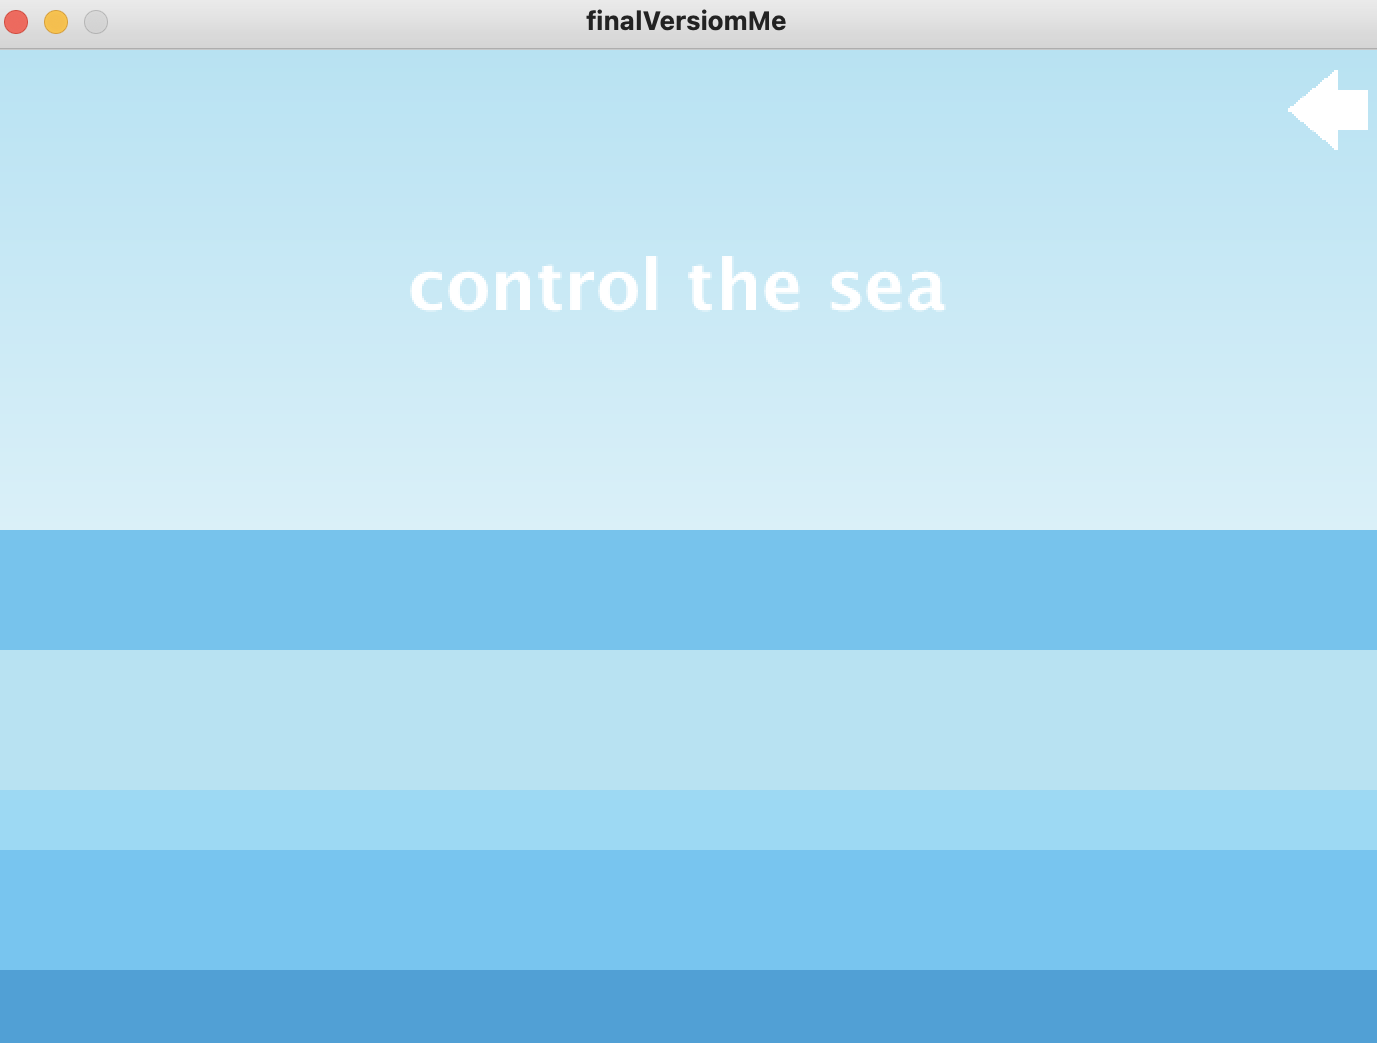
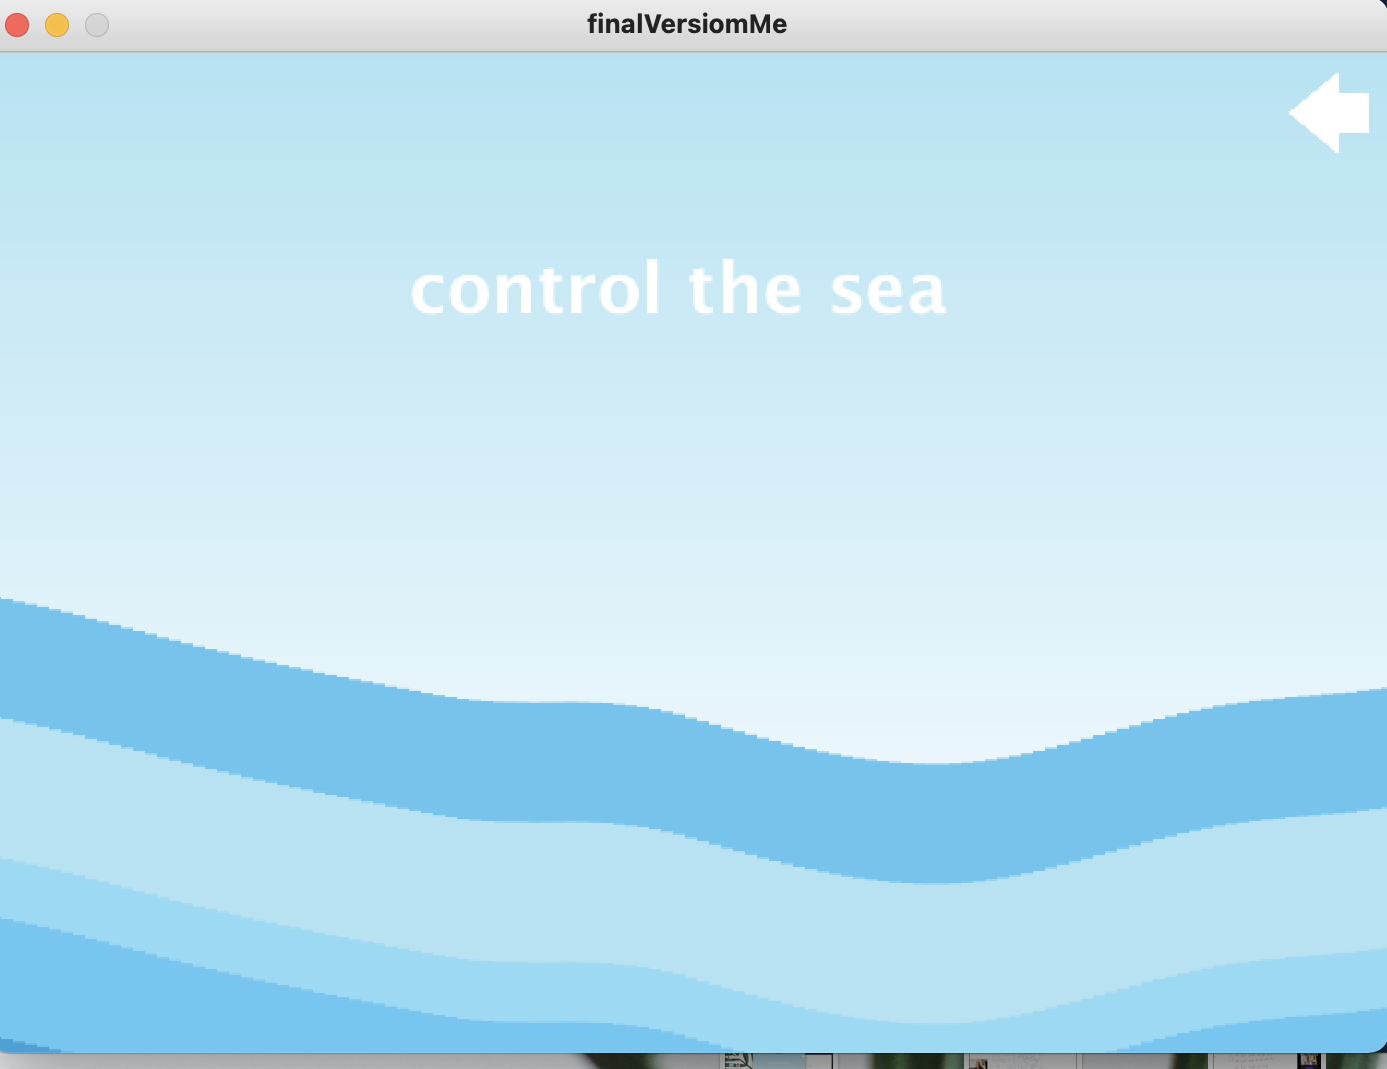
- Anxiety mode
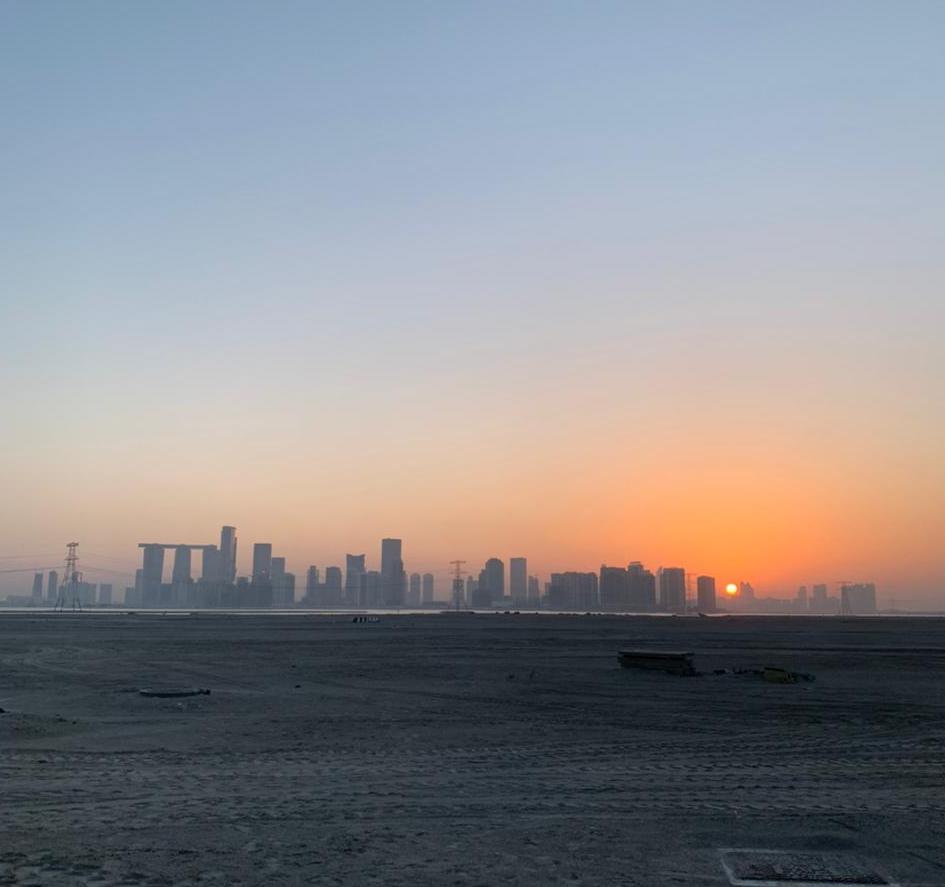
For this mode I picked up the sea as an image after tones of research of methods of art therapy/ help with mental problems and ….. . A lot of peoplefeel much better after some time spending near the churning sea, because sea is infinitely big and strong. Image of the sea gives people feeling of the happiness, satisfaction and peaceful state of mind. That it why I implemented some kind of meditation process here. You can imagine that you are the sea. And all your emotions proportional to the speed of the waves. You can use your hand to change the intensity of the power of the sea.
In terms of code i used rectangles and noise function (inspired by Ham
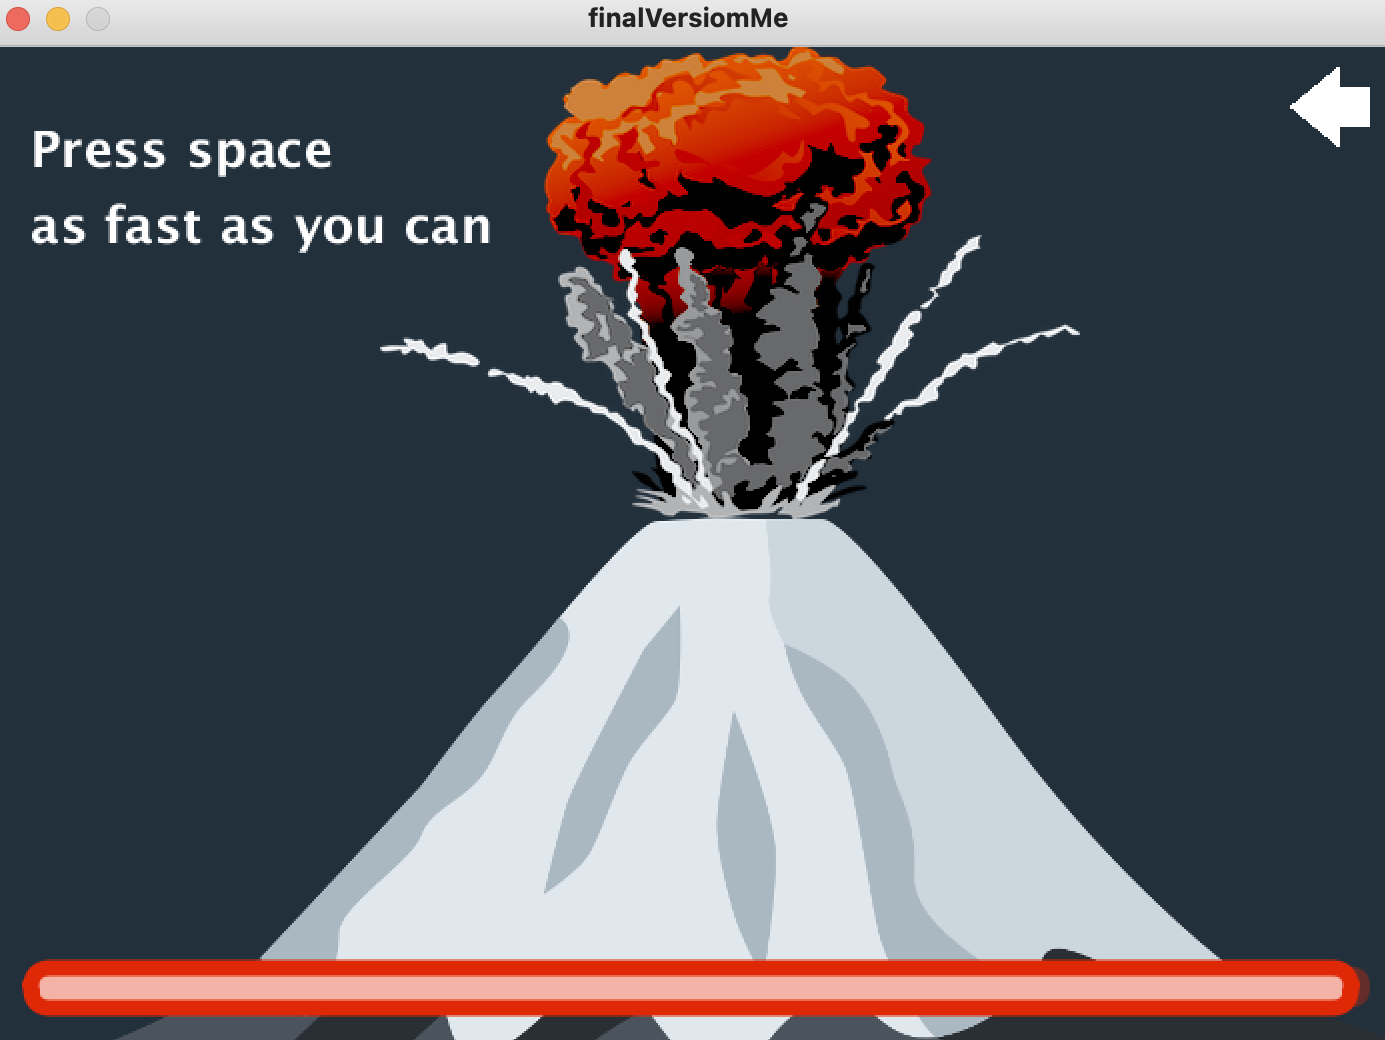
- Anger mode
I was thinking about the visuals of this mode for a while. Expression of state of anger is different for each person, thus the image of the anger is different. I asked several people about this and got bunch of answers:
a) kettle emits a lot of steam
b)hammer breaks glass
c)active volcano
I stopped on the last idea of the volcano. 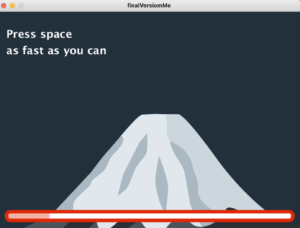
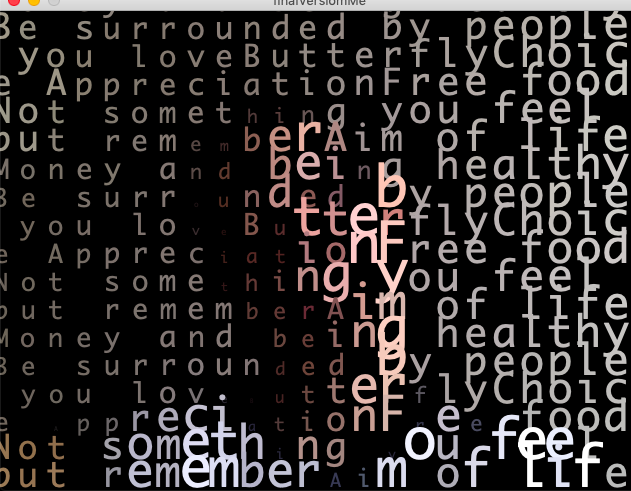
- Happiness mode
I used similar example as we did in class with camera recognition and self-text representation with the text
![]()
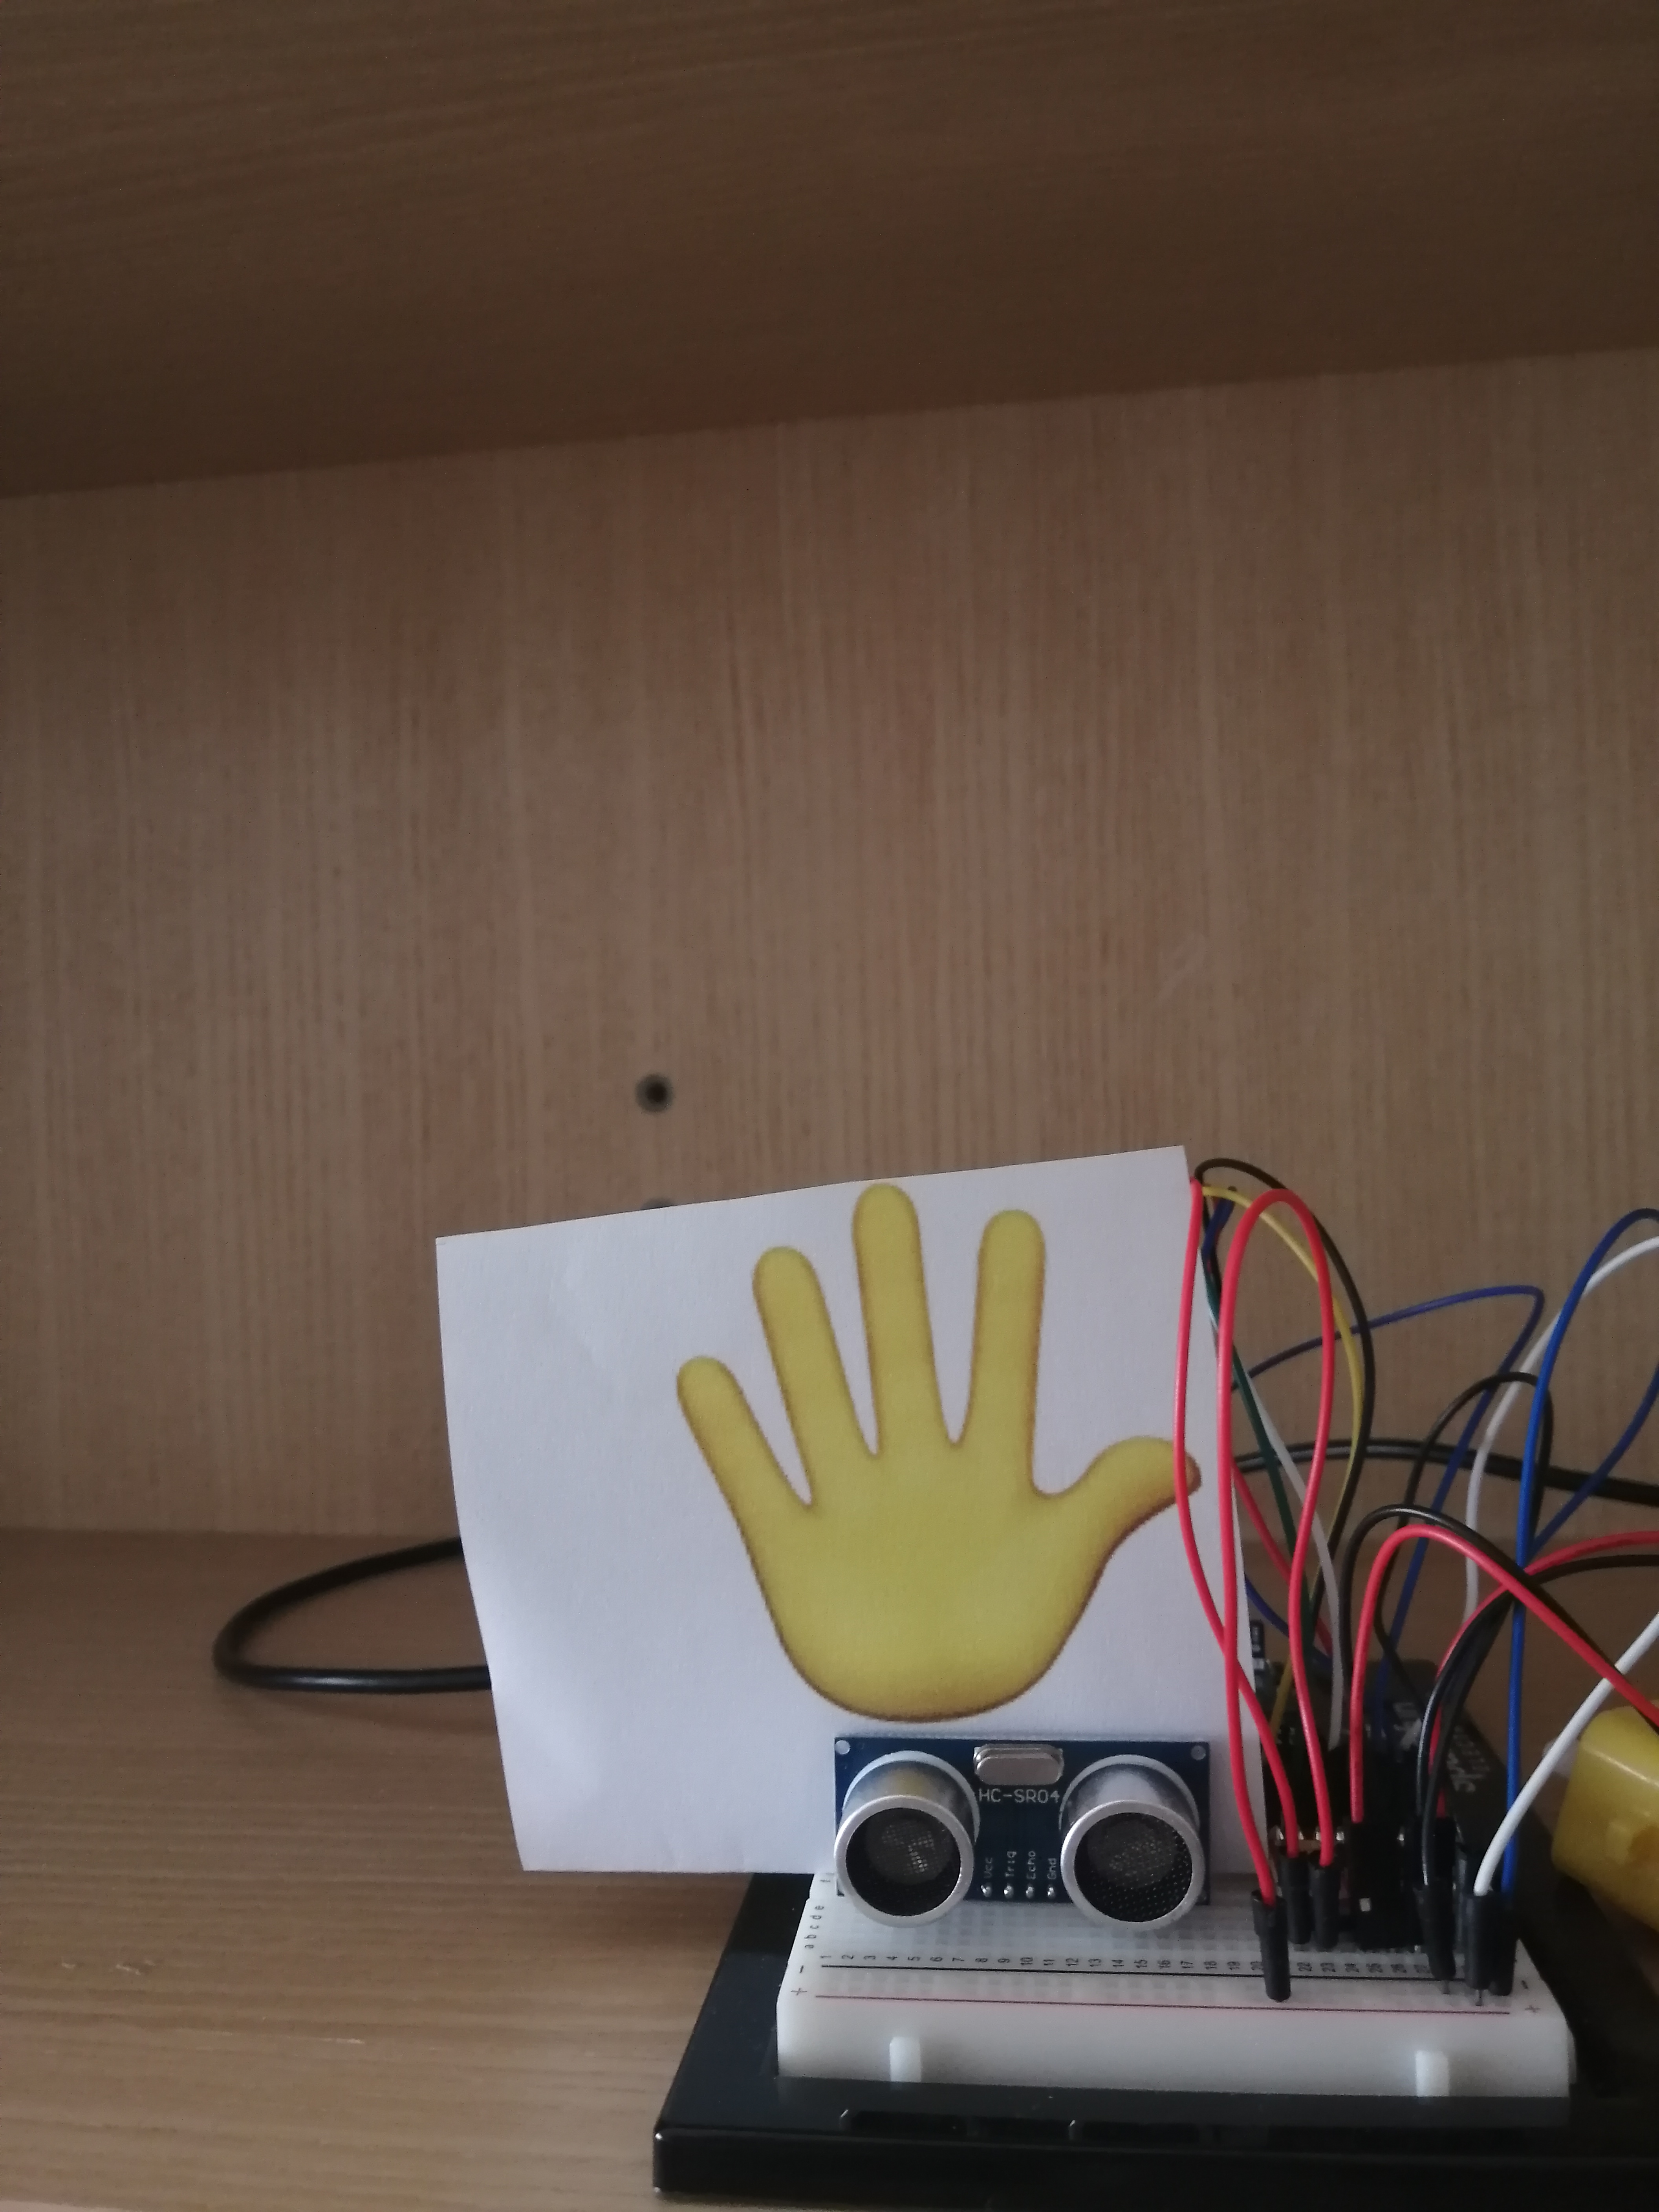
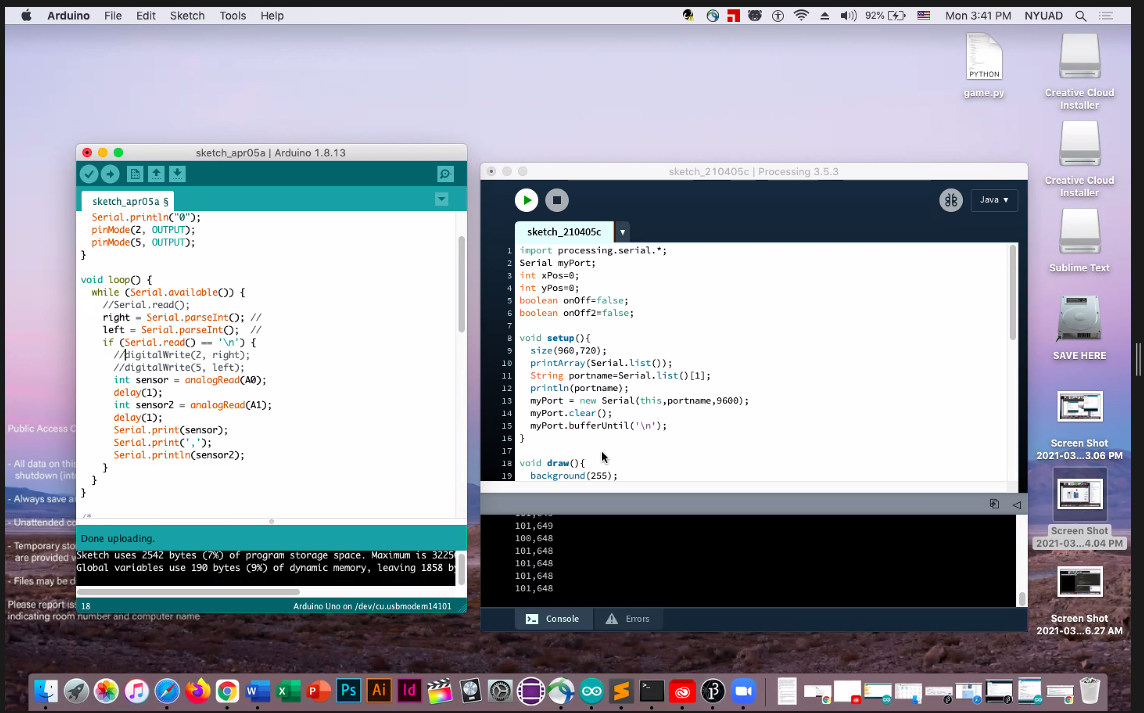
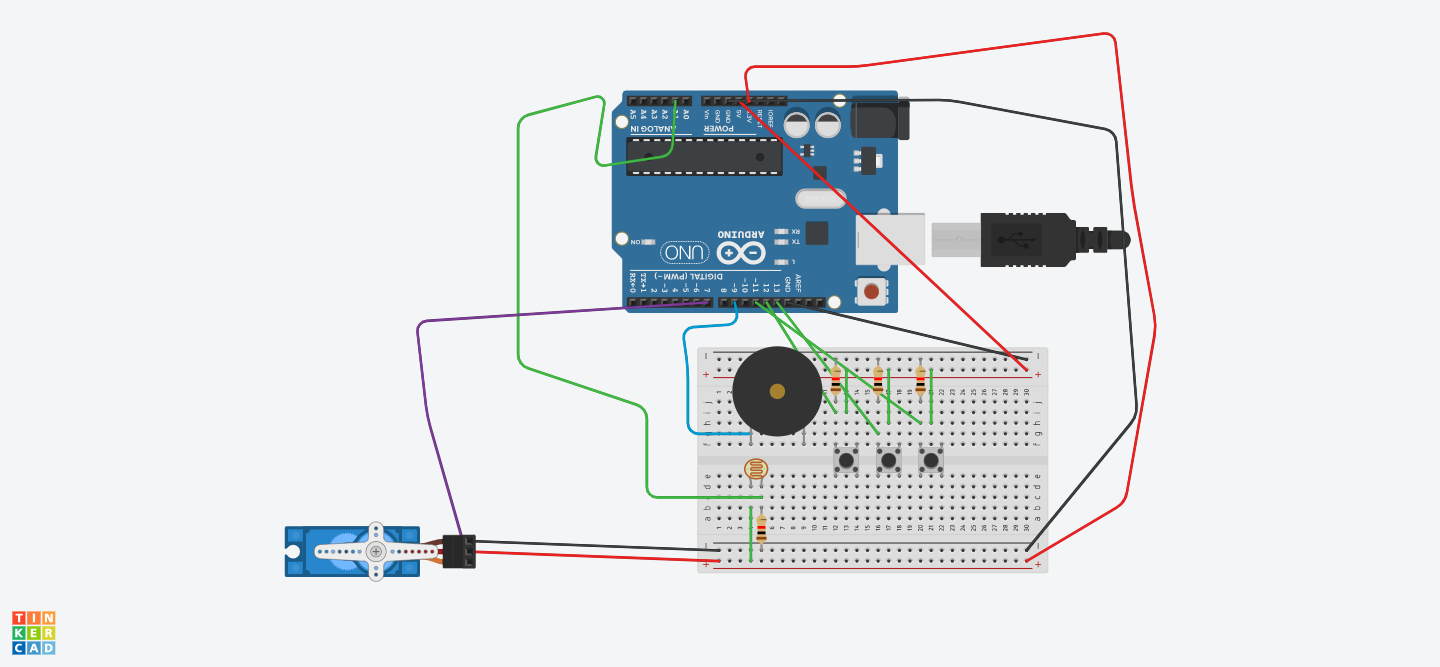
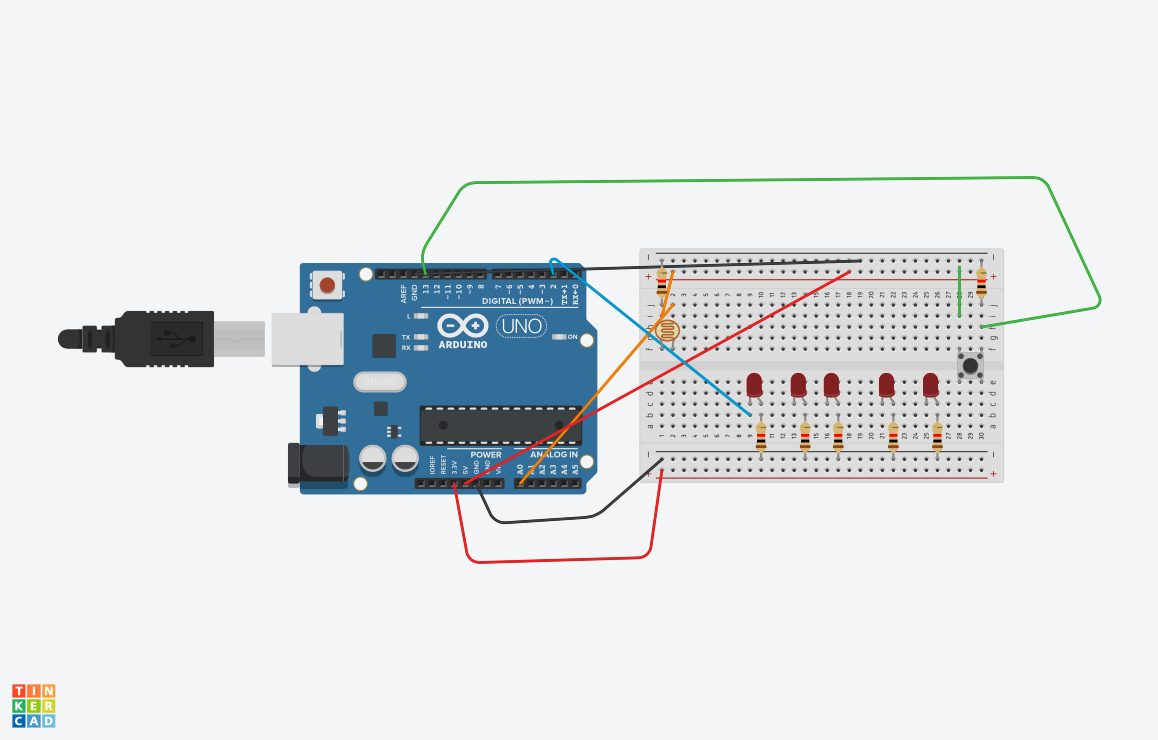
Arduino part:
I used distance sensor and motors to make communication between processing and arduino. For distance i mapped the value and sent it to processing (to manage the sea). For motors i have a specific variable in processing, which depends on pressing the space(anger mode). This variable increases each time user presses space and go to arduino to make motor work