Selfie4Two (Final Project)

Concept

For my final project, I decided to create a Photo Booth that questions and criticises the act of taking an individual selfie while encouraging the processes of documenting memories with others. The purpose of the work is to discourage and eliminate the ego-centric approach behind how we make use of our smartphone’s camera. In the same way that the widespread use of smartphones has increased the awareness of responsible online practices, I wanted to create something that spoke to the importance of how we utilise this incredibly accessible method of documenting our lives. Essentially, Selfie4Two is a work that focuses on celebrating interpersonal connection through technology.

Technical Approach & Challenges

Initially, my approach in creating this Photo Booth concept was to utilise machine learning technology through an image classification model. This model would discern whether there were one or two people in the frame and whether they were holding up their phone (suggesting that they are taking a picture of themselves). I would then incorporate this model into p5js and load an ASCII webcam rendering based on what was detected, presenting question marks for one person and hearts for groups. Screenshots of the image classification model are seen below.

I was able to functionally incorporate it into p5 with some initial testing but could not effectively do so with the ASCII webcam rendering that I had made, meaning I was forced to avoid using it in order to finish the project.  This certainly limited the usability of the project as well as minimising how effective the concept was conveyed. In an attempt to resolve this, I included emojis (maintaining the theme of internet culture) onto the initial webcam display that can be clicked to display the ASCII renderings.

In terms of the ASCII webcam rendering, I was able to create two variations with one being comprised of question marks and the other of hearts. These are both displayed below.

After incorporating these into my final code, however, they ran much slower and did not display correctly. Unfortunately, I could not figure out how to fix this and had to present this version of the code as my final project.

const density = "  \u2661";
const density1 = "  ?";
let video;
let emojiSize = 32; // Size of the emojis

function setup() {
  createCanvas(window.innerWidth, window.innerHeight);
  video = createCapture(VIDEO);
  video.hide();
  let button = createButton("reset");
  button.mousePressed(resetSketch);
}

function draw() {
  background(0);
  video.loadPixels();

  // Draw the video
  image(video, 0, 0, width, height);

  let emoji = "🤳🧍❔";
  let emoji1 = "🤳🧑‍🤝‍🧑❤️";

  text(emoji1, width / 6, height / 4);
  text(emoji, width / 1.2, height / 4);
  textSize(32);
  textAlign(CENTER, CENTER);

  // Calculate bounding boxes for emojis
  let emojiBox = {
    x: width / 6 - emojiSize / 2,
    y: height / 4 - emojiSize / 2,
    width: textWidth(emoji),
    height: emojiSize,
  };

  let emojiBox1 = {
    x: width / 1.2 - emojiSize / 2,
    y: height / 4 - emojiSize / 2,
    width: textWidth(emoji1),
    height: emojiSize,
  };

  // Check if mouse click is inside the bounding box of the first emoji
  if (
    mouseX > emojiBox.x &&
    mouseX < emojiBox.x + emojiBox.width &&
    mouseY > emojiBox.y &&
    mouseY < emojiBox.y + emojiBox.height
  ) {
    coupleAscii();
  }

  // Check if mouse click is inside the bounding box of the second emoji
  if (
    mouseX > emojiBox1.x &&
    mouseX < emojiBox1.x + emojiBox1.width &&
    mouseY > emojiBox1.y &&
    mouseY < emojiBox1.y + emojiBox1.height
  ) {
    singleAscii();
  }
}

function singleAscii() {
  clear();
  textSize(10);
  background(0);
  video.loadPixels();
  fill(255, 180, 180);
  stroke(255, 180, 180);
  strokeWeight(1);
  let asciiImage1 = "";
  for (let j = 0; j < video.height; j++) {
    for (let i = 0; i < video.width; i++) {
      const pixelIndex = (i + j * video.width) * 4;
      const r = video.pixels[pixelIndex + 0];
      const g = video.pixels[pixelIndex + 1];
      const b = video.pixels[pixelIndex + 2];
      const avg = (r + g + b) / 3;
      const len = density1.length;
      const charIndex = floor(map(avg, 0, 255, 0, len));
      const c = density1.charAt(charIndex);
      text(
        c,
        map(i, 0, video.width, 0, width),
        map(j, 0, video.height, 0, height)
      );
    }
  }
}

function coupleAscii() {
  clear();
  textSize(10);
  background(0);
  video.loadPixels();
  fill(255, 180, 180);
  stroke(255, 180, 180);
  strokeWeight(1);
  let asciiImage = "";
  for (let j = 0; j < video.height; j++) {
    for (let i = 0; i < video.width; i++) {
      const pixelIndex = (i + j * video.width) * 4;
      const r = video.pixels[pixelIndex + 0];
      const g = video.pixels[pixelIndex + 1];
      const b = video.pixels[pixelIndex + 2];
      const avg = (r + g + b) / 3;
      const len = density.length;
      const charIndex = floor(map(avg, 0, 255, 0, len));
      const c = density.charAt(charIndex);
      text(
        c,
        map(i, 0, video.width, 0, width),
        map(j, 0, video.height, 0, height)
      );
    }
  }
}
function resetSketch() {
  clear();
  background(0);
  video.loadPixels();

  // Draw the video
  image(video, 0, 0);

  push();
  let emoji = "🤳🧍❔";
  let emoji1 = "🤳🧑‍🤝‍🧑❤️";

  text(emoji1, width / 6, height / 4);
  text(emoji, width / 6, height / 2);
  textSize(32);
  textAlign(CENTER, CENTER);
  pop();

  // Calculate bounding boxes for emojis
  let emojiBox = {
    x: width / 6 - emojiSize / 2,
    y: height / 4 - emojiSize / 2,
    width: textWidth(emoji),
    height: emojiSize,
  };

  let emojiBox1 = {
    x: width / 6 - emojiSize / 2,
    y: height / 2 - emojiSize / 2,
    width: textWidth(emoji1),
    height: emojiSize,
  };

  // Check if mouse click is inside the bounding box of the first emoji
  if (
    mouseX > emojiBox.x &&
    mouseX < emojiBox.x + emojiBox.width &&
    mouseY > emojiBox.y &&
    mouseY < emojiBox.y + emojiBox.height
  ) {
    coupleAscii();
  }

  // Check if mouse click is inside the bounding box of the second emoji
  if (
    mouseX > emojiBox1.x &&
    mouseX < emojiBox1.x + emojiBox1.width &&
    mouseY > emojiBox1.y &&
    mouseY < emojiBox1.y + emojiBox1.height
  ) {
    singleAscii();
  }
}

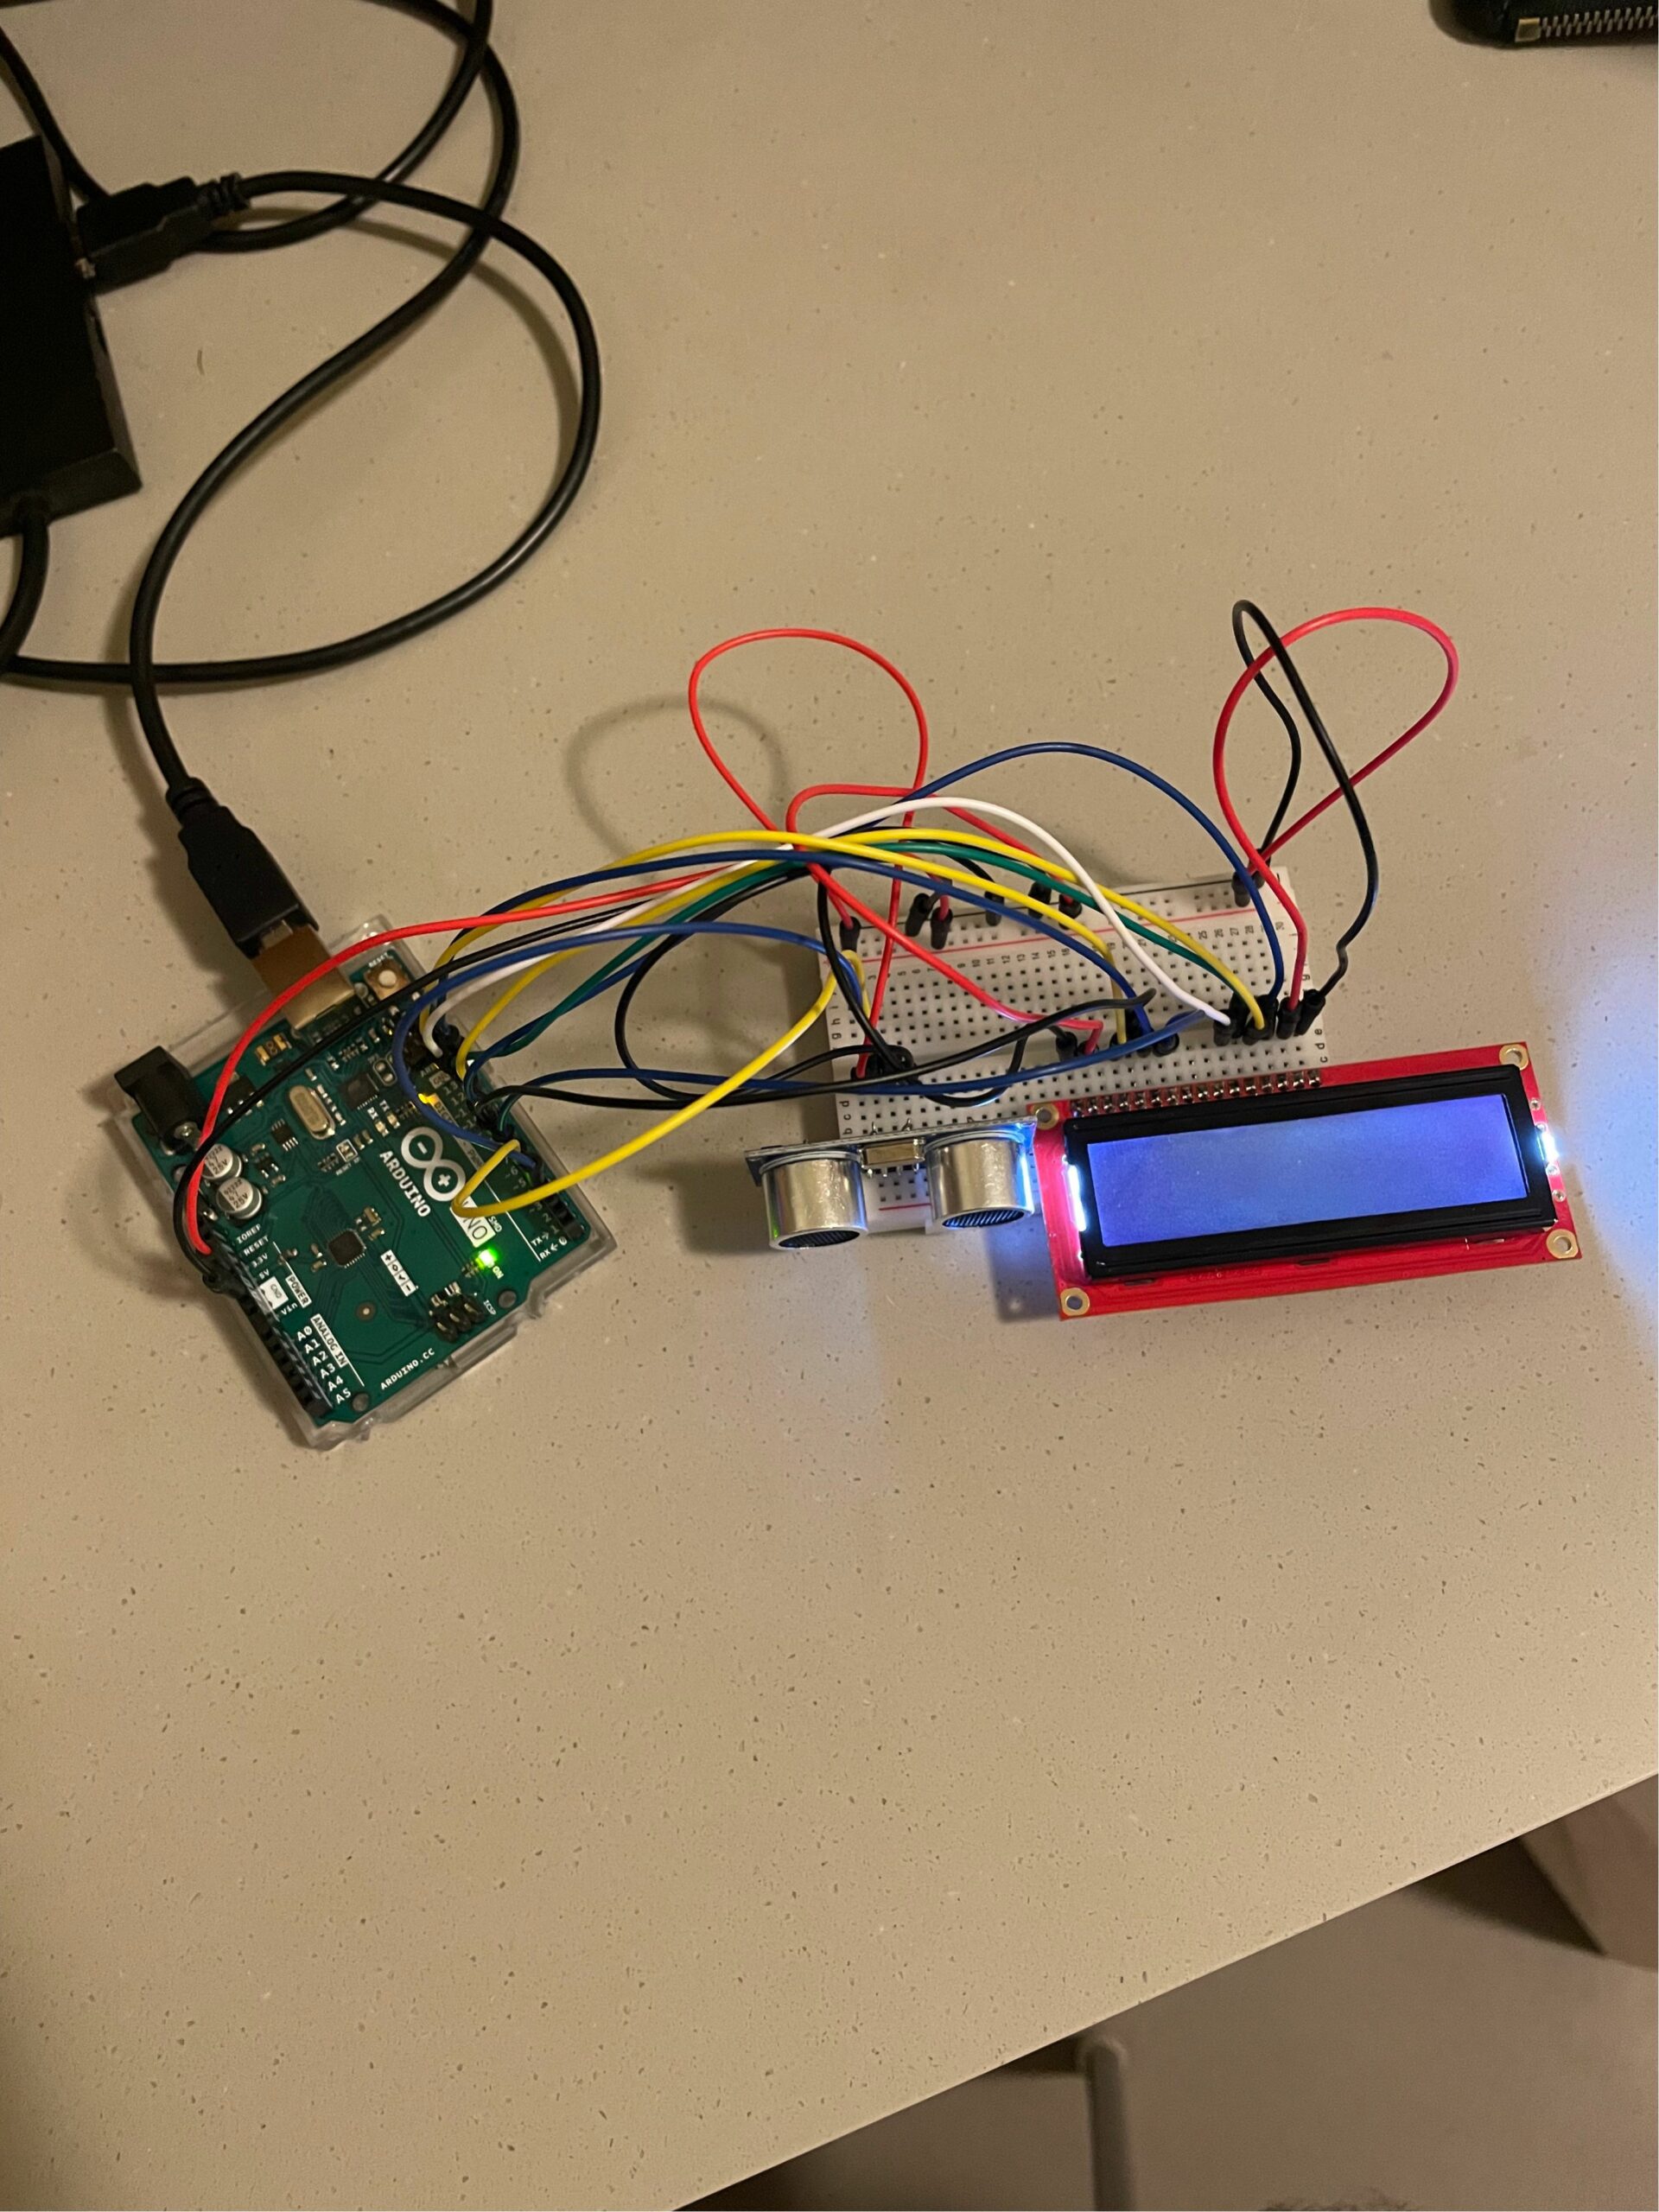
I also intended to add an Adafruit Neopixel LED Strip through Arduino into my project in order to emphasise the experience of a Photo Booth. The LED strip would be attached to the screen and would turn on if the image classification model detected two people. As I was already experiencing issues with the code, I was unable to incorporate this into my final project despite attempts at wiring and programming it.

Improvements

Clearly, there is a lot of space for improvement within my final project. Other than improving the functionality of all the components I was unable to incorporate properly (or at all), one key area of improvement would have been testing and sharing my ideas with someone more experienced in order to gauge their feasibility. Had I known ml5 libraries tend to run slower in p5js, I may have chosen to pursue a different concept altogether.

Most importantly, this project is proof of the importance of simplifying ideas and starting to work on them ahead of time. The main issue that lead to this outcome was that I did not give myself enough time to understand these new concepts (image classification, ASCII) which naturally lead to me being unable to incorporate them successfully within a p5js sketch. Going forward, I will ensure that I set myself realistic goals and provide myself with a workable timeline by experimenting with ideas earlier on.

Redha Final Project Update – “Selfies for Two <3"

Upon developing the concept for my final project, I have decided to incorporate a more communal element into my work as a means to utilise internet culture to physically bring people together and create tangible memories.

I will be using the same image classification process as described in my initial post but will create my own machine learning model using Google’s Teachable Machine. Doing this will enable the object classification to be more accurate and specific, ensuring a smoother interaction between users and the project. When gathering the sample images for this, I will make sure that the environment and framing is as close as possible to what the program will see on-site in order to ensure its accuracy while being open to the public.

In terms of the communal aspect, the project will require two phones (and therefore two people) to be detected by the program in order to generate the digital mirror. In making this choice, I hope to utilise the tendency we have to take photographs of ourselves as a means to bring us closer with our friends and loved ones, thus replacing an otherwise self-centred process with one that focuses on interpersonal connection. In order to compliment and emphasise this point, I will generating an ASCII-style digital mirror which fills the thresholded space with the text-heart emoticon ‘<3’. Not only does this link to the theme of interpersonal connection, it also refers back to the theme of internet culture which was ultimately the influence behind my project.


Reading Response – Disability and Design

I feel that this week’s reading provides interesting insight into the disability design space, specifically in how referencing other spaces can both support and limit the development of design.

The comparison made between the design approach to glasses and hearing aids led me to consider this point. Over time, the destigmatisation and eventual popularisation of wearing glasses allowed designers to make bolder stylistic choices when producing new glasses. Comparatively, as hearing aids are slowly becoming destigmatised, the reading points out that some designers started to adopt elements from eyewear in an attempt to push the development of ‘HearWear’. While effectiveness of a design is ultimately dependent on the user to decide, I feel that this approach presents even more constraints in a context which is already presented with limitations surrounding social stigma and technical capabilities (how well the hearing aid works, how seamlessly it can be integrated into a design (discrete or otherwise)).

In response to the quote by Charles Eames stating that “design depends largely on constraints”, I do believe that too many constraints can hinder rather than progress design. In this case, I feel that the aforementioned limitations offer enough constraints for designers to experiment and develop different approaches that offer a comfortable solution for users. By adding a stipulation of following the conventions of eyewear, I feel that the designer in this case has prioritised their own creative vision over the usability and practicality of their design.

Week 11 Reading Response – Hands are our PAST

While I found the reading’s focus on human capabilities to be a very insightful perspective concerning interaction design, I found its focus on the use of hands to be both limiting and outdated.

In the past several decades, technologies have developed with the consideration of hands as human’s main ‘capability’. We type, swipe, scroll, hold and even move devices with our hands in order to generate a given output – this has become second nature to us.

However, I believe that the future of immersive and seamless human-centred design revolves around moving beyond this. I feel that the utilisation of other physical human inputs can be used to maximised interaction design, both from the perspective of immersion and ease of use.

An example of this being used to provide seamless experiences for users is the use of facial recognition to unlock smartphones. By taking advantage of the front camera’s natural position when a user picks up their device, designers have been able to eliminate the tedious action of typing in a passcode or scanning a thumbprint.

Conversely, full-body immersion has been utilised in game consoles such as the Xbox Live and Wii. In these cases, sensors were put in use to revolutionise how players interact with games, effectively deconstructing the notion that playing video games is a lazy and inactive process. Despite the minimal success of these consoles, the application of full body immersion seen in them can be used as a reference for other interactive experiences such as installations and performances.

Week 11 Production Assignment – Sci-Fi Sound Effects

For this assignment, my point of departure was to experiment with creating a sense of range and tonality with the buzzer as opposed to producing singular notes. I feel that the easiest two options would have been to do so by linking the frequency (pitch) produced by the buzzer to either a light sensor or an ultrasonic sensor. As we’ve seen in class, light is very difficult to control, so I opted for the latter.

As the input taken from the ultrasonic sensor updates quickly and at small increments, the sound produced by the buzzer becomes interestingly distorted and non-standard. To me, it suited the aesthetic of a suspenseful scene in a Sci-Fi thriller film. This led me to consider adding a more mechanical sound to complement the buzzer and create an almost chaotic result. To do this, I incorporated the use of a servo motor which varies the BPM of its 180 degree movement based on the same input taken from the ultrasonic sensor.

Ultimately, I enjoyed this assignment as it acts as an example that ideas can come naturally through experimentation. One aspect I feel could be developed is the application of the servo itself as I could potentially vary the surfaces that it rotates on (as briefly shown in the video) to produce different results.

Below is the code, a video of the circuit with just the buzzer and a video of the complete circuit.

#include <Servo.h>

const int trigPin = 9;
const int echoPin = 10;
const int buzzerPin = 11;
const int servoPin = 6;

Servo servoMotor;
int servoAngle = 0;
unsigned long previousServoTime = 0;
unsigned long servoInterval = 0;

void setup() {
  pinMode(trigPin, OUTPUT);
  pinMode(echoPin, INPUT);
  pinMode(buzzerPin, OUTPUT);
  servoMotor.attach(servoPin);
  Serial.begin(9600);
}

void loop() {
  // Send ultrasonic pulse
  digitalWrite(trigPin, LOW);
  delayMicroseconds(2);
  digitalWrite(trigPin, HIGH);
  delayMicroseconds(10);
  digitalWrite(trigPin, LOW);

  // Measure the time it takes for the pulse to return
  long duration = pulseIn(echoPin, HIGH);

  // Calculate distance in centimeters
  float distance = duration * 0.034 / 2;

  // Map distance to BPM (Beats Per Minute)
  int bpm = map(distance, 0, 100, 100, 200);

  // Move the servo motor back and forth
  unsigned long currentMillis = millis();
  if (currentMillis - previousServoTime >= servoInterval) {
    servoMotor.write(servoAngle);
    previousServoTime = currentMillis;
    servoInterval = 60000 / bpm; // Convert BPM to interval in milliseconds

    // Increment or decrement the servo angle
    if (servoAngle == 0) {
      servoAngle = 180;
    } else {
      servoAngle = 0;
    }
  }

  // Output distance and BPM to the serial monitor
  Serial.print("Distance: ");
  Serial.print(distance);
  Serial.print(" cm, BPM: ");
  Serial.print(bpm);
  Serial.println(" beats per minute");

  // Generate buzzer tone based on frequency
  int frequency = map(distance, 0, 100, 100, 500);
  tone(buzzerPin, frequency);

}


Final Project Proposal – Selfies Only

As a photographer, I am inclined towards lens-based imaging. Because of this, the use of computer vision piqued my interest after being introduced to us earlier in the semester. In turn, I have decided to center my final project around the use of computer vision

Concept:

I will look to create a digital mirror which is, at first, heavily abstracted and almost visually illegible. The user is prompted to take a picture of themselves with their phone using the mirror. After raising their phone, the program will detect its presence and make the digital mirror clearer.

The work aims to highlight the common subconscious desire many of us have to take pictures of ourselves in reflective surfaces, in which case the affordance of any reflective surface becomes that of a mirror. Based on this, I present this work with the question – what if there was a mirror made only to take selfies with.

p5js and Arduino:

Naturally the computer vision, programming and ml5 implementation will all happen on p5js. I initially struggled to come up with how Arduino can be incorporated. However, considering the work’s purpose is to allow users to take selfies, I thought of wiring up a ring light (or any small, soft light source) to the Arduino in order to enhance the user’s experience. This light would be turned on only if a phone is detected by the program. In order to ensure functionality, I would need to connect the circuit to a stronger source of electricity than my computer. I also need to look into the different options that would allow me to connect the light to the Arduino physically.

Week 10 Production Assignment – Tea Temperature

For this week’s production assignment I wanted to experiment with a component that I have not yet used. The one component I had in mind for this was the temperature sensor. As I enjoy drinking tea, I decided to implement a circuit which gauges the presence and temperature of a liquid.

In order to do this, I created a series of if statements that test the temperature read by the sensor. While the technical aspect of this was manageable, the practical side was challenging. This was due to the unreliability of the sensor as it would read fluctuating and incorrect temperatures. Despite this, I was able to get some successful examples by restarting the circuit (and therefore restarting the sensor’s input). This is seen in the example below. The if statements are included below as well.

const int rgbRED_PIN = 9;//the digital pin for red pin
const int rgbGREEN_PIN = 10;//the digital pin for green pin
const int rgbBLUE_PIN = 11;//the digital pin for blue pin
const int temperaturePin = 0;//the analog read pin that is used to reat the temperature 
const int waterPin = 12;  
const int greenLED_Pin = 13;
 
void setup()
{
 
  pinMode(rgbRED_PIN, OUTPUT);
  pinMode(rgbGREEN_PIN, OUTPUT);
  pinMode(rgbBLUE_PIN, OUTPUT);
  pinMode(waterPin, INPUT);
  pinMode(greenLED_Pin, OUTPUT);
  Serial.begin(9600);//the bound rate for serial monitor 
  
}
 
 
void loop()
{
 
   int waterDetected = digitalRead(waterPin);
     if (waterDetected == HIGH) {
    digitalWrite(greenLED_Pin, HIGH);
  } else {
    digitalWrite(greenLED_Pin, LOW);
  }

  float voltage, degreesC, degreesF;//get numbers with decimals 
 
  voltage = getVoltage(temperaturePin);//get voltage from the temperature pin
  degreesC = (voltage - 0.5) * 100.0;//calculate the celcius degree
  degreesF = degreesC * (9.0/5.0) + 32.0;// calculate the Fahrenheit degree
 
  Serial.print("voltage: ");//print volrage in serial monitor
  Serial.print(voltage);
  Serial.print("  deg C: ");//print the celcious degree in serial monitor
  Serial.println(degreesC);
 
 
  if (degreesC < 23) //if the temperature is less than 23 degrees C turn off RGB
  {
  // Off (all LEDs off):
    digitalWrite(rgbRED_PIN, LOW);
    digitalWrite(rgbGREEN_PIN, LOW);
    digitalWrite(rgbBLUE_PIN, LOW);
  }
 
  
if (degreesC >= 24)//if the temperature is larger than 24 degrees C show purple
  {
  digitalWrite(rgbRED_PIN, HIGH);
  digitalWrite(rgbGREEN_PIN, LOW);
  digitalWrite(rgbBLUE_PIN, HIGH);
  }
}


float getVoltage(int pin)//get voltage 
 
 {
  return (analogRead(pin) * 0.004882814);// conver 0 to 1023 value to 0 to 5 value (the true voltage)
 }


One point that I could not manage was the water detection aspect which I wanted to incorporate into this circuit. I attempted to do so by connecting alligator clips into a cup of water in order to complete the circuit. The LED would flicker occasionally but would not stay on consistently. I am unsure whether this is due to the connection of the alligator clips (other examples I have seen use regular wires) or because of the way I had wired the circuit itself.

Physical Computing and Making Interactive Art Reading Response – Redha

Both of this week’s readings led me to consider interactive art’s relationship with previously understood notions of human interaction and the production of art.

The reading on physical computing led me to identify two forms of approaching human-centred interactive design. The first of which is the repurposing and reapplication of interactions that already exist in the ‘real world’. The two examples that caught my eye which fall under this category were the ‘drum gloves’ and ‘video mirrors’. To me, the latter elevates the universal, almost reflex-like desire to look at oneself in the mirror and creates space for a quite direct form of symbolism (i.e “seeing x in yourself”). The former effectively borrows ‘gestural language’ from the ‘real world’ act of tapping one’s hands to make a beat. Again, this is an example of a familiar act being elevated but introduces an element of learning which is not present in video mirrors. I feel that this point introduces a spectrum of effort required by the user to uphold their side of the ‘conversation’ upon which interactive designs must place themselves. In this case, if video mirrors are like conversation with a talkative person, drum gloves aer like trying to connect with an introvert (i.e it is possible, it’ll just take some time).

Conversely, the reading on making interactive art provided me with a new perspective on its place within the larger artistic space. Previously, I would attempt to receive interactive art in the same way that I would receive other forms of contemporary art. The point raised by the reading that the role of an interactive artist is not to present a complete narrative but to best prepare the user to experience the narrative provided an interesting perspective which I have accepted. With this in mind, it is not unfair to double-down on the notion that interactive art is not complete without the input of the user. Rather than present a complete story, the role of the interactive artist is to facilitate a conversation between the art itself and the user which, hopefully, leads to a meaningful interaction at the end.

Week 9 – Personal Distance Machine

For my first Arduino-based assignment I wanted to incorporate the use of an ultrasonic sensor to generate an interaction for the user based on their presence alone. My initial idea was to have the output in the form of a message displayed on an LCD screen – I even wired up the circuit for this idea as shown below. However I was unable to figure out how to link information from the sensor to the LCD screen and decided to try a new approach.

In an attempt to simplify things for myself while maintaining the idea of detecting someone’s/something’s presence, I decided to create a ‘personal distance machine’ which tells users when something is too close for comfort. To do this I replaced the LCD screen with a buzzer and an RGB light which changes incrementally from green to yellow to red depending on the distance detected by the sensor. Below is an excerpt from the code as well as an example video.

void loop() {
  distance = getDistance();   //variable to store the distance measured by the sensor

  Serial.print(distance);     //print the distance that was measured
  Serial.println(" in");      //print units after the distance

  if (distance <= 20) {                       //if the object is close

    //make the RGB LED red
    analogWrite(redPin, 255);
    analogWrite(greenPin, 0);
    analogWrite(bluePin, 0);
     tone(buzzerPin, 272);  


  } else if (20 < distance && distance < 40) { //if the object is a medium distance

    //make the RGB LED yellow
    analogWrite(redPin, 255);
    analogWrite(greenPin, 50);
    analogWrite(bluePin, 0);

  } else {                                    //if the object is far away

    //make the RGB LED green
    analogWrite(redPin, 0);
        analogWrite(greenPin, 255);
    analogWrite(bluePin, 0);
        noTone(buzzerPin);   
  }

https://youtube.com/shorts/5y1aWPqcZVg?feature=share

Week #8 Reading Response – Redha

The reading titled Emotion & Design and its exploration of the applications of form vs function led me to consider how people respond differently to objects that have similar affordances.

The author’s teapot examples reminded me of Pierre Paulin’s Dune Ensemble Sofa which has attracted some attention online in the past few years. In this case, the object certainly holds a significant form factor, thus producing a positive affect in the user and enhancing its central purpose – comfort. I feel that what makes the design of this object effective is that its inferred functionality also feeds back into this affect as users immediately associate expansive soft surfaces with the act of laying down. Moreover, the object’s purpose is expanded through its adoption of a ‘conversation pit’-like structure which encourages social interaction. With this design element, it can be argued that the object is transformed into and can be interacted with as a space in and of itself.

Dune Ensemble - Paulin Paulin Paulin

However, as mentioned in the reading, these interesting design choices (which embrace both form and function) can only be appreciated if presented in the appropriate low-risk social and domestic context.

Conversely, a hospital bed has similar affordances and a similar purpose of ensuring the comfort of the user but functions very differently as an object. To begin with, the need for it to be economic (financially and spatially)  leads to the bed’s compact and minimal stature. This links to the author’s point about form hindering processes within high pressure situations as, for example, getting a patient on and off of the Dune Ensemble Sofa would be tedious and uncomfortable. Naturally, the hospital bed’s function fills in the lack of form with features such as handles and an adjustable reclining angle.

COVID-19 could fill hospital beds, but how many are there? | Modern  Healthcare

Linking to the reading on Margaret Hamilton, I feel that what she was able to accomplish is even more impressive considering the usability of the tools she was working with. While they were less complex than the ones in use today, their design was also less informed by what we now know about usability and human-centred approaches to design. This thereby affected both form (exposed raw materials, unclear affordances) and function (manual processes, limited tech) of what Hamilton and her team were dealing with on a daily basis. Considering this, I am now curious to see whether studies have been done on the topic of usable design and efficiency across different use cases.

Image may contain Modern Art Art and PaintingImage may contain Face Human Person Furniture and TextImage may contain Machine Human Person and Lathe