Maimuna-Final Project

Concept

My Project is to create a generative art piece controlled by sensors. I had a hard time figuring out a proper art. My idea was to create a firework-like design pop-up using sensors and change their features. I instead have 3 modes, first two modes include 2 brushes (an idea from my friend!) and generative art.

Implementation

Note: modes have to be changed manually in p5js
Brush 1-Line stroke of ellipses Mode 0
Basically, this brush stroke has a few ellipses lined up and it can be used to draw/paint across the screen. I used two potentiometers to control the x and y position of the brush on the screen.
Here’s how it looked upon moving:
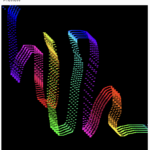
I was inspired to make this brush stroke from this youtube video: https://www.youtube.com/watch?v=YhGoi5MNyvM

Brush-2 Blurry-Trace Brush Mode 1
There is a round brush on procreate that I absolutely love and it is also its signature brush (the ads use it often!) that I kinda re-created. I used a rectangle shape and rounded the corners and used vertical-gradient function code from the happy-coding website. Using the vertical gradient gave it a transparent blurry feel.

Here’s what it looks like:
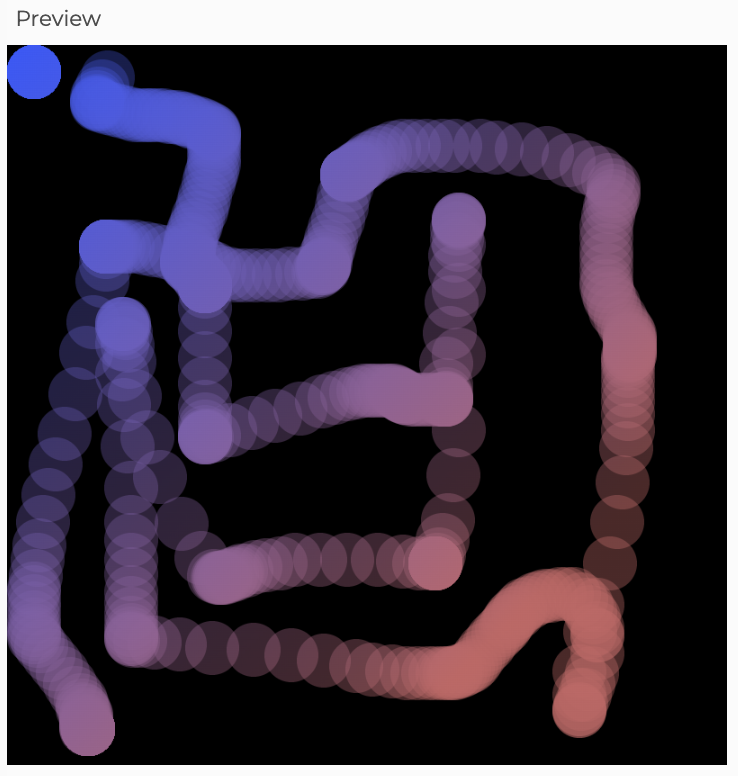
Vertical-Gradient function: https://happycoding.io/examples/p5js/for-loops/vertical-gradient

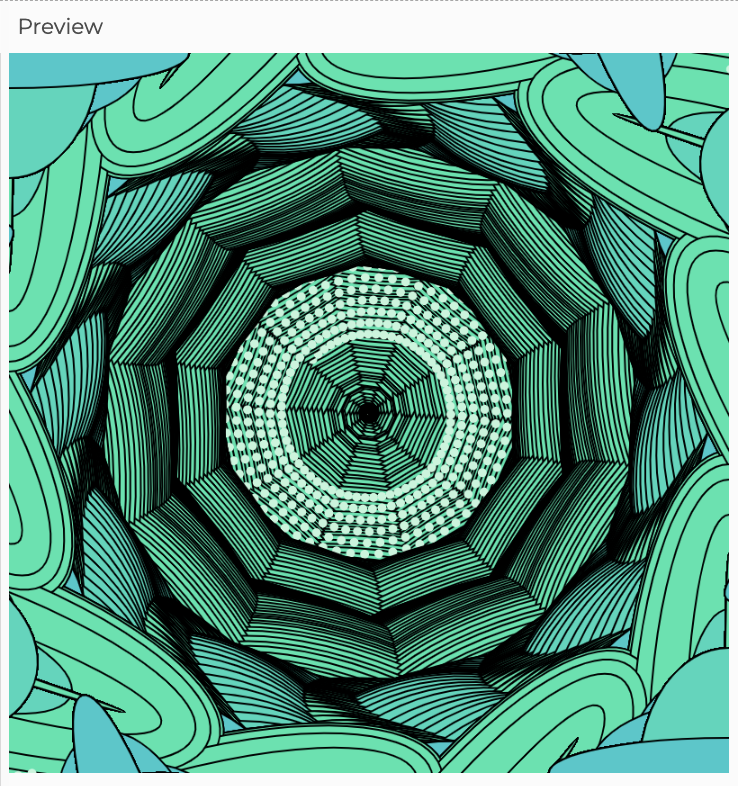
Generative Art
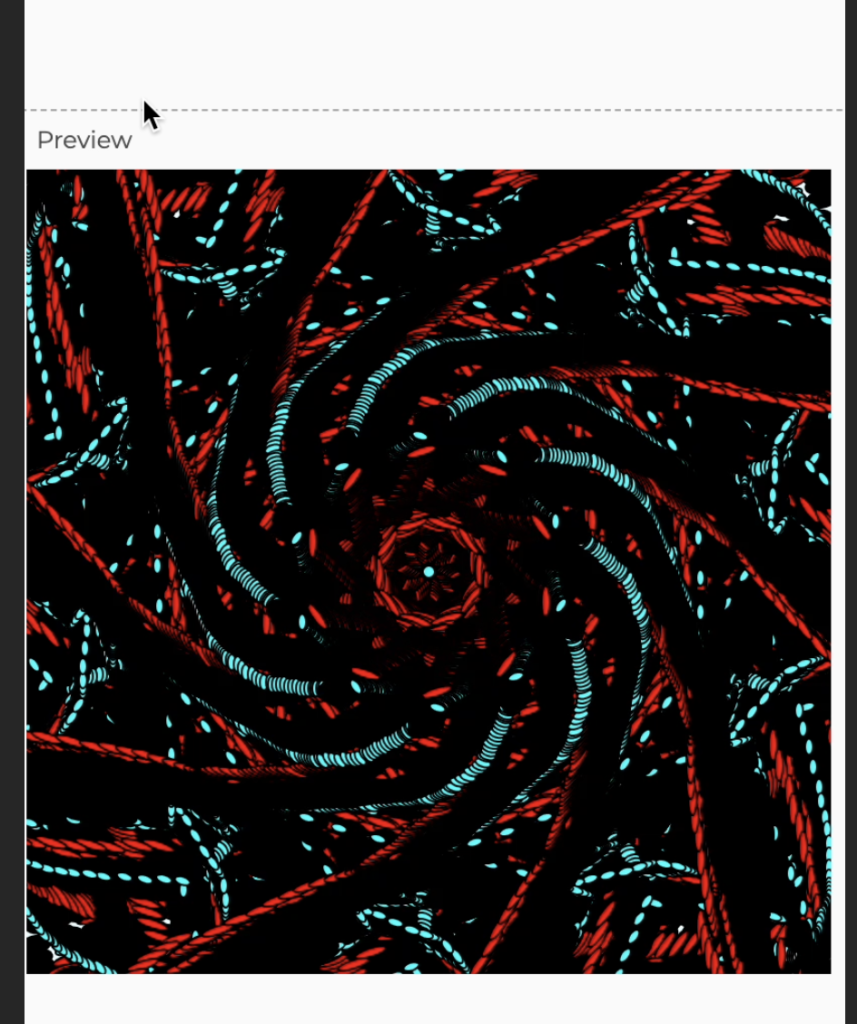
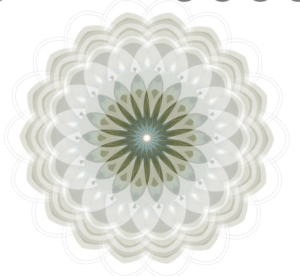
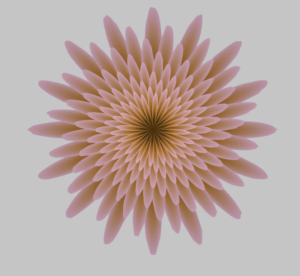
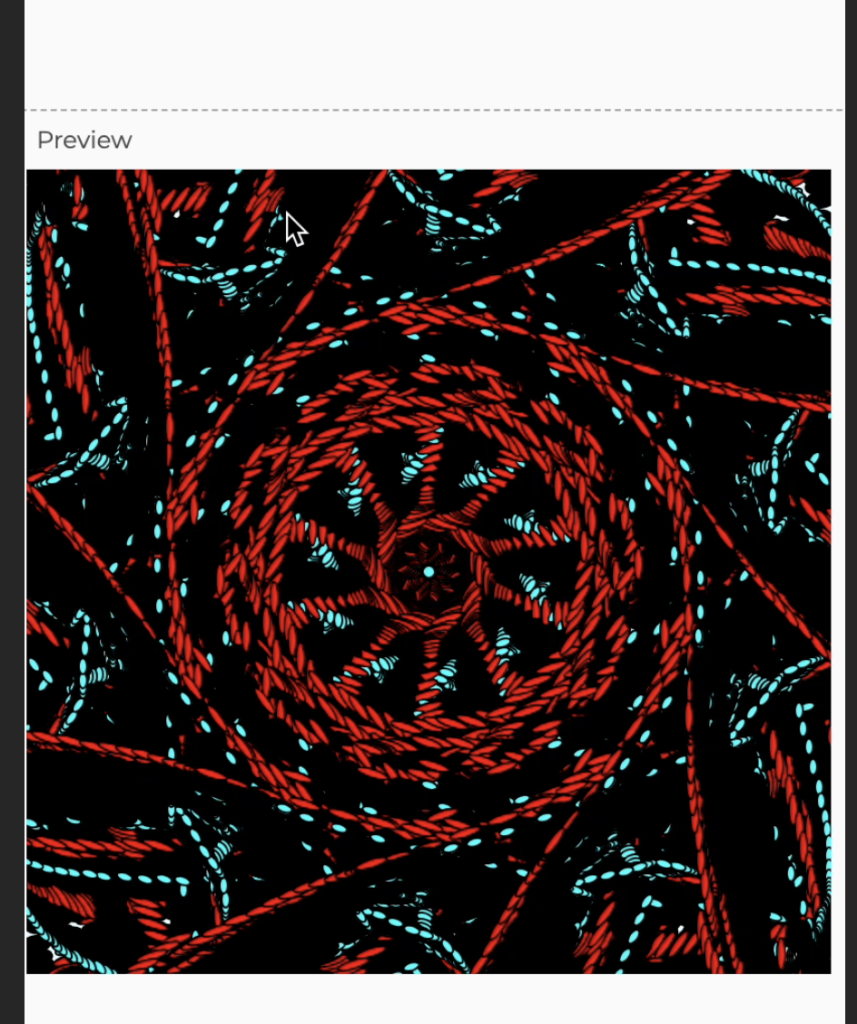
As mentioned in my previous posts, I wanted to have an ellipse positioned as a flower moving and increasing in size. So, I used them and kinda played around creating a camera shutter art. There was some space left in the middle and I spent a lot of time thinking about what to have here I tried having flow fields, bubbles, and noise objects. Finally, ended up with spiral movements and it looked cool. The X and Y position of ellipses was fixed and height and width were being controlled by the two potentiometers.
Here how it looks like:
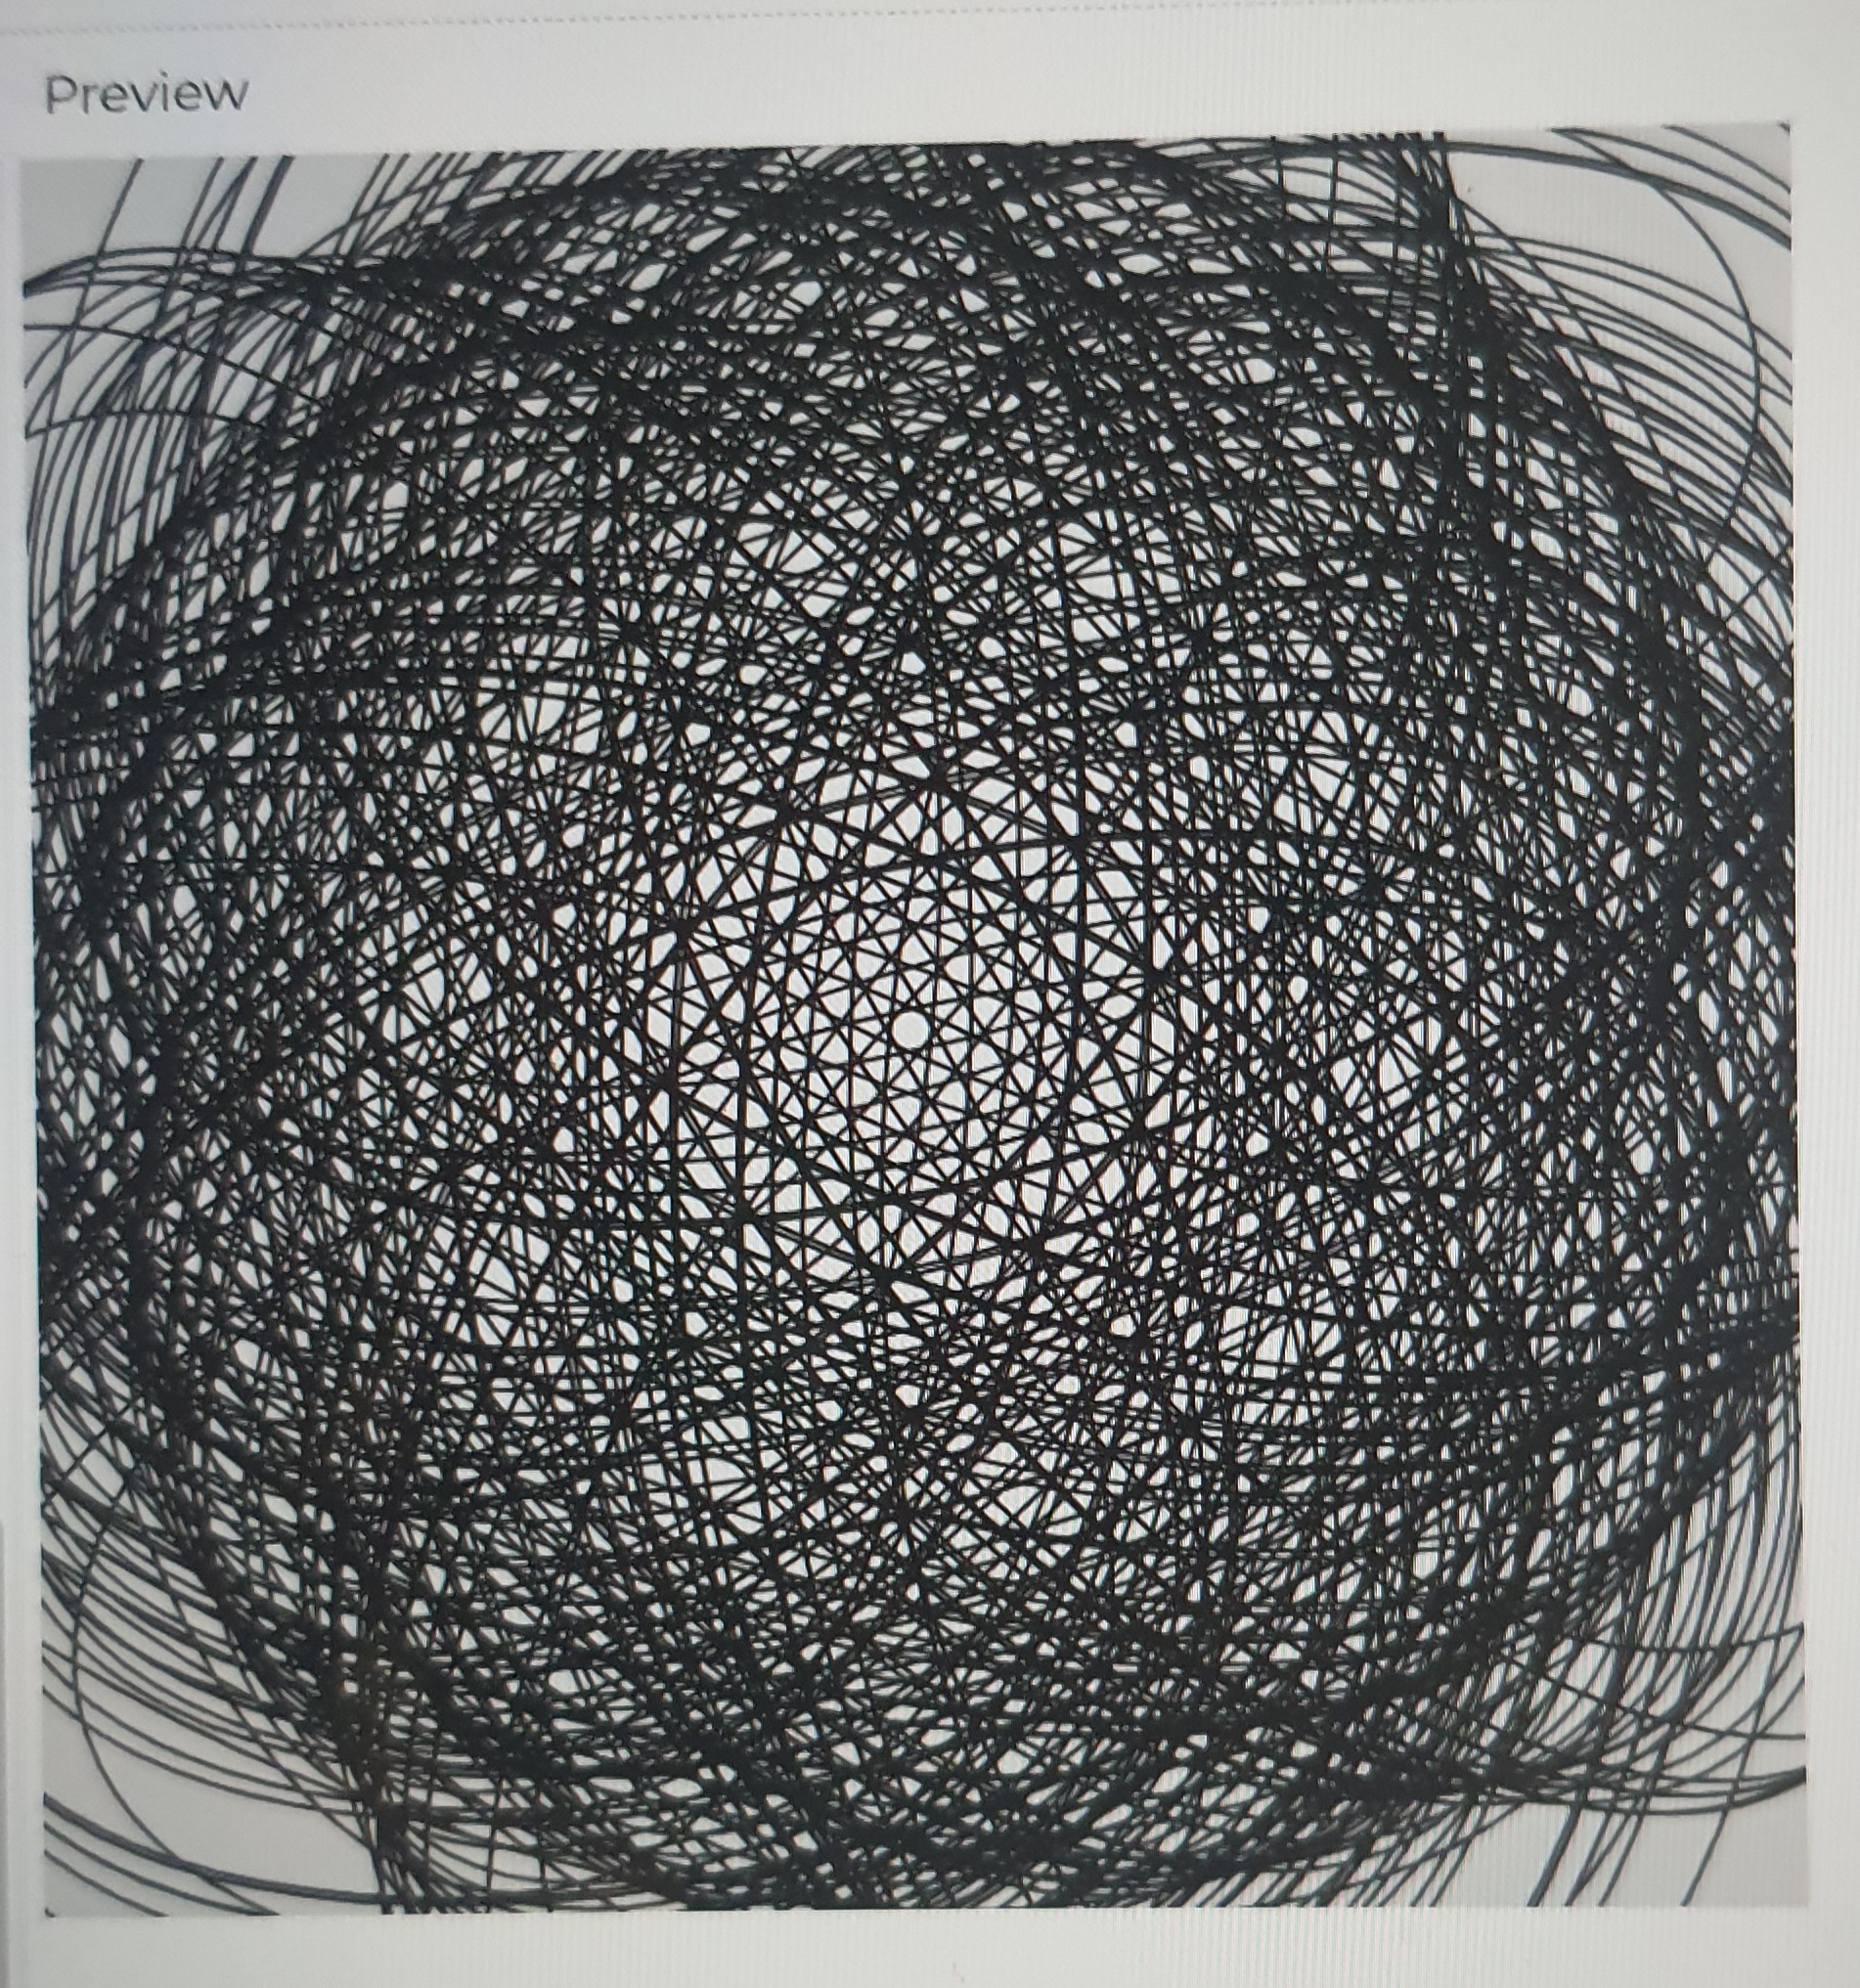
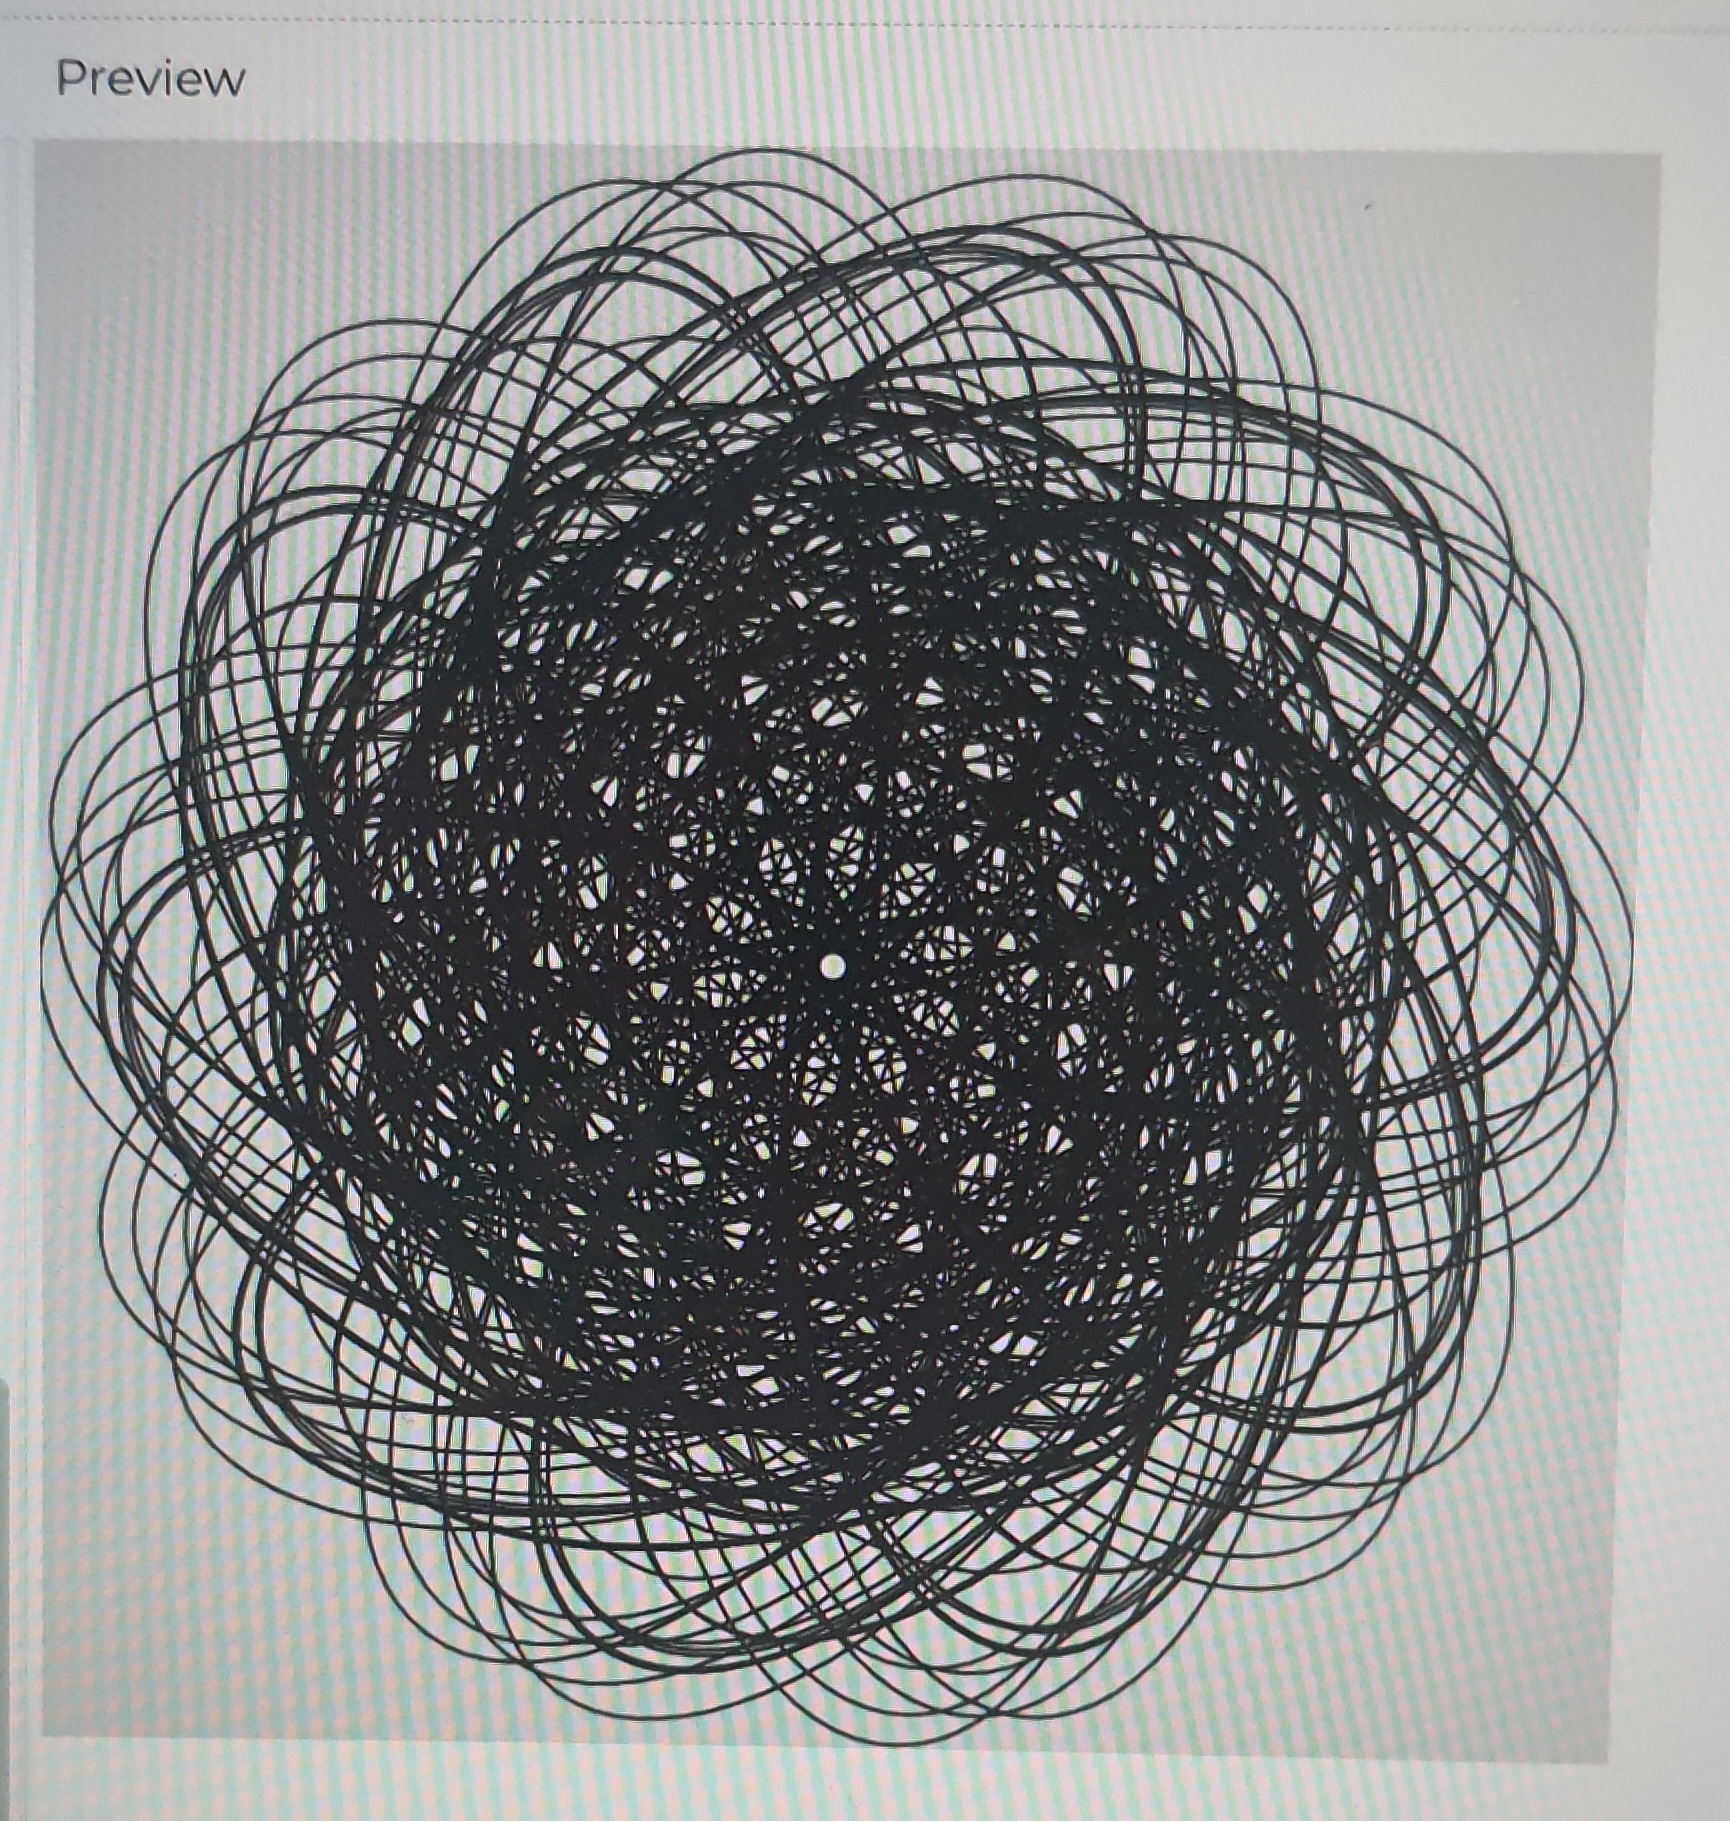
What I made earlier; was generated by p5js and not controlled by Arduino:
Code

p5js
To test, simply edit the code by replacing xpos, ypos values with mouseX, mouseY. Works similarly!

Arduino

void setup() {
 Serial.begin(9600); // initialize serial communications
}
 
void loop() {
 int p1 = analogRead(A0);                 
 int m = map(p1, 0, 1023, 0, 255); 
 Serial.print(m);
 Serial.print(",");
 int p = analogRead(A5); 
 int m2 = map(p, 0, 1023, 0, 255);                 
 Serial.print(m2);
 Serial.println();
                                         
}

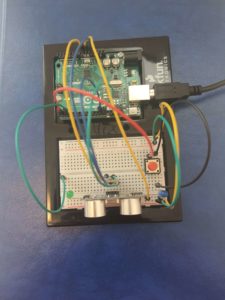
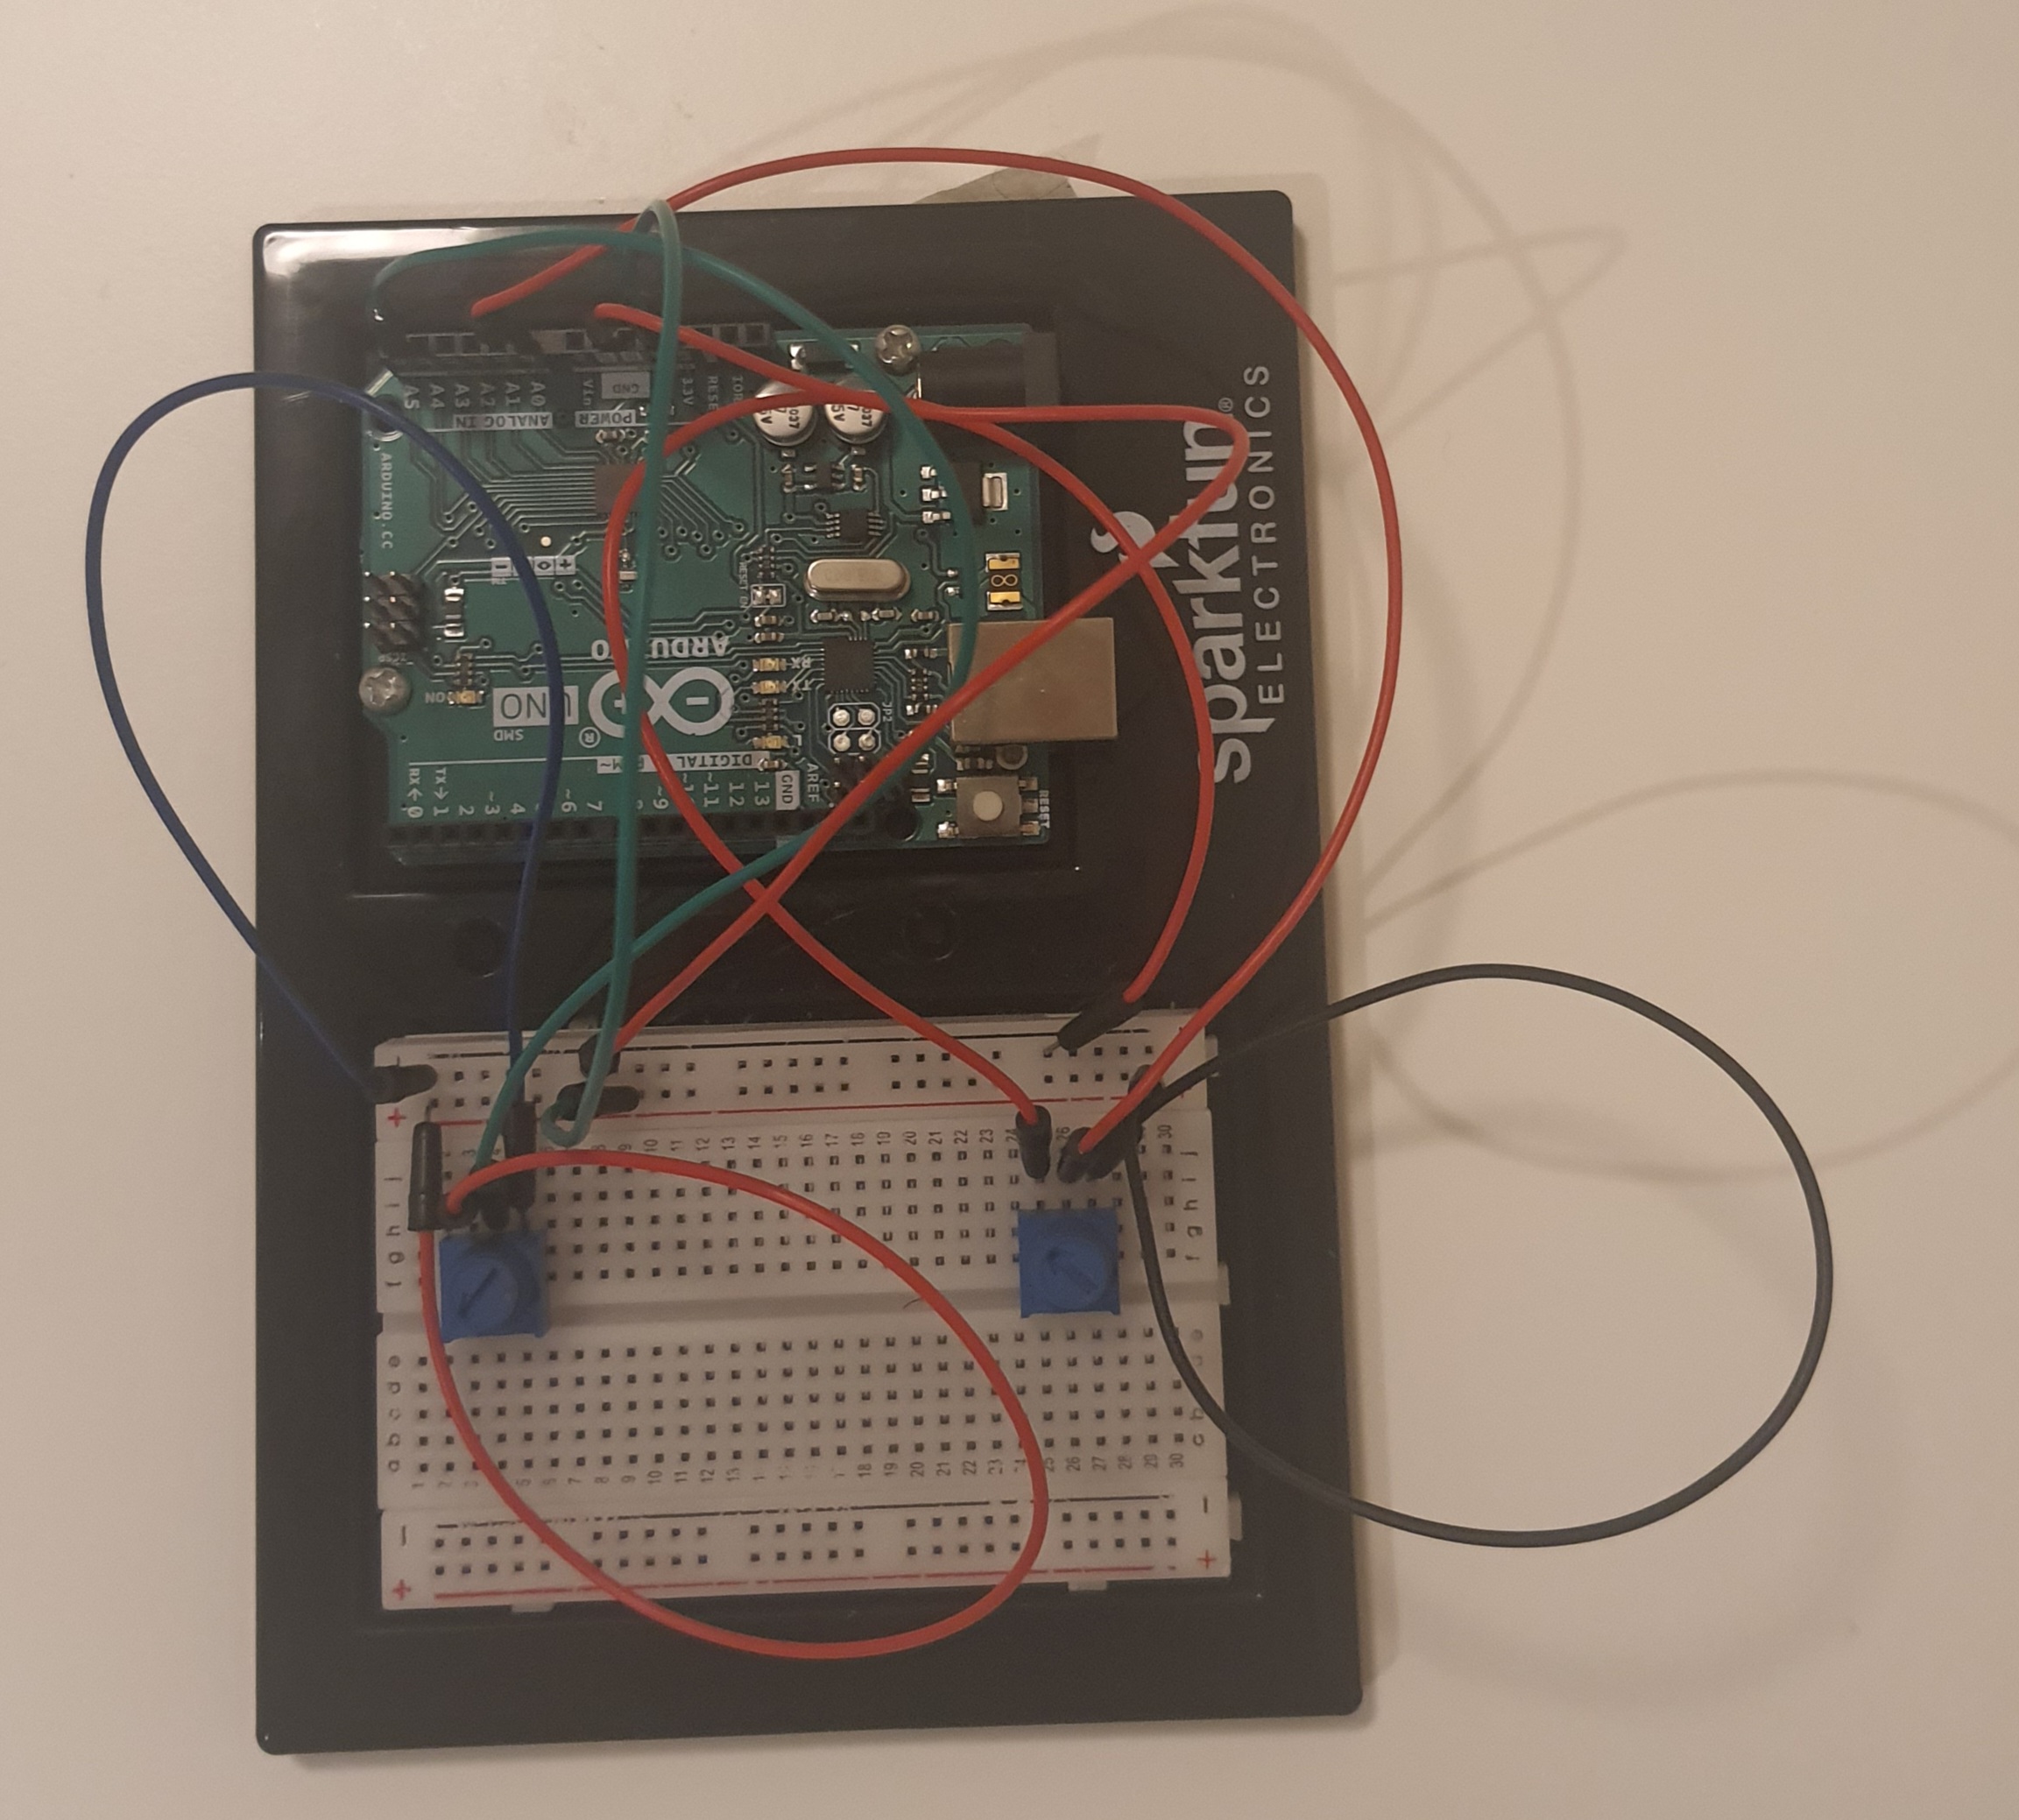
Arduino Board

A0 pin potentiometer: X values
A1 pin potentiometer: Y values
Challenges and Reflection

I had some hardware issues (i think? StackOverflow and Arduino forums mentioned some of them) initially and my serial communicator wasn’t reading the second potentiometer’s values at all. It wasn’t even accepting any second input. I used a comma to separate the value and upon reading I realized that even the comma wasn’t read (I mean Serial.print). I looked at multiple websites and then came to the Arduino/p5js related website by NYU ITP. And, then I would say a miracle, somehow my Arduino started accepting the second potentiometer and comma!!? So, I used split to split the string and access the printed data. Then I had some issues with the button that I wanted to use to switch the modes and then I gave up on it because I didn’t have time. One dumb thing I did was to make the p5js code and then connect Arduino at the very end. Should have worked simultaneously.
It was a fun project to do. While I had a hard time coming up with the idea, I really enjoyed experimenting with art! Realized well that art doesn’t have to be defined and constrained!!!
This was a great course! I took it because I wanted to minor in IM but I am considering a major now. This has really got me into the design.

Final Project Progress 5th May

Progress:
I will agree that I am pretty behind on my final project. I have to work on the art designs and color modes. I am planning to use like 9 sensors and each sensor controls 1/9 of the presentation page. Basically dividing the canvas into 9 squares and controlling the design pop up using the sensors. I am yet to decide on which design to use because of a few errors that I encountered. So, when I create a design, I use “translate()” and then append the design into an array and run it. And then when I have to append another design, the second time translate function makes the design a little weird.

Here’s a short demo of how the sensors would work. Professor suggested using buttons but I wanted the design feel to be like a touch bar. Here, touching the piezo disks changes the design.

Final Project Progress

My final project is about creating a Visual Generative Art. I plan to use pressure sensors or 8 input touch sensors to generate art. I am going to experiment with both these sensors to decide which one to use.

For now, I have worked on the design or the art that would be generated. I am torn between two ideas: 1. Have multiple art pieces generated based on sensors OR 2. Manipulate one art piece using the sensor.

Idea 1
I have this p5.js code, which generates circles on mouse press. Circles are just a placeholder for the art, where I would put the art code, and instead of mouse press, it would be connected by Arduino.

This is an example of the art that I generated using p5js. I kinda want it to be like fireworks. The color scheme is not finalized yet.
Screen Recording 2022-04-27 at 10.16.12 PM

Idea 2
This is the code I wrote for the generative art.

And here’s a video of how it would be manipulated:
Screen Recording 2022-04-27 at 10.19.15 PM


Please note: Some things might get different as mentioned here as I will be working on these files.

Serial Communication Exercises-Maimuna And Hind

Exercise 1

p5.js

Arduino

void setup() {
  Serial.begin(9600);
  pinMode(2, OUTPUT);
  while (Serial.available() <= 0) {
    Serial.println("0,0"); // send a starting message
    delay(300);              // wait 1/3 second
  }
}

void loop() {
  while (Serial.available() > 0) {
    // read the incoming byte:
   int inByte = Serial.read();
    analogWrite(2, inByte);

    int sensorValue = analogRead(A0);
    Serial.print(sensorValue);
    Serial.println();
  }
}


Exercise 2

p5.js

Arduino

int lightValue = 0;

void setup() {
  Serial.begin(9600);
  pinMode(2, OUTPUT);
  pinMode(5, OUTPUT);
  while (Serial.available() <= 0) {
    Serial.println("0,0"); // send a starting message
    delay(300);              // wait 1/3 second
  }
}
void loop() {
  while (Serial.available() > 0) {
   int lightValue = Serial.read();
   analogWrite(5, lightValue);
  }
    // read the incoming byte:
   int inByte = Serial.read();
    int sensorValue = analogRead(A0);
    Serial.print(sensorValue);
    Serial.print(",");
    sensorValue = analogRead(A1);
    Serial.print(sensorValue);
    Serial.println();
}


Exercise 3

p5.js

Arduino

void setup() {
  Serial.begin(9600);
  pinMode(2, OUTPUT);
  while (Serial.available() <= 0) {
    Serial.println("0,0"); // send a starting message
    delay(300);              // wait 1/3 second
  }
}

void loop() {
  while (Serial.available() > 0) {
    // read the incoming byte:
   int inByte = Serial.read();
    analogWrite(2, inByte);

    int sensorValue = analogRead(A0);
    Serial.print(sensorValue);
    Serial.println();
  }
}

Final Project Idea

Visual Generative Art (?)
I loved one of the class examples of how sound was generated upon touching a screen. This led to me planning to create a generative art piece that detects hand motions using Computer Vision/ Arduino’s Camera to generate designs on P5js. I am mainly concerned about finding the right detector.
If this doesn’t work, I plan on using pressure sensors covered with a white/black screen upon which the P5js art would be projected. Touching this screen would generate designs (flowers?)

Slap-O-Meter 3000 – Hind & Maimuna

We present you our “Slap-O-Meter 3000″ 👋👋👋

Ideation
In this week’s assignment we are expected to create a Musical Instrument. Initially we planned to create a Marble Shaker- using the Servo to shake a box of marble from both sides. That was not quite successful because either the box would move completely or not move at all. We were fixated on using the servo and it just clicked about hit sticks on a box using the servo.

Final Product
We used the Ultrasonic sensor to change the speed of the Servo i.e. the hands of the Slap-O-Meter. The closer an object gets to the sensor, the faster the hands moves. The hands are adjusted at an angle to the box so regardless of the speed, it hits the box properly. Here is the code that we used to control the servo and the ultrasonic sensor:

# include <Servo.h>

Servo servo;
const int trig = 12;
const int echo = 13;

int duration = 0;
int distance = 0;

void setup() 
{
  servo.attach(9);
  pinMode(trig , OUTPUT);
  pinMode(echo , INPUT);
  Serial.begin(9600);

}

void loop()
{
  digitalWrite(trig , HIGH);
  delayMicroseconds(100);
  digitalWrite(trig , LOW);

  duration = pulseIn(echo , HIGH);
   distance = (duration / 2) * 0.0343;

  int constdistance = constrain(distance, 0, 30);
  int mappedDisValue = map(constdistance, 0, 30, 0, 180);
  int constrainedDisValue = constrain(mappedDisValue, 0, 180);
  int servoSpeed = map(constdistance, 0, 30, 100, 500);


  servo.write(constrainedDisValue);
    Serial.println(constdistance);
  
  servo.write(0);
  delay(servoSpeed);
  servo.write(90);
  delay(servoSpeed);
}

Reflection
We had a lot of fun implementing it! No major challenges apart from some software issues on my laptop and so we just ended up connecting both Arduino to Hind’s laptop.

Week 9 Assignment (Car Sensors)


Inspiration
Car sensors. Whenever an object or car comes very close to our car, it starts beeping and lighting. That was my motivation to create this sensor.

Video/Image

Work

Basically, as an object comes closer to the Ultrasonic sensor, the bulb lights. For the switch, I added a bulb connected switch- simply press the button.

Challenges

I had many issues with this assignment. It was mainly faulty jumper wires and Arduino’s functioning on Mac. At first, Changing jumper wires solved the issue of Ultrasonic sensor’s distance capture. I spent majority time on solving this 'avrdude: stk500_recv():' error. Re-installed the drivers, added new libraries, etc and magically it just started working!

Code

#include <NewPing.h>

const int trig = 12;
const int echo = 13;
const int led = 2;

int duration = 0;
int distance = 0;

void setup() 
{
  pinMode(trig , OUTPUT);
  pinMode(echo , INPUT);
 
  pinMode(led , OUTPUT);
  
  Serial.begin(9600);

}

void loop()
{
  digitalWrite(trig , HIGH);
  delayMicroseconds(200);
  digitalWrite(trig , LOW);

  duration = pulseIn(echo , HIGH);
  distance = (duration/2)  ;
  
  Serial.println(distance);
  
  if ( distance <= 10 )
  {
    digitalWrite(led, HIGH);
  }
  else
  {
    digitalWrite(led, LOW);
  }
}


Week 8: Unusual Switch

This week’s assignment was to create an Unusual switch, where hands isn’t required to turn on the switch. My idea was around creating a track and when a ball passes over it, the bulb/switch turns on.

Here is the circuit:

Basically, I have connected one end of the switch with the track (copper strip) and one to the foil, over which the ball would pass.

Here are some pictures of the circuit:

While the ideation took some time, it was fun making it!

Midterm Assignment

“Shoot the Balloons”

Game:

Concept
My game is a classic carnival game, where the player has to shoot as many balloons as they can in a given time. I put the time as 45 seconds but realized it was low and changed to 120 seconds.

Implementation
I created a balloon class for the balloons. Initialized an array and added 4×6 balloons (for loop) in it. Then used the run function to display them at their positions. For the shooting part, I had a distance variable that calculated the distance from the click to the position of the balloon, and if it’s in a certain range the balloon pops. For popping, I simply pop the balloon object from the array. I added burst sound effect when it pops and shoots effect when the mouse is pressed anywhere else. Also, added a timer and score display. In the end, there’s a game over screen with a score and instructions to restart.

Challenges
There were two main challenges. I wanted to have random colors of balloons. I was using a sprite sheet with 6 colors of balloons. However, shooting a balloon displayed, made the whole screen disappear. That was because when I was adding balloons in my array, it was basically the whole sheet and not one balloon and popping that means removing the whole screen? So, I changed my image with only one balloon.
Another challenge was restarting the game or having multiple screens. My code was in a certain fashion that it was difficult to implement the screens one after the other- it led to crashing/overlapping of screens. The restarting the game was difficult as well-later I figured out that simply used keypressed() to restart.

Reflection
Overall, it was a fun game to implement, and learned several techniques of typical games. While some things were challenging as mentioned above, I am glad I am done with it! yay

Midterm Progress

For the midterm, I am creating a Carnival-themed game: Shoot the balloons. I plan to have balloons displayed on the screen, and the player has to pop as many as they can in a given time.

The main work for this is to make the balloons pop. So, that is what I was mainly working on. I used an image of 6 colored balloons and created an array with each balloon in it.

Here’s what I have done so far:


I have also (manually not looped) the display of balloons in a line to see how I want to position them on the screen. I will be using a background as in a carnival stall that I have to design yet.

Its pretty slow progress but I plan to update this as I have more developments.