Farsi Display on Arduino: calendar and a dinosaur game
Describe your concept
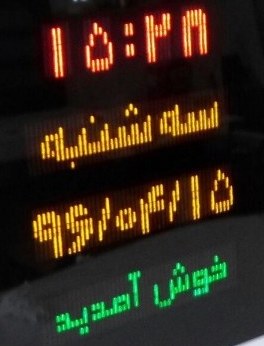
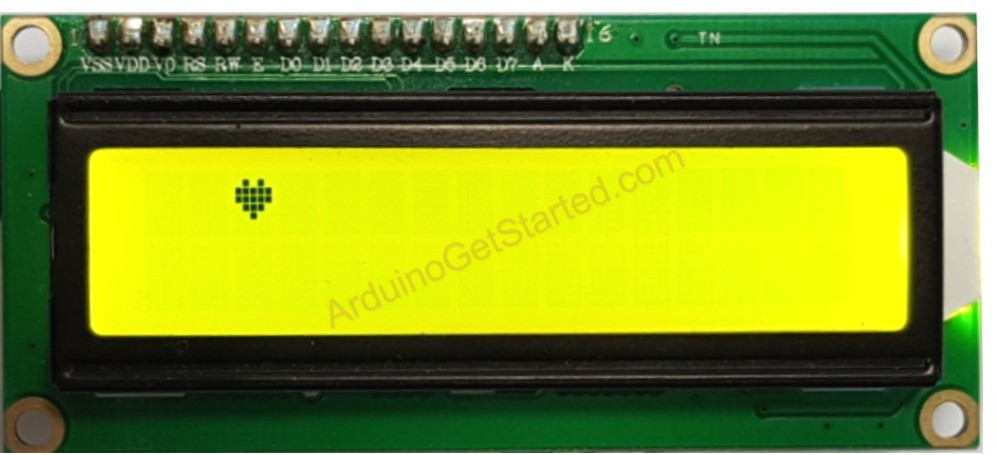
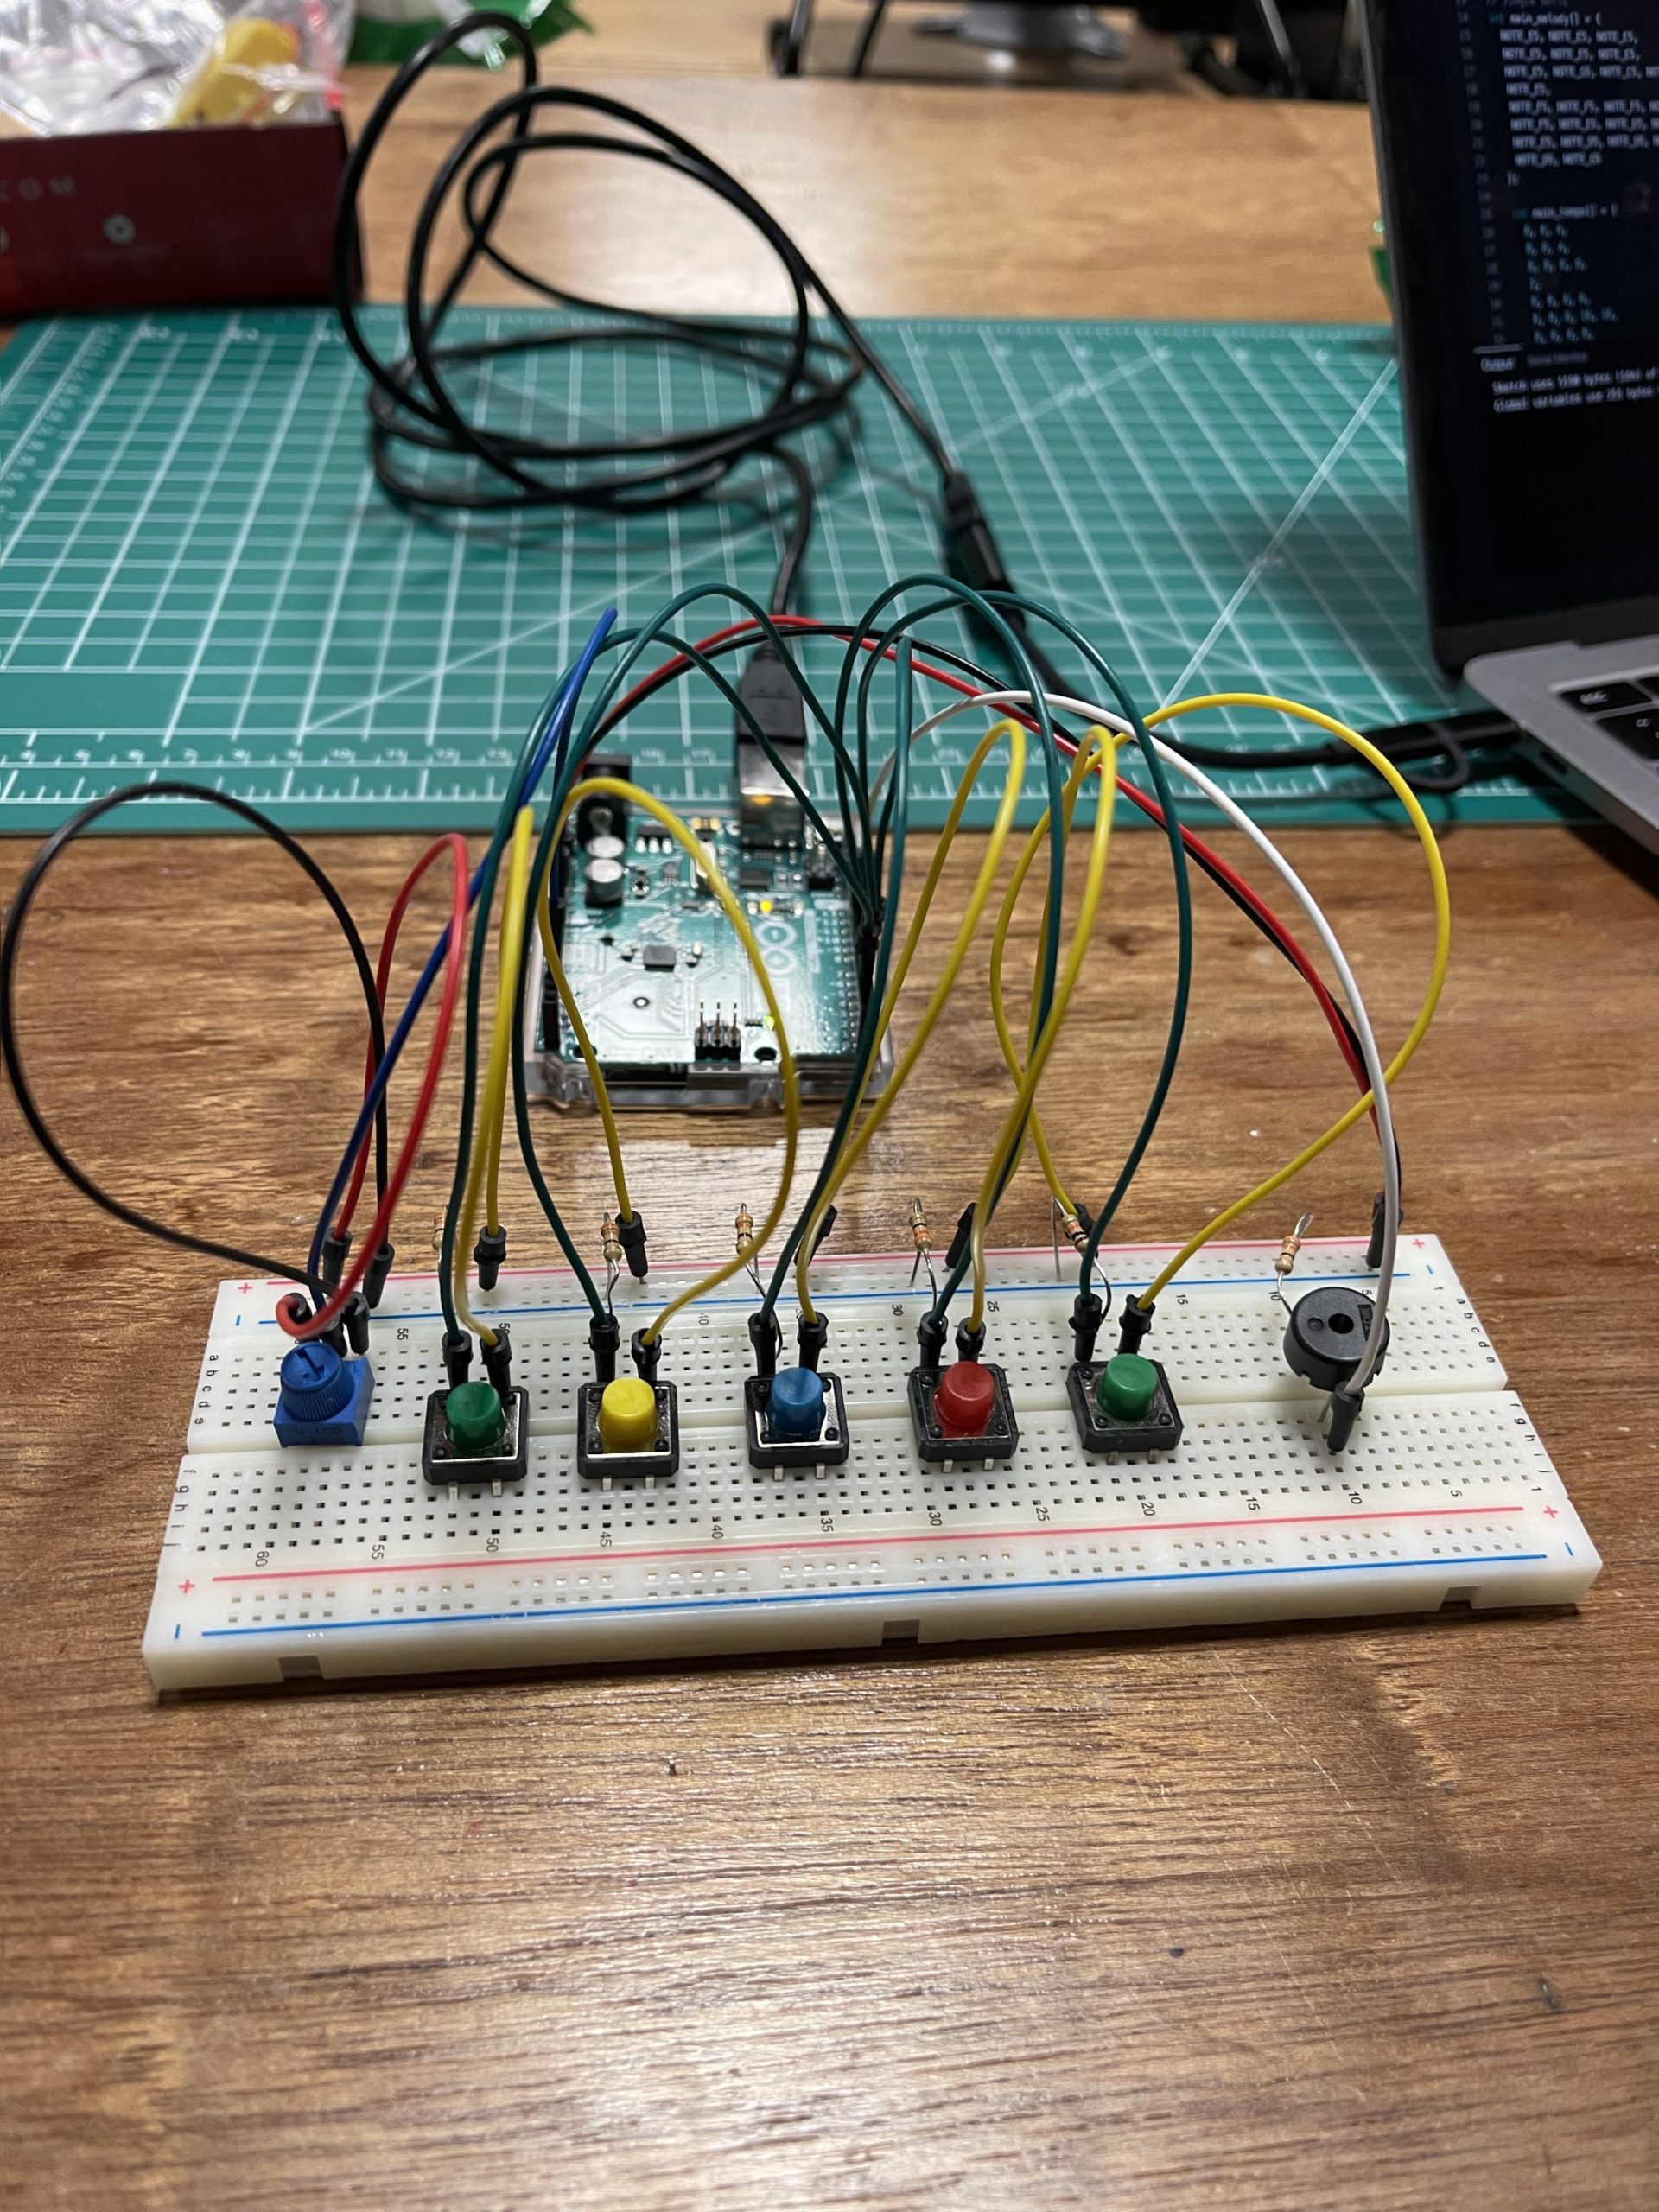
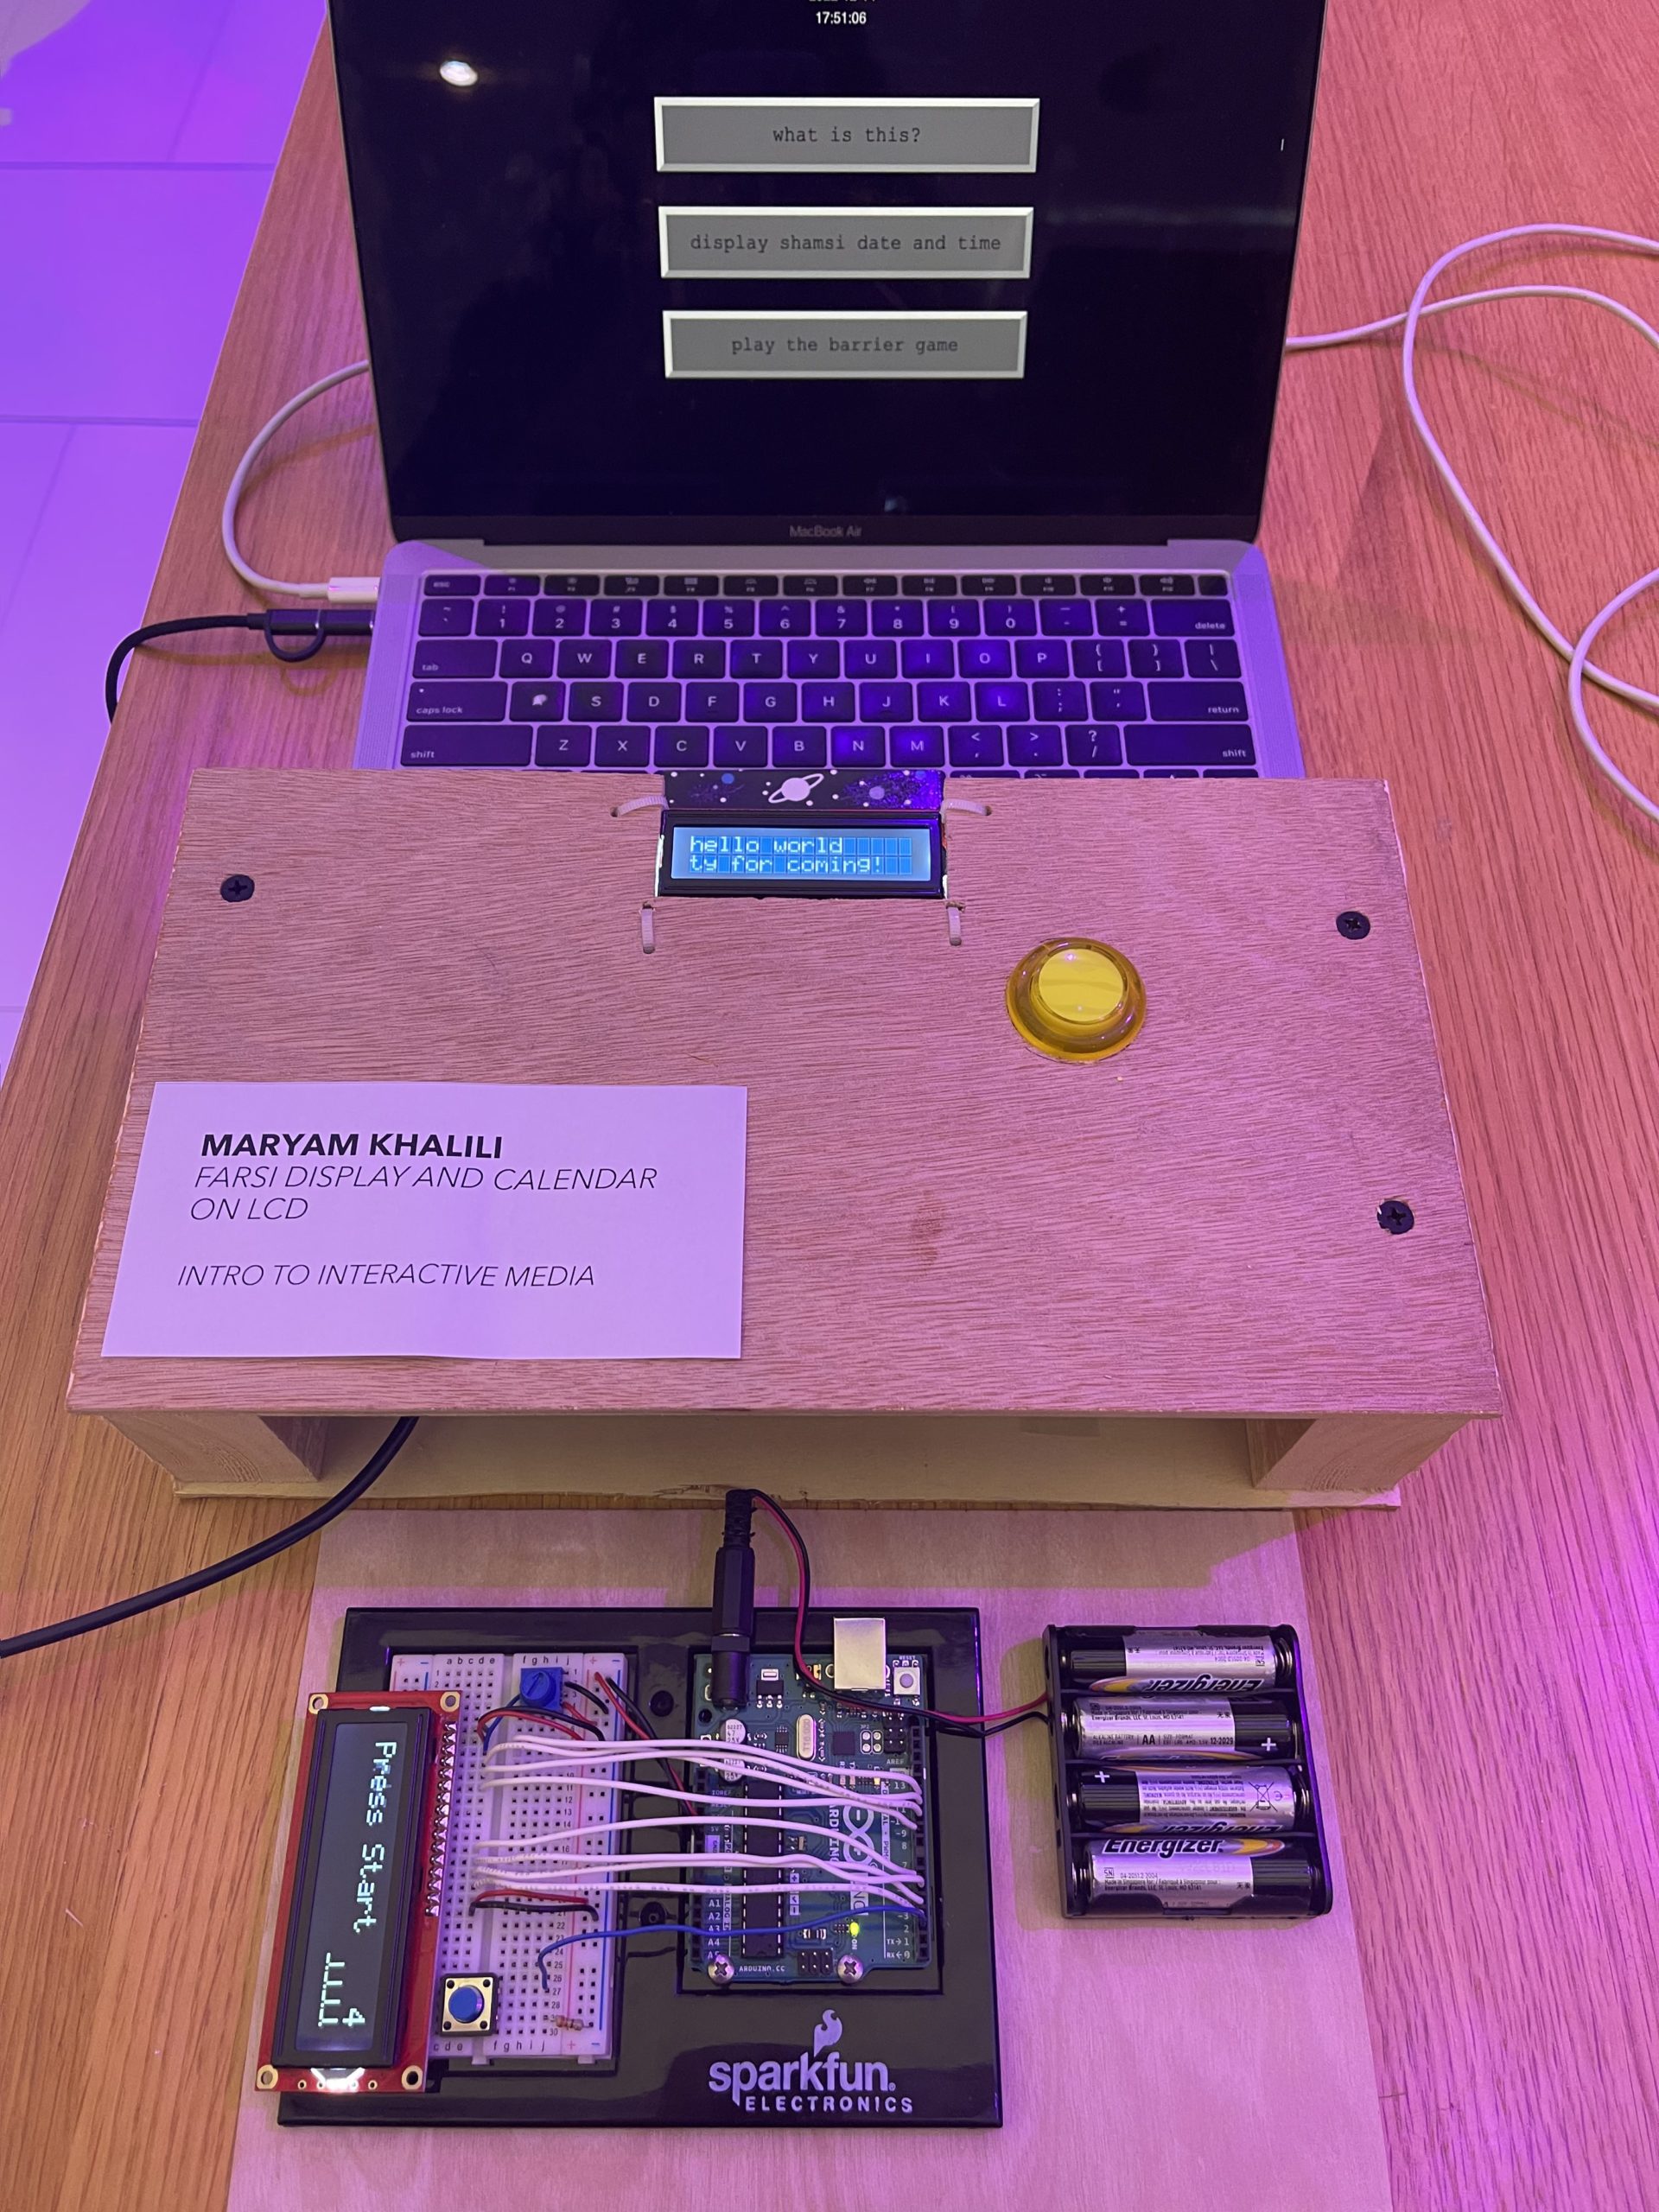
The premise of my project is very simple: construct and display Persian/Arabic letters on Arduino LCD (16×2), with the main purpose of displaying the Persian calendar date (Hijri Shamsi) and making a little dinosaur game where the barriers are Farsi letters (or a block).
How does the implementation work?
-
- Description of interaction design
- Description of Arduino code
- Description of p5.js code
- Description of communication between Arduino and p5.js
Interaction design:
p5.js is where the user input is stored and communicated to Arduino over serial operations. P5.js would take input based on the button the user clicks:

Arduino code:
Arduino code reads serial input and does one of three things below:
-
- Display a welcome text to the user
- Construct Farsi letters and display the Shamsi date on the LCD
- Call the main game function
For the game, I consulted the code from the Arduino project hub I used some functions for moving the barriers to the left of the screen and controlling the collision.
p5.js code:
Establishes the handshake between p5 and Arduino. Based on the button the user clicks, p5 sends a unique digit to Arduino and Arduino will take it from there.
What are some aspects of the project that you’re particularly proud of?
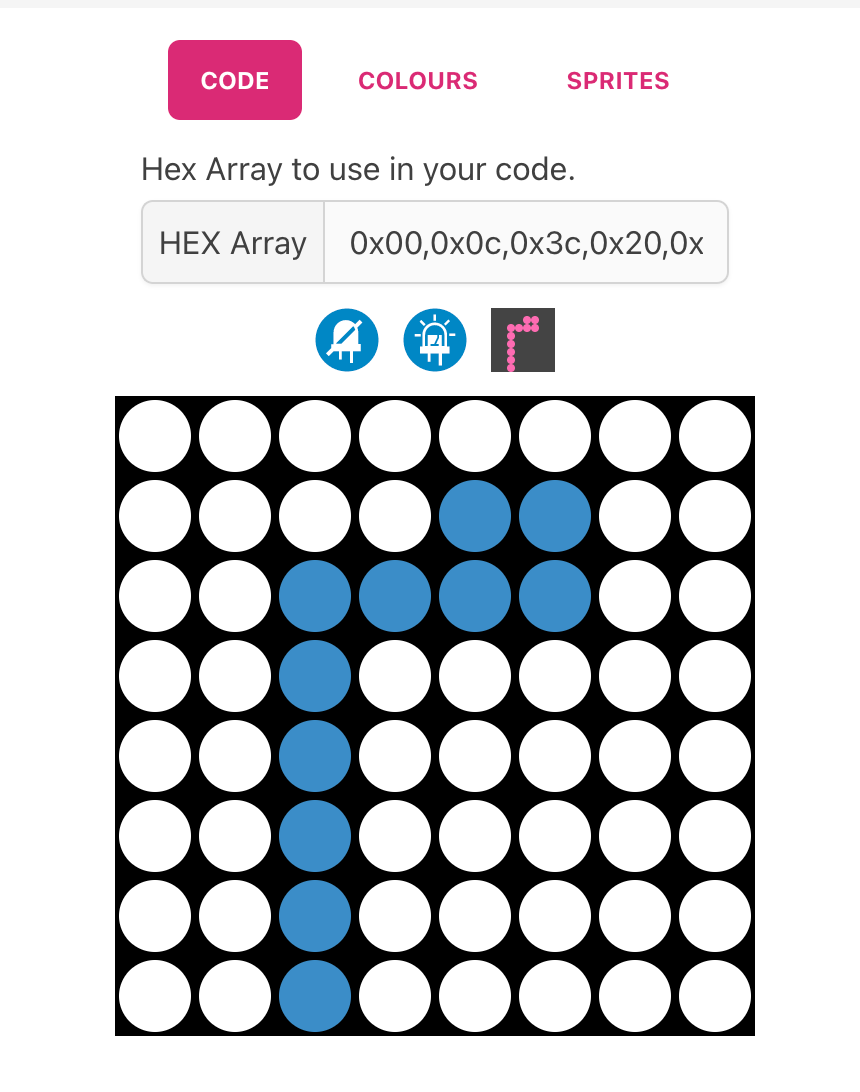
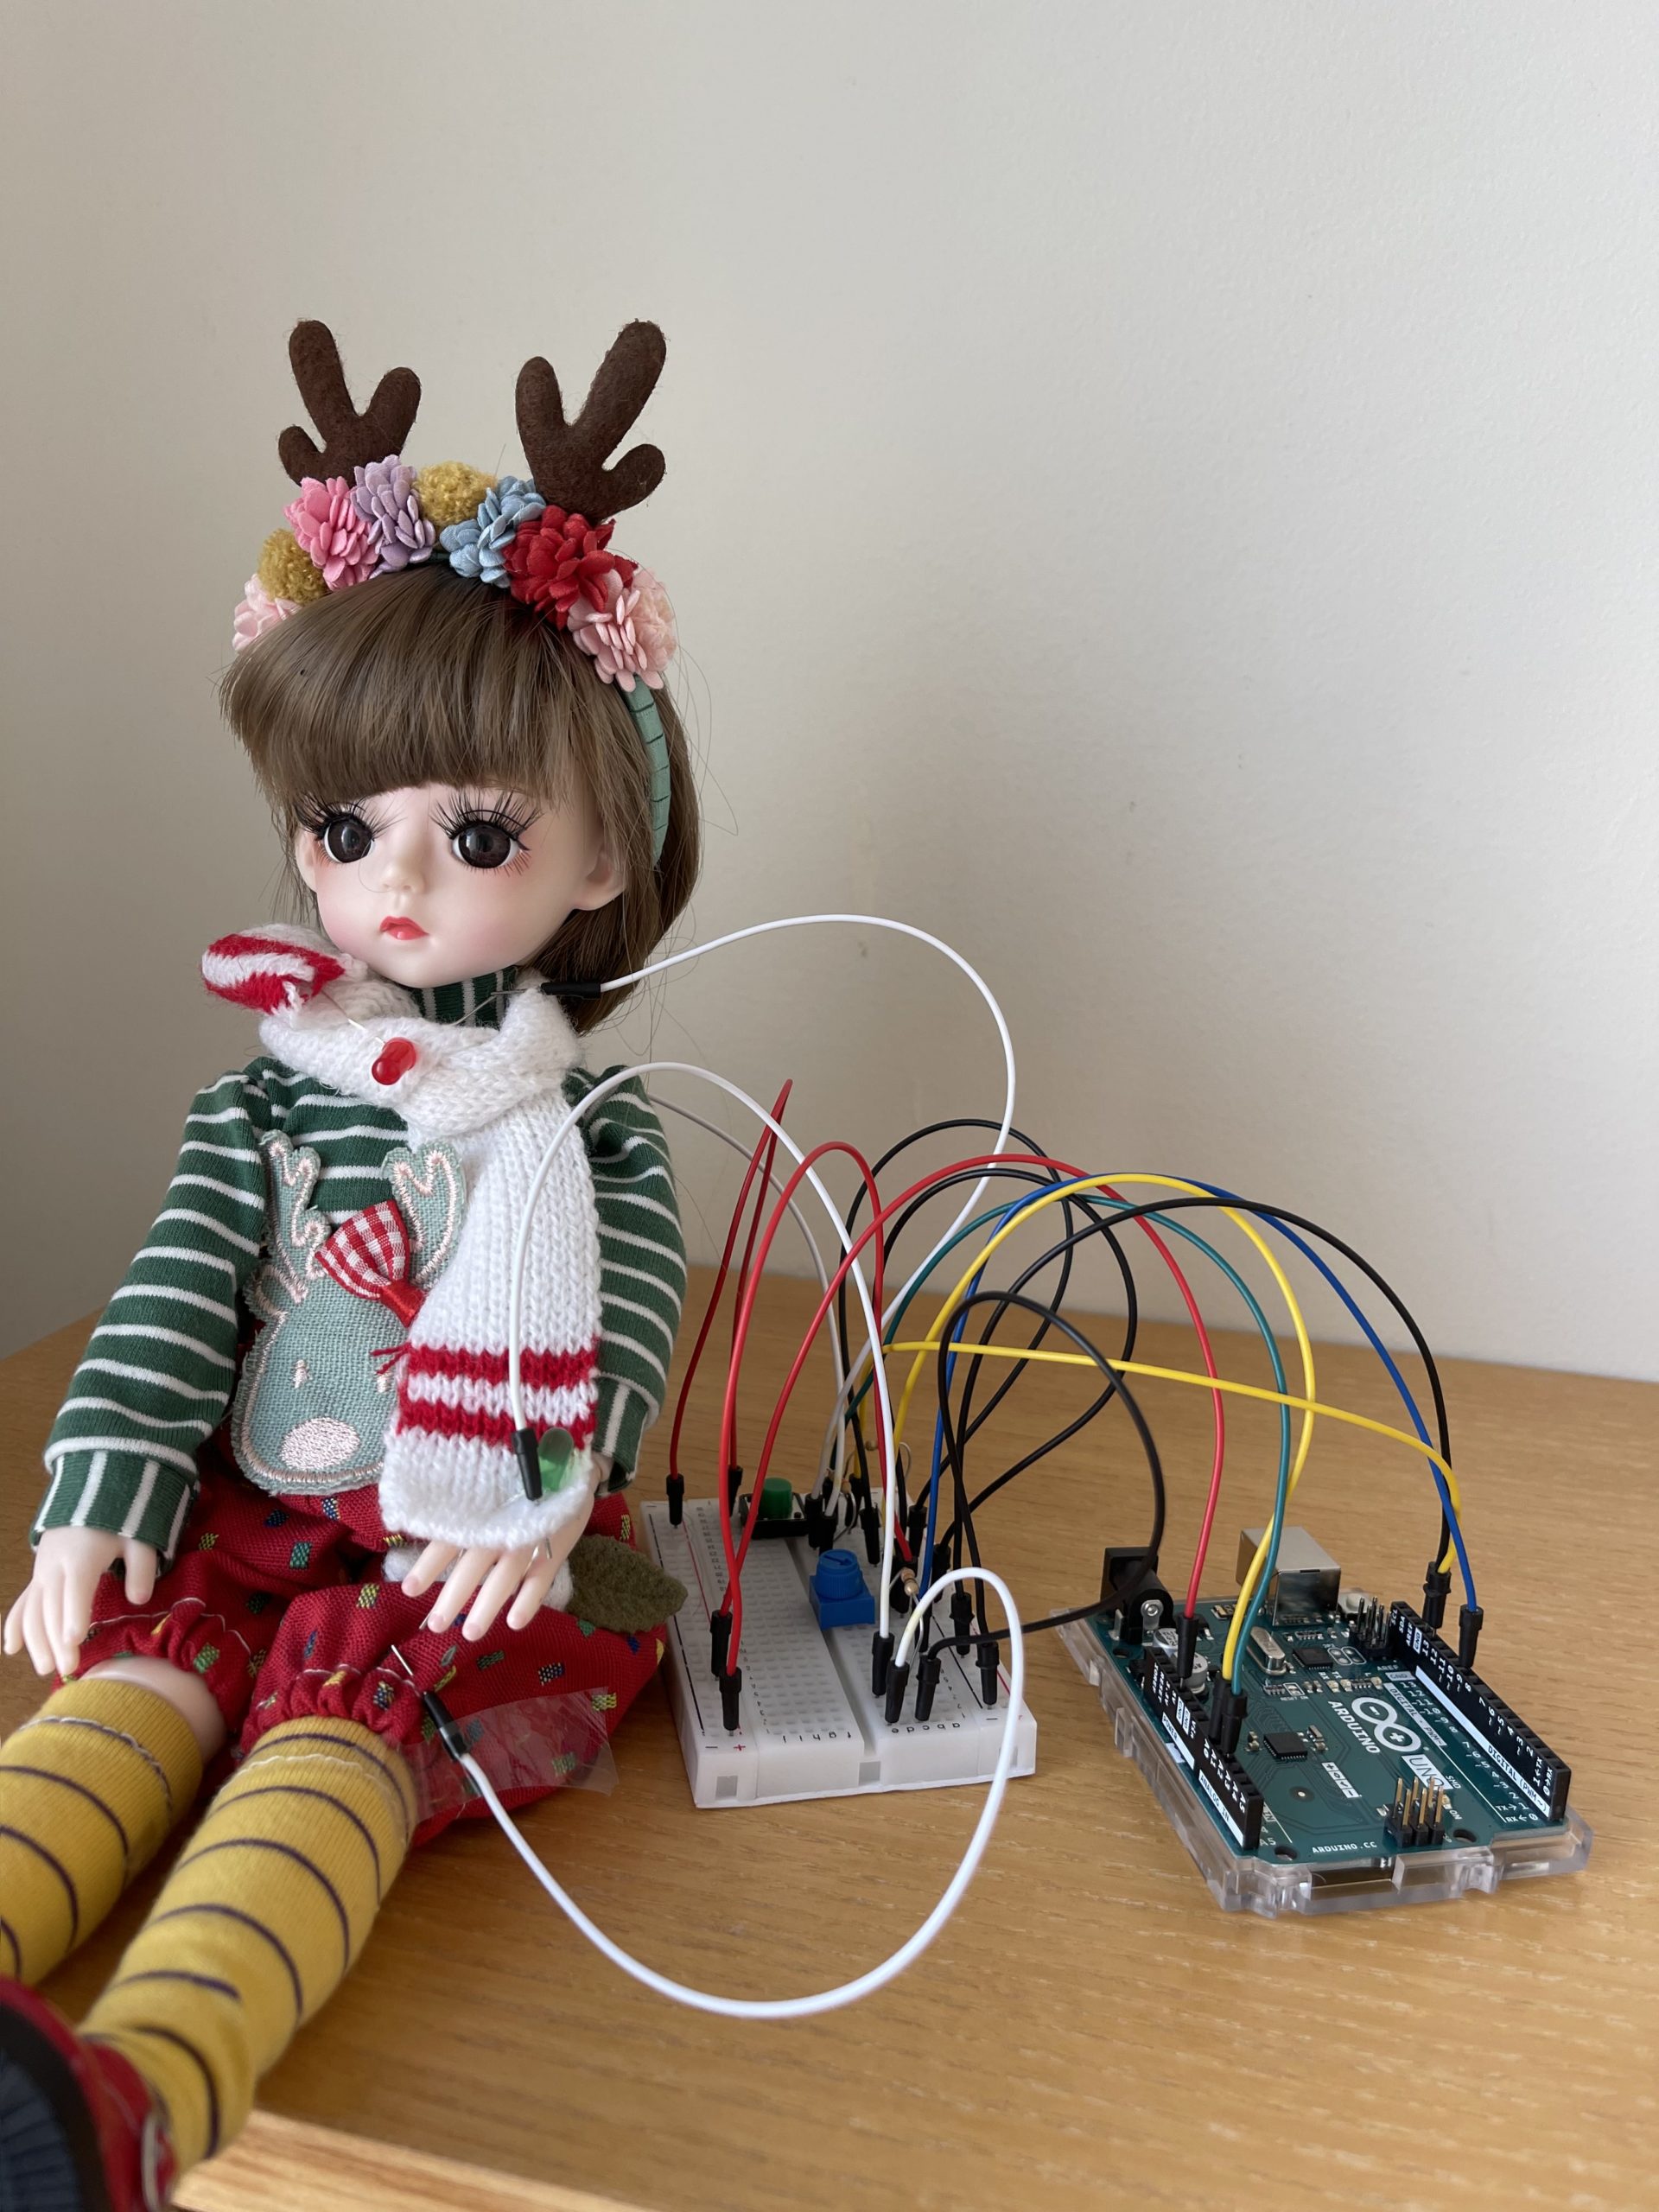
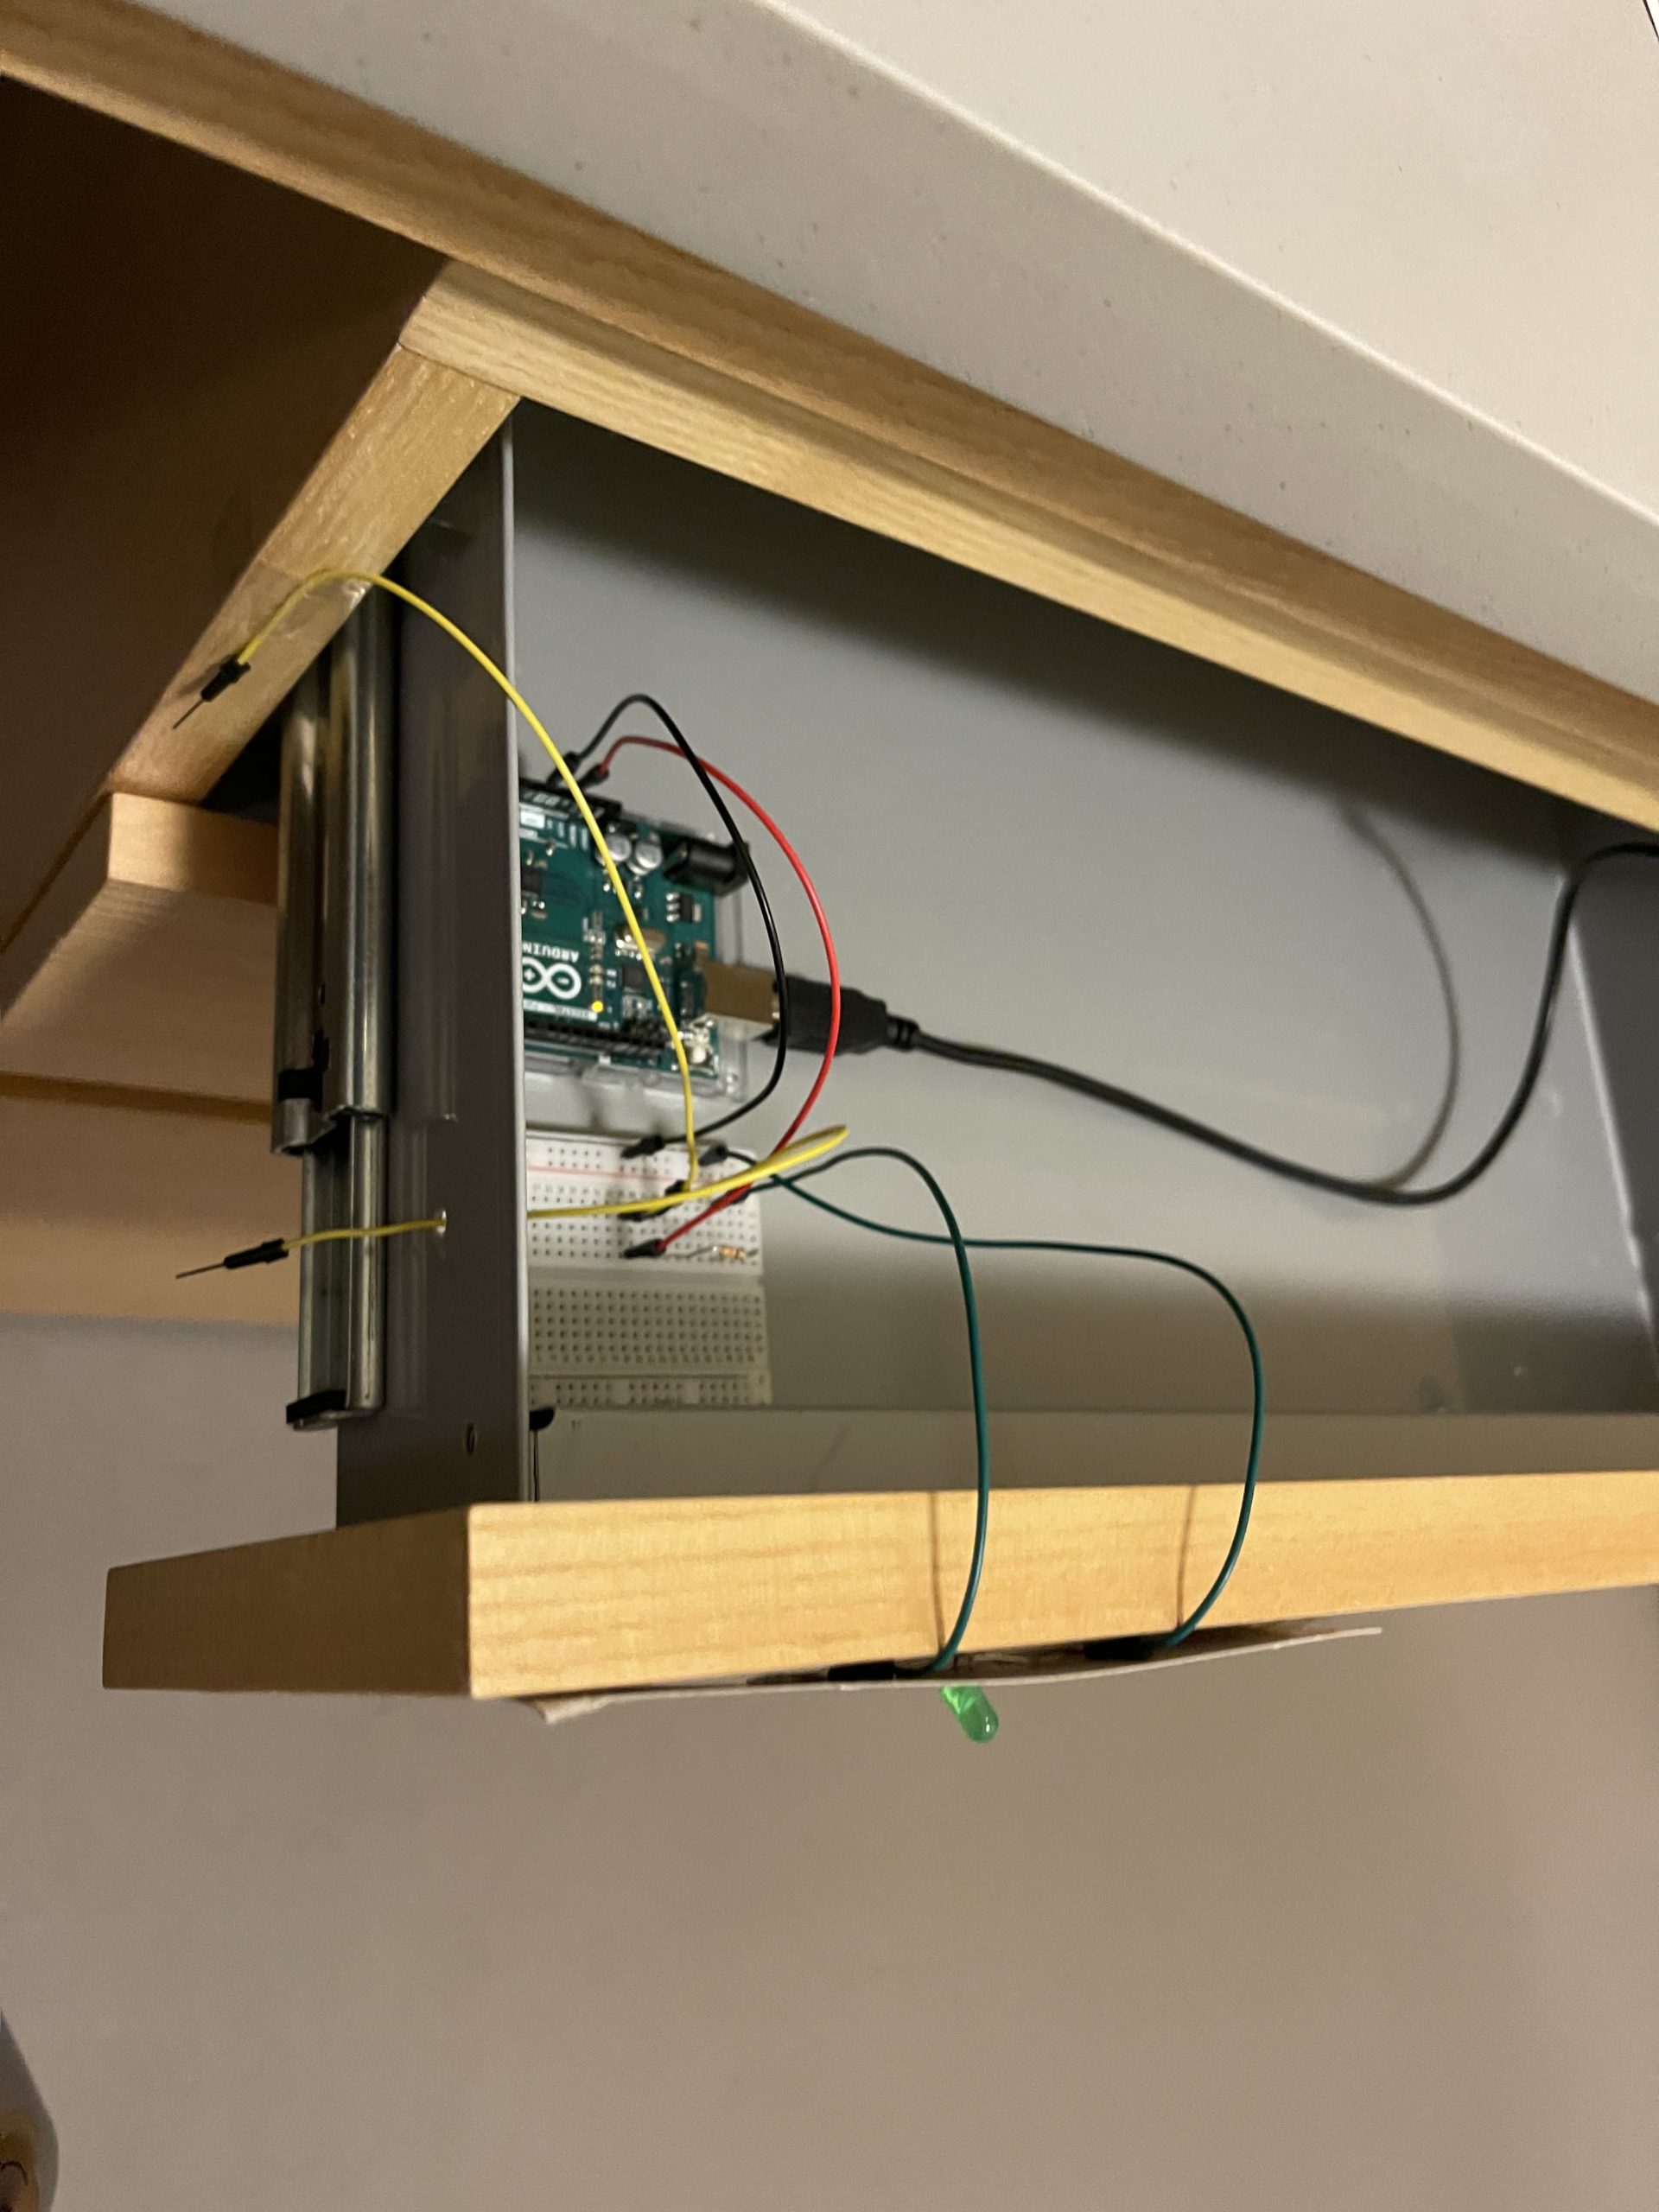
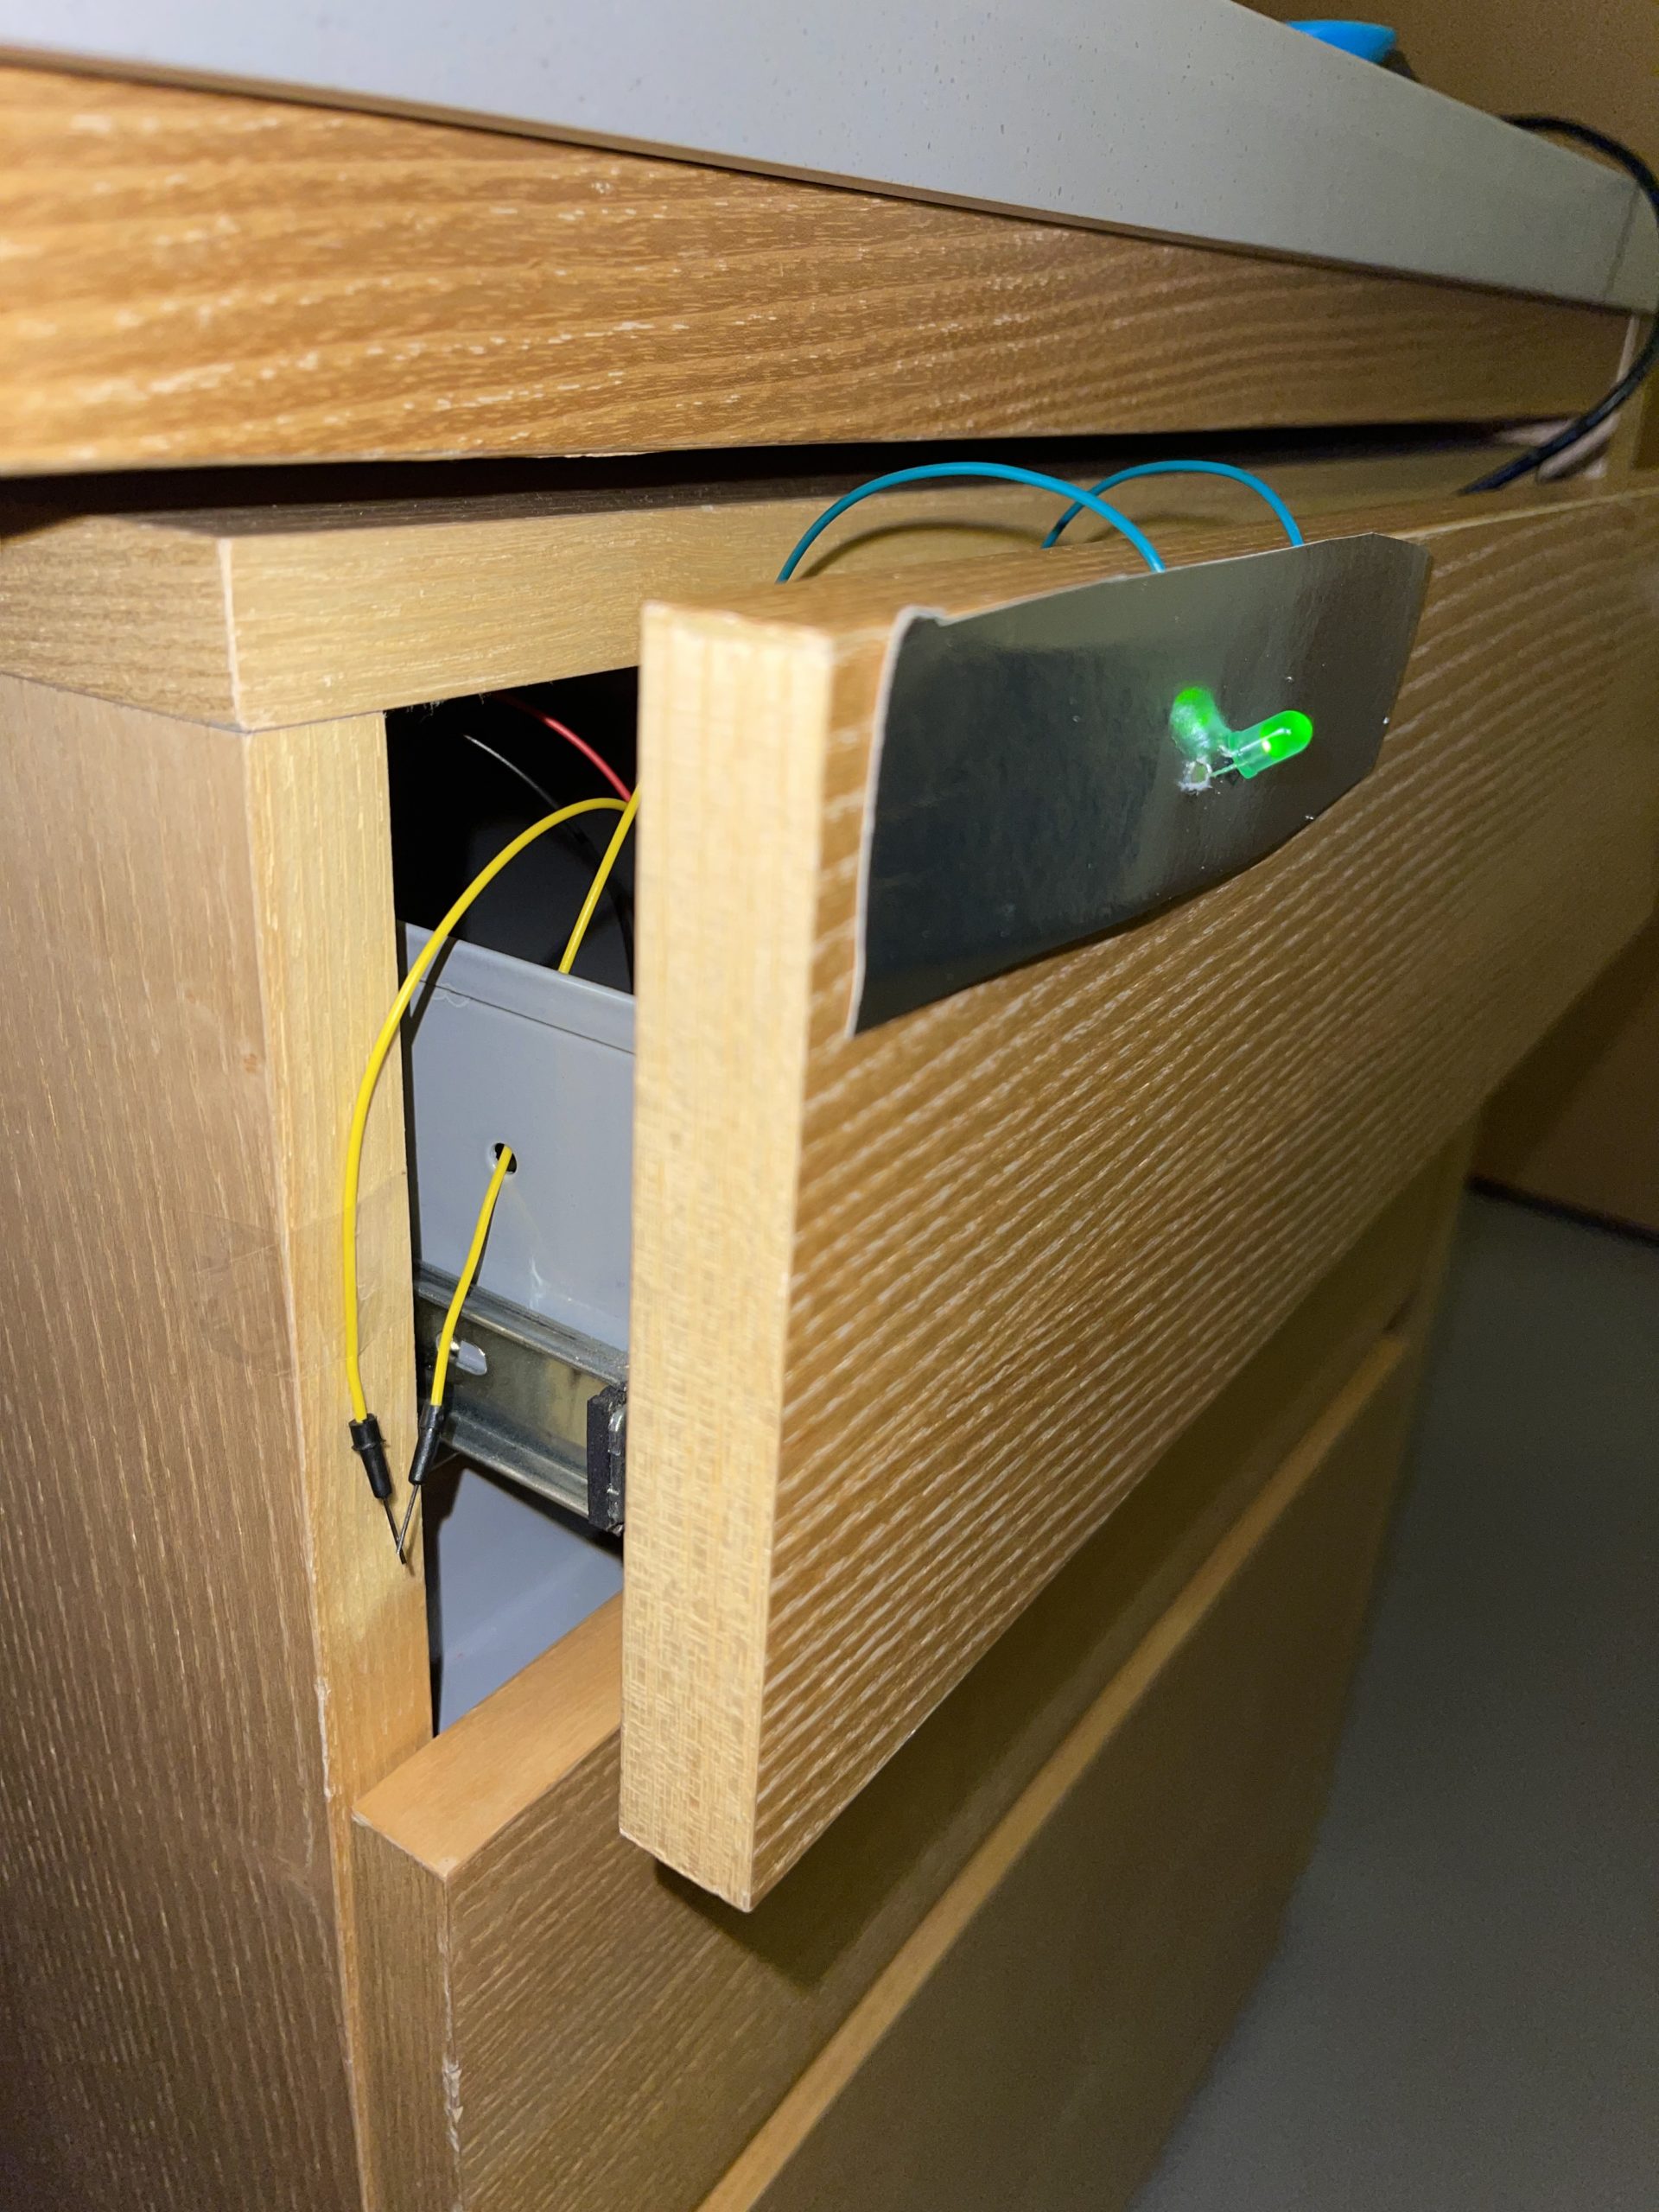
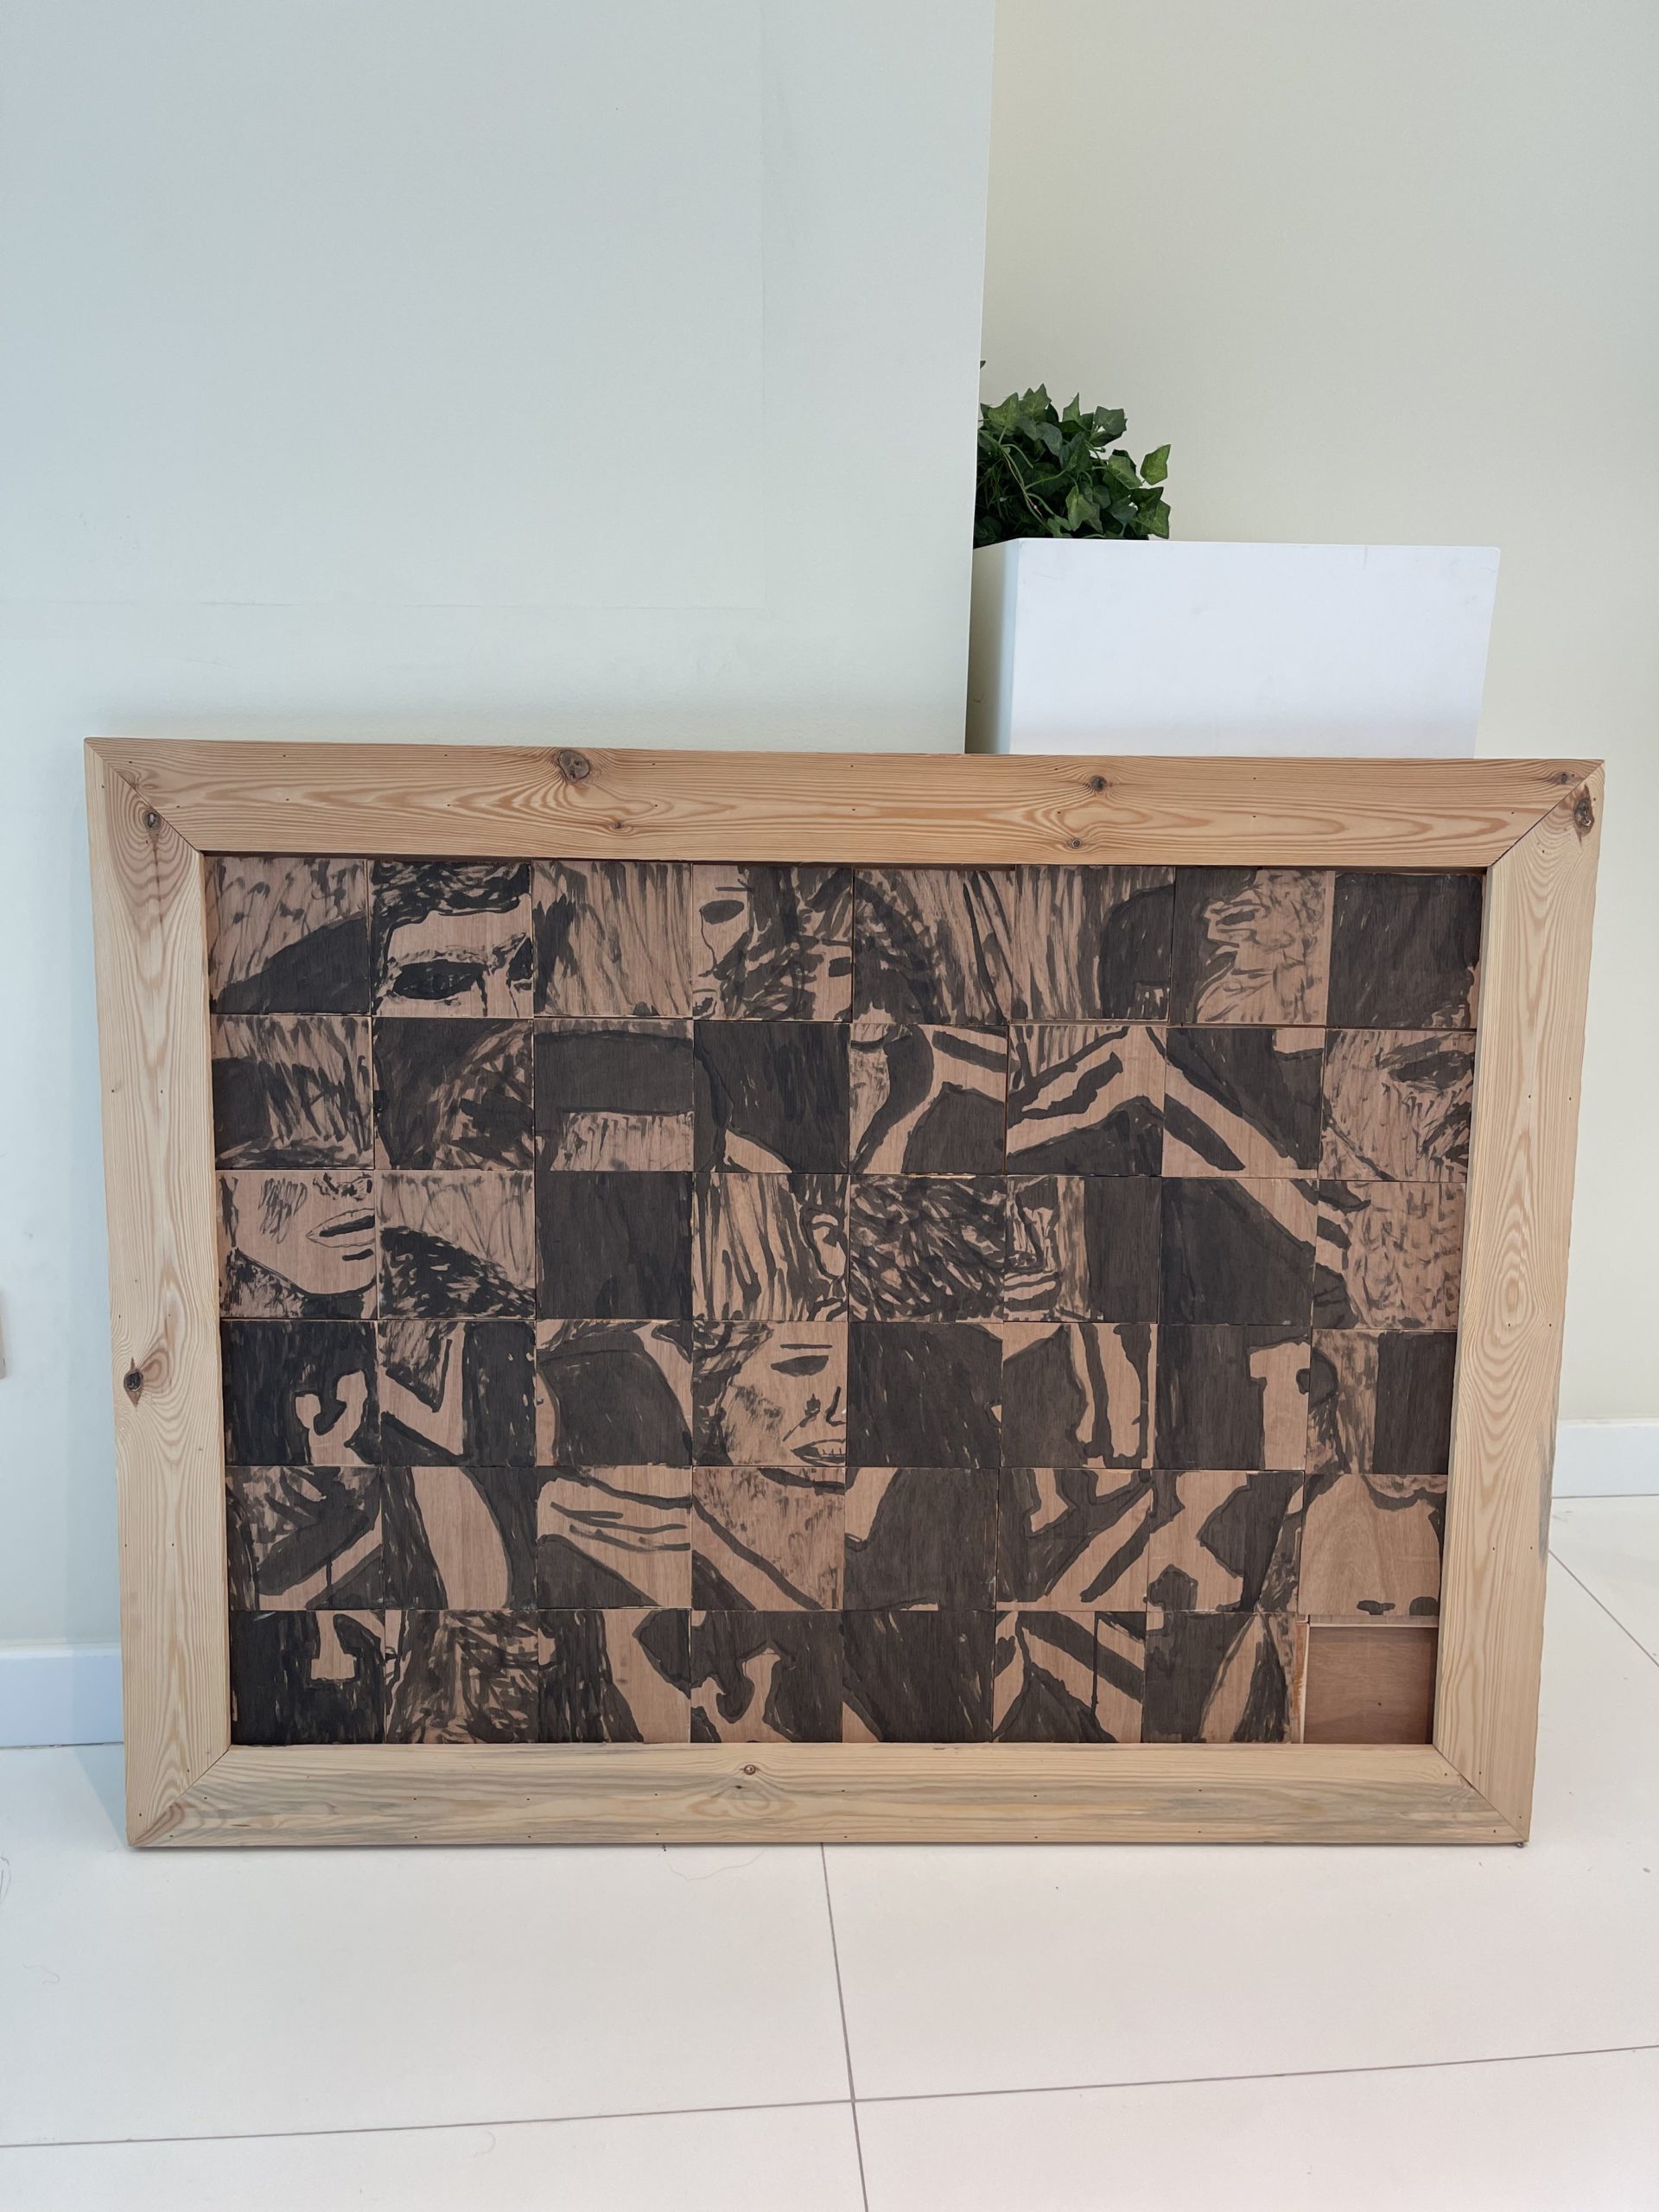
My original idea was to make a Farsi letters reshaper/constructer only, but I decided to bring more interaction to the project by adding a little game. I enjoyed making the byte arrays for different Farsi letters and refining them so that they look better when put together in a word. I’m also proud of the little box I made with the help of Professor Shiloh. I had never worked with wood before and it was last minute but it turned out fine and people found it intuitive to interact with the button and LCD once they were made into the box.

What are some areas for future improvement?
There are two limitations:
-
- The 16×2 LCD is very limited: in terms of how many custom characters you can make (only 8) and also in terms of how many characters it displays in general (32). A bigger LCD would solve this problem and improve the project.
- Serial input only reads English: I tried sending Farsi letters over Serial communication which resulted in a gibberish serial read by Arduino. It might be possible to send English input and transliterate it in the Arduino and display it, but not all letters can be mapped.