Game idea:
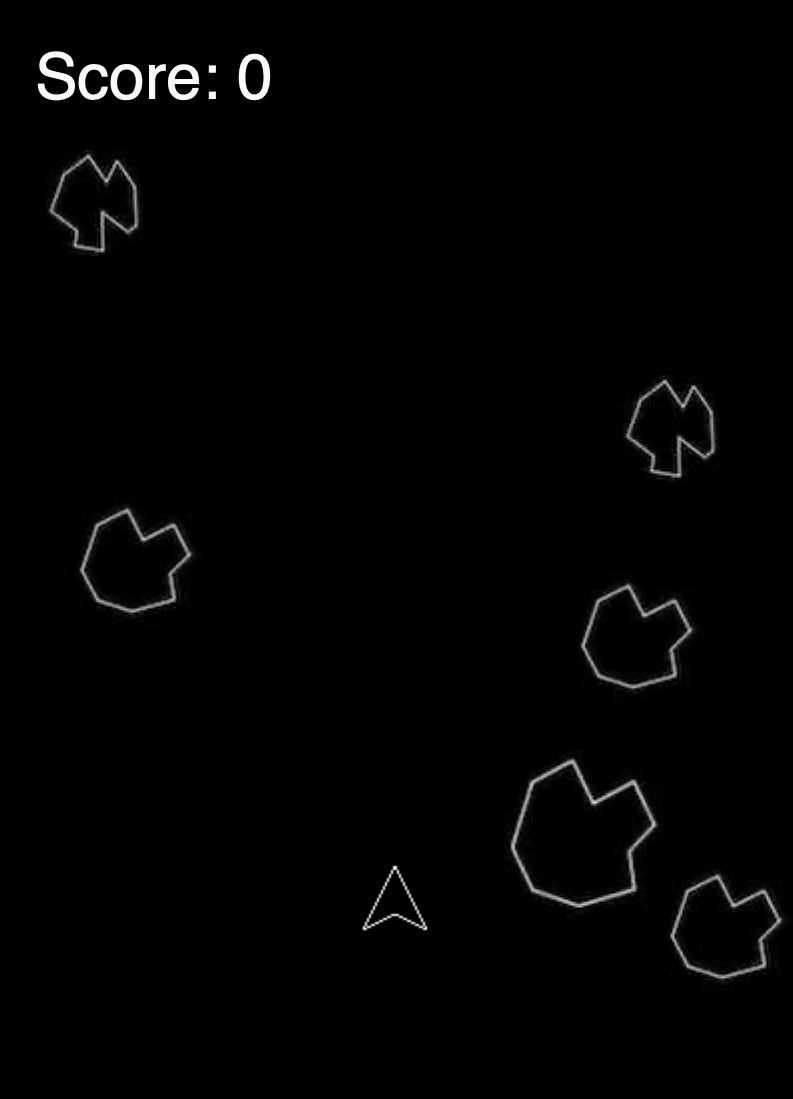
The Asteroids game is a classic arcade game that has been enjoyed by many people over the years. In this version of the game, you control a spaceship and must navigate through a field of asteroids, shooting them to destroy them and avoid being hit. The game is challenging and exciting, and the addition of the Arduino joystick adds a new level of interactivity. Working with p5js and Arduino was both fun and challenging. Combining these two technologies allowed me to create a dynamic game that could be controlled with a joystick.

Box:
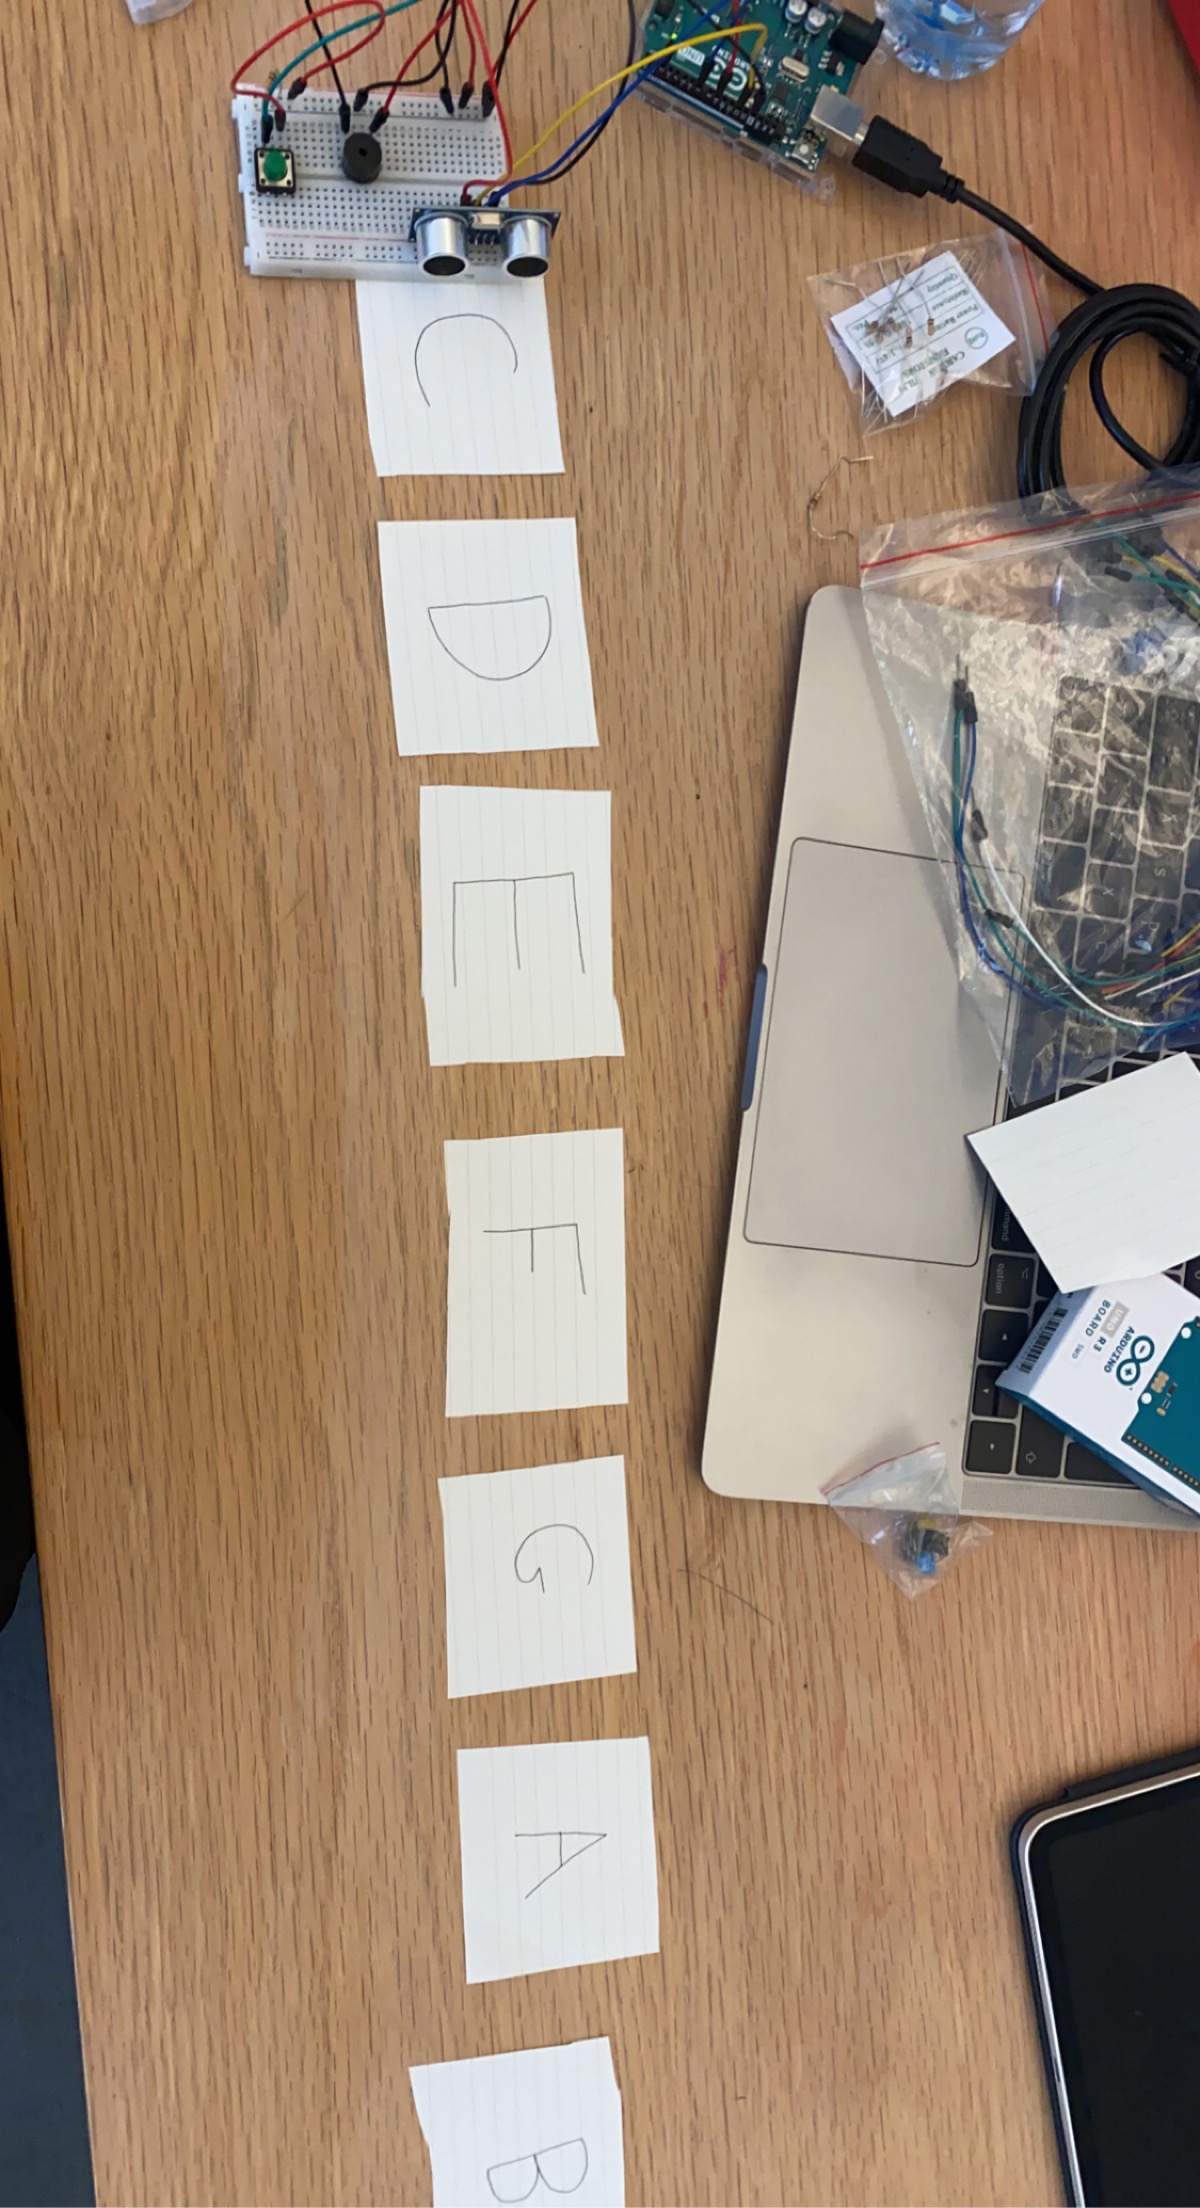
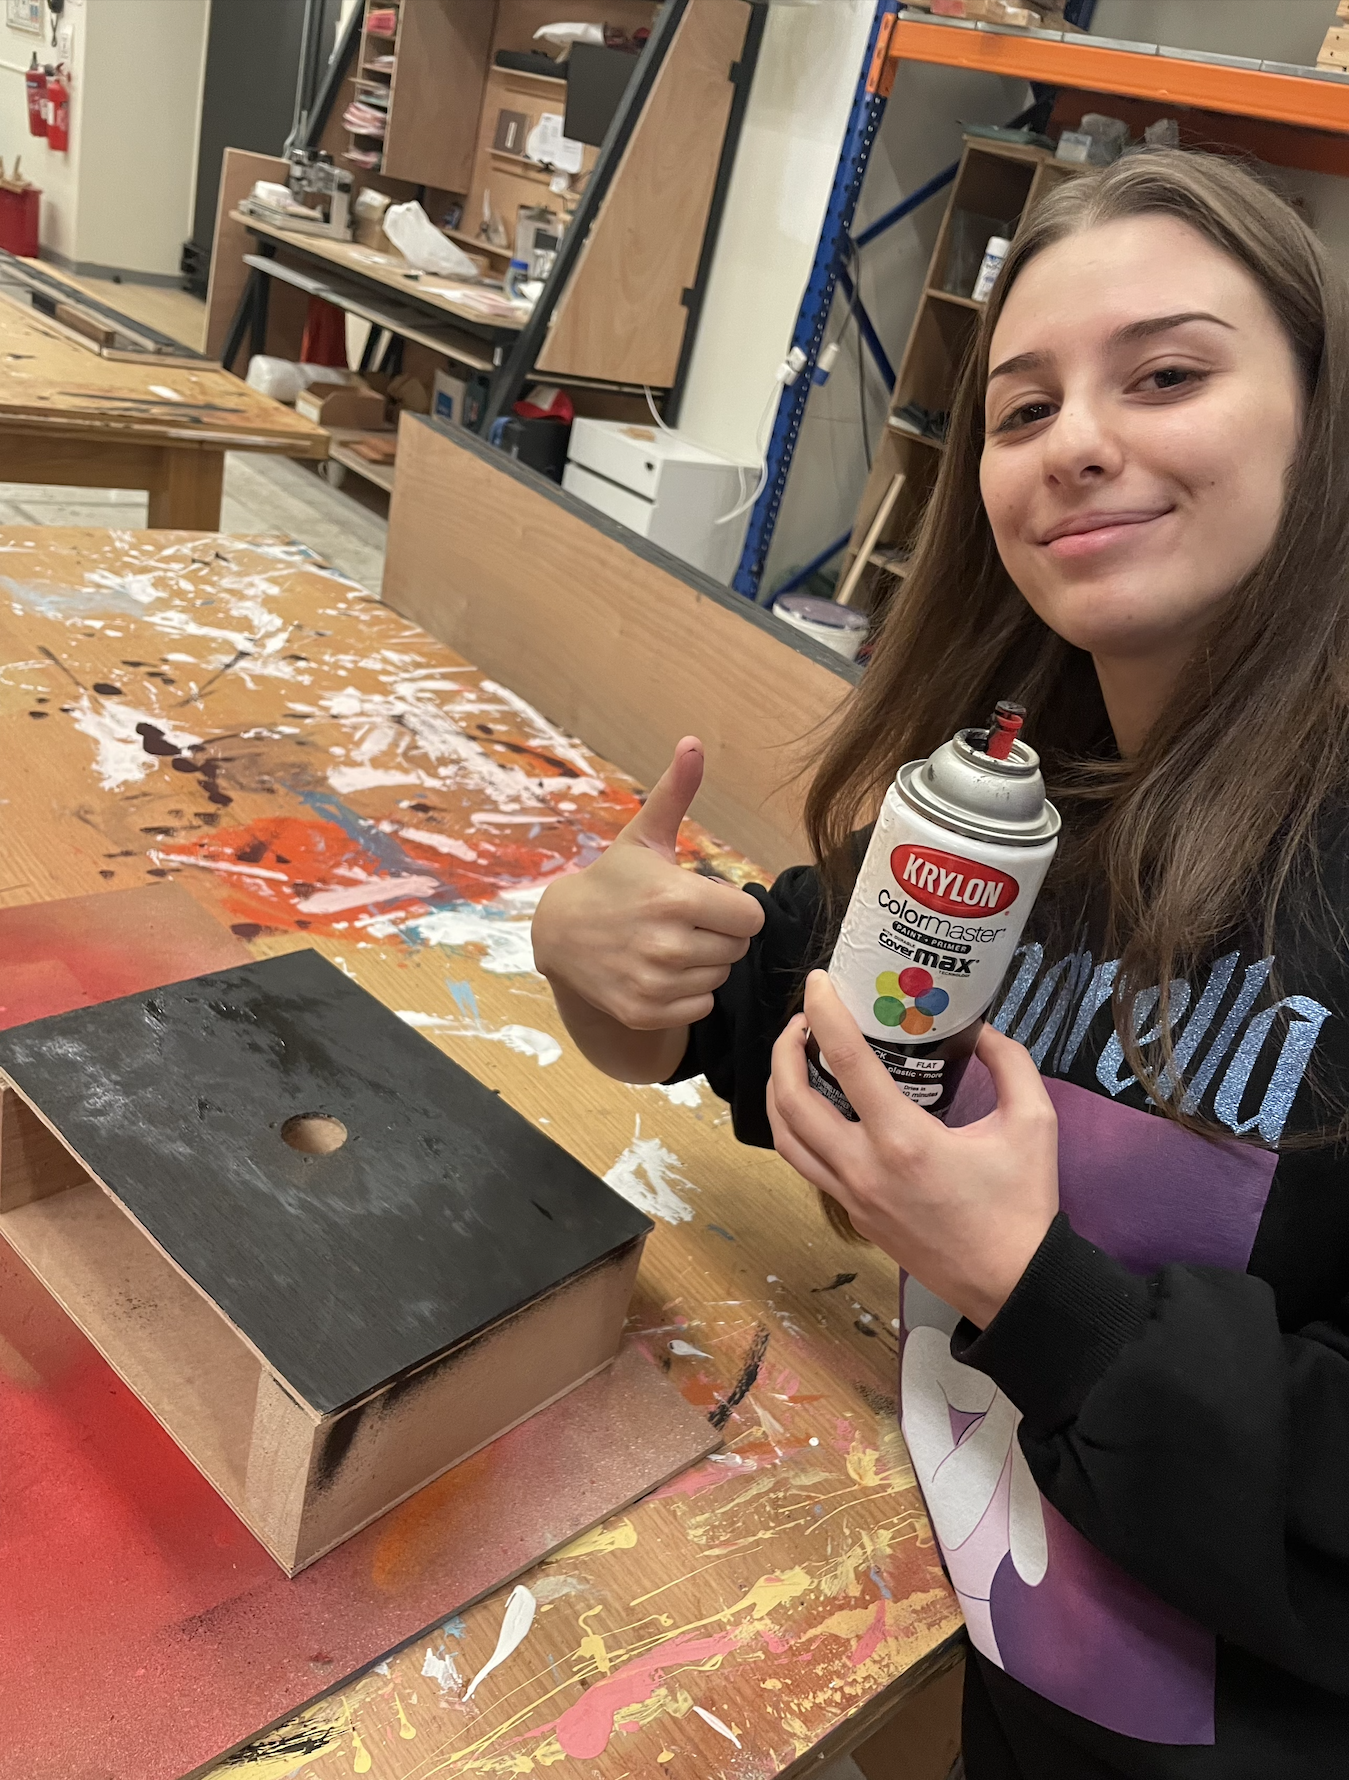
Making the box for the joystick was a fun and challenging project. The first step was to gather the materials that I would need, which included wood, screws, and a joystick. I was fortunate to have a professor who was able to cut the pieces of wood to the right size, which saved me a lot of time and effort. Once the pieces were cut, I began the process of assembling the box. This involved screwing the pieces together and attaching the joystick. The process of attaching the joystick was complicated and took a lot of time, but it was rewarding to see the final product coming together. After the box was assembled, I decided to give it a coat of spray paint to make it look more polished and finished. This added an extra layer of protection to the wood and gave the box a more professional look. In the end, I was very happy with the way the box turned out. It was sturdy and well-constructed, and the addition of the joystick made it a perfect fit for my Asteroids game.
Implementation (p5js and Arduino):
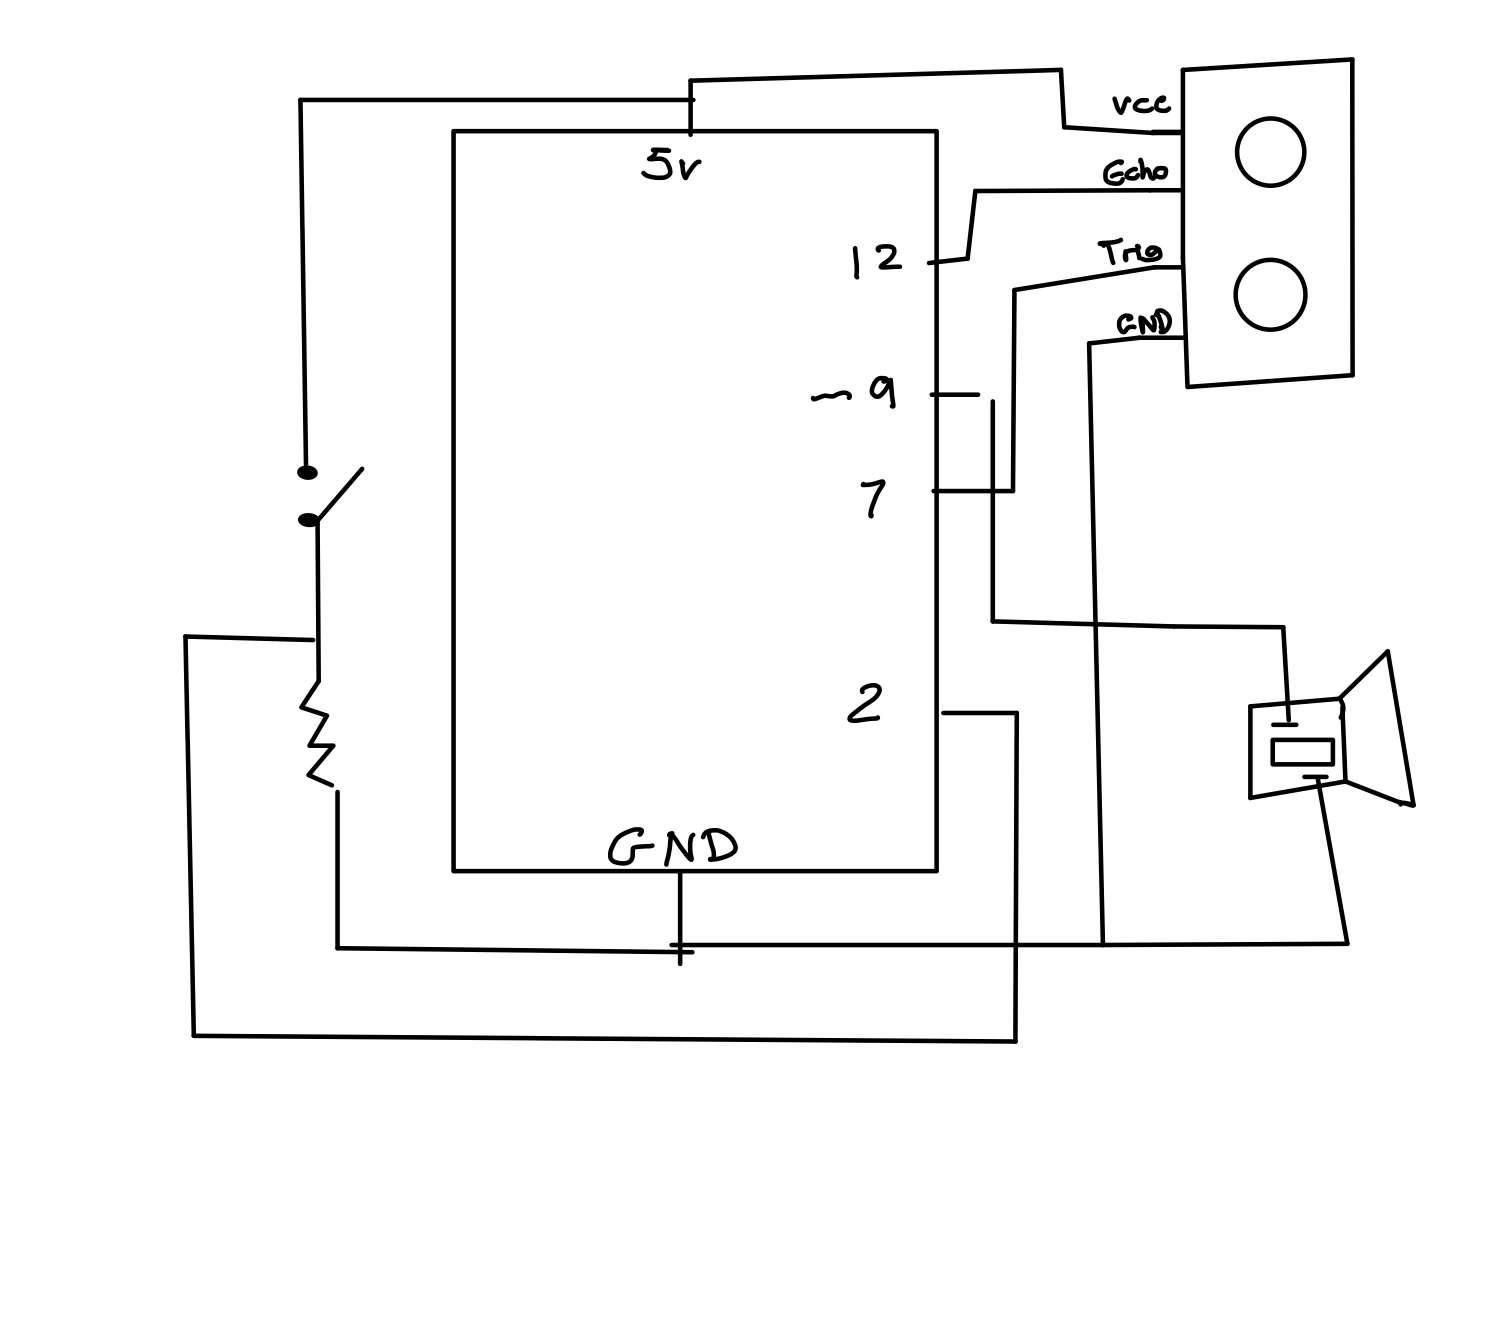
Arduino code:
void setup()
{
  Serial.begin(9600);
  pinMode(2, INPUT);
  digitalWrite(2,HIGH);
  pinMode(A0, INPUT);
}

void loop()
{
  int potVal = analogRead(A0);
  int buttonVal = digitalRead(2);
  Serial.print(buttonVal);
  Serial.print(",");
  Serial.print( potVal);
  Serial.println();
}
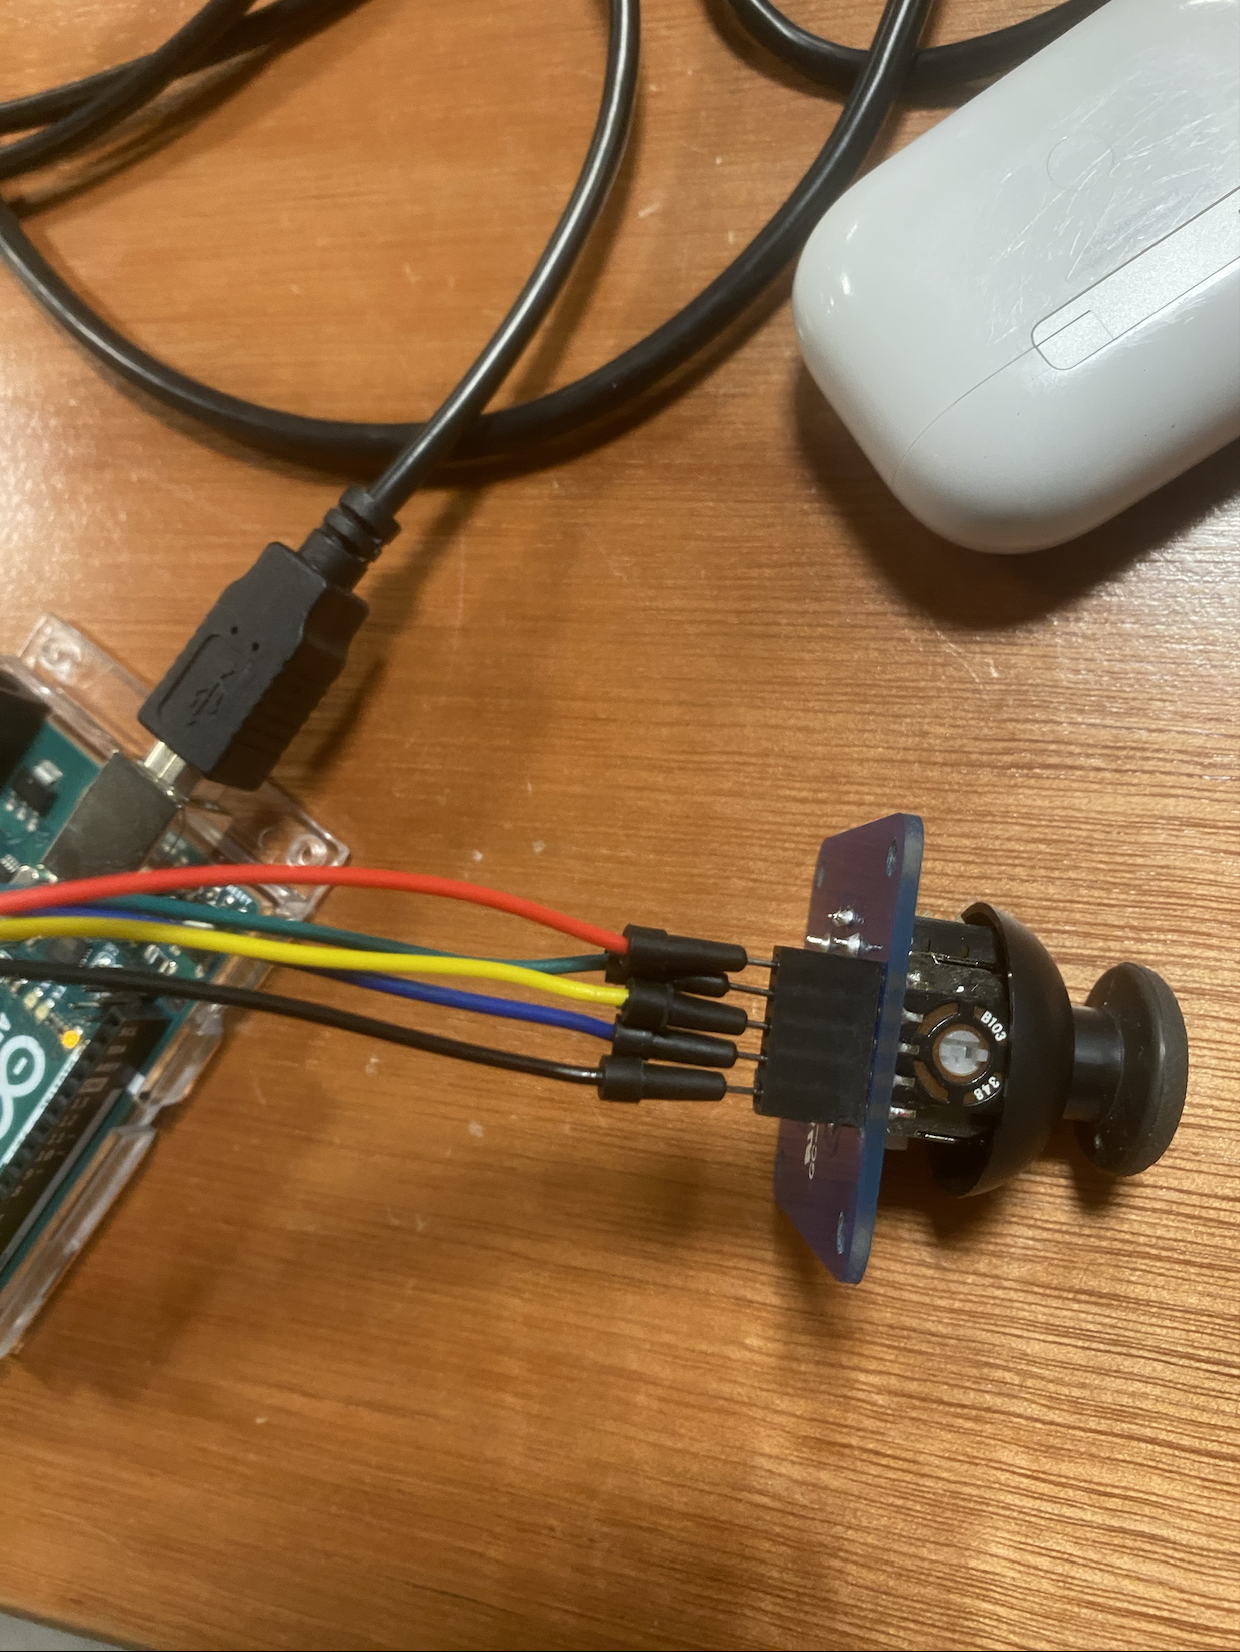
red – 5V
green – A0 (x-axis values)
yellow – A1 (y-axis values not used)
blue – 2 (button values)
black – GRW
p5js code:
These are the function used to connect the Arduino values with the game. The rest of the code is the one from my midterm project.
function makePortButton()
{
  portButton = createButton("choose port");
  portButton.position(10, 10);
  portButton.mousePressed(choosePort);
}

function choosePort()
{
  if (portButton) portButton.show();
  serial.requestPort();
}


function openPort()
{
  serial.open().then(initiateSerial);

  function initiateSerial()
  {
    console.log("port open");
  }

  if (portButton) portButton.hide();
}

function portError(err) {
  alert("Serial port error: " + err);
}

function serialEvent() {

  let data = serial.readStringUntil('\n');

  try
  {
    values = split(data, ',');
  }
  catch(err)
  {
    //print("NAN");
  }

}

function portConnect() {
  console.log("port connected");
  serial.getPorts();
}

function portDisconnect() {
  serial.close();
  console.log("port disconnected");
}

function closePort() {
  serial.close();
}


function controls2(x,y){

  if(!isNaN(y) && y!=2 && y > 0)
  {
     gamestatus = "running";
  }
  if (!isNaN(y) && y!=2 && y > 0)
  {
    makebullet(shooter.x,shooter.y);
  }

}


function controls(x,y){

  if(!isNaN(y) && y!=2 && y > 0)
  {
     gamestatus = "running";
  }


  if(!isNaN(y) && y!=2 && fired == 0)
  {
    if(y>0)
     {
       makebullet(shooter.x,shooter.y);
       fired = 1;
     }
  }

  if(!isNaN(y) && y!=2 && fired != 0 && y == 0)
  {
    fired = 0;
  }
  if(x<340 && x>250)
  {
    rate = -2;
  }
  else if(x<250)
  {
    rate = -5;
  }
  else if(x>340 && x<680)
  {
    rate =0;
  }
  else if(x>680 && x<850)
  {
    rate = 2;
  }
  else if(x>850 && x<950)
  {
    rate = 5;
  }
  else
  {

  }
}
User experience:
Reflections and improvements:
Figuring out how to use p5js and Arduino together was not easy, but it was a rewarding experience. I learned a lot about programming and electronics as I worked on the project, and I was able to create a unique and engaging game. I am proud of the work that I put into the game, and I hope that others will enjoy playing it as much as I enjoyed making it. Overall, I am pleased with the final product of my Asteroids game. It is a fun and exciting game that is sure to provide hours of entertainment. The addition of the Arduino joystick makes it even more engaging, and I am glad that I was able to incorporate this technology into the game. I hope that others will enjoy playing it as much as I enjoyed creating it.