
Concept
For this assignment, I decided to advance my first assignment by using an analog sensor (ultrasonic range finder) to calculate the distance to the object, indicating if it has been moved too far from the sensor.
Technical structure
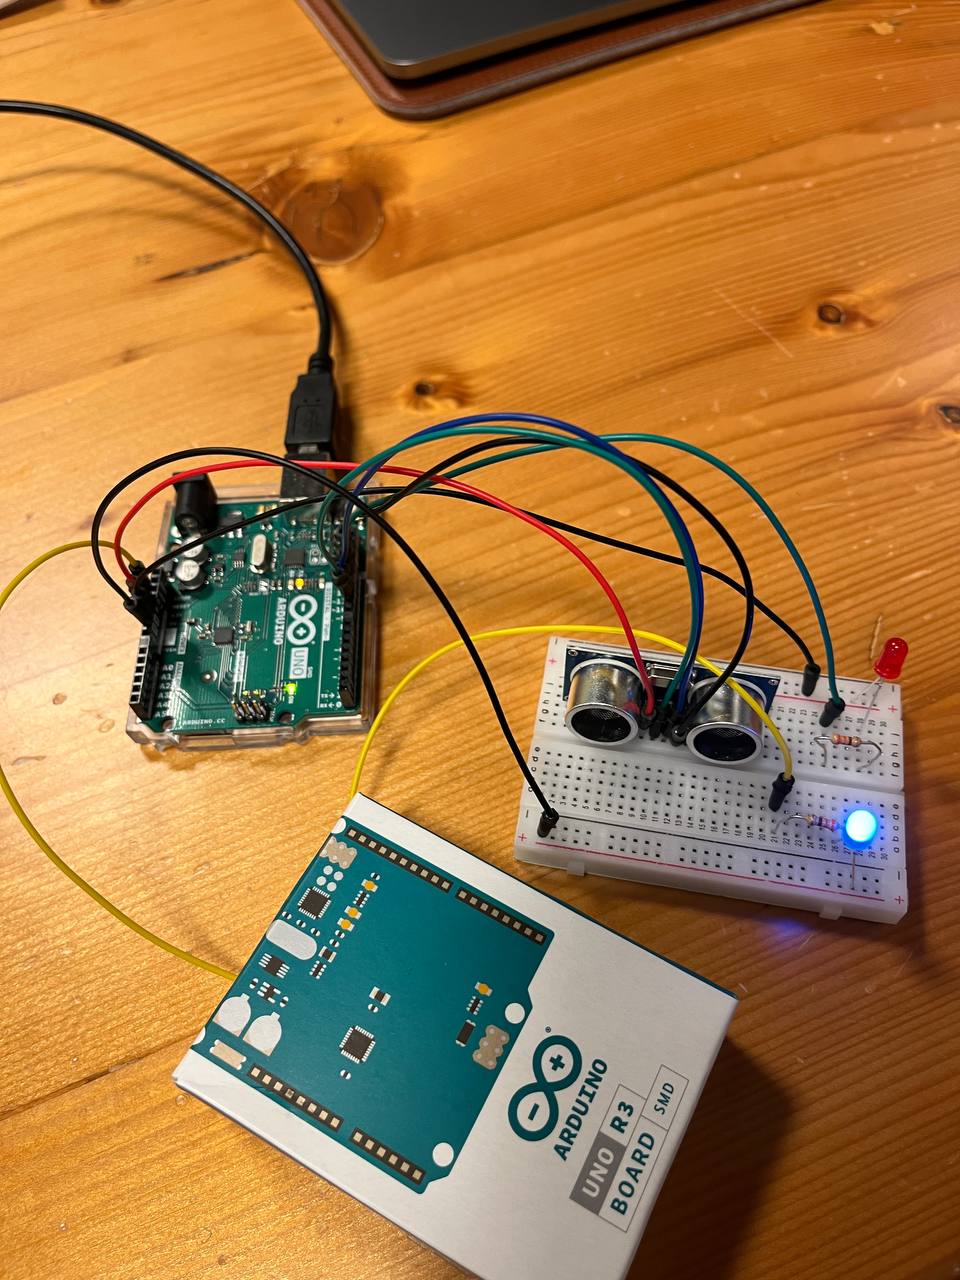
For the digital switch, I used the one from the last assignment, where the conductive fabric was used to complete the circuit when an object touched the wires. When it happens, the blue LED lights up.
 .
. 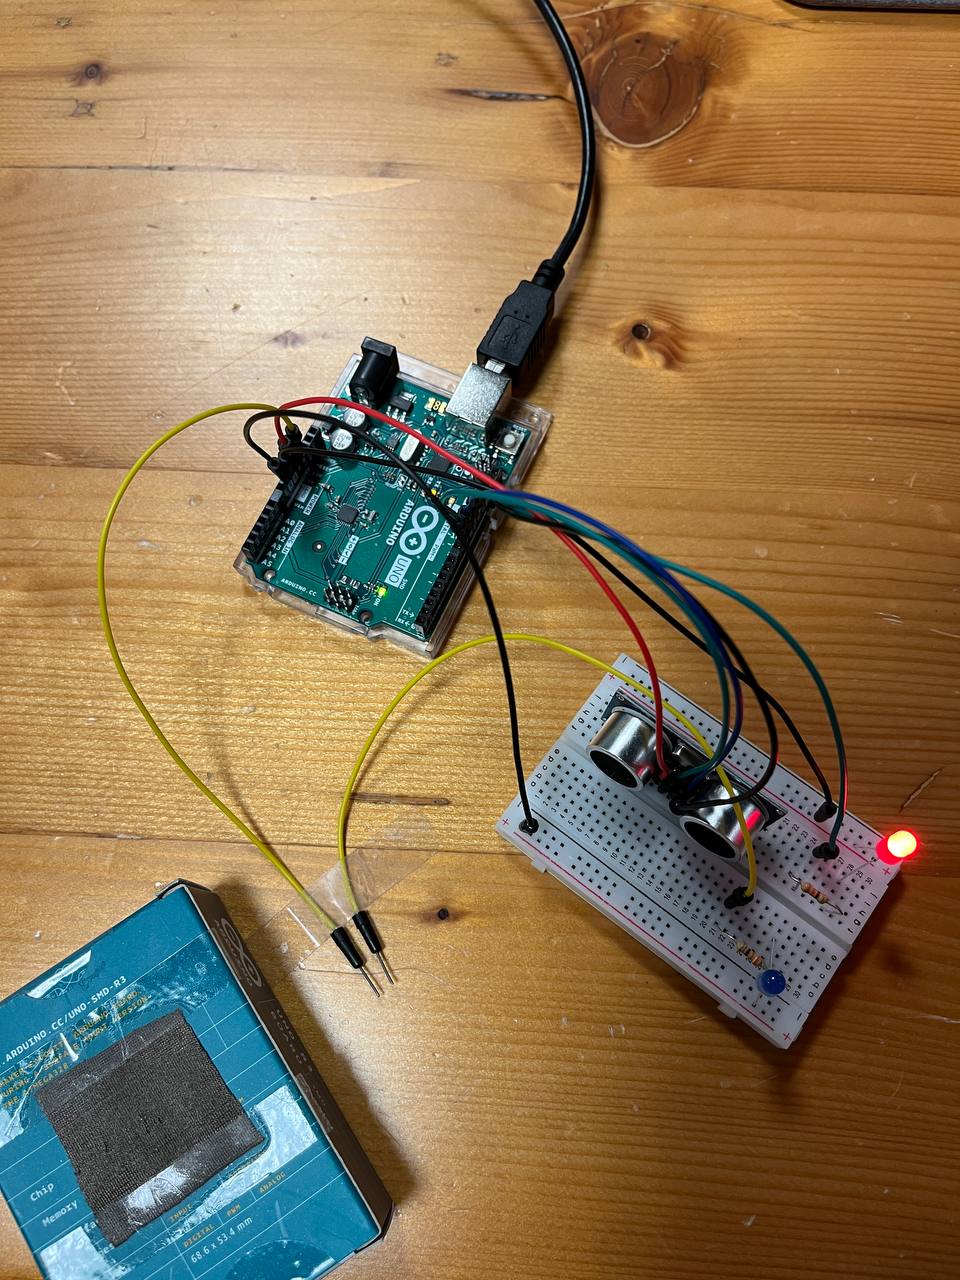
As I mentioned earlier, for the analog switch, I decided to use the ultrasonic range finder. It turned out that working with this sensor is quite easy; however, while I was testing the sensor, I found that sometimes the waves go through the object (e.g., hands), and the sensor detects dramatic changes in distance, which makes it slightly inaccurate.
The program is constantly checking the distance to the object, and when the distance detected is more than 10 cm, the red LED starts fading.
Code
void loop() {

  digitalWrite(trigPin, LOW);
    delayMicroseconds(2);

    digitalWrite(trigPin, HIGH);
    delayMicroseconds(10);

    digitalWrite(trigPin, LOW);
  duration = pulseIn(echoPin, HIGH);
  distance = (duration*.0343)/2;

  if (distance >= 10){
    analogWrite(led, brightness); // set the brightness of pin 11:
    brightness = brightness + fadeAmount; // change the brightness for next time through the loop:

    // reverse the direction of the fading at the ends of the fade:
    if (brightness <= 0 || brightness >= 255) {
      fadeAmount = -fadeAmount;
    }

    // wait for 3 milliseconds to see the dimming effect
    delay(3);
  } else {
    analogWrite(led, 0); // turn off the light if the object is within 10 cm distance
  }

  Serial.print("Distance: ");
    Serial.println(distance);

    delay(10);
}
In this part of the code, the loop function for the project is described. The first part controls the functionality of the switch, and starting with the if function, the red LED is being controlled. In line 11, the duration is multiplied by 0.343 because the speed of sound in centimeters per microsecond is .0343 c/μS. Then it’s being divided by two because the sound waves travel to the object and back.
Demonstration
Link to the video: Assignment demonstration
Reflection
While working on the assignment, I realized that making a theft detection device is not as simple as it seems to be. The device I created can be easily bypassed by placing another object in front of the sensor. But if the person is not aware of how the system functions, the device can be used successfully. I enjoyed working with a new sensor, and I hope to expand my knowledge of Arduino more.
Sources used:
“Getting Started with the HC-SR04 Ultrasonic sensor”
https://projecthub.arduino.cc/Isaac100/getting-started-with-the-hc-sr04-ultrasonic-sensor-7cabe1