
Task 1:
make something that uses only one sensor on arduino and makes the ellipse in p5 move on the horizontal axis, in the middle of the screen, and nothing on arduino is controlled by p5
Code:
For the code, I used the Arduino and p5js code that was given to us in the class and edited it to suit my needs of moving the horizontal object with the help of a potentiometer. The code shown below is what I wrote in order to move the ellipse on the horizontal axis. As the task was quite simple, I also made the background change colors and gave the ellipse a “trail” effect by changing the transparency.
function draw() {
  var var1 = map(map(rVal,0, 1023, 0, width/2), 0, width/2, 150, 200);
  var var2 = map(map(rVal,0, 1023, 0, width/2), 0, width/2, 200, 50)
  background(var1, var2, var2, 0.9)

  if (!serialActive) {
    fill("black")
    text("Press Space Bar to select Serial Port", 20, 30);
  } else {

    noStroke()
    ellipse(map(rVal, 0, 1023, 50, width-50), height/2, map(rVal, 0, 1023, 5, 50))
  }
}
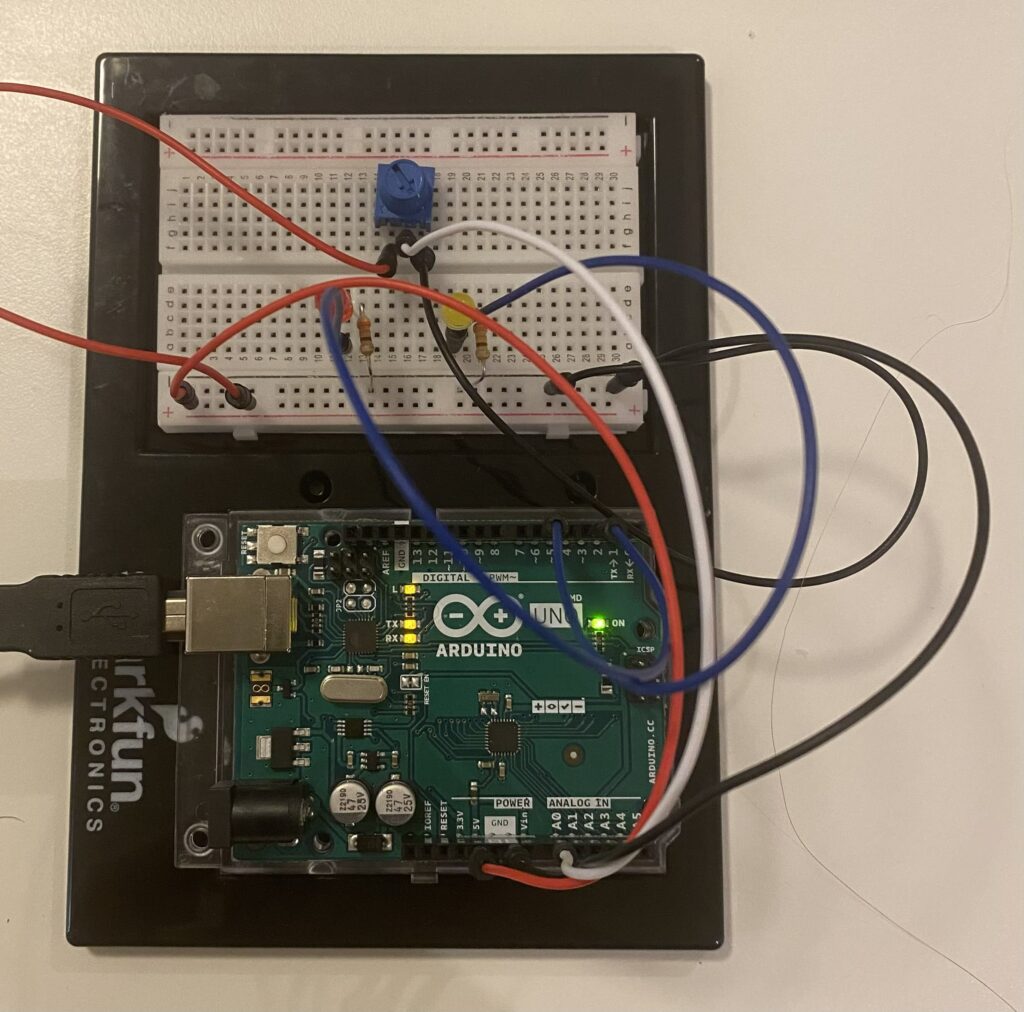
 Picture of the circuit (The LEDs are used to check the wiring):
Task 2:
make something that controls the LED brightness from p5
Code:
As with the previous task, I used the already given code in order to change the brightness of the LED from p5js. However, I changed the digitalWrite() of the right LED (which was connected to pin 5 and could thus produce analog output) to analogWrite(). To change the brightness, I used a HTML slider in p5js. By extracting the value of the slider and sending the data to the right LED, I was able to change the brightness. Additionally, I changed the background color from black to white depending on the brightness of the LED such that the code is more intuitive.
function setup() {
  createCanvas(640, 480);
  textSize(18);

  slider = createSlider(0, 255, 0); // indicate the value range for slider
  slider.position(width/2-150, height/2);
  slider.style('width', '300px');
}

function draw() {
  var brightness_ = map(slider.value(), 0, 255, 0, 255);

  background(brightness_)

  if (!serialActive) {
  } else {
    right = brightness_;
  }
}
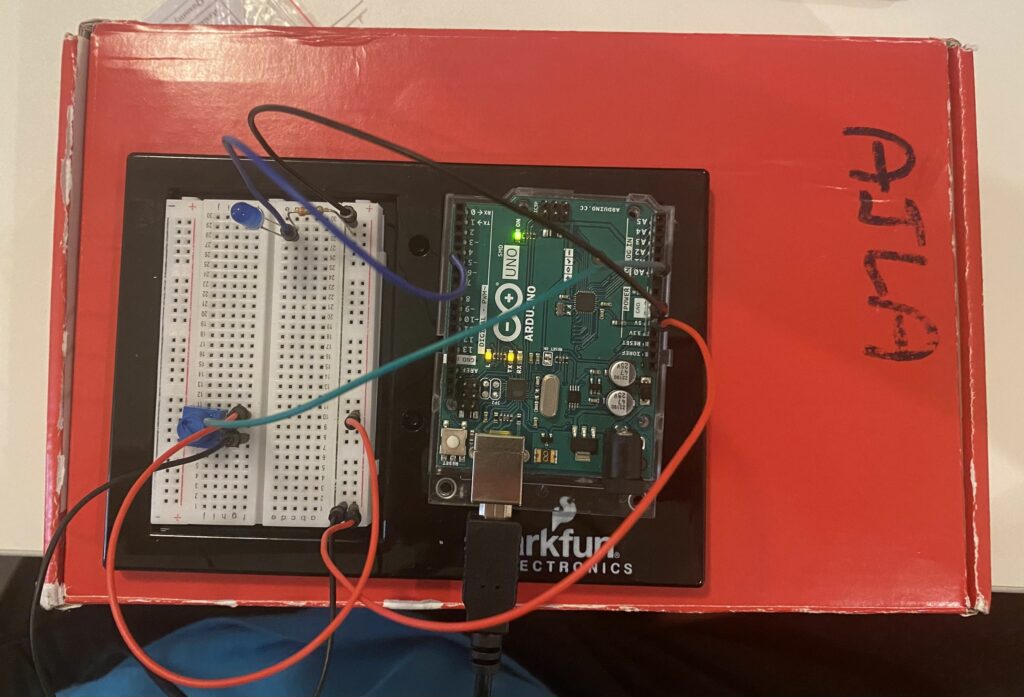
The circuit looks the same as the one of the previous task but without the potentiometer.
Task 3:
take the gravity wind example and make it so every time the ball bounces one led lights up and then turns off, and you can control the wind from one analog sensor
Code:
Combined with the code given in class before, I used the gravity example code for the assignment. By allowing for minor changes, I was able to establish communication from both p5js to Arduino (LED lighting up) and vice versa (potentiometer controlling the wind). While most of the code is from the example, I have annotated the parts which I have added below.
/* Week 11.2 bidi serial example
 * Originally by Aaron Sherwood
 * Modified by Mangtronix
 *
 * Add this library to Sketch files
 *  https://github.com/mangtronix/IntroductionToInteractiveMedia/blob/master/code/p5.web-serial.js files
 *
 * You must include this line in your index.html (in Sketch Files) to load the
 * web-serial library
 *
 *     <script src="p5.web-serial.js"></script>
 *
 * Arduino code:
 * https://github.com/mangtronix/IntroductionToInteractiveMedia/blob/master/code/Week11Serial.ino
 */

let left = 0;
let right = 0;
let rVal = 0;

function setup() {
  createCanvas(640, 480);
  textSize(18);
}


let velocity;
let gravity;
let position;
let acceleration;
let wind;
let drag = 0.99;
let mass = 50;

function setup() {
  createCanvas(640, 360);
  noFill();
  position = createVector(width/2, 0);
  velocity = createVector(0,0);
  acceleration = createVector(0,0);
  gravity = createVector(0, 0.5*mass);
  wind = createVector(0,0);
}

function draw() {
  background(255);
  applyForce(wind);
  applyForce(gravity);
  velocity.add(acceleration);
  velocity.mult(drag);
  position.add(velocity);
  acceleration.mult(0);
  // CONSTRAIN ELLIPSE SUCH THAT IT DOES NOT MOVE OFF SCREEN
  ellipse(constrain(position.x,mass/2, width-mass/2),position.y,mass,mass);
  if (position.y > height-mass/2) {
      // LIGHT UP LED ON COLLISION
      right = 1;

      velocity.y *= -0.9;  // A little dampening when hitting the bottom
      position.y = height-mass/2;
    }
  else{
    // LED SWITCHES OFF WHEN THERE IS NO COLLISON
    right = 0;
  }

  // CONTROL WIND WITH POTENTIOMETER READING
  if(!serialActive){
  }
  else{
    wind.x = map(rVal, 0, 1023, -1, 1)
  }
}

function applyForce(force){
  // Newton's 2nd law: F = M * A
  // or A = F / M
  let f = p5.Vector.div(force, mass);
  acceleration.add(f);
}

function keyPressed(){
  if (keyCode==UP_ARROW){
    mass=random(15,80);
    position.y=-mass;
    velocity.mult(0);
  }

  // REMOVED RIGHT AND LEFT KEY FOR WIND

  //  CONNECTING TO PORT
  if (key == " ") {
    setUpSerial();
  }
}

// CODE FROM CLASS
function readSerial(data) {
  ////////////////////////////////////
  //READ FROM ARDUINO HERE
  ////////////////////////////////////

  if (data != null) {
    // make sure there is actually a message
    // split the message
    let fromArduino = split(trim(data), ",");
    // if the right length, then proceed
    if (fromArduino.length == 1) {
      // only store values here
      // do everything with those values in the main draw loop

      // We take the string we get from Arduino and explicitly
      // convert it to a number by using int()
      // e.g. "103" becomes 103
      rVal = int(fromArduino[0]);
      // alpha = int(fromArduino[1]);
    }

    //////////////////////////////////
    //SEND TO ARDUINO HERE (handshake)
    //////////////////////////////////
    let sendToArduino = left + "," + right + "\n";
    writeSerial(sendToArduino);
  }
}
Video:
Reflection:
This assignment, although not as creative as the rest, was quite interesting. Setting up serial communication between p5js and the Arduino is something I found quite hard to understand in class, but since the assignment involved three Tasks, it became quite easy to navigate both the code and hardware side of things. One of the challenges I faced was failing to remember that Arudino does not work on Safari and that I need to re-compile code in order for it to run. It took me quite some time to remember that I needed to switch browsers for my code to run. However, I take both of these as valuable lessons and hope that I will not forget such details in the future, just to save myself from stressing as much as I did when beginning this project. All in all, I wish to do more creative stuff with the two components, which I hope can be seen in my final project.