Concept
This project is a simulation of human thirst. We have two LED lights:
– A blue light, which indicates how ‘full’ of water we are. In the code, our ‘fullness’ is represented by the variable ‘capacity’. The lower the capacity, the thirstier we are. The blue light’s brightness indicates our capacity.
– A red light, which is a warning light. When our capacity goes below a threshold, the red light blinks, as a warning that we’re thirsty.
Moreover, we have two inputs:
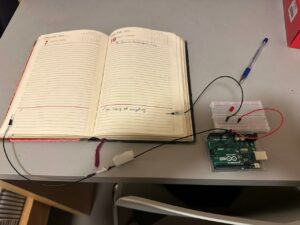
– A push button. Clicking it refills our capacity to maximum.
– A photosensor. When we cover the photosensor with our hand, the capacity goes down faster, which is similar to how physical activity (e.g. exercise) makes us thirstier faster.
Video demonstration
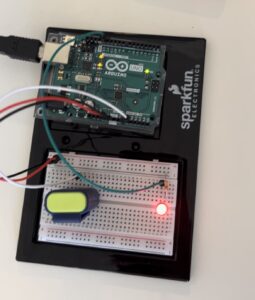
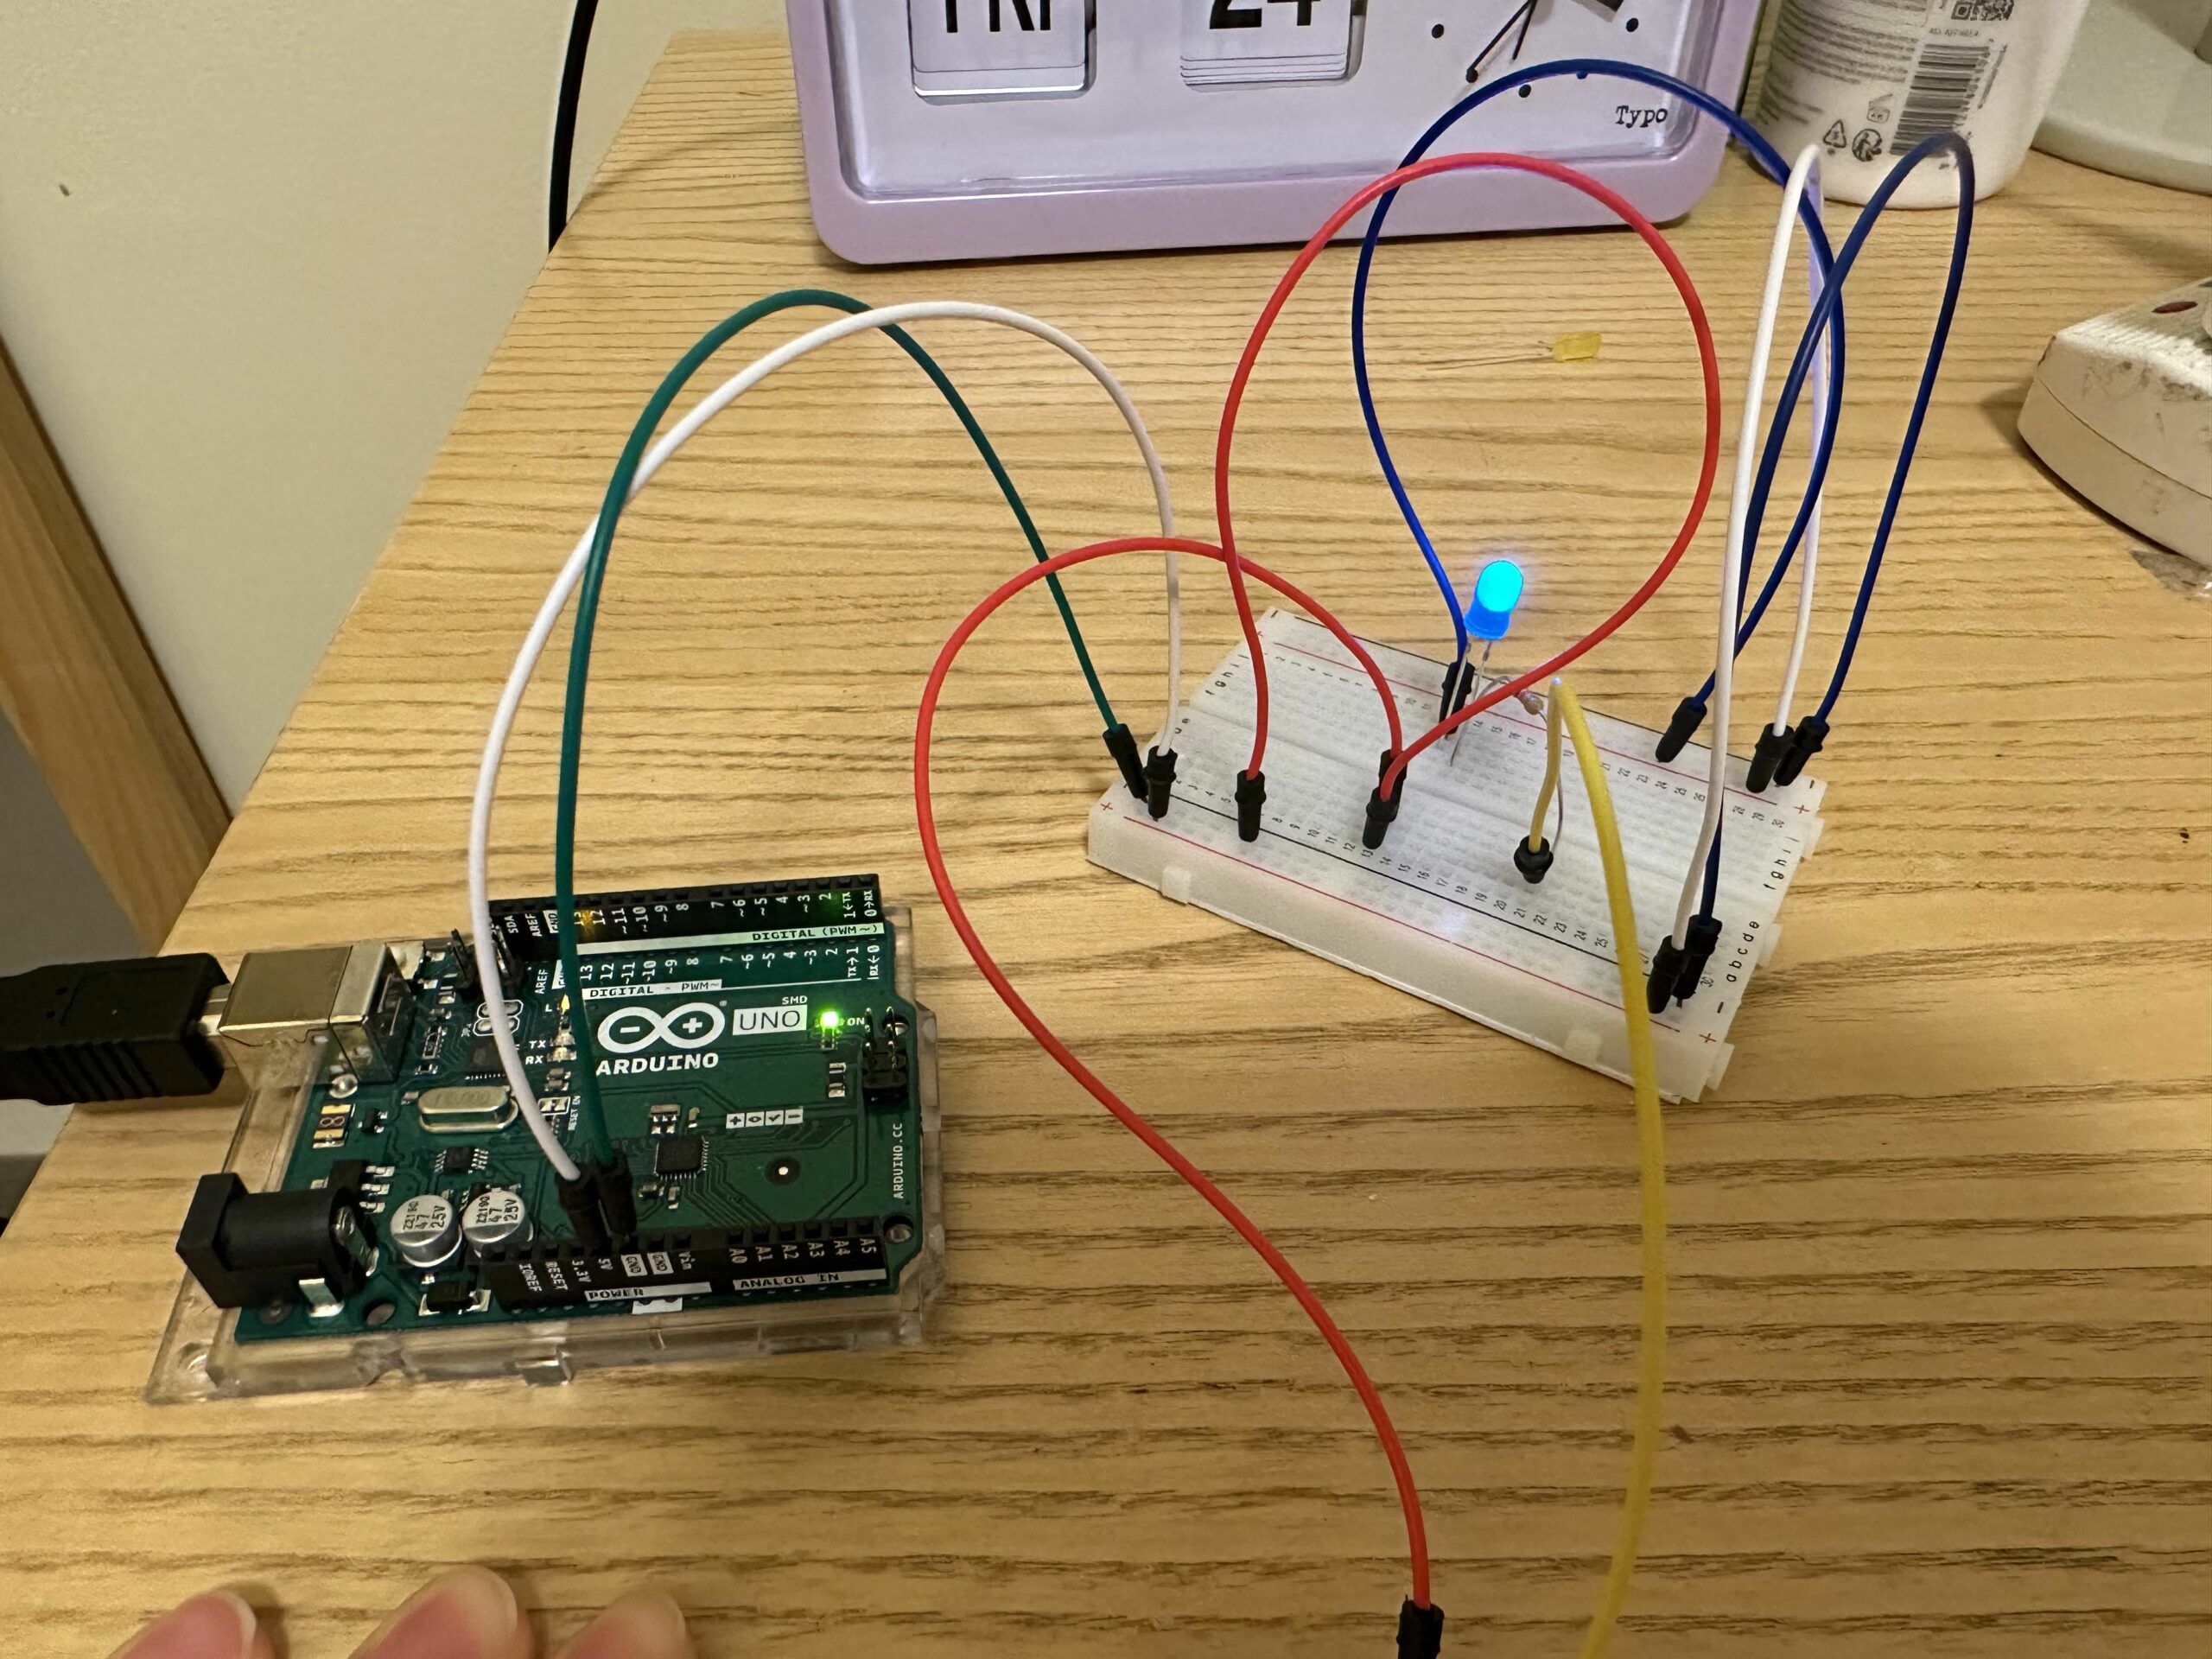
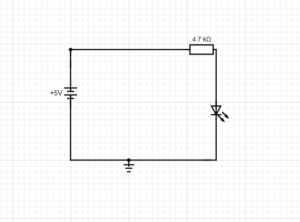
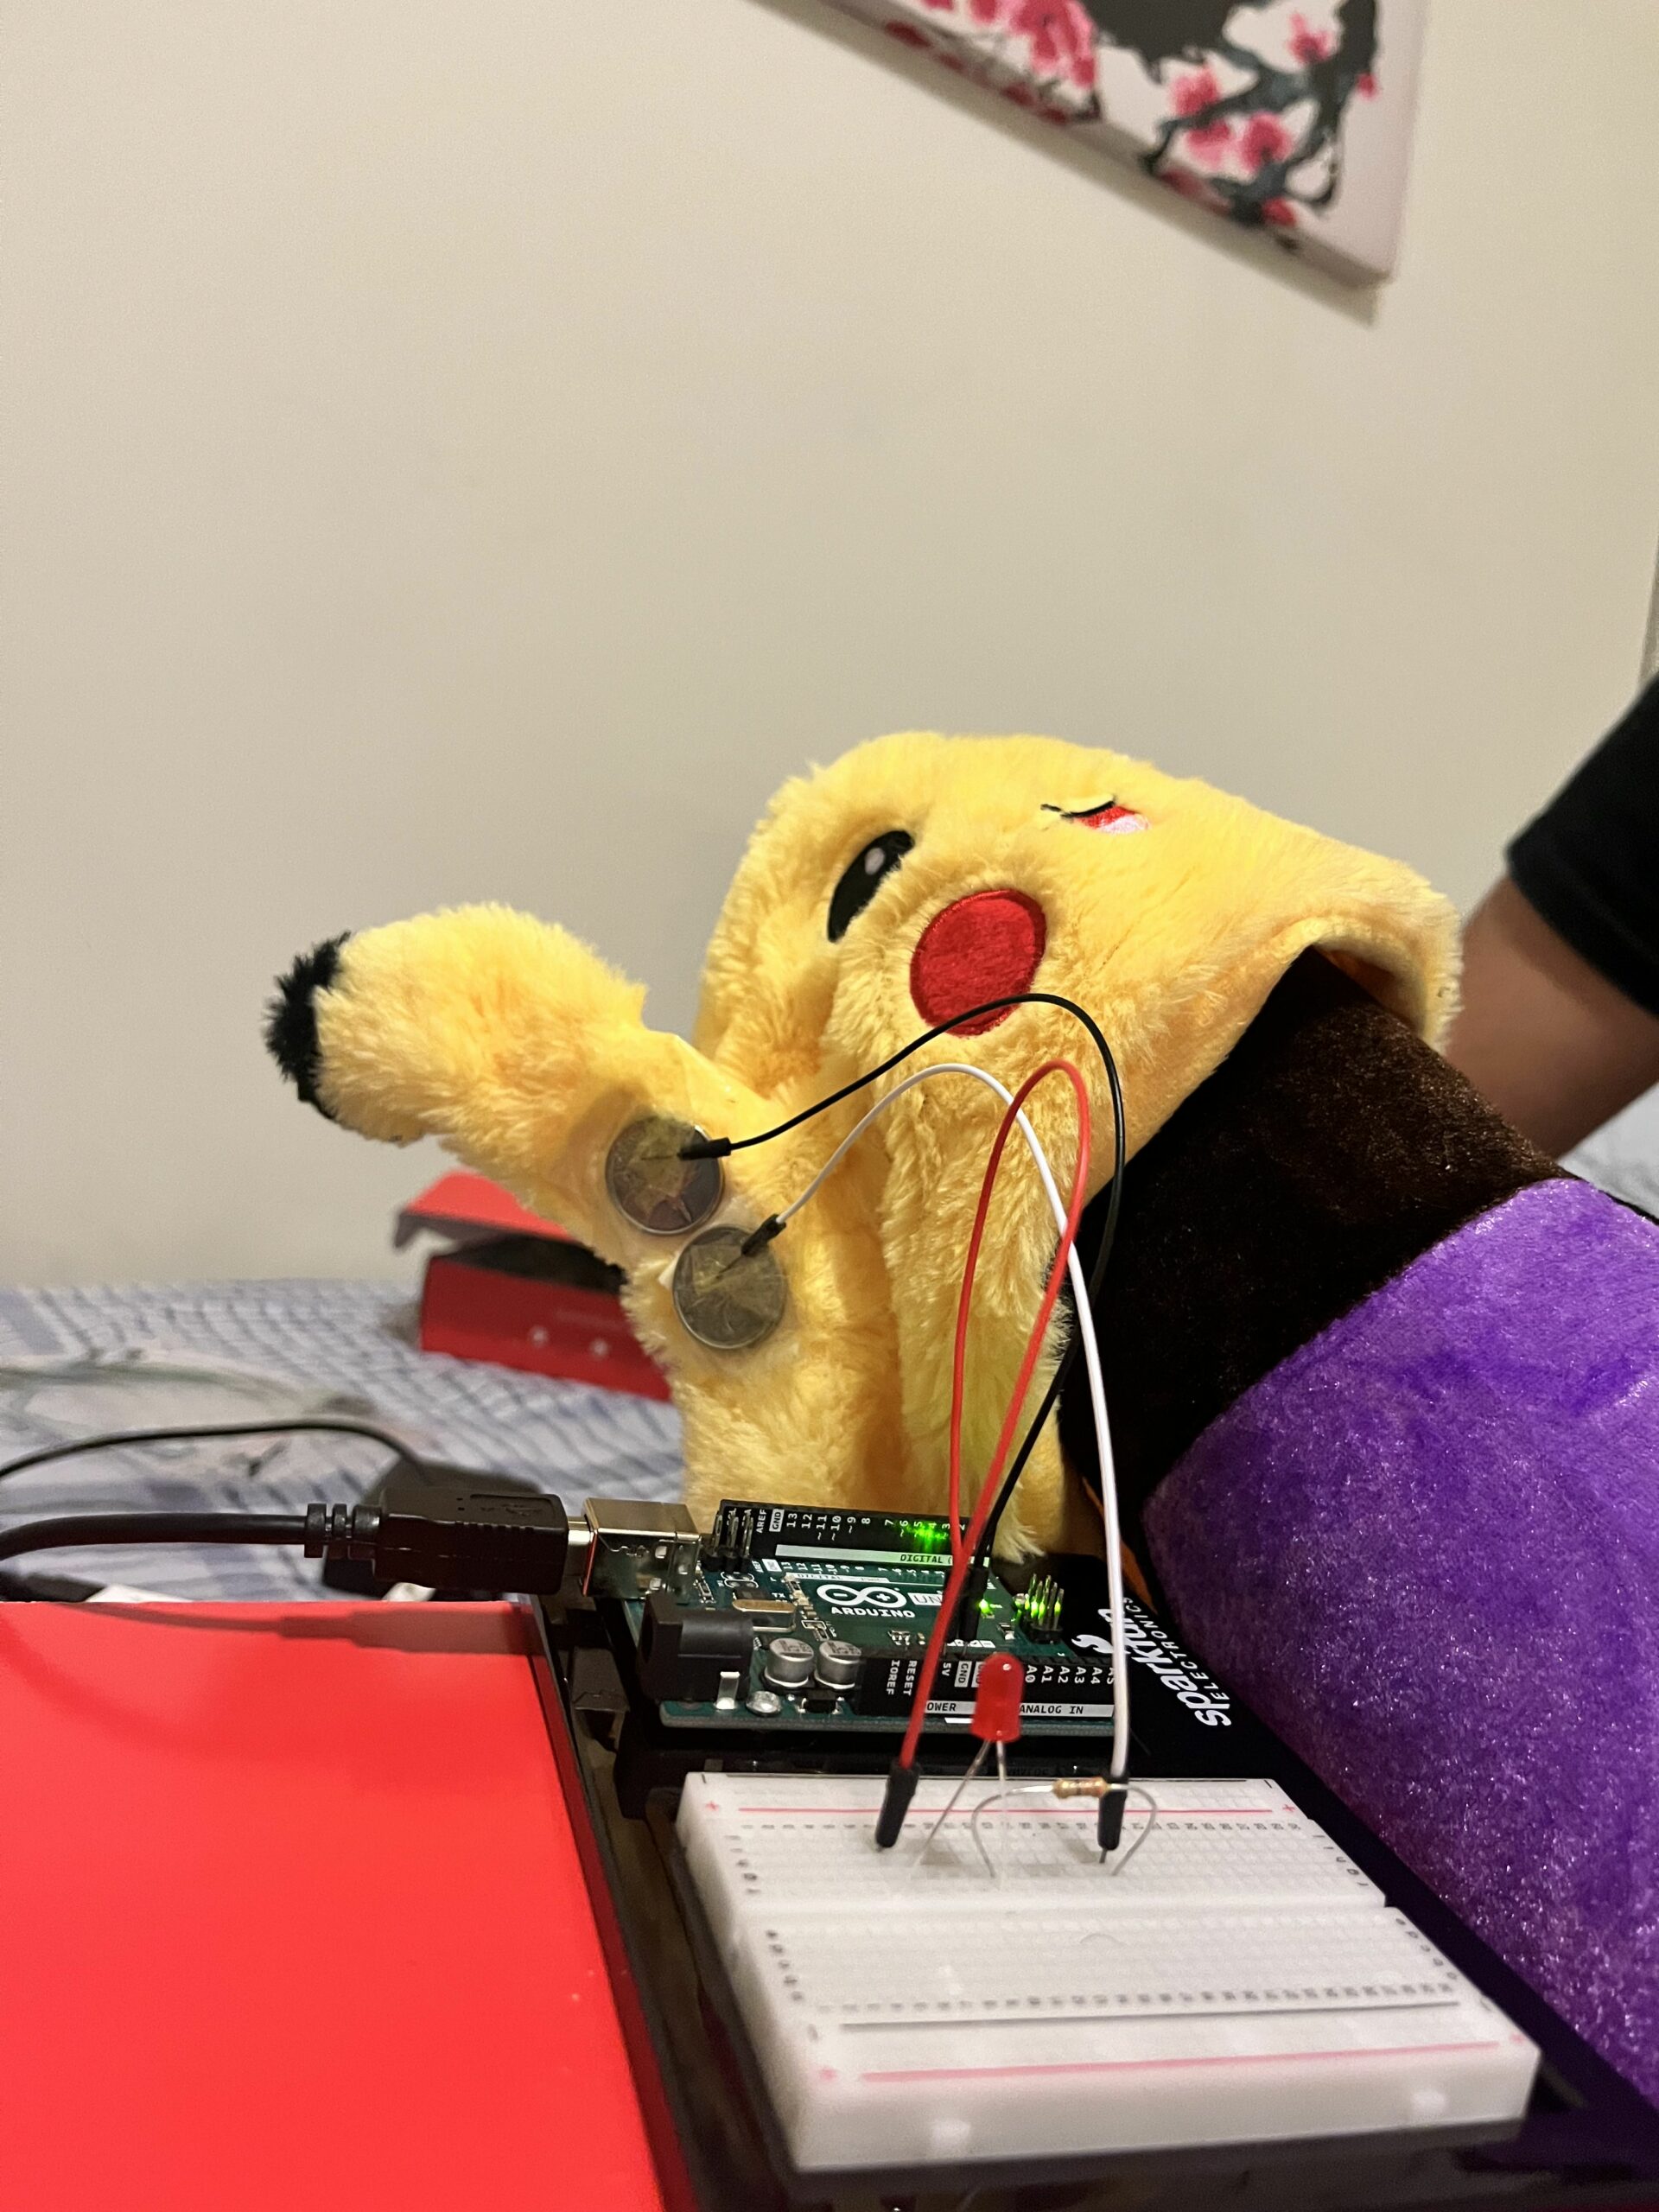
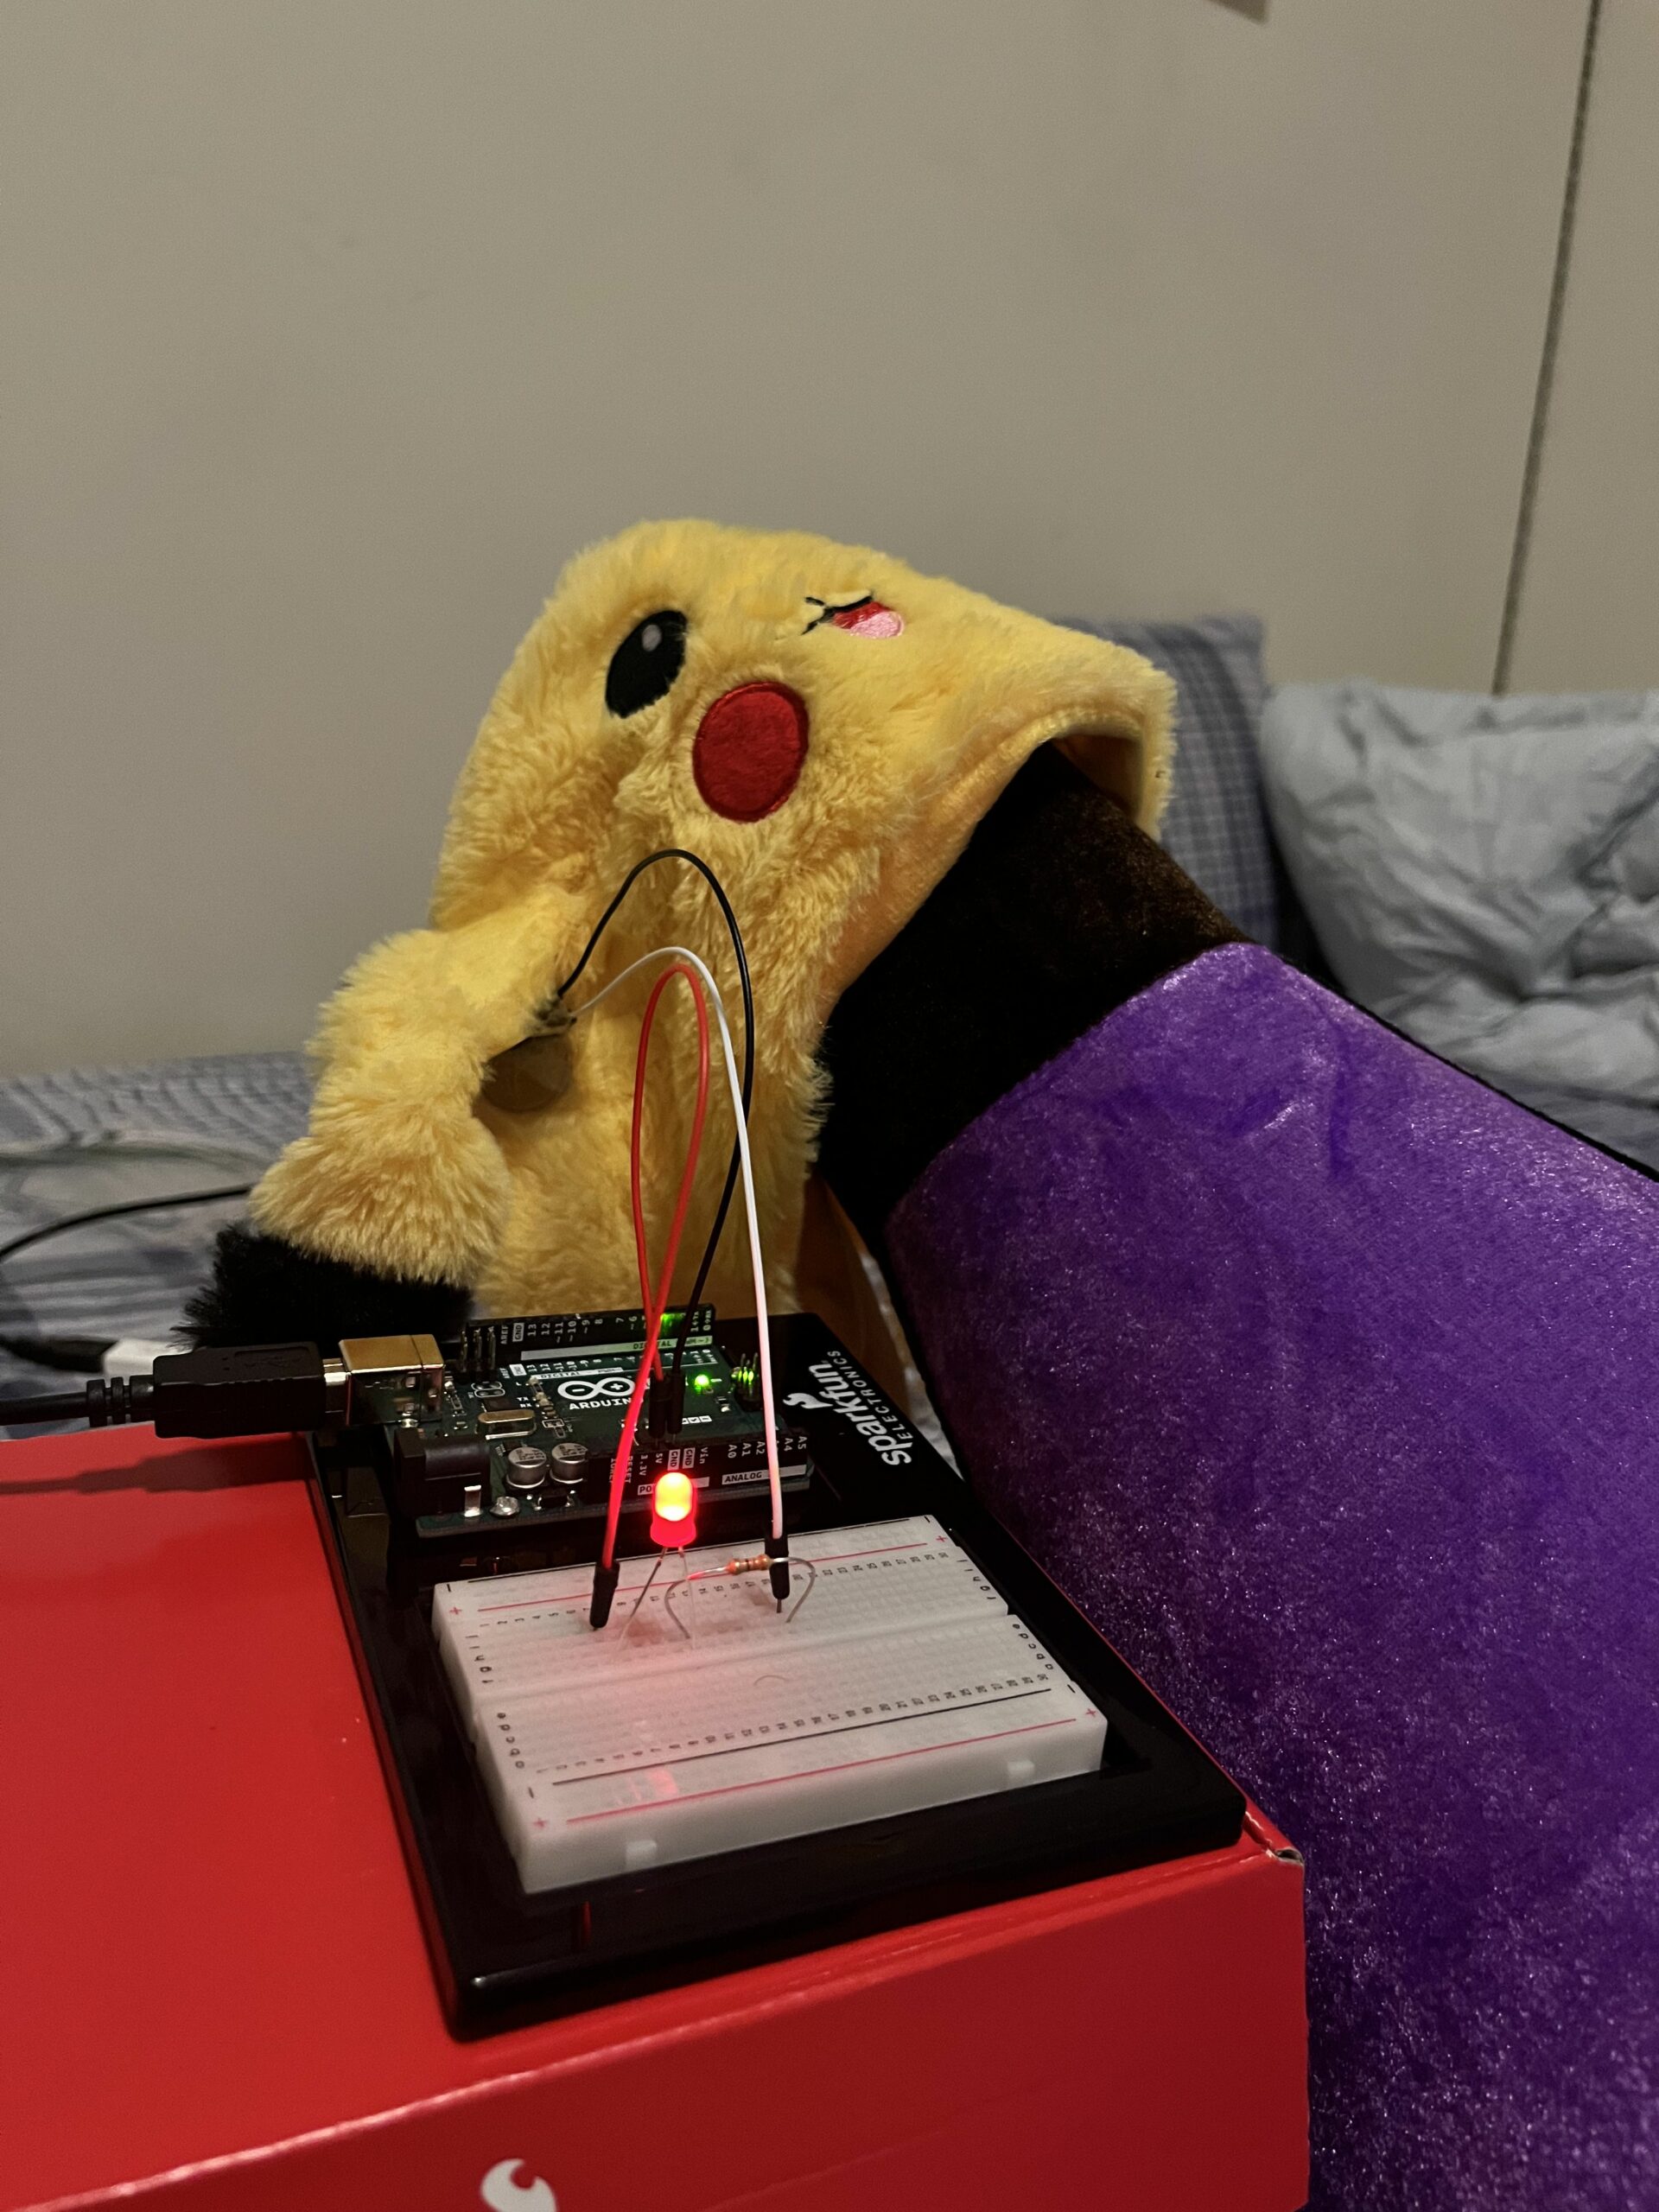
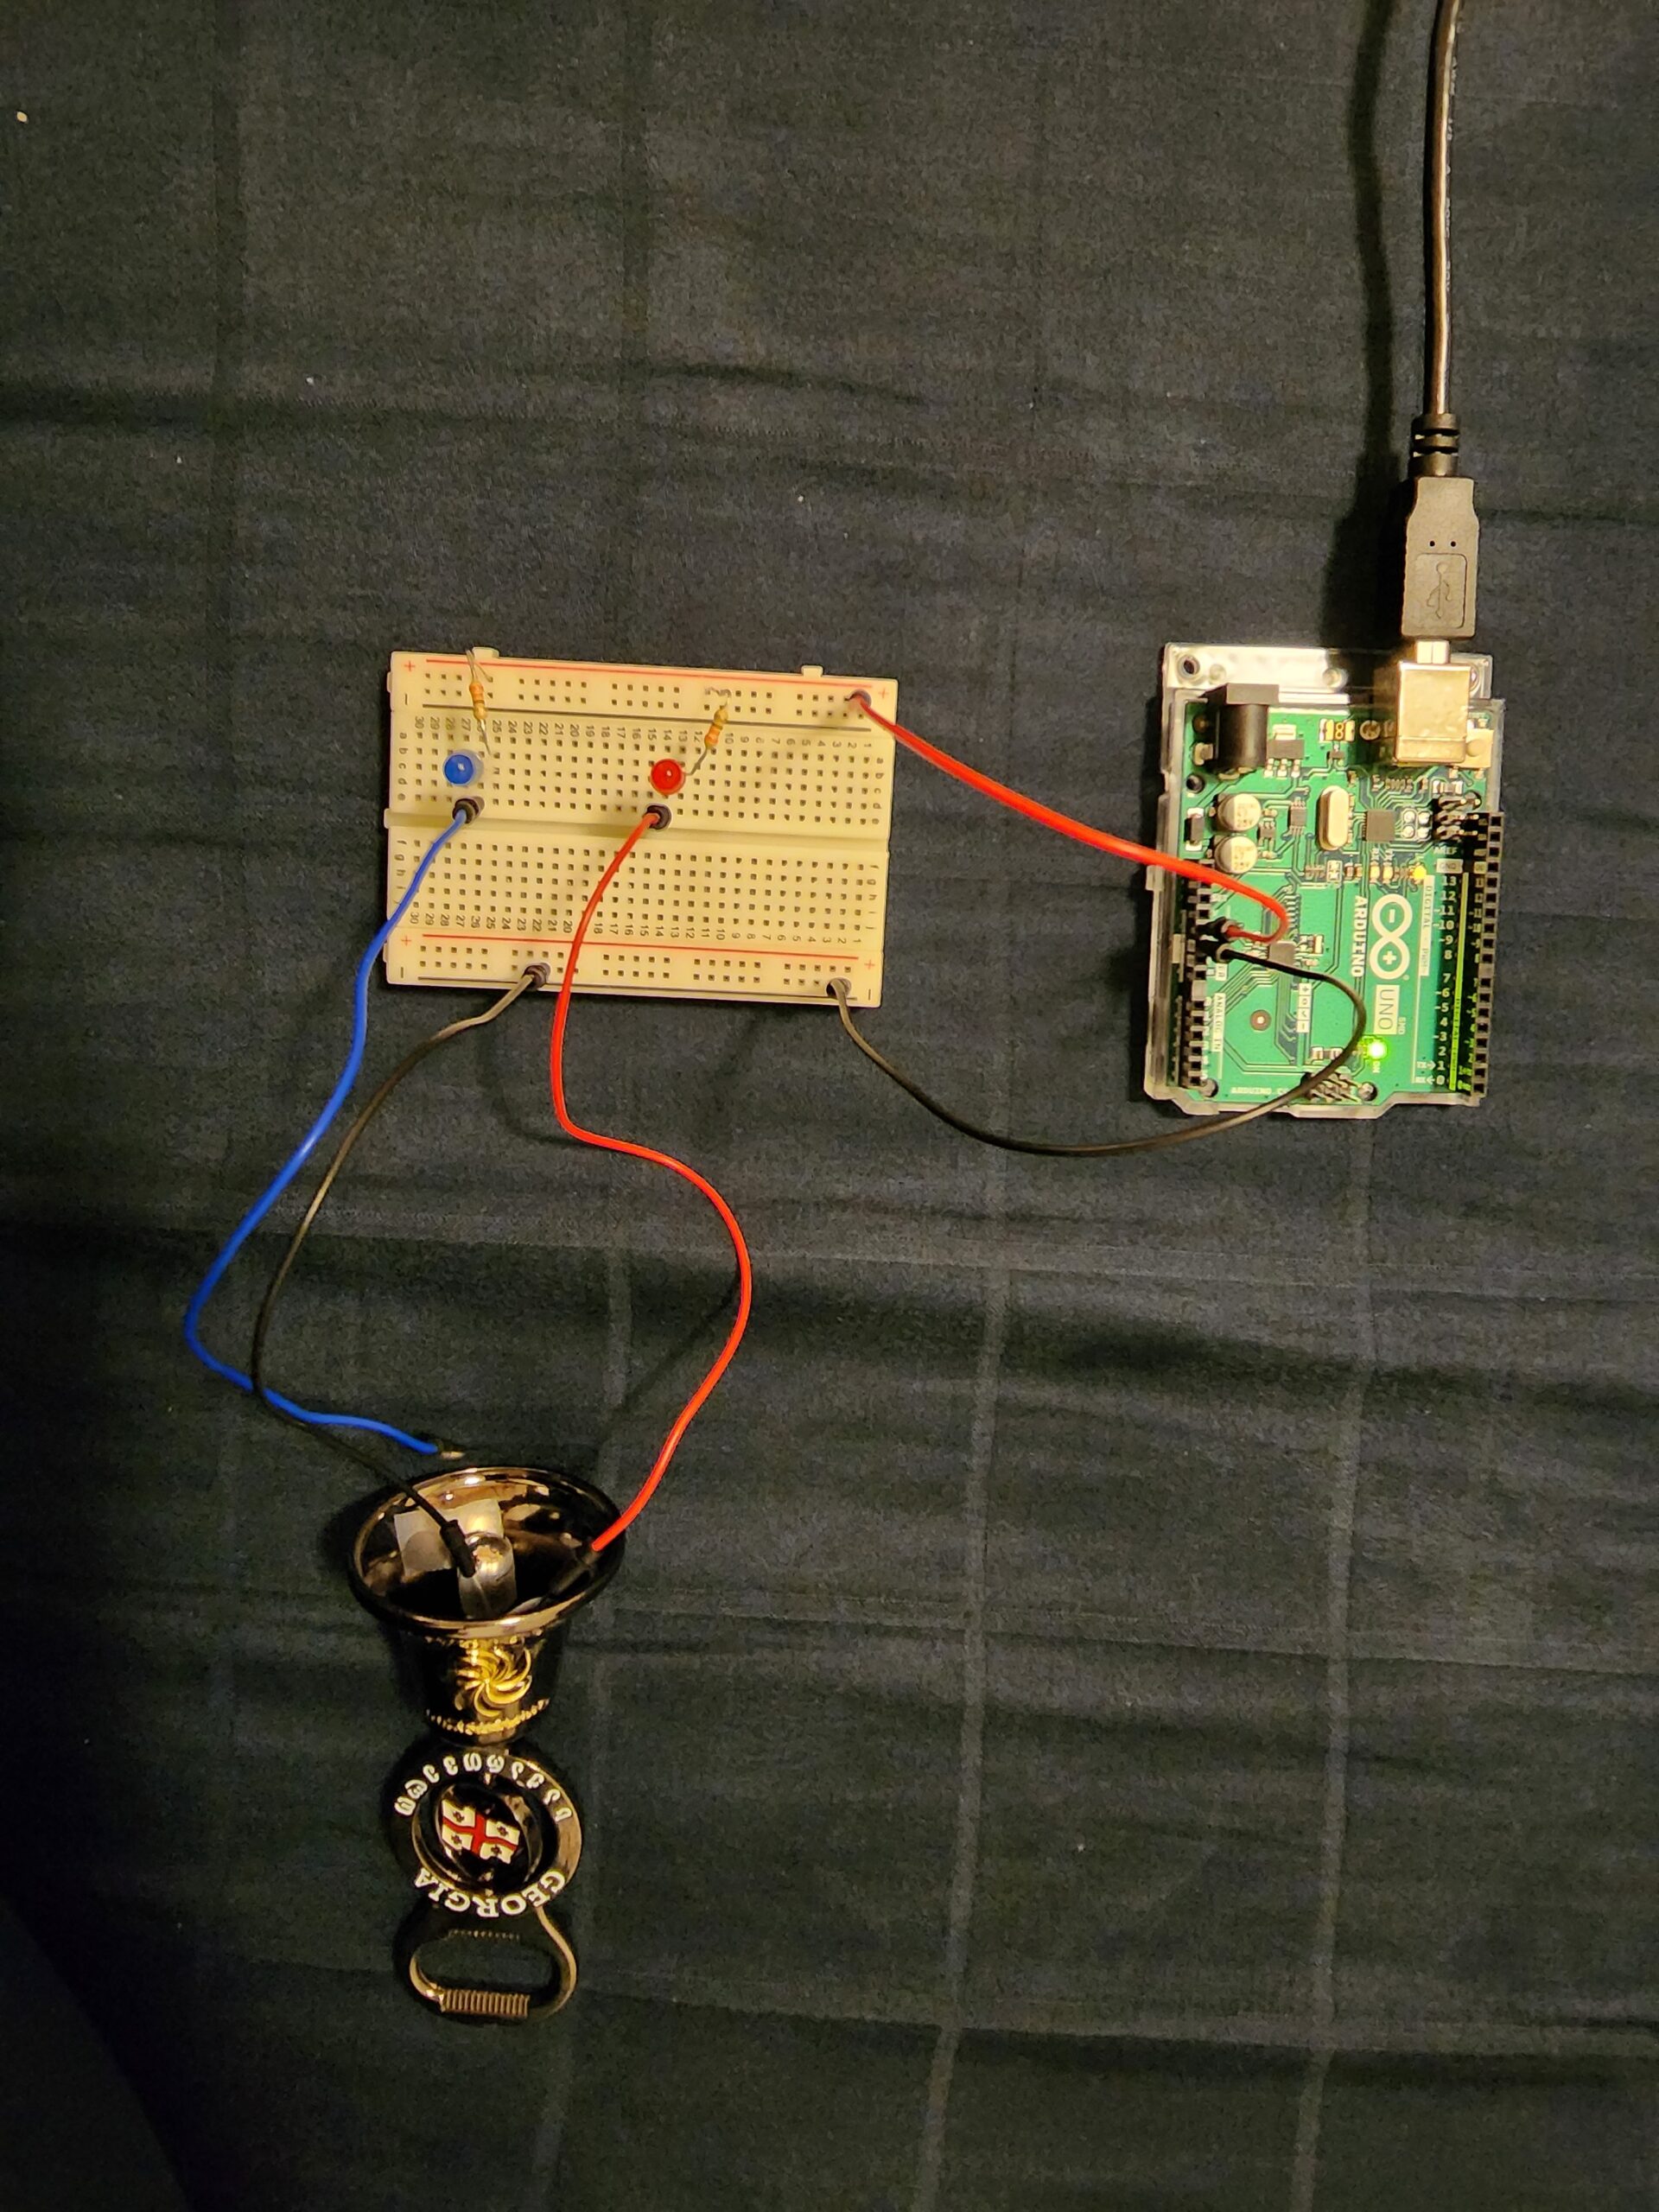
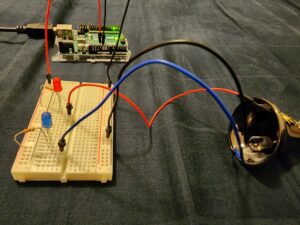
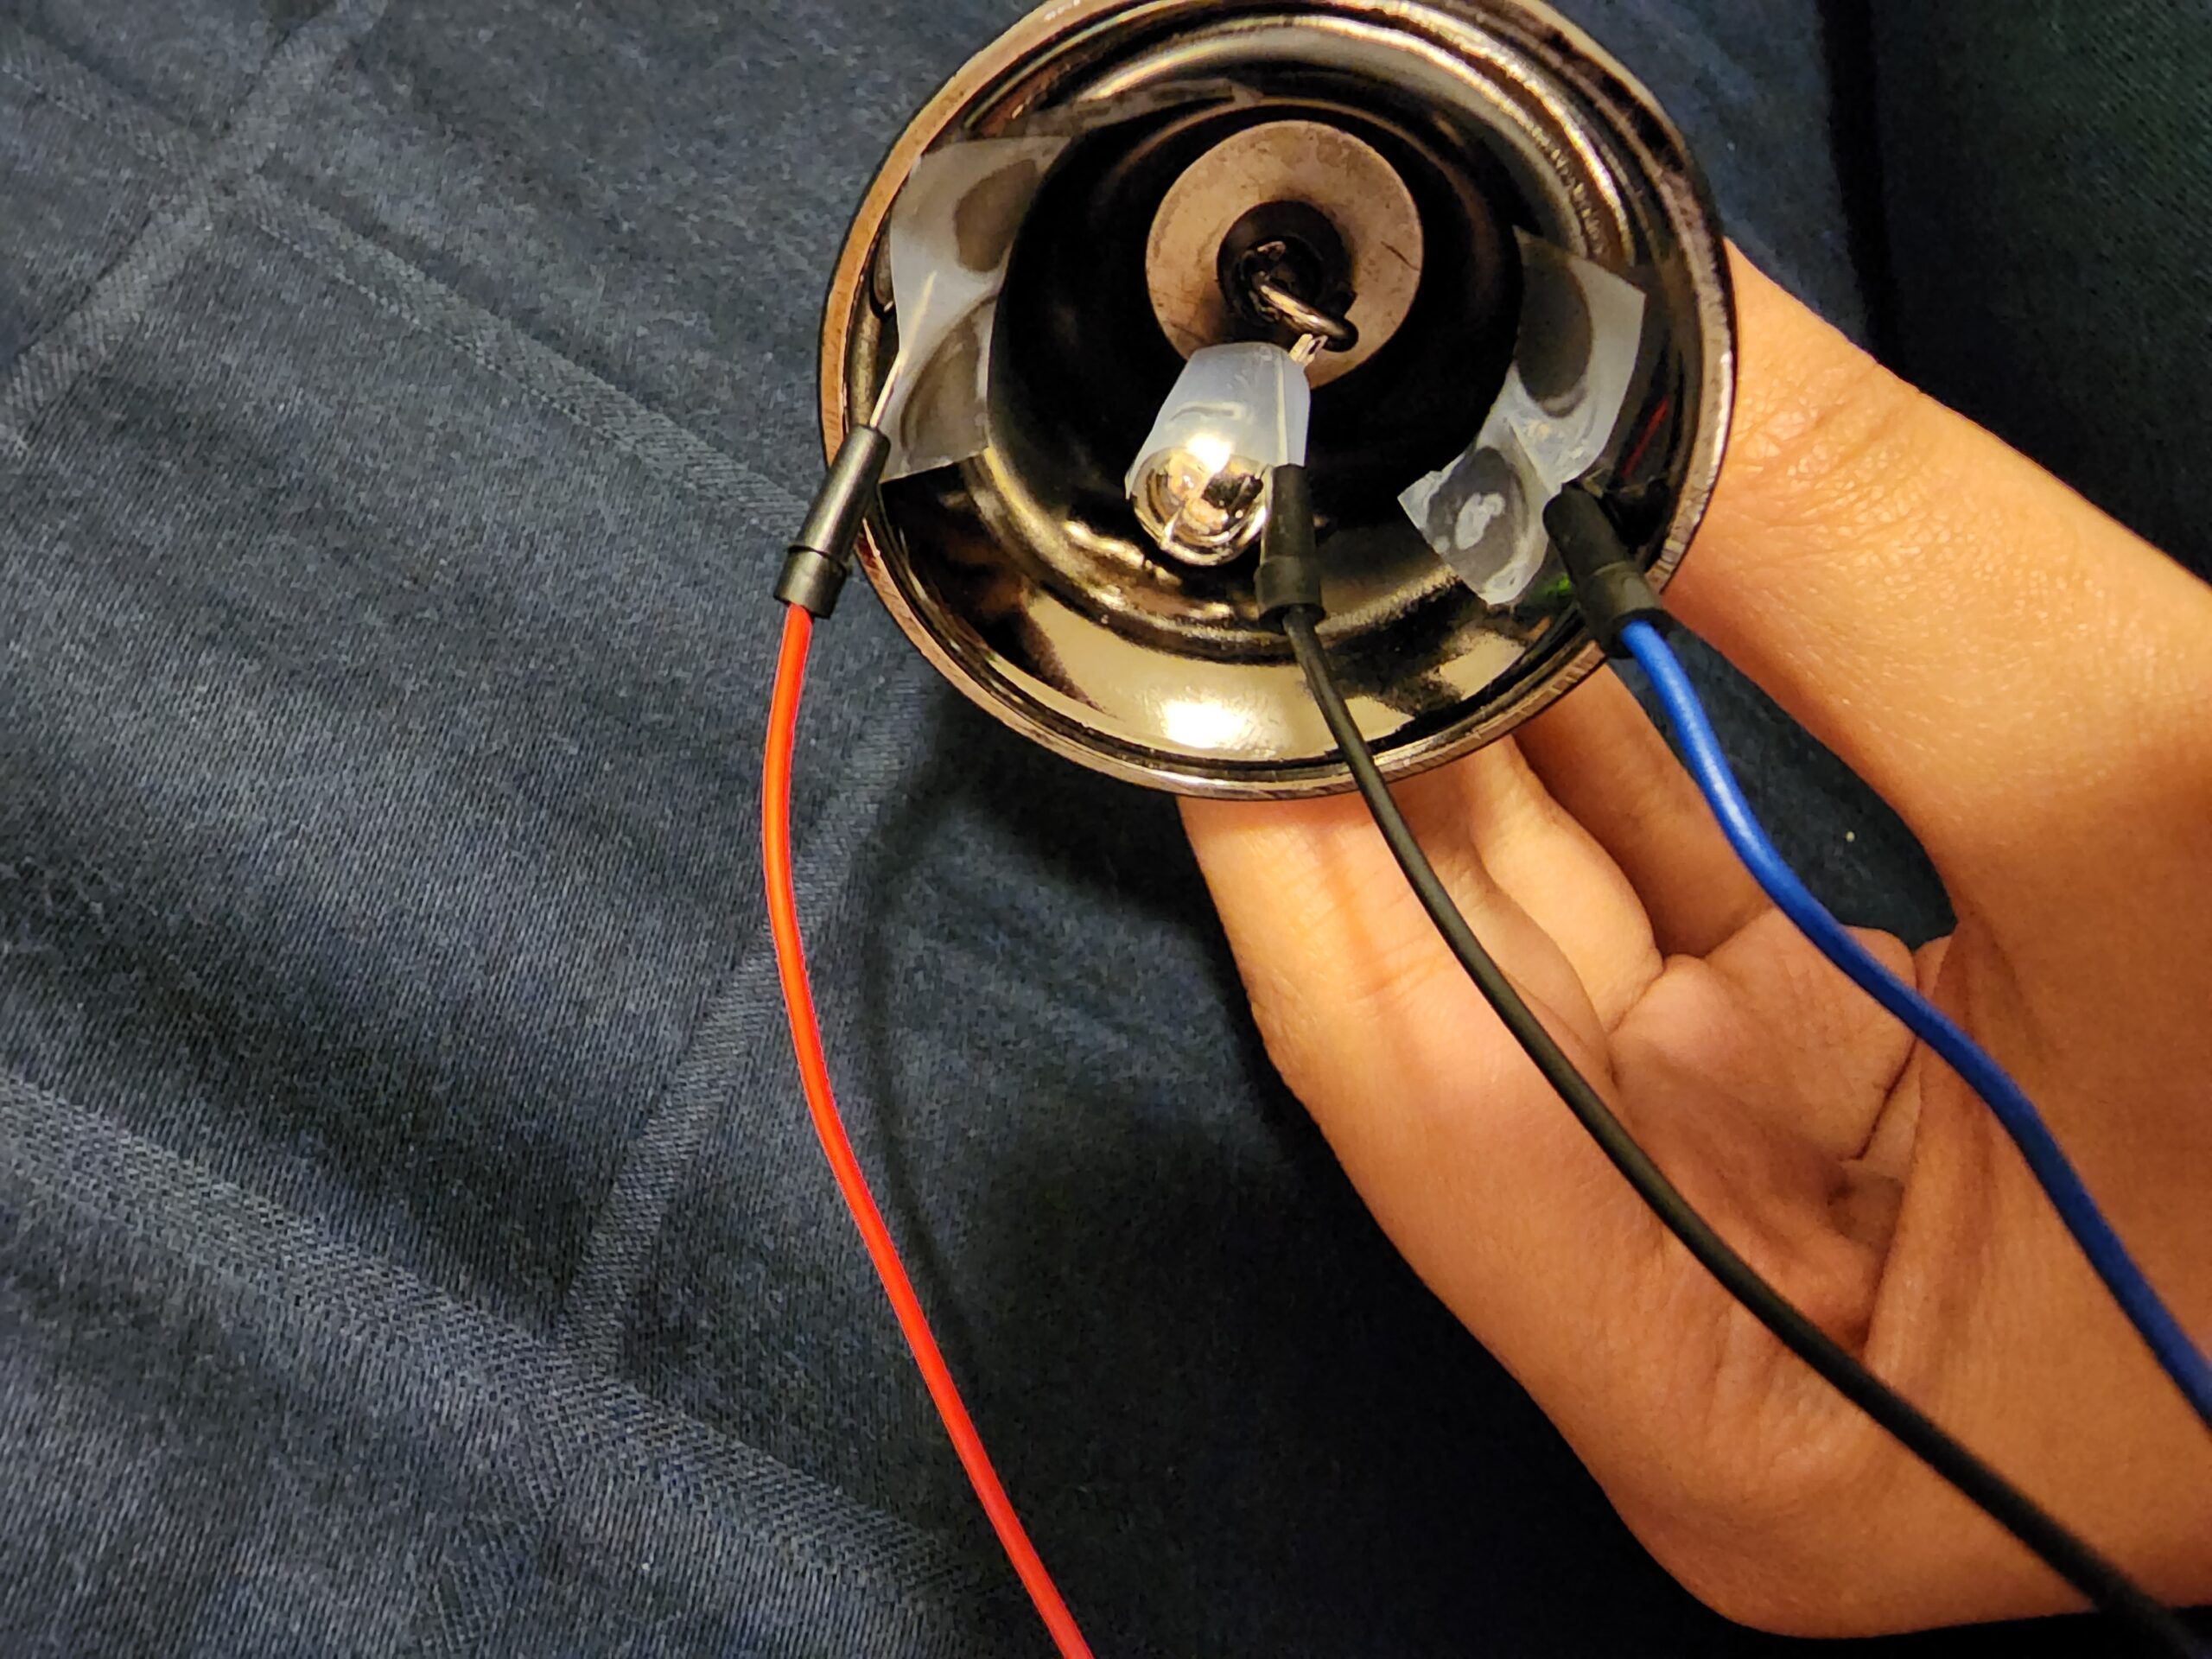
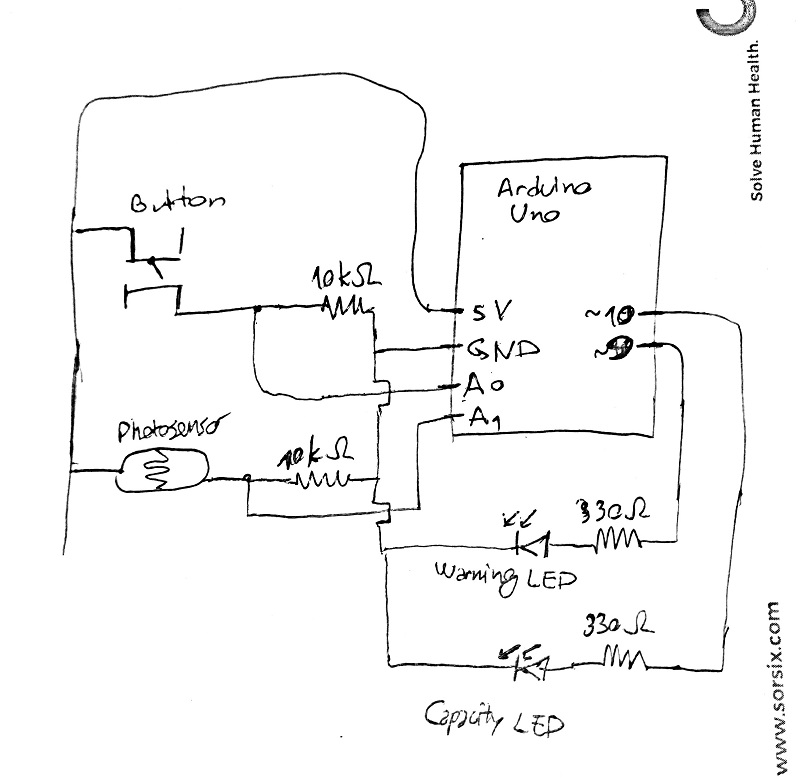
Circuit
Code
Because the code is pretty long, you can find the whole thing here.