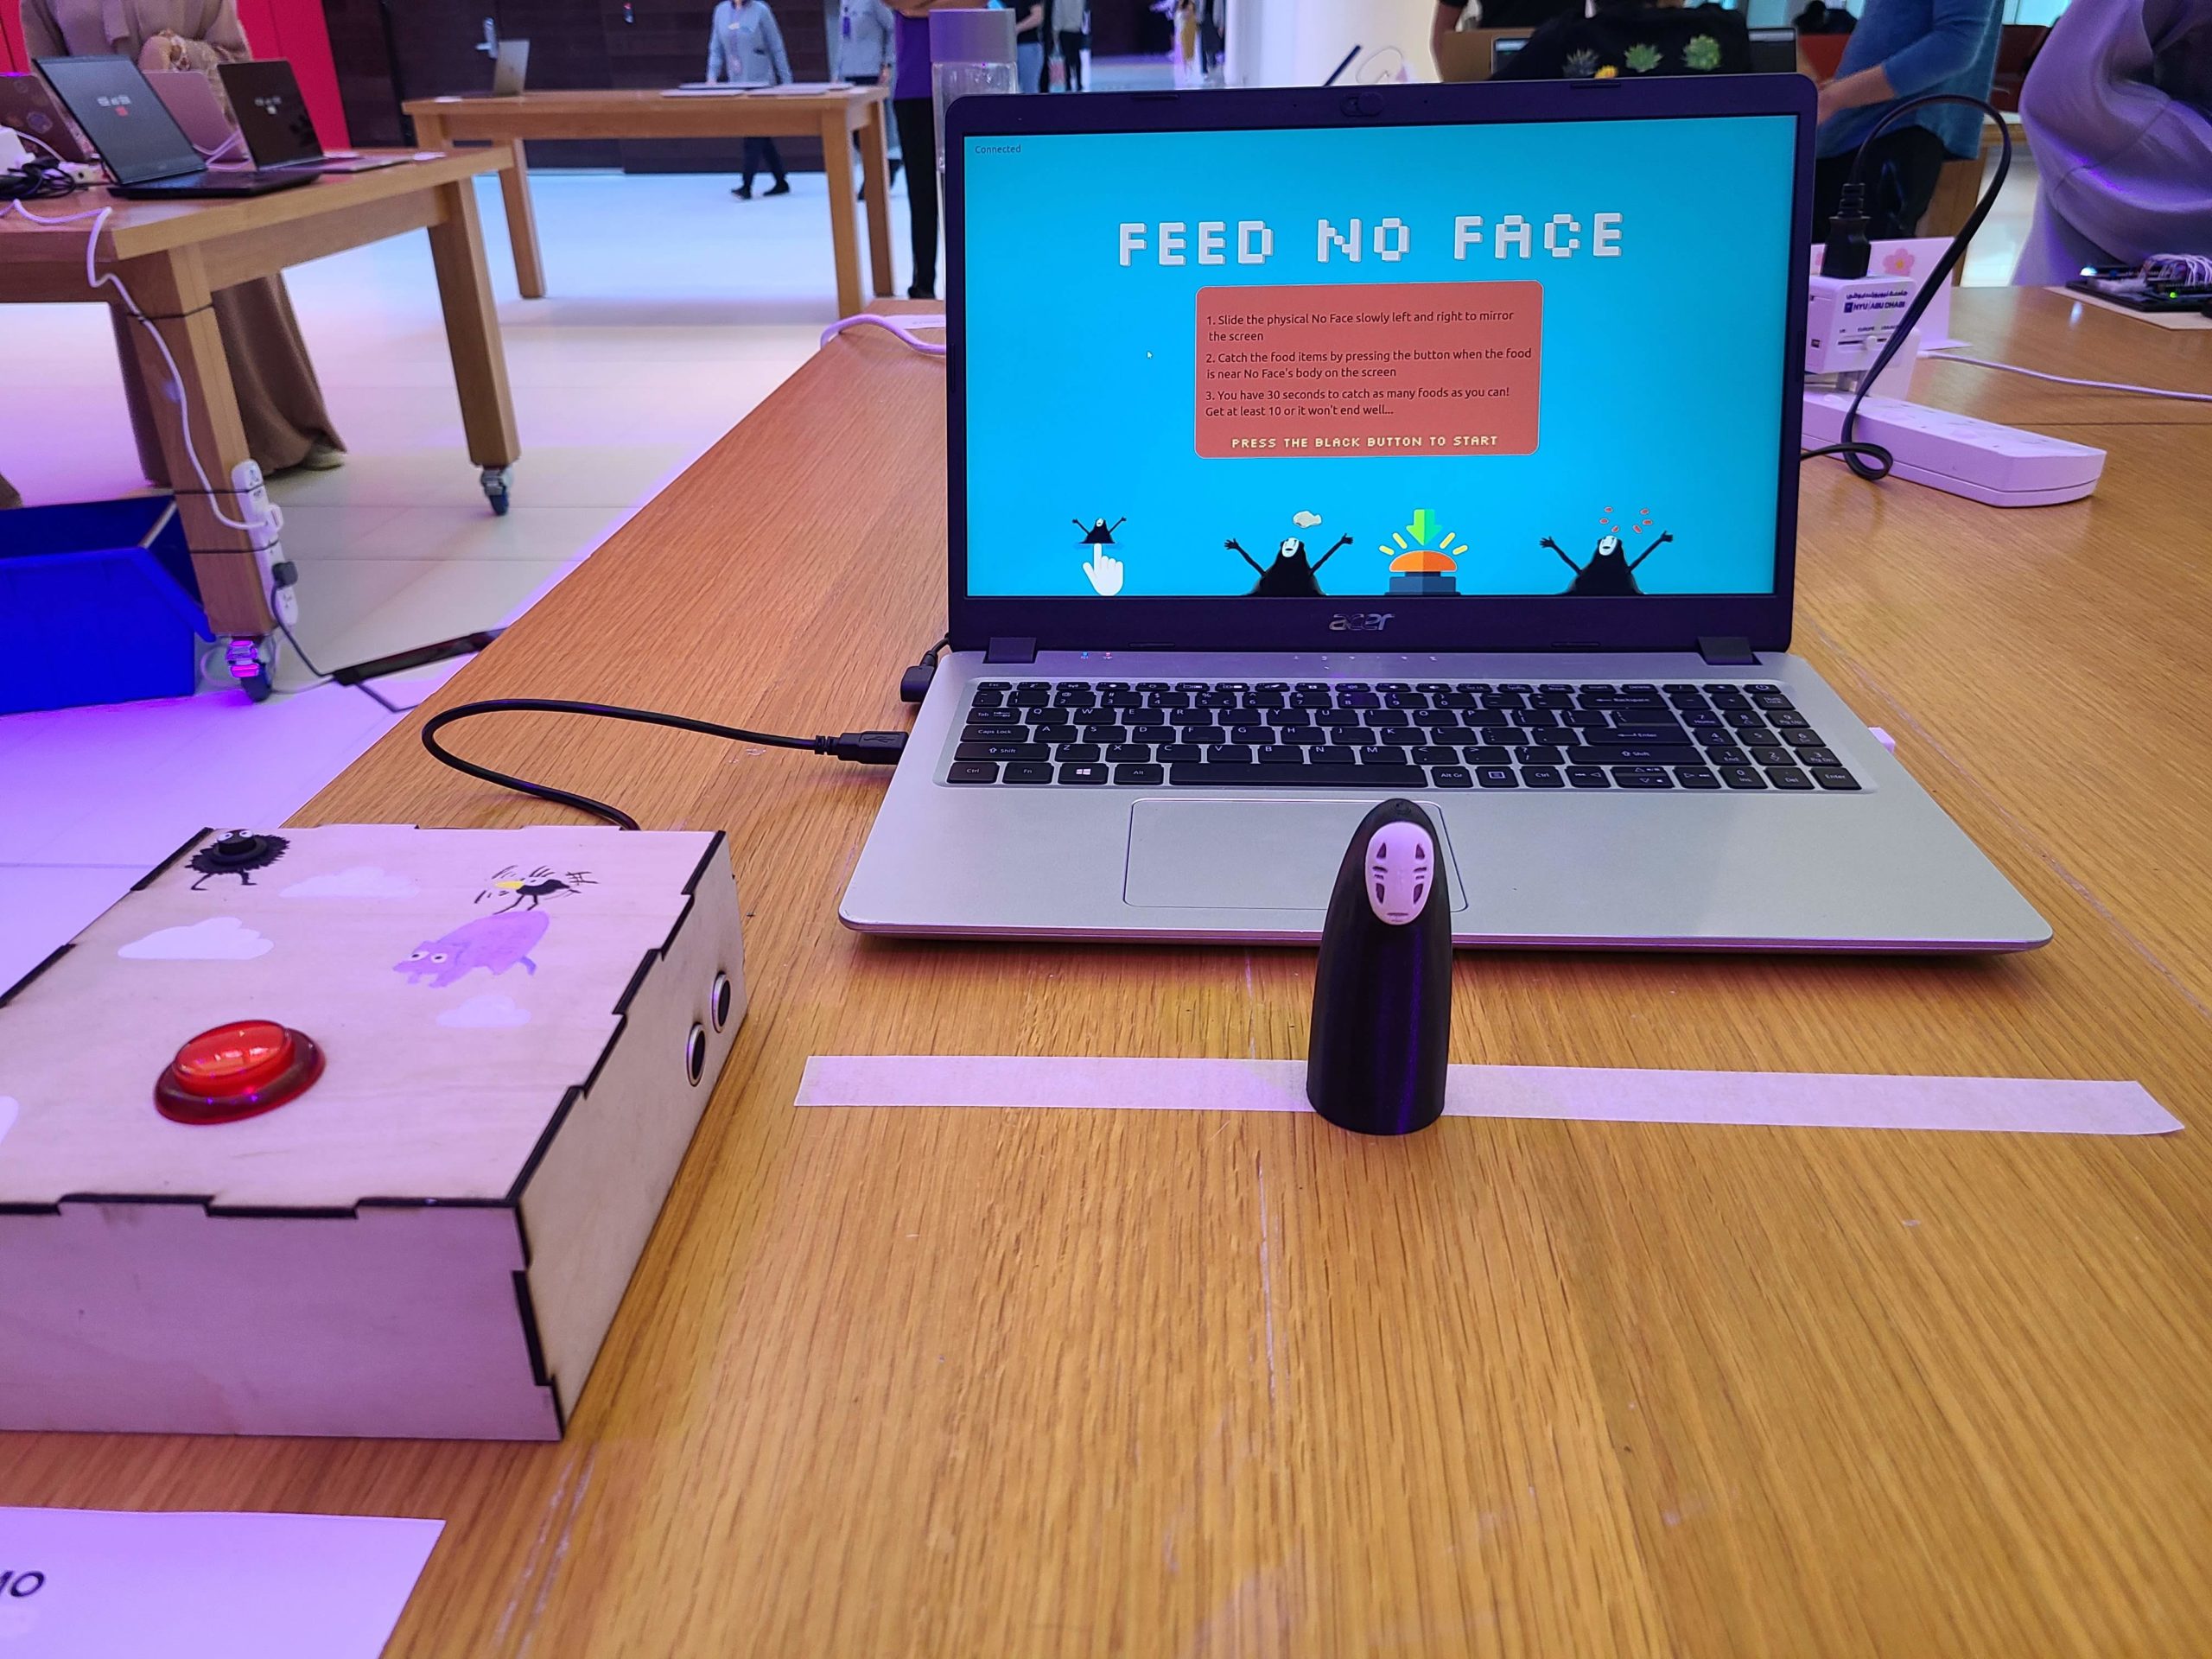
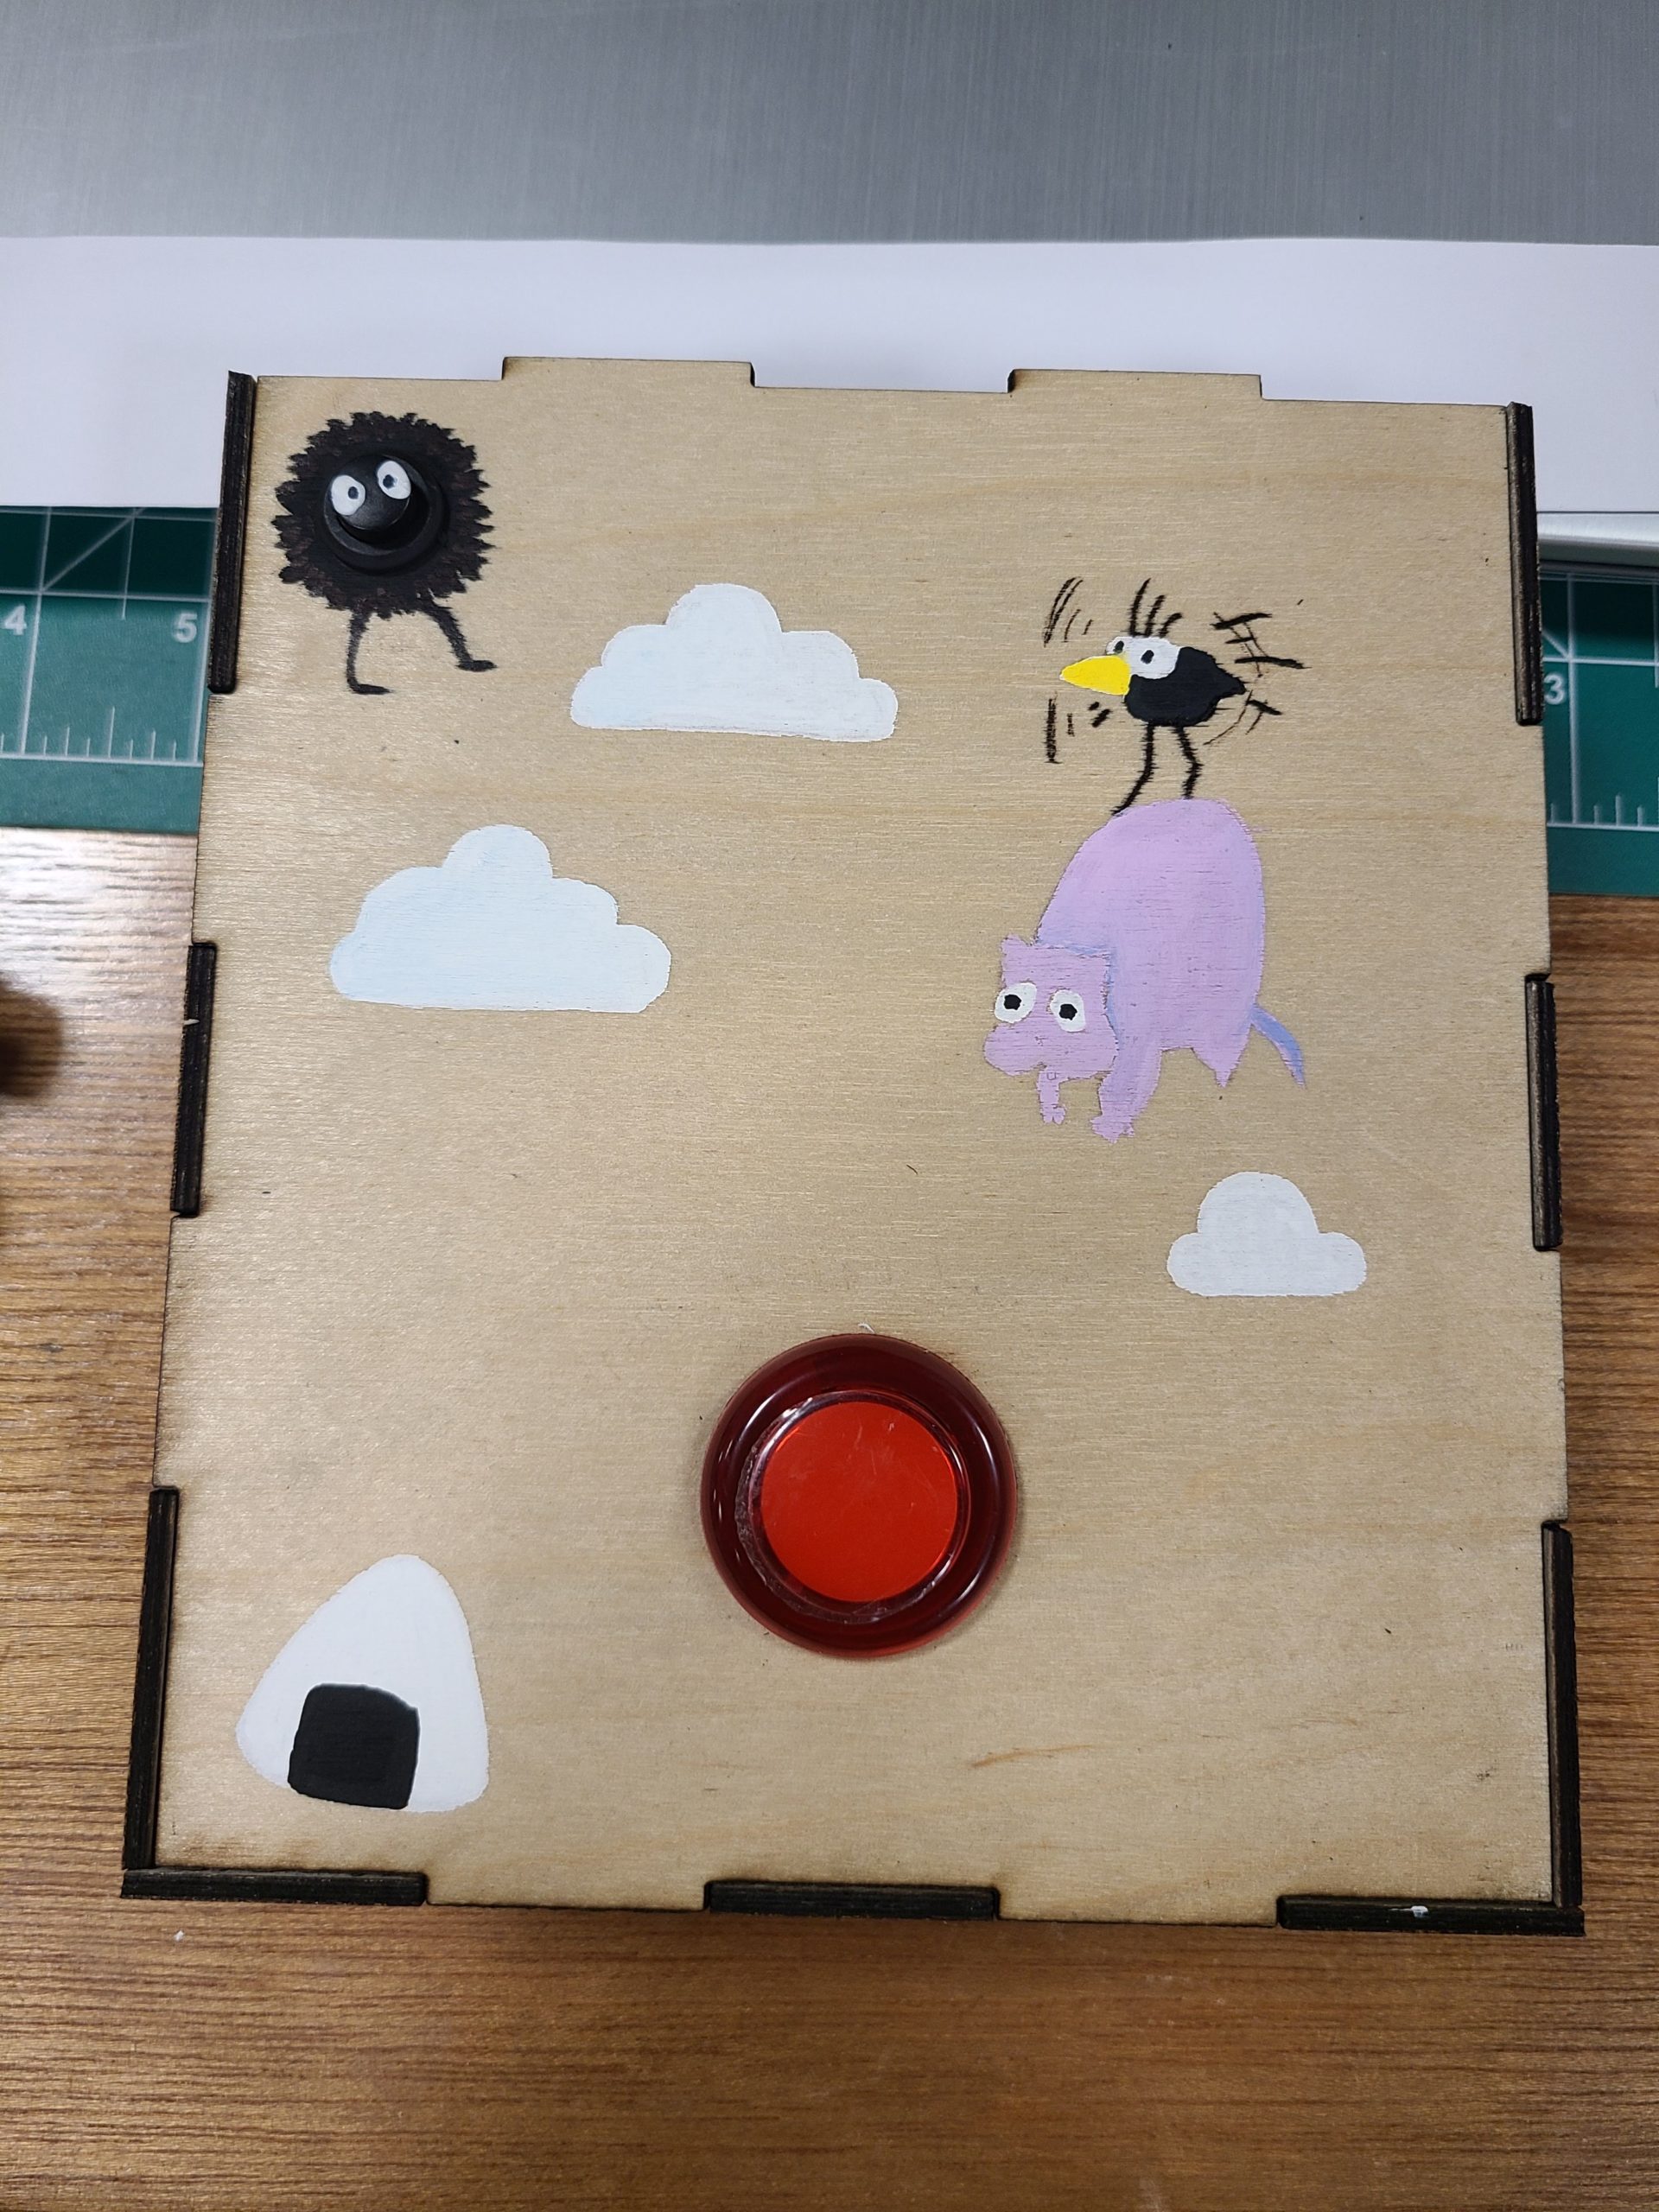
This is the final documentation for Intro to IM! Here is the link to the p5.js sketch with the Arduino code. For my final project, I decided to change it from Live Fruit Ninja to Feed No Face 2.0, which built on top of my midterm project. At first I wanted to do something different from my midterm, but during the process of making Live Fruit Ninja I lost interest and felt like the concept was pretty similar to my midterm project anyway. In the end, I feel like it was a good decision to go back to my midterm because I had a lot of fun improving the project and adding the physical components. So here are the steps to reaching the final product of my project.
Interaction Design: Physical Components
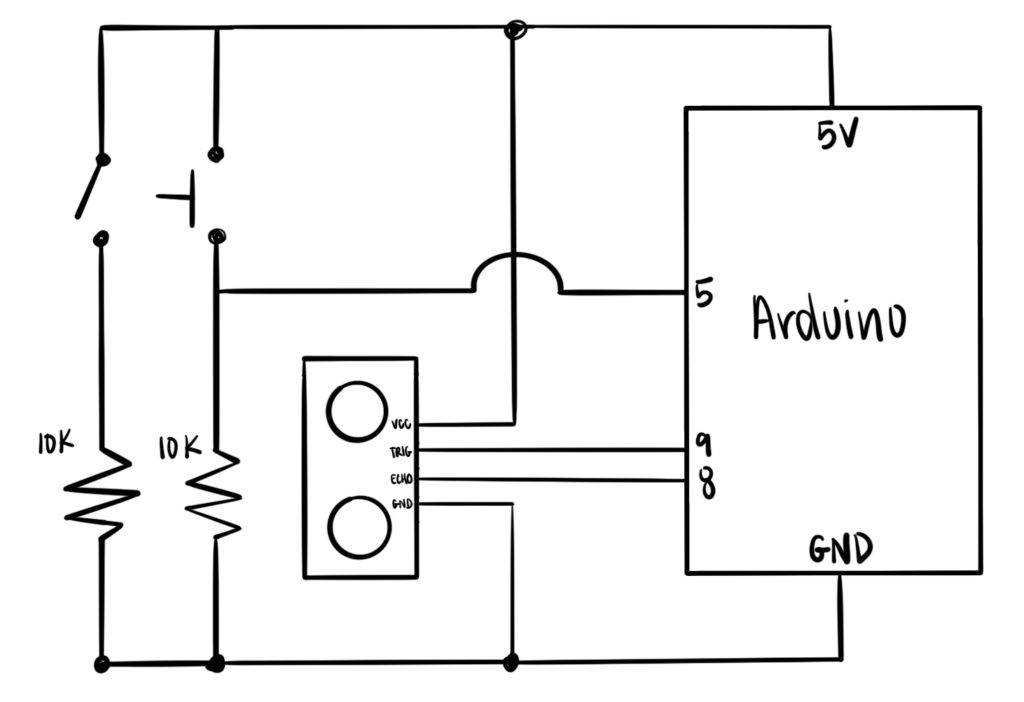
For the physical components of my project, I had two buttons: one main arcade button to eat the food that is falling on the screen and a lock switch to start/restart the game. I also used the distance sensor to get the measurements of the physical character and mapped it to the character on the screen. Here is the schematic of my circuit:
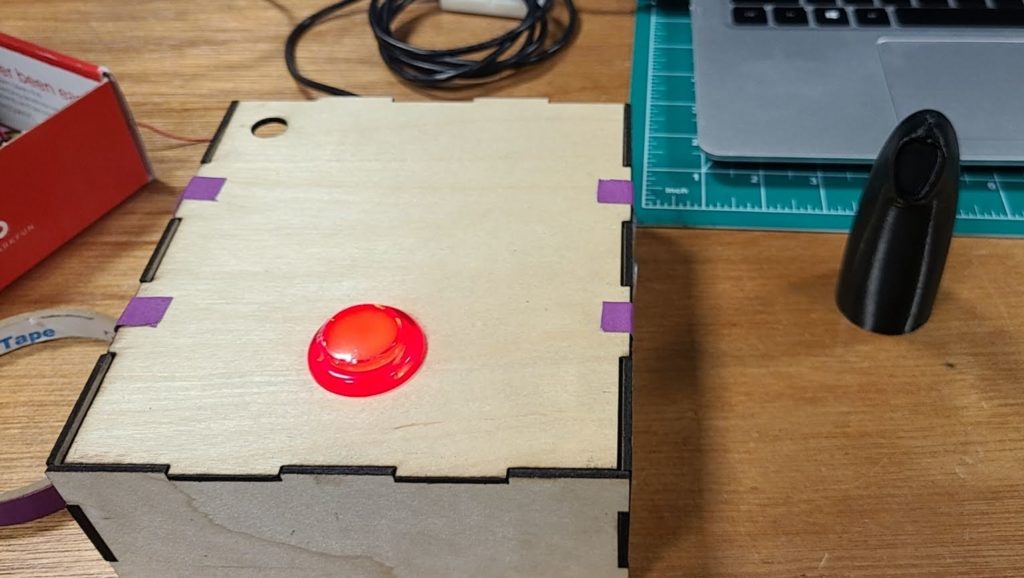
During the process of building this, I spent the most time soldering the panel buttons. At first, I just had everything on a breadboard and didn’t use a lock switch for the start/restart of the game. This made it a lot simpler to build, since I was planning on having everything on the breadboard and just using that. But then I decided to create a case for the Arduino and breadboard, which meant incorporating the arcade button. The arcade button was a better interaction compared to the small push button, but I struggled with the wiring for quite some time. Basically, the soldering wasn’t really an issue, but it was getting the wires to be the correct length. Since my box wasn’t completely assembled, I guessed for the length of the wires. It was too long at first, so I kept trimming until it was too short, which meant I had to resolder it. The next time I used stranded wires, which took some time to figure out how to solder the solid core to stranded. When I wired everything up it ended up like this:
I quickly realized that the button wasn’t actually wired correctly, and that it was actually printing 0 and 1s randomly. Professor pointed out that my resistor wasn’t connected to anything (this always happens!). I revisited by schematic (and also consulted my dad who works with electronics).
So the first issue was that I soldered to the wrong pin: since the arcade button has one pin for LED and one for the switch, I had to make sure which one was which using a multimeter. Unfortunately, I was unlucky and soldered the LED pin instead of the switch, which was why it wasn’t working. This also explains why the LED was always on even though I didn’t code it. Another issue was with my wiring: I just connected the switch wire directly to the pin in the Arduino rather than closing the circuit by connecting it into the breadboard and then into the Arduino (this is where the schematic really came in handy!).
Now for the lock button, I struggled a lot with this as well. Since the arcade button has three pins, the two pins confused me. Turns out it doesn’t need a ground pin, I could just connect it through the resistor, and the two wires were one for 5v and one for the Arduino pin.
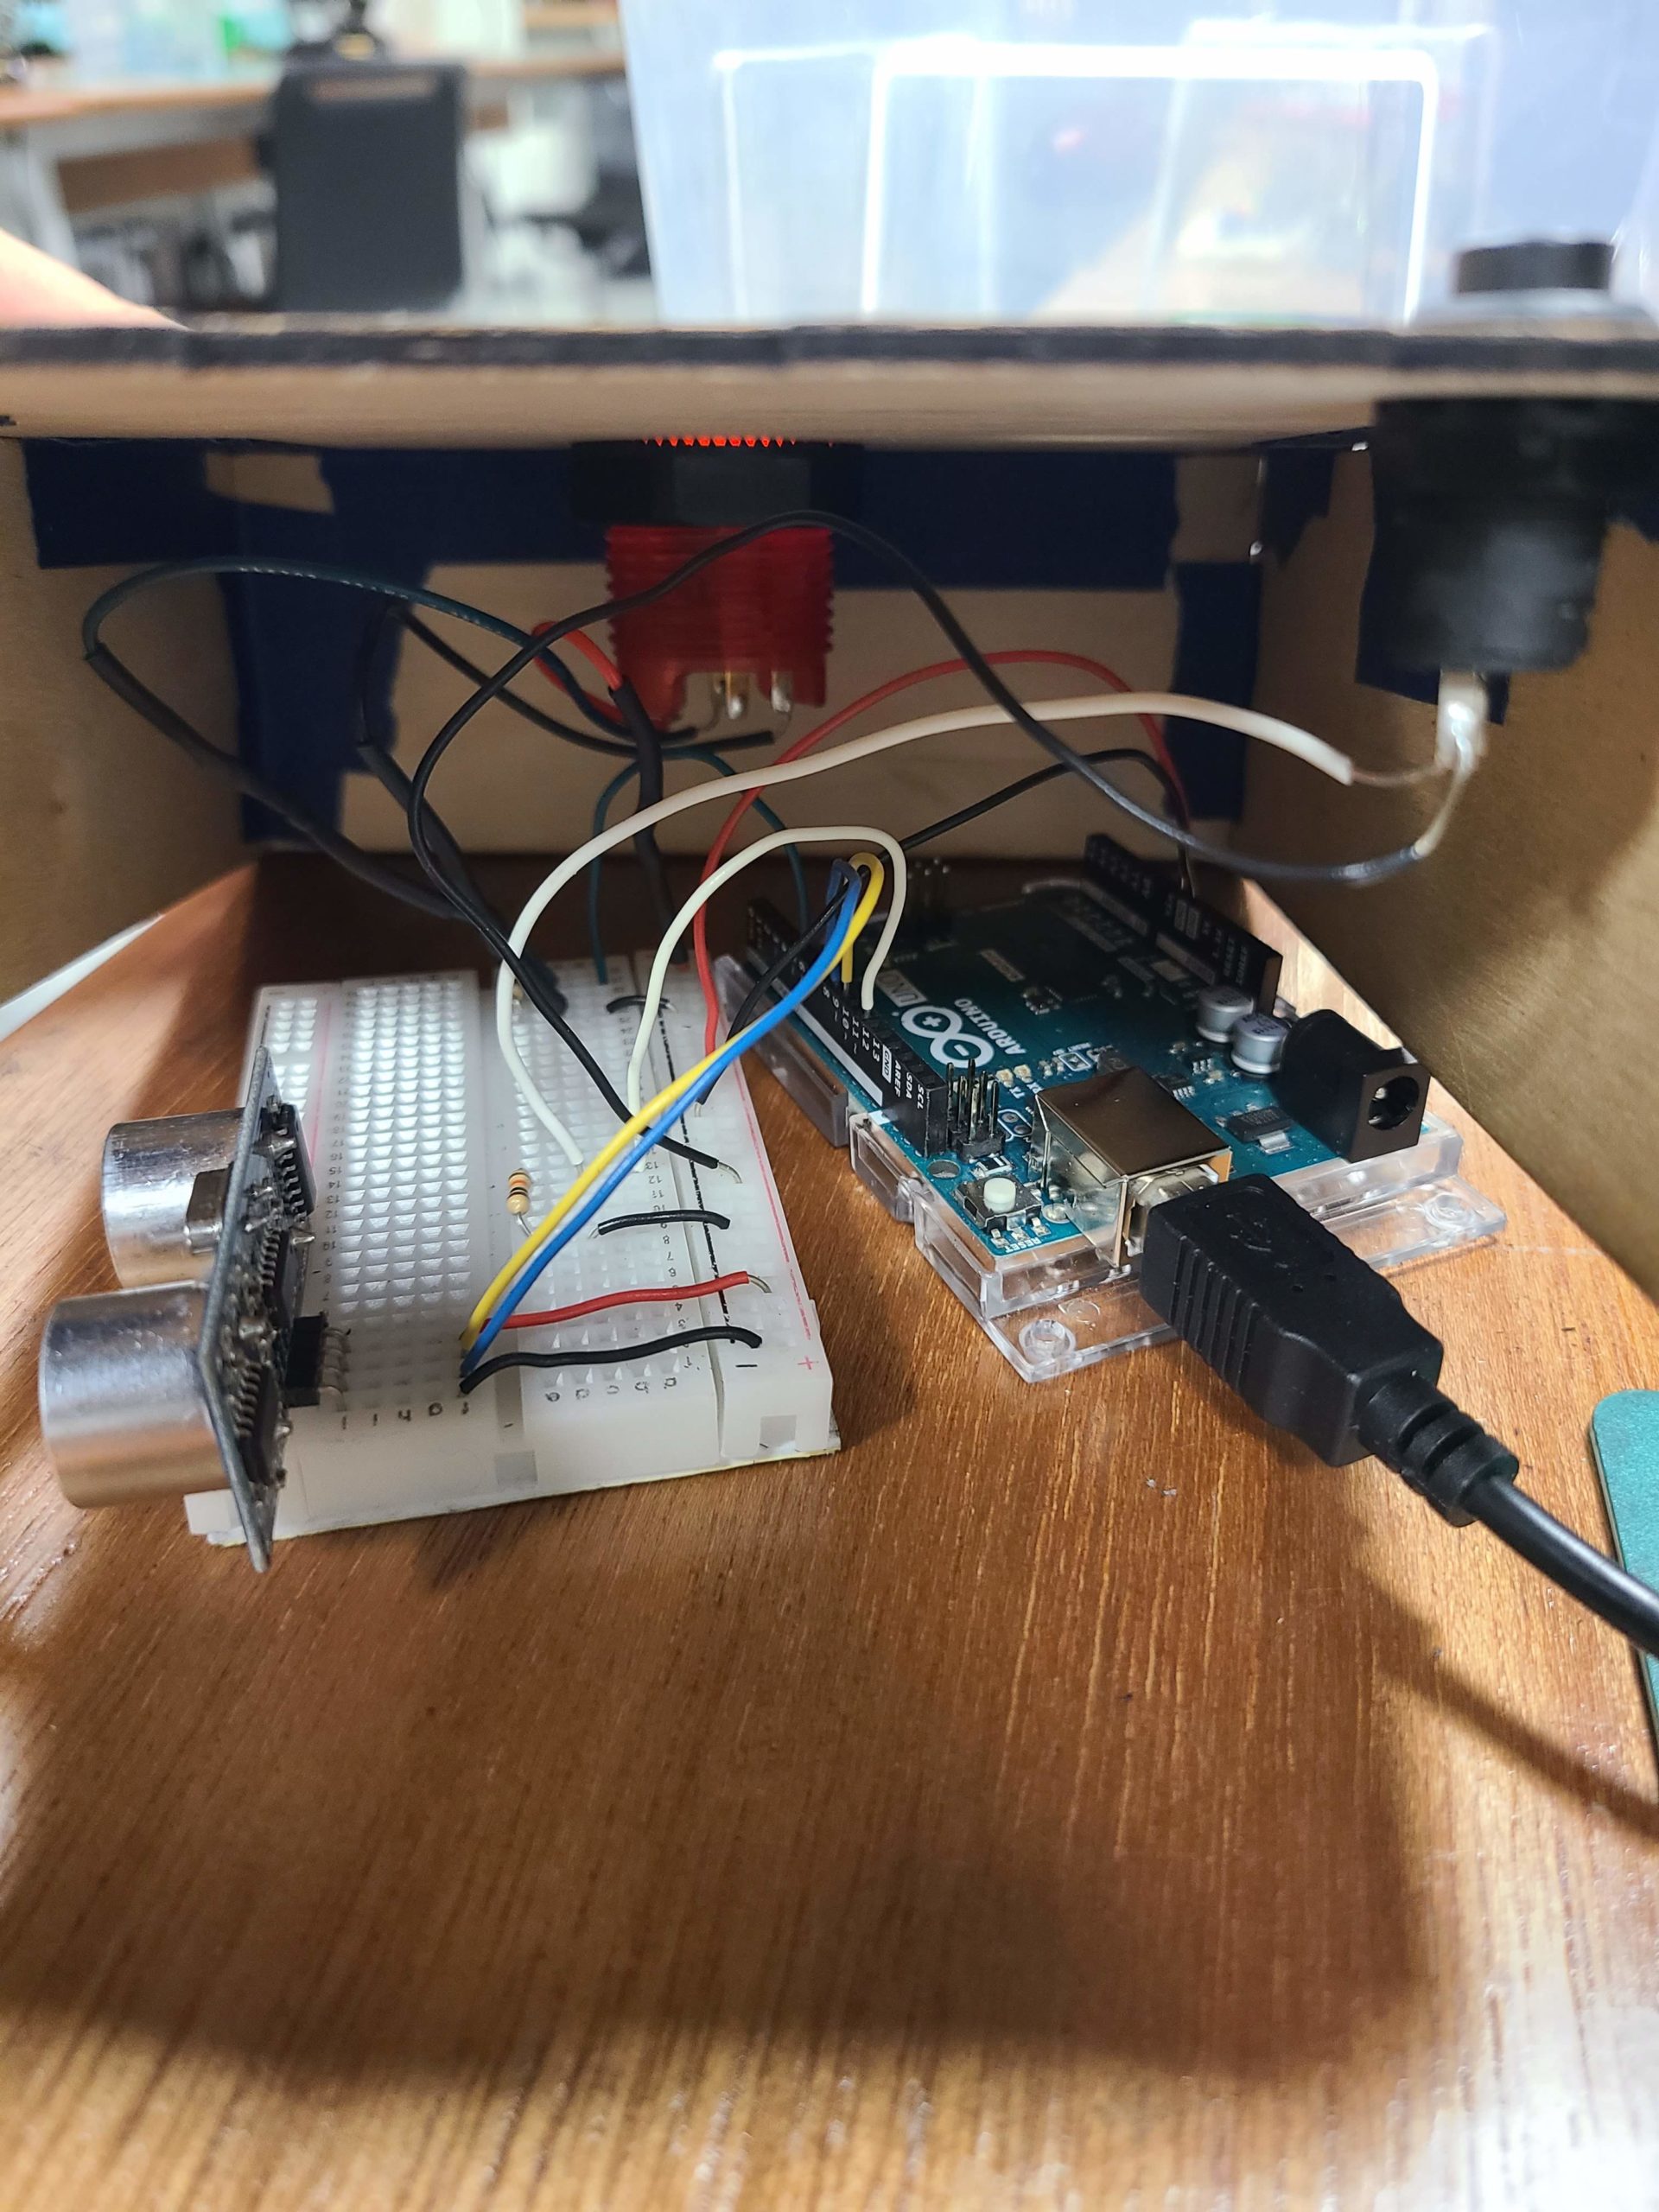
The distance sensor was straight forward since I decided not to solder it and just keep it in the breadboard. However, I probably made the wires too short because in the last hour of the IM Showcase it stopped working and people were very confused as to why the character wasn’t moving. I realized that it was because one of the wires broke from the breadboard and another one was connected to the wrong pin. I should’ve realized to check the circuit when nothing was changed from the code side.
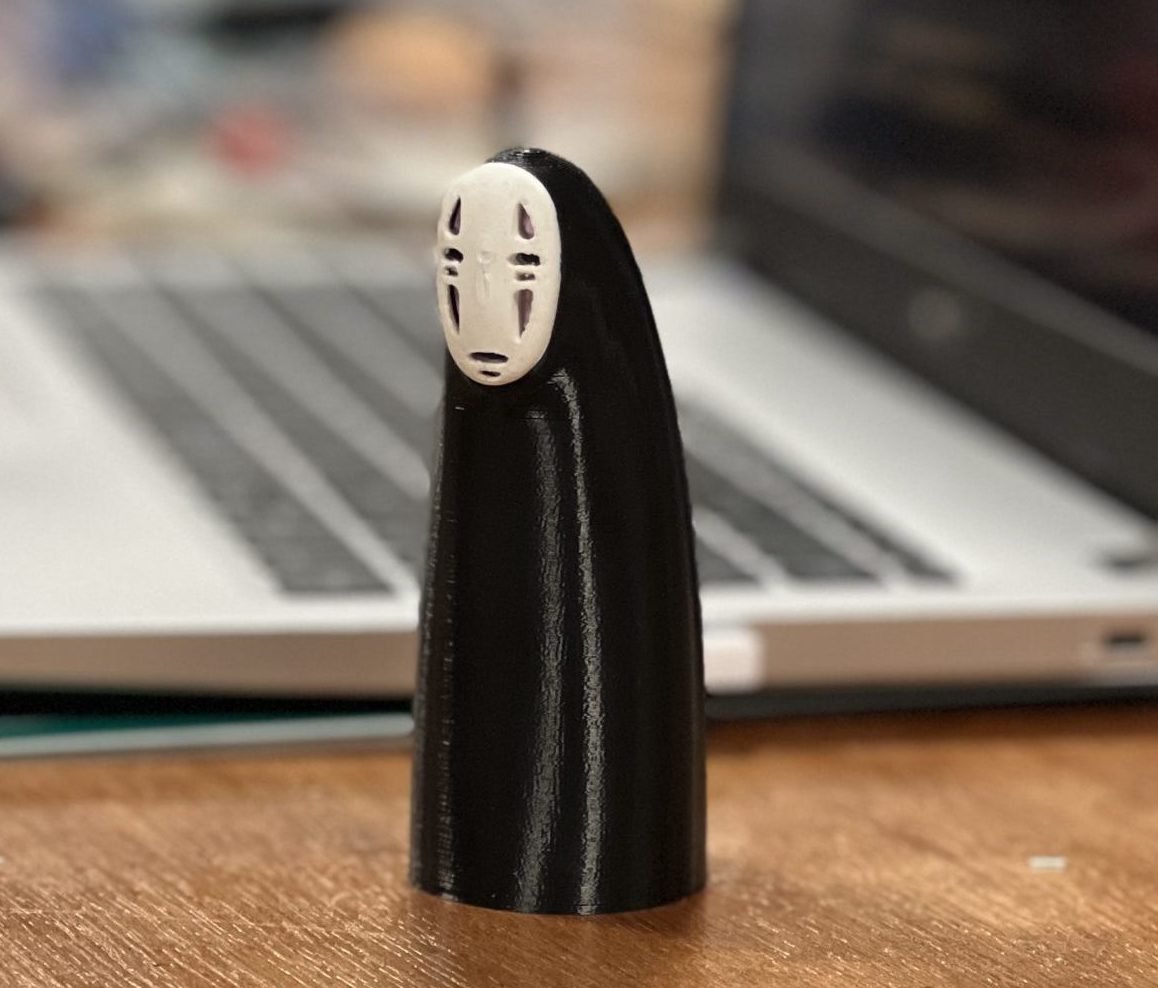
For the physical character, I was originally going to make it out of cardboard but I remembered that there’s a great website called Thingiverse with other people’s 3D model creations, which meant that I could use it as well. I did have some minor issues with printing the mask, since it didn’t completely finish printing or it wouldn’t print at all, but I figured out that it was because I tried combining the two files into one print. Other than that, 3D printing was straightforward.
Finally for the case, I decided to laser cut it, but I realized I made it too small which made it difficult to fix the circuit. That’s also probably why I didn’t realized it was the wire that broke and caused the distance sensor to not work anymore. I also took a few tried to adjust the height for the holes for the distance sensor and I wish I made the holes a little smaller because the sensor kept sliding out.
Code: Arduino, p5.js, and Communication Between
p5.js Code
Since I was using my midterm project for the final project, there wasn’t much to do on the p5 sketch side. The only edits I made were changing the game mechanism (catch the food) and the concept of the game. Instead of dying after missing one food item, the player has 30 seconds to catch at least 10 foods or they will get a “bad” ending. Therefore, I had to implement two ending screens and a timer.
function countdown() {
  if (frameCount % 60 == 0 && timer > 0) {
    timer--;
  }
  fill("red");
  text(timer, 30, 80);

  if (timer == 0) {
    gameState = "end";
    timer = 30;
  }
}
The timer was pretty straightforward: since the there are 60 frames for every second, I used the modulus to get the remainder and decrement timer. When I first used this and restarted the game, it went directly to the end page and I realized that I forgot to reset the timer to 30 seconds again.
I also had to experiment with the distance between the character and the food, since the catch is no longer using the mouse position.
Arduino Code
As for the Arduino side, the trickiest part was definitely getting the distance sensor to have smoother readings (thanks professor for helping with that!). I looked at a bunch of examples, but the one that worked for me was using the average and discarded any readings outside the range of 5-40 cm. This worked pretty well compared to when there was no smoothing, but there were some times where the distance sensor would get a readings that aren’t accurate, for example it would go from 15 to 20.
total = total - readings[readIndex];
  readings[readIndex] = distance;
  total = total + readings[readIndex];
  readIndex = readIndex + 1;

  if (readIndex >= numReadings) {
    readIndex = 0;
  }

  average = total / numReadings;

  if (average >= 5 && average <= 42) {
    //    Serial.print("Distance: ");
    //    Serial.println(average);
    //    Serial.println(" cm");
    currentAverage = average;
    delay(1);
  }
The communication between Arduino and p5.js was also kind of difficult, since the serial print sometimes didn’t work. For example, p5 wouldn’t get the data but that’s because I forgot to do println for the last one.
Conclusion: What I’m Proud Of and Future Improvements
Some improvements are definitely needed. As I was showing my project, a lot of people tended to press the black button to catch the food rather than the red button. Also, sometimes the character would overlap with the food and the player would press the button, but the food wouldn’t be eaten, so I would need to continue experimenting with the distance. For the physical character, some people wouldn’t really slide it across the line, so in the future I would maybe have to create a platform with the line concave in so you could only move it in that space.
Overall, I’m really happy with how my project turned out! I wish I got more pictures of people playing the game during the showcase, but I will remember it for as long as I can. It’s so fun to see how people interacted with my game and hear the things they had to say about it. While I did have a lot of ups and downs, I’m proud of how the physical components actually turned out. I was really trying to avoid soldering, but for the sake of a good user experience I overcame that and soldering is actually kind of fun. I really enjoyed focusing on the physical aspect of my project and spending less time with the coding aspect.
Thank you for the great semester and amazing first IM showcase! Thank you so much for having me this semester and I hope to come back some day :’)) Shukran!!

