
[In collaboration with Maryam]
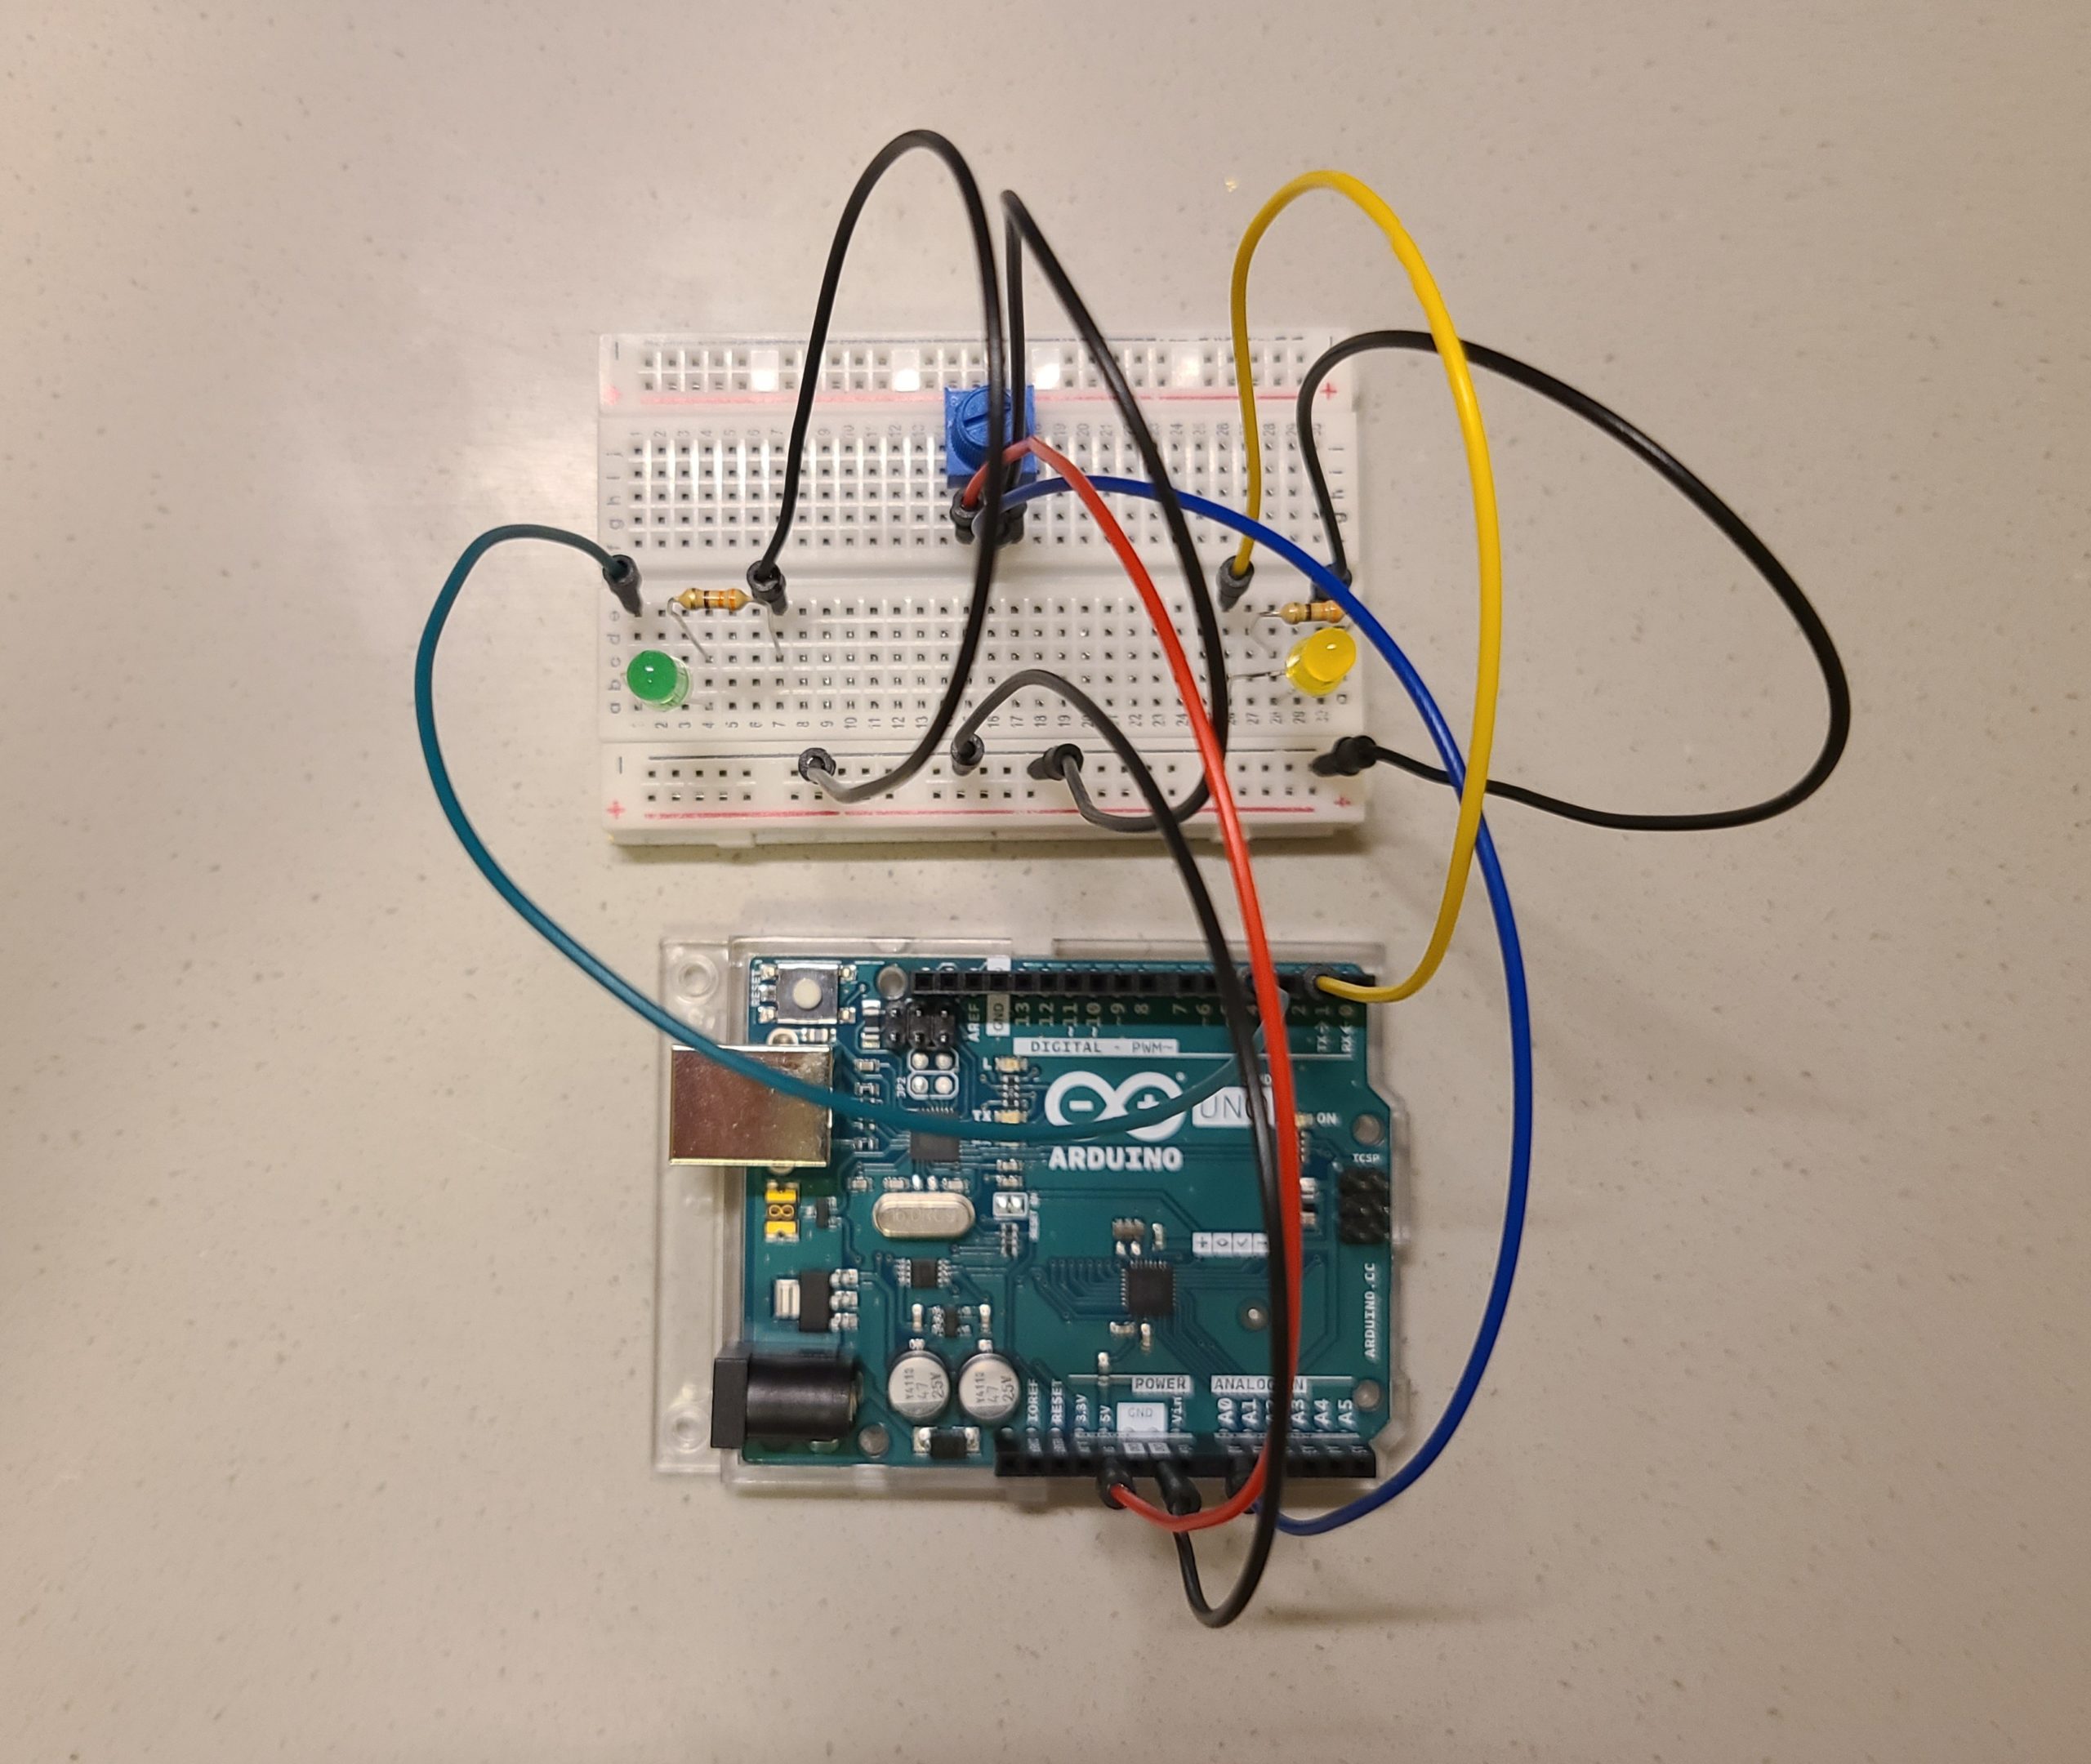
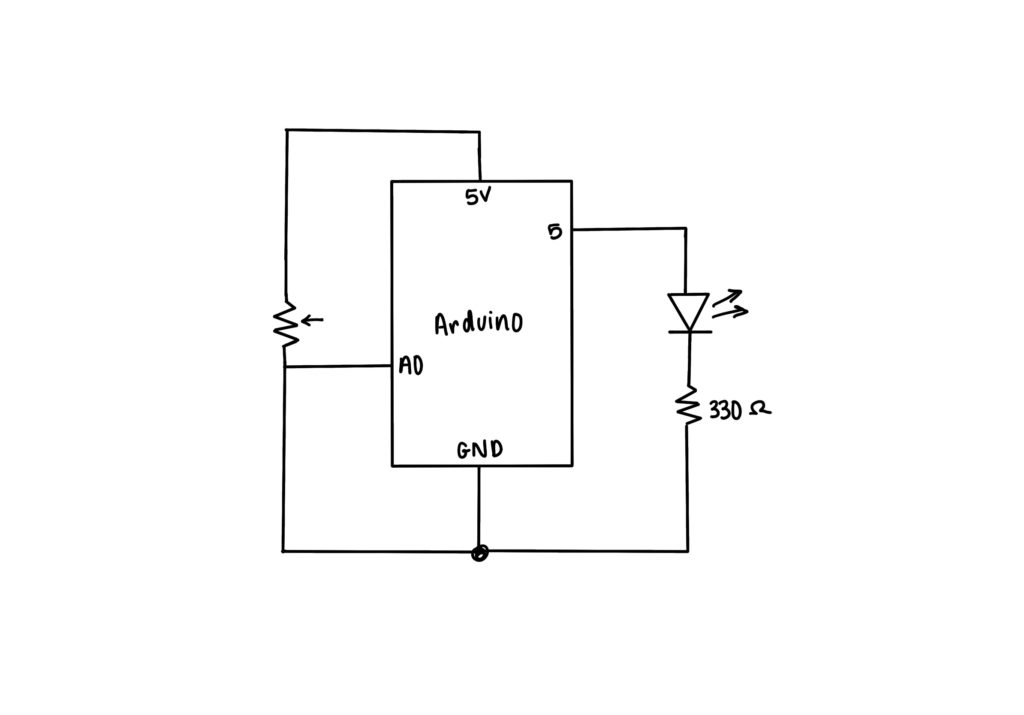
Here is the actual physical circuit and schematic we used for all three exercises. The actual physical circuit has two LEDs, one at pin 2, but it wasn’t illustrated because it wasn’t used, it was just there for testing purposes.
Exercise 1: Ellipse
Here is the link to the full code. It uses professor Sherwood’s example “Webserial Handshake” code, except it includes this line:
ellipse(map(rVal, 0, 1023, 0, 600), 300, 200, 300);
which maps the rVal to the x-position of the ellipse. Since the rVal reads from the Arduino, the ellipse x-position also changes as the sensor is being used. We used a potentiometer to control this.
Exercise 2: LED Brightness
Here is the link to the full code. At first we tried using up and down arrow keys, but we changed it to mouse click and then the mouseX position. So, for this exercise, we controlled the brightness of the LED using the mouseX position, where we mapped it to the values for the LED:
LEDBrightness = map(mouseX, 0, width, 0, 255);
We wanted it to be changing constantly, like how a potentiometer changes the LED constantly, but it didn’t work out that way. We tried printing the values and it turns out that the mouseX value is sent to the Arduino only once, so it doesn’t always get sent. However, when printing the LEDBrightness, it is constantly being checked.
Additionally, another version we tried was using the left and right halves of the canvas to change the brightness by using mouse input. The left side would make the LED dimmer, whereas the right side was the full brightness. This was used as a way of simplifying the program. The issue we ran into with this method was that the LED would be full brightness when clicking the right half, but when clicking the left half it would barely light up, even when the value for left was the same as the right value.
Exercise 3: Gravity Wind with Potentiometer and LED
Here is the link to the code. The code for this exercise uses Professor Mang’s example and the gravity wind example from Professor Sherwood with a few modifications. Firstly, there are boundaries set so the ball does not go out of the canvas. This is the code that checks if the ball bounces and then the LED will light up:
if (position_.y > height - mass/2 - mass) {
    if (velocity.y > 1) {
      serial.write(255);
    }
  }
It checks if the position of the ball hits the bottom edge of the canvas. It also checks if the ball is still bouncing based on the velocity.
And this is the code from the Arduino side for the LED:
serialRead = Serial.read();
analogWrite(ledPin, serialRead);
Since we just used serial.write() in p5, when we Serial.read() it takes the value in the serial write (which is 255) and we use that to write to the LED.
As for the potentiometer that controls the wind, here is the code for it in p5:
wind_strength = 5;
new_wind = map(inData, 0, 255, -wind_strength, wind_strength);
print("this is indata", inData);
wind.x = new_wind;
It maps inData, which reads from Arduino and maps the values to wind strength, which changes the x-position.
Here is a video of it working: