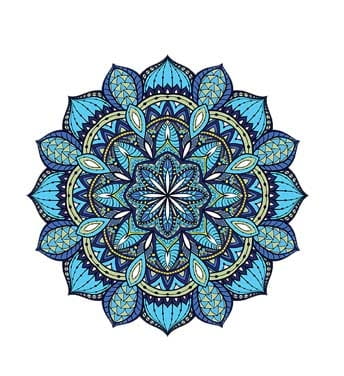
The concept
Rugs have always amazed me. As a kid I remember zoning out and into the finite loops of perfection, thinking about the elaborate patterns, the subtle details, and the mesmerizing color palettes that bring so much life to our house. There is, however, one intentional, imperfect stitch in every traditional handwoven, otherwise perfect rug. Muslim artists honor the ‘Persian rug mistake’ as a reminder that only Allah is capable of creating perfection.
My generative artwork is inspired by rug patterns [which includes many unintentional flaws].
Code highlight
Lots of loops, lots of functions, and a little bit of OOP.
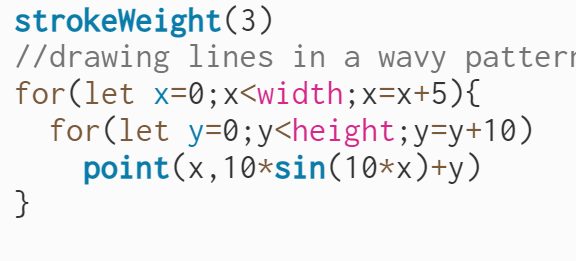
//\\//\\//\\//\\//\\//\\//\\//\\//\\//\\//\\//\\//\\//\\//\\//\\//\\//\\//\\//\\//\\
class Rectangle {
constructor(x, y) {
this.x = x;
this.y = y;
this.height = 500;
this.width = 4;
}
move(m) {
this.m = m;
rotate(angle);
if (freeze_flag == 1) {
rotate(angle);
angle += m;
}
}
show(fill_color, stroke_color) {
this.fill_color = fill_color;
this.stroke_color = stroke_color;
fill(fill_color);
stroke(stroke_color);
rect(this.x, this.y, this.height, this.width);
}
}
function Dandelion(x, y) {
// number of rectangles
for(i=0; i<70;i++) {
dandelion = new Rectangle(x,y);
if(reverse_flag == 1) {
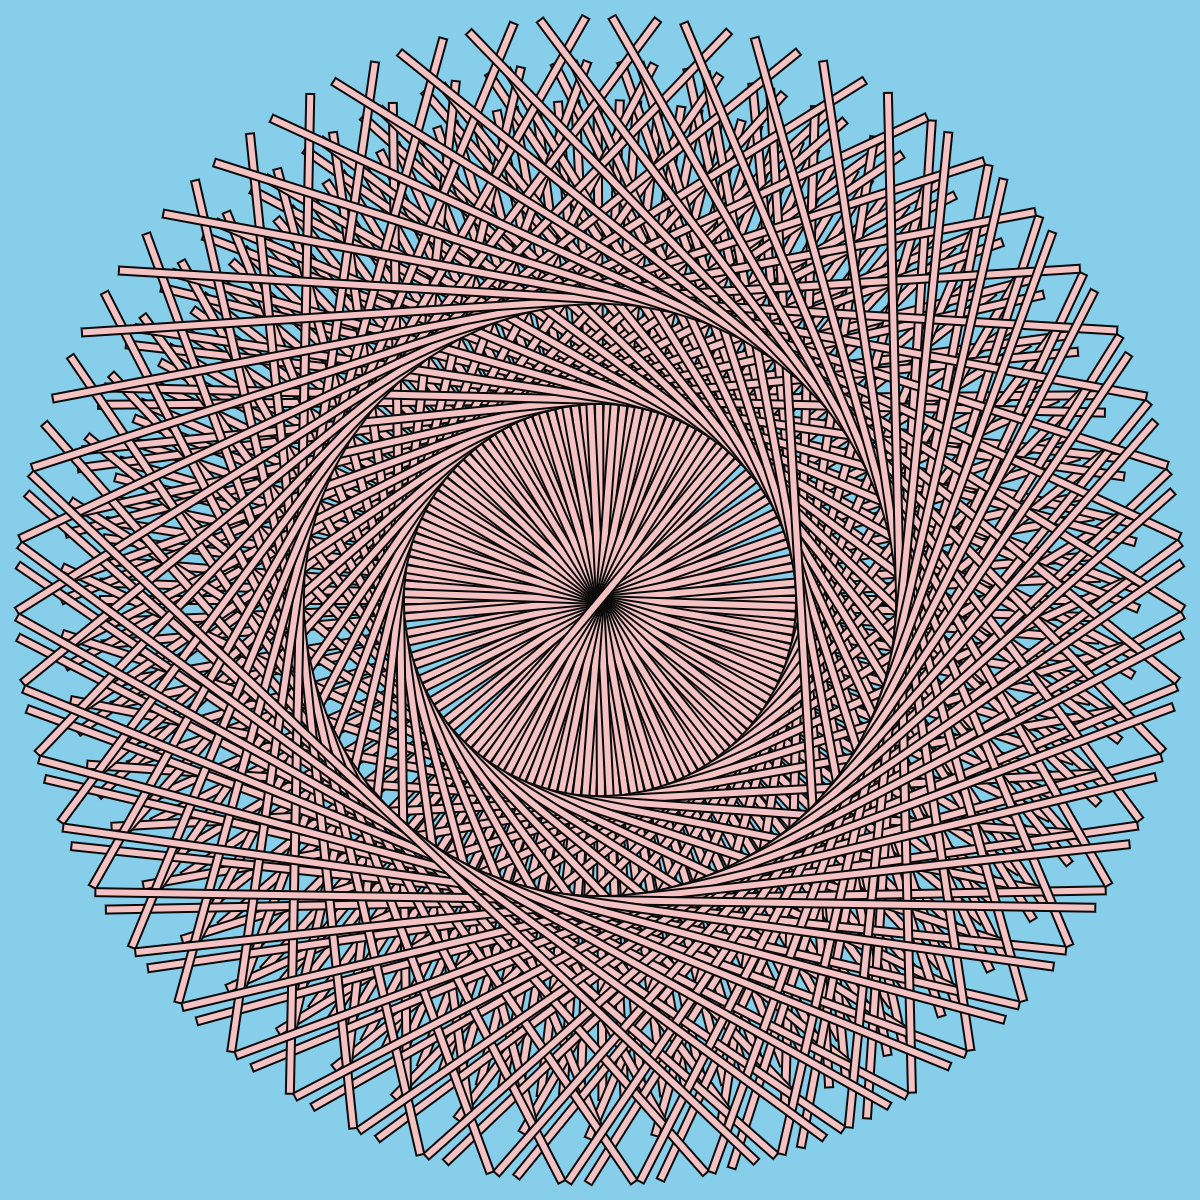
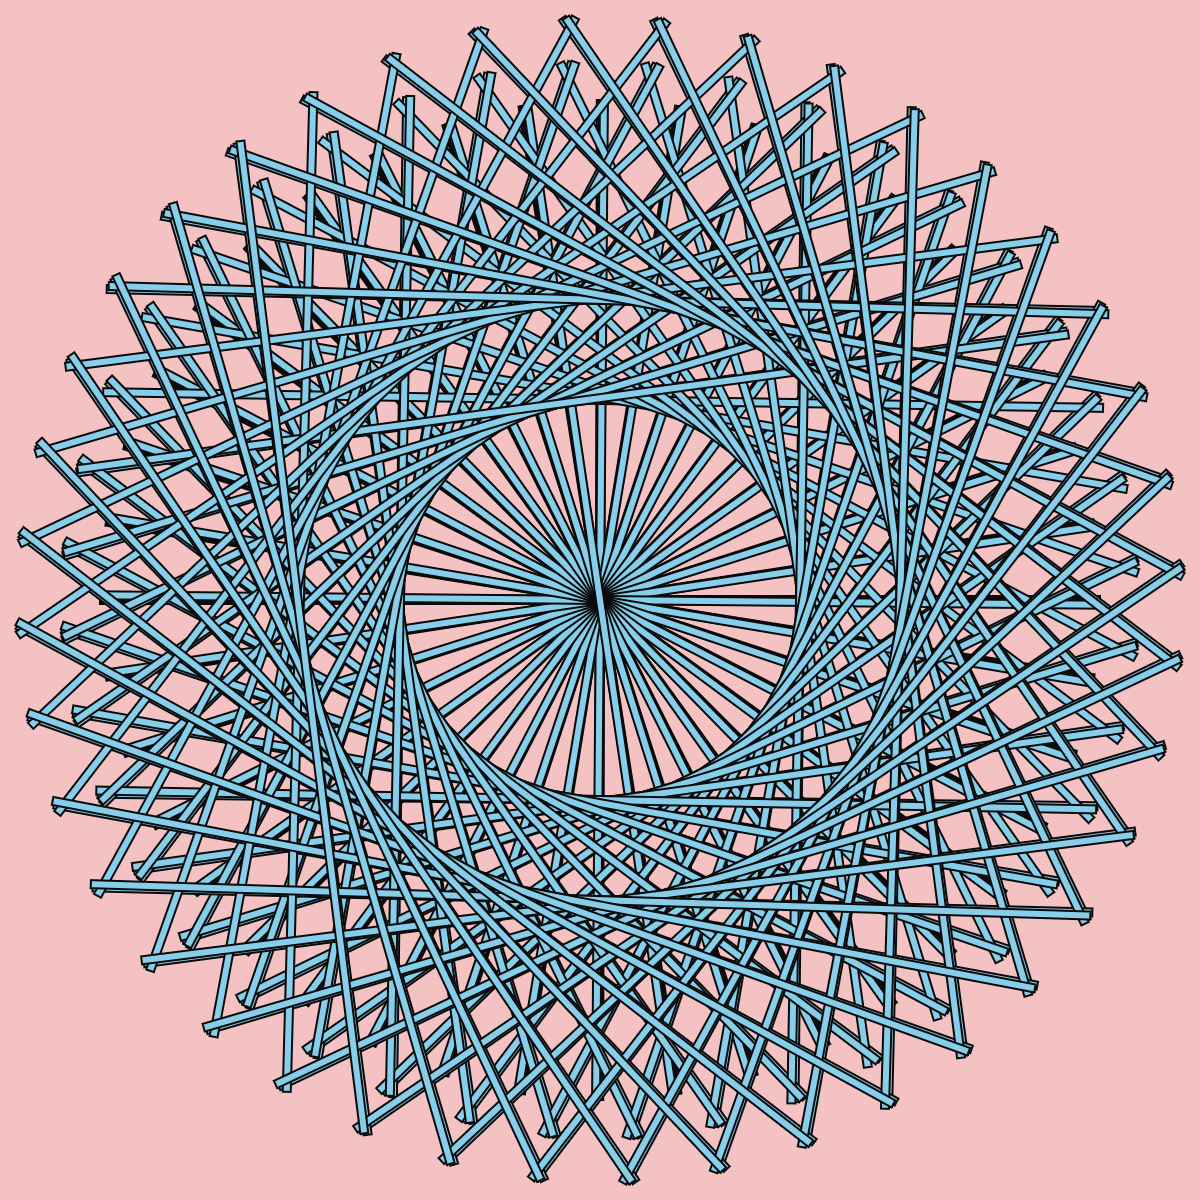
dandelion.show("#87CEEB", 10);
} else {
dandelion.show("#f4c2c2", 10);
}
// you can control the speed of rectangles by changing the argument
dandelion.move(0.0001);
}
}
function draw() {
if(reverse_flag == 1){
background("#f4c2c2");
} else {
background("#87CEEB");
}
//this is where i want the rectangle to rotate from which is the center
translate(width/2, width/2);
// translate(300, 300);
rectMode(CENTER);
Dandelion(0,0);
Dandelion(0,100);
Dandelion(0,150);
// Dandelion(0,200);
// Dandelion(0,250);
}
//\\//\\//\\//\\//\\//\\//\\//\\//\\//\\//\\//\\//\\//\\//\\//\\//\\//\\//\\//\\//\\
Embedded sketch
Here is my pattern, using only rectangles.
Two of my saved patterns:
Reflection and ideas for future work or improvements
I would love to use more elaborate patterns by defining more classes of geometrical shapes and adding more layers/colors. I would also probably not use the move() function because when many layers are involved the constant movement of the objects are not very kind to the eyes. I think choosing a good color palette and getting the right width and height for the shapes would enhance the pattern significantly. There are lots of opportunities to make the work more interactive e.g. letting the user pick the geometrical shapes, control the size of different objects, try out different color combinations, etc.