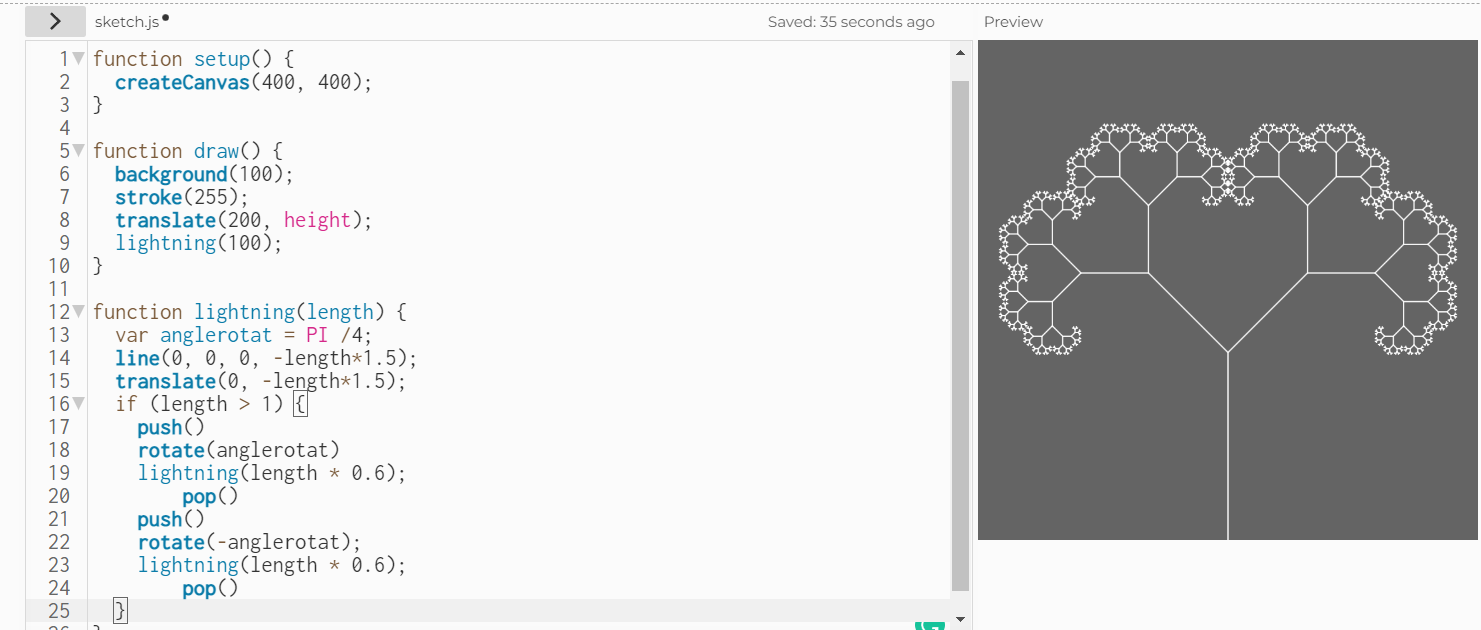
Concept
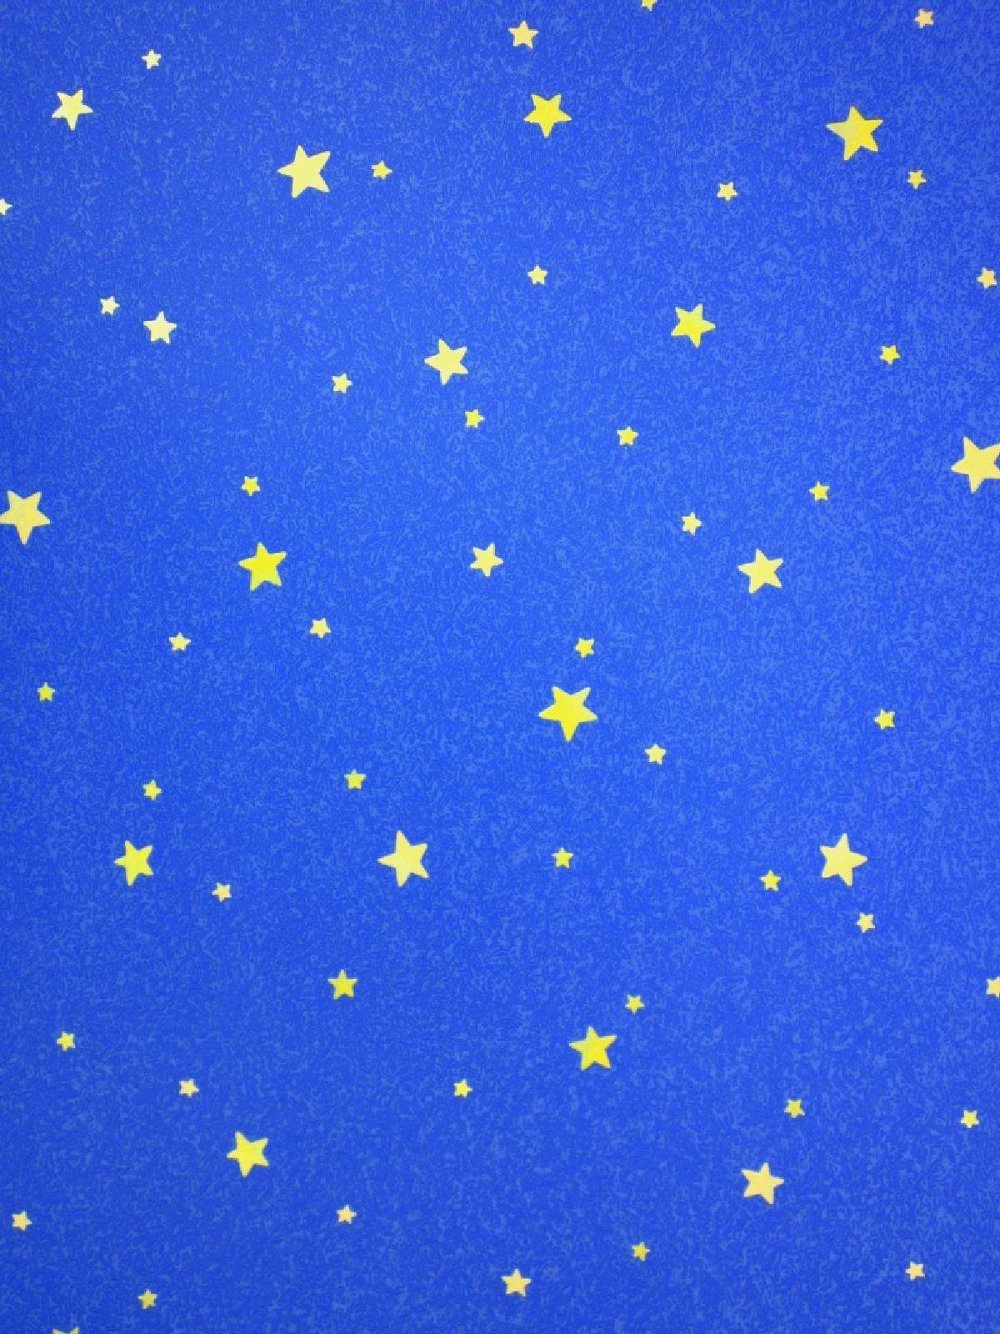
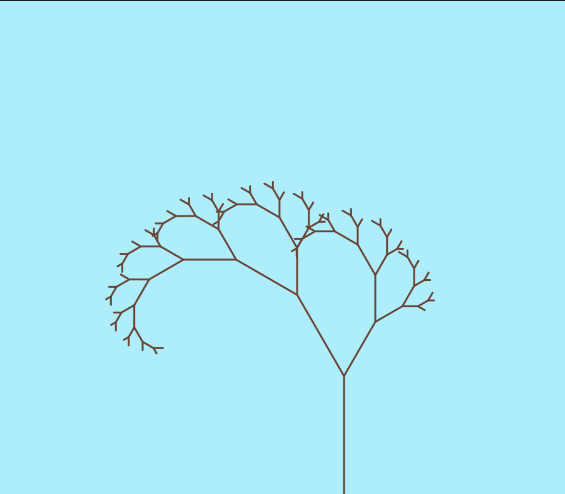
I have yet to break through my creative side and struggled to think of something to create that was outside the box, literally. I ended up looking up examples of generative art on Google. Most of the examples ended up scaring me with their complexity, so I revised my search by adding the word “simple” in the end and saw the image below. I thought it would be relatively easy considering I’d only use square() , but I knew that to make it interesting I’d have to figure out how to use color to make less simple. For the first time I felt confident on the coding part, but little did I know that I was going to struggle with color and it was going to be yet again, another very simple art piece. After going over the class lecture notes and watching numerous The Coding Train Videos I began creating my artwork using the object-oriented programming we had learned.
Code
Below is the the class portion of the code. It is pretty straight forward, I have a constructor, a display function, and a sizeChange function for the squares. As explained in my comment, I failed to successfully have the color of the squares change gradually. The more I looked at videos from The Coding Train and random examples online, the more I confused myself so I decided it was best to accept that I am understanding object-oriented programming, but not yet how to implement colors and cool variations of them.
class Square {
  constructor() {
    // width x,y
    this.w = 10;
    this.x = random(0, width);
    this.y = random(0, height);
  }

  sizeChange() {
    this.w *= 1.01; //makes the square one percent bigger
    if (this.w > height / 2) {
      this.w = height / 2;
    } // if it reaches a certain w, it stops there
  }

  // I wanted to have the color slowly change to different colors in each square, but the more I tried, the squares would either be all white or I would get an error code. I forgot and didnt' save any that code but I stopped trying and just used one color instead

  display() {
    rectMode(CENTER);
    fill("#32a6a8"); // used color picker on google
    square(this.x, this.y, this.w);
  }
}
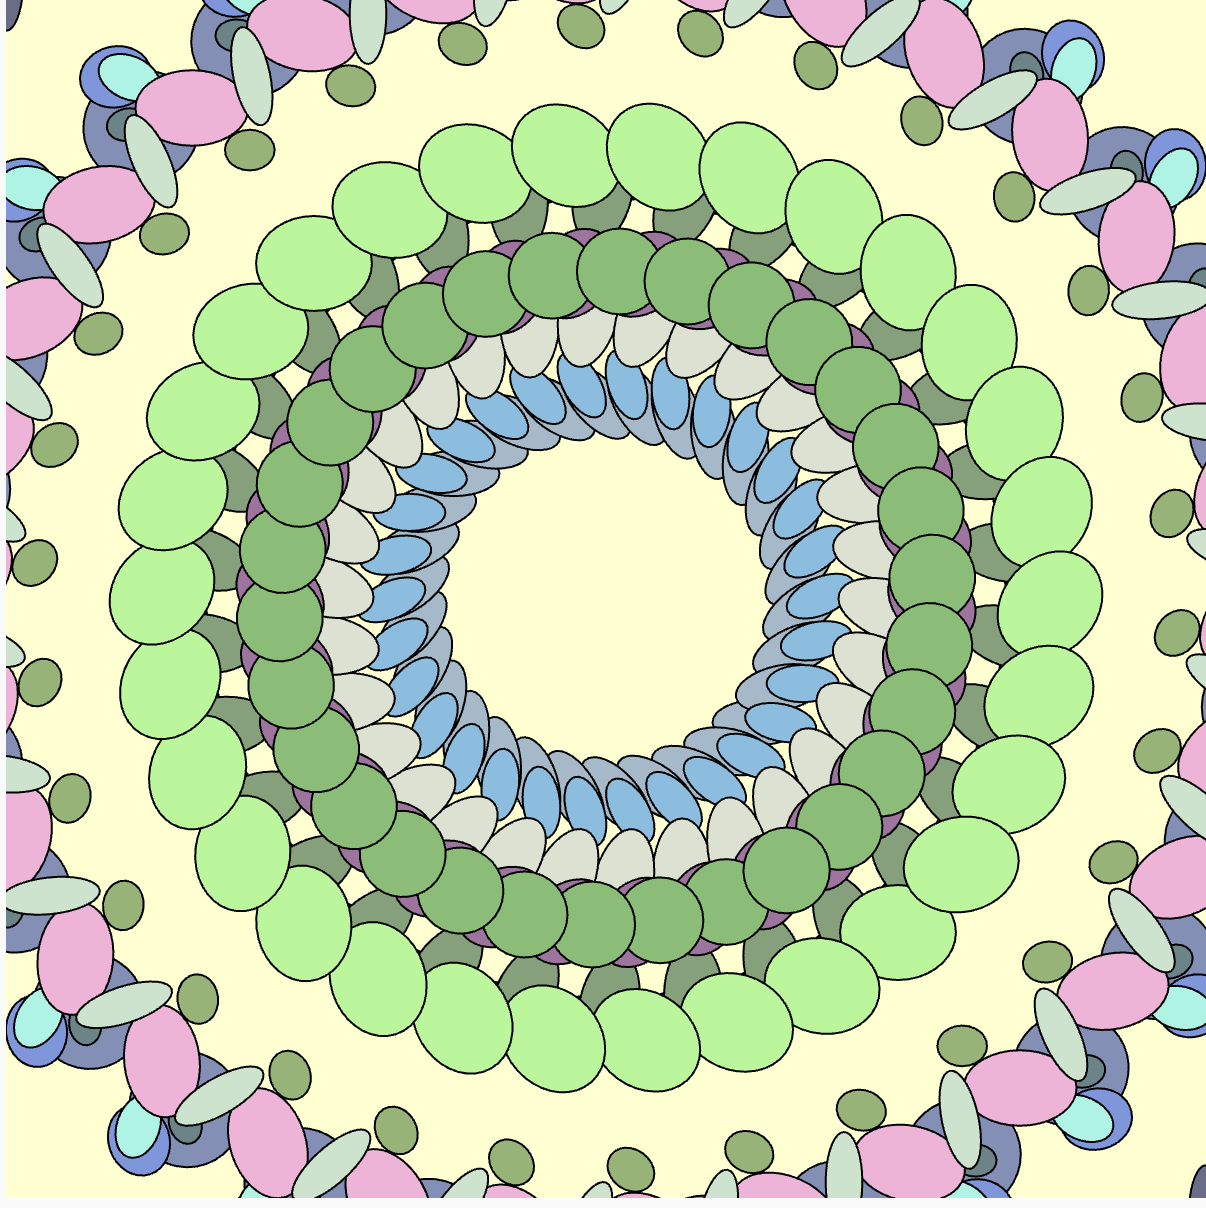
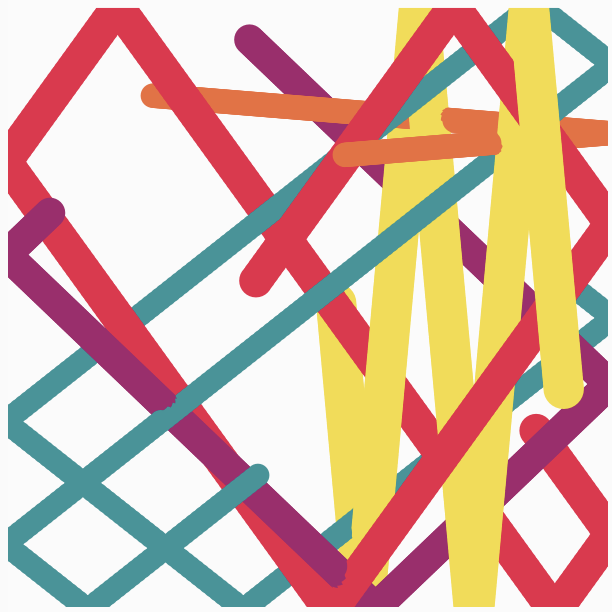
Final Image
Future Improvements
In future assignments, I’d like to teach myself more about how I can incorporate color in my work. I believe it would make a simple piece of art with a simple piece of code more intriguing and eye-catching regardless of its simplicity. I did like that I took my time in trying to understand the code itself, though simple, it was the first time I was confident that it would work before I ran it. Though I do think I should run it regardless and accept failure as part of the process as well.