
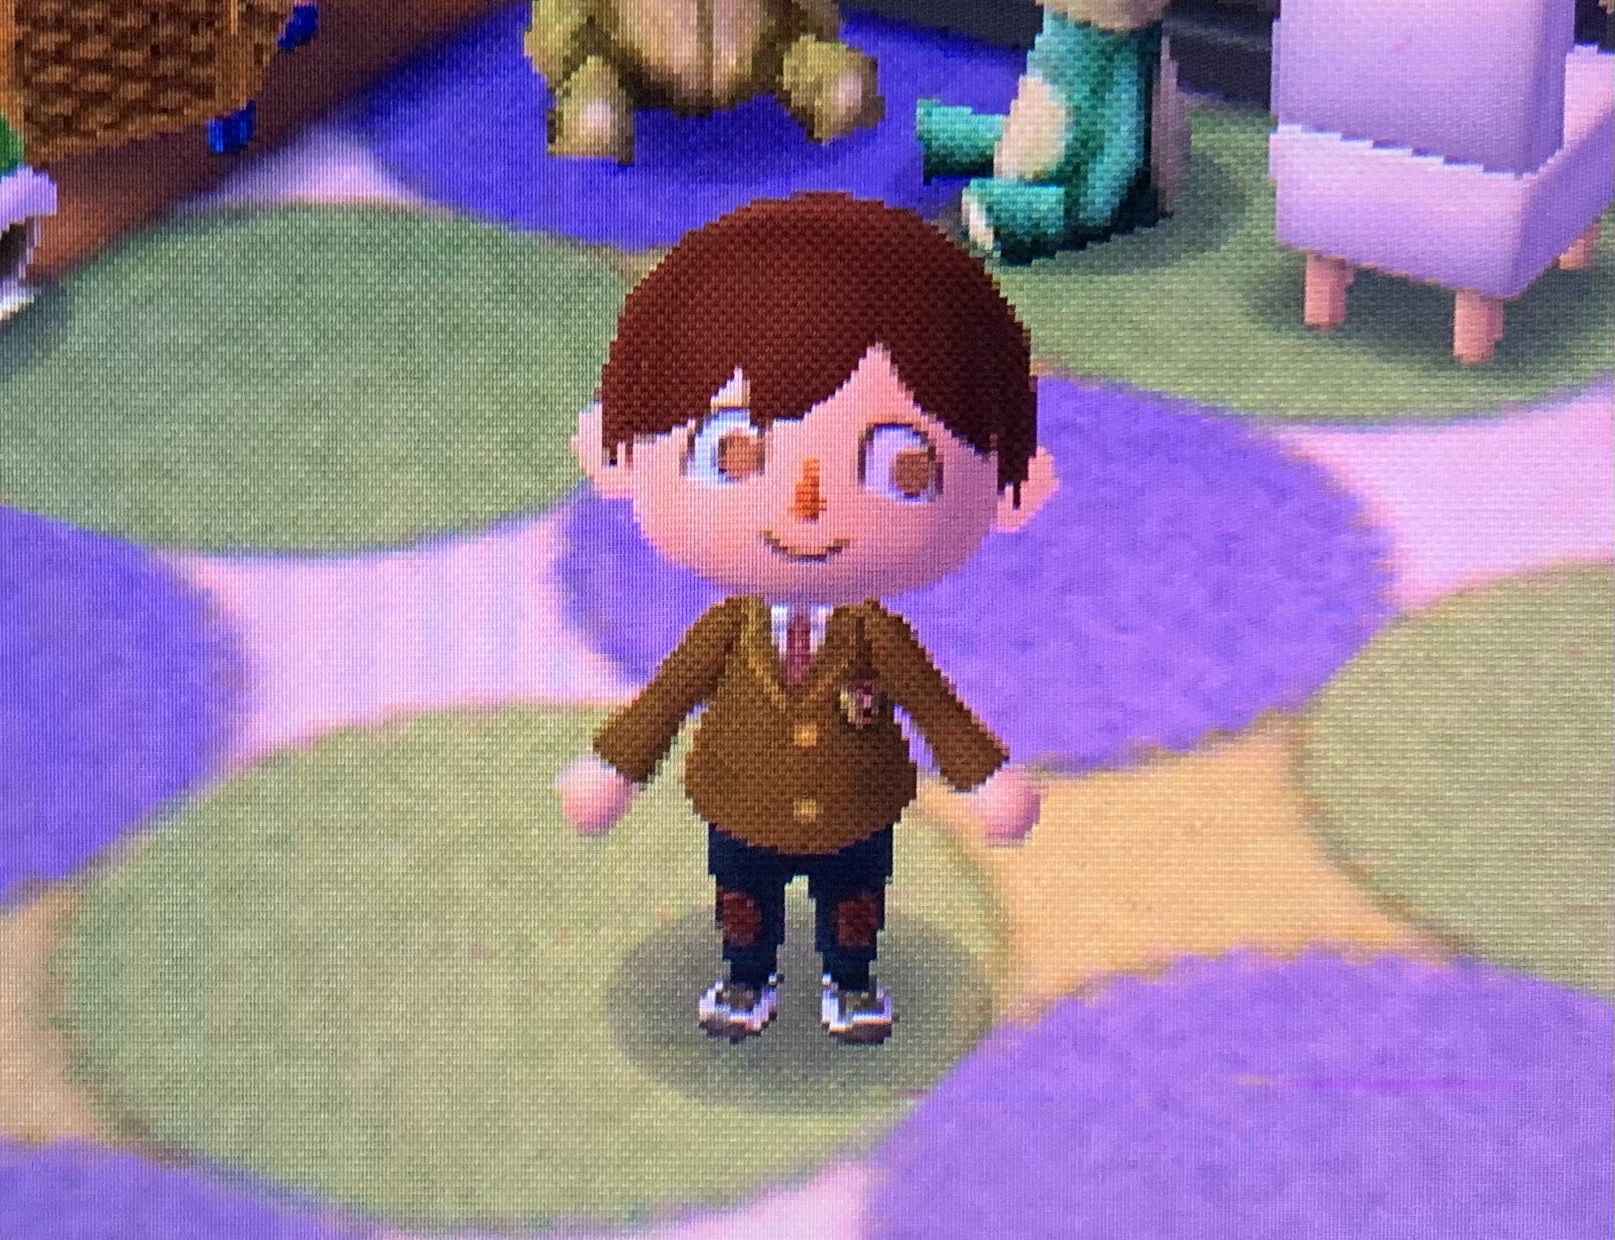
Following our first class, I fiddled around with the code and got a feel for what I might be capable of drawing. With the ability to generate simple shapes, my mind immediately went to my Animal Crossing avatar. Booting up my game, I took a picture of my avatar to serve as my reference image:
While I initially struggled a bit with the arc() function—an essential tool for drawing hair and eyelids—I was soon able to get the hang of it. With the power of the arc at my fingertips, I was able to draw myself a rough draft of what my portrait might look like.
Rough sketch in hand, I now wanted to add a layer of interactivity to the portrait. Following our second class, I sought out to implement the if() function that we learned in class together with the (mouseIsPressed) variable to realize this next step.
//Top Half
if (mouseIsPressed && mouseY < 200){//effect1}
//Bottom Half
if (mouseIsPressed && mouseY > 200){//effect2}
Using these if statements, clicking on the top half and bottom half would yield different effects—a top half click would make my avatar happy, while a bottom half click would make him sad. As the effect would only change the eyes and the mouth of the avatar, I decided to move the rest of the drawing into its own function of face():
//Function for Drawing Base of Face
function face() {
  //Halfline
  line(0, 200, 400, 200);
  strokeWeight(3);
  //Ears
  fill(240, 184, 160);
  strokeWeight(1.7);
  ellipse(110, 210, 40, 50);
  ellipse(290, 210, 40, 50);
  //Face
  ellipse(200, 200, 180, 200);
  //Hair
  fill(60, 19, 33);
  arc(200, 165, 185, 160, 3.14, 0);
  arc(107.5, 165, 110, 61.6, 0, 1.57);
  arc(162.5, 165, 100, 61.6, 0, 1.57);
  arc(292.5, 165, 160, 61.6, 1.57, 3.20);
  line(107.6, 166, 107.6, 196);
  line(292.4, 166, 292.4, 196);
  //Nose
  fill(215, 107, 0);
  triangle(190, 240, 200, 220, 210, 240);
}
I also edited the if statements to become a set of if, else if, and else statements to respectively accommodate the three statuses of 1) top half is clicked 2) bottom half is clicked 3) nothing is clicked (the neutral state).
//Top Half
if (mouseIsPressed && mouseY < 200){//effect1}
//Bottom Half
else if (mouseIsPressed && mouseY > 200){//effect2}
//Neutral
else {//effect 3}
With everything in place, all I needed to do was code in the different shapes of the eyes and mouth for the two expressions. I also added in changing background colors, indicative lines, and some text bespeaking my avatar’s mood.
The final touch I decided to employ was scrolling text encouraging the user to click the portrait; I got this to work by setting up the variables first:
//Variable Setup for Scrolling Text
let scrollSpd = 3;
let textX = -260;
Then I used said variables in the following block of code, which continually executes in the draw() function and moves the text along, with the if() statement resetting its position when it moves out of the screen.
//Scrolling Text
strokeWeight(0);
textSize(20);
textStyle(BOLD);
fill(0);
textX = textX + scrollSpd;
if (textX > 400){
textX = -250;
}
print (textX);
text('Try Clicking & Holding!', textX, 335);
All the parts were now in place! The final version of my self portrait:
Try clicking and holding the upper and lower halves of the portrait!
There it is! This was my first time using Javascript, and I’m very satisfied what I was able to achieve. One feature I wanted to include but could not was falling stars, but I soon realized that drawing one—let alone animating one—would be quite the task (perhaps one that I may tackle later on). As I feel that I’ve now gotten a preliminary grip of p5.js, I look forward to what more I may be able to make in the future!