Midterm Progress #1 – “Ice and glasses” by Marcos Hernandez

Concept

Since I love the concept of interactivity, I thought to myself: “It is possible to simulate physics and collisions between objects in a simple art?”. Many ideas came into my mind, but I fixed into creating something simple and, arguably, realistic: A interactable painting that displays a glass cup and ice cubes, that you can interact with and displays a sense of physics and collisions.

Design

When I arrived at my idea, I first started to narrow my vision on what is possible to make. In my previous projects, I had done things such as abstract paintings with the use of figures, and “physics” like simulation where diamonds fall and stack on top of each other (although honestly they look more like ice). Given this, I made a sketch to understand how can I implement these physics:

Me trying to figure out the collisions and physics.

And also searched a reference in Google Images for the ideas for the art, thus I arrived at this image created by crayon.ai:

oil painting of two empty transparent cups on a table
Prompt: Two near transparent empty cups of glass on a messa table, oil painting style.

In order to interact with the painting, the user only needs to point at the objects and press at them, either only clicking or holding it to be able to move the object freely. Also, the sound design for this art will be kept minimum, as art, in my opinion, should be a relaxing experience. If a glass cup falls on the wooden table, the appropriate sound will play, if an ice cube falls into the glass cup, the appropriate sound will also play.

Therefore, I found the following references for the music used is the following:

This makes me want to create a nostalgic-like art.

Or also this one, which is more classical and makes me go through a more conventional art style:

Challenges

  • Physics are hard to program and simulate, due to the many conditions one has to create and also ensure to keep the illusion that the properties could be seen in real life. Due to this, I had to ignore the idea of also adding rotations since it would be difficult to complete in a timely manner.

For example, my current code for collisions and gravity looks like this:

//Display cubes and apply collision and gravity.
for (let i = 0; i < cubes.length; i++) {
  cubes[i].display();

  //We check collision with the glasses. (Since we are simulating glass cups, the collision for the top is disabled for the glass cups}.
  for (let c = 0; c < glasses.length; c++) {
    //Check if it is on the X range of the table.

    //Check if it is on the X range of a cup.
    if (
      cubes[i].x < glasses[c].x + glasses[c].w &&
      cubes[i].x + cubes[i].w > glasses[c].x
    ) {
      //I am standing on an edge of a cup on the right side?
      if (
        cubes[i].x < glasses[c].x + glasses[c].w &&
        cubes[i].x + cubes[i].w > glasses[c].x + glasses[c].w
      ) {
        print("right corner detected");
        if (cubes[i].y + cubes[i].h >= glasses[c].y) {
        }
      }

      //What about the left side?
      else if (
        cubes[i].x < glasses[c].x &&
        cubes[i].x + cubes[i].w > glasses[c].x
      ) {
        if (cubes[i].y + cubes[i].h >= glasses[c].y) {
          print("left corner detected");
        }
      } else {
        cubes[i].gravity();
      }

      //Please do not pass the cup.
      if (cubes[i].y + cubes[i].h >= glasses[c].y + glasses[c].h) {
        print("Im here 3");
      }

      //Nothing else we can check.
      else {
        cubes[i].gravity();
      }

      //Please do not pass

      //If the cube is on the X range, then check Y axis to apply collision
    } else {
      cubes[i].gravity();
    }
  }

  //We check collision with the cubes. Also, it is important to add the number 1 to avoid comparing the current index.
  for (let c = 0; c < cubes.length; c++) {
    //Check if it is on the X range of a cube.
    if (
      cubes[i].x < cubes[c].x + cubes[c].w &&
      cubes[i].x + cubes[i].w > cubes[c].x
    ) {
      //I am standing on top of the cube?
      print("top of a cube detected");
      if (cubes[i].y + cubes[i].h >= cubes[c].y) {
        //Make a comparison.
      } else {
        cubes[i].gravity();
      }

      //If the cube is on the X range, then check Y axis to apply collision
    } else {
      cubes[i].gravity();
    }
  }
  • Simulating the art seems challenging, but in theory, it should be possible to finish if I add images that are similarly.
  • Due to the nature of this project, I want to keep the player immerse in the art while also understanding (intuitively through the elements of the painting) that it is interactable.
  • Keeping all the classes consistent among the shared properties. Likewise, in order to keep best programming practices, I decided to divided it into the following way:
      • Items:
          • Glass.js (Glass cup)
          • Cubes.js (Cubes)
          • Items that are part of Scenario.js:
            • Table (A wooden table)
            • GlassSpawner (Still deciding on how to represent it, because I want to keep consistency with the art)
      • Menu & HUD:
        • Menu.js (Can display both the start menu and instructions)
        • UI.js (Buttons that will be displayed which allows the player to return to the main menu or disable the music and/or SFX).
      • Audio:
        • Audio.js (For both music and SFX).

Risk Prevention

  • In order to ensure I finish the project, I need to work at least per day on it. The hours can vary since at the time I am writing this I am still a college student.
  • The menus are possible to make without issues, the only difficult part that risks the entire project is the creation of the physics and collisions.
  • Keep in mind that, if difficulties present, I can ask the professor to clarify or suggest new ideas on how to approach certain part of the code.
  • Used code that I made before for the physics and collisions in order to reduce time spent.

Midterm project in its current form

Here is a quick showcase of how my midterm looks as of February 26th, 2024. This will be kept as it is, to showcase the progress once it is finished:

I have not had the time to fix the cube physics, sadly. Also, keep in mind, you can move the red square with the mouse if you hold the left click.

Conclusion

This idea was born due to the need of experimenting with new, challenging ideas. Simulating these properties in a canvas is hard without using any reference, but at the end, this will help me increase my confidence as a programmer.

Midterm | Pyro Dancer

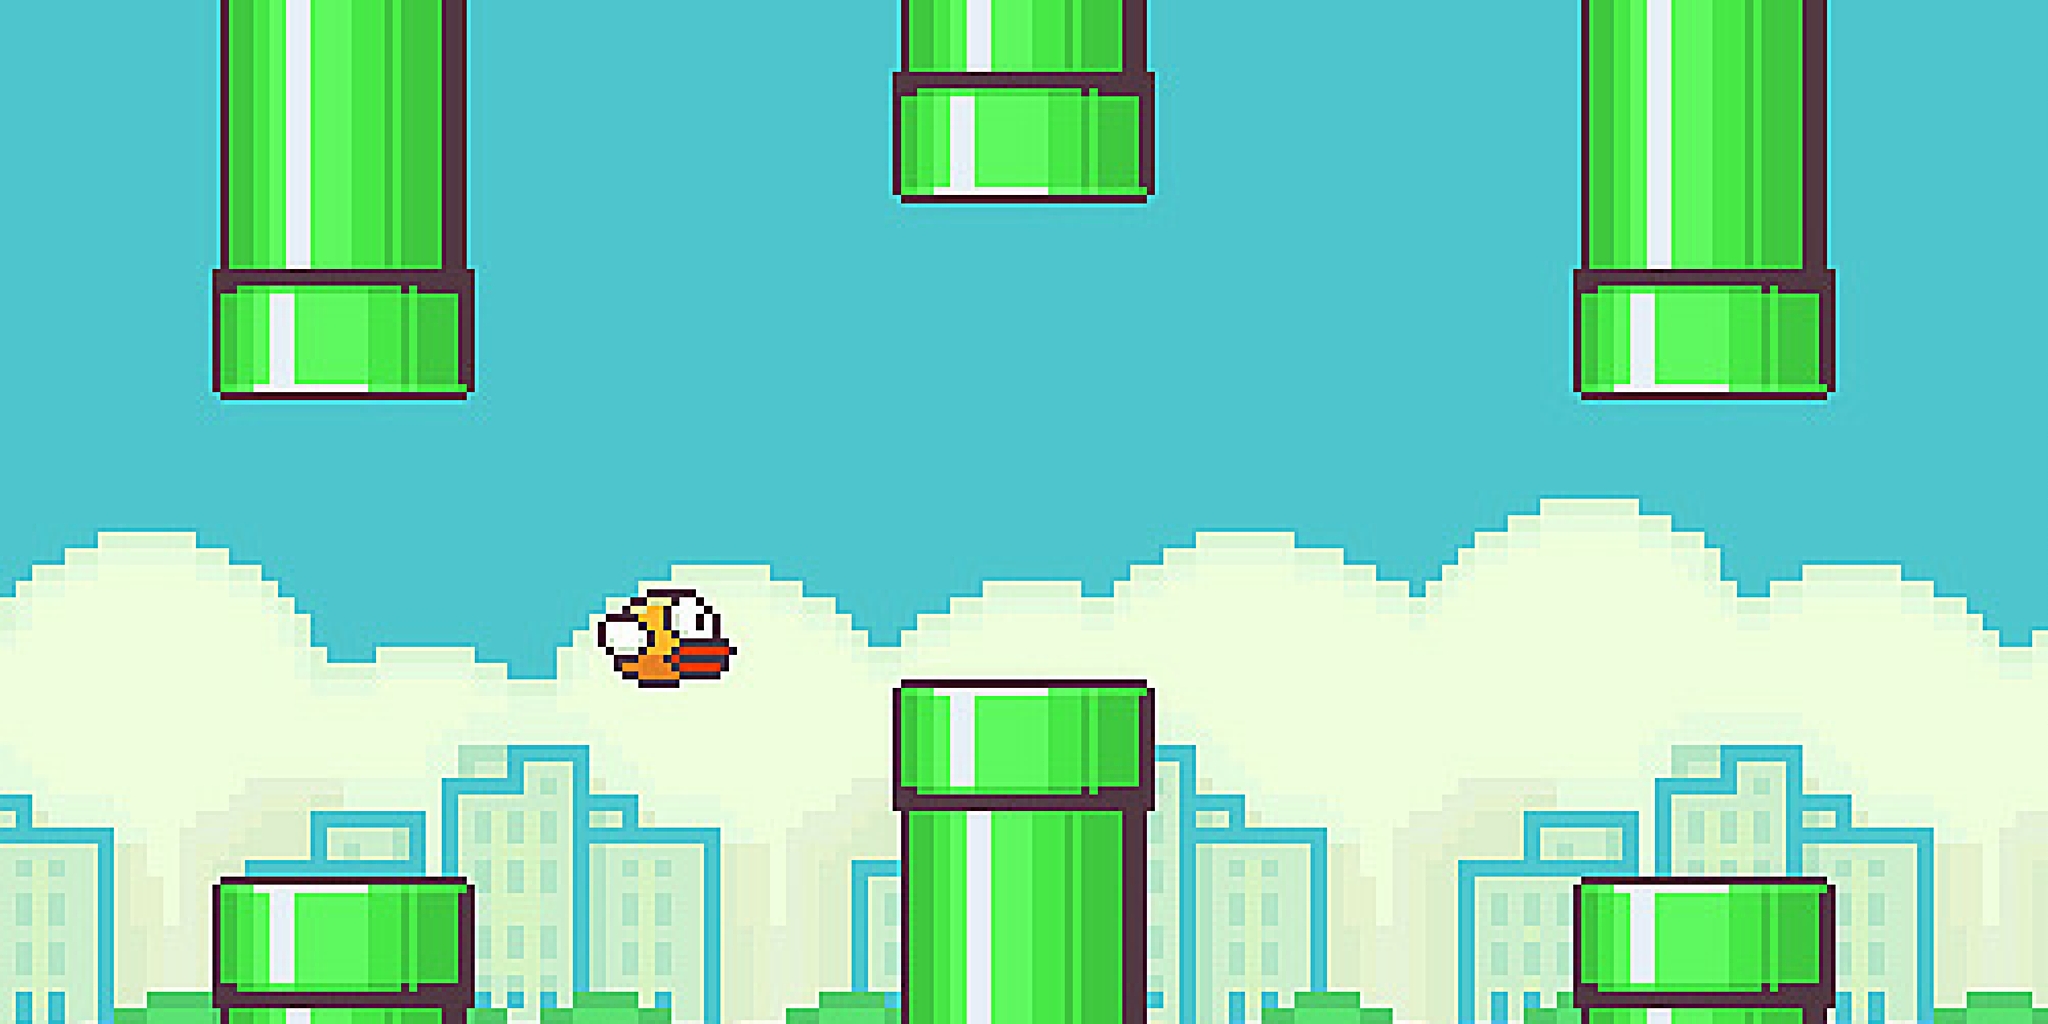
For the midterm, I plan to make a game called Pyro Dancer. It is a single-player endless runner game, where players assume the role of a knight trying to save the princess. Previous notable titles, such as Castlevania and Metroid inspire the game.

Concept

Pyro Dancer uses pixel art as its main artistic choice. I believe that this is the element that captures the experience and feeling of playing similar titles. Paired with 8-bit sound and theme by Haynes, Pyro Dancer tries to mimic the retro feel of older games.

Knight Sprite

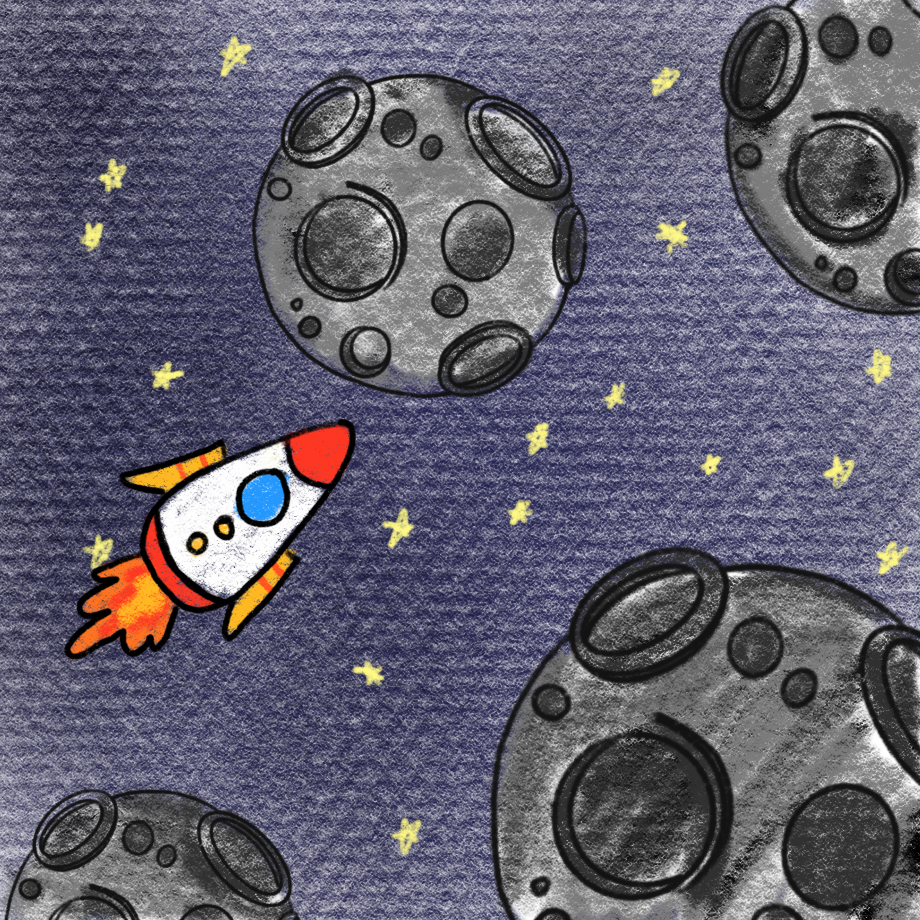
Sketches, Ideas, Drawings!

As the name suggests, Pyro Dancer will feature a knight running through a supervillain castle (unknown for now) to save the princess. However, he is greeted by dozens of fireballs in the process.

Gameplay

Players will have to dodge the fireballs by going up or down. They also have the choice to speed up their running by pressing the D key. As the score increases, so does the difficulty.

Above a certain score, players will be greeted by stationary monsters that instantly kill them upon touching. This would balance out the difficulty and create varied gameplay, as dodging only fireballs would be boring!

To win the game, players must reach a score of 1000 and proceed to the boss battle. (It is still in development, and I am unsure whether I will have the time to code it!)

Development Process

While trying to program the game, I ran across a dilemma.

I could program things from scratch, but it will take more time and the chances of running into bugs is higher.

Or, I could use some external libraries to help me develop the game, where I could devote my time and energy to create a better game instead.

I used an external Javascript library called p5 Play to help me develop the game. The library introduces a sprite class that allows me to easily manage the characters, obstacles, and even the game environment with a built-in physics engine.

Asset-wise, I have compiled a lot of the resources in this document. Please refer to it for the assets that I use.

Programming-wise, I have laid down the basics and finished testing the library itself.

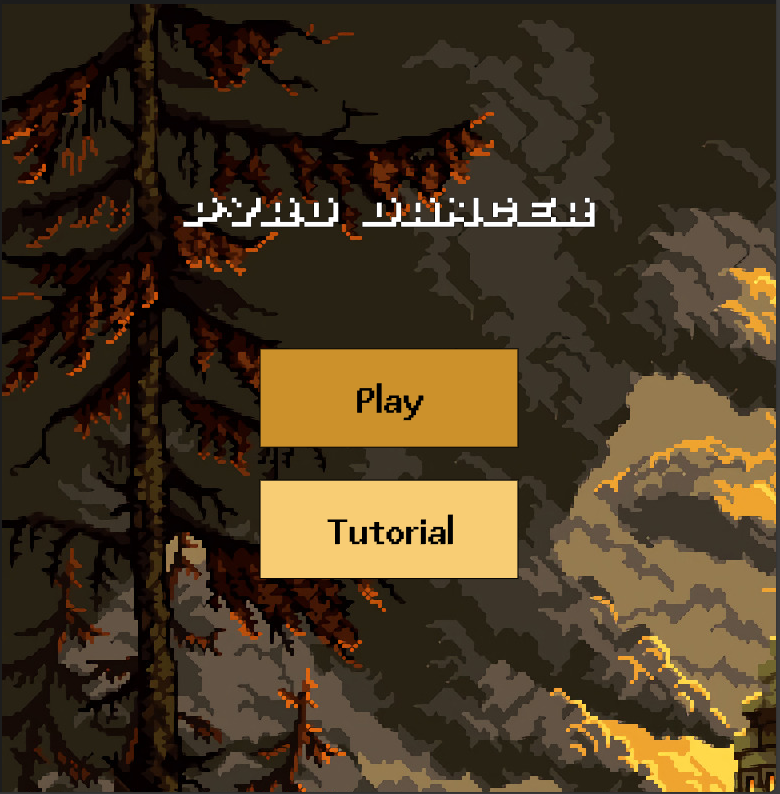
Main Menu Screen (Still in Development)


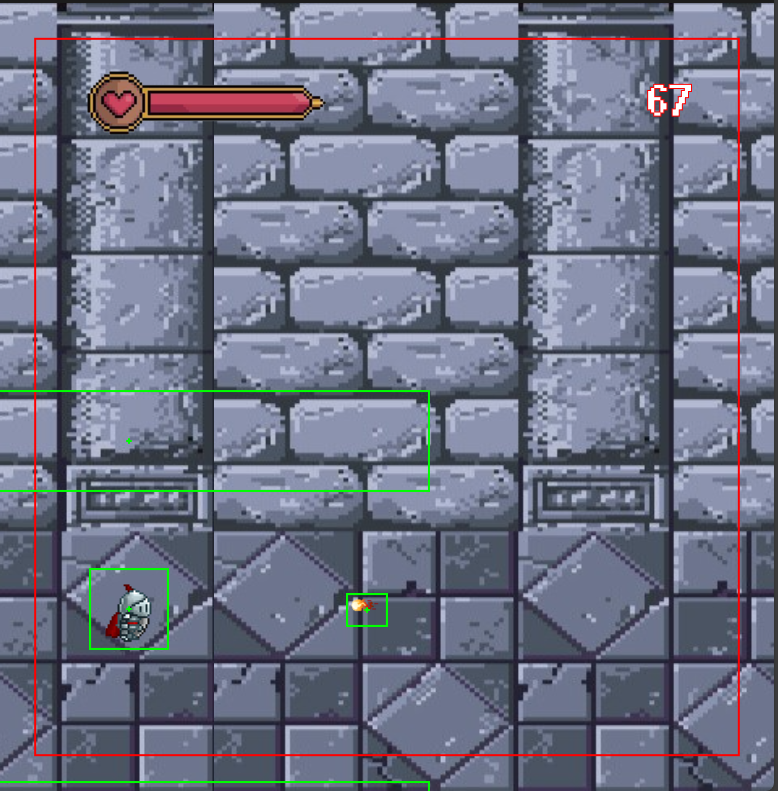
Debugging Game Screen

Hence, I only need to clean up the code and mash them all together plus adding some sound effects to make sure they are neatly packed as a game.

Concerns & Optimisms

Because of how busy and tight the deadlines are, I am concerned that I might not be able to play test the game extensively. By the end product, there might be a lot of bugs or unexpected exploits (could be a feature/mechanic too!) that would go unnoticed. However, I am optimistic that I will be able to deliver an enjoyable game in the end.

For some reason,  I could not import the p5 sketches into this WordPress without it spiraling out of control. I am posting my reference links below instead!

References

p5.js Web Editor | Pyro Dancer – Main Menu Cleaned (p5js.org)

p5.js Web Editor | Pyro Dancer – Game Screen (p5js.org)

p5.js Web Editor | Pyro Dancer – Knight Animation copy (p5js.org)

p5.js Web Editor | Pyro Dancer – Tutorial Screen (p5js.org)

Week 5 Reading Response – Dachi Tarughishvili

The article talks about computer vision which is a field of computer science responsible for designing algorithms that enable computers to provide some level of analysis for digital content. The article mainly talks about new ways of using computer vision, in digital media, art, and more which are nowadays accessible to a much wider range of consumers. 

There were many points that I found interesting in the article, starting from the methodologies behind vision algorithms to social implications. Myron Krueger’s legendary Videoplace reminded me of a project I did in last year’s class virtual body performance. I created an environment in Unity similar to how Videoplace used human canvas and allowed interaction with elements through movement. I also used bodily movements to signify unlocking chakras and connecting to the outer world through physical movements reflected in VR using body capture technology. While methodologies are different, at the core, they are both interactive performances that require a combination of computer technology, human creativity, and physical involvement.

The second and far more interesting point involves ethical considerations coming from the Golden Gate Bridge incident. How morally acceptable is it for us to record people’s final moments for all the world to see? And all this happening without consent is the most problematic aspect. In this case, there is a fine line between artistic expression and socially acceptable expectations. In the future, this line will be blurred further as various cameras around us start to capture more and more data, with better, more sophisticated algorithms. Soon, an immense amount of data concerning our daily routines, choices, feelings, and other personal information will be collected and stored in massive databases. This information will include data on our facial expressions, movements, and more. Unfortunately, there is potential for this data to be exploited by corrupt governments or large technological conglomerates.

On a final note, I agree that computer vision technology has enormous potential for innovation and creativity, but it must be used ethically and responsibly to ensure privacy/ethical concerns are addressed going forward into the future.

Midterm Progress 1(Space Navigators) by Sihyun Kim

Concept

The image shown above is my little brainstorming for the midterm project. Inspired by my childhood favorite game Flappy Bird (image shown below), I decided to create a game that has similar mechanics to Flappy Bird. However, I made my game distinct from Flappy Bird by having a different theme and a different way to play it. The theme of my game would be “Space”. More specifically, the concept of the game is a rocket sent from the Earth to explore space avoiding meteoroids of different sizes in space to prevent the destruction of the rocket.

Recreate Flappy Bird's flight mechanic | Wireframe #29 - Raspberry Pi

Flappy Bird

The user can control the rocket through his or her voice volume. The rocket will be controlled by getting the microphone level of the microphone input. 

Design 

The drawing above is the drawing I drew when conceptualizing this game. This game will consist of two key features: rockets and meteoroids of different sizes. As of now, I am planning to find an image with this kind of illustration. However, if I could not find any of which I could satisfy, I might draw the rocket and the meteoroids for the game by myself. For the background music, I found this playlist (shown below) of background music on YouTube. 

As of now, I am planning to use one of these songs in the game as the background music.


Challenges:

Intentionally, I started working on the parts of the game that I thought would be the most complicated and frightening features to code. Which were: 

Controlling the rocket through the mic input

function setup() {
  createCanvas(400, 400);
  mic = new p5.AudioIn();//initializing microphone input
  mic.start();//starting microphone input
  rocket = new Rocket(50, 200, 200);//creating a new rocket object
}

function draw() {
  background(220);
  //getting microphone input level
  let vol = mic.getLevel();
move(vol) {
  let adjustment = map(vol, 0, 1, 0, -20);// mapping the volume to an adjustment in velocity
  this.vy += adjustment;//// applying the adjustment to the vertical velocity
}

The shown above are the code snippets for implementing the control for the rocket through mic input. Implementing this part was easier than I expected because we have been introduced to how to code such an implementation in p5.js. I have used the p5.AudioIn() and getLevel() to access the microphone input and the volume level of the microphone input. Then, I utilized the map() to map the volume to an adjustment in (vertical) velocity. 


Moving Obstacles: 

After watching some videos of people playing the Flappy Bird, I have noticed that the x position of the bird maintains to be the same. It just looked like it was moving because the obstacles were moving! So, I decided to make my obstacles(meteoroids) move as well. Creating the instances and letting the instances move were not difficult. It was the timing that was challenging. I first tried to use random() for all the parameters. Then, I realized that this would result in overlapping obstacles. 

So, I contemplated How I could make one meteoroid at a time. It was quite challenging to figure out how as I took around 30 minutes. Then, I came out with the idea of using frameCount() and some variables. 

if (frameCount - lastMeteoroidTime >= meteoroidInterval) {
  // creating a new meteoroid
  let x = width; // starting the meteoroid from the right side of the canvas
  let y = random(50,350); // random y-position between 50 and 350
  let size = random(50, 100); // random size between 50 and 100
  //adding the created new Meteoroid object to the array
  meteoroids.push(new Meteoroids(x, y, size));

  // updating the last meteoroid creation time
  lastMeteoroidTime = frameCount;
}


So, what I have done is that I first set the interval to be 60 frame count, and if the time difference of frameCount and the last time that the meteoroid was generated is greater than the interval, then the new meteoroid will be generated.

Collision detection

Collision detection with the boundaries was easy since I just had to check if the y position of the rocket was greater than 400 or less than 0. 

However, letting the collision between any of the meteoroids and the rocket be detectable was essentially the most frightening part of this project (so far). Honestly, I did not think this would be one of the hardest parts as I had similar coding experience in Introduction to Computer Science. However, letting the collisions detectable when both are “circles” was different from letting the collisions detectable when both are “rectangles”. But, after all, I was able to figure out how to code for this as well! 

  //checking collision with the rocket using the equation of the circle 
checkCollision(other) {
    let distX = this.position.x - other.position.x;
    let distY = this.position.y - other.position.y;
    let distance = sqrt((distX * distX) + (distY * distY));
    if (distance <(this.radius + other.radius) ) {
      noLoop();
    }

After all, I was able to figure out how to do collision detection between two circles by utilizing the equation of the circle I learned back in middle school. AND IT WORKED! So, basically, I have gotten the distance between the center of the meteoroid and the rocket, then checked if the calculated distance between the two objects is less than the sum of their radii. If this condition is true, it means the two objects are overlapping or colliding. This is because the sum of their radii represents the distance at which their boundaries touch if they are just barely colliding.

Conclusion

Fortunately, I was able to overcome the challenges I encountered so far. In fact, I was able to resolve the most frightening problem of this project- collision detection. Now, I am done with the main features of the game. I just have to implement the images and sound, create the starting page, implement the scoring system, define game-ending conditions, and enable the restarting of the game. 

Progress so far…

!! It just stops if it is on the ground or if it is touching the ceiling for now because I have put noLoop() for all the if -statements involving collision check. 😊

Week 5 – Midterm Progress – Lord of the Maze – Dachi Tarughishvili

Concept:

My midterm will be a game titled Lord of the Maze which is inspired by epic fantasy novel called Lord of the Rings which my previous project Eye of Sauron was based on. This time around I want to make a maze style game where main character Frodo has to make his way out of the maze and reach Mount Doom (volcano in Mordor where the ring is forged and place where it can be destroyed). In addition to the maze, orcs are roaming along different pathways which you should avoid. Coming in direct contact with an orc will decrease your health. If you loose all three health points, you lose the game. If you reach mount of doom in time, you win the game, and image gets displayed. Some of the features I am considering adding are: time counter, sound effects, more orcs, more movement patterns, Eye of Sauron additional level before reaching mount of doom and destroying the ring.

Design:

Maze Generator | Graphic design inspiration, Maze, Design inspiration

These are some of the basic design elements behind my midterm project as it is going to be top down, 2D 8 bit pixel art-style maze game. I am also going to add iconic soundtracks from LOTR to enhance the atmosphere. I am also thinking of other obstacles or objectives along the way like additional monster or a ring. Additionally, I want a spell casting ability design of which might either be animated or might opt for simpler integration with visual changes P5js offers. The maze itself is gonna be fixed for ease of implementation, and collision detection, however, I could possibly pursue more generative design in the future.

Classes will most likely be: UI, Ring, Orc, Mount of Doom, Game Win, Game Over conditions and more.

Challenges:

Challenges will most likely come from collision detection. The maze logic should be properly implemented so that Frodo does not go through walls and does not break player immersion.

Additionally, it will be quite difficult to make all objects work together as they have to abide different rules. I don’t think the movement itself will be an issue as most monsters should have predefined path. Integrating eye of Sauron animation from project before both programmatically and conceptually might be challenging.

Risk Prevention:

To maximize the efficiency of implementation, I am going to approach the task step by step. First, I am going to design the maze and check basic collisions for the character.

After that I am going to add orcs and make them move on predefined paths. I will then implement Ui Elements since games core logic works successfully and I can only build up from there.

Additional logic concerning the eye, reaching mount of doom, additional obstacle, the ring, and potential power will be built each one at a time.

Eventually, I am going to try to polish everything together, improve my comments and foundation and possibly work on graphics and transitions.

As far as audio is concerned, each new element will be accompanied by relevant audio file and thats how they are going to be added as well consequently.


Week 4 Reading Response: Shouldn’t design accomodate me?

In this reading, Norman discusses the psychological aspects of design, especially focusing on how users often blame themselves for difficulties with poorly designed objects rather than recognizing the design flaws. He introduces the term “psychopathology” to describe the mental stress and frustration caused by poorly designed objects.

During one of the lectures in a core I took last semester, “Re-Design” with professor Goffredo Puccetti, we learnt about one of the Universal Principles of Design, which is “Accommodation”, which is basically when you design an object that can be used by most of the population. Like certain designs don’t seem to be a hindrance in most cases, like stairs.

Let’s take a beautiful beach as an example. A scenic view right here on Saadiyat Island. But what’s that? Not everyone can enjoy it? Because of the stairs?

According to WHO, an estimated 1.3 billion people experience significant disability. That’s a whopping 16% of the population, coming to 1 in 6 of us. And despite there being a significant number of people who can’t access stairs, there still seems to be designers who don’t accommodate such people. Consequently, these people end up not going to places due to their disabilities and blame themselves.

All in all, what I got from the first chapter is that it explores the principles of good design and the impact it can have on people’s daily lives.


Week 4 Assignment: Personal Electronics Market in India

I had initially wanted to work with generative text to create poems in my native language (Bengali), which would have translations in English. Midway through this project however, I realized how challenging it was as the rules of grammar in English and Bengali are quite different, and I couldn’t just make one-to-one sentences, even simple ones.

Then I decided to go through the Kaggle website to search for suitable datasets. The dataset on the Device market in India over last 15 years (https://www.kaggle.com/datasets/michau96/device-market-in-india-over-last-15-years) was a trending dataset, so I decided to use that. Since the dataset was on a monthly basis, I first used Excel to take averages across each year, converting the dataset to an annual one.

When it came to making the plot itself, I first tried getting the basic stacked histogram right. This was done using rectMode(CORNERS) as it allows to specify the opposite corners of the rectangle. The x position for each bar was specified using the Year column and the y position and height using the percentage value of each column normalized to the desired height of the plot.

    rectMode(CORNERS); //to allow stacking of the bars
    //bar for mobile
    fill(this.mobileColor);
    rect(
      (this.dataYear - 2007) * w,
      y,
      w * (this.dataYear - 2007 + 1),
      y - (h / 100 * this.mobile)
    );
    //bar for desktop
    fill(this.desktopColor);
    rect(
      (this.dataYear - 2007) * w,
      y - (h/100 * this.mobile),
      w * (this.dataYear - 2007 + 1),
      y - (h / 100 * this.mobile) - (h / 100 * this.desktop)
    );
    //bar for tablet
    fill(this.tabletColor);
    rect(
      (this.dataYear - 2007) * w,
      y - (h / 100 * this.mobile) - (h/100 * this.desktop),
      w * (this.dataYear - 2007 + 1),
      y - h
    );

After that, I decided to work on the graph legend. The legend class takes one of the bars and makes the legend based off of that (this works since every bar is identical when it comes to the number of groups and the color associated with each group).

Finally, I wanted to add a level of interactivity in the form of a popup that comes up when you hover over a bar, similar to the statistics website Statista (statista.com). I tried using the mouseOver() event listener, but that didn’t work with the bar object for some reason, so I decided to go with the hard route of checking mouseX and mouseY against the bar’s dimensions.

The final result is below:


I would have loved to make this more generalized and capable of visualizing any dataset loaded by a user (kind of like ggplot in R). In that case, the program would need to work for any number of columns. But until I figure out how to make function arguments optional, this is kind of impossible.

Reading Response 4: The Design of Everyday Things

Upon delving into “The Psychopathology of Everyday Things,” I found Don Norman’s exploration of design principles and challenges to be thought-provoking and relevant. The idea that technological advancements, while promising increased benefits, also introduce more complexities and challenges in usability, is a stark reality in today’s rapidly evolving tech landscape. This made me think of the evolution of smartphones, which our generation was the last to experience. Initially, phones were simple – calls, texts, and perhaps a basic camera (remembering my flip phone). However, we now have smartphones that can do almost everything but are accompanied by a myriad of complexities. Consider the addition of facial recognition, Bluetooth, and a multitude of applications on our smartphones. While these features enhance functionality, they often lead to confusion and frustration– such as the times I’m fumbling through settings and menus on my smartphone, realizing that the very advancements intended to make life easier can, at times, make it more challenging.


I believe that technology should enhance, not complicate, our lives. Thus I agree that as we embrace innovation, designers must prioritize user experience and human-centred design to ensure that technological progress truly benefits users. For example, the shift from traditional wired earphones to wireless counterparts provided a significant leap in user convenience. Wireless earphones, like Apple’s AirPods, offer users unparalleled freedom of movement and freedom from tangled cords. However, it introduced new challenges, such as using touch gestures, which might not always be intuitive. Moreover, since the two buds are not connected, it was very easy to misplace them.

To strike a balance between innovation and user-friendliness, designers should adopt a user-centric approach. Conducting extensive user testing and feedback sessions can provide invaluable insights into which features are genuinely beneficial and how users prefer to interact with them. Prioritizing essential functions and ensuring that they are easily accessible, perhaps through intuitive gestures or a clear menu hierarchy, may help prevent users from feeling inundated. For example, the ‘Find My AirPods’ feature was added to address the challenge of potential loss. Overall, achieving equilibrium involves understanding that not every technological advancement needs to be incorporated if it compromises usability.

Asciilumination – Assignment 4 – Dachi Tarughishvili

Passing by Interactive Media Lab, I always noticed those TVs that used webcams to track our movement and demonstrate interesting visualization using predefined symbols. I always wondered how it actually worked. So for this data visulization assignment I wanted to recreate it and perhaps add some more adjustments. I followed Coding Train’s coding challenge tutorial regarding ASCII Text images where most of my code comes from.
The basic mechanism behind this program is to map the pixel brightness values which are calculated by dividing their average RGB values and mapping it to characters from density character strings. In this case, I am using ‘ÑYUAD876543210?!abc;:+=-,._’; since initial symbols take up more density and show contrast better but it can realistically be anything. Super bright parts of the image have no space value at all. Additionally, there is no Canvas, and this is direct html implementation with little bit of CSS. I also added a slider for density value which adjusts number of spaces that are added to the string, which acts similiar to how contrast slider would act in photo editing app. If uyou think about it, thats actually whats happening. There are more spaces for wider value of brighter pixels. There is also a Toggle Color button on top left, which assigns the symbols colors based on initial pixel value. This is done per frame basis.
To ensure that you see full working project, make sure to follow P5 link, since this website does not correctly display it and also you need camera permissions anyway since it takes the video of your webcam.
Here is perhaps the most important code out of entire project:

 //loop to iterate over pixels
  for (let j = 0; j < video.height; j++) { //iterates over rows (height)
    for (let i = 0; i < video.width; i++) { //iterates over columns (width)
      const pixelIndex = (i + j * video.width) * 4; 
      //calculates index of pixel in videos pixel array based on its x and y cordinates (i and j). basically vertical and horizontal displacement. Video width indicates how many pixels are in each row. r, g b, a so we multiply by 4 since pixel takes up 4 spaces in array
      const r = video.pixels[pixelIndex];
      const g = video.pixels[pixelIndex + 1];
      const b = video.pixels[pixelIndex + 2];
      const avg = (r + g + b) / 3;
      const len = adjustedDensity.length;//to later map brightness value
      
      const charIndex = floor(map(avg, 0, 255, 0, len)); 
      
      //maps avg value from 0 to 255 to 0 to len. floor is used for rounding
      
      const c = adjustedDensity.charAt(charIndex);
      
      //brighter pixel = higher char index lower density
      
      const charColor = `rgb(${r},${g},${b})`; 
      //its a template literal, javascript uses it for embedding expressions within the string
      
      if (c == " ") {
        asciiImage += "&nbsp;";
      } else if (check == true) {
         asciiImage += `<span style="color:${charColor};">${c}</span>`; 
      } else {
        asciiImage += c; //adds c to our image
      }
      
      //span element is inline container in hztml used ot apply styles without line break
      //if our c is empty by mapping, correspond that to true space (html does not conventionally display empty spaces) 
      
    }
    asciiImage += '<br/>'; //line break to start fresh rows
  }
  asciiDiv.html(asciiImage); //sets html content of ascidiv to our finalized asciimage, by continously drawing we update div content and thus motion is live
}

The code is fully commented but the general idea is to find out r g b values for individual pixels. After that, we find average value which corresponds to our brightness. We map our string index to brightness values. Therefore we have a constant C which is a character for every-frame and we add it to our frame. If color is on, then its color is modified.

In the future, I could work on optimizing since. Refreshing html elements so many times, especially when color is applied is very taxing on CPU and the process becomes laggy. Lowering frame-rate does not help much. Additionally, I could add more adjustmenets and variables, such as video size, font options and more. The latter is especially interesting since the font I am using has same horizontal length. Variable font would be harder to implement. Overall I am very glad with how this project turned out and would like to work on it more in the future.

Week 4 – Reading Response: Every day’s Life Design | Haziel

I found the reading really interesting and relatable as it provides a thought-provoking exploration of design principles and their application to everyday life, particularly focusing on the challenges posed by modern design complexity. Don Norman’s concept of “Norman Doors” highlights a common frustration experienced by many individuals, including me, when interacting with poorly designed products, such as doors with ambiguous instructions.

The reading also made me think of other trivial daily life examples. For instance, the design of a smartphone interfaces often reflects the principles discussed in the reading, particularly regarding feedback and conceptual models. When typing a message on the smartphone keyboard, the visual feedback of each keystroke appearing on the screen provides immediate confirmation of input, enhancing the user’s understanding of their actions. This feedback loop is crucial for users to feel confident and engaged with the device.