Sketch (Fullscreen) https://editor.p5js.org/dt2307/full/vrBxuAsfN
(I have embedded here just in case but please open it in separate tab for everything to properly work (most importantly audio))
Idea: Lord of the Rings inspired game, where a player takes initiative to escape the maze, avoid the orcs and flying monster, find the ring and reach the mount of doom
Project summary: This game takes inspiration from the epic fantasy novel The Lord of the Rings, which my previous project Eye of Sauron was also based on. In this maze-style game, the main character Frodo must navigate through a maze and reach Mount Doom, the volcanic location in Mordor where the powerful ring was forged and the only place it can be destroyed. Roaming orcs patrol the maze pathways, which Frodo must avoid. Coming into direct contact with an orc reduces Frodo’s health. If Frodo loses all three health points, the game is over. If Frodo successfully reaches Mount Doom in time, the player wins the game and an image is displayed. The goal is to guide Frodo through the maze while evading orcs in order to make it to Mount Doom and destroy the ring. However, there is a catch, if you reach mount of doom without obtaining the ring, flying monster will start chasing you and at that point you should get the ring as soon ass possible to evade it. Once you capture the ring, Sauron animation will be displayed (based on my previous project with the perlin noise after Coding Train intro). After that you can see game become more gloomy as colors start to change, background included. Fortunately, due to magical powers of the ring you are granted an invisibility buff which lasts for certain amount of time. The visual cue is there for player by reducing Frodo’s transparency as well as audio cue which gets more frequent with more pulses indicating when you are gonna run out. Finally, you are able to reach mount of doom and destroy the ring if you get through the remaining orcs!
Inspiration: this game is inspired by lord of the rings movies (books): The Fellowship of the Ring (2001), The Two Towers (2002), and The Return of the King (2003). I want to recreate an experience where player gets to have their own journey, traversing long distance, making strategic choices, avoiding the danger and reaching destination similar to what happens in the movies.
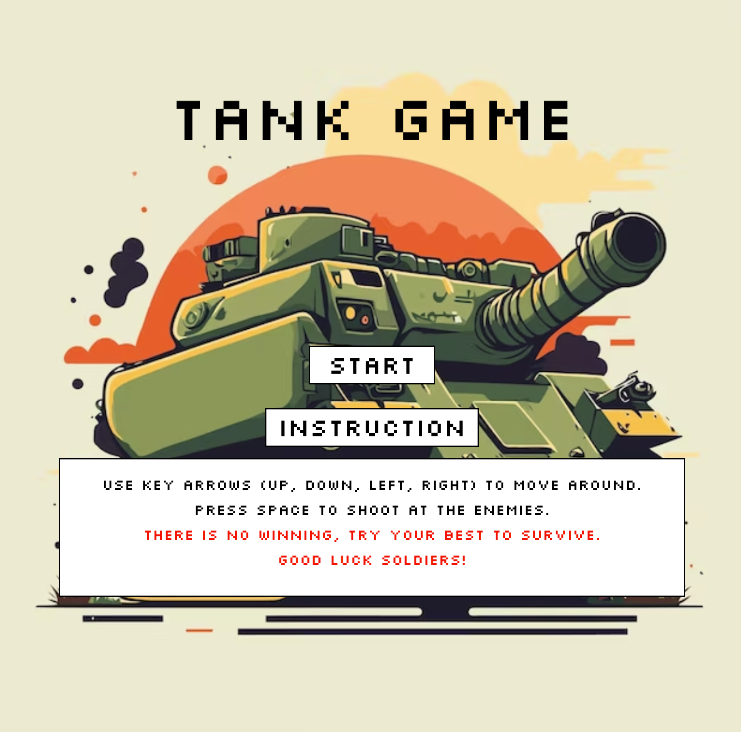
Visuals: the maze itself is black on green canvas. Characters have their own images (orc, frodo, mount of doom etc.). They are in pixel art style to give players a nostalgic feeling which also makes whole game work on this platform much smoother. The main menu screen as well as instructions and game won game over screen are AI generated, but text on top is using custom font.
Process and Challenges: I made sure to utilize an object-oriented approach. There were several development hurdles. Firstly, after designing the maze layout and slowly incorporating it into code to test functionality, I struggled greatly with collision detection (characters could access the maze improperly from certain sides) which took substantial time to correct. Additionally, programming the repetitive orc movements to patrol the maze appropriately relied heavily on trial-and-error to determine optimal pathways. (And lots of Googling!). Last few days, I also added sounds which were not too difficult but took some time to pick right soundtracks and make it working. Volume slider was a bit tricky as I head to read documentation online because I did not like the way its default behavior worked. I also added countdown which lets player see their current time as well as total time they took to beat the challenge. Additionally, I fixed issue with ring, and volume slider being displayed over game over screen and such. I added even more soundtracks, for getting the ring and spawning the ring. Moreover, I implemented features such as flying monster which spawns and moves towards frodo if he goes to mount of doom without picking up the ring. Upon picking up the ring, I added a feature based on my last project where eye of sauron animation gets displayed (which was done using perlin noise). This comes with change in background as well as another feature – Invisibility. In simple terms, frodo becomes more transparent visually, a sound for invisibility starts playing and in specific timeframe he is immune to enemies. I added another orc near ring to make getting it more challenging. Last but not least, ring gets spawned only if Frodo reaches certain area in the map, to ensure that player can’t just camp at base and wait for ring to spawn if there was a timer instead, making game much simpler.
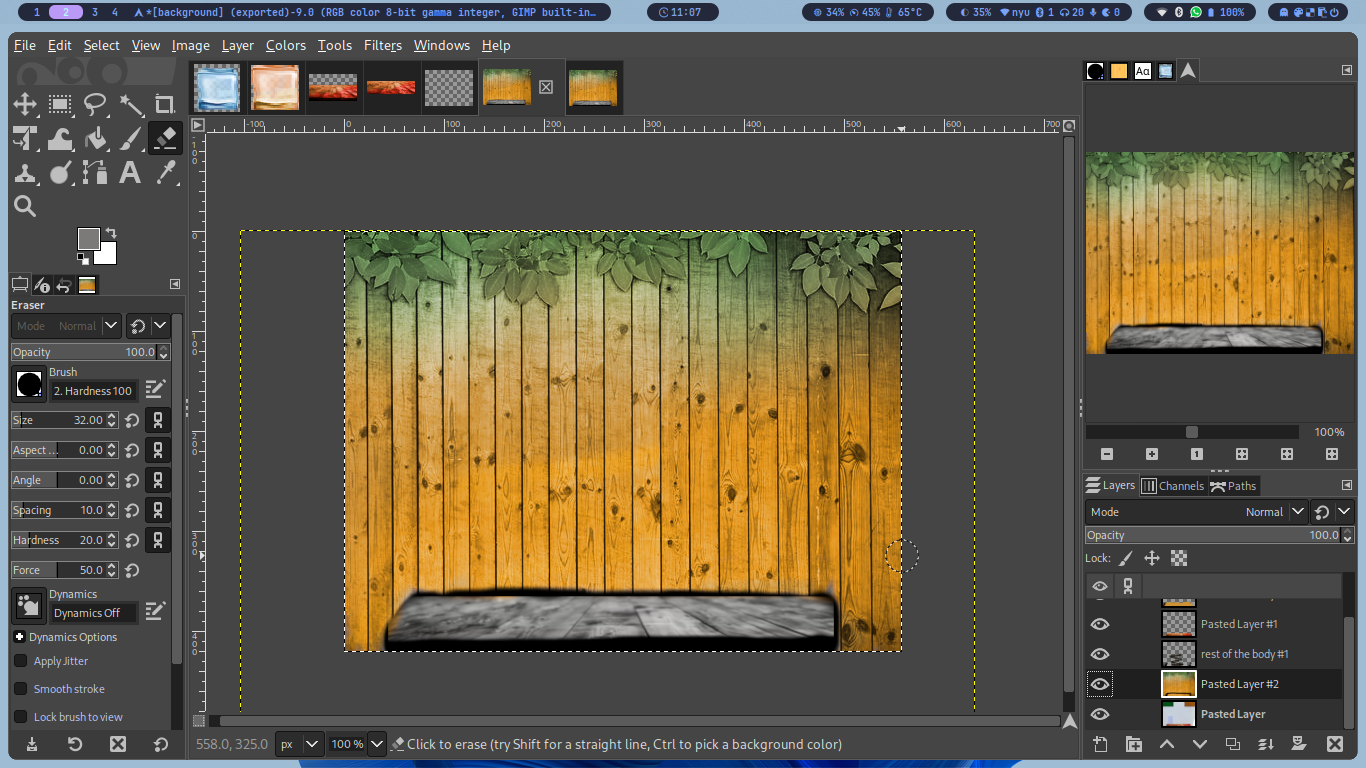
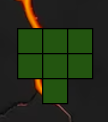
Here are some development progress pictures (I have not included every one of them) :


Code:
I have separate JS classes for different functions of the game.
Lets go over most of them (briefly, more details are in code comments):
Drawing UI Class: takes care of top bar with health, volume and timer texts.
function drawUI() {
  // Draw Health text
  fill(255);
  textSize(14);
  noStroke();
  text("Lives: " + playerHealth, 55, 11);

  // Draw Volume text
  fill(255);
  textSize(14);
  noStroke();
  text("Volume:", 150, 11);
  // Make sure volume slider is visible
  volumeSlider.style('display', 'block');

  // Draw Timer
  fill(255);
  textSize(14);
  text("Time: " + playTime.toFixed(1) + "s", width - 60, 11);

  // Set volume based on slider value
  initialVolume = volumeSlider.value();
  backgroundMusic.setVolume(initialVolume);
}
Orc class: takes care of spawning as well as moving orcs (also makes sure they don’t go in the maze)
class Orc {
  constructor(pointA, pointB, spawn) {
    this.pointA = pointA; //start
    this.pointB = pointB; //end
    this.size = 20;
    this.speed = 1.2;

    //initial spawn
    this.x = spawn.x;
    this.y = spawn.y;

    // target
    this.currentTarget = this.pointA;
  }

  display() {
    image(orcImg, this.x, this.y, this.size, this.size);
  }

  move() {
    let dx = this.currentTarget.x - this.x;
    let dy = this.currentTarget.y - this.y;
    let length = sqrt(dx * dx + dy * dy); //direction vector

    if (length > 0) {
      dx /= length; //normalize vector for consistent speed
      dy /= length;

      //calculate new position
      let newPosX = this.x + dx * this.speed;
      let newPosY = this.y + dy * this.speed;

      if ( //if new position is in bound and does not collide with walls
        newPosX > 0 &&
        newPosX < width - this.size &&
        newPosY > 0 &&
        newPosY < height - this.size &&
        maze[getRow(newPosY)][getCol(newPosX)] !== '#'
      ) {
        this.x = newPosX;
        this.y = newPosY;

        // check if orc reached target
        if (dist(this.x, this.y, this.currentTarget.x, this.currentTarget.y) < this.speed) {
          // switch points
          this.currentTarget = this.currentTarget === this.pointA ? this.pointB : this.pointA;
        }
      }
    }
  }
}

function generateLevel() {
  orcs = [];
  orcs.push(new Orc({ x: 28, y: 350 }, { x: 28, y: 180 }, { x: 28, y: 180 }));
  orcs.push(new Orc({ x: 605, y: 100 }, { x: 605, y: 400 }, { x: 605, y: 180 }));
  orcs.push(new Orc({ x: 452, y: 420 }, { x: 452, y: 250 }, { x: 452, y: 250 }));
  orcs.push(new Orc({ x: 260, y: 605 }, { x: 455, y: 605 }, { x: 455, y: 605 }));
  orcs.push(new Orc({ x: 300, y: 100 }, { x: 200, y: 100 }, { x: 200, y: 100 }));
  // orcs and their pathways
}
Player class: initializes player, as well as deals with maze collision and invisibility buff.
class Player {
  constructor() {
    this.size = 20;
    this.speed = 3;
    this.spawn();
  }

  display() {
    if (millis() < invincibleUntil) {
      tint(255, 63); //25% transparency
    } else {
      tint(255, 255);
    }
    image(playerImg, this.x, this.y, this.size, this.size);
  }
  move() {

    if (eyeOfSauronActive) { //cant move if active
      return;
    }
    let newX = this.x;
    let newY = this.y;
    //movement
    if (keyIsDown(LEFT_ARROW) && this.x > 0) {
      newX -= this.speed;
    } else if (keyIsDown(RIGHT_ARROW) && this.x < width - this.size) {
      newX += this.speed;
    }
    if (keyIsDown(UP_ARROW) && this.y > 0) {
      newY -= this.speed;
    } else if (keyIsDown(DOWN_ARROW) && this.y < height - this.size) {
      newY += this.speed;
    }

    if (!this.collidesWithWall(newX, this.y) && !this.collidesWithWall(newX, newY) && !this.collidesWithWall(this.x, newY) && !this.collidesWithWall(newX, newY)) {
      this.x = newX;
      this.y = newY; //updates if there are no collisions with walls
    }
  }
  //collision
  collidesWithWall(x, y) {

    //calculates grid indices with helpers
    let left = getCol(x);
    let right = getCol(x + this.size - 1);
    let top = getRow(y);
    let bottom = getRow(y + this.size - 1);

    //checks if any grids around player position has # (meaning wall)
    return ( //returns true if collision happens if not false ( or conditions)
      maze[top][left] === '#' ||
      maze[top][right] === '#' ||
      maze[bottom][left] === '#' ||
      maze[bottom][right] === '#'
    );
  }
    //initial spawn
  spawn() {
    this.x = 30;
    this.y = 30;
  }
}
Ring Class: takes care of spawning golden ring as well as checking its collision for player and determining invisibility buff time
const ringSpawnLocation = { row: 10, col: 20 }; //properties
let goldenRingRadius = 10;

function checkRingCollision() {
  if (goldenRing && dist(player.x, player.y, goldenRing.x, goldenRing.y) < goldenRing.size) { //if ring exists and distance is less than rings radius
    //activate sauron and invis buff sequence
    collidedWithRing = true;
    eyeOfSauronActive = true;
    invincibleUntil = millis() + 40000; // make Frodo invincible for 30 seconds
    monsterSpawned = false;
     setTimeout(() => {
      invisibilitySound.play();
    }, 20000);
    if (!sauronSound.isPlaying() && !sauronSoundStarted) {
      sauronSound.play();
      sauronSoundStarted = true;
      goldenRing = null;
    }
  }
}

//creating golden ring
function createGoldenRing(x, y, size) {
  return {
    x,
    y,
    size,
  };
}


//drawing golden ring
function drawGoldenRing() {

  image(ringImage, goldenRing.x - goldenRingRadius, goldenRing.y - goldenRingRadius, goldenRingRadius * 2, goldenRingRadius * 2);
}
Game Management Class: takes care of different game states, main menu state, game win, gameplay, gameover etc. It also displays main menu, instructions and helps with clearing as well as reloading objects and variables upon restart
function startGame() {
gameStarted = true;
this.remove(); // remove the Start Game button
volumeSlider.style('display', 'block'); //displays volume slider
}
function returnToMainMenu() {
currentScreen = 'mainMenu';
backButton.hide(); // hide the back button when returning to main menu
}
function showInstructions() {
currentScreen = 'instructions';
backButton.show(); // show the back button when instructions are visible
}
function createRestartButton() {
if (restartButton) {
restartButton.remove(); // ensure any existing button is removed
}
let buttonWidth = 140;
let buttonHeight = 35;
let buttonX = (width - buttonWidth) / 2; //
let buttonY = 200;
restartButton = createButton('');
restartButton.position(buttonX, buttonY);
restartButton.size(buttonWidth, buttonHeight);
restartButton.style('background-color', 'transparent');
restartButton.style('border', 'none');
restartButton.style('cursor', 'pointer');
restartButton.mousePressed(restartGame);
// change cursor on hover
restartButton.mouseOver(() => restartButton.style('cursor', 'pointer'));
}
function gameWin() {
gameState = 'win';
backgroundMusic.stop();
// the game win image
background(gameWinImg);
// text on top of the image
textSize(31);
stroke(0);
strokeWeight(4);
fill(255);
textAlign(CENTER, CENTER);
text("You've reached the Mount of Doom!", width / 2, height / 2 -50);
text("Journey Length: " + playTime.toFixed(1) + " seconds", width / 2, height / 2);
winSound.play();
if (monsterSound.isPlaying()) {
monsterSound.stop();
}
volumeSlider.style('display', 'none');
createRestartButton();
noLoop(); //game pause
}
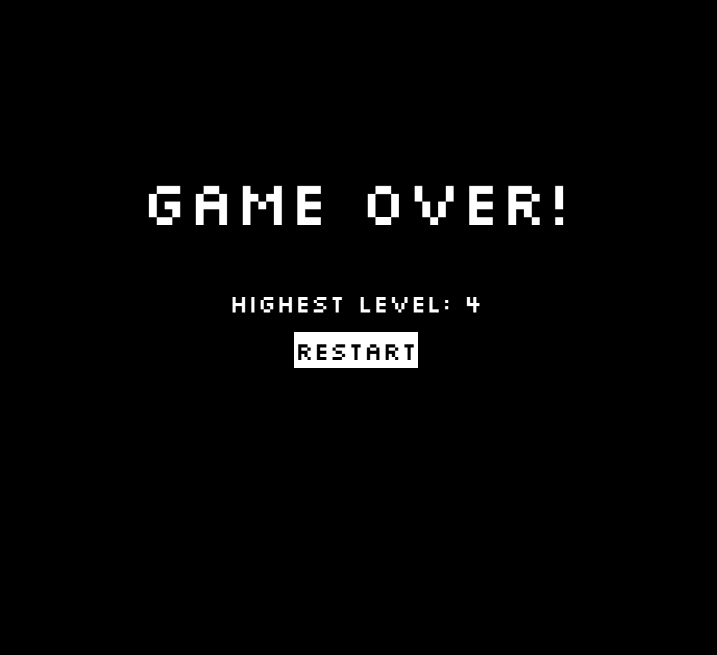
function gameOver() {
gameState = 'gameOver';
backgroundMusic.stop();
// the game over image
background(gameOverImg);
// text on top of the image
textSize(45);
stroke(0);
strokeWeight(4);
fill(255);
textAlign(CENTER, CENTER);
text("Game Over!", width / 2, 100);
text("Survival Time: " + playTime.toFixed(1) + " seconds", width / 2, 150);
gameoverSound.play();
if (monsterSound.isPlaying()) {
monsterSound.stop();
}
volumeSlider.style('display', 'none');
createRestartButton();
noLoop(); // pause
}
function restartGame() {
// stop sounds
if (gameoverSound.isPlaying()) {
gameoverSound.stop();
}
if (backgroundMusic.isPlaying()) {
backgroundMusic.stop();
}
if (monsterSound.isPlaying()) {
monsterSound.stop();
}
if (dyingSound.isPlaying()) {
dyingSound.stop();
}
if (sauronSound.isPlaying()) {
sauronSound.stop();
}
if (invisibilitySound.isPlaying()) {
invisibilitySound.stop();
}
if (winSound.isPlaying()) {
winSound.stop();
}
// remove the restart button if it exists
if (restartButton) {
restartButton.remove();
restartButton = null;
}
// reset the game state and variables for a new game
resetGameState();
// reset startTime to the current time to restart the timer
startTime = millis();
// ensure the game loop is running if it was stopped
loop();
}
function resetGameState() {
// reset game flags and variables
gameStarted = true;
gameState = 'playing';
playerHealth = 3;
playTime = 0;
monsterSpawned = false;
collidedWithRing = false;
goldenRingSpawned = false;
eyeOfSauronActive = false;
eyeOfSauronDeactivated = false;
eyeSize = 15;
currentLevel = 1;
// reset positions and states of game entities
player.spawn();
orcs = []; // clear existing orcs
generateLevel(); // repopulate the orcs array
if (volumeSlider) {
volumeSlider.remove(); // ensure existing slider is removed before creating a new one
}
//new slider
volumeSlider = createSlider(0, 1, 1, 0.01);
volumeSlider.position(180, 1.5);
volumeSlider.style('width', '100px');
volumeSlider.style('color', 'black');
volumeSlider.style('outline', 'none');
volumeSlider.style('background', '#white');
volumeSlider.style('opacity', '0.7');
volumeSlider.input(() => backgroundMusic.setVolume(volumeSlider.value()));
// reset the background music volume and play it if not already playing
backgroundMusic.setVolume(1); // set initial volume
if (!backgroundMusic.isPlaying()) {
backgroundMusic.loop();
}
// ensure the game loop is running if it was stopped
loop();
}
Maze class: takes care of maze layout as well as drawing maze. There are two layouts, first one is official game one and second one is for quick testing. It uses helper functions to divide canvas into grids and then draws a maze if it finds # in a grid. It is using a graphic which uses a wall texture and for other places in grids we have grass texture.
let maze = [
  "##########################",
  "#        #   # #   #   # #",
  "# #### # # #   # # # # # #",
  "#   #  ##### ### # # # # #",
  "# #### #     #   # # # # #",
  "#      # # # # ### # # # #",
  "#####    # # # # # # # # #",
  "#   #  ### ### # # # # # #",
  "# # #  # #     # # # #   #",
  "# # # ## ####### ### ### #",
  "# #      #         # # # #",
  "# ################ # # # #",
  "#        #   #     # # # #",
  "# ######## ### ### # # # #",
  "#        # # # # # # # # #",
  "######## # #   # # # # # #",
  "# #    # # # ### # # # # #",
  "#    #   # # #     # # # #",
  "# ## ##### # # ##### # # #",
  "# #  #       #   #   #   #",
  "# #  # ######### # ### ###",
  "# ####   # #   # # # #   #",
  "# #  # # # #   # # # # ###",
  "# ## ### # # ### # # #    ",
  "#        #         #      ",
  "##########################",
];


// let maze = [
//   "                          ",
//   "#        #   # #   #   # #",
//   "# #### # # #   # # # # # #",
//   "#   #  ##### ### # # # # #",
//   "# #### #     #   # # # # #",
//   "#      # # # # ### # # # #",
//   "#####    # # # # # # # # #",
//   "#   #  ### ### # # # # # #",
//   "# # #  # #     # # # #   #",
//   "# # # ## ####### ### ### #",
//   "# #      #         # # # #",
//   "# ################ # # # #",
//   "#        #   #     # # # #",
//   "# ######## ### ### # # # #",
//   "#        # # # # # # # # #",
//   "######## # #   # # # # # #",
//   "# #    # # # ### # # # # #",
//   "#    #   # # #     # # # #",
//   "# ## ##### # # ##### # # #",
//   "# #  #       #   #   #   #",
//   "# #  # ######### # ### ###",
//   "# ####   # #   # # # #   #",
//   "# #  # # # #   # # # # ###",
//   "# ## ### # # ### # # #    ",
//   "#        #         #      ",
//   "##########################",
// ];

// helper functions for row and col
function getRow(y) {
  return floor(y / 30);
}

function getCol(x) {
  return floor(x / 30);
}

function drawMaze() {
  for (let i = 0; i < maze.length; i++) {
    for (let j = 0; j < maze[i].length; j++) {
      let x = j * 25;
      let y = i * 25;
      if (maze[i][j] === '#' && !eyeOfSauronActive) {
        // Draw wall texture only if Eye of Sauron is not active
        image(wallBuffer, x, y, 25, 25, x, y, 25, 25);
      } else if (drawGrass && maze[i][j] !== '#') {
        // Draw grass texture over the green areas (paths) if drawGrass is true
        // and the current cell is not a wall.
        image(grassBuffer, x, y, 25, 25, x, y, 25, 25);
      }
    }
  }
}
MountDoom Class: creates mount doom, uses a function for tracking and moving monster towards Frodo as well as a function which determines if Frodo is inside mount of doom range.
function moveMonsterTowardsFrodo() {
  let dx = player.x - monsterX;
  let dy = player.y - monsterY;
  let angle = atan2(dy, dx); //angle between monster and player
  monsterX += monsterSpeed * cos(angle);
  monsterY += monsterSpeed * sin(angle);
  //update monster position based on calculated angle
}


class MountOfDoom {
  constructor() {
    this.x = width - 75;
    this.y = height - 95;
    this.size = 75;
  }
}


function createMountOfDoom() {
  return new MountOfDoom();
}


function playerReachedMountOfDoom() {
  return (
    !monsterSpawned && //monster has not spawned and its in bounds
    player.x + player.size > mountOfDoom.x &&
    player.x < mountOfDoom.x + mountOfDoom.size &&
    player.y + player.size > mountOfDoom.y &&
    player.y < mountOfDoom.y + mountOfDoom.size
  );
}
This is Eye of Sauron class:
it takes care of Eye of Sauron animation (used from one of the previous projects). This is drawn using various perlin noise loops. It also has activation and eye increase rate after predetermined time period. (It times well with audio e.g. death = engulfed in darkness).
let orange = 165; // clicking color variable
let size_t = 100; // clicking size variable

function drawEyeOfSauron() {
  background(0, 0, 0, 3);
  push();
  translate(width / 2, height / 2);
  let noiseMax = 5; // fixed value for spikiness
  let alphaValue = 400;


  eyeSize += 0.05;

  // outer shape
  stroke(255, 10, 0, alphaValue);
  noFill();
  beginShape();
  for (let a = 0; a < TWO_PI; a += 0.1) {
    let xoff = map(10 * cos(a + phase), -1, 1, 0, noiseMax);
    let yoff = map(sin(a + phase), -1, 1, 0, noiseMax);
    let r = map(noise(xoff, yoff, zoff), 0, 1, 100, 220) * (eyeSize / 20); // scale based on eyesize
    let x = r * cos(a);
    let y = r * sin(a);
    vertex(x, y);
  }
  endShape(CLOSE);

  // orange glow for the first outer shape
  fill(255, orange, 0, alphaValue * 0.5); // lower transp
  beginShape();
  for (let a = 0; a < TWO_PI; a += 0.1) {
    let xoff = map(8 * cos(a + phase), -1, 1, 0, noiseMax);
    let yoff = map(8 * sin(a + phase), -1, 1, 0, noiseMax);
    let r = map(noise(xoff, yoff, zoff), 0, 1, 0, size_t) * (eyeSize / 20); // scale based on eyesize
    let x = r * cos(a);
    let y = r * sin(a);
    vertex(x, y);
  }
  endShape(CLOSE);

  // second glow
  fill(255, 165, 0, alphaValue * 0.5);
  beginShape();
  for (let a = 0; a < TWO_PI; a += 0.1) {
    let xoff = map(10 * cos(a + phase + 1), -1, 1, 0, noiseMax); // different phase
    let yoff = map(10 * sin(a + phase + 1), -1, 1, 0, noiseMax);
    let r = map(noise(xoff, yoff, zoff), 0, 1, 50, 220) * (eyeSize / 20); // scale based on eyesize
    let x = r * cos(a);
    let y = r * sin(a);
    vertex(x, y);
  }
  endShape(CLOSE);

  // inner pupil black which is a vertical ellipse
  fill(0); // black
  beginShape();
  for (let a = 0; a < TWO_PI; a += 0.1) {
    let xoff = map(5 * cos(a + phase), -1, 1, 0, noiseMax);
    let yoff = map(5 * sin(a + phase), -1, 1, 0, noiseMax);
    let rx = map(noise(xoff, yoff, zoff), 0, 1, 5, 20) * (eyeSize / 20); // scale based on eyesize
    let ry = map(noise(yoff, xoff, zoff), 0, 1, 50, 120) * (eyeSize / 20); // scale based on eyesize
    let x = rx * cos(a);
    let y = ry * sin(a);
    vertex(x, y);
  }
  endShape(CLOSE);

  zoff += 0.008;
  phase += 0.008;

  if (eyeOfSauronActive && sauronSound.isPlaying()) {
    let timeRemaining = sauronSound.duration() - sauronSound.currentTime();
    if (timeRemaining < 0.7) {
      eyeSize += 50;
    }
  }

  pop();
}
And lastly, the code I am most proud, where everything comes together is my sketch code:
This is where, variables, preload and setup is made. You can see detailed list in the code but in summary it takes care of initializing objects, creating buttons, slider as well as separate graphic for textures.
The next section is draw function which has different if conditions for different states. For example, if game has not started are we in instructions or main menu. We also have additional drawings, game state function, and references to previous classes to make everything initialize and work well together. Getting everything work well together was through multiple hours of trial and error but eventually the experience created was pretty fluid with no significant performance or visual bugs.
//Variables

//Time
let startTime;
let playTime = 0;
let mountOfDoomTime = 0;

//Objects
let playerImg, orcImg, mountOfDoomImg;
let player, orcs, playerHealth, mountOfDoom;

//Audio

let volumeSlider;
let winSound;
let backgroundMusicStarted = false;

//ring
let goldenRing;
let goldenRingSpawned = false;
let collidedWithRing = false;

//sauron
let eyeSize = 15;
let eyeOfSauronActive = false;
let isSauronSoundLowered = false;
let eyeOfSauronDeactivated = false;
let zoff = 0;
let phase = 0;
let noiseMax = 0;
let sauronSoundStarted = false;

//monster
let monsterImg;
let monsterSpawned = false;
let monsterSpeed = 0.3;
let monsterX, monsterY;
let monsterCheck = false;
let monsterSizeMultiplier = 0.2;

//buff
let invincibleUntil = 0;

//state
let gameWinImg, gameOverImg;
let gameState = 'playing';
let gameStarted = false;

//font
let pixelFont;

//for managing
let restartButton;
let mainmenu;
let currentScreen = 'mainMenu';
let newBackgroundImg;

//Maze Management Misc
let drawGrass = true;

//Preload

function preload() {
  playerImg = loadImage('frodo.png');
  orcImg = loadImage('orc.png');
  mountOfDoomImg = loadImage('volcano.png');
  backgroundMusic = loadSound('lotr.mp3');
  dyingSound = loadSound('dying.mp3');
  gameoverSound = loadSound('gameoversound.mp3');
  winSound = loadSound('win.mp3');//all the sounds
  ringImage = loadImage('ring.png');
  sauronSound = loadSound("sauron.mp3")
  monsterImg = loadImage('monster.gif');
  invisibilitySound = loadSound('invisible.mp3');
  ringSpawnSound = loadSound('ringspawn.mp3');
  monsterSound = loadSound('monster.mp3');
  gameWinImg = loadImage('game_won.png');
  gameOverImg = loadImage('game_over.png');
  pixelFont = loadFont('alagard.ttf');
  mainmenu = loadImage('mainmenu.png')
  newBackgroundImg = loadImage('instructions.png');
  grassTexture = loadImage('grass.jpeg');
  wallTexture = loadImage('wall.jpg');

}

//Safari Bug (audio does not autoplay, not a problem on chromium)
function keyPressed() {
  // start background music when a key is pressed
  if (!backgroundMusicStarted) {
    backgroundMusicStarted = true;
    backgroundMusic.play();
  }
}

//Setup

function setup() {
  textFont(pixelFont); //using external font
  frameRate(60);
  startTime = millis(); //for calculating journey time in the end
  let initialVolume = 1;
  createCanvas(650, 650);
  generateLevel(); // ?
  player = new Player(); //initialize player
  playerHealth = 3; //initialize player health
  window.addEventListener('keydown', function (e) {
    if (e.key === 'ArrowUp' || e.key === 'ArrowDown' || e.key === 'ArrowLeft' || e.key === 'ArrowRight') {
      e.preventDefault(); // prevent default arrow key behavior for safari bug (moving screen)
    }
  });

  //monster
  monsterX = width / 2;
  monsterY = height / 2;

  mountOfDoom = createMountOfDoom();

  //vol slider
  volumeSlider = createSlider(0, 1, initialVolume, 0.01);
  volumeSlider.position(180, 1.5);
  volumeSlider.style('width', '100px');
  volumeSlider.style('color', 'black');
  volumeSlider.style('outline', 'none');
  volumeSlider.style('background', '#white');
  volumeSlider.style('outline', 'none');
  volumeSlider.style('opacity', '0.7');
  volumeSlider.style('transition', 'opacity .2s');


  // mouse over effect
  volumeSlider.mouseOver(() => {
    volumeSlider.style('opacity', '1');
  });

  volumeSlider.mouseOut(() => {
    volumeSlider.style('opacity', '0.7');
  });

  // webkit for browsers
  volumeSlider.style('::-webkit-slider-thumb', 'width: 25px; height: 25px; background: #04AA6D; cursor: pointer;');

  volumeSlider.style('display', 'none');

  backgroundMusic.loop();

  //start button
  let startButton = createButton(''); //empty because i couldnt get button itself have external font, so it realies on empty button and actual clickable text superimposed on it
  let buttonWidth = 140;
  let buttonHeight = 35;
  let buttonX = (width - buttonWidth) / 2; // center the button horizontally
  let buttonY = 175;
  startButton.position(buttonX, buttonY);
  startButton.size(buttonWidth, buttonHeight);
  startButton.style('background-color', 'transparent');
  startButton.style('border', 'none'); // no border
  startButton.style('cursor', 'pointer');

  // start game on click
  startButton.mousePressed(startGame);

  // question, instruciton button

  questionMarkButton = createButton('?');
  questionMarkButton.position(width/2-45, 15);
  questionMarkButton.style('background-color', 'transparent');
  questionMarkButton.style('border', 'none');
  questionMarkButton.style('color', '#FFFFFF'); // text color
  questionMarkButton.style('font-size', '50px'); // size
  questionMarkButton.style('background-color', 'black'); //  background color
  questionMarkButton.style('color', '#FFFFFF');  //question mark color
  questionMarkButton.style('padding', '7px 35px'); // pading
  questionMarkButton.style('border-radius', '5px'); // rounded corners

  // managing mouse over effect
  questionMarkButton.mousePressed(showInstructions);

  questionMarkButton.mouseOver(() => questionMarkButton.style('color', '#FFC109')); // change color on hover
  questionMarkButton.mouseOut(() => questionMarkButton.style('color', '#FFFFFF')); // revert color on mouse not hovering

  // arrow button
  backButton = createButton('←');
  backButton.position(10, 10);
  backButton.mousePressed(returnToMainMenu);
  backButton.hide(); // hide it initially

  //buffer for creating another canvas instance
  grassBuffer = createGraphics(width, height);

  // grass texture with reduced transparency
  grassBuffer.tint(255, 100); // a bit transparent for visuals
  grassBuffer.image(grassTexture, 0, 0, width, height);

  // buffer for the wall texture
  wallBuffer = createGraphics(width, height);

  // scale the buffer before drawing the image
  wallBuffer.push(); // save
  wallBuffer.scale(2); // scale up
  wallBuffer.image(wallTexture, 0, 0, width * 2, height * 2);
  wallBuffer.pop(); // restore

}

//Draw

function draw() {
  if (!gameStarted) { //for menu and instructions
    if (currentScreen === 'mainMenu') { //main menu

      background(mainmenu); //background image
      //text properties
      textSize(38);
      stroke(0);
      strokeWeight(5);
      textAlign(CENTER, CENTER);
      text('Lord of the Maze', width / 2, 150);

      textSize(24); //start
      let startGameText = "Begin Journey!";
      let startGameWidth = textWidth(startGameText);
      let startGameX = width / 2 - startGameWidth / 2;
      let startGameY = 180 - 2; // y position of text
      let startGameHeight = 24; // height of the text

      // mouse hover detection based on text position and size
      if (mouseX >= startGameX && mouseX <= startGameX + startGameWidth && mouseY >= startGameY && mouseY <= startGameY + startGameHeight) {
        fill("#FFC109"); // change color to indicate hover
      } else {
        fill("#FFFFFF"); // defauult color
      }

      textAlign(CENTER, CENTER);
      text(startGameText, width / 2, 180 + 12); // draw begin jorney text
      questionMarkButton.show();

    } else if (currentScreen === 'instructions') {
      background(newBackgroundImg); // show the instructions background
      fill(255); //  text color
      textSize(20); //  text size
      textAlign(CENTER, CENTER);
      text("Oh valiant traveler, embroiled in a quest most dire: \n to traverse the winding labyrinths of Middle-earth and \n consign the accursed One Ring to the molten depths  of Mount Doom. \n Be forewarned, the path is fraught with peril, \n and the all-seeing Eye of Sauron ever seeks to ensnare thee. \n \nEmploy the sacred Arrow Keys \n to navigate the maze's enigmatic corridors. \n Each stride shall bring thee closer to thy destiny or doom. \n Avoid orcs! Find one ring and reach Mount of Doom", width / 2, 130);
      questionMarkButton.hide();

    }
  } else {
      if (gameState === 'playing') {
        questionMarkButton.hide();
      // change background color based on whether the Eye of Sauron has deactivated
      if (!eyeOfSauronActive && !eyeOfSauronDeactivated) {
        background(178, 223, 138); // original color before Eye of Sauron appears
      } else if (eyeOfSauronDeactivated) {
        background(210, 180, 140); // new color after Eye of Sauron disappears
      }

        if (!eyeOfSauronActive) {
          image(mountOfDoomImg, mountOfDoom.x, mountOfDoom.y, mountOfDoom.size, mountOfDoom.size);
        }

      //more drawing
      drawMaze();
      playTime = (millis() - startTime) / 1000;
      drawUI();
      player.move();
      player.display();

      //stoo invisibility buff sound
      if (millis() >= invincibleUntil && invisibilitySound.isPlaying()) {
        invisibilitySound.stop();
      }

      noTint();
      orcs.forEach(orc => {
        orc.move();
        orc.display();
      });

      checkCollisions();

      if (playerReachedMountOfDoom()) {
        if (!collidedWithRing) {
          // spawn monster in the center only if they still havent collected ring
          monsterSpawned = true;
          monsterCheck = true;

        } else {

          gameWin();
          volumeSlider.remove();
        }
      }

    let newMonsterWidth = monsterImg.width * monsterSizeMultiplier;
    let newMonsterHeight = monsterImg.height * monsterSizeMultiplier;

    // draw the monster
    if (monsterSpawned) {
      if (!monsterSound.isPlaying()) {
        monsterSound.loop();
      }

      moveMonsterTowardsFrodo();

      let newMonsterWidth = monsterImg.width * monsterSizeMultiplier;
      let newMonsterHeight = monsterImg.height * monsterSizeMultiplier;
      image(monsterImg, monsterX, monsterY, newMonsterWidth, newMonsterHeight);

      //monster touches frodo looses

      if (dist(player.x, player.y, monsterX, monsterY) < player.size) {
        gameOver();
      }
    } else {
      if (monsterSound.isPlaying()) {
        monsterSound.stop();
      }
    }

    //golden ring

    if (goldenRingSpawned && gameState === 'playing' && goldenRing != null) {
      drawGoldenRing();
      checkRingCollision();
    }

      if (orcs.length == 0) {
        currentLevel++;
        generateLevel();
      }


    //golden ring and specific location

      if (!goldenRingSpawned && getRow(player.y) === ringSpawnLocation.row && getCol(player.x) === ringSpawnLocation.col) {
        goldenRing = createGoldenRing(width / 2 + 138, height / 2 - 110, 15);
        goldenRingSpawned = true;
        ringSpawnSound.play();
      }


    //eye of sauron and managing music
      if (eyeOfSauronActive ) {
          drawGrass = false; // to not draw grass during eye of sauron animation
          drawEyeOfSauron();
          if (!sauronSound.isPlaying() && sauronSoundStarted) {
            eyeOfSauronActive = false;
            sauronSoundStarted = false;
            eyeOfSauronDeactivated = true;
            backgroundMusic.setVolume(initialVolume);
          }
        } else {
          drawGrass = true; // resume drawing grass when eye of sauron is not active
        }
    //another game over condition
      if (playerHealth <= 0) {
        gameOver();
      }

        //restart button

         if (gameState === 'gameOver' || gameState === 'win') {
    fill(255);
    textAlign(CENTER, CENTER);
    textSize(24);
    textFont(pixelFont);
    text("Restart Game", width / 2, 200); // y position to match the button's
     }


    }
  }
}


//Collisions


function checkCollisions() {
  if (millis() < invincibleUntil) {
    return; // skip collision check if Frodo is invincible
  }

  orcs.forEach(orc => {
    if ( //orc dimensions
      player.x < orc.x + orc.size &&
      player.x + player.size > orc.x &&
      player.y < orc.y + orc.size &&
      player.y + player.size > orc.y
    ) {
      playerHealth--; //substract player health
      player.spawn(); //respawn
      dyingSound.play(); //play death sound
    }
  });
}

//Helper Functions


function getRow(y) { //convert y into row index (25 units for maze)
  return floor(y / 25);
}

function getCol(x) { //convert x into column index (25 units for maze)
  return floor(x / 25);
}
Conclusion and Future Considerations
In the end, I am very happy with how things turned out. Despite numerous problems and many more solutions and trials and errors, I developed a project that stands strong in almost every department we studied – there is a bit of everything. I hope it did at least some level of justice to inspiration source and achieved a design aesthetic that is consistent throughout. The scope of the project, will initially seemed simple, actually turned out to be much more complex when I started working on it, as there are lots of moving elements (literally and figuratively). This does not mean that it’s perfect of course. There are some improvements and suggestions to be made. For example, I could potentially add more monster types and more interactions and hidden surprises. The scale of the maze could be larger as well. Additionally, this is only one part of Hero’s journey. Story could be extended to what happens after reaching mount of doom. This calls for additional level. Moreover, the maze is fixed and static. It would be interesting to try procedural maze generation technique, so it is a unique maze each time game is loaded. On a final note, I hope you enjoy my game and I will definitely expand it in the future.


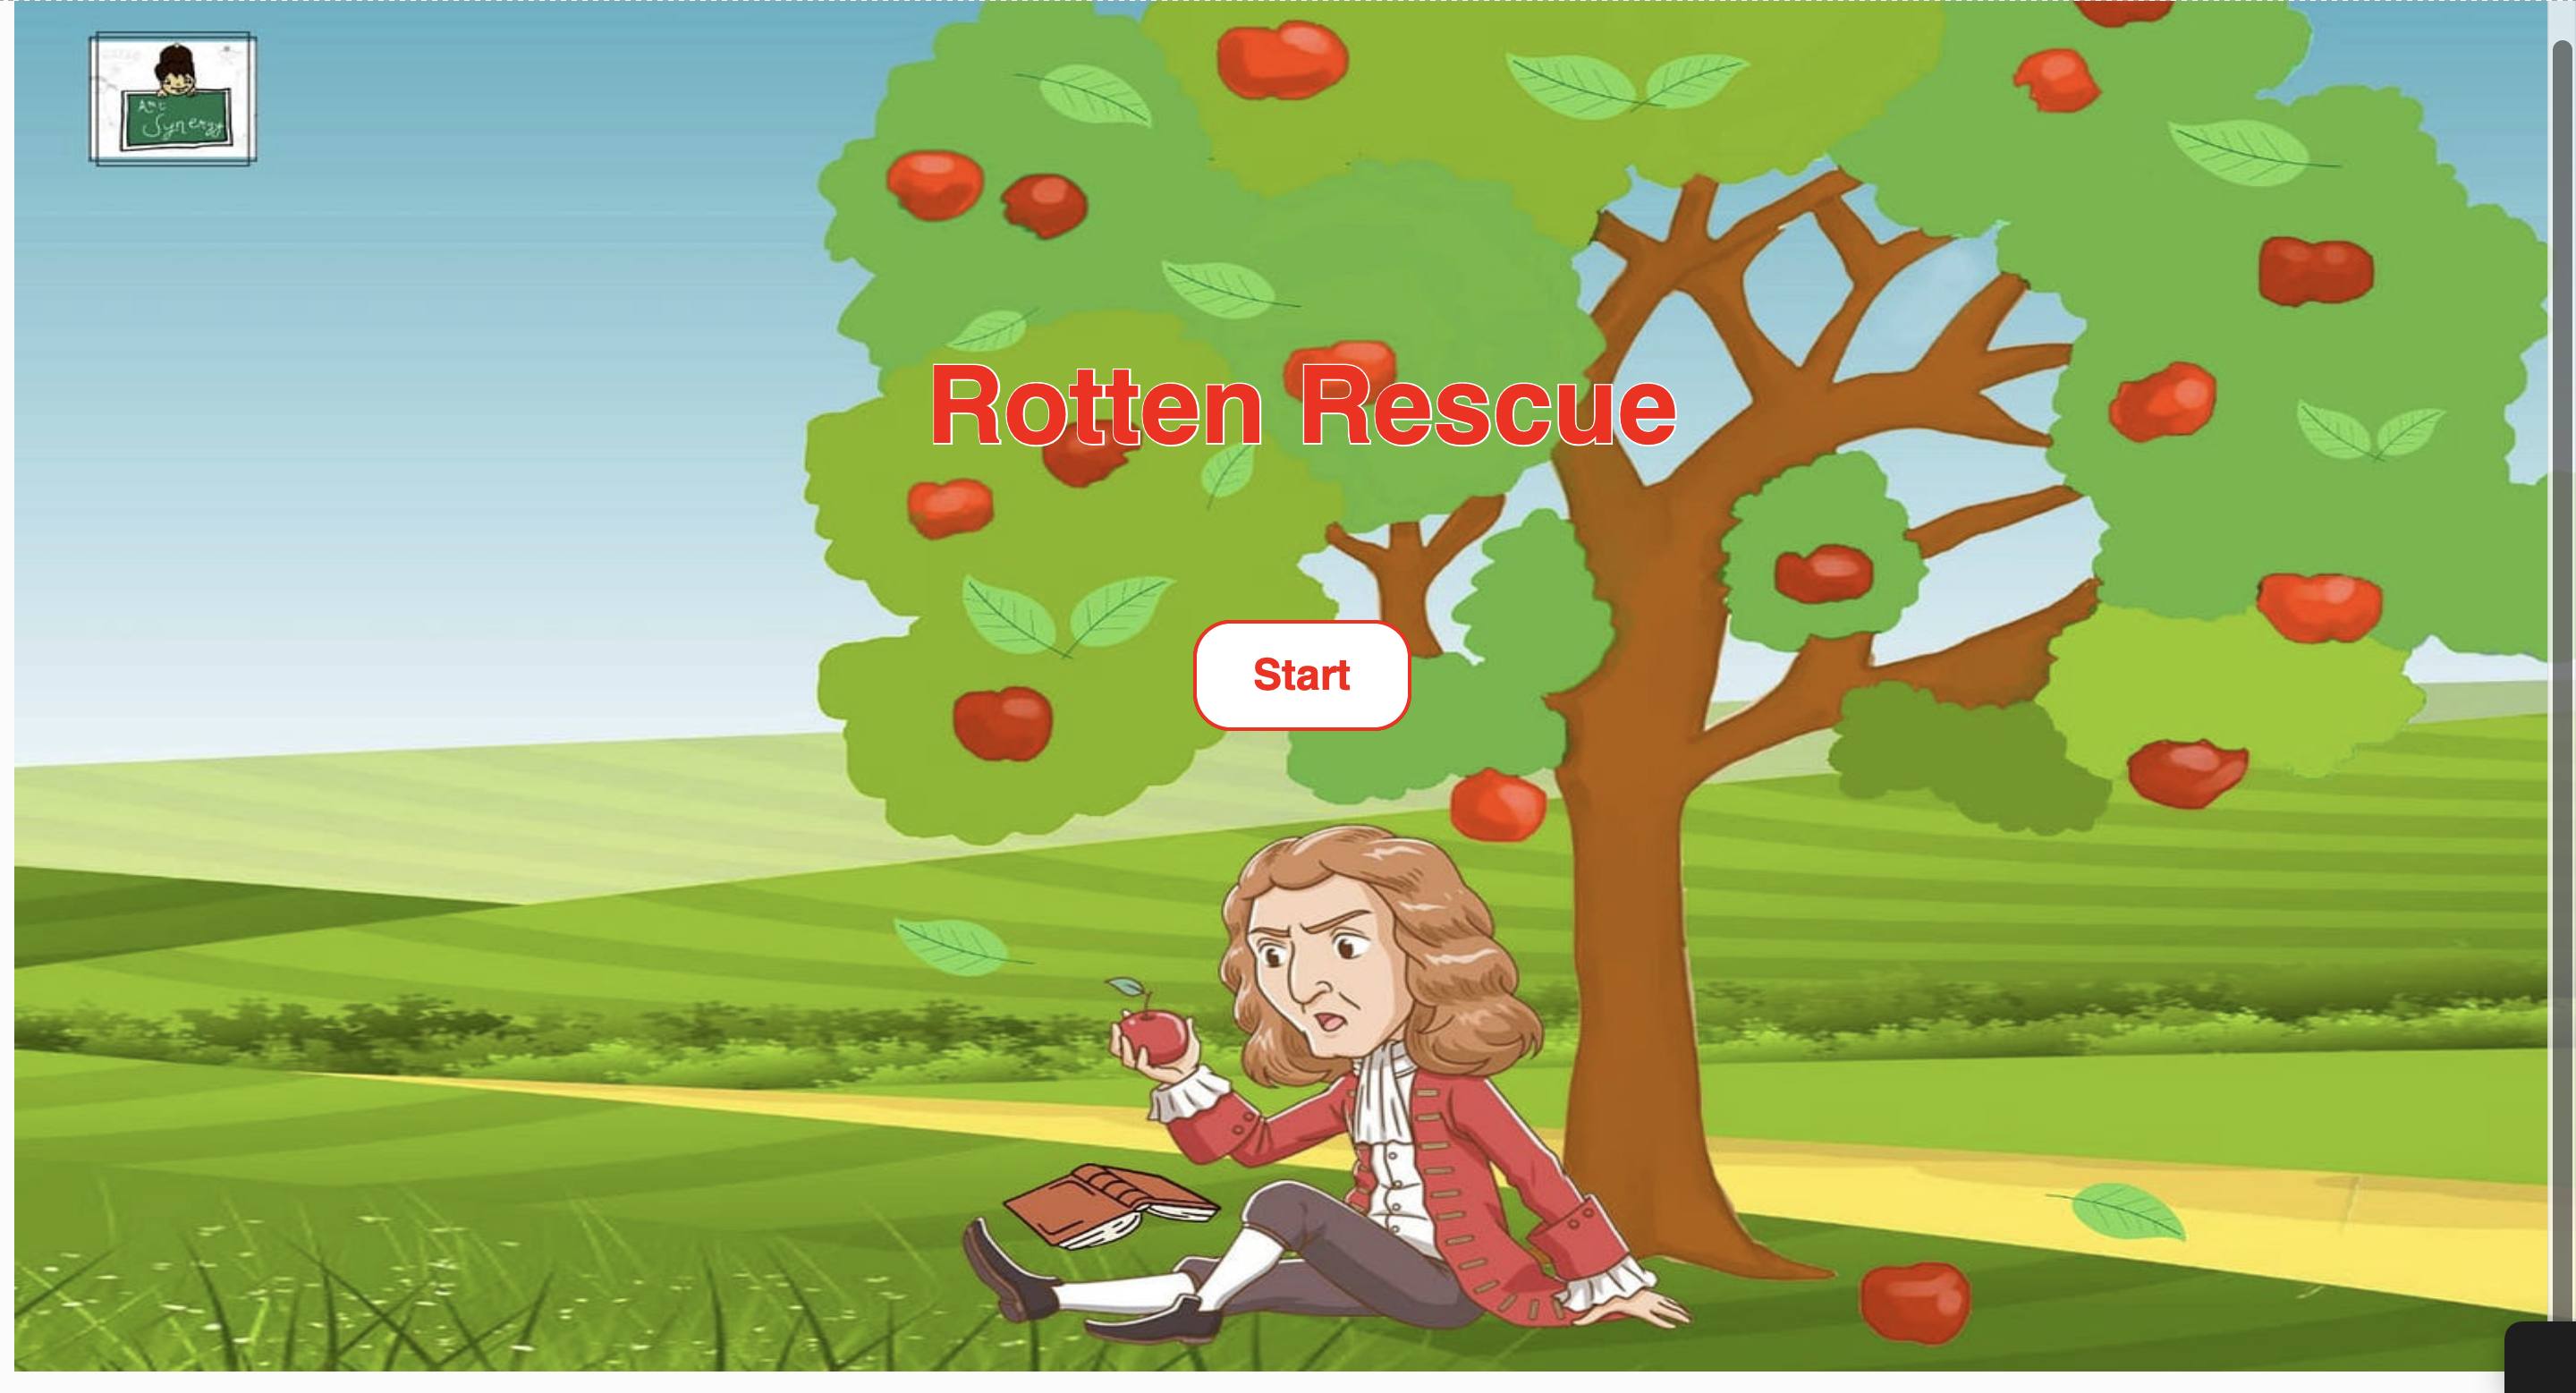
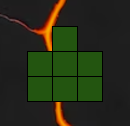
 Here I was just starting
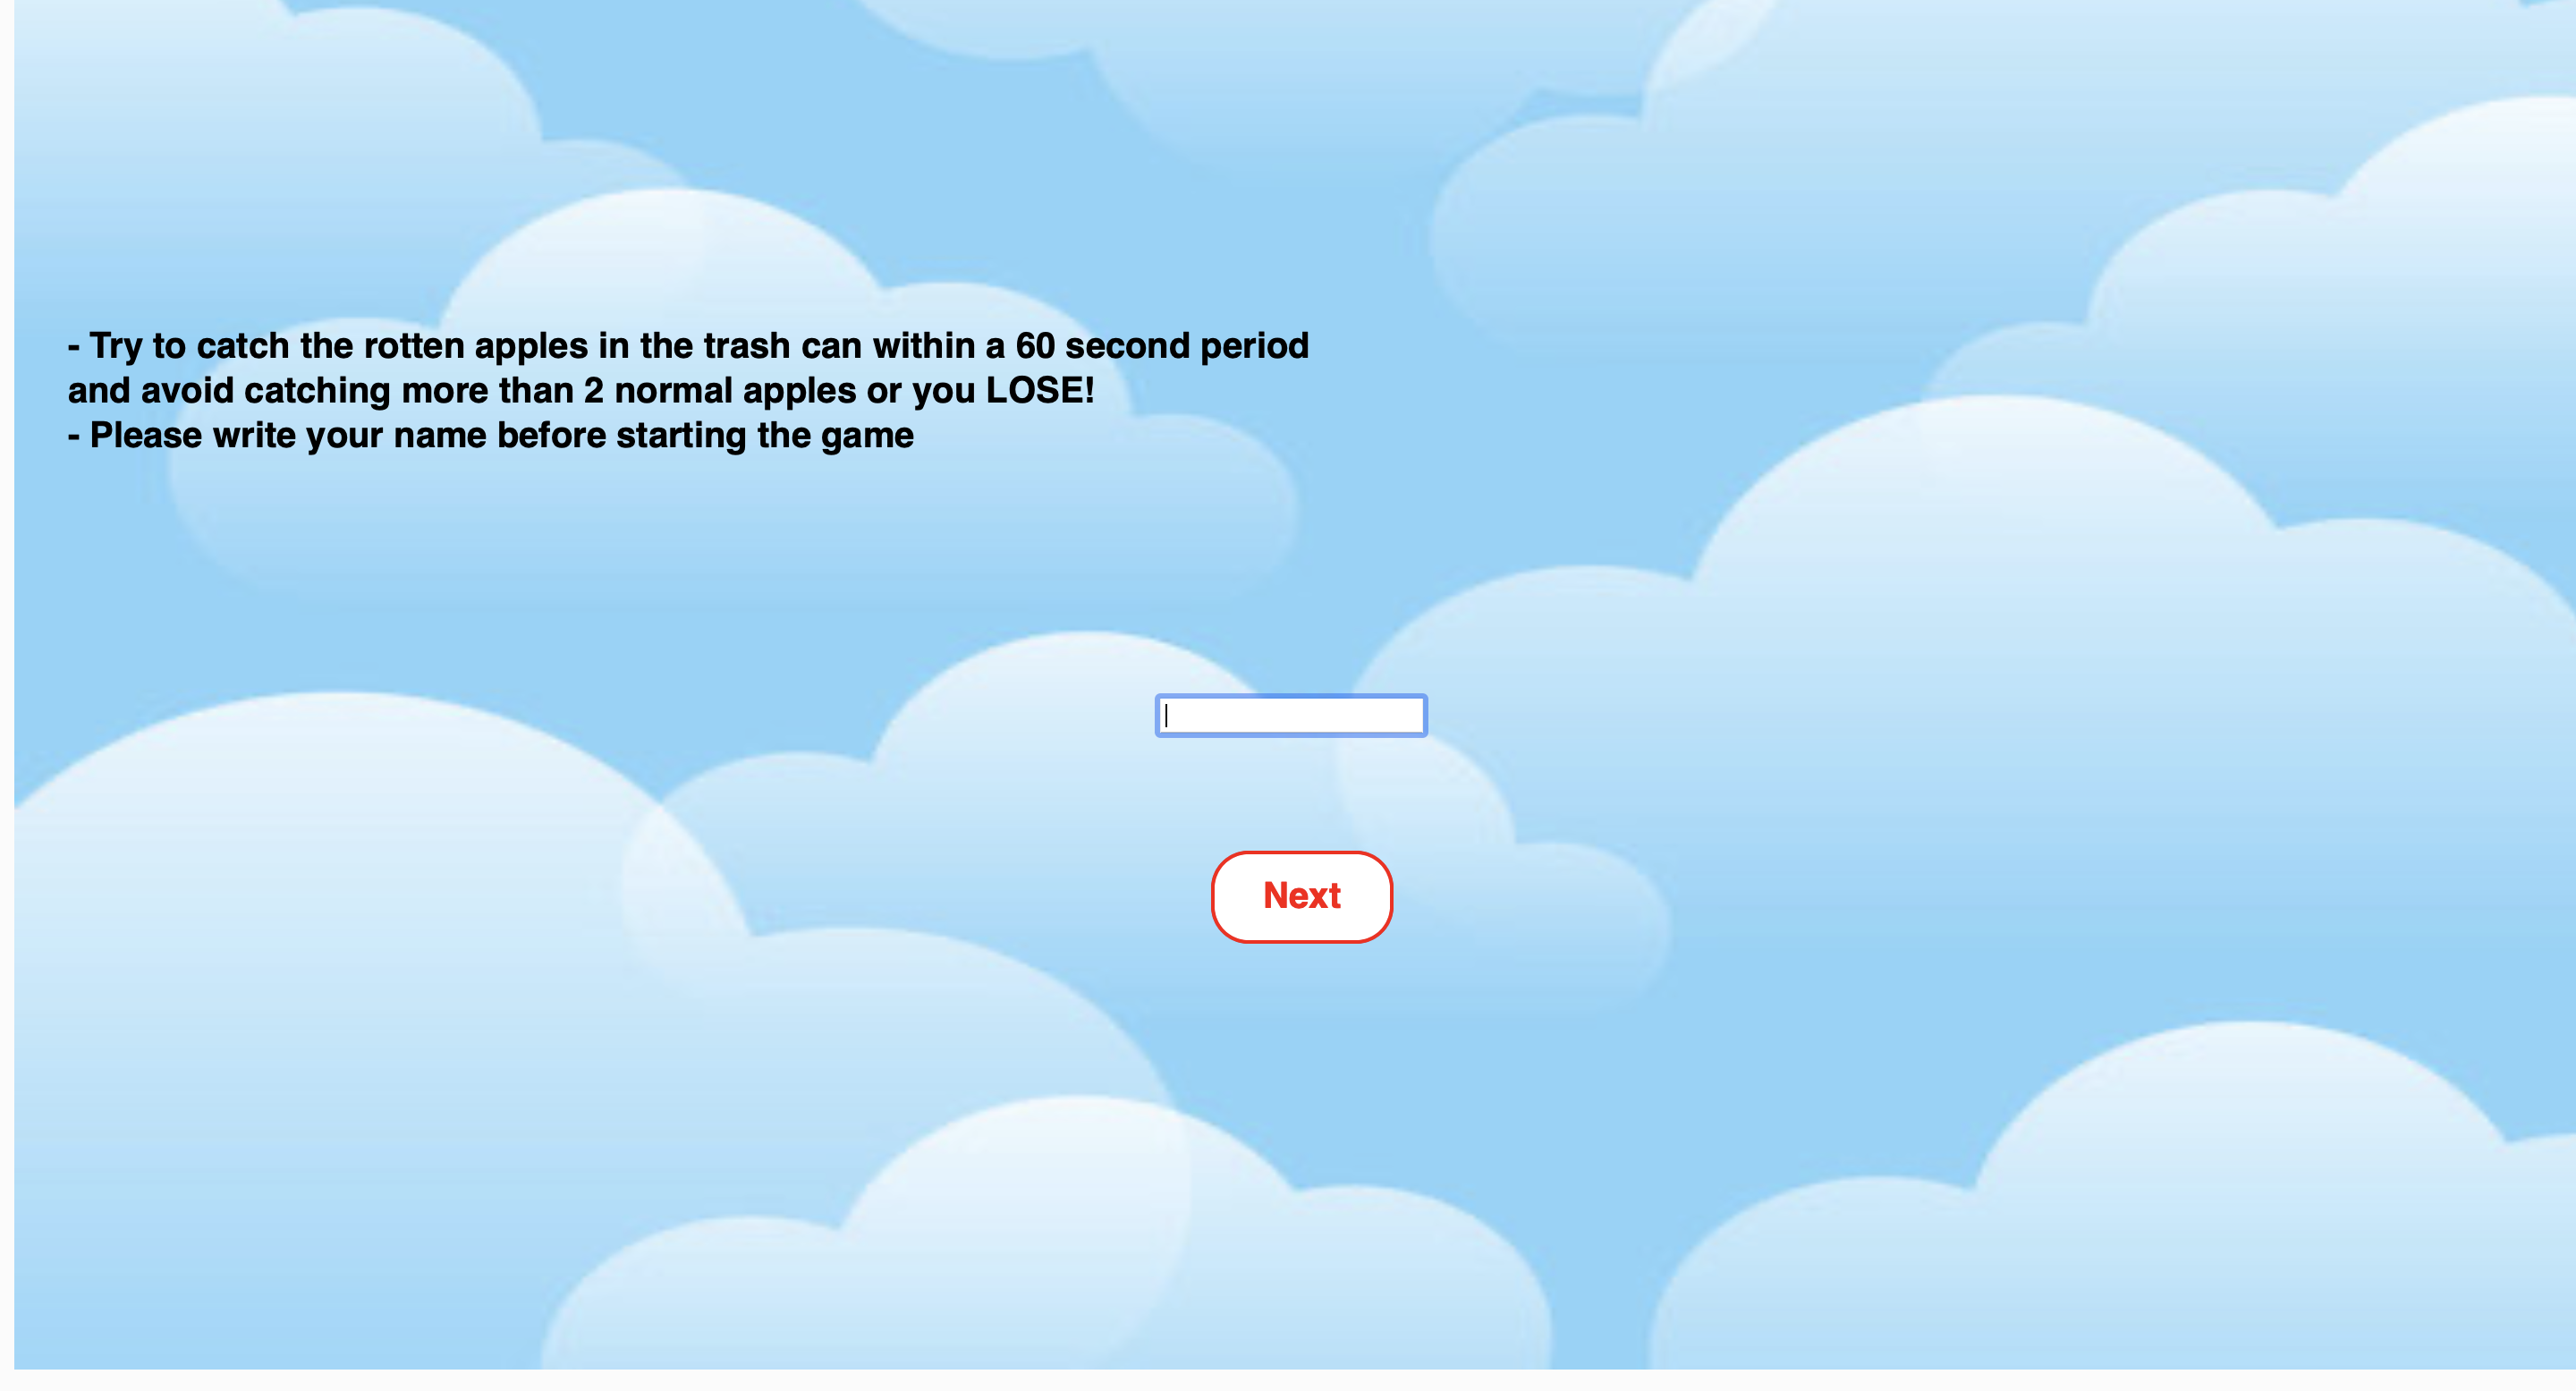
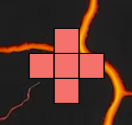
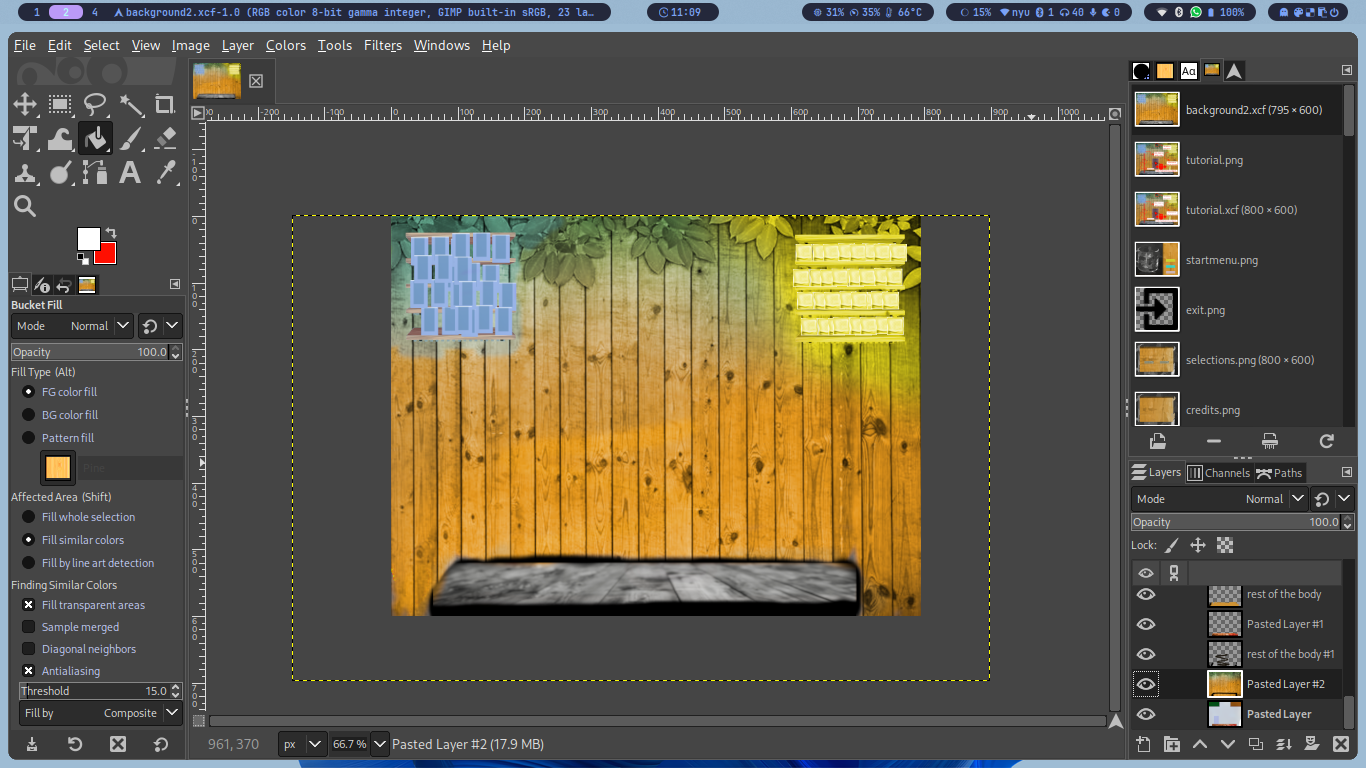 A bit more of progress.
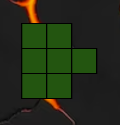
 The “ice cubes”
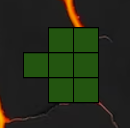
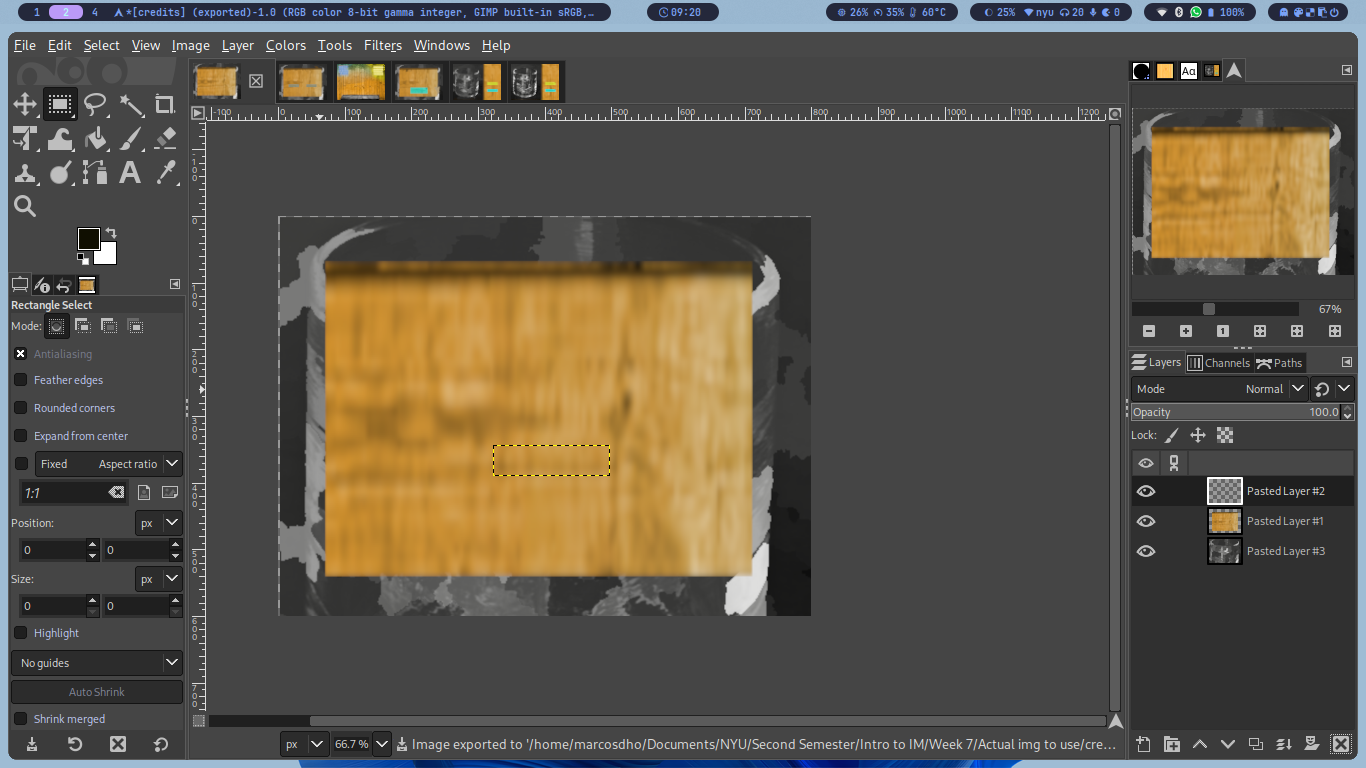 Some of the layouts
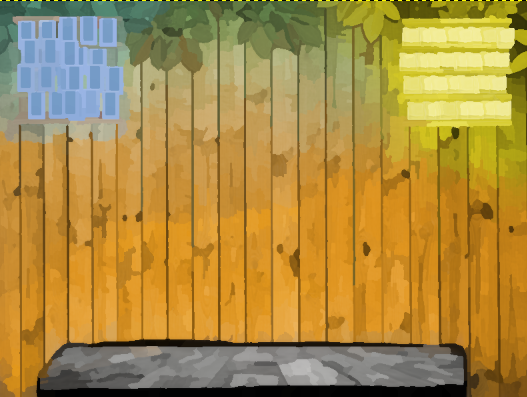
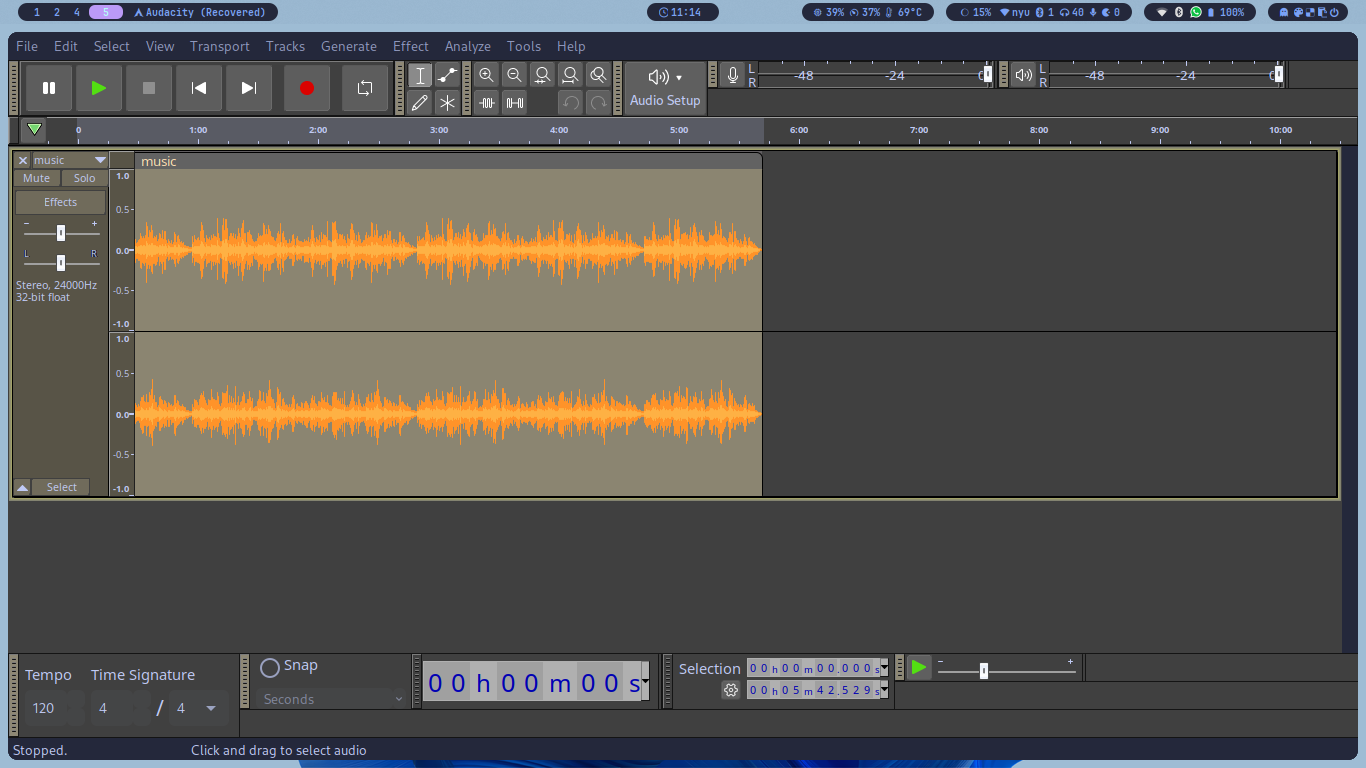
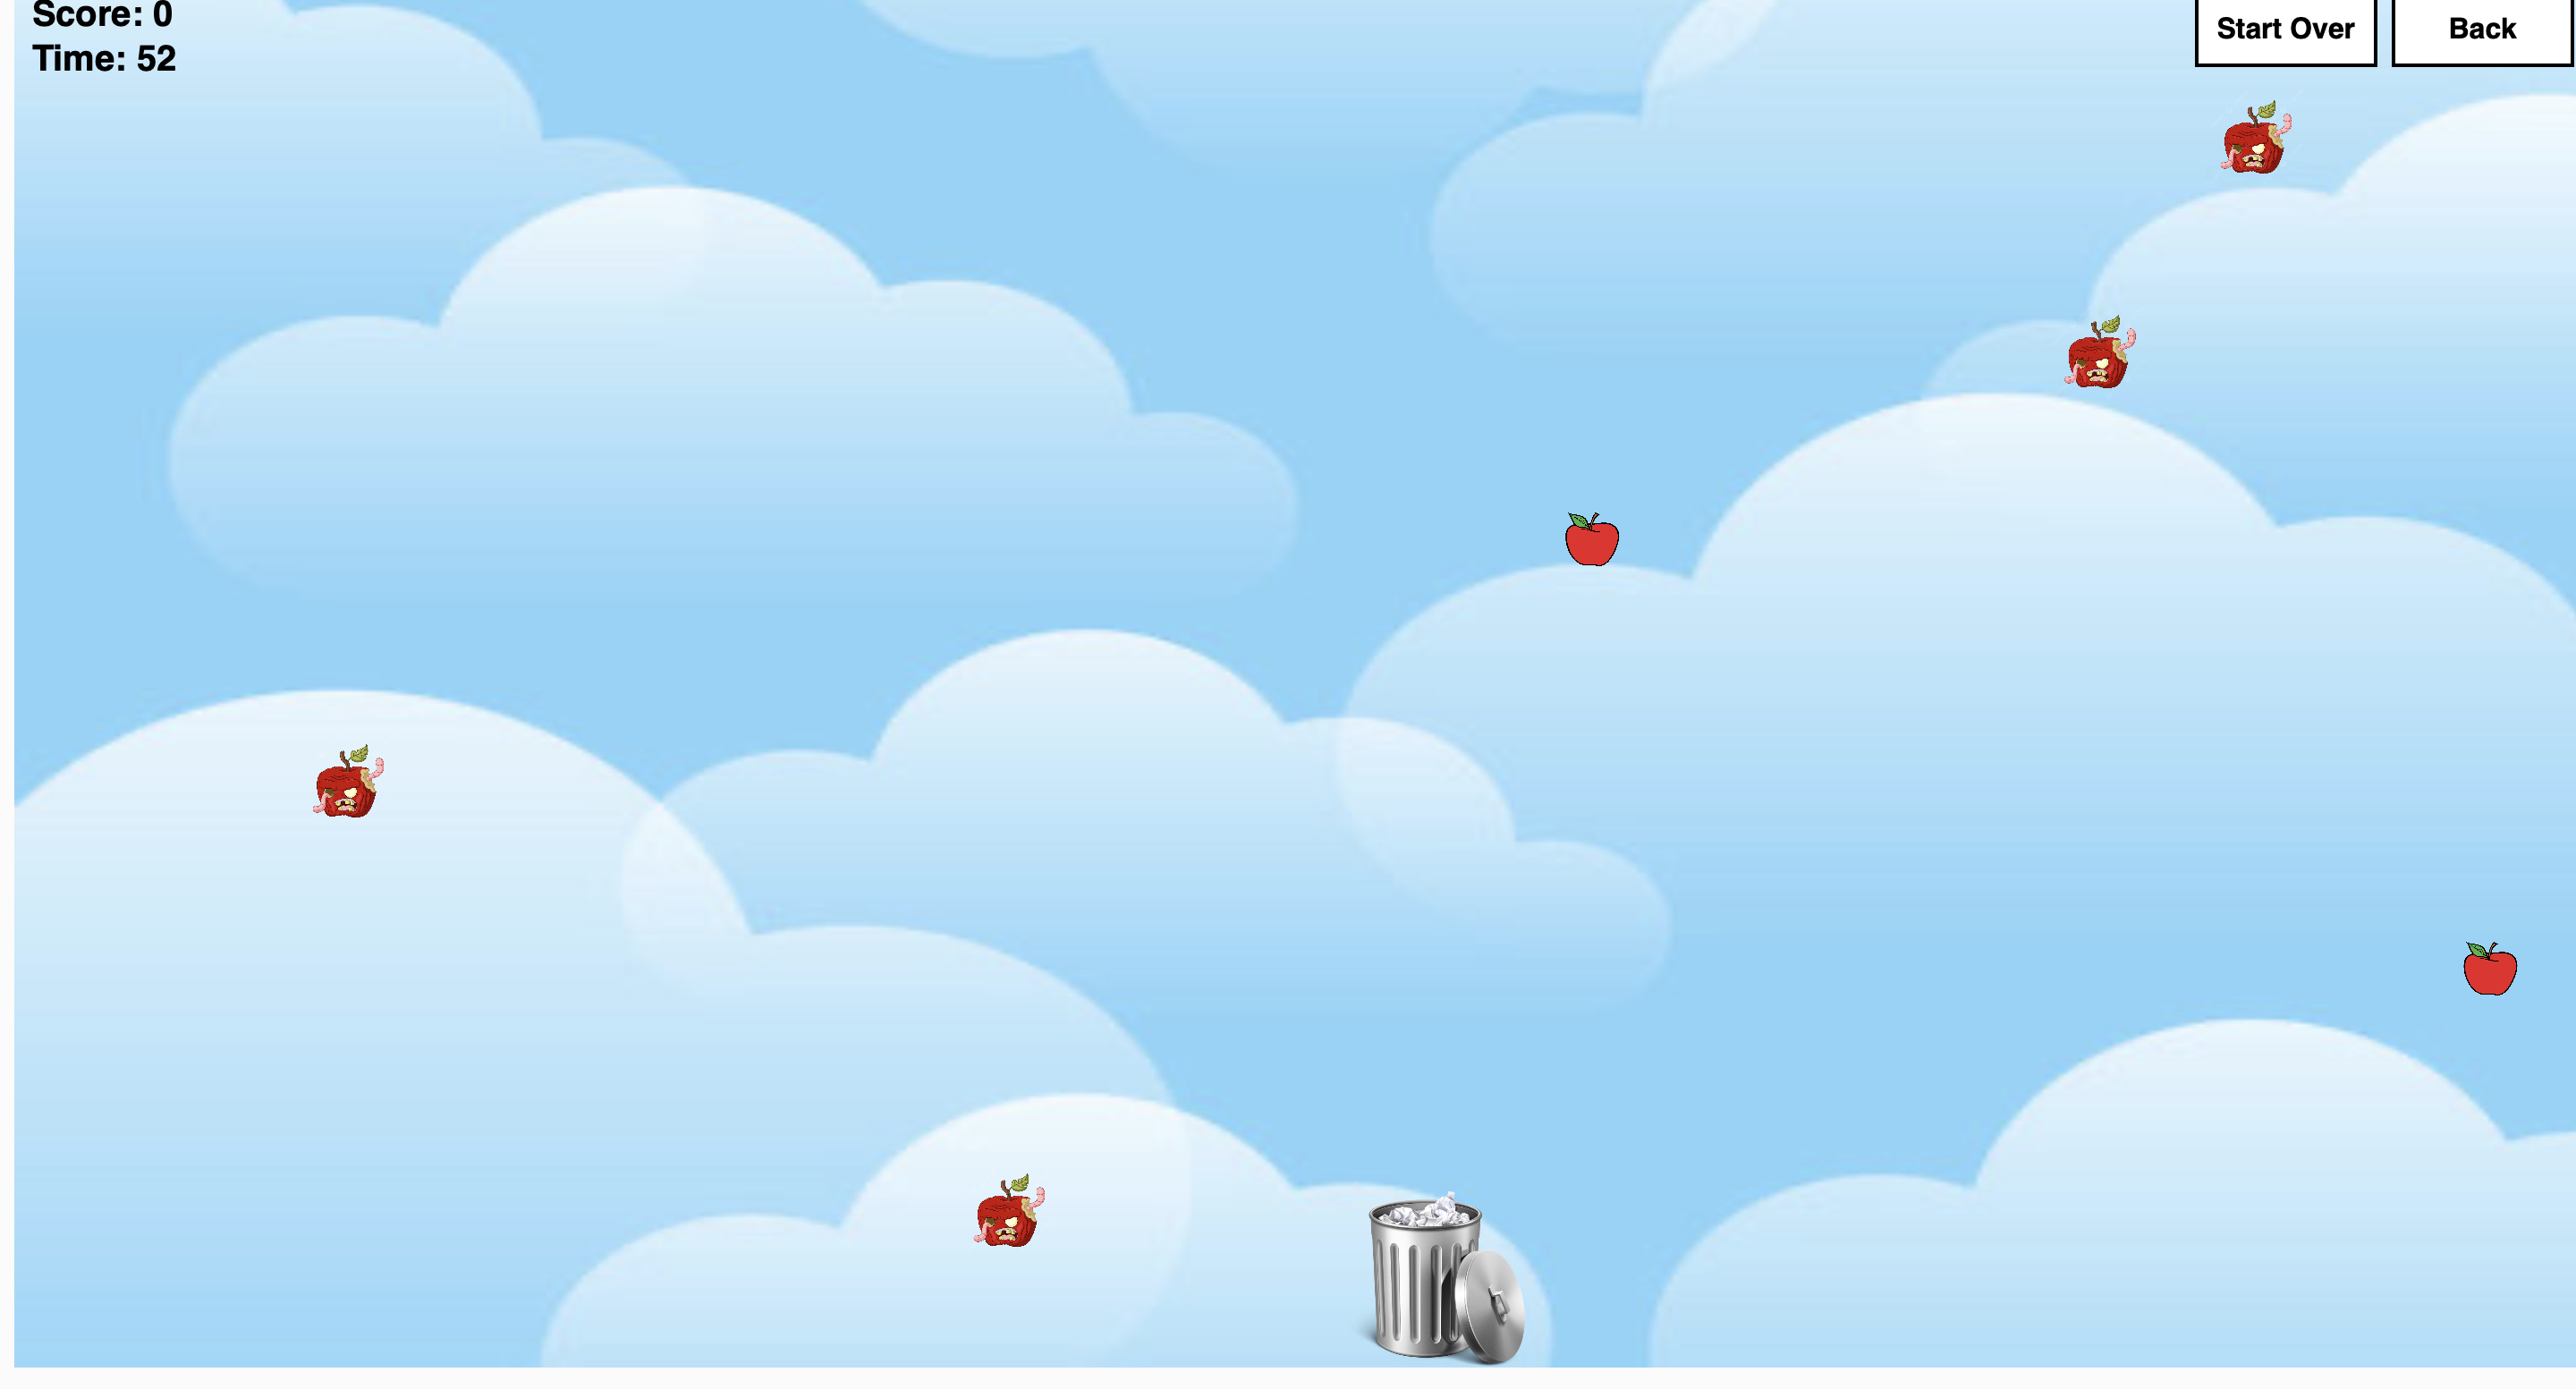
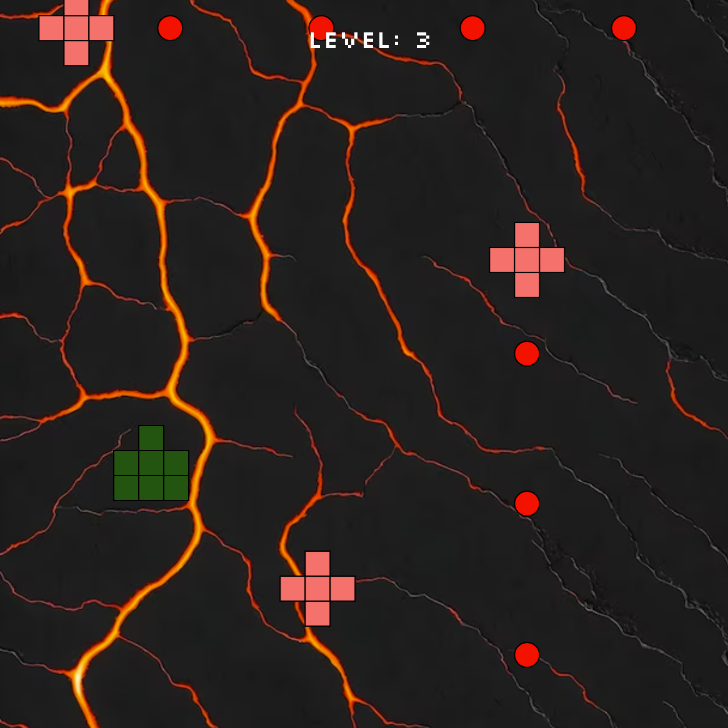
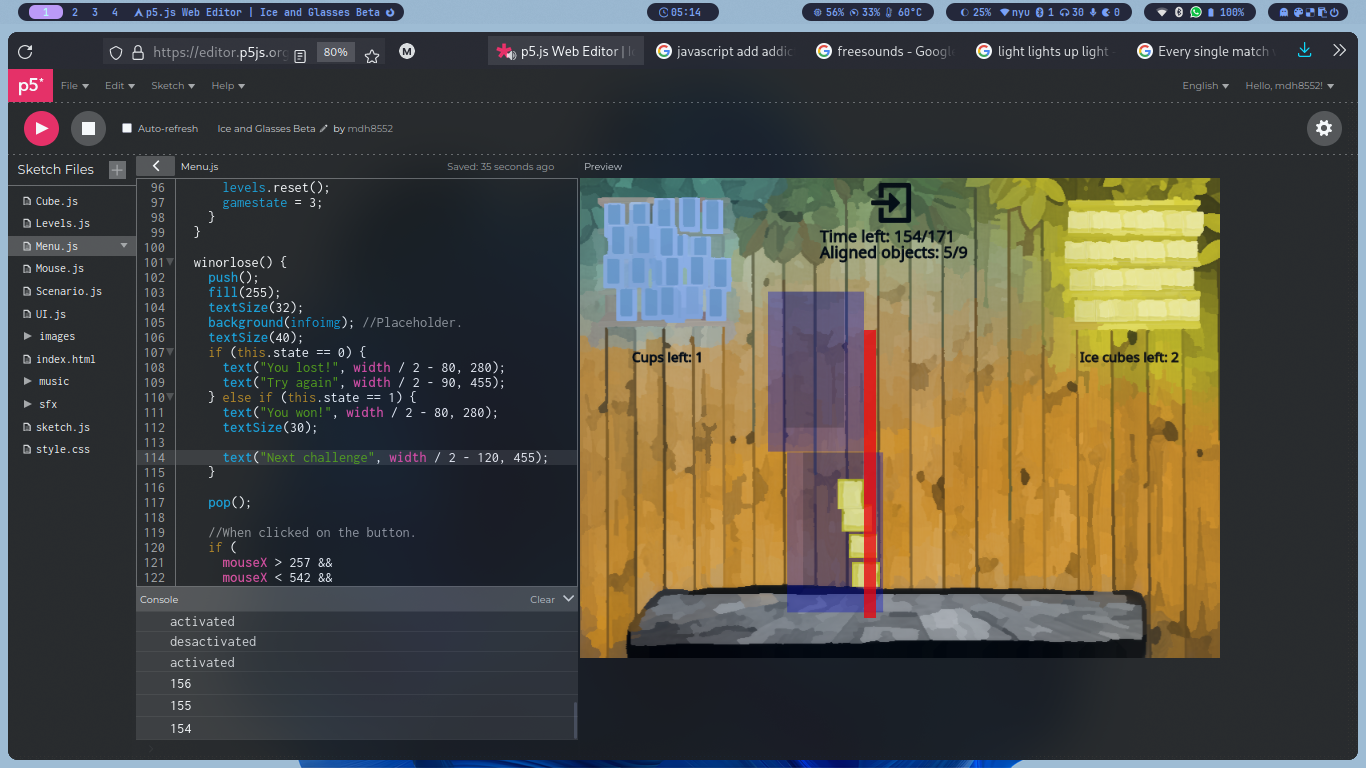 Trying to figure out the gameplay.
 Sketches, Ideas, Drawings!
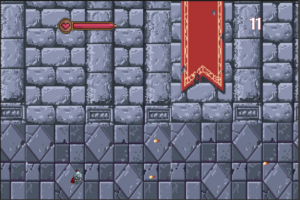 Game Screen
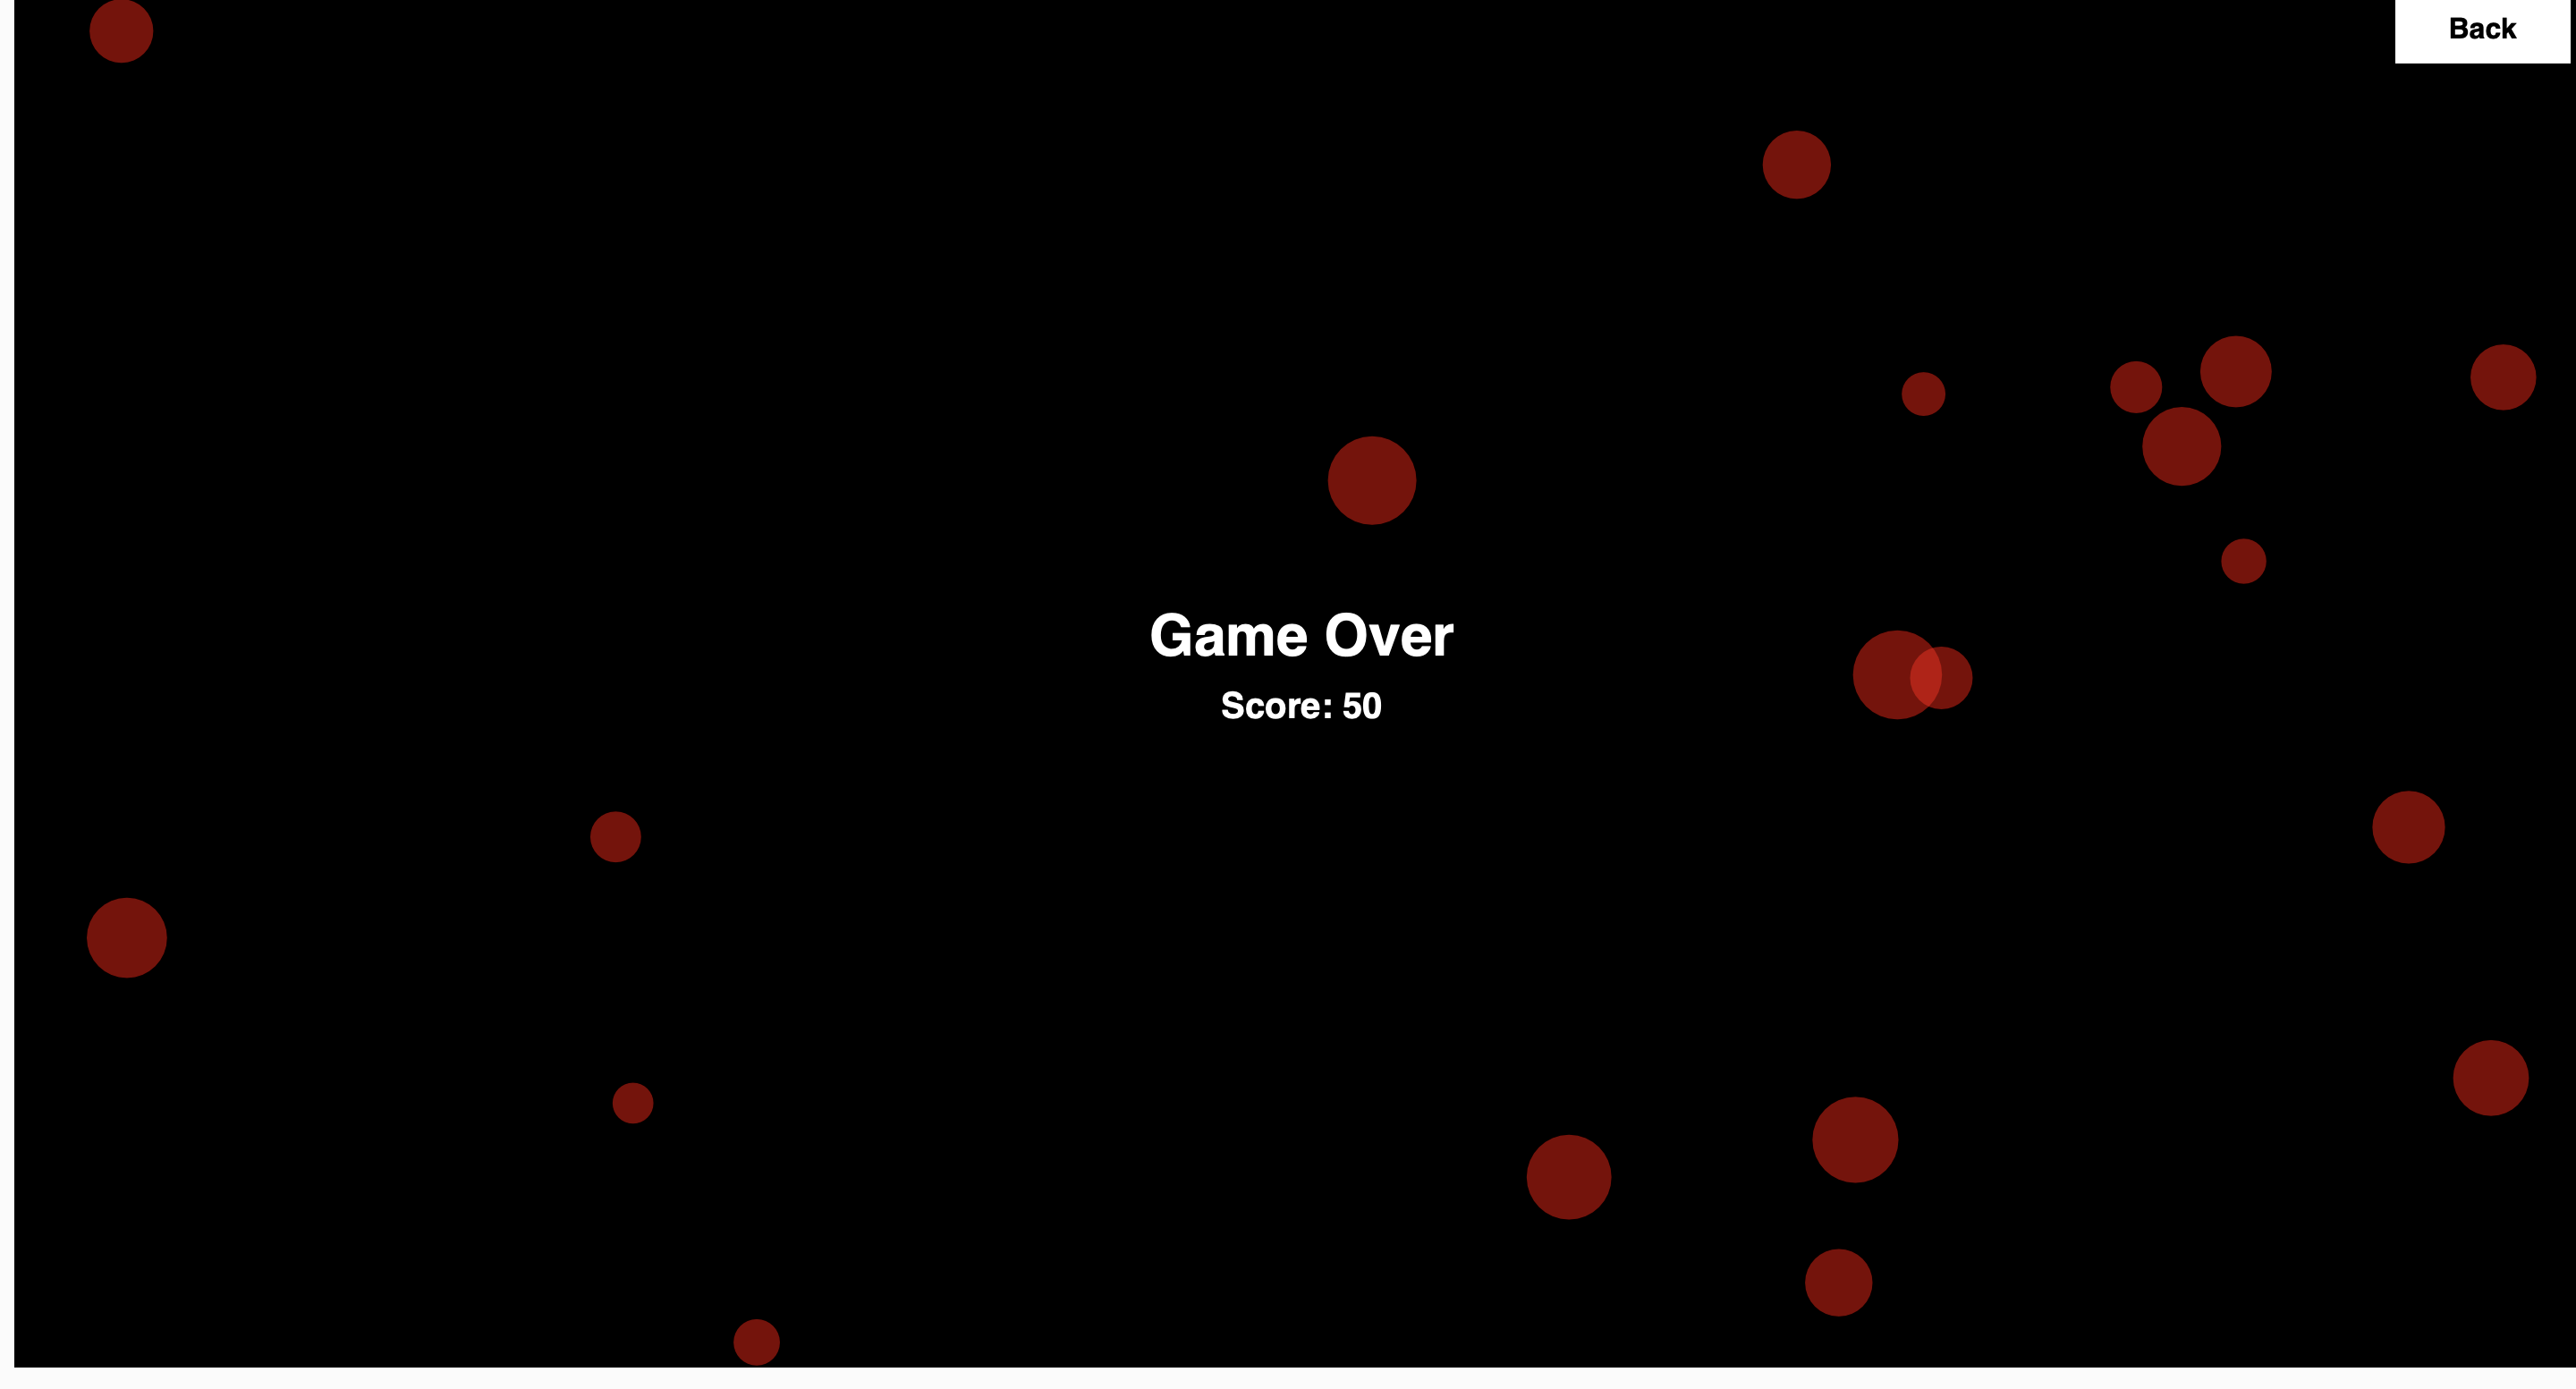
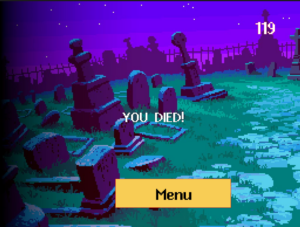 Death Screen