
The stories of Margaret Hamilton’s work on the Apollo software and Don Norman’s article on the role of aesthetics in design provide valuable insights into the complex relationship between form, function, and user experience.
Hamilton’s experiences showcase the critical importance of secure programming by anticipating edge cases. “Hamilton wanted to add error-checking code to the Apollo system that would prevent this from messing up the systems. But that seemed excessive to her higher-ups.” This example highlights the need for designers to think through all the ways a product might be misused, even if it means going out of their way for additional work. This is actually a core part of every group work we do. Since one student might specialize in something, it’s their responsibility to convey complexities to a manager or the leader. This of course assumes that leader is capable of listening and trusting their group members’ expertise. Unfortunately, most companies nowadays work around maximizing profit and such thoughts are the last things that come to their mind.
The pushback Hamilton faced raises questions about the biases we bring to the design process. The belief that “astronauts would not make any mistakes” is plain wrong. Norman’s article suggests that aesthetic preferences can vary significantly across cultures and individuals – the same as “Three Teapots”. This variability means that as designers, we must constantly challenge our own assumptions and try to broaden our perspective. We should allow for all possibilities to happen and design a product for the end user (who might happen to be an astronaut) that works without major flaws. Norman’s article also suggests that that an attractive design can enhance usability, but not replace it entirely. For example, our current smartphone UIs are much more attractively designed than a few years ago. Even so, this raises the complexity of usability. I have personally downloaded older more simplified launchers for my grandmother, simply because it is so much easier to use.
All in all, combining usability with aesthetics while having the end user in mind is clearly the way to go. Hamilton’s approach to software engineering shows that innovative work pays off, as the result was truly out of this world.
Category: Spring 2024 – Aya (Section 002)
Reading Reflection – Week 8
Design is the first thing a user will see for any type of product, either tangible or digital. Therefore, it is important to have a design that can serve the purpose of the product.
However, how can we know that we are serving the purpose of the product through design? Similar to the story of the “Three Teapots”, sometimes the teapot is chosen solely on the mood of the user. Then, I wonder that how we can predict the mood of our customers through designs. As in design, since we can not predict the behavior of our potential customers, we tend to design it the be as easy to understand as possible based on their functionality with the highest degree of aesthetics.
Nevertheless, there is a property that we need to further consider: usability. As it is mentioned in the reading, “[usability is] equal to beauty, equal to function equal but not superior” (Norman). I learnt that it is important to also consider how the user will use it and in what situation they can use them. There are different situations that a certain product can be used. Take the most common example: a door. In the case of emergency, the door should not be a stress point. In other words, it should provide as quick and easy access as possible. On the other hand, for the door that is a secure gate to seek for protection, it should be tough to open at any point. Therefore, these 2 doors with similar functionality have different usability and, hence, have different designs.
I believe that the how a certain product is used is heavily depended on the user. It is indeed difficult to understand all users, but we can still design with how the users react with the product in mind. Similar to how Hamilton helped with the NASA mission to Mars, we need to account for all possibility of interaction between the users and the product itself.
Midterm – ☆Psychedelic Rapture☆
Sketch
This sketch will work in fullscreen, here is the link: https://editor.p5js.org/alexnajm/full/D8FoFUtc6
Concept and Inspiration
For my midterm, I decided to create some sort of audio-reactive artwork. In other words, I wanted the artwork to be controlled by the preloaded sounds.
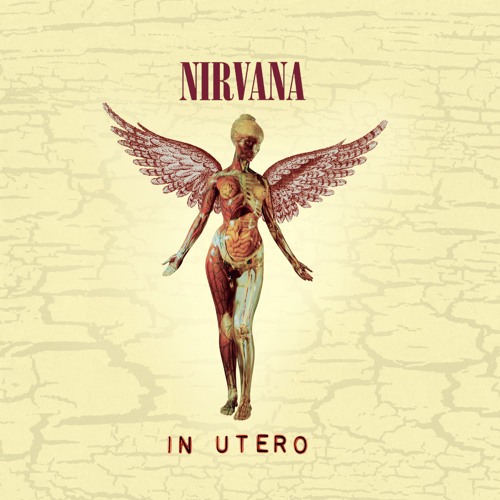
Essentially, I created a playlist of 12 songs. I uploaded these songs and their matching cover images as well as the title and the artist. The idea is that the user can switch between songs with the left and right arrows keys, and the visuals in the background will change depending on which song is playing.
Here are the songs I picked:
- Heart-Shaped Box – Nirvana
- Cool Colorado – La Femme
- Weak For Your Love – Thee Sacred Souls
- Spooky – Dusty Springfield
- Karma Police – Radiohead
- Buddy’s Rendezvous – Lana Del Rey
- Althea – Grateful Dead
- Naive – The Kooks
- Drink Before The War – Sinead O’Connor
- Right Down The Line – Sam Evian
- She – The Blaze
- Belong In The Sun – ¿Téo?
My inspiration comes from the feelings I get when I listen to music. Sometimes, I just lay in bed and close my eyes and I start feeling the energy of the music. So I simply wanted to create an artwork that matches visuals to music, in a way that the former are controlled by the latter.
How it Works, and Code Snippets
1) The sketch begins with a start page. It has brief instructions. The user must click to start.
function displayStartPage() {
  background(0);
  image(star2, -150, 200, 620, 620);
  image(star3, 800, 200, 520, 520);
  fill(255);
  textSize(32);
  textAlign(CENTER, CENTER);
  textFont(chosenFont);
  text(
    "Switch between songs\nwith the left and right arrows\n\n\n\nClick anywhere to start vibing!",
    width / 2,
    height / 2
  );
}
2) Once on the main page, the first song starts playing with the corresponding image, text, and visuals.
function mousePressed() {
  if (currentState === "startPage") {
    currentState = "mainPage";
    song1.play();
  }
}
function displayMainPage() {
  background(0);

  let colorPalette = [
    color(112, 2, 2),
    color(2, 34, 152),
    color(228, 121, 155),
    color(203, 172, 53),
    color(162, 227, 232),
    color(255),
    color(146, 111, 55),
    color(191, 66, 38),
    color(84, 45, 151),
    color(178, 157, 202),
    color(39, 100, 151),
    color(76, 128, 93),
  ]; // color palette array in order to change colors with every track

  let currentColor = colorPalette[displayedImages.currentIndex]; // setting the current color as the color with the current index, from the color palette array
  stroke(currentColor);
  fill(255, 0.5);

  //   getting the amplitude level of the playing song and mapping it to then plug into the shape
  let volume = amplitude.getLevel();
  let heightMultiplier = map(volume, 0, 1, -2, height * 1.5);

  //   Setting the melting lines in the background
  let lineSpacing = 3; // line spacing variable to set the distance between each line
  let noiseScale = 0.005; // noise scaling variable to determine the smoothness of the noise

  for (let y = 0; y < height; y += lineSpacing) {
    // for loop which draws the parallel lines with a spacing of 3
    beginShape();
    for (let x = 0; x <= width; x += 120) {
      // nested for loop that iterates the points along a horizontal line
      let noiseVal = noise((x + frameCount) * noiseScale, y * noiseScale); // noise value variable which calculates a perlin noise value for each vertex point -- the x-coordinate is adjusted with the noise scale and the frame count, they y-coordinate is only adjusted with the noise scale
      let meltingEffect = map(noiseVal, 0, 1, -heightMultiplier / 2, heightMultiplier / 2
      ); // the melting effect created by mapping the noise value, between 0 and 1, to a greater range in order to amplify the melting effect. The range is set according to the heightMultiplier defined above, so that the amplitude levels of the song control the movement.
      curveVertex(x + meltingEffect * 1.2, y + meltingEffect * 1.2); // adding a vertex at x + melting effect and y + melting effect (horizontal + vertical offset). The vertical position is therefore altered by the noise in order to create the dynamic effect
    }
    endShape();
  }

  //   display images
  displayedImages.display();
  amplitude.setInput(displayedImages.songs[displayedImages.currentIndex]);
}
I had a lot of fun creating this part, as I got to play around with the visuals and the amplitude. It took some time, but I think it was worth it.
3) The user can move to the next song by pressing the right arrow key, or to the previous song by pressing the left arrow key.
//   keyPressed function to allow the user to change between images
function keyPressed() {
  if (currentState === "mainPage") {
    if (keyCode === RIGHT_ARROW) {
      displayedImages.nextImage();
    } else if (keyCode === LEFT_ARROW) {
      displayedImages.previousImage();
    }
  }
}
4) There are 12 songs. If the user is at the last song and presses the right arrow key, it will go back to the first song. If the user is at the first song and presses the left arrow key, it will go back to the twelfth song.
5) There is a “Track 1” button. If it is pressed, no matter on which song the user is, it will take them back to the first song. This is the “reset” button.
//   creating a button to return to track 1
  song1Button = createButton("Track 1");
  song1Button.position(1300, 20);
  song1Button.style("background-color", "0");
  song1Button.style("border", "none");
  song1Button.style("font-size", "20px");
  song1Button.style("color", "255");
  song1Button.mousePressed(index1);

  amplitude = new p5.Amplitude();
  frameRate(20);
}

// index1 function incorporated into the button function, in order to get the first image, text, and sound from the array

function index1() {
  if (currentState === "mainPage") {
    displayedImages.currentIndex = 0;
    displayedImages.updateImage();
    displayedImages.stopSongs();
    displayedImages.playCurrentSong();
    amplitude.setInput(displayedImages.songs[displayedImages.currentIndex]);
  }
}
Other than these functions, I am really proud of the visuals. I have re-included the code snippet here:
 //   getting the amplitude level of the playing song and mapping it to then plug into the shape
  let volume = amplitude.getLevel();
  let heightMultiplier = map(volume, 0, 1, -2, height * 1.5);

  //   Setting the melting lines in the background
  let lineSpacing = 3; // line spacing variable to set the distance between each line
  let noiseScale = 0.005; // noise scaling variable to determine the smoothness of the noise

  for (let y = 0; y < height; y += lineSpacing) {
    // for loop which draws the parallel lines with a spacing of 3
    beginShape();
    for (let x = 0; x <= width; x += 120) {
      // nested for loop that iterates the points along a horizontal line
      let noiseVal = noise((x + frameCount) * noiseScale, y * noiseScale); // noise value variable which calculates a perlin noise value for each vertex point -- the x-coordinate is adjusted with the noise scale and the frame count, they y-coordinate is only adjusted with the noise scale
      let meltingEffect = map(noiseVal, 0, 1, -heightMultiplier / 2, heightMultiplier / 2
      ); // the melting effect created by mapping the noise value, between 0 and 1, to a greater range in order to amplify the melting effect. The range is set according to the heightMultiplier defined above, so that the amplitude levels of the song control the movement.
      curveVertex(x + meltingEffect * 1.2, y + meltingEffect * 1.2); // adding a vertex at x + melting effect and y + melting effect (horizontal + vertical offset). The vertical position is therefore altered by the noise in order to create the dynamic effect
    }
    endShape();
  }

  //   display images
  displayedImages.display();
  amplitude.setInput(displayedImages.songs[displayedImages.currentIndex]);
}
I used chatGPT to help me get the “melting” effect, which ultimately just turned into a dynamic effect. I used noise in order to create the movement, and then mapped it to a range set by the height multiplier (that includes the amplitude), which enabled the movement to be specific to the song currently playing.
Another part I am proud of is the functions inside my DisplayedImages class, which enabled the interaction of the user to switch between songs (and simultaneously with images and texts):
//   function to stop the previous song when going to the next one
  stopSongs(){
    this.songs.forEach(song => song.stop())
  }

//   function to play the current song
  playCurrentSong(){
    this.songs[this.currentIndex].play();
    amplitude.setInput(this.songs[this.currentIndex]); // this allows us to get the amplitude for the song that is currently playing
  }

//   function to update image and text to the current index, it was needed for the button I created, otherwise they wouldn't change
  updateImage() {
    this.currentImage = this.images[this.currentIndex];
    this.currentText = this.texts[this.currentIndex];
  }

  //   set what the next image, text, and song will be - also stops the current song and plays the next one
  nextImage() {
    this.songs[this.currentIndex].stop();
    this.currentIndex = (this.currentIndex + 1) % this.images.length;
    this.updateImage();
    this.currentImage = this.images[this.currentIndex];
    this.currentText = this.texts[this.currentIndex];
    this.songs[this.currentIndex].play();
  }

  //   set what the previous image, text, and sound will be - also stops the current song and plays the previous one
  previousImage() {
    this.songs[this.currentIndex].stop();
    this.currentIndex =
      (this.currentIndex - 1 + this.images.length) % this.images.length;
     this.updateImage();
    this.currentImage = this.images[this.currentIndex];
    this.currentText = this.texts[this.currentIndex];
    this.songs[this.currentIndex].play()
  }
}
Problems and Potential Improvement
The main problem I ran into was uploading the music. For some reason, when I uploaded the files, the sketch would be stuck on loading forever (and never actually load). I tried everything I could for a good three hours, and nothing worked. Eventually, I tried redownloading all the files from scratch, and through some weird manipulation it worked, thankfully. I am just sad that I lost so much time on this when I could have added more things instead.
Another problem I ran into was when the “Track 1” button was pressed, the amplitude wouldn’t be extracted anymore, resulting in almost no movement in the visuals (and that was the same for every song playing). I ended up having to add the amplitude input in the class as well, under the playCurrentSong function.
As for improvement, I would have liked to extract the pixels from the images and have them create a gradient for the shape. I tried, but couldn’t really figure it out so I just opted with one color per song.
Something else I would like to add eventually is a pause button so that the user can pause/play the song currently playing.
Finally, I would also like to add a function so that when one song ends it automatically moves on to the next. Currently, when one song ends, it just ends. It doesn’t start over nor does it go to the next song, so no music plays. I think changing that could make the process smoother!
Conclusions
Overall, I really enjoyed creating this. It definitely wasn’t easy as there were a lot of new functions as well as elements we didn’t even talk about in class. When the sound wasn’t working it made me anxious and I honestly thought I would never finish this project. But I’m glad I figured it out, and I really did have fun making it and learning new things along the way. While there is a lot of room for improvement, I am quite proud of the way it looks!
Midterm Project: Dallah & Fenyan
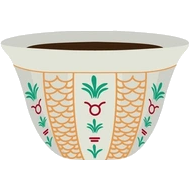
For our midterm project, we were tasked with creating a game using what we learned, including a shape, image, sound, text, and OOP. Sticking to my cultural theme that I’ve been using for my assignments, I decided to create an Emarati twist on the classic XO game, calling it Dallah & Fenyan.
I started off by getting the images for the players from google, as well as the background audio. I ended up resizing the images to a square in Paint.NET to make it easier to incorporate in my game.
 The audio I downloaded from YouTube: https://www.youtube.com/watch?v=PN1nUDx5znA
The game contains multiple components, such as:
- Board class to handle slots on the grid and check contents during gameplay.
- drawBoard(), displayStartScreen(), and displayGameOver() functions to manage the visible parts of the game.
- mousePressed(), checkWinner(), getWinner(), and restartGame() containing game logic to manage gameplay.
I’m proud of the getWinner() function because it took me the longest to write properly 🙁
function getWinner() {
  // Check rows, columns, and diagonals for a win
  for (let i = 0; i < 3; i++) {
    // Rows
    if (board.cells[i][0] === board.cells[i][1] && board.cells[i][1] === board.cells[i][2] && board.cells[i][0] !== '') {
      return board.cells[i][0];
    }
    // Columns
    if (board.cells[0][i] === board.cells[1][i] && board.cells[1][i] === board.cells[2][i] && board.cells[0][i] !== '') {
      return board.cells[0][i];
    }
  }
  // Diagonals
  if (board.cells[0][0] === board.cells[1][1] && board.cells[1][1] === board.cells[2][2] && board.cells[0][0] !== '') {
    return board.cells[0][0];
  }
  if (board.cells[0][2] === board.cells[1][1] && board.cells[1][1] === board.cells[2][0] && board.cells[0][2] !== '') {
    return board.cells[0][2];
  }
  return null; // No winner yet
}
Overall, this is the final outcome:
Looking to the future, I could definitely make it look more appealing, have some better design and animations, as well as audio during gameplay. I could also add a score counter to see how many times each player won the game.
Midterm Project: Runner Game
Introduction and Concept:
For my midterm project, I decided to create an endless runner game, drawing inspiration from the classic “dinosaur game” featured in Google Chrome when there’s no internet connection.
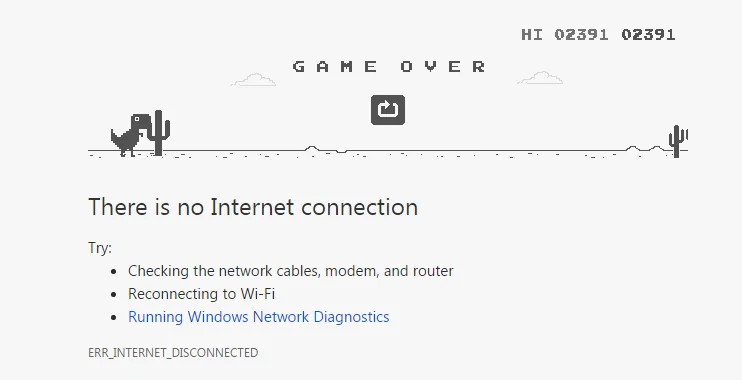
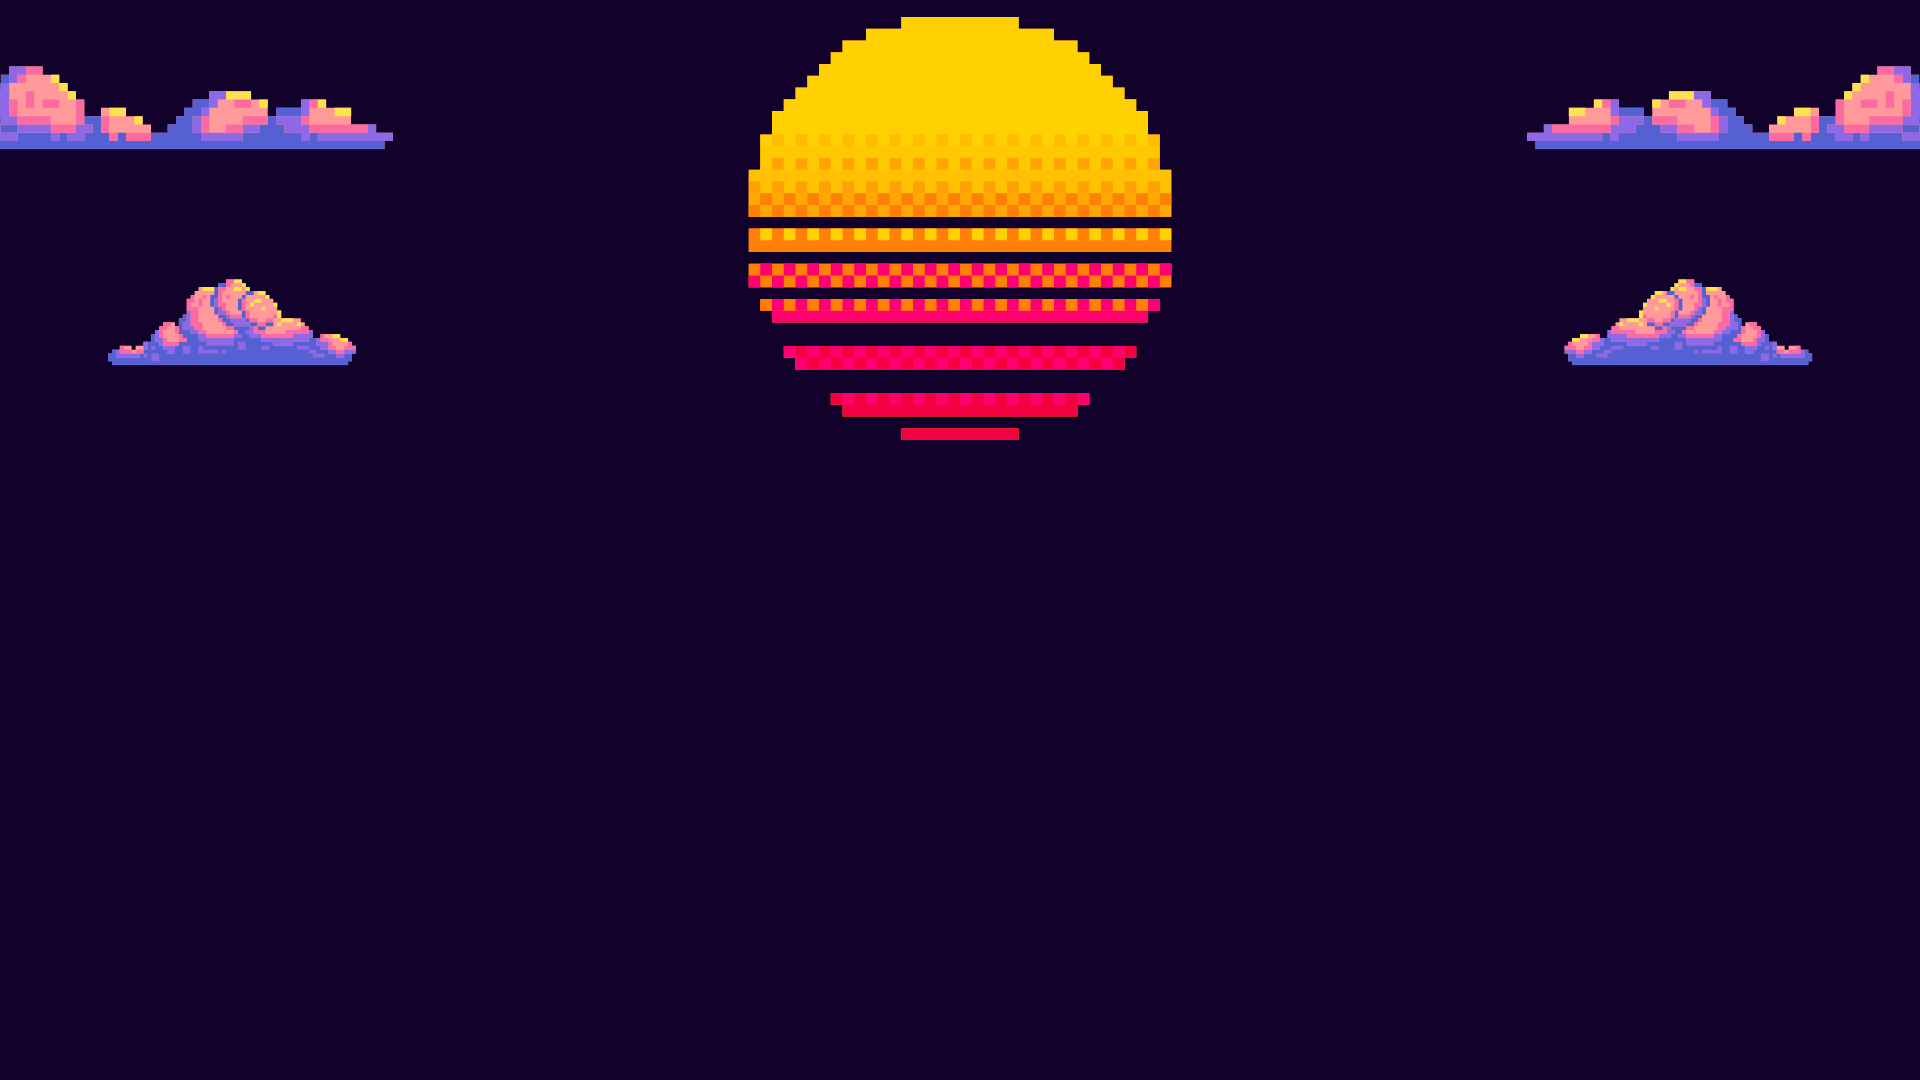
The core objective of the game is to navigate a player-controlled square through various obstacles, aiming to achieve the highest score possible. The design aesthetic is inspired from interplanetary and retro themes, with background music carefully selected to complement the game’s dynamic pace.
Full screen: https://editor.p5js.org/hazieloli/full/D7t8p9wFx
Failed Attempts:
Initially, I drew inspiration from the movie “Rio” and envisioned developing a game reminiscent of “Angry Birds,” incorporating characters and music from the film. Despite following tutorials and exploring libraries for implementing physics, my attempts led to a demo showcasing the initial stage of the game without the desired physics effects.
Subsequently, as I progressed with implementing physics into the game, I encountered complexities in defining game conditions, such as winning and losing.
Finally, I changed my idea towards developing my current endless runner game for a more manageable project.
Sound and Music:
For the music, I used the instrumental version of the song “Mas que nada”:
https://youtu.be/aLR5DikAvUc?si=6J-CDS4vQdfAavDE
For the sound effects, both the jump and gameover sound, I downloaded from Pixabay:
https://pixabay.com/sound-effects/search/jump/
https://pixabay.com/sound-effects/search/game-over/
Design:
For the background images, I used Canva to create the start page:
And the second background image was downloaded from Freepik:
https://www.freepik.com/free-vector/night-ocean-landscape-full-moon-stars-shine_17740155.htm#query=game%20background&position=1&from_view=keyword&track=ais&uuid=0b2c3375-e893-4fd3-961d-793b1389a916
Code:
A part of the code that I’m particularly proud of, even though it is simple, is the draw function:
function draw() {
    if (!gameStarted) {
        // Don't run the game if it hasn't started yet
        return;
    }

    // Draw background image
    image(backgroundImage, 0, 0, width, height);

    score += 0.05;
    fill(255);
    textSize(30);
    text(round(score), 10, 32);

    player.show();
    player.move();

    if (random(1) < 0.03) {
        if (score > minScore) {
            blobs.push(new Blob());
            minScore = score + 2 + random(1);
        }
    }

    for (let i = blobs.length - 1; i >= 0; i--) {
        blobs[i].setSpeed(8 + sqrt(score) / 5);
        blobs[i].move();
        blobs[i].show();

        if (player.hits(blobs[i])) {
            print("GAME OVER");
            gameOverSound.play();
            noLoop();
            // blobs.x = width;
            // startGame();
        }

        if (blobs[i].getX() < -50) {
            blobs.splice(i, 1);
            print("Removed");
        }
    }
}
Challenges faced:
I believe one of the most challenging parts of building this project was to think of something new in such a limited time, after spending days working on my failed attempts. Also, it was quite difficult for me to implement the restart function on the game in order to reset the position of everything when it’s game over.
Areas of Improvement:
Reflecting on the project’s development, I acknowledge areas with potential for enhancement:
- Design: Addressing glitches on the starting page and creating an additional background image and message for the game-over screen to ensure a seamless and visually engaging user experience. Also, work on the alignment of the pages.
- Level of Complexity: Introducing different levels of difficulty to offer players varying challenges and experiences. For example, gradually increasing obstacle speed as the player achieves specific score milestones to heighten the game’s intensity and replay value.
Tutorials: https://youtu.be/TDQzoe9nslY?si=w9yKP0toDZrD_I3t & https://www.youtube.com/live/FHXDywq69v4?si=sFEaLB8_rZKxWNyq
Midterm project – ?sound?
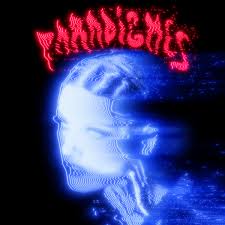
While immersed in the captivating sounds of Giorgio Moroder, hailed as the pioneer of synthesizer disco and electronic dance music, I was struck by the profound realization that synthesizers are not just musical instruments; they are time machines, capable of transporting us to the soundscapes of the future. This revelation sparked an idea in my mind: to create not just any sound generator, but a sound visualizer that encapsulates the essence of music and visual artistry into one cohesive experience. This project is not a synthesizer in the traditional sense, but it’s a homage to the concept of generating “music” in a form that is both simple and visually engaging. It’s an interactive canvas where every user’s interaction weaves a unique auditory and visual narrative, ensuring that no two experiences are alike.
Full screen: https://editor.p5js.org/MarwanWalid2/full/tYNAJRvFm
The interactive sound visualizer I developed is a testament to P5’s versatility, allowing users to manipulate sound and visuals in real-time through mouse movements. Users can control the amplitude and reverb effects of the sounds produced by pressing different keys, each mapped to a distinct frequency resembling a note. The visual component—a series of organic shapes generated using p5.js’s noise() function—evolves in real-time, mirroring the auditory input for a truly synesthetic experience.
let amp = map(mouseY, 0, height, 1, 0); // Control volume with mouse Y
let dryWet = map(mouseX, 0, width, 0, 1); // Control reverb with mouse X
I’m particularly proud of how the project leverages the noise() function to create visual representations of the sound. This function generates organic, ever-changing patterns, ensuring that the visual output is as dynamic and unique as the auditory one. The decision to allow users to influence the sound’s amplitude and reverb through simple mouse movements was driven by a desire to make the experience as intuitive and engaging as possible, removing barriers to creativity and exploration.
Every creative endeavor comes with its set of challenges, and this project was no exception. Balancing the responsiveness of the visual output with the fluidity of the sound was a delicate task. Ensuring that the system could handle real-time input without significant lag required careful optimization and testing. Additionally, while the current implementation offers a novel experience, it barely scratches the surface of what’s possible with sound synthesis and real-time visual generation.
One area ripe for exploration is the integration of more complex sound synthesis techniques, moving closer to the capabilities of a full-fledged synthesizer. Expanding the range of user controls to include different waveforms, modulation effects, and perhaps even a sequencer, could enrich the user experience significantly. Moreover, the visual aspect could be enhanced by introducing more variables influenced by the sound, such as color changes, or shape transformations.
This project stands as a bridge between the past and the future, drawing inspiration from the pioneers of electronic music while inviting users to explore the boundless possibilities of digital creativity. It’s a celebration of the unpredictability and individuality inherent in artistic expression, encapsulated in an experience where no two interactions are the same. I am proud of the foundation laid by this project and excited about the potential it holds for further exploration and development in the realms of sound visualization and interactive art.
Midterm – Asteroids
Concept and Inspiration
The inspiration behind this code is to create a classic arcade-style game similar to Atari’s Asteroids, where players control a spaceship navigating through space, avoiding asteroids, and shooting them down to earn points. The game incorporates simple controls and mechanics to provide an engaging and challenging experience for players.
Full screen link: https://editor.p5js.org/is2431/full/MvWdoI5tz
How It Works
- The game uses the p5.js library for rendering graphics and handling user input.
- It defines classes for the spaceship, asteroids, and bullets, each with their own properties and behaviors.
- The game initializes with a start screen where players can see the controls and start the game by pressing the Enter key.
- During gameplay, players control the spaceship using the arrow keys to move and the spacebar to shoot bullets.
- Asteroids move randomly across the screen, and the player’s objective is to shoot them down while avoiding collisions.
- When all asteroids are destroyed, the player advances to the next level, where more asteroids are spawned.
- The game ends when the player runs out of lives, and their score and highscore are displayed along with the option to restart.
Highlights of Code I Am Proud Of
One highlight of the code is the generation of asteroid shapes. The Asteroid class utilizes a combination of randomization and mathematical calculations to create visually appealing and diverse asteroid shapes. By varying the number of vertices, radius, and offsets, the code generates asteroids that have unique patterns, enhancing the overall visual aesthetics of the game.
// Asteroid class
class Asteroid {
  constructor(pos, r) {
    if (pos) {
      this.pos = pos.copy();
    } else {
      this.pos = createVector(random(width), random(height));
    }
    this.vel = p5.Vector.random2D();
    this.r = r || random(15, 50);
    this.total = floor(random(10, 20));
    this.offset = [];
    for (let i = 0; i < this.total; i++) {
      this.offset[i] = random(0, 15);
    }
  }

  update() {
    this.pos.add(this.vel);
  }

  edges() {
    if (this.pos.x > width + this.r) {
      this.pos.x = -this.r;
    } else if (this.pos.x < -this.r) {
      this.pos.x = width + this.r;
    }
    if (this.pos.y > height + this.r) {
      this.pos.y = -this.r;
    } else if (this.pos.y < -this.r) {
      this.pos.y = height + this.r;
    }
  }

  display() {
    push();
    translate(this.pos.x, this.pos.y);
    noFill();
    stroke(255);
    beginShape();
    for (let i = 0; i < this.total; i++) {
      let angle = map(i, 0, this.total, 0, TWO_PI);
      let r = this.r + this.offset[i];
      let x = r * cos(angle);
      let y = r * sin(angle);
      vertex(x, y);
    }
    endShape(CLOSE);
    pop();
  }

  breakup() {
    let newAsteroids = [];
    newAsteroids.push(new Asteroid(this.pos, this.r / 2));
    newAsteroids.push(new Asteroid(this.pos, this.r / 2));
    return newAsteroids;
  }
}
Challenges with the Project
- Collision Detection: Implementing accurate collision detection between the spaceship, bullets, and asteroids while ensuring smooth gameplay was a challenge, requiring careful consideration of position, size, and velocity.
- Game State Management: Managing different game states such as start, play, level complete, and game over required careful handling of state transitions and user input to ensure a seamless gaming experience.
- UI and Feedback: Designing clear and intuitive user interfaces, including start screens, game over screens, and score displays, posed challenges in terms of layout, readability, and responsiveness.
Future Improvements
There are many improvements I can make to the project. For example, the original Atari game had aliens which would shoot at the spaceship. There are other game mechanics I could have added like powerups.
Midterm Assignment: Knighthood Arcade
Concept:
https://editor.p5js.org/tt2273/sketches/FyrgY5Ivv
“Knighthood Arcade” immerses players in an exciting quest where they take on the role of a valiant knight tasked with eliminating menacing slimes infesting the kingdom. Set in a vibrant 2D environment, the game unfolds as players navigate challenges, strategize attacks, and seek victory against relentless slime adversaries.
The primary objective is for players to eliminate a specified number of slimes, with a set kill count serving as the victory condition. The game intricately balances combat, movement, and decision-making, requiring players to engage with the environment and enemies strategically.
Players achieve victory by successfully defeating predetermined number of (five in this case) slimes. Each slime defeated contributes to the player’s kill count. The dynamic gameplay evolves as the knight progresses, presenting increasingly challenging encounters with the slimes. The game introduces a perilous scenario where the knight faces defeat under specific circumstances:
– If the knight succumbs to slime attacks due to inadequate defensive maneuvers.
-If one of the slimes gets to the other side without being slain.
Implementation and Parts I am Proud of:
In crafting “Knighthood Arcade”, several key implementations have shaped the gaming experience. The strategic integration of combat dynamics allows players to tactically time attacks, emphasizing the significance of thoughtful engagement with the slimes. Navigating the knight through diverse terrains and overcoming movement challenges showcases the finesse required for successful progression. Furthermore, the integration of a subtle narrative layer, albeit minimal, contributes context and motivation to the knight’s quest. Personally, I take pride in the balance achieved between combat, movement, and decision-making elements, providing players with a challenging yet enjoyable gaming experience. This delicate equilibrium is complemented by the implementation of varying slime behaviors, adding depth and nuance to the adversaries. Adding idle animations to the sprite movement, which makes the game more similar to an arcade game, I believe was an excellent touch. I integrated p5play using cdn, but using the p5play documentation was rather difficult as the user interface was not good. Another aspect of the game that I am proud of is the checkDistance function, which determines whether the sprites are close to each other or not. Overall, the game not only delivers on its primary goal of strategic combat but also offers a dynamic and immersive environment that I find particularly gratifying as a developer and an arcade enthusiast.
Challenged faced:
Throughout the development journey of “Knighthood Arcade” various challenges were encountered, each contributing to the learning and growth of the project. Implementing effective collision detection and response mechanisms presented a significant hurdle, demanding meticulous fine-tuning to ensure seamless interactions between sprites. Managing the complexity of sprite animations, particularly synchronizing the knight’s actions with the game’s logic, posed another formidable challenge. Addressing unexpected bugs and glitches, inevitable in any development process, demanded a systematic debugging approach. Integrating sound elements, specifically synchronizing background music with in-game events, proved to be a nuanced challenge, adding an auditory layer to the gaming experience. Overcoming these difficulties not only refined technical skills but also underscored the iterative nature of game development. Moreover, managing the sprite animations in the preload function was difficult at first, since the difference between the adjacent sprites were minimal, therefore detecting if the sprite animations were implemented into the array was hard.
Further Improvements:
Looking ahead, “Knighthood Arcade” presents ample opportunities for further refinement and expansion. One key area of improvement involves incorporating a more intricate combat system, introducing diverse enemy behaviors, and enhancing the strategic depth of engagements. Introducing additional levels with progressive difficulty could elevate the overall gaming experience, providing players with a sense of accomplishment as they navigate increasingly challenging scenarios. Implementing a scoring system and perhaps integrating an online leaderboard could foster a competitive element, encouraging players to strive for higher scores and fostering a sense of community around the game. The visual aesthetics and overall presentation could benefit from additional polish, including more detailed background art and refined character animations. Exploring the integration of power-ups, character upgrades, or even new characters could introduce fresh dynamics and keep players engaged over extended gameplay sessions. These potential enhancements lay the foundation for the game’s evolution, promising an even more captivating and immersive experience for players in future iterations.
Code Snippet:
slimeMovement(slimeSprite);

      if (checkDistance(slimeSprite, mySprite, 100) && isAttack) {
        if (!slimeSprite.dead){
          slimeSprite.dead = true;
          slimeSprite.changeAnimation("dead");
          setTimeout(() => {
            slimeSprite.animation.stop();
            slimeSprite.animation.changeFrame(3);
          }, 500)
          killed++;
          console.log(killed);

        setTimeout(() => {
          slimeSprite.position.x = width+100;
          slimeSprite.position.y = random(50, height-50);
          slimeSprite.dead = false;
        }, 1000);
        slimeMovement(slimeSprite);
      }
    } else if (checkDistance(slimeSprite, mySprite, 50) && !isAttack){
          slimeSprite.changeAnimation("attack");
          mySprite.changeAnimation("dead");
          setTimeout(() => {
            slimeSprite.changeAnimation("idle");
            mySprite.position.x = -100;
            mySprite.position.y = -100;
          }, 1500)
          gameState = "end-lose";
      }
Final Sketch:
Midterm Project: Immune Defenders!
Introduction and Concept
The idea for this project came as a sort of natural follow-up to my projects in this class so far. I have tried to include elements of bioinspiration in almost every assignment I have done for this class so far (barring the Data Visualization of Week 4), so I already knew I wanted to do something within that theme.
My inspiration for this game came almost directly from the retro arcade game Galaga by Namco (see image), and the many space shooters it inspired.
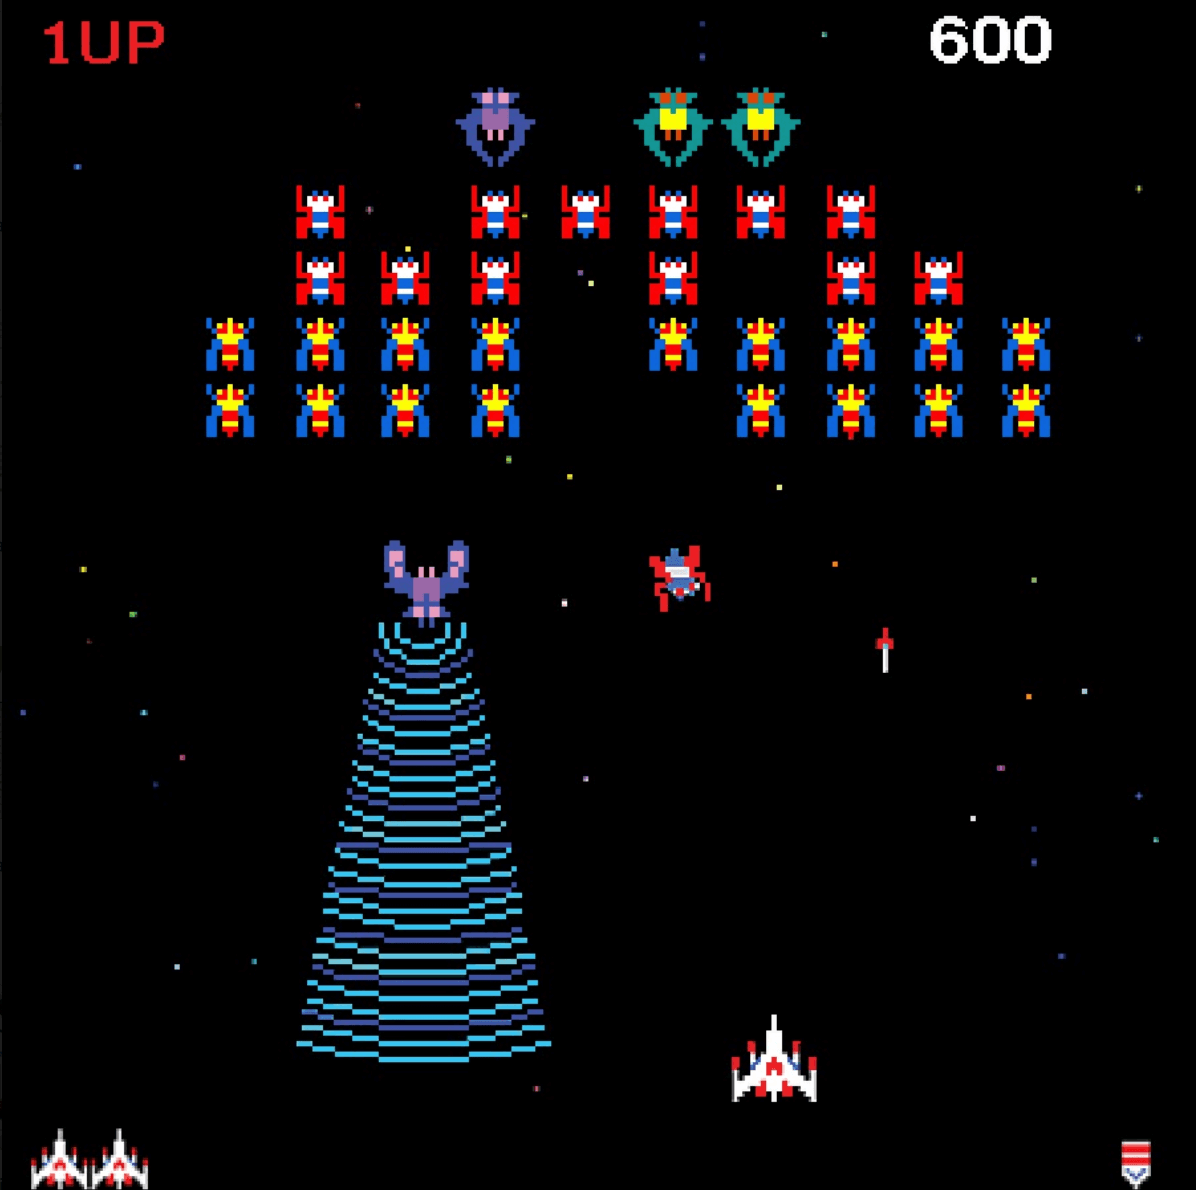
So, my goal was to now somehow combine a space shooter with the immune system. I also wanted it to be relatively accurate to the human immune system, so there was that added challenge.
So, the end result is a game where you control an effector B-cell (or plasma cell), to shoot antibodies at and neutralize bacteria, just like your own immune system does millions of times each day, even when you’re healthy.
Code and Design
With a whopping 783 lines of code (including class definitions), this is easily the largest project I have ever coded. Here are some chunks that I am particularly proud of:
if (keyCode == 32) {
  shot.play();
  if (int((millis() - lastboosttime) / 1000) > boosttime) {
    numBullets = 1;
  }
  for (let i = 1; i <= numBullets; i++) {
    bulletx =
      lives[0].x +
      lives[0].r * 0.25 * (-2 * pow(-1, i) * i + pow(-1, i) - 1);
    bullety = lives[0].y;
    bulletr = height / 100;
    bulletspeed = height / 20;
    var bullet = new Bullet(
      bulletx,
      bullety,
      bulletr,
      bulletspeed,
      bulletsprite
    );
    bullets.push(bullet);
  }
}
So, the above code is used to shoot the bullets that are a core component of the game. But the code is written mainly to handle the challenge of summoning multiple bullets together during the Vitamin C powerup (more on that later). I could have just called it a day and made three separate “new bullets” with the correct x-positions, but I wanted a way to make it uniform for no matter how many bullets could be added by the powerup. This tool from Wolfram Alpha was essential for this, as it calculated a mathematical formula (the part which has quite a few terms involving multiplication of -1 raised to the bullet number). So, whether I add 3, 5, or 19 bullets, theoretically, I should get a consistent result.
//bullet display,, movement and collision
for (let i = 0; i < bullets.length; i++) {
  bullets[i].display();
  bullets[i].move();
  //Delete bullet and bacterium, and add score when killing bacteria
  for (let j = 0; j < bacteria.length; j++) {
    if (bullets.length > i) {
      //length condition added as parameter changes before draw() function is next called
      if (bullets[i].collide(bacteria[j])) {
        bullets.splice(i, 1);
        bacteria.splice(j, 1);
        score++;
      }
    }
  }
  //Delete when bullets fly off-screen
  if (bullets.length > i) {
    //length condition added as parameter changes before draw() function is next called
    if (bullets[i].wallCollide()) {
      bullets.splice(i, 1);
    }
  }
}
The above part of the code deals with the collision logic for the bacteria, and is another part I’m proud of. Using splice() instead of pop() ensures that the correct bacterium is deleted, even when they move out of order because of their different speeds.
Other Code Features
Other features of the code that are important for the functioning of the game, but are not particularly remarkable are the event handlers for clicking and key presses. While clicking to change stage, I had to ensure that the user wouldn’t accidentally click out of the game into the game over screen, but that was easy enough with some conditionals. Key event listeners involve the shooting using the keyboard, movement visa left/right or A/D keys, and using powerups via the Z, X, C keys. Each had their respective actions coded within the event handler itself.
There is also a timer that tracks the time from each iteration of the game starting anew (even in the same sketch run), as well as a counter to track score. The timer is used to both indicate the length of time survived by the player, as well as to control the powerup cooldowns.
Classes
There are a total of 7 classes: Bacteria (display, movement and collision of bacteria), Immune (immune cell display), Bullet (display, movement and collision of bullet), Boost, Net, Bomb (display and update of the cooldown of the powerups), and Button (hover/click behavior of end-screen buttons). I realize now that I could have probably included the three powerup classes under one, but I had initially planned to have their respective functions as class methods. I could probably still have done that by inheritance, but I wasn’t aware of how to make parent classes in p5 or JS, and I did not have sufficient time to learn.
Gameplay
As described earlier, the game is basically a Galaga clone. All you primarily do is shoot down or dodge waves of bacteria (enemy spaceships). To make the gameplay more interesting however, I included three powerups.
The first powerup (try pressing the Z key), allows you to shoot out 3 antibodies per shot instead of just one. That turns out to be particularly useful when the bacteria tend to be just off the exact center mark of the white blood cell.
The second powerup (X key) allows you to slow down the bacteria, giving you more time to shoot or dodge them, whichever you prefer. This powerup was based on the ability of some neutrophils (one of the types of white blood cells that act as a first-line defender) to produce traps that literally stick the bacteria in place so that they can be neutralized and then consumed by other immune cells.
The third and final powerup (C key) almost feels like cheating as it completely nukes everything on the screen and gives you the rewards for it. Initially, I wanted to balance it by reducing the score you get back, but I realized that would confuse players (after all, the bacteria are being killed). So, instead I balanced it with a high score cost, which does kind of match real life. Such an attack that kills multiple colonies of bacteria in one go often results in the immune cells attacking the body’s own healthy cells as well, engaging in inflammatory reactions with massive collateral damage, often causing even more damage than the disease on its own.
The best part about these powerups according to me is that they’re all based at least loosely in real biological concepts, and are not just make-believe gameplay conveniences.
Graphics
Graphics were mostly obtained from royalty-free clipart on the web, which I then recolored to increase contrast/make them look more interesting. The title card’s image was generated using DALLE-3 on Bing Copilot. Any editing required was easily done in Microsoft Paint 3D.

All of the graphics elements involved in this project.
Sound and Music
Pixabay has always been a lifesaver for me when it comes to obtaining high-quality royalty-free/Creative Commons-licensed music and sound effects without any pesky registration or annoying PLUS subscriptions (this is not an ad). I already had somewhat of a general idea of the feel of music I was going for, so I just searched up a few different categories and stuck to the music that immediately hit it off with me. I trimmed a few of the sound clips using Audacity and also put them through FileConvert’s compression tool to reduce the burden on p5.js, which does tend to struggle with loading heavy images/sounds. My only regret is not leaving enough time to include SFX for the powerups.
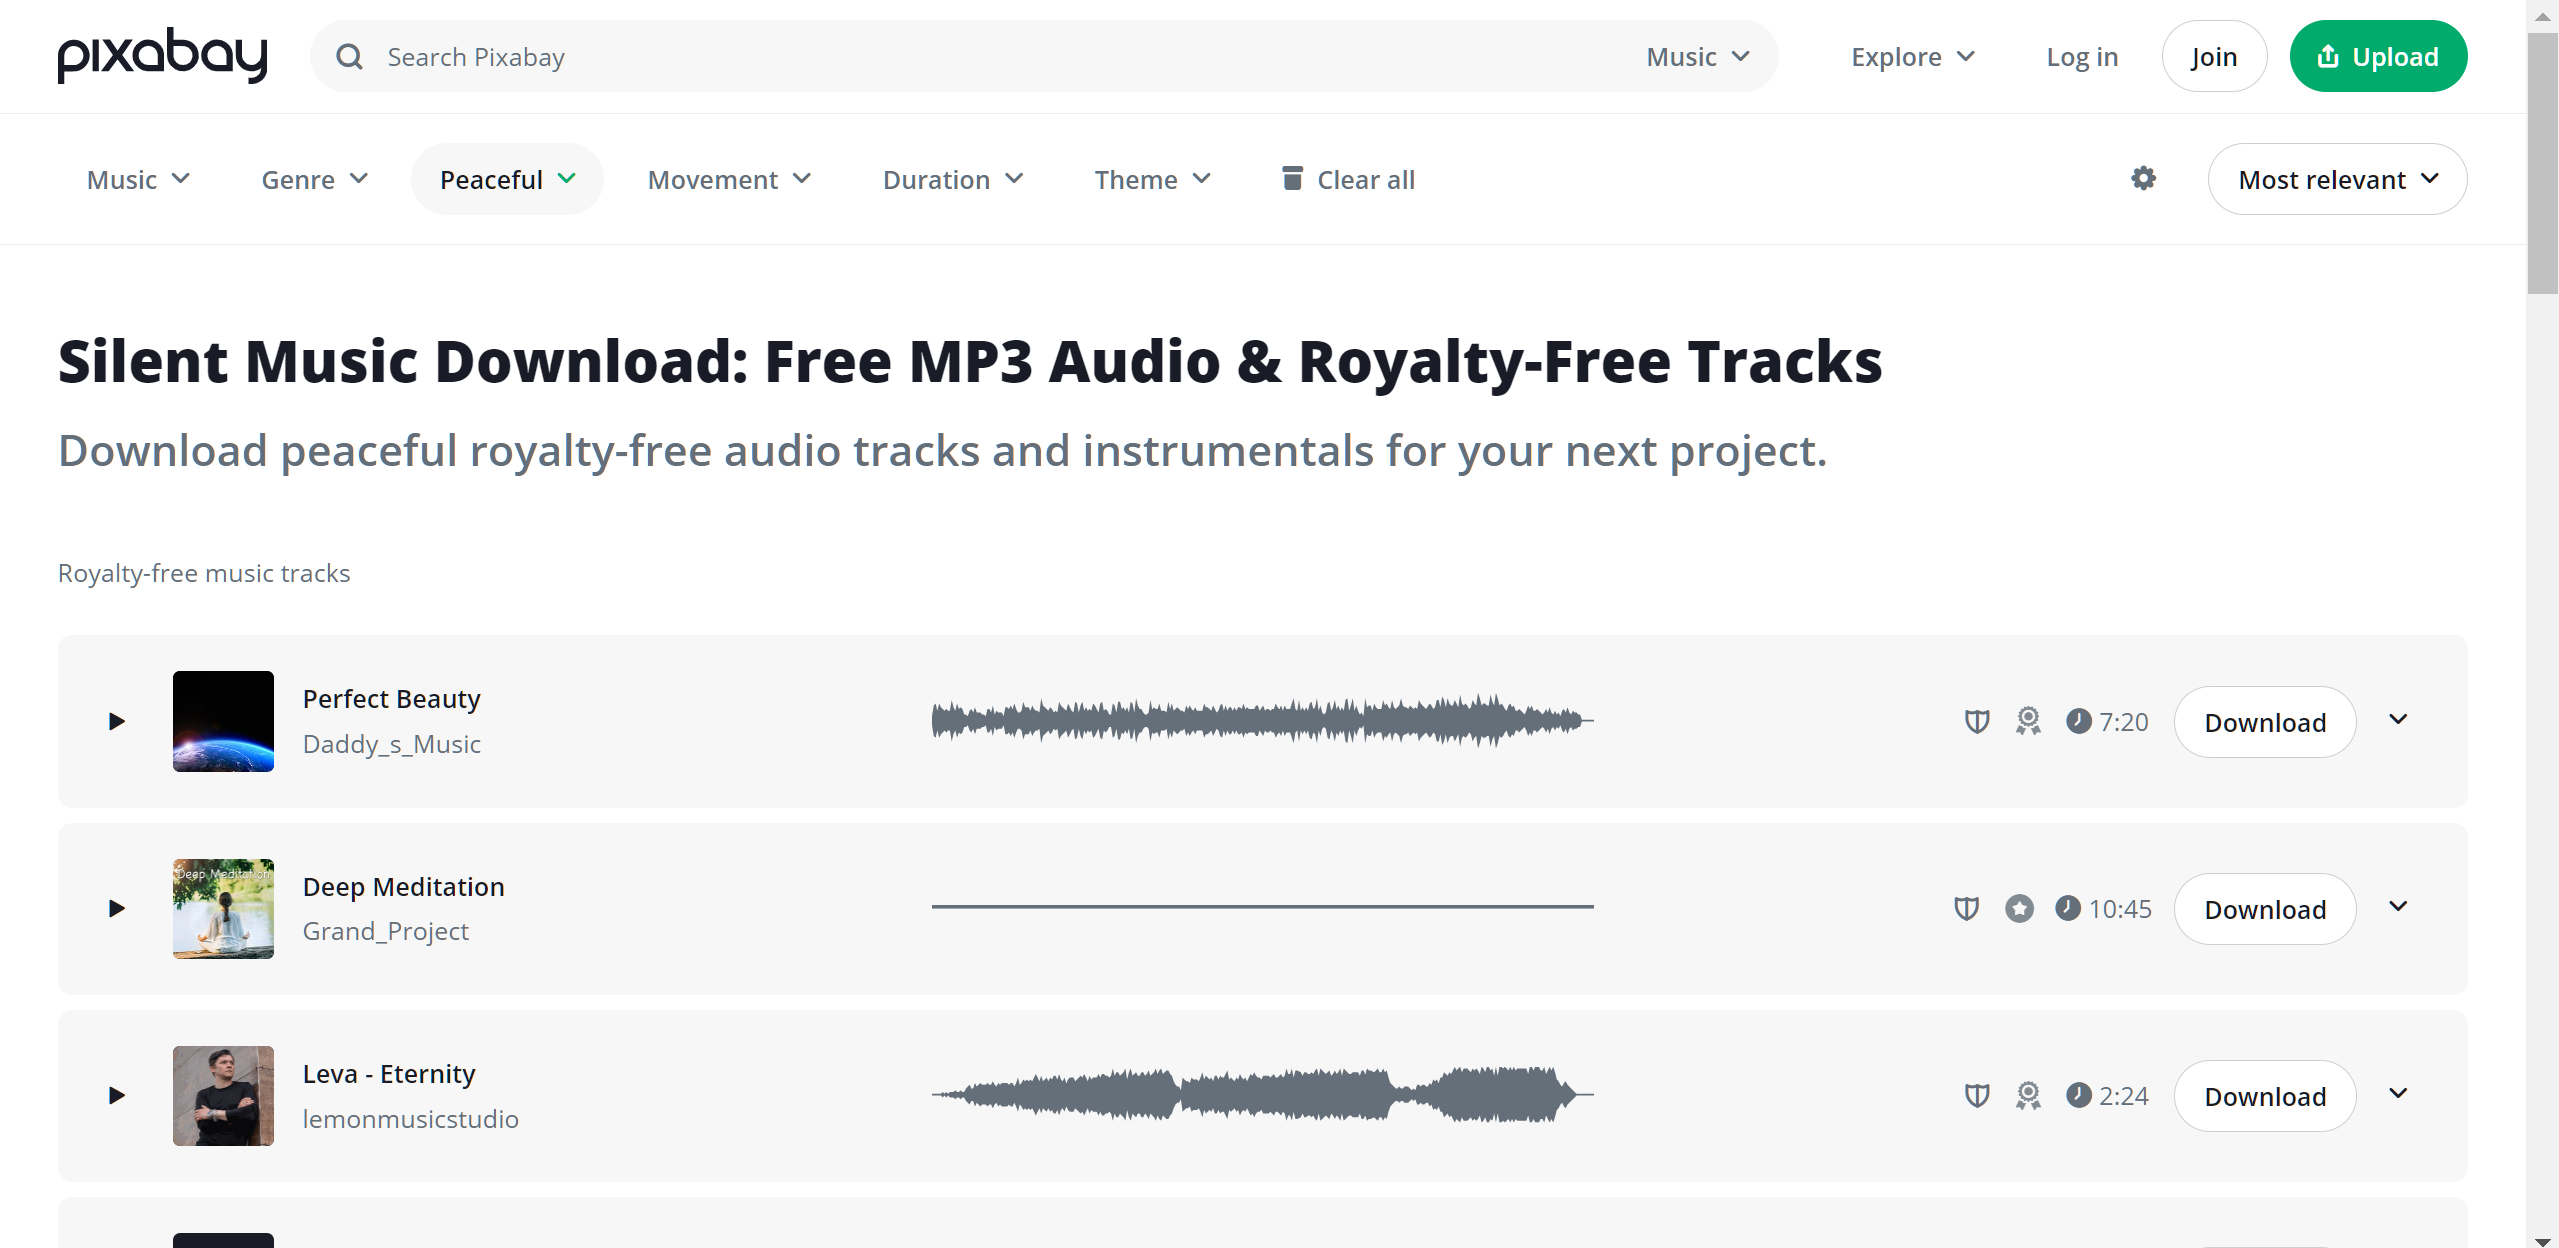
Pixabay User Interface
Challenges, Improvements and Future Considerations
Bug-fixing was probably the most challenging aspect. Because I had worked on the project over several days, I found that there were often things I was forgetting that led to weird interactions and things not going as expected. Asking my roommate to play-test the game definitely did help.
There are many things that I wanted to include that had to be left out in the interest of time. I had planned to include other pathogens, including viruses that didn’t damage your health but instead temporarily blocked your ability to shoot, and even a parasite final boss that would not attack you directly but instead open up more wounds for hordes of bacteria and viruses to enter the blood vessel and overwhelm the player.
Additionally, as mentioned earlier, I would have preferred to have more sound effects, for not just the powerup, but also when the player was hit by a bacterium and lost a life. However, overall, I am happy with the final result, and I can say that it closely matched my initial expectations.
Midterm Demo
Fullscreen Link: https://editor.p5js.org/amiteashp/full/Uvgv-fIWb
Link to project on P5 editor: https://editor.p5js.org/amiteashp/sketches/Uvgv-fIWb
Midterm Project: Catch ’em
Game:
Link to fullscreen: https://editor.p5js.org/aneekap/full/En7_lTESA
Overall Concept of the Project:
CATCH ‘EM is a catching game with two levels but with a twist. Inspired by two of my favorite shows, Demon Slayer and Avatar: The Last Airbender, in this game, the player needs to catch the “good guys” and avoid the “bad guy” to survive. Elements fall from the top of the screen randomly, and the player controls a basket at the bottom to catch the falling elements. The goal is to accumulate points by catching enough good guys before the timer runs out. The game incorporates changing themes and increasing difficulty as the player progresses. Additionally, power-ups appear occasionally, providing the player with special abilities such as temporary immunity to the villain.
Working :
The game utilizes OOP to create subclasses of the Element class with varying features. The game grid is defined by invisible tiles, allowing precise positioning of falling elements. Elements move vertically in tile increments, and collision detection occurs when their coordinates align with the basket’s position, triggering consequences. The game employs frame-based updates to control element speeds. Levels are managed through conditional checks on scores. The player controls a basket moves horizontally using left and right arrow keys to catch the elements.
More specifically, the game operates within a structured grid system defined by the number of rows and columns. Each element, whether it be a hero, villain, or power-up, is represented by an object that inherits from the Element class. These objects are initialized with random starting positions along the columns of the grid. The update method of the Element class ensures a downward motion, simulating the falling effect. The catch method detects whether an element is caught by the player’s basket.
The code I wanted to highlight is how the gameplay works for each level. I used arrays for the different classes to create the elements at each level and used framecount to control the number of elements on the screen to avoid overcrowding.
display() {
    if (SCORE >= 3 && SLIDE == 2) {
      SCORE = 0;
      this.villains = [];
      this.powerups = [];
      this.heroes1 = [];
      SLIDE = 3;
      TIMESTART = millis();
    }

    if (SLIDE == 3) {
      image(inst2, 0, 0, width, height);
    }

    if (SCORE >= 5 && SLIDE == 4) {
      SCORE = 0;
      this.villains = [];
      this.powerups = [];
      this.heroes2 = [];
      SLIDE = 5;
    }

    if (SLIDE == 5) {
      WIN = true;
      this.Play = false;
    }

    // LEVEL 1
    if (SLIDE == 2) {
      image(bg1, 0, 0, this.w, this.h);

      if (frameCount % 3 == 0) {
        this.heroes1.push(new Heroes1());
      }
      for (let hero of this.heroes1) {
        hero.display();
        if (hero.y >= height + 40) {
          // Removes character once it exits the screen
          this.heroes1.splice(this.heroes1.indexOf(hero), 1);
        }
      }
      if (frameCount % 5 == 0) {
        this.villains.push(new Villain(1));
      }
      for (let villain of this.villains) {
        villain.display();
        if (villain.y >= height + 40) {
          this.villains.splice(this.villains.indexOf(villain), 1);
        }
      }

      if (this.powerups.length < 2) {
        this.powerups.push(new PowerUp(1));
      }
      for (let powerup of this.powerups) {
        powerup.display();
        if (powerup.y >= height + 40) {
          this.powerups.splice(this.powerups.indexOf(powerup), 1);
        }
      }

      textSize(30);
      text("LEVEL 1", width / 2 - 60, 45);
      textSize(25);
      text("Aim: 3", width - 100, 80);
      textSize(25);
      text("SCORE: " + SCORE, width - 120, 45);

      let COUNTDOWN = 20 - (millis() - TIMESTART) / 1000;
      if (COUNTDOWN <= 0) {
        this.Play = false;
      }
      text("Time: " + floor(COUNTDOWN), 20, 45);

      this.basket.display();
      this.basket.update();
    }

    // LEVEL 2
    if (SLIDE == 4) {
      image(bg2, 0, 0, this.w, this.h);

      if (frameCount % 2 == 0) {
        this.heroes2.push(new Heroes2());
      }
      for (let hero of this.heroes2) {
        hero.display();
        if (hero.y >= height + 40) {
          this.heroes2.splice(this.heroes2.indexOf(hero), 1);
        }
      }

      if (frameCount % 4 == 0) {
        this.villains.push(new Villain(2));
      }
      for (let villain of this.villains) {
        villain.display();
        if (villain.y >= height + 40) {
          this.villains.splice(this.villains.indexOf(villain), 1);
        }
      }

      if (this.powerups.length < 2) {
        this.powerups.push(new PowerUp(2));
      }
      for (let powerup of this.powerups) {
        powerup.display();
        if (powerup.y >= height + 40) {
          this.powerups.splice(this.powerups.indexOf(powerup), 1);
        }
      }

      textSize(32);
      text("LEVEL 2", width / 2 - 75, 45);
      fill(0, 0, 0);
      textSize(30);
      text("Aim: 5", width - 100, 80);
      textSize(25);
      text("SCORE: " + SCORE, width - 120, 45);

      fill(255, 255, 255);
      let COUNTDOWN = 15 - (millis() - TIMESTART) / 1000;
      if (COUNTDOWN <= 0) {
        this.Play = false;
      }
      text("Time: " + floor(COUNTDOWN), 20, 45);

      this.basket.display();
      this.basket.update();
    }
  }
I took the graphics from the web and cropped them accordingly.

The background music was taken from YouTube and was taken from the Original Soundtrack of the shows.
Level 1: https://www.youtube.com/watch?v=HcvK20wWQDw
Level 2: https://www.youtube.com/watch?v=OqJec3–RXc
Challenges Faced and Areas for Improvement:
The hardest part was having an organized structure of classes and reducing redundancy by using inheritance wherever possible. The other challenge was having so many elements on the screen at once and ensuring it didn’t glitch by deleting elements correctly. I was also not able to make a full-screen mode since the images and tiles were getting stretched and did not work as well.
An area for improvement is ensuring that elements don’t overlap. Since elements are generated randomly, preventing them from overlapping proved difficult. I would also like to add more levels/modes.
Overall, I am happy with the outcome and it was a fun project to work on.