
“Pi, you are cursed as the Artistic Engineer. Artists and engineers alone don’t share this burden.
But you, your unconscious artist within dreams the idealistic, fictional, perfect beauty, and the conscious engineer within, uses any methods possible, uncompromisingly, to bring that perfect fiction into reality.
Yet, when reality falls short of your dreams, a piece of your soul dies each time.
~ Pi’s father, after Pi surviving the panic attack
Yes, this is my greatest curse. I dream perfection, and kill my soul little by little. I have put myself into life threatening situations…. People warn me… Pi, Pi, life is not always the wholesome Ghibli films.
I mean… Duh 🤷♂️ ! I have this poster above my bed.

I religiously worship Hayao Miyazaki, and have always been inspired by the the Dutch kinetic sculptor Theo Jansen. Jansen is one of the few people who managed to bring my Ghibli dreams into reality. He developed a planar leg mechanism, which converts rotatory motion into a living creature.

[Jansen’s Linkage Simulation – Source Wiki ]
And, Pi heart was hurt very very deeply with great pain. So we have –
- Ghibli Movies
- Walking Mechanism and
- Pi’s heart pain
And smashing them together gives…. wait for it –
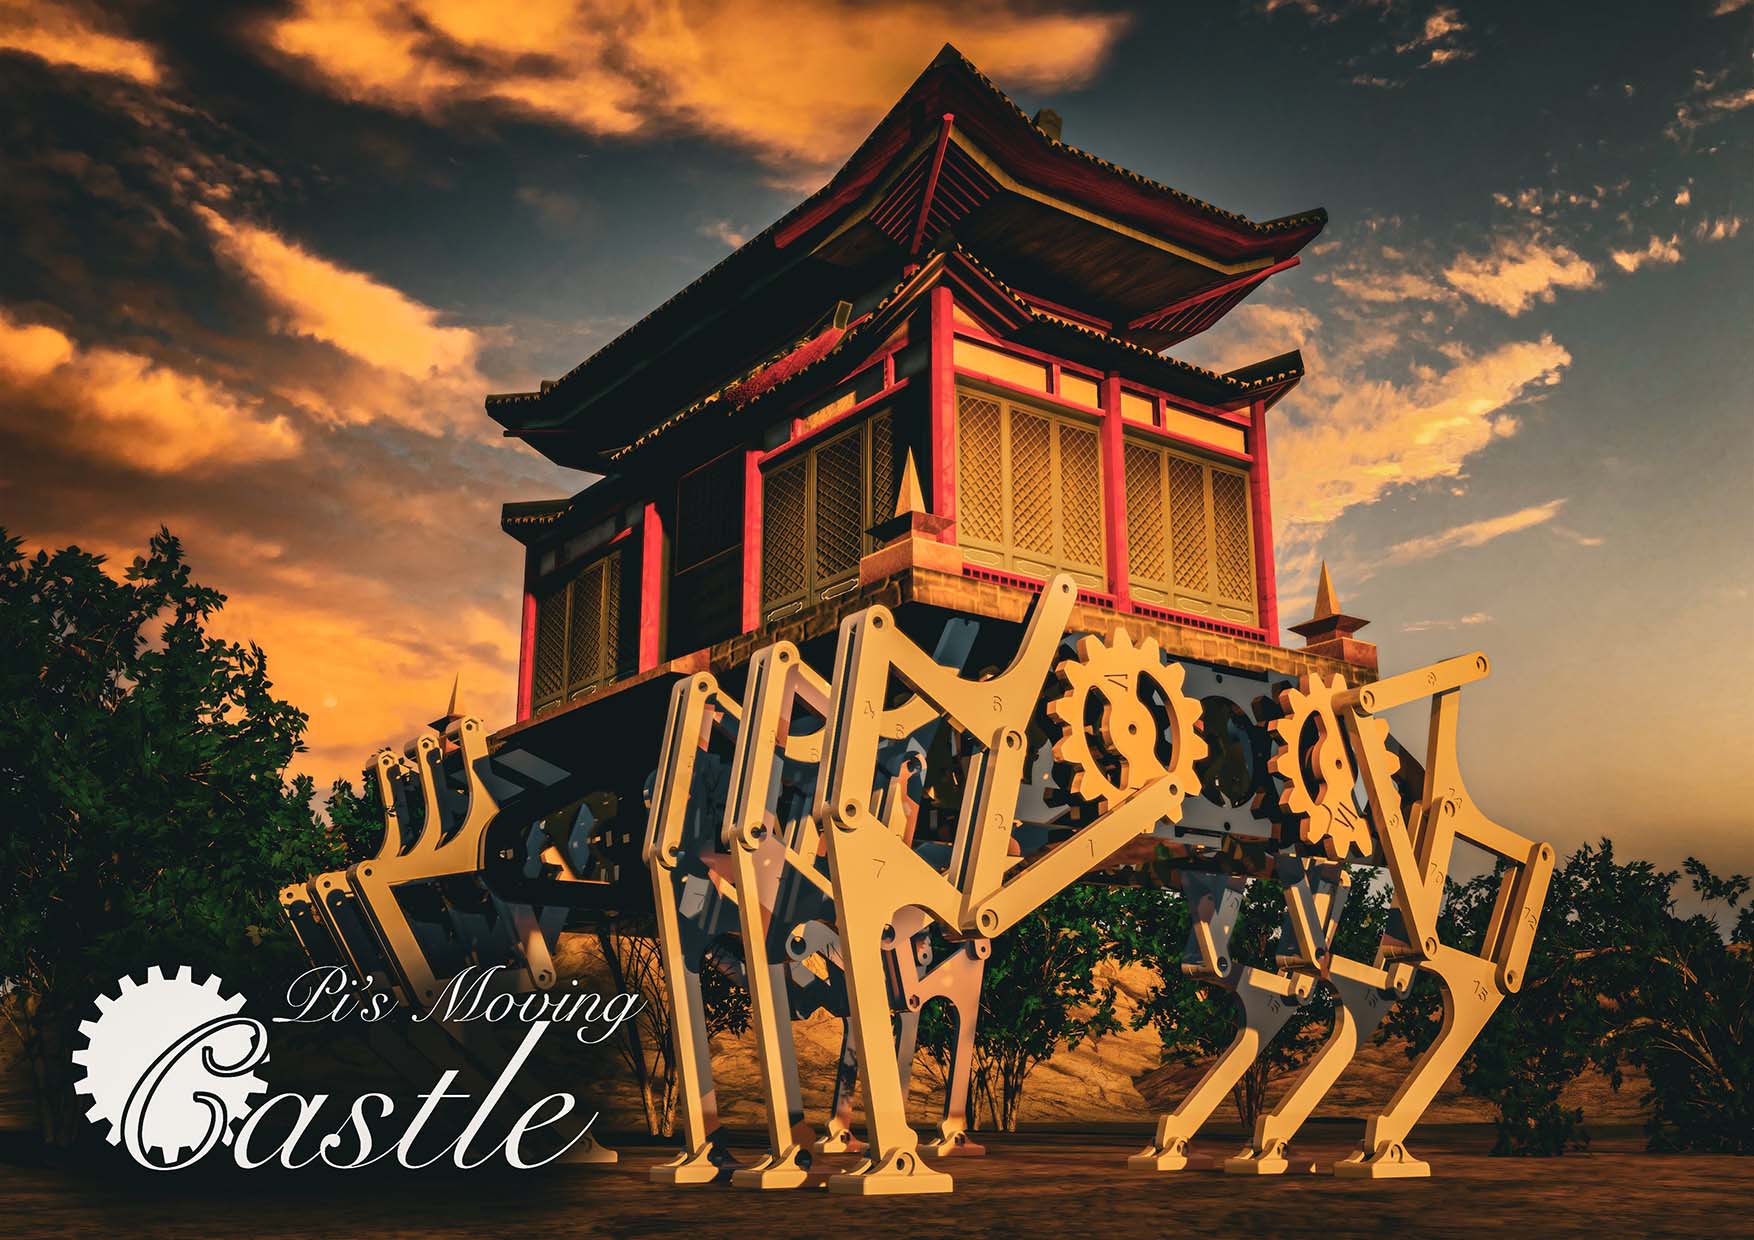
Hence, ladies and gents (and everyone in between), I present …

Backstory
In a realm of both steam and green, Pi the artistic engineer lived in a castle on legs of iron and steam. His home, grand and tall, walked on land with ease. Pi, in his chamber of echoes, wove art, spun gears, and melodies spilled like whispers of a stream.
The castle’s pulse, Pi’s own heart encased in a labyrinth of cogs and sparks, pushed it to dance across the valleys and peaks. It moved with the rhythm of his boundless dreams.
One sad day, the heart stopped. The castle stood still, and so did Pi.
Now, you stand before this slumbering giant. To wake it, to heal Pi, you must delve into the heart’s core, where steam circuits lie in wait of knowing hands. Each piece you fit, each puzzle you solve, is a beat returned, a hope rekindled, and will wake up the castle and Pi again.
So the idea is super simple. You play a p5js puzzle game on the computer, which is to repair Pi’s mechanical heart. And we will have an actual physical steampunk robot which is not moving. But as the user solves the puzzle through stages, the castle will wake up, and finally be able to walk again. (Once it walks, the user can program the path of the castle 😉 … i.e. like Scratch)
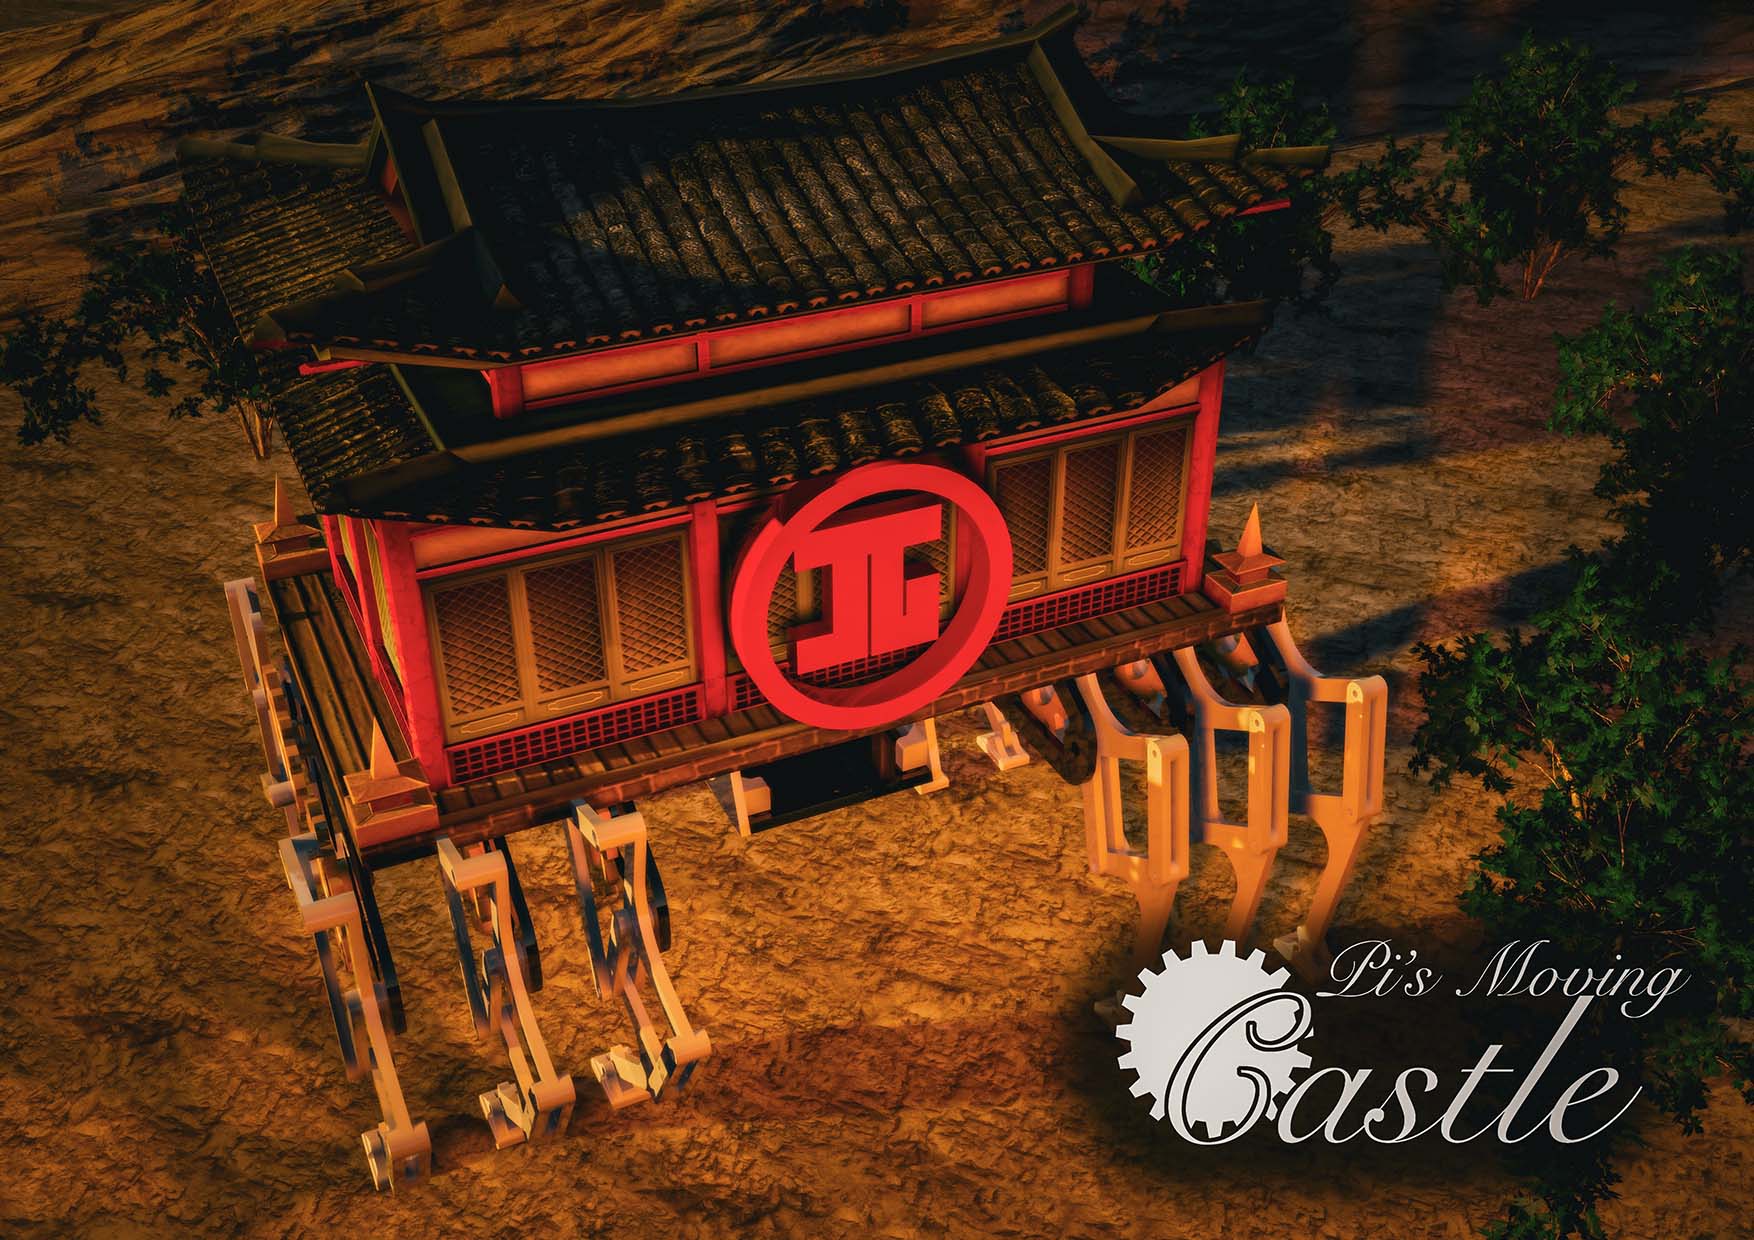
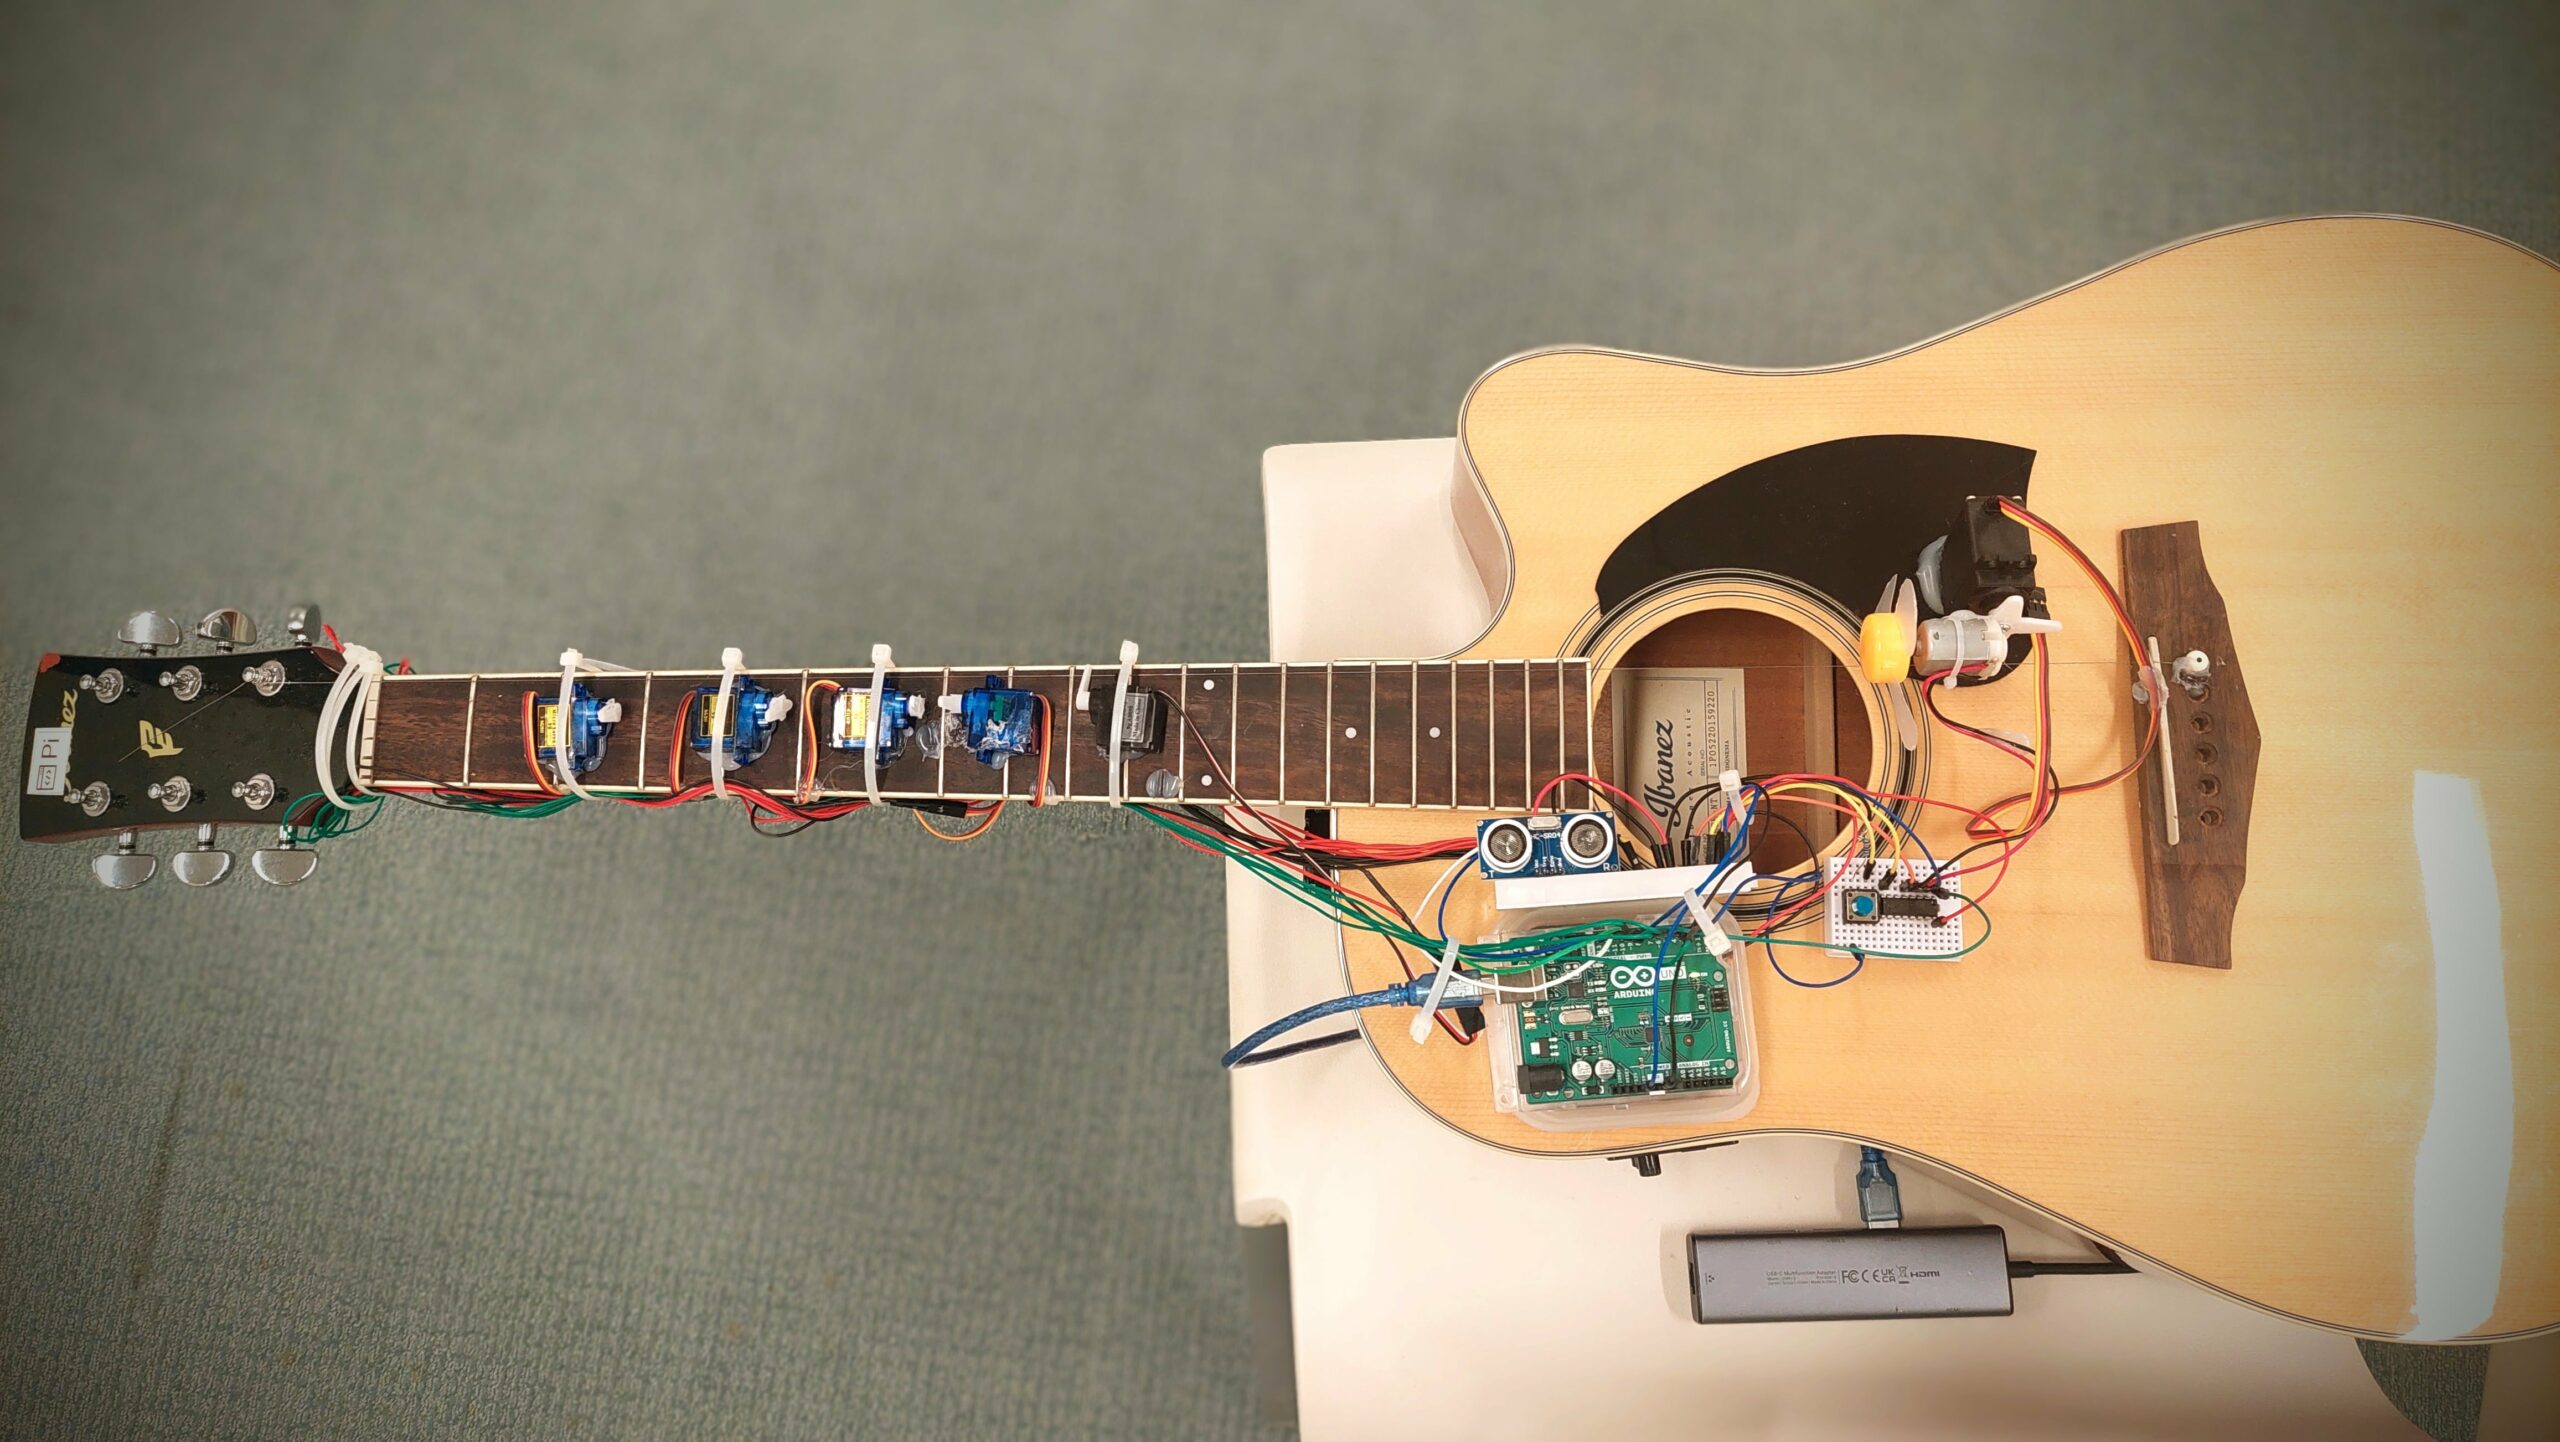
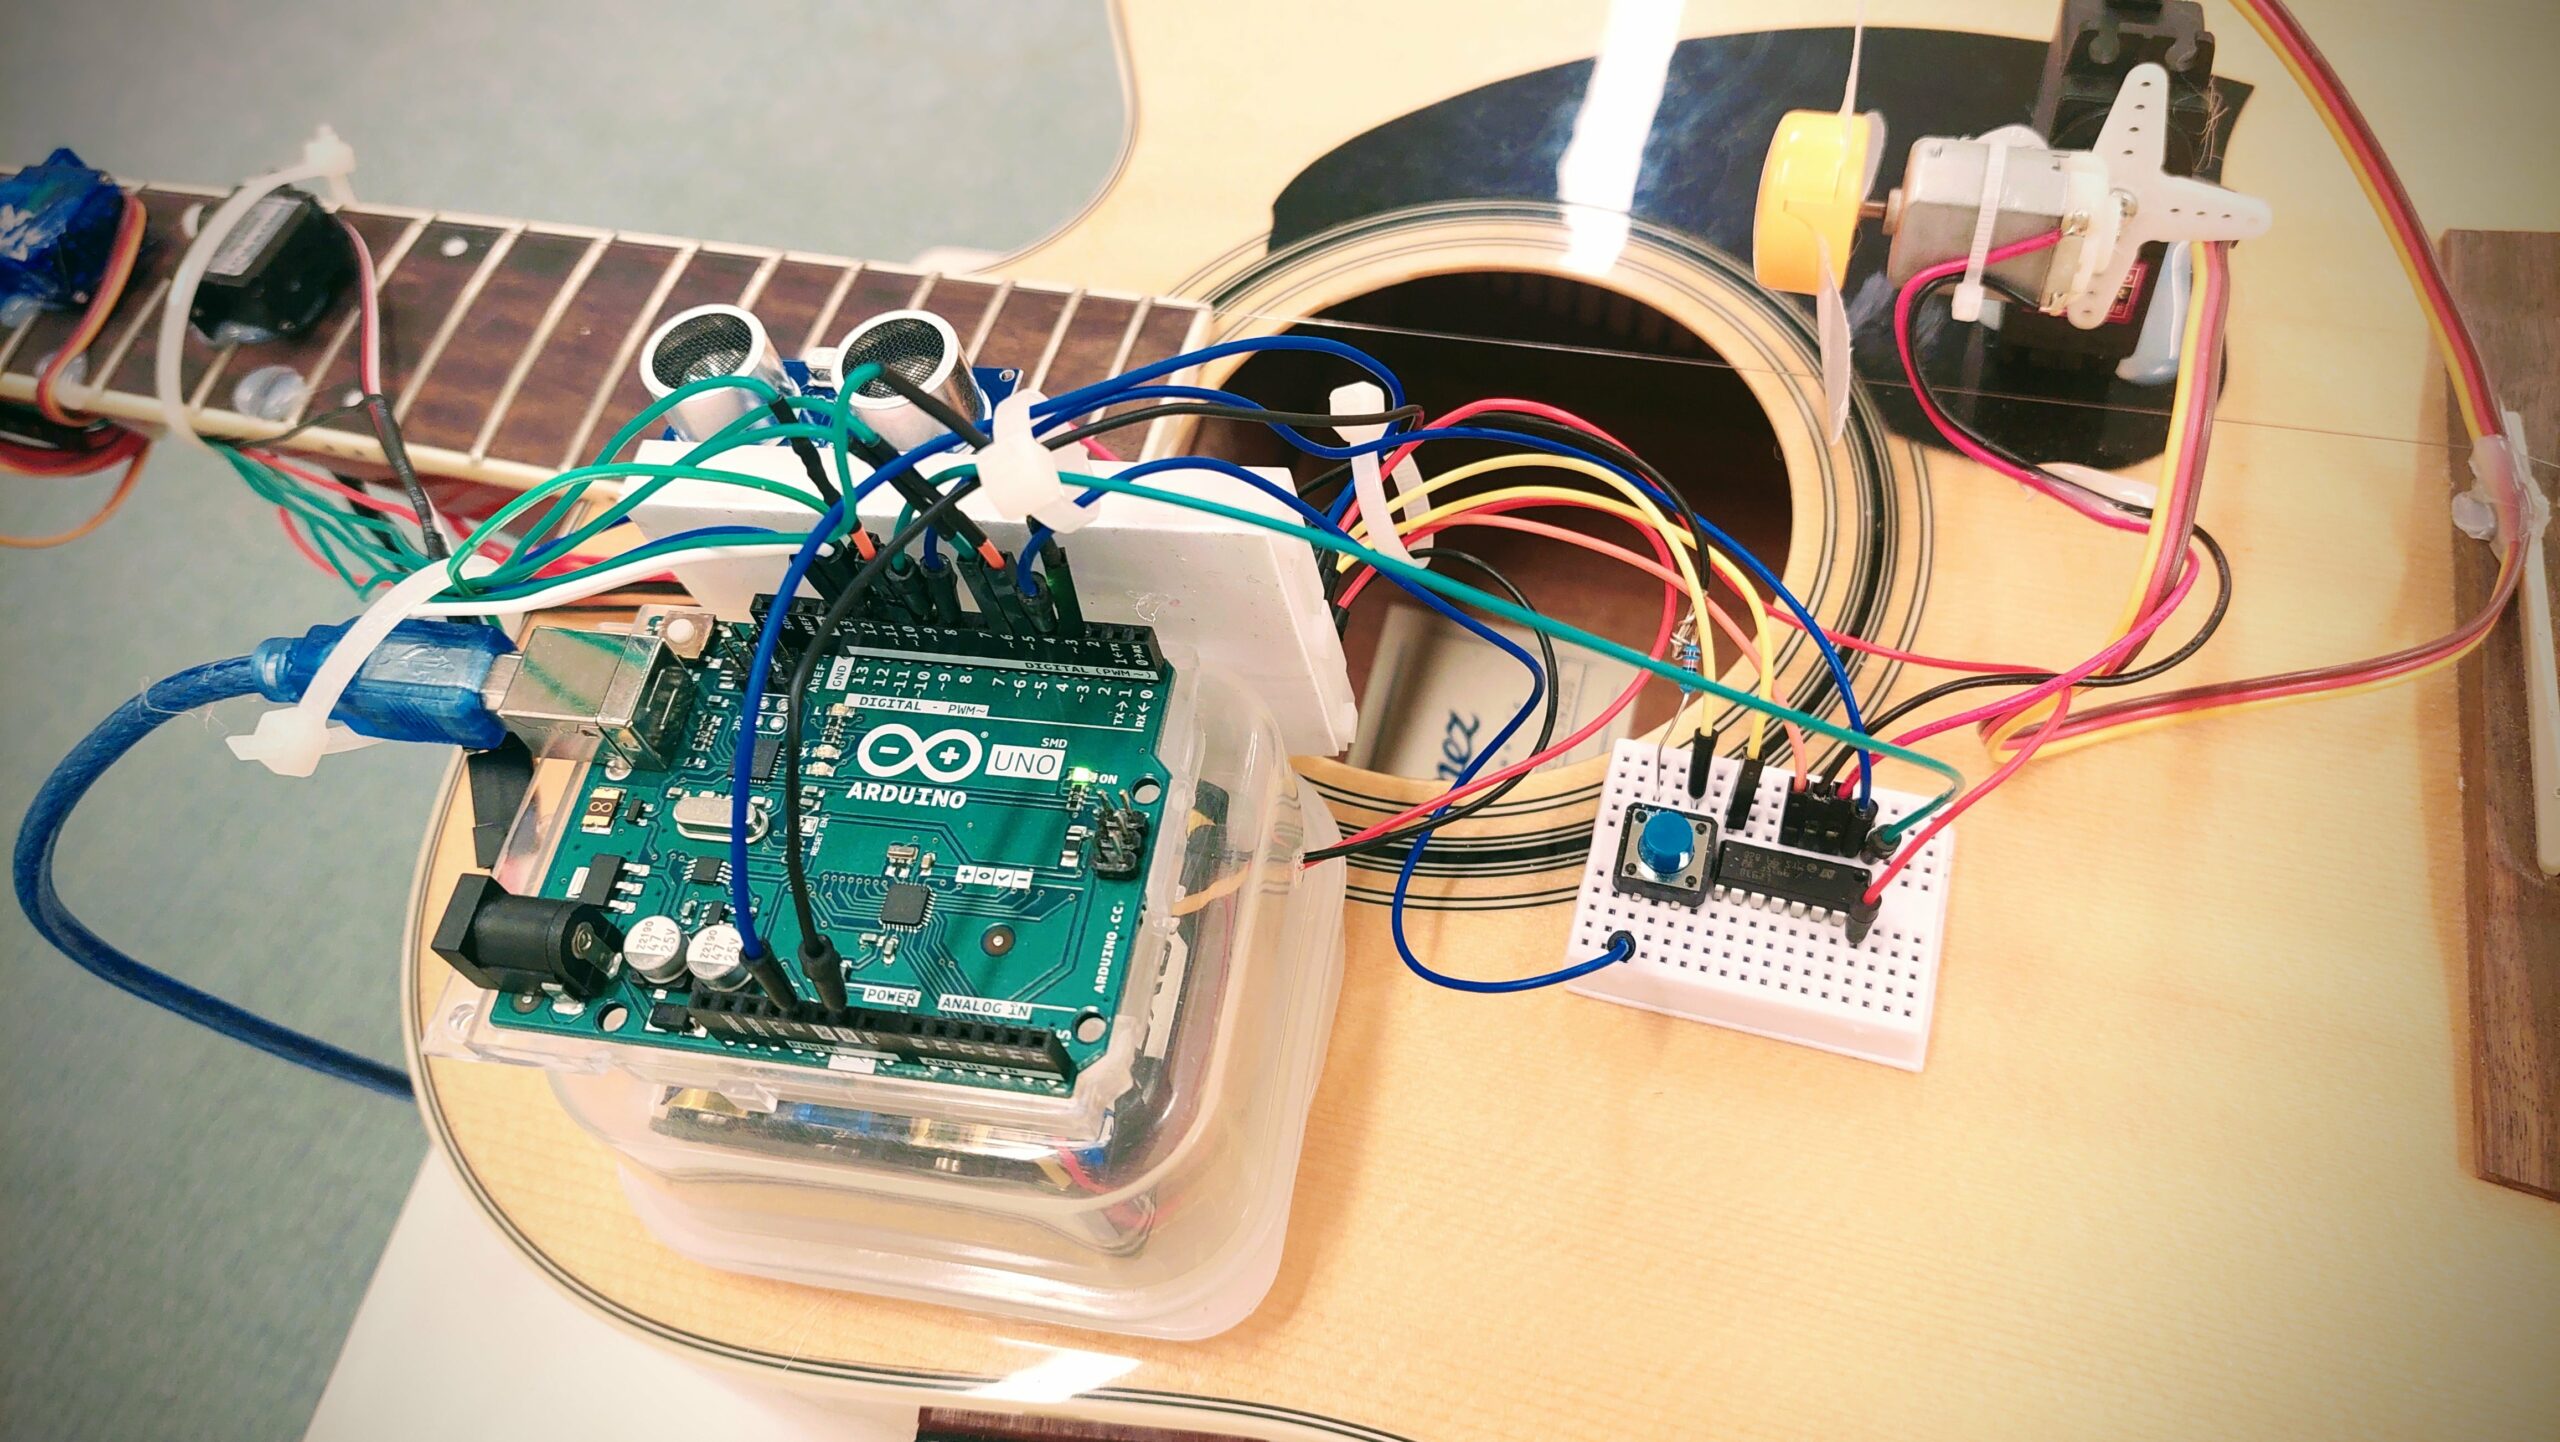
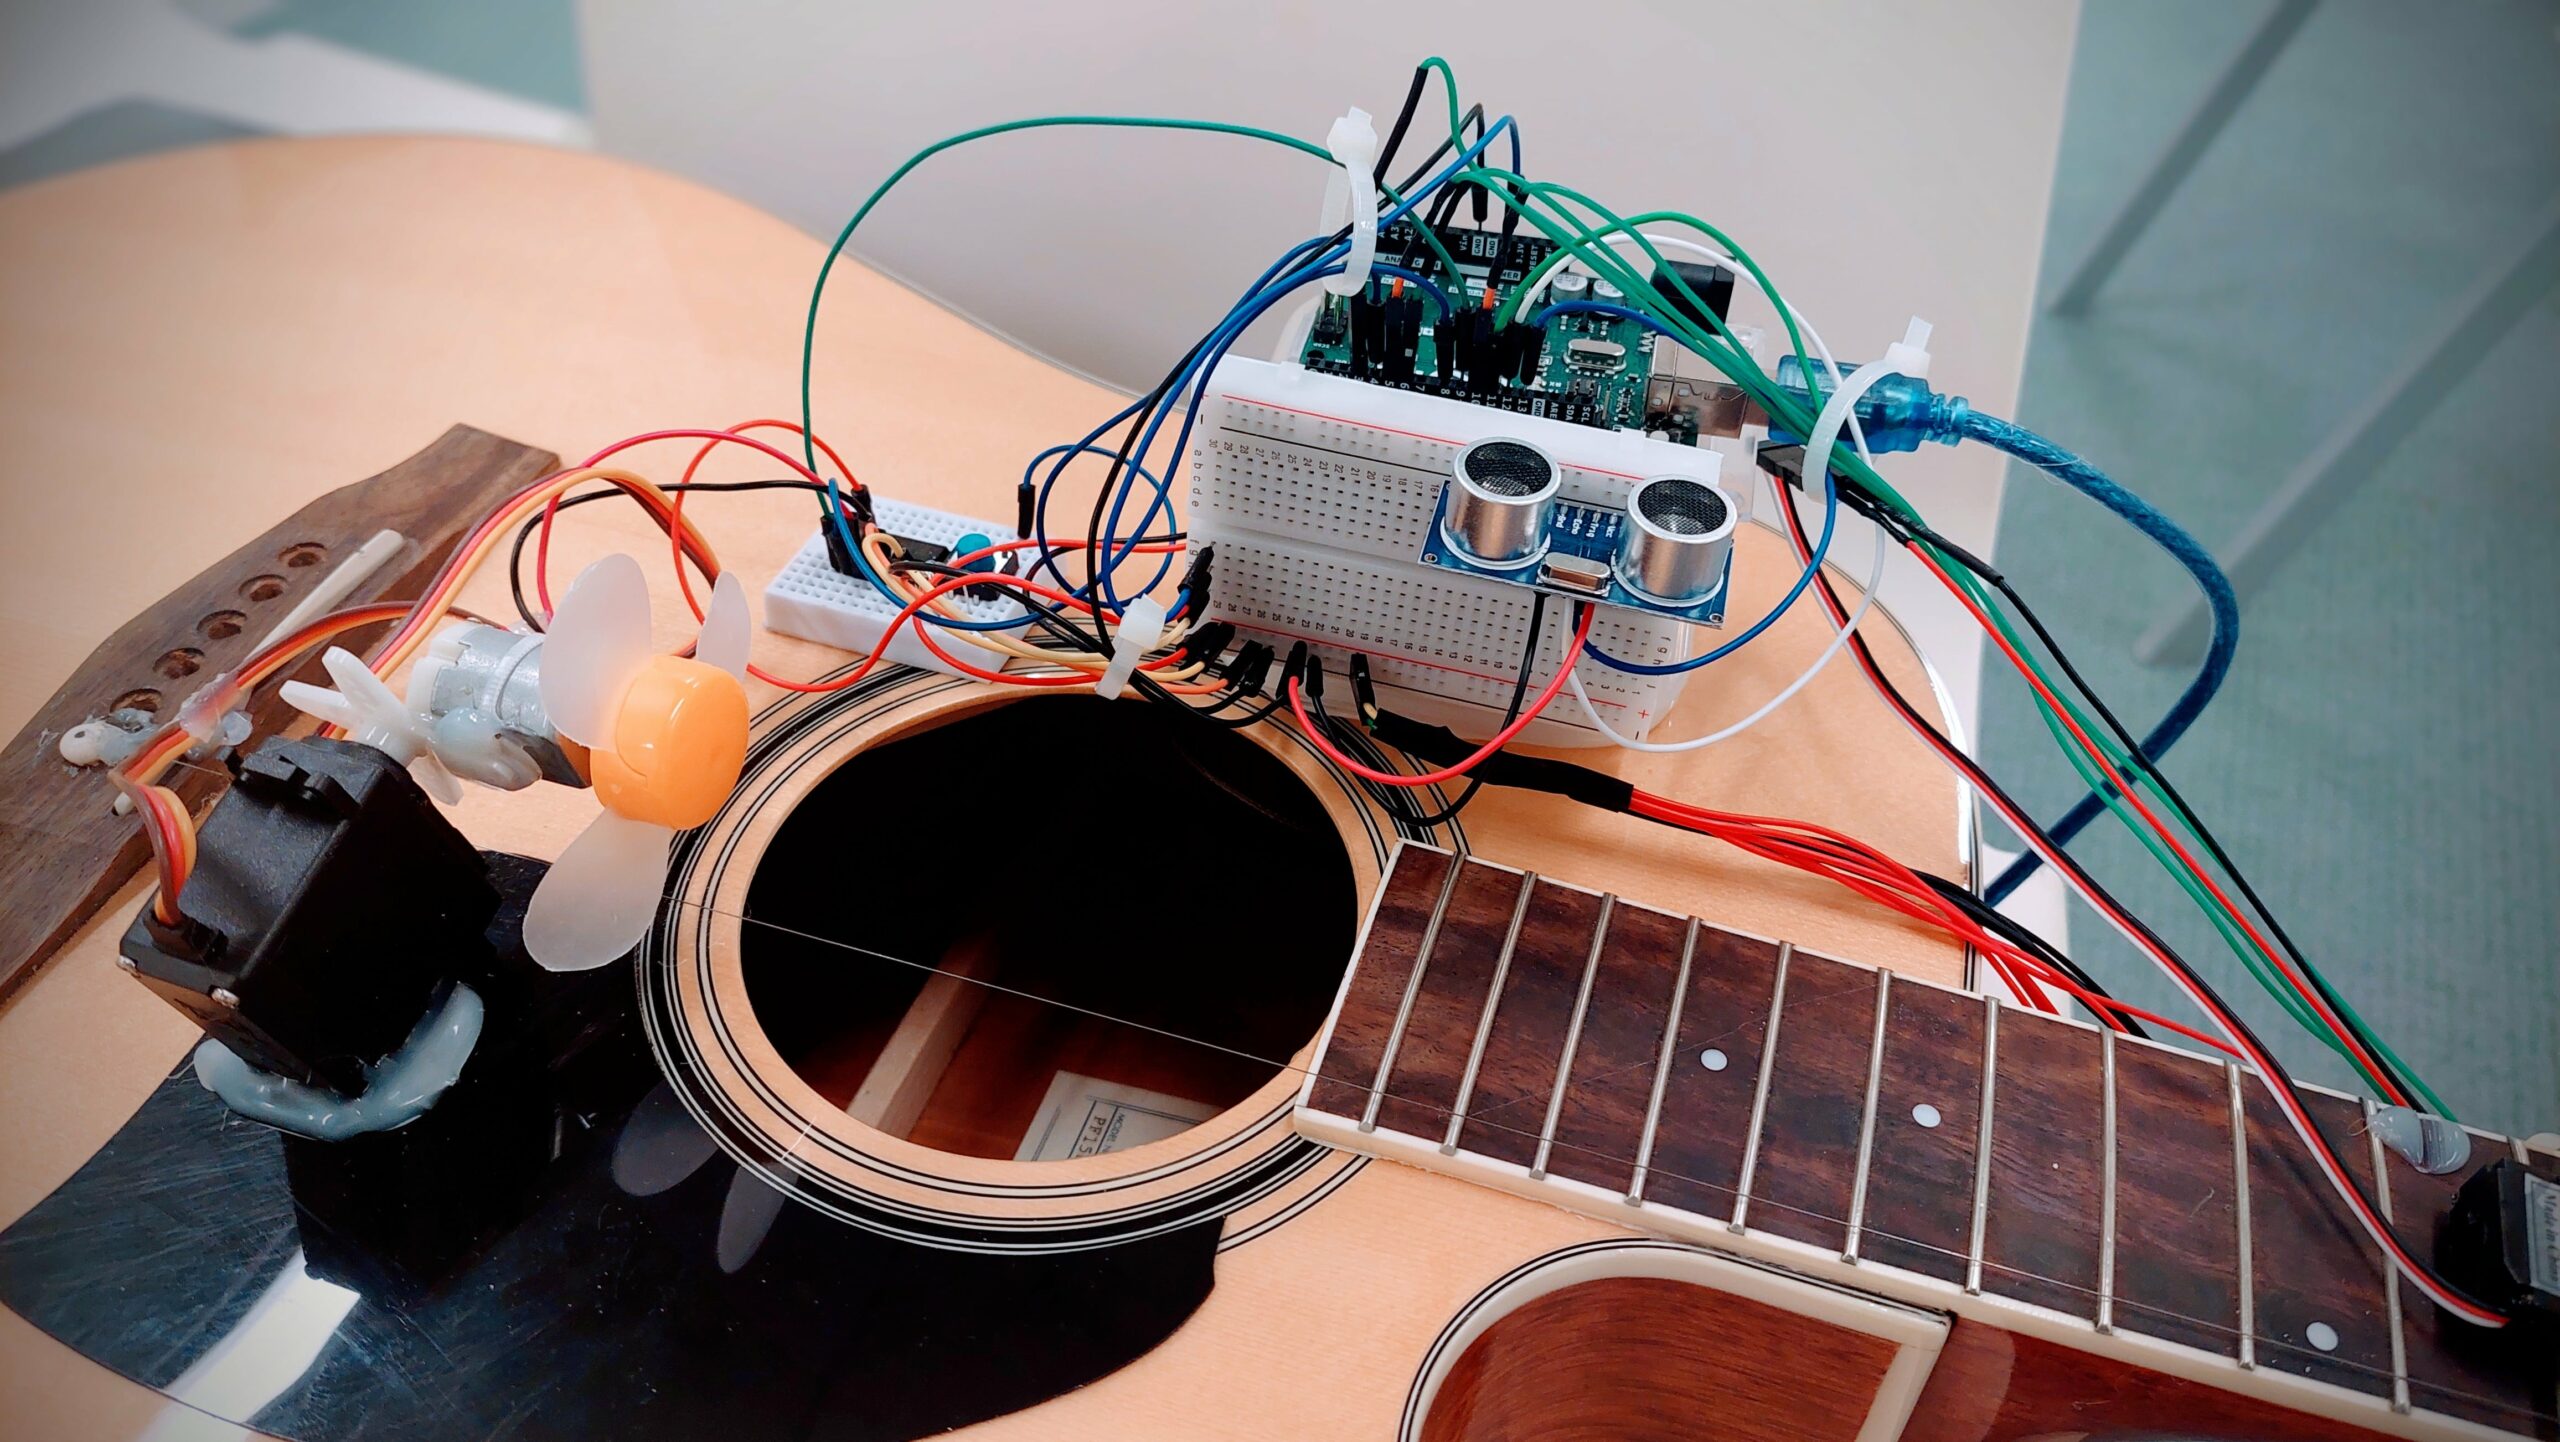
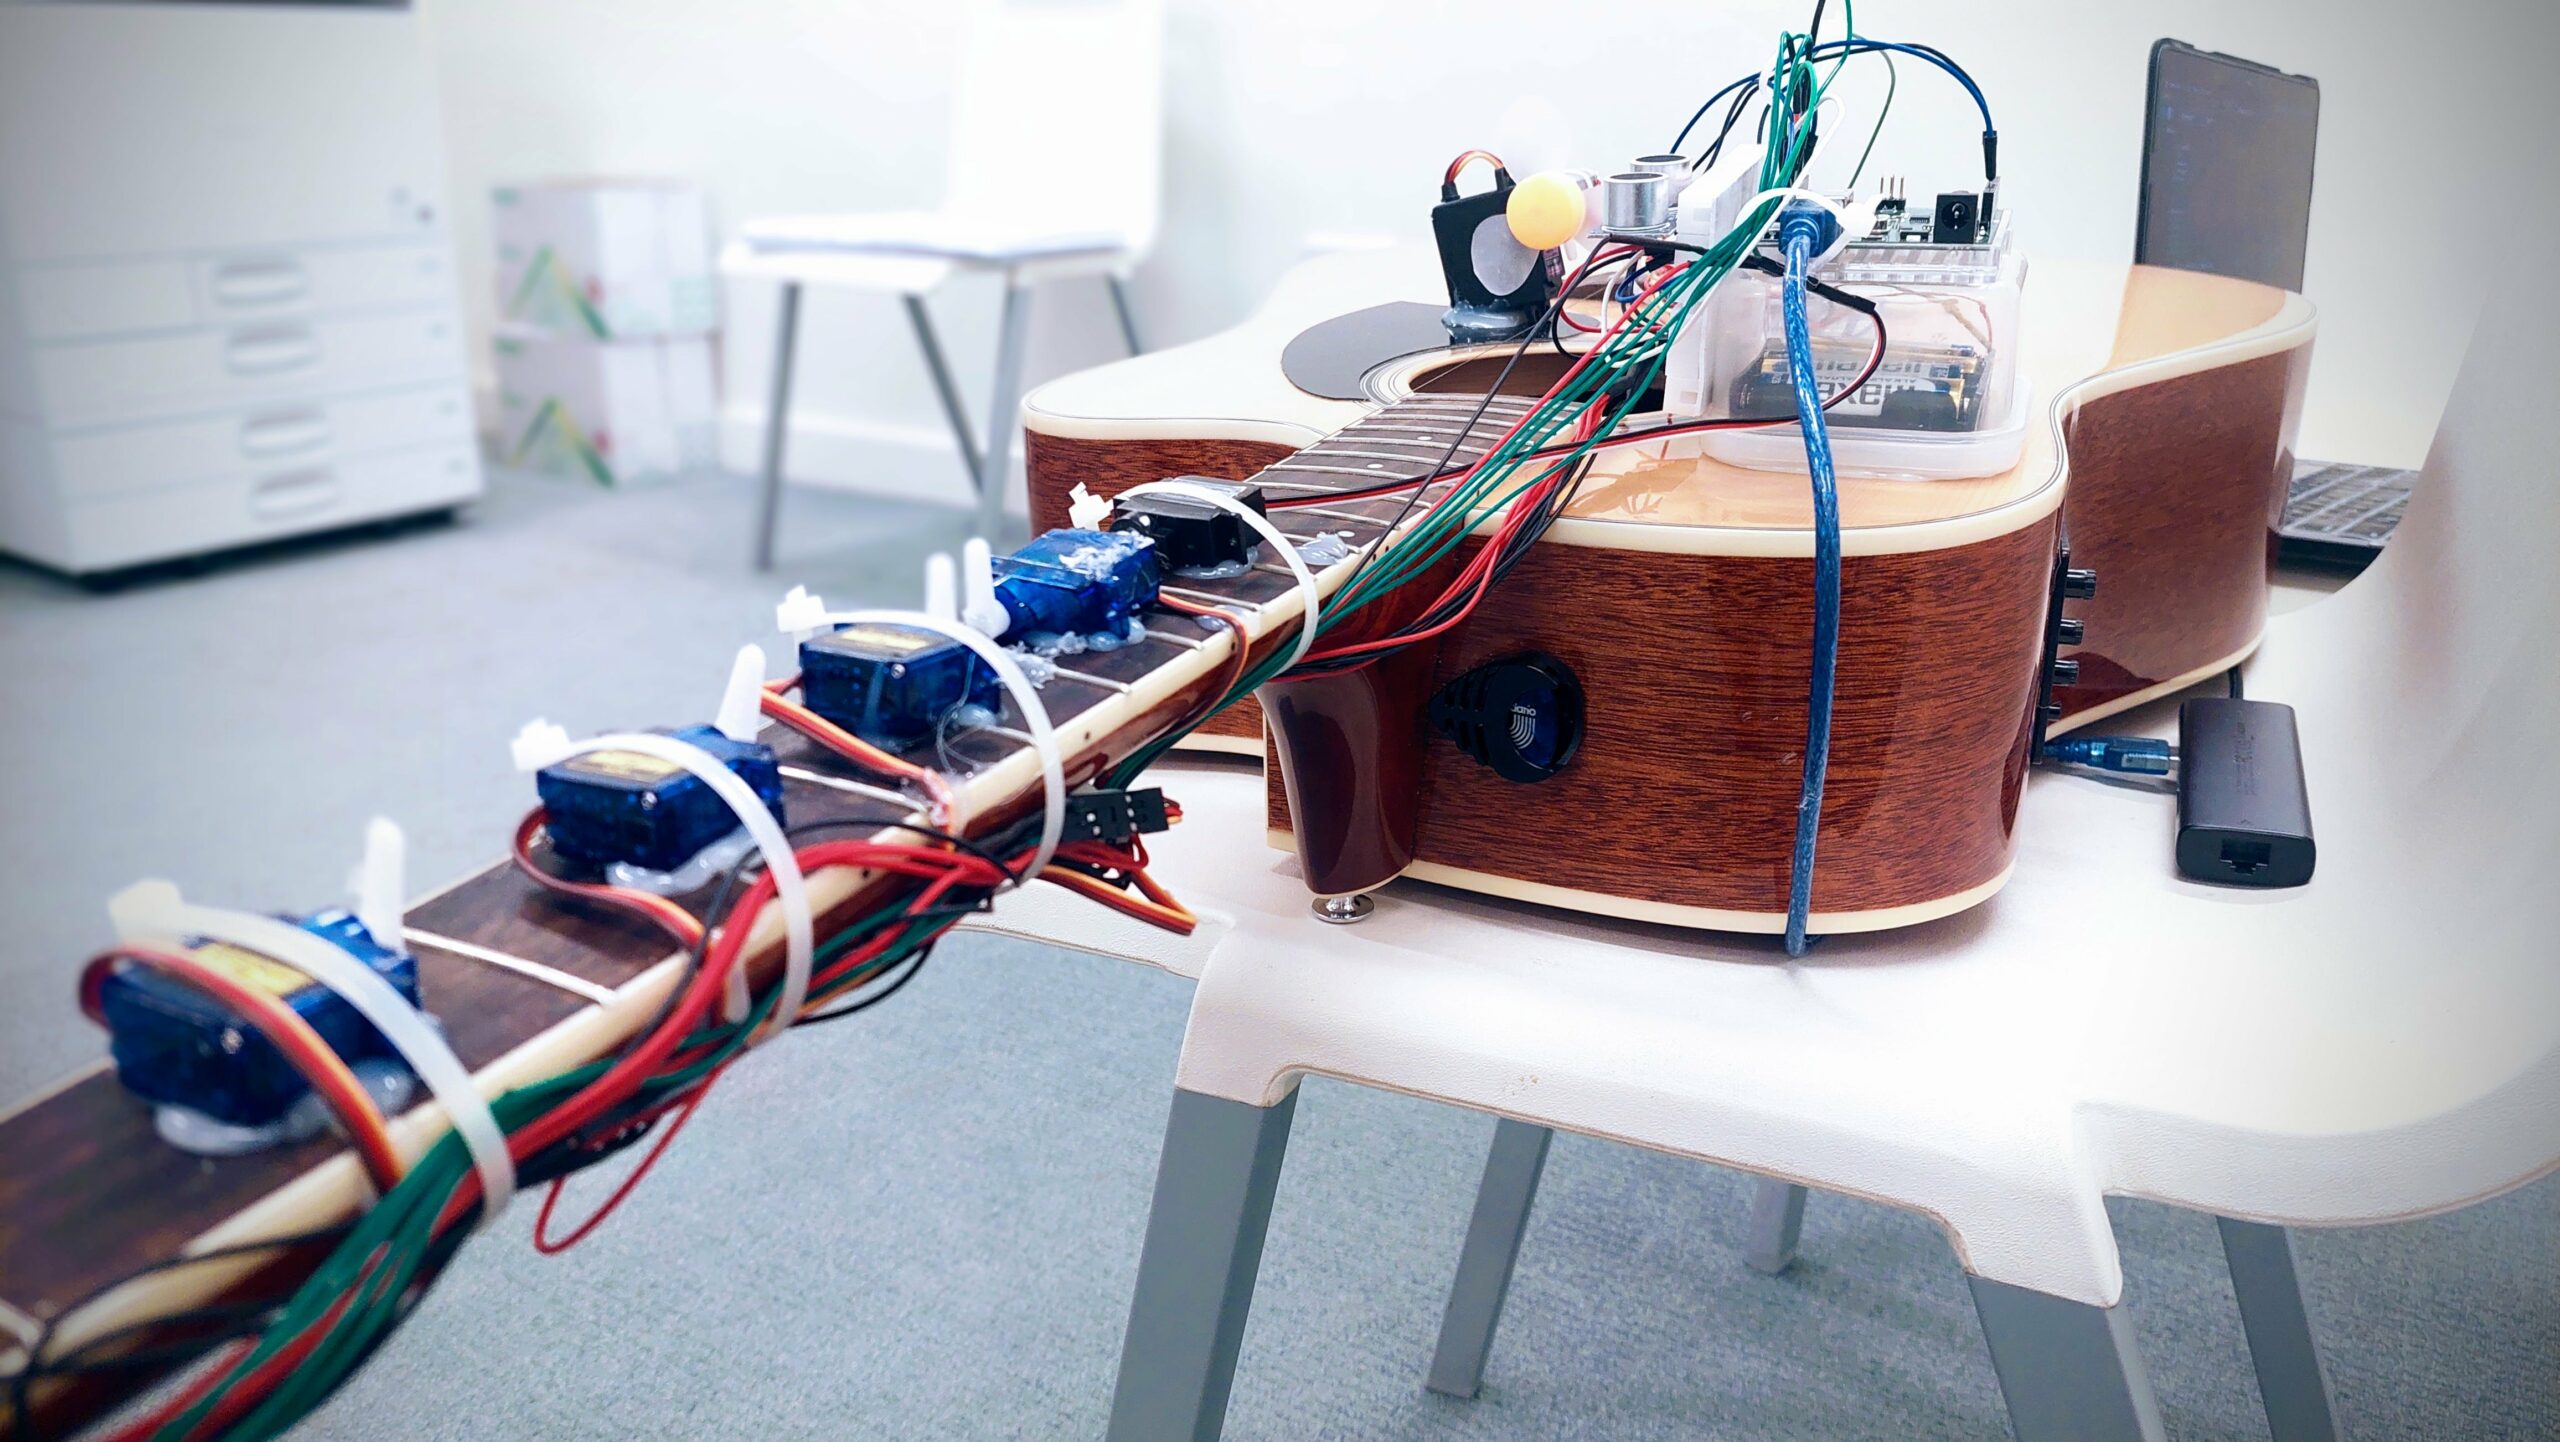
Pi’s moving castle looks like this.

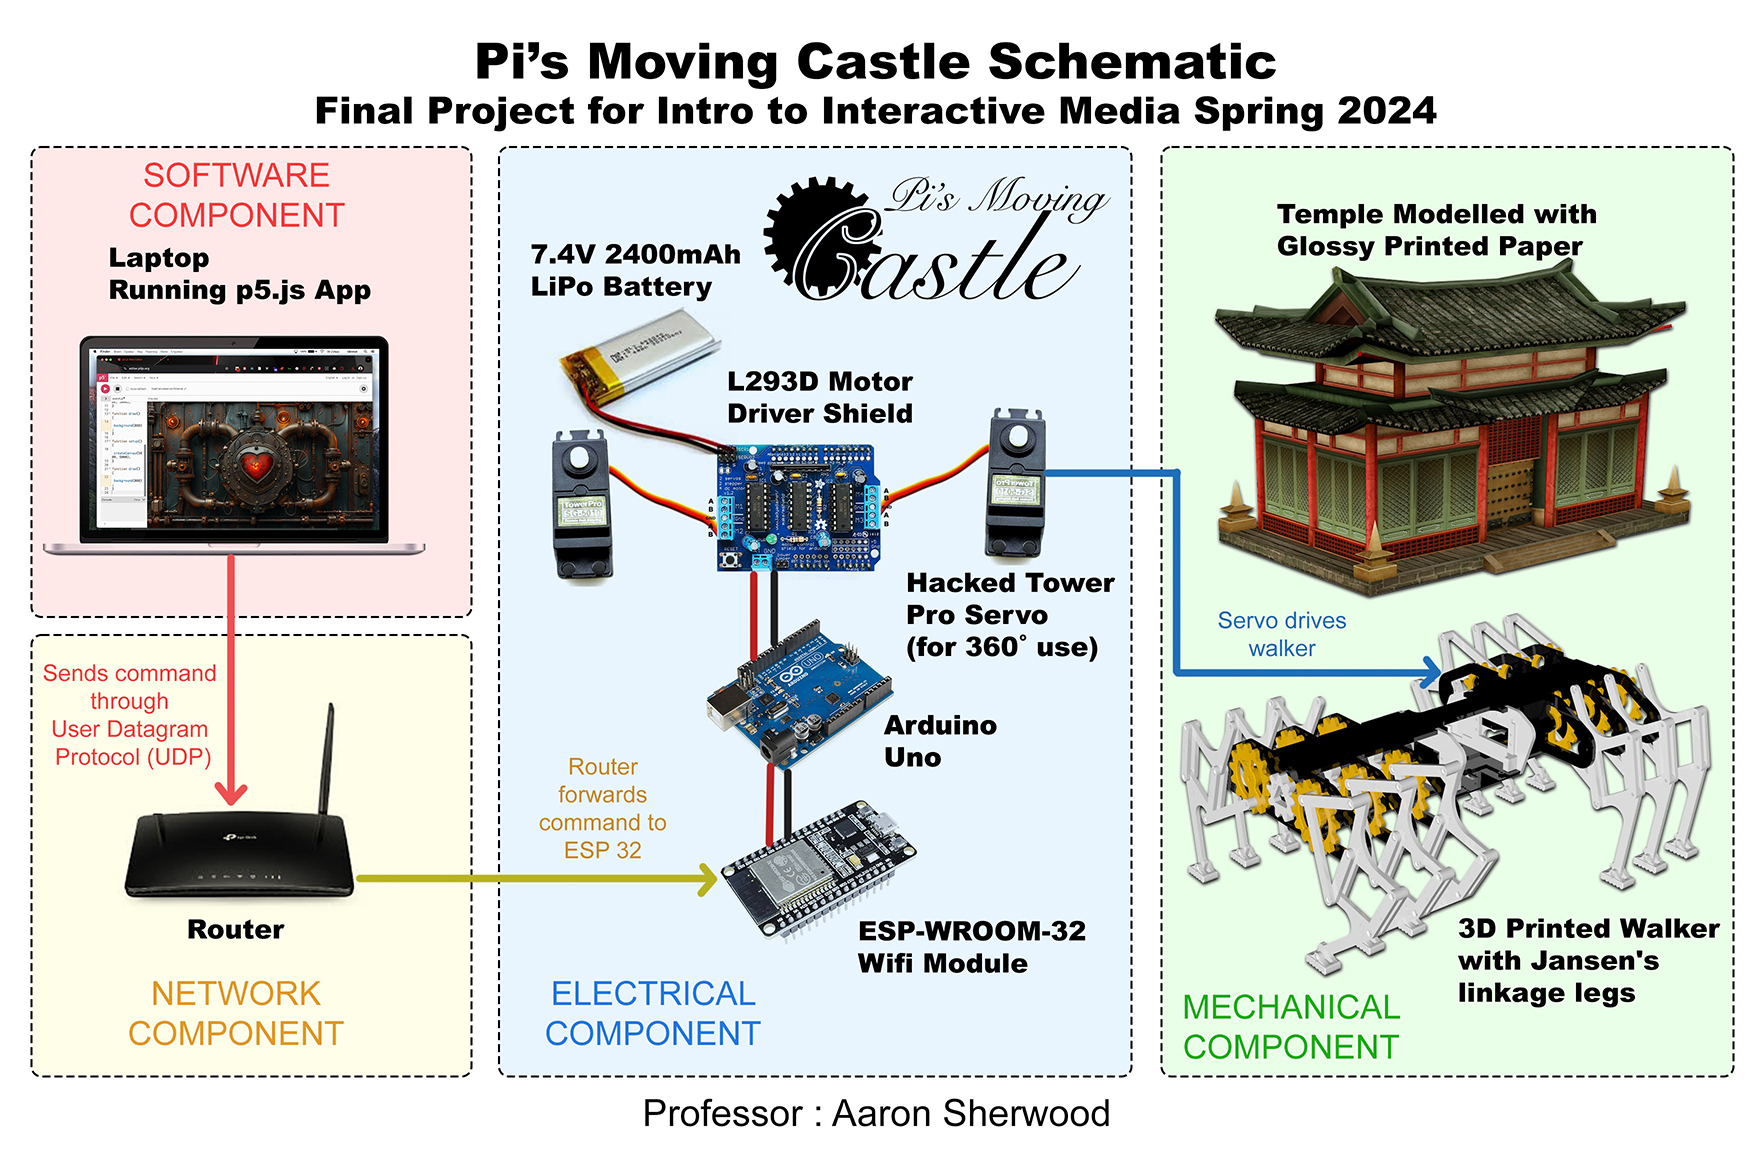
Q: Alright Pi, stop your arty-farty nonsense and tell us how it’s gonna work.
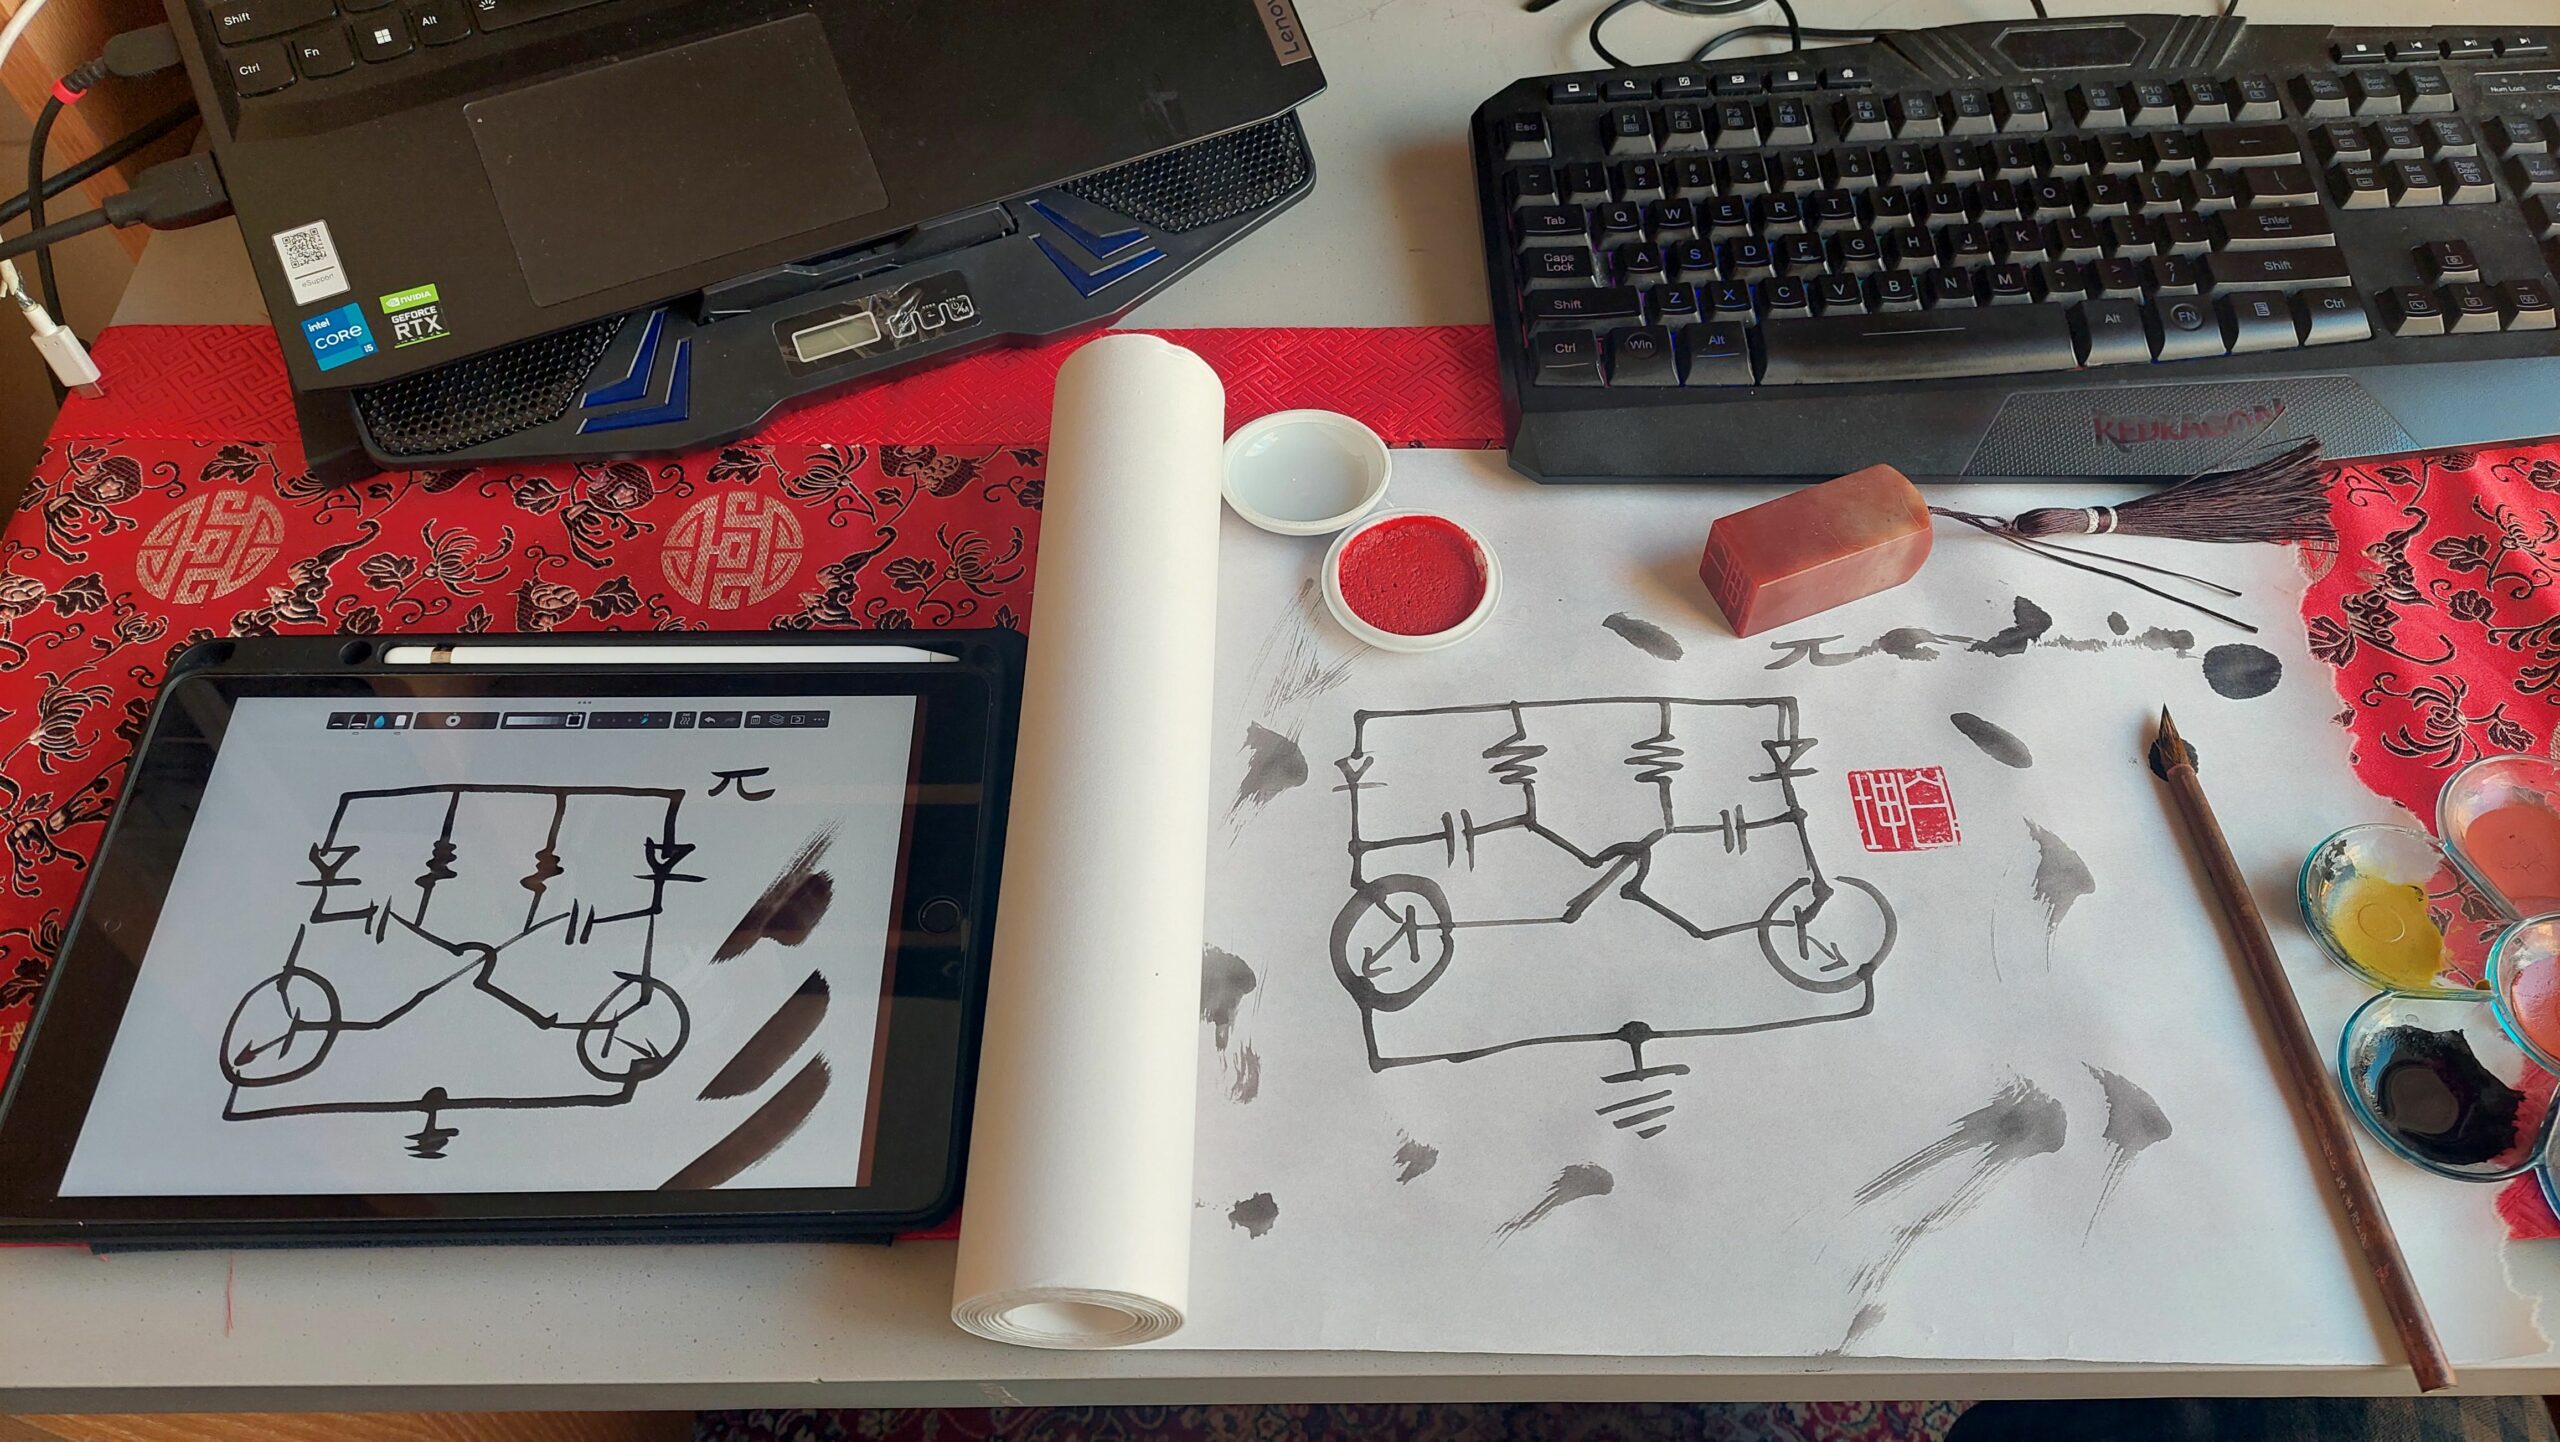
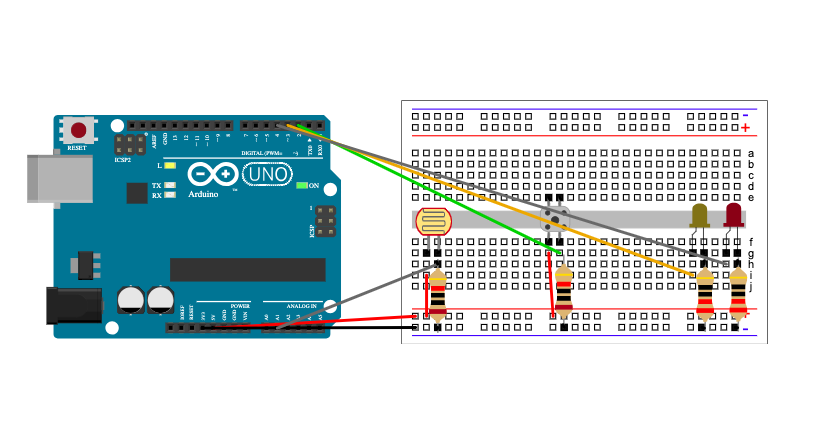
A: Here’s a not so complicated Schematic. The diagram should be self explanatory.
Pi : So, for the base frame, I began by 3D printing the model I stole (I mean… **cough** **cough** legally obtained) from https://cults3d.com/en/3d-model/gadget/strandbeest-arduino-robot-stl-files
Q: Good. How does it fulfill the … umm..err… the good o’d listening, thinking, and speaking from both parties..?
A: Well, here. The feedback loop is closed.

Q: Cool cool, do you think you can implement it on time and get it working before you graduate?
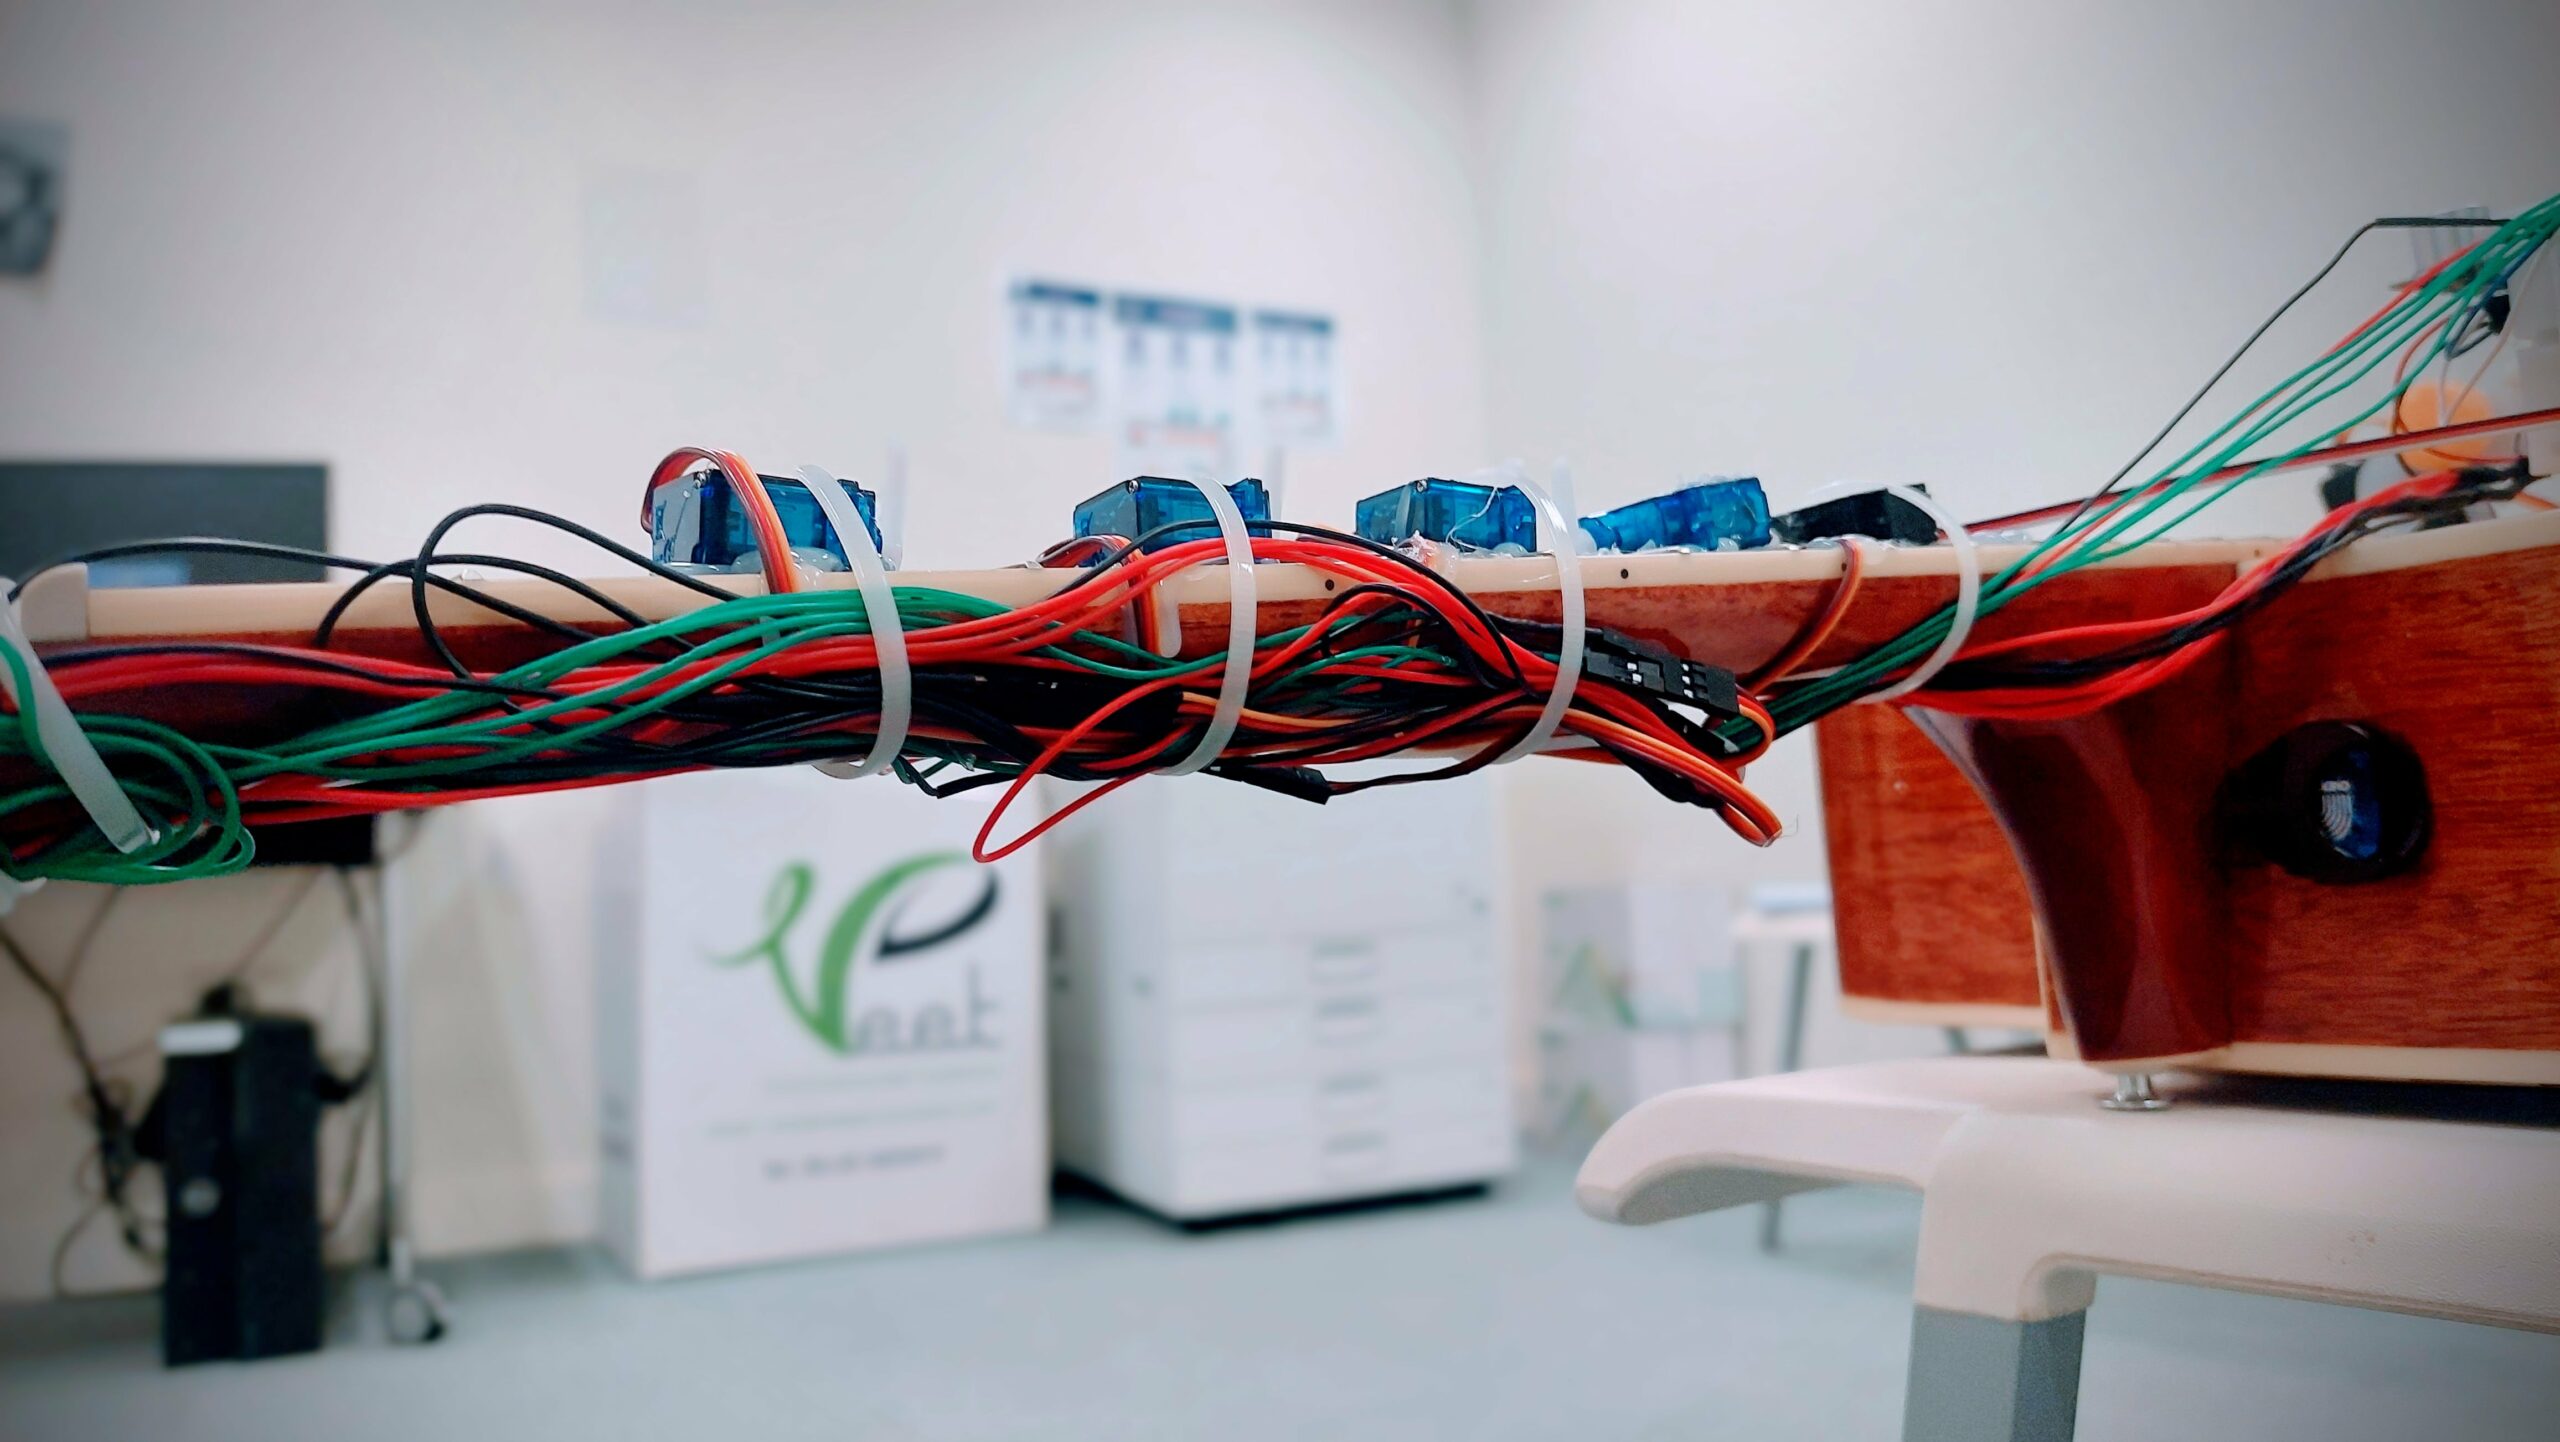
A: Well, this is a preliminary concept so I am only talking about the non-tangible ideas, planning stuff here. But I will let you sneak peak into the actual tangible stuff below.
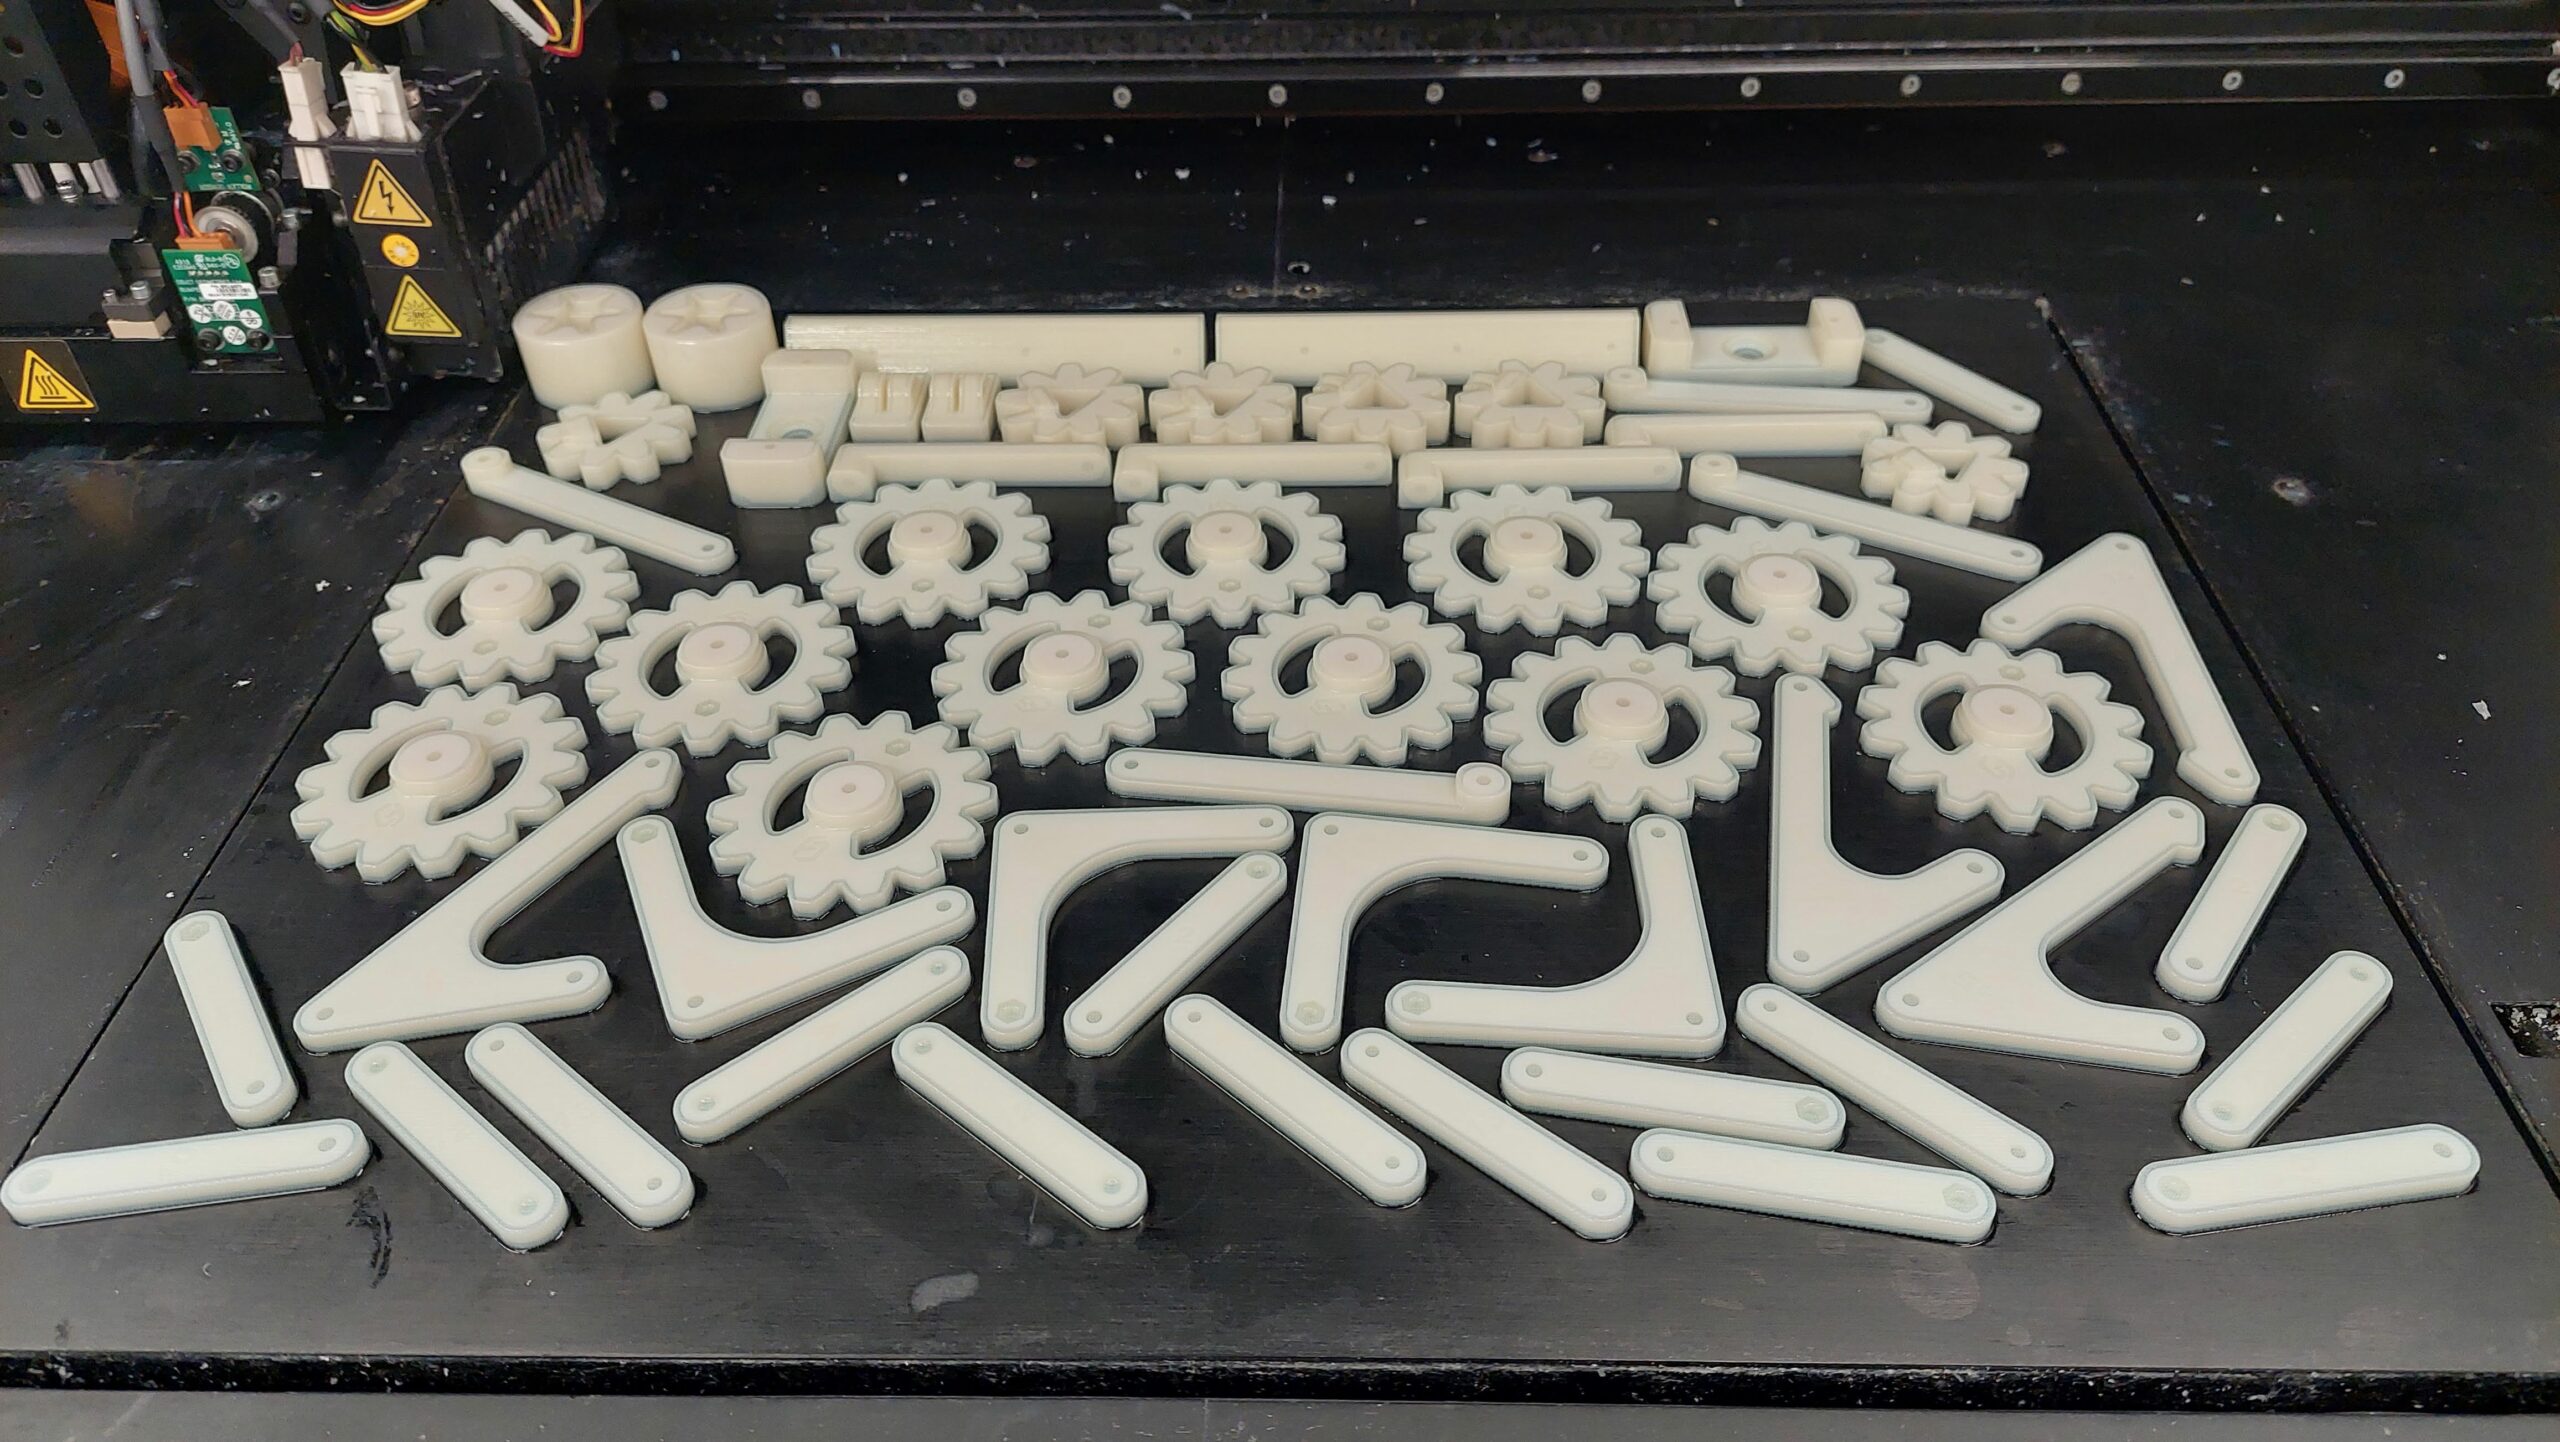
(3D Printed Castle Parts)

(Black Paint to make it… steam punky)
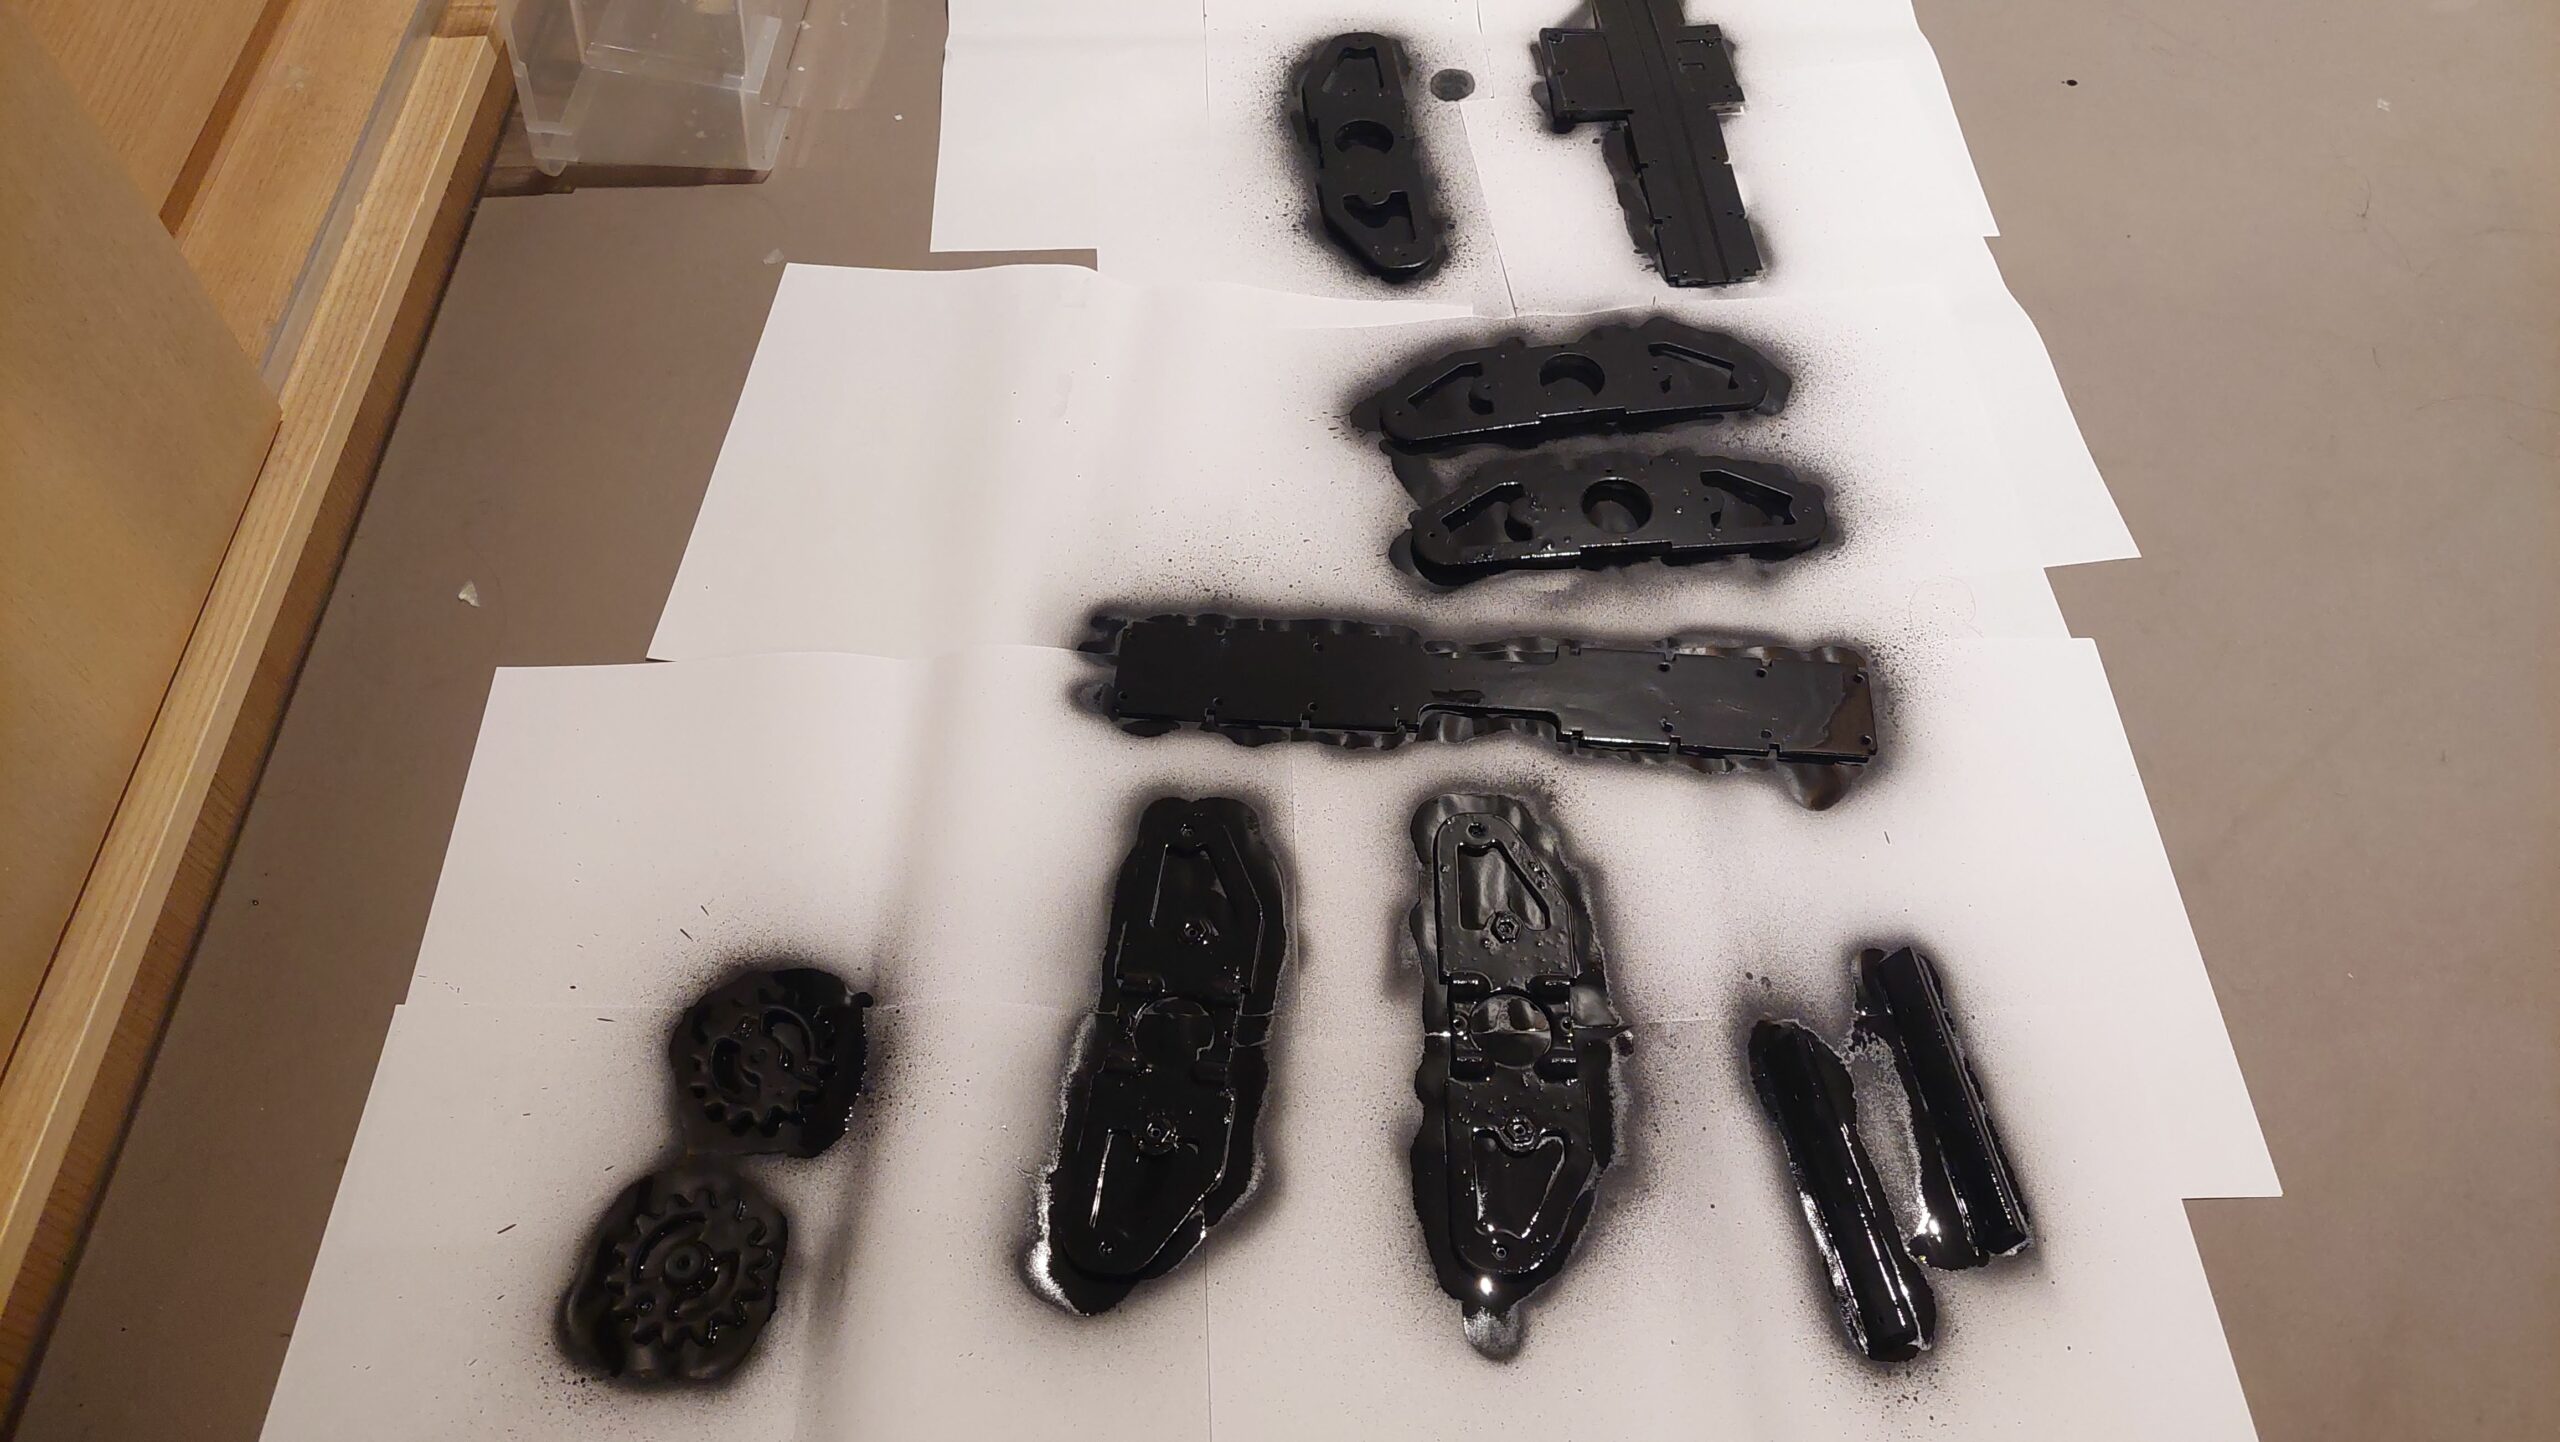
(Steam Punky 3D Printed Castle Parts)
And below is one of the legs and the linkage working.
Q: Great. What if I do not approve this Final Project?
A: Pi will cry.
