Concept
As part of my Mid term project, the idea was to create a game that is similar to the traditional ‘space-ship’ games, combined with the ‘infinite-runner’ game ideology. This would essentially be a canvas, where a rocket starts from the bottom, has freedom to move around, with the background moving, depicting a running environment. The objective would be for the rocket to dodge some meteors falling from the sky, and also to fuel up with cans that become available in intervals.
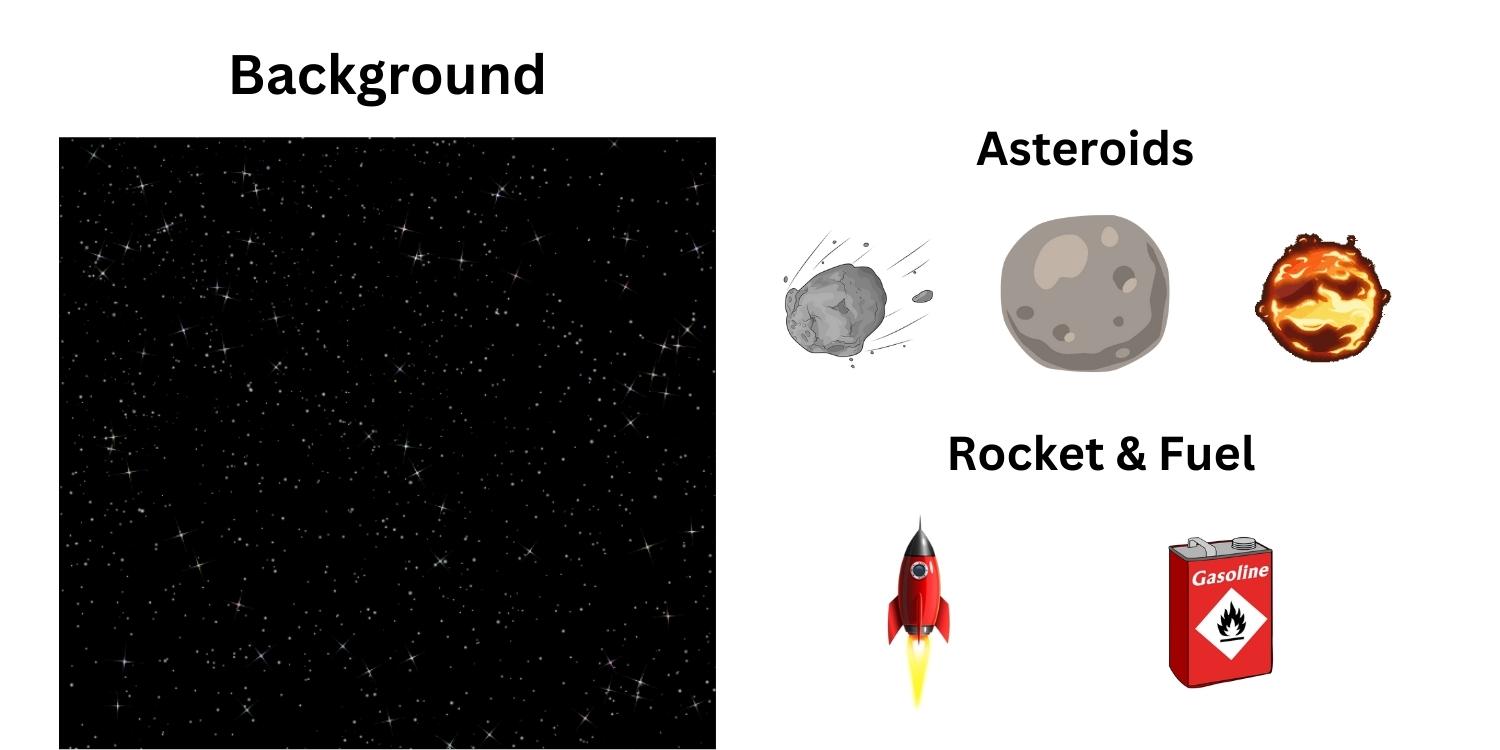
The graphical objects that I used are:
How it functions?
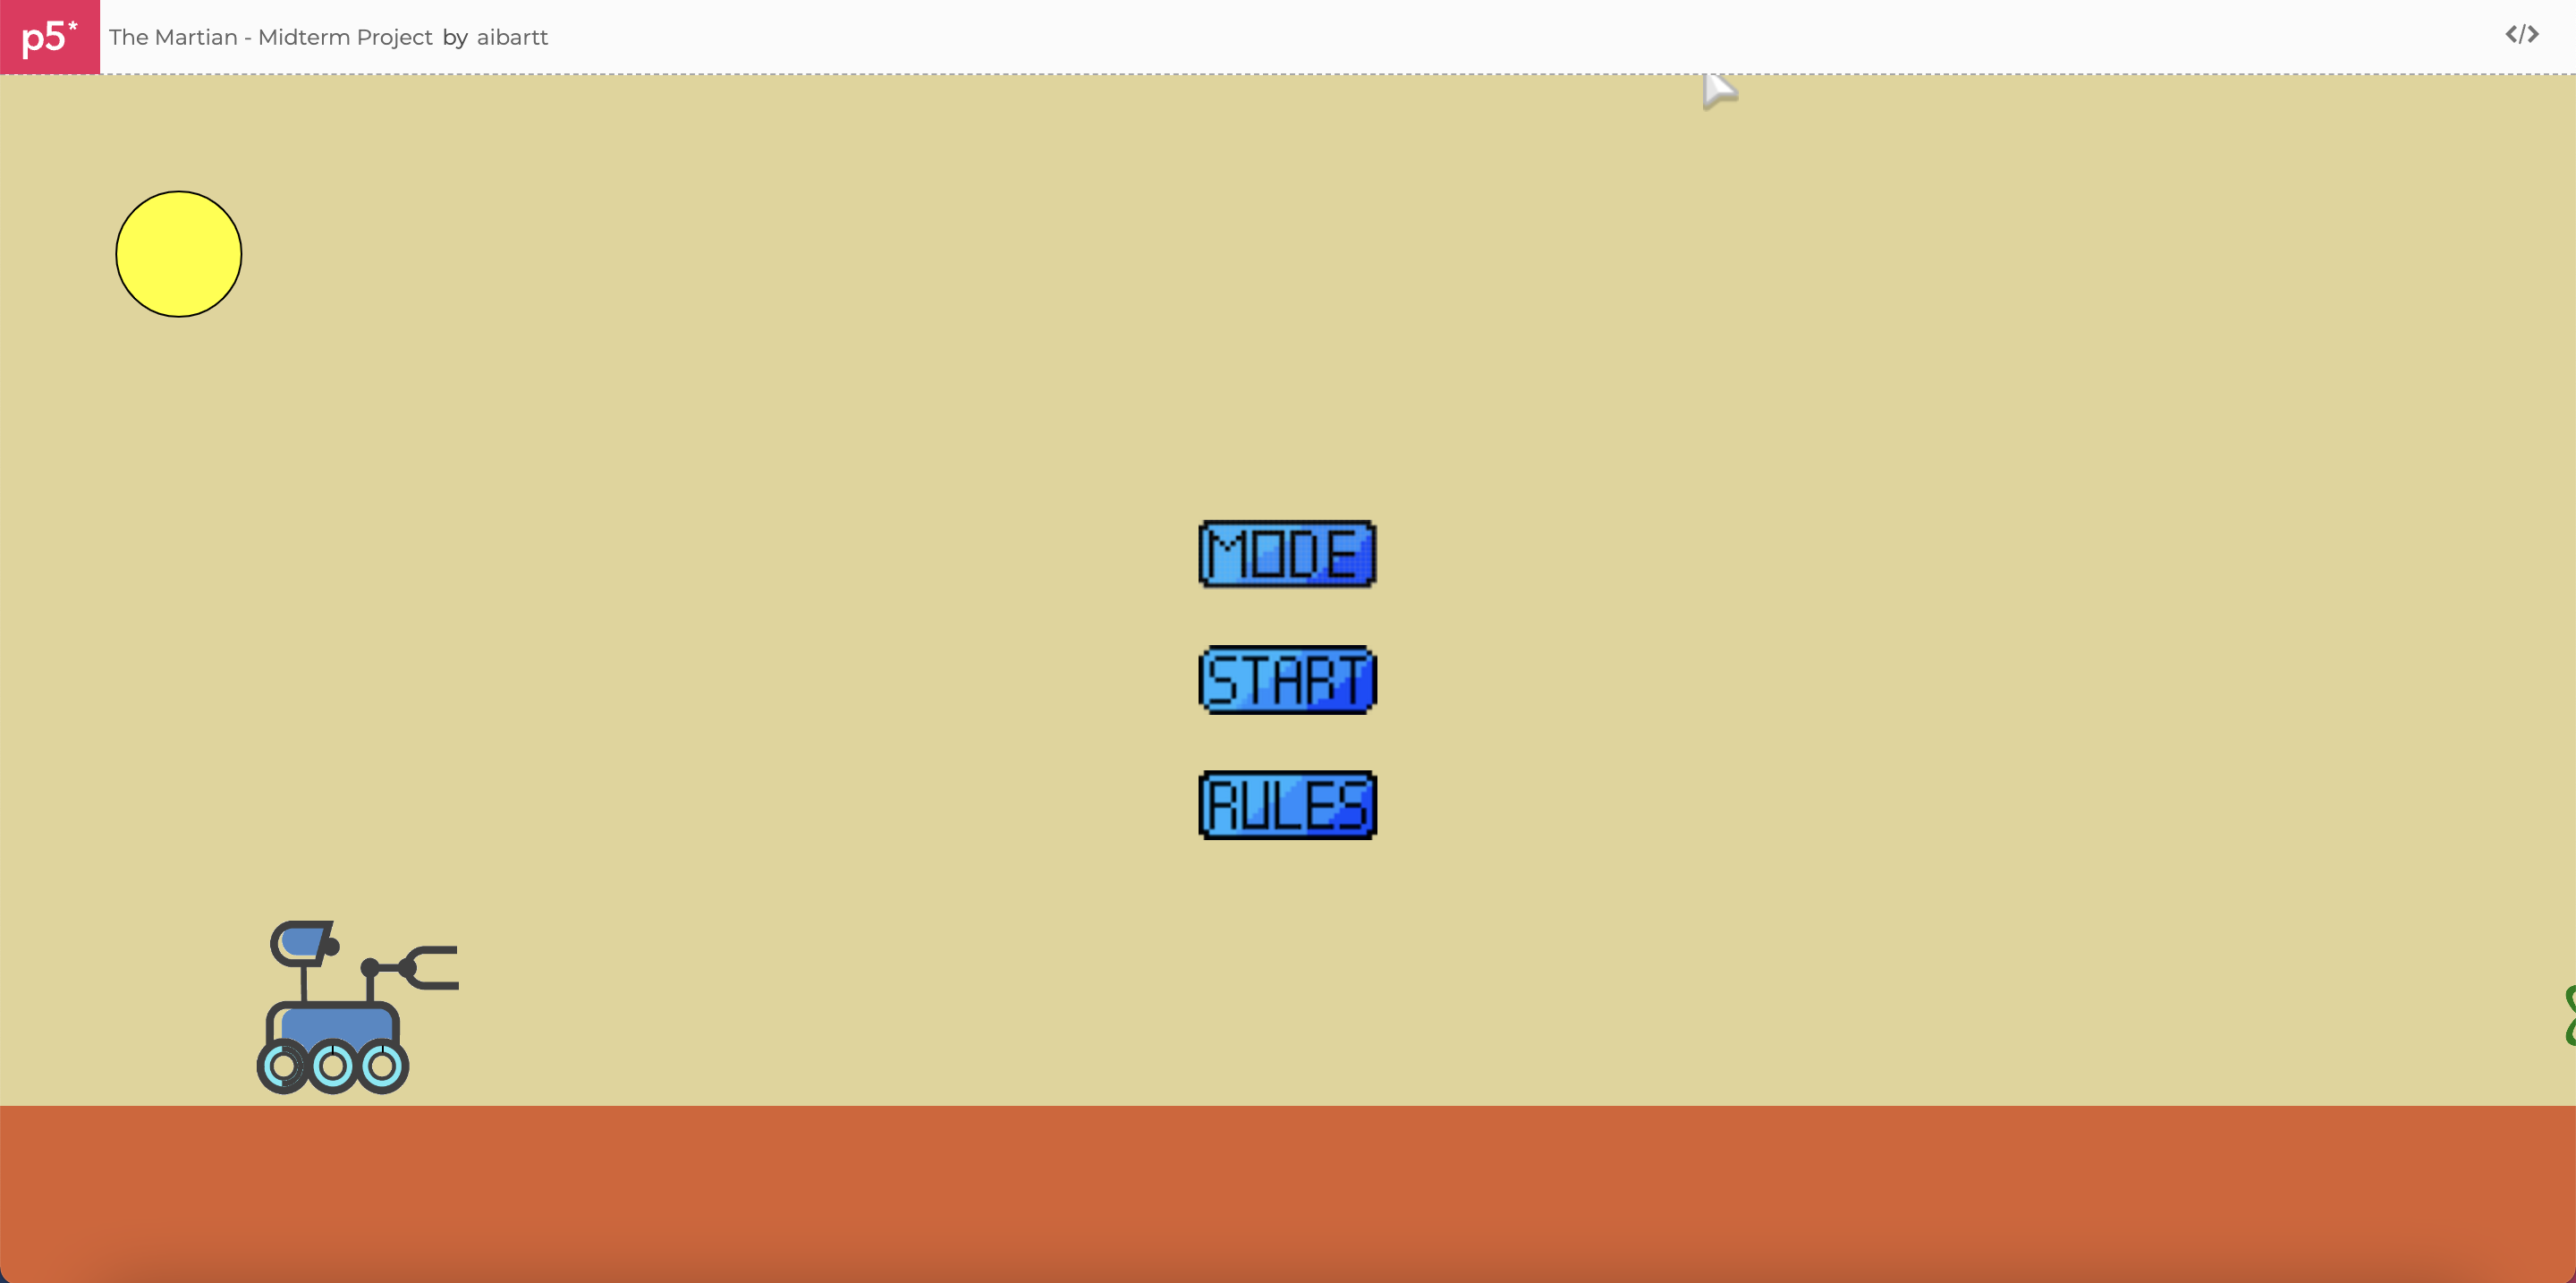
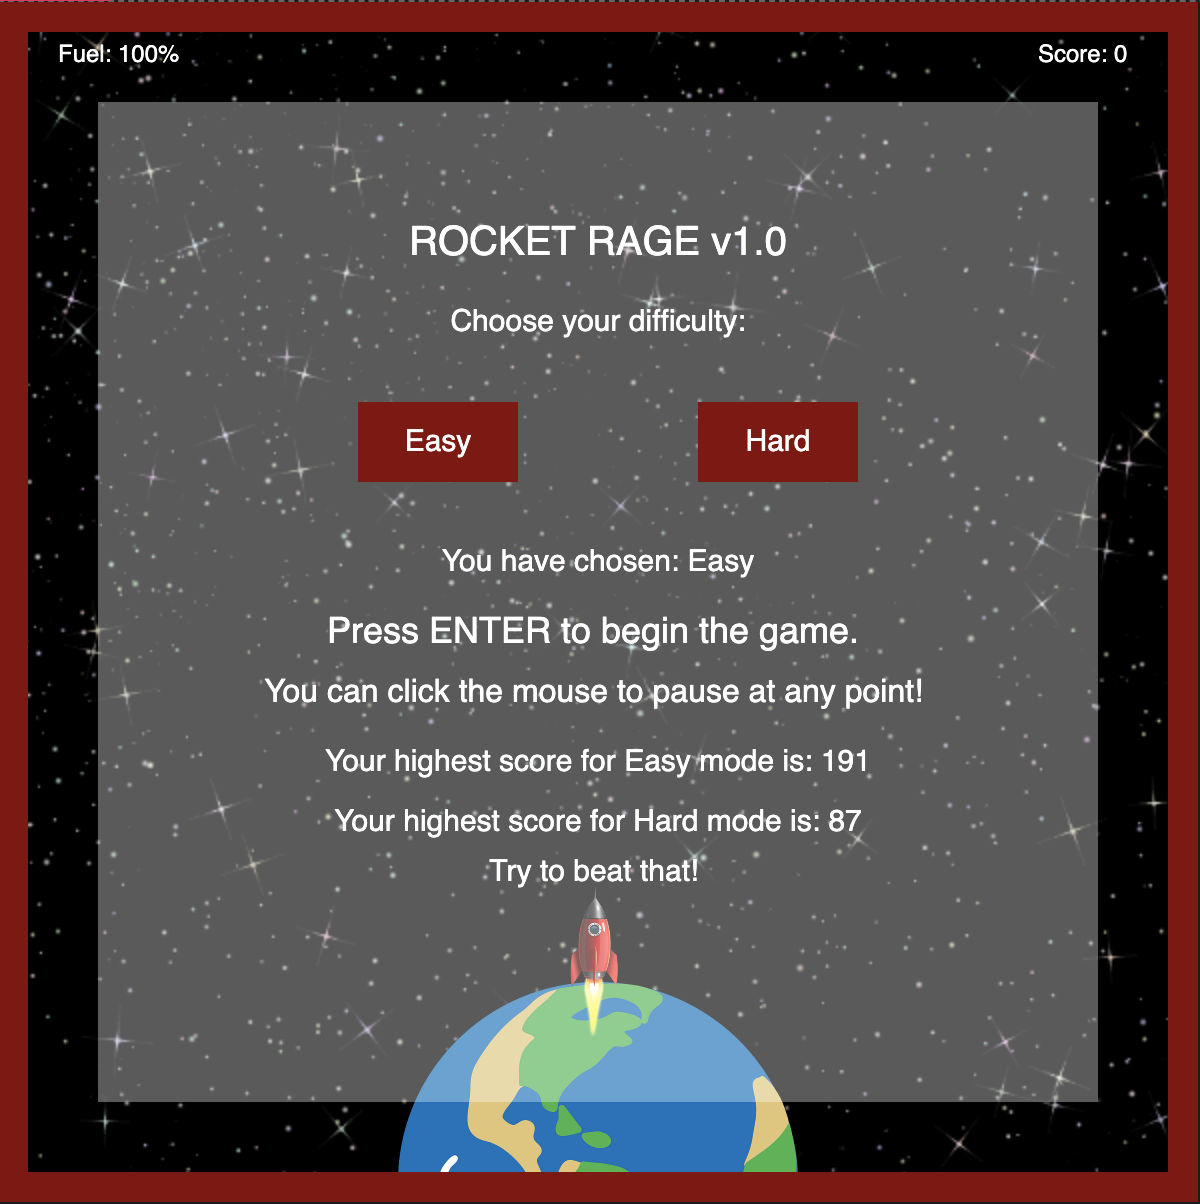
The outcome, from the above mentioned ideology, is a single-player ‘Rocket Rage’ game, which starts off with the a screen to allow a user to choose the difficulty, and also lay out instructions. On top of this, it also keeps track of the Top Score so far (on the local machine), in both difficulty modes!
The following snippet shows how it will look on the canvas:
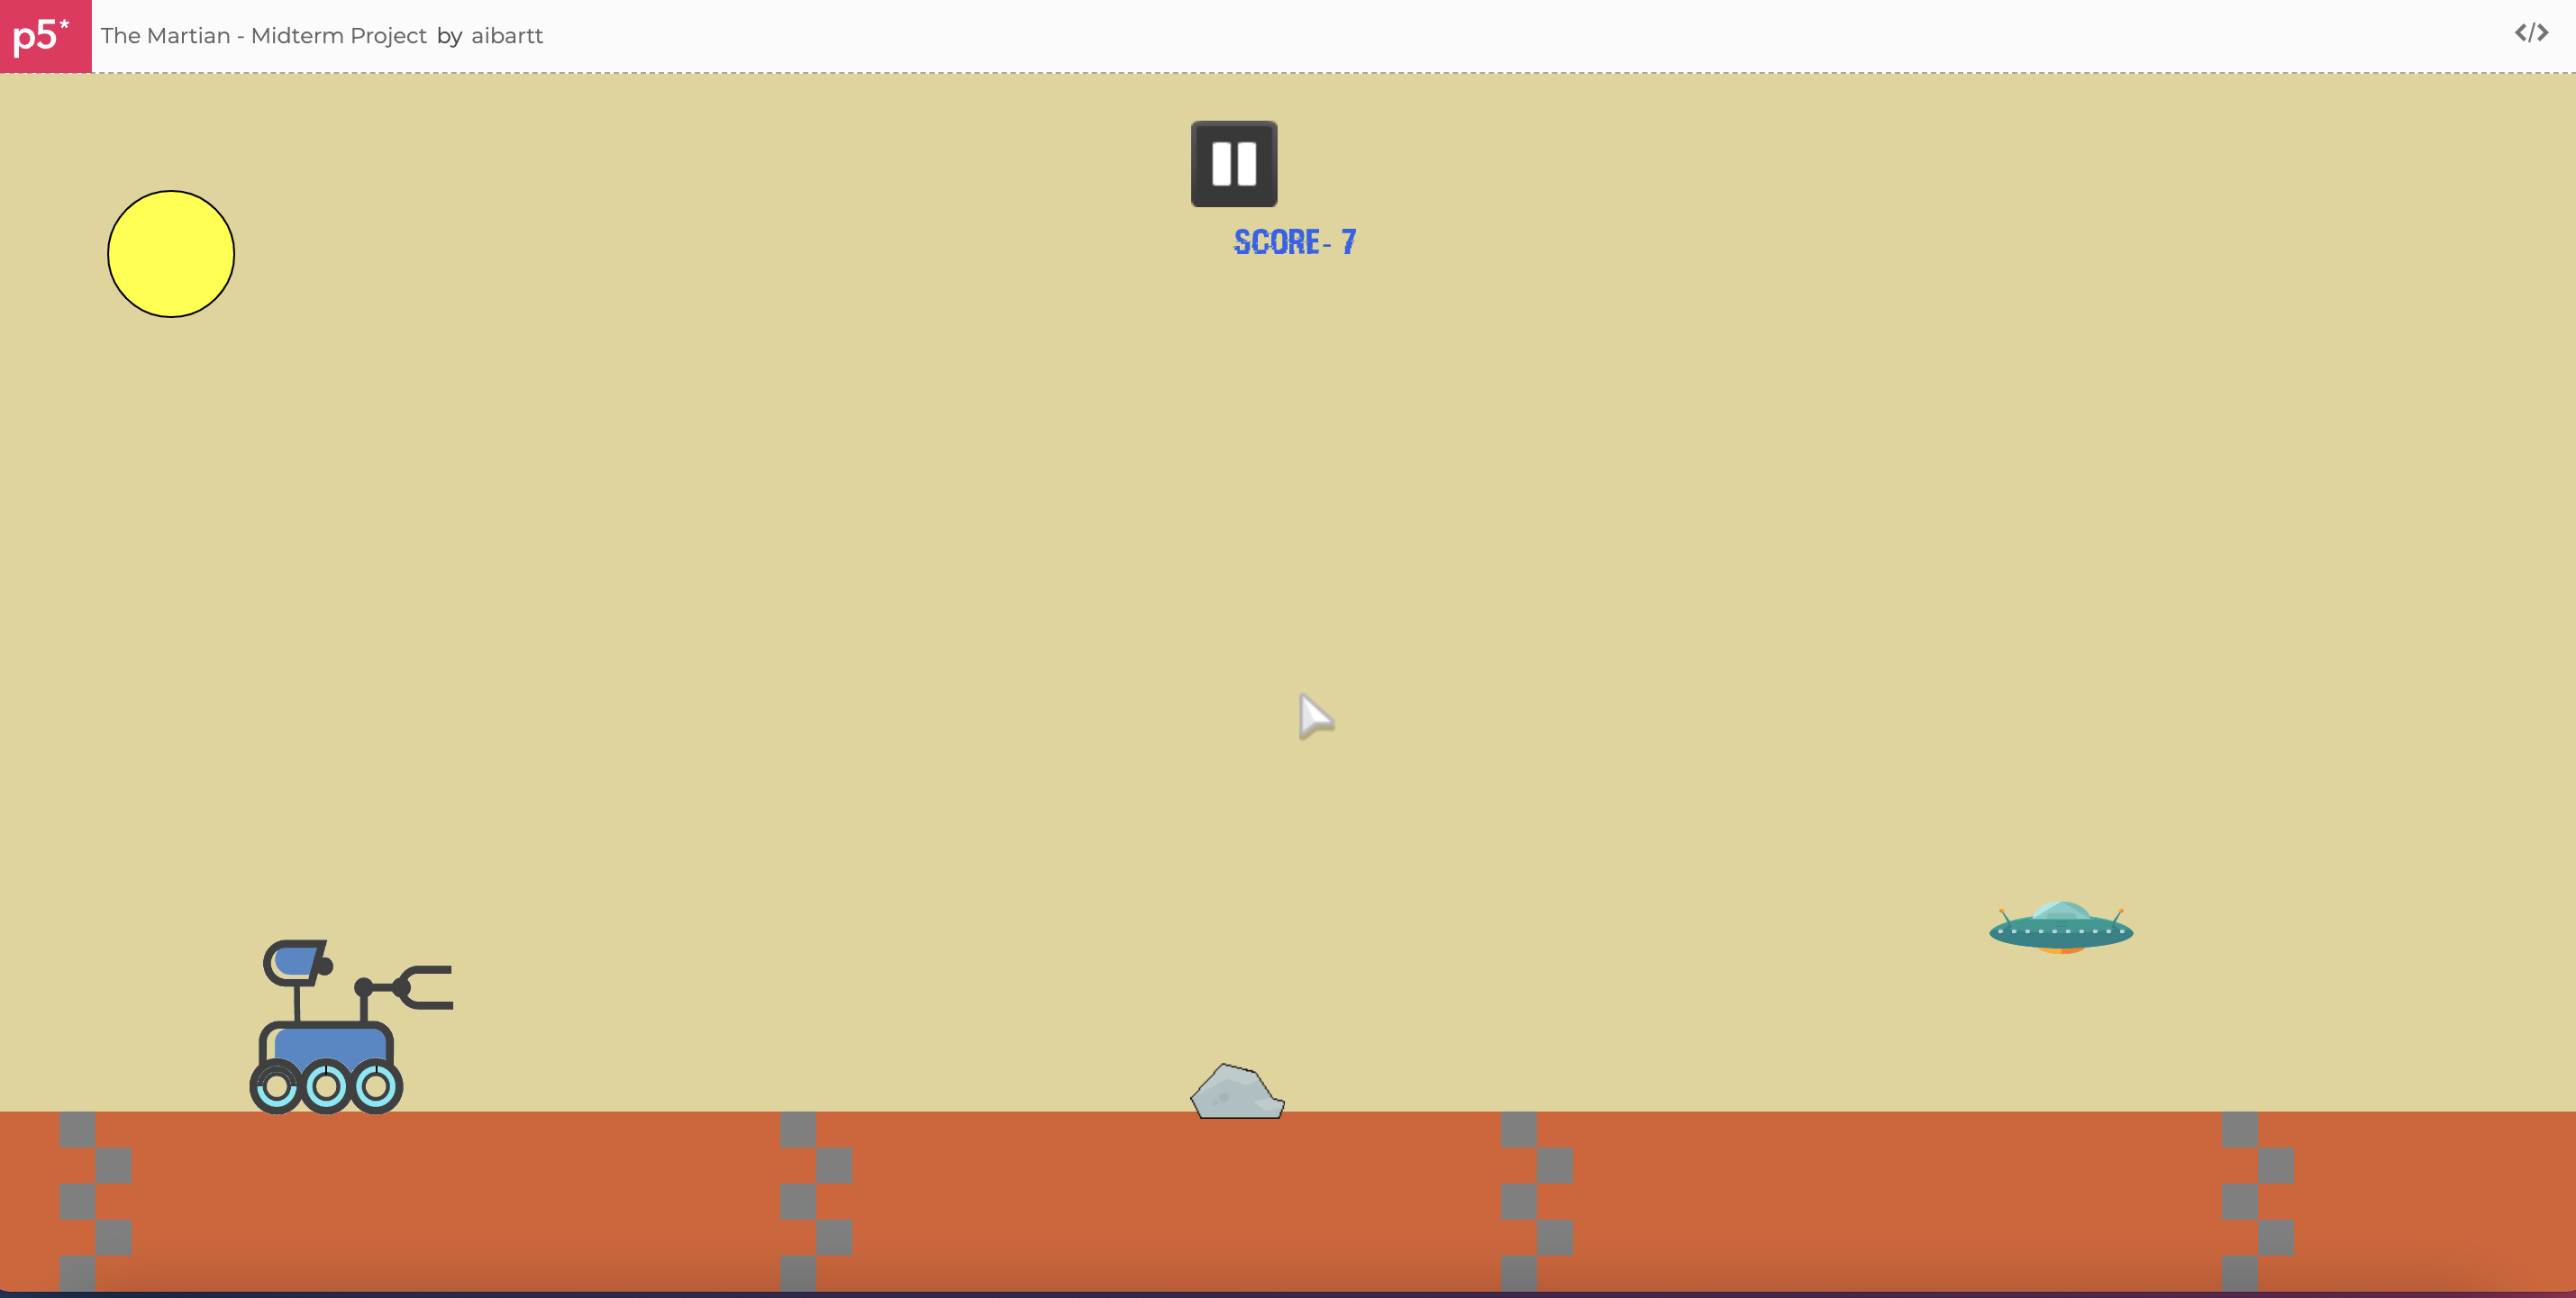
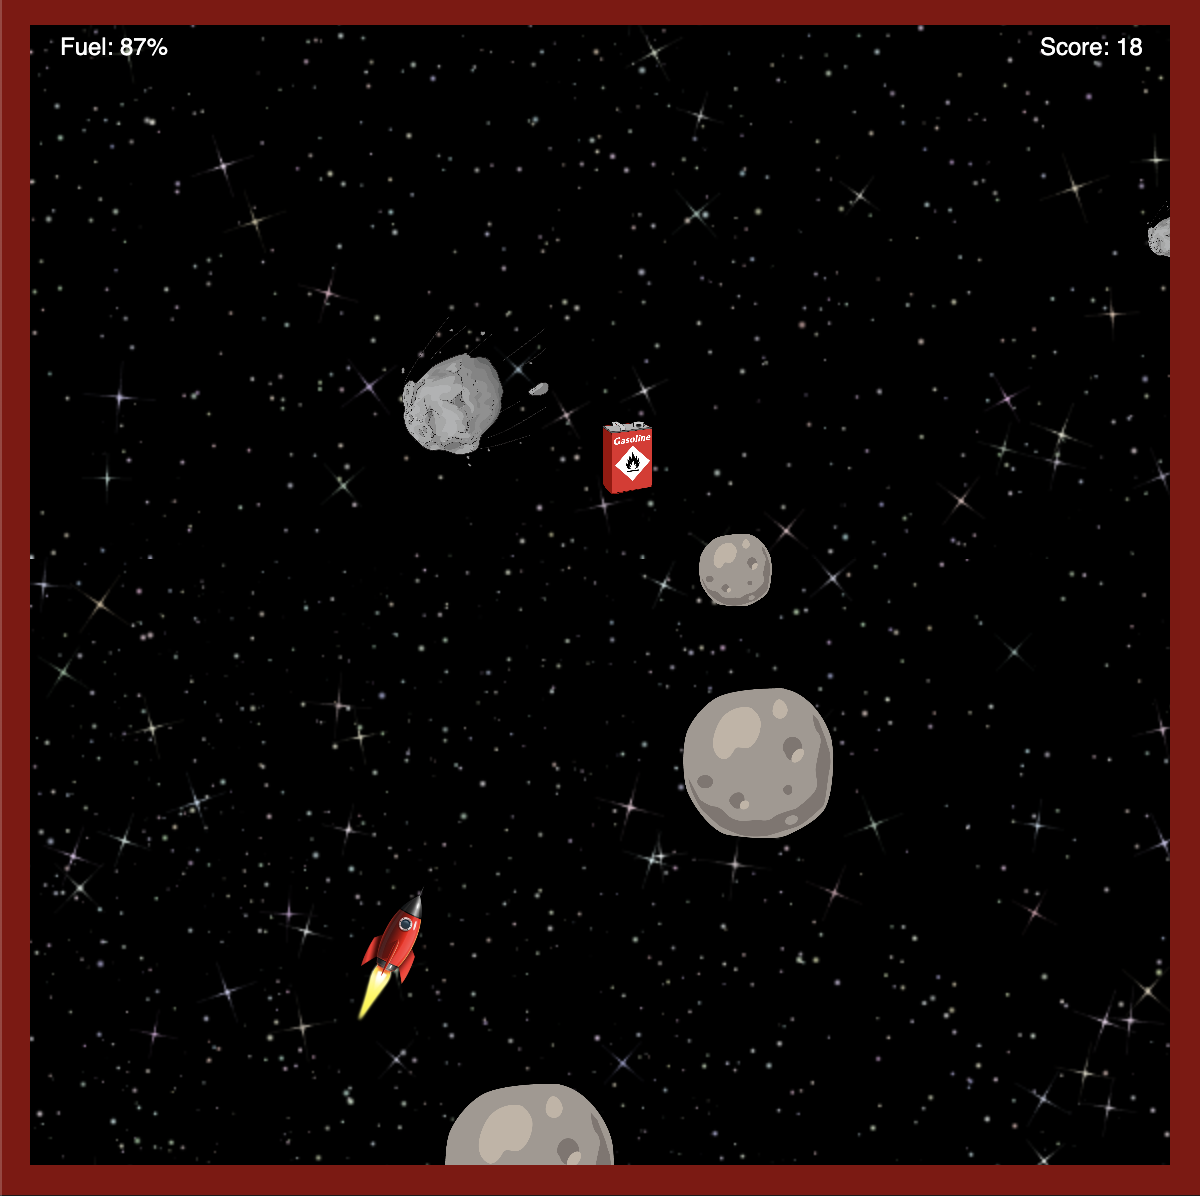
Once the user chooses their difficulty, they are progressed to the next phase where they can control the Rocket. The objective is to dodge everything that comes, except the Fuel. There is a running score, and decreasing fuel with only one chance to go!
How that would look like can be seen as follows:
Embedded Sketch:
The p5js final sketch is as follows:
Link to Sketch: https://editor.p5js.org/mzv205/full/ZaD5RILaw
Challenges:
Something I really am proud of are the usage of the rotational ability of moving the rocket at angles, it was particularly challenging to figure out the logic for this. Moreover, I also learnt the usage of local storage, so that was another challenge initially.
Moreover, the appropriate usage and updating of boolean state variables was very challenging to keep track of. Pausing with the mouse click, and making sure the game has started for it to be paused. There were state variables used even for the first Menu Screen as well. This was something that I found to be a hassle to deal with!
Code Snippets:
For Rotating the Rocket:
// ROTATING THE ROCKET
// store the current drawing matrix
push()
// move the origin to where the rocket is
translate(rocketX, rocketY);
// rotate using our angle variable
rotate(radians(angle) )
imageMode(CENTER)
image(rocket,0, 0, 80, 75.6)
// restore the previous drawing matrix
pop()
Code for the Asteroids class:
class Asteroid {

  constructor(){
    // Assigning random position and speed to the asteroid
    this.x = random(60,590);
    this.speed = random(2,5)
    this.size = random(30,90);
    this.y = 5+ this.size/2;
    // Assigning random image to the asteroid
    this.pic = random([asteroid_1, asteroid_2, fireball_1])
    fill(255);
  }

  display(){
    // Displaying the asteroid
    imageMode(CENTER);
    image(this.pic, this.x, this.y, this.size, this.size);
    imageMode(CORNER);

    // Setting the boundaries of each Asteroid

    this.Top = this.y-this.size/2
    this.Bottom = this.y+this.size/2
    this.Right = this.x+this.size/2
    this.Left = this.x-this.size/2+5

    if(this.pic == asteroid_2){
      this.Top = this.y-this.size/3+15
      this.Bottom = this.y+this.size/3
      this.Right = this.x+this.size/3
      this.Left = this.x-this.size/2
    }


    if(this.pic == fireball_1){
      this.Top = this.y-this.size/3+15
      this.Bottom = this.y+this.size/3
      this.Right = this.x+this.size/3-5
      this.Left = this.x-this.size/3+5
    }
  }

  move(){
    // Moving thr asteroid
    this.y += this.speed;
  }

  collision(){
    // Detecting if no collision between rocket and asteroid
    if ((rocketTop > this.Bottom || rocketLeft > this.Right || rocketRight < this.Left || rocketBottom < this.Top)){
      collision = false;
    }
    else{
      // Otherwise ending the game
      resetVariables();
    }
  }

}
Areas of Improvement:
I think something that can be improved is having the ability to unlock more levels, or even choose different rockets. Having done the minimum viable product for the game, I tried to build on the functionality of choosing the rocket and it seemed to be breaking the other state variables. Therefore, I think planning out the different states of the games and then coding accordingly is something I can take away from this!


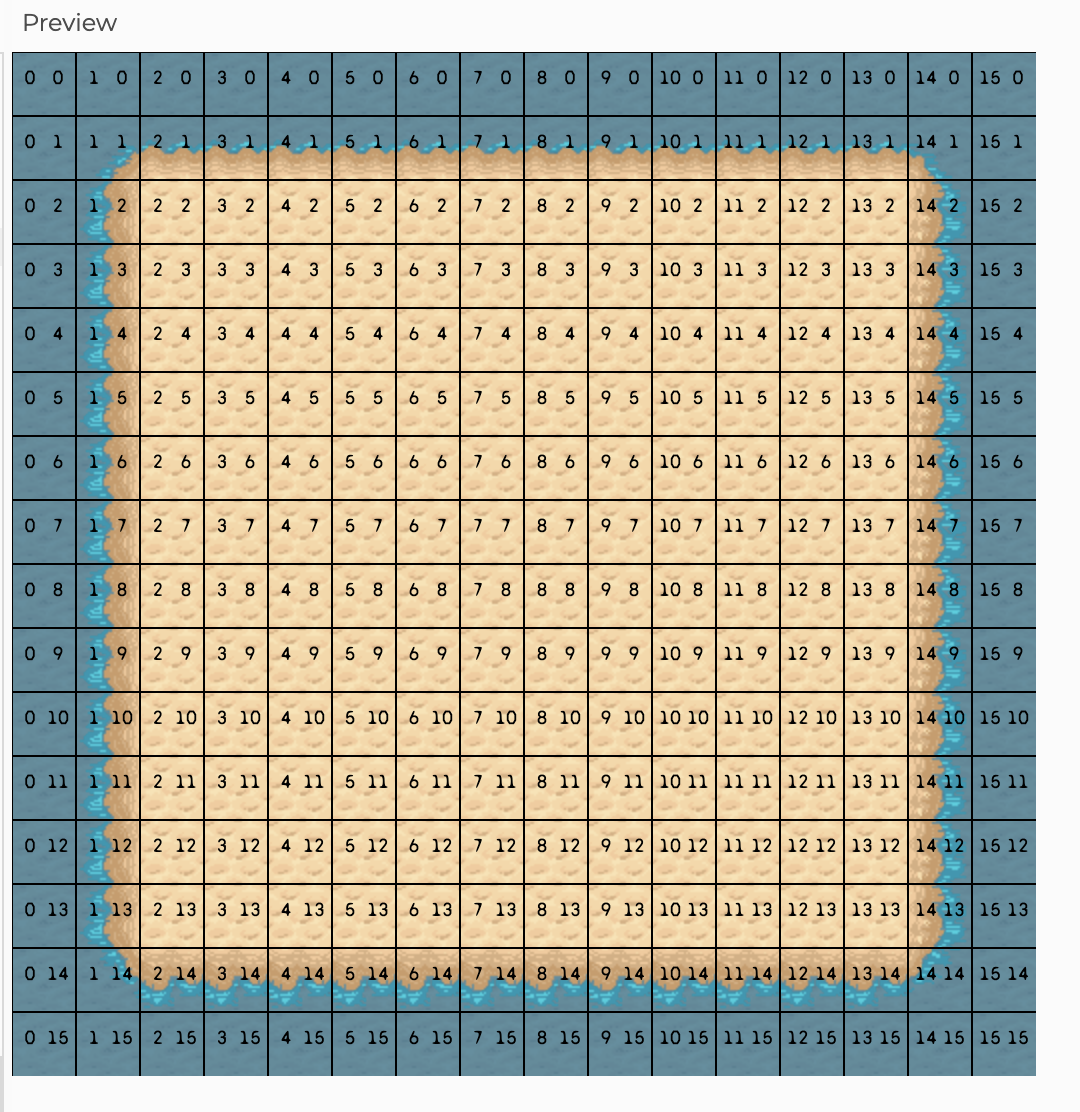 Background Terrain with the grid