Concept Description
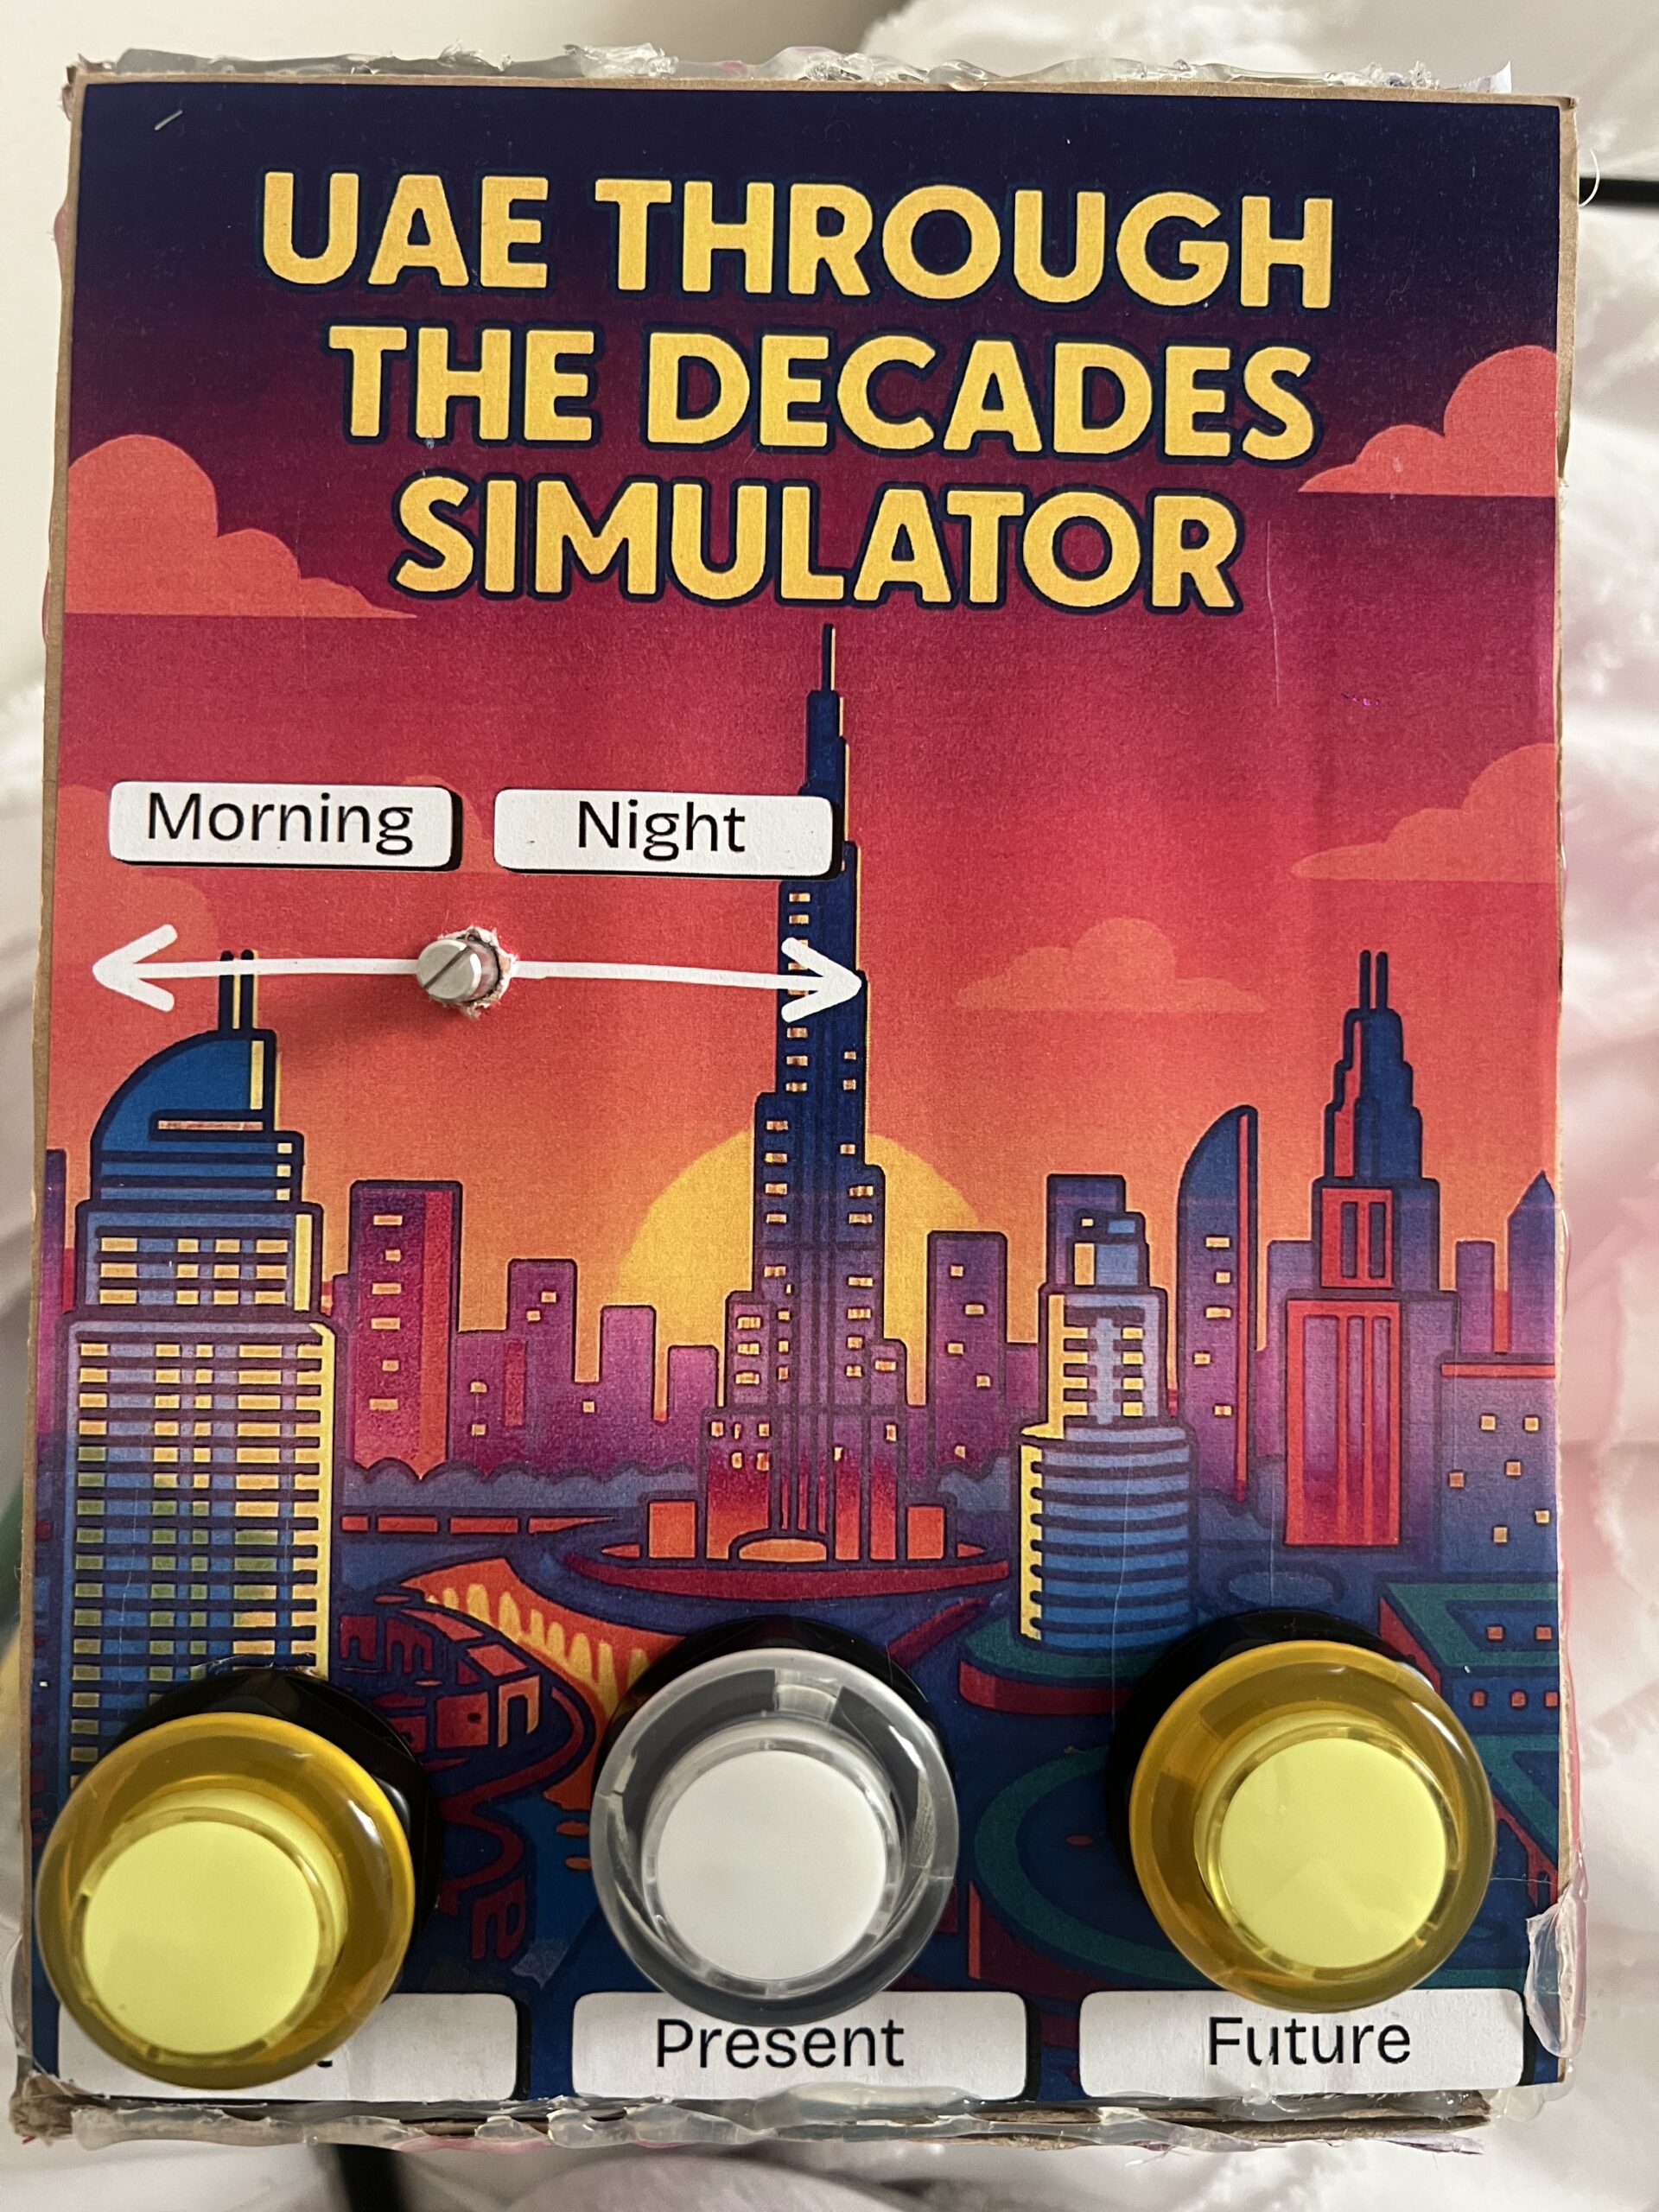
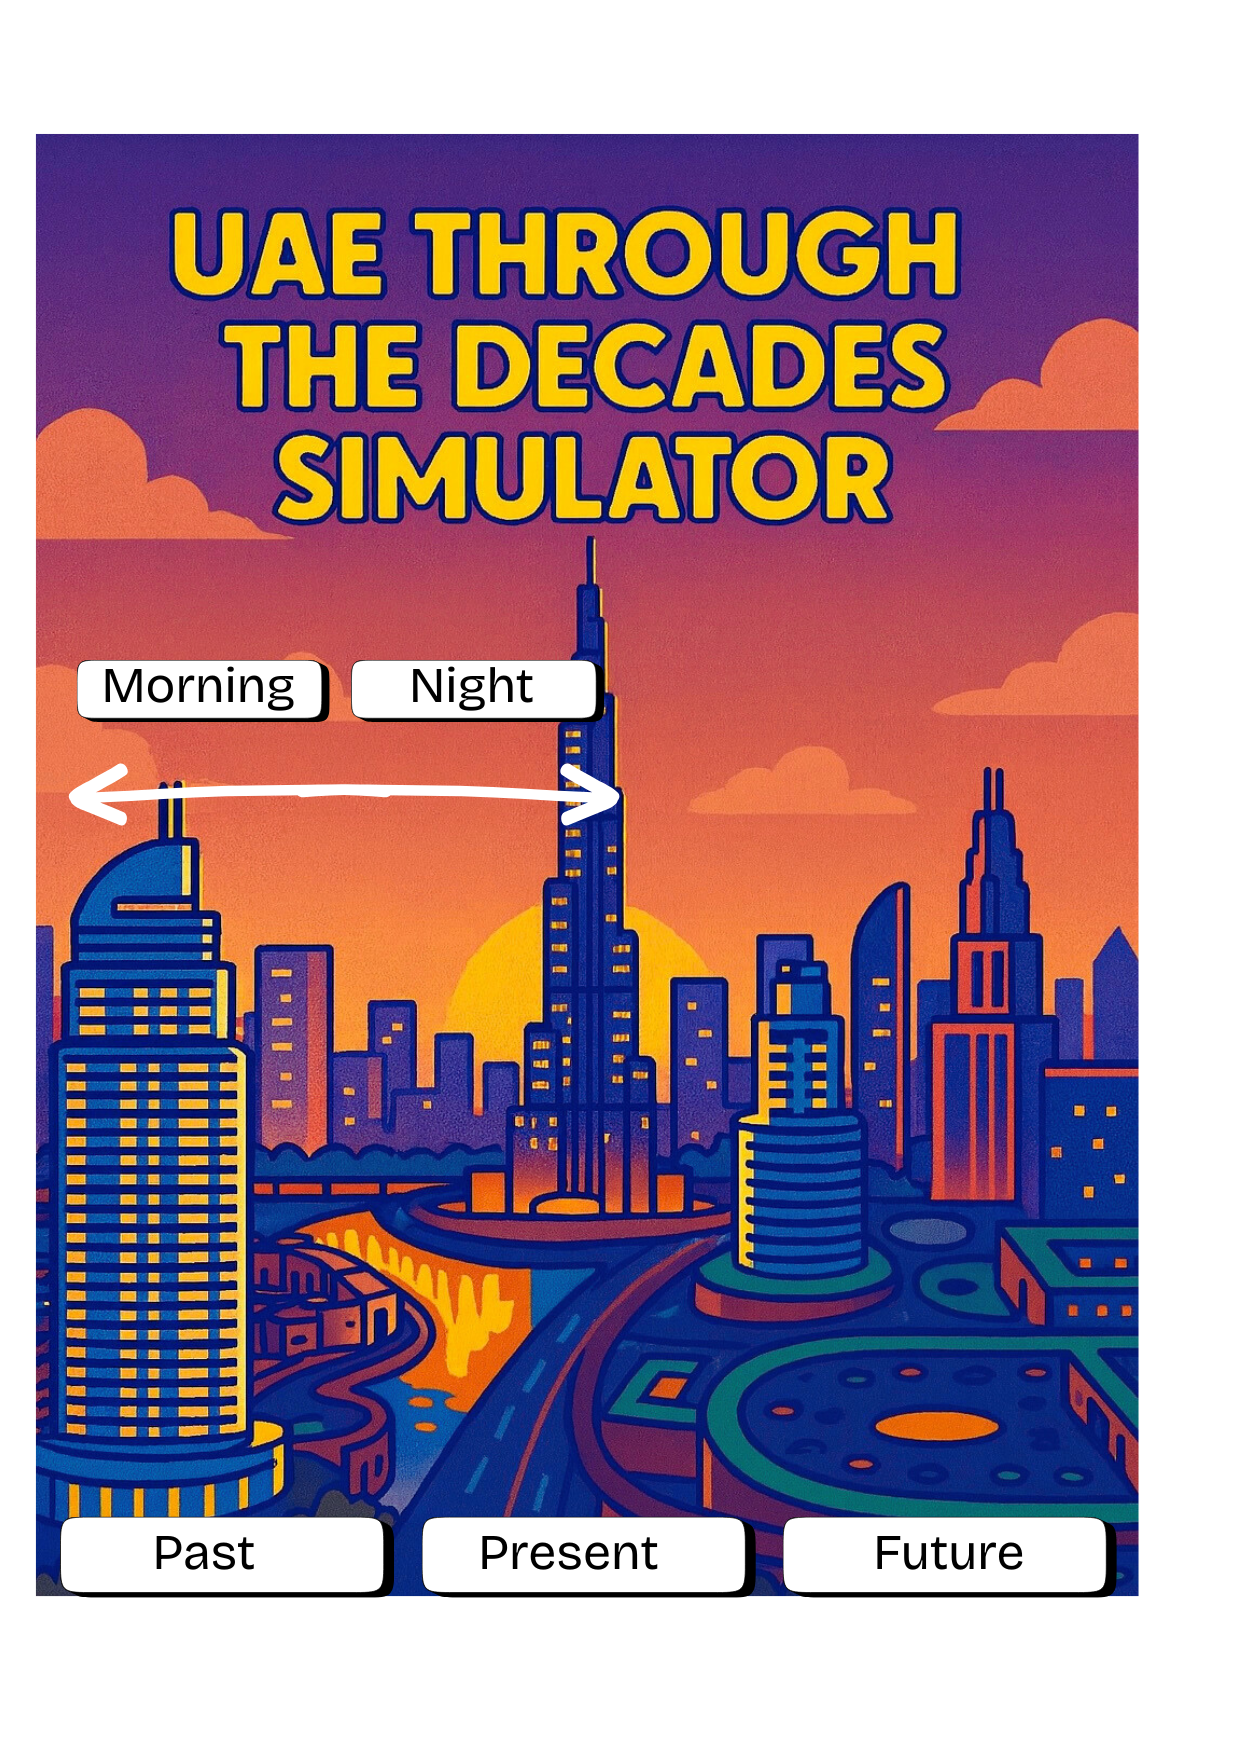
My project is a physical digital simulator that showcases the UAE across three eras: the past, the present, and the imagined future. The idea came from listening to my grandfather’s stories about how he used to live, and how different life is now. Seeing how quickly the UAE developed made me wonder how the future will look. I wanted to create an experience where people can explore this progression visually by interacting with a real physical device.
The simulator lets users switch between the three eras using physical buttons, and then cycle through multiple images for each era. A potentiometer controls the transition between morning and night, allowing people to view each scene in two different lighting conditions. Overall, the goal of my concept is to let users “travel through time” and explore how the UAE evolved and how it might continue to evolve.
How the Implementation Works
The project works through a simple but effective communication between Arduino and p5.js:
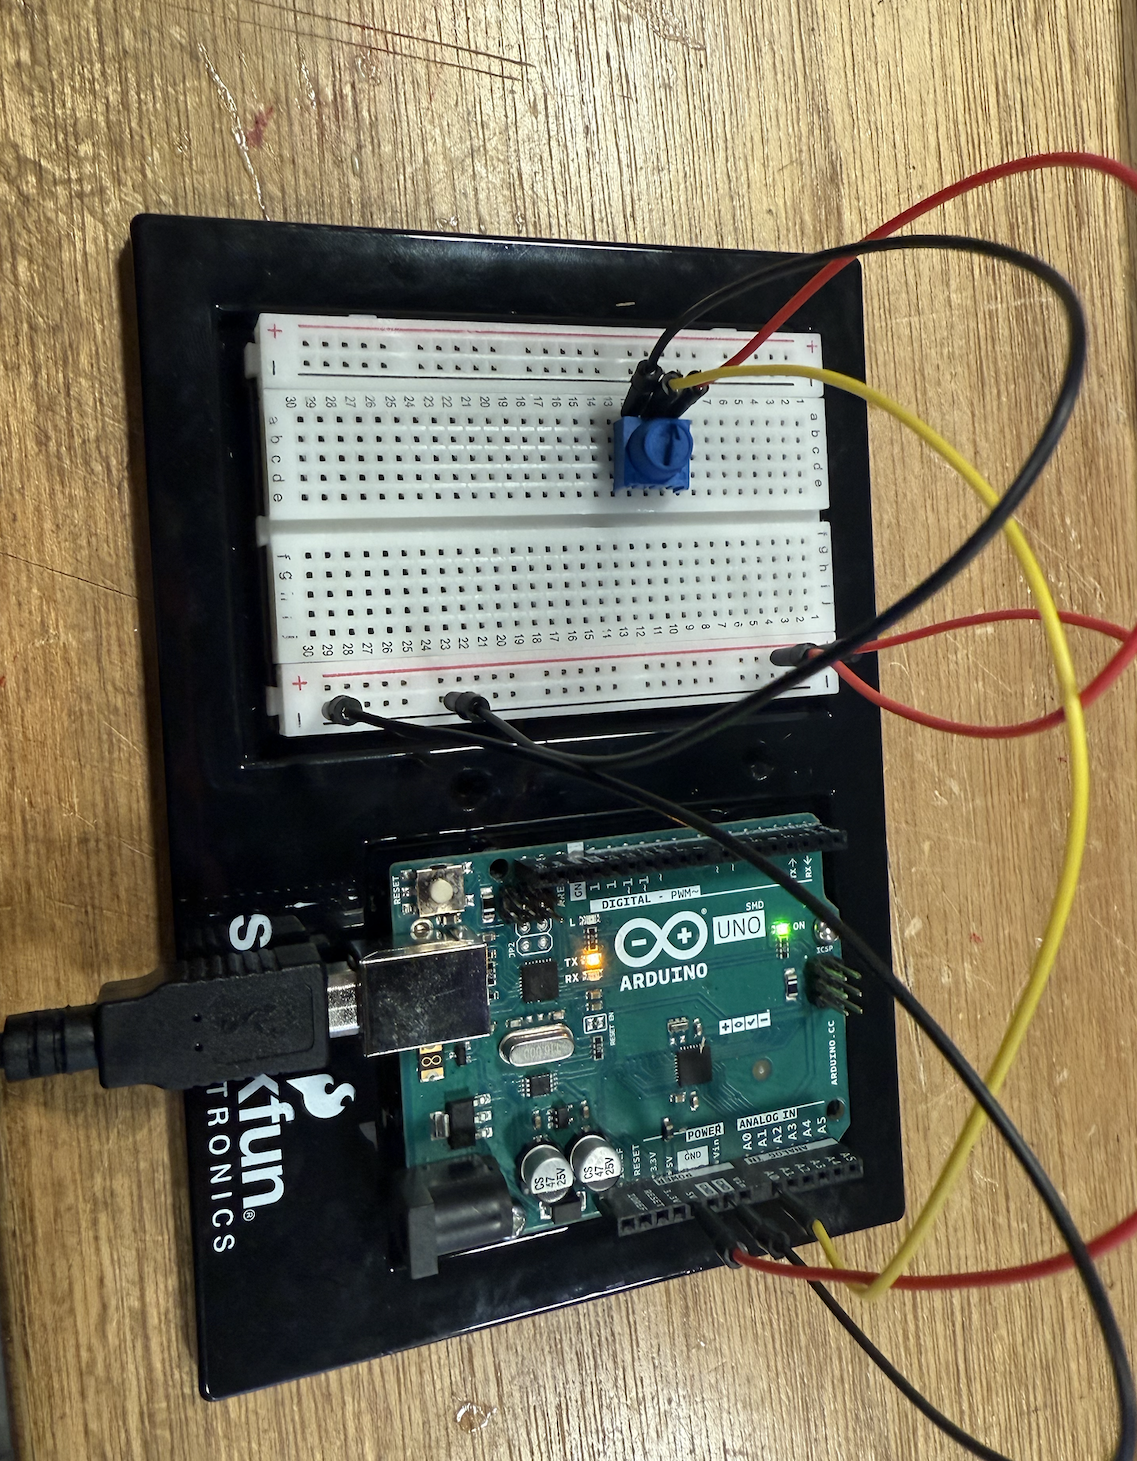
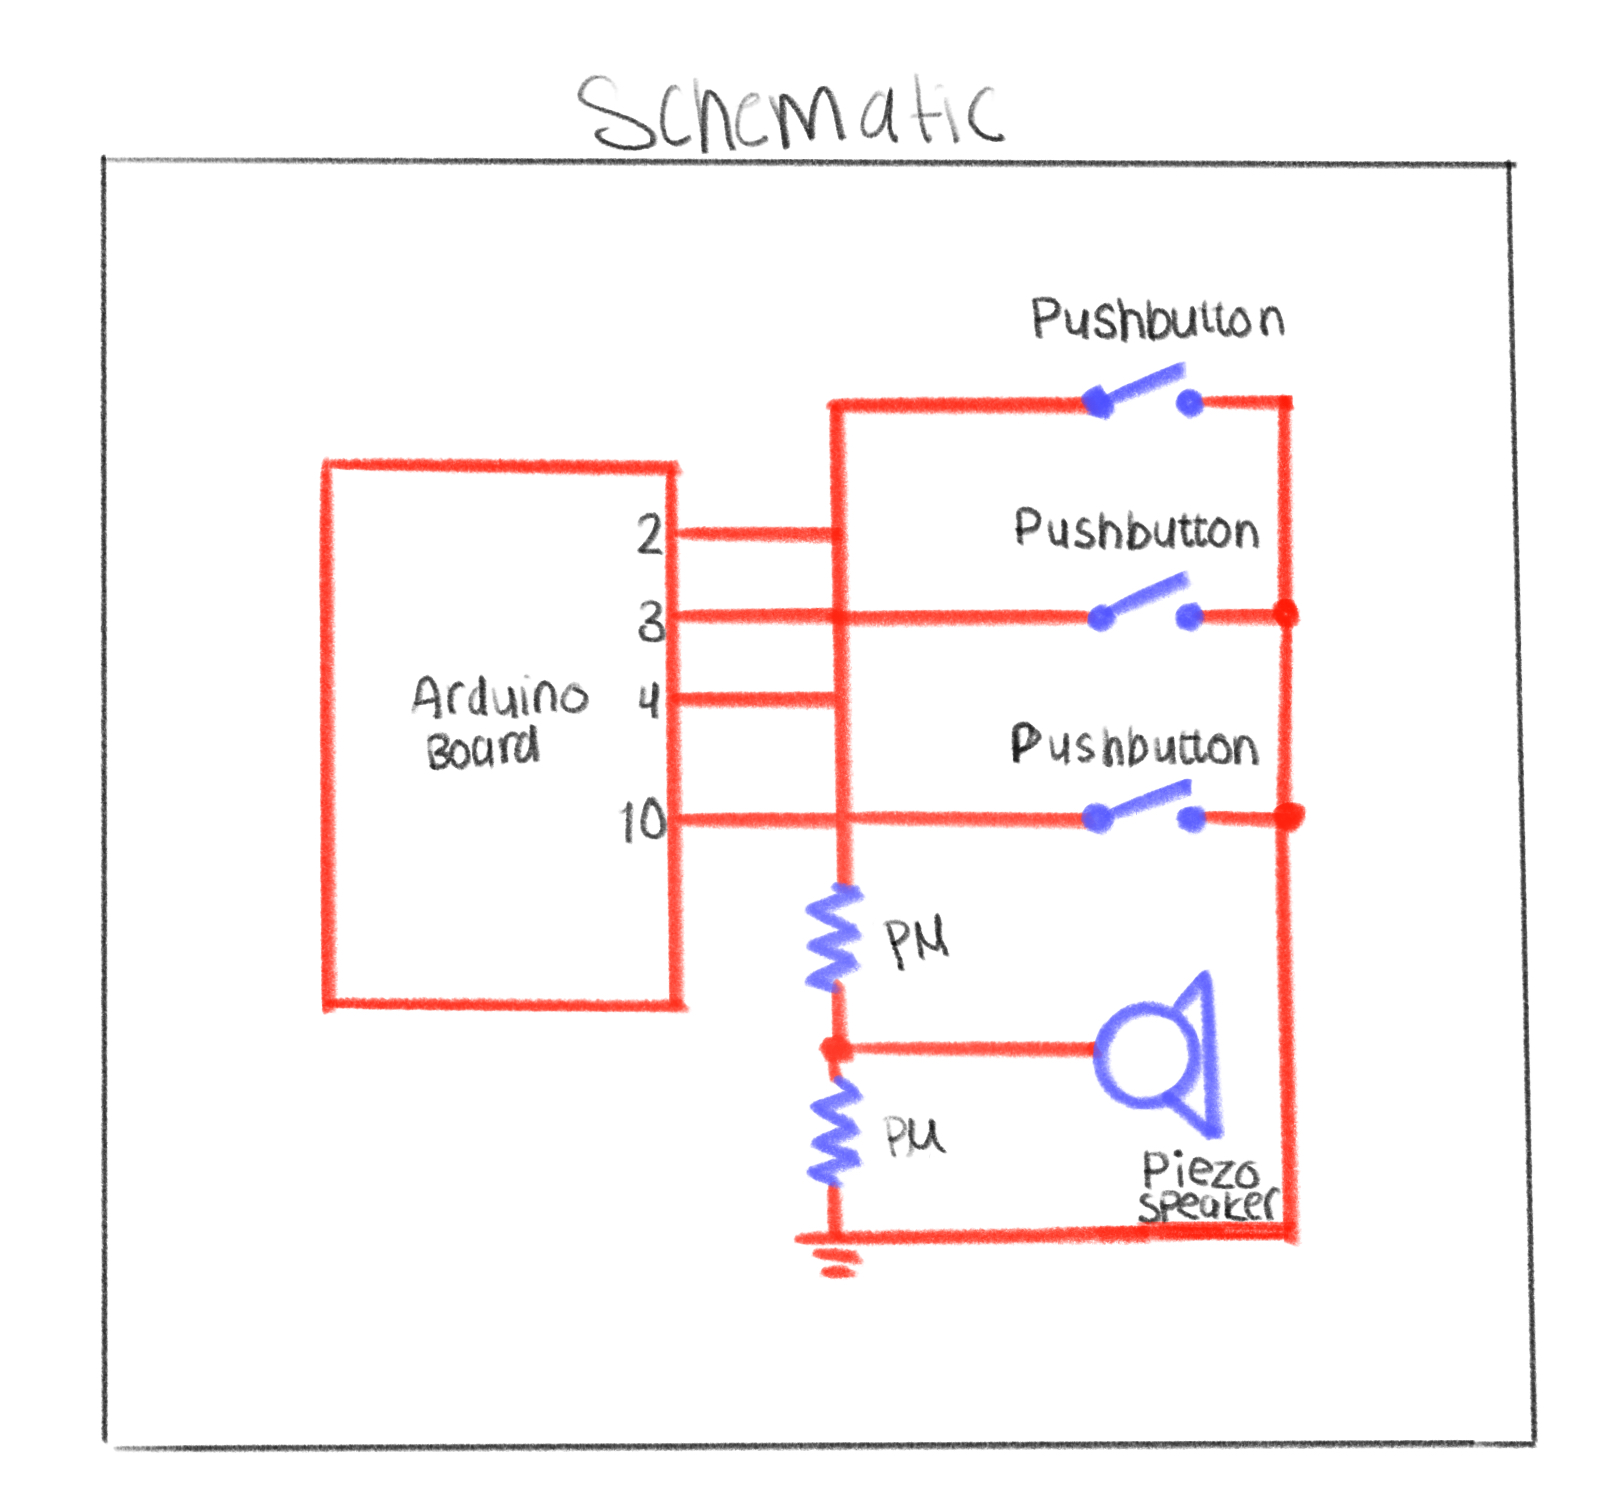
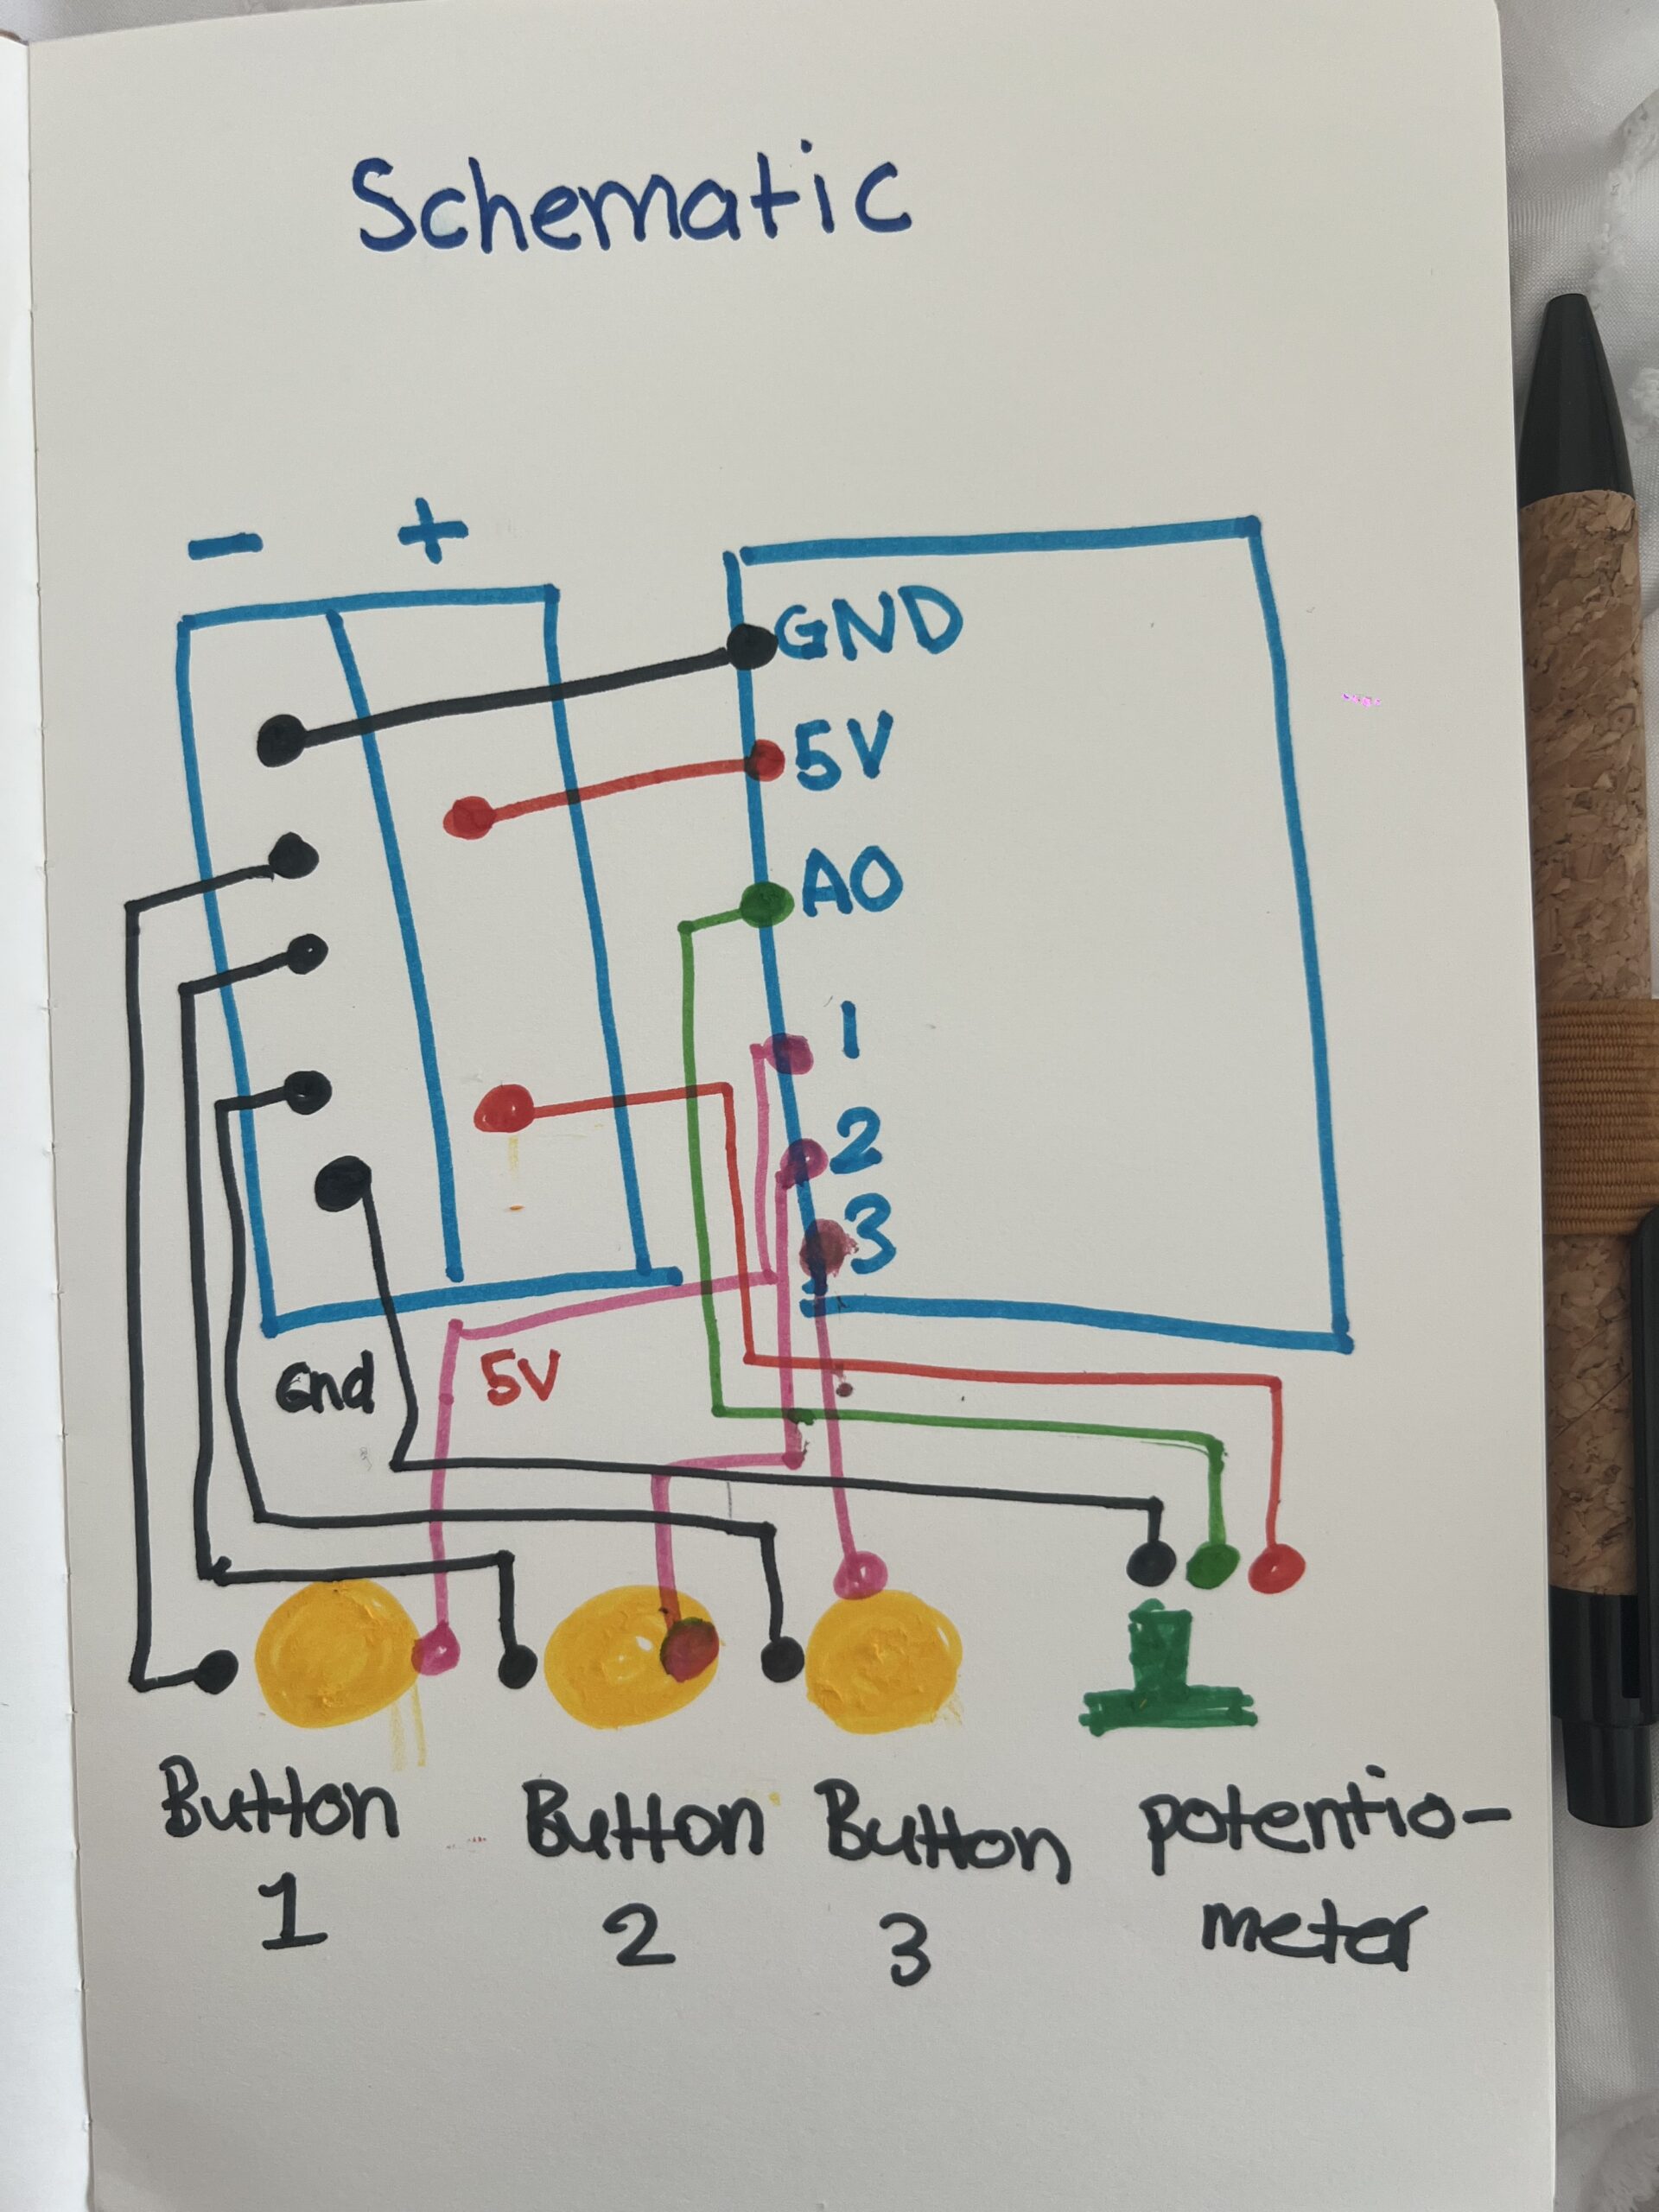
• The Arduino has three buttons (Past, Present, Future) and a potentiometer.
• When the user presses a button, Arduino sends data to p5.js identifying the era and which image should appear.
• When the user turns the potentiometer, Arduino sends a number from 0–1023, which p5.js interprets as morning vs. night.
• p5.js displays the correct image from a set of 18 total images (3 eras × 3 photos × 2 lighting versions).
• Everything is controlled physically the user doesn’t interact with the laptop at all after connecting.
I intentionally kept the interaction simple so it would be easy for younger users (including my younger brother) to understand instantly.
Description of Interaction Design
The interaction is entirely physical and designed to be intuitive:
• Three buttons, each labeled clearly: Past, Present, Future.
• Pressing a button cycles through three images per era.
• The potentiometer smoothly switches the scene from morning to night.
• No touchscreen interaction the laptop only displays the images.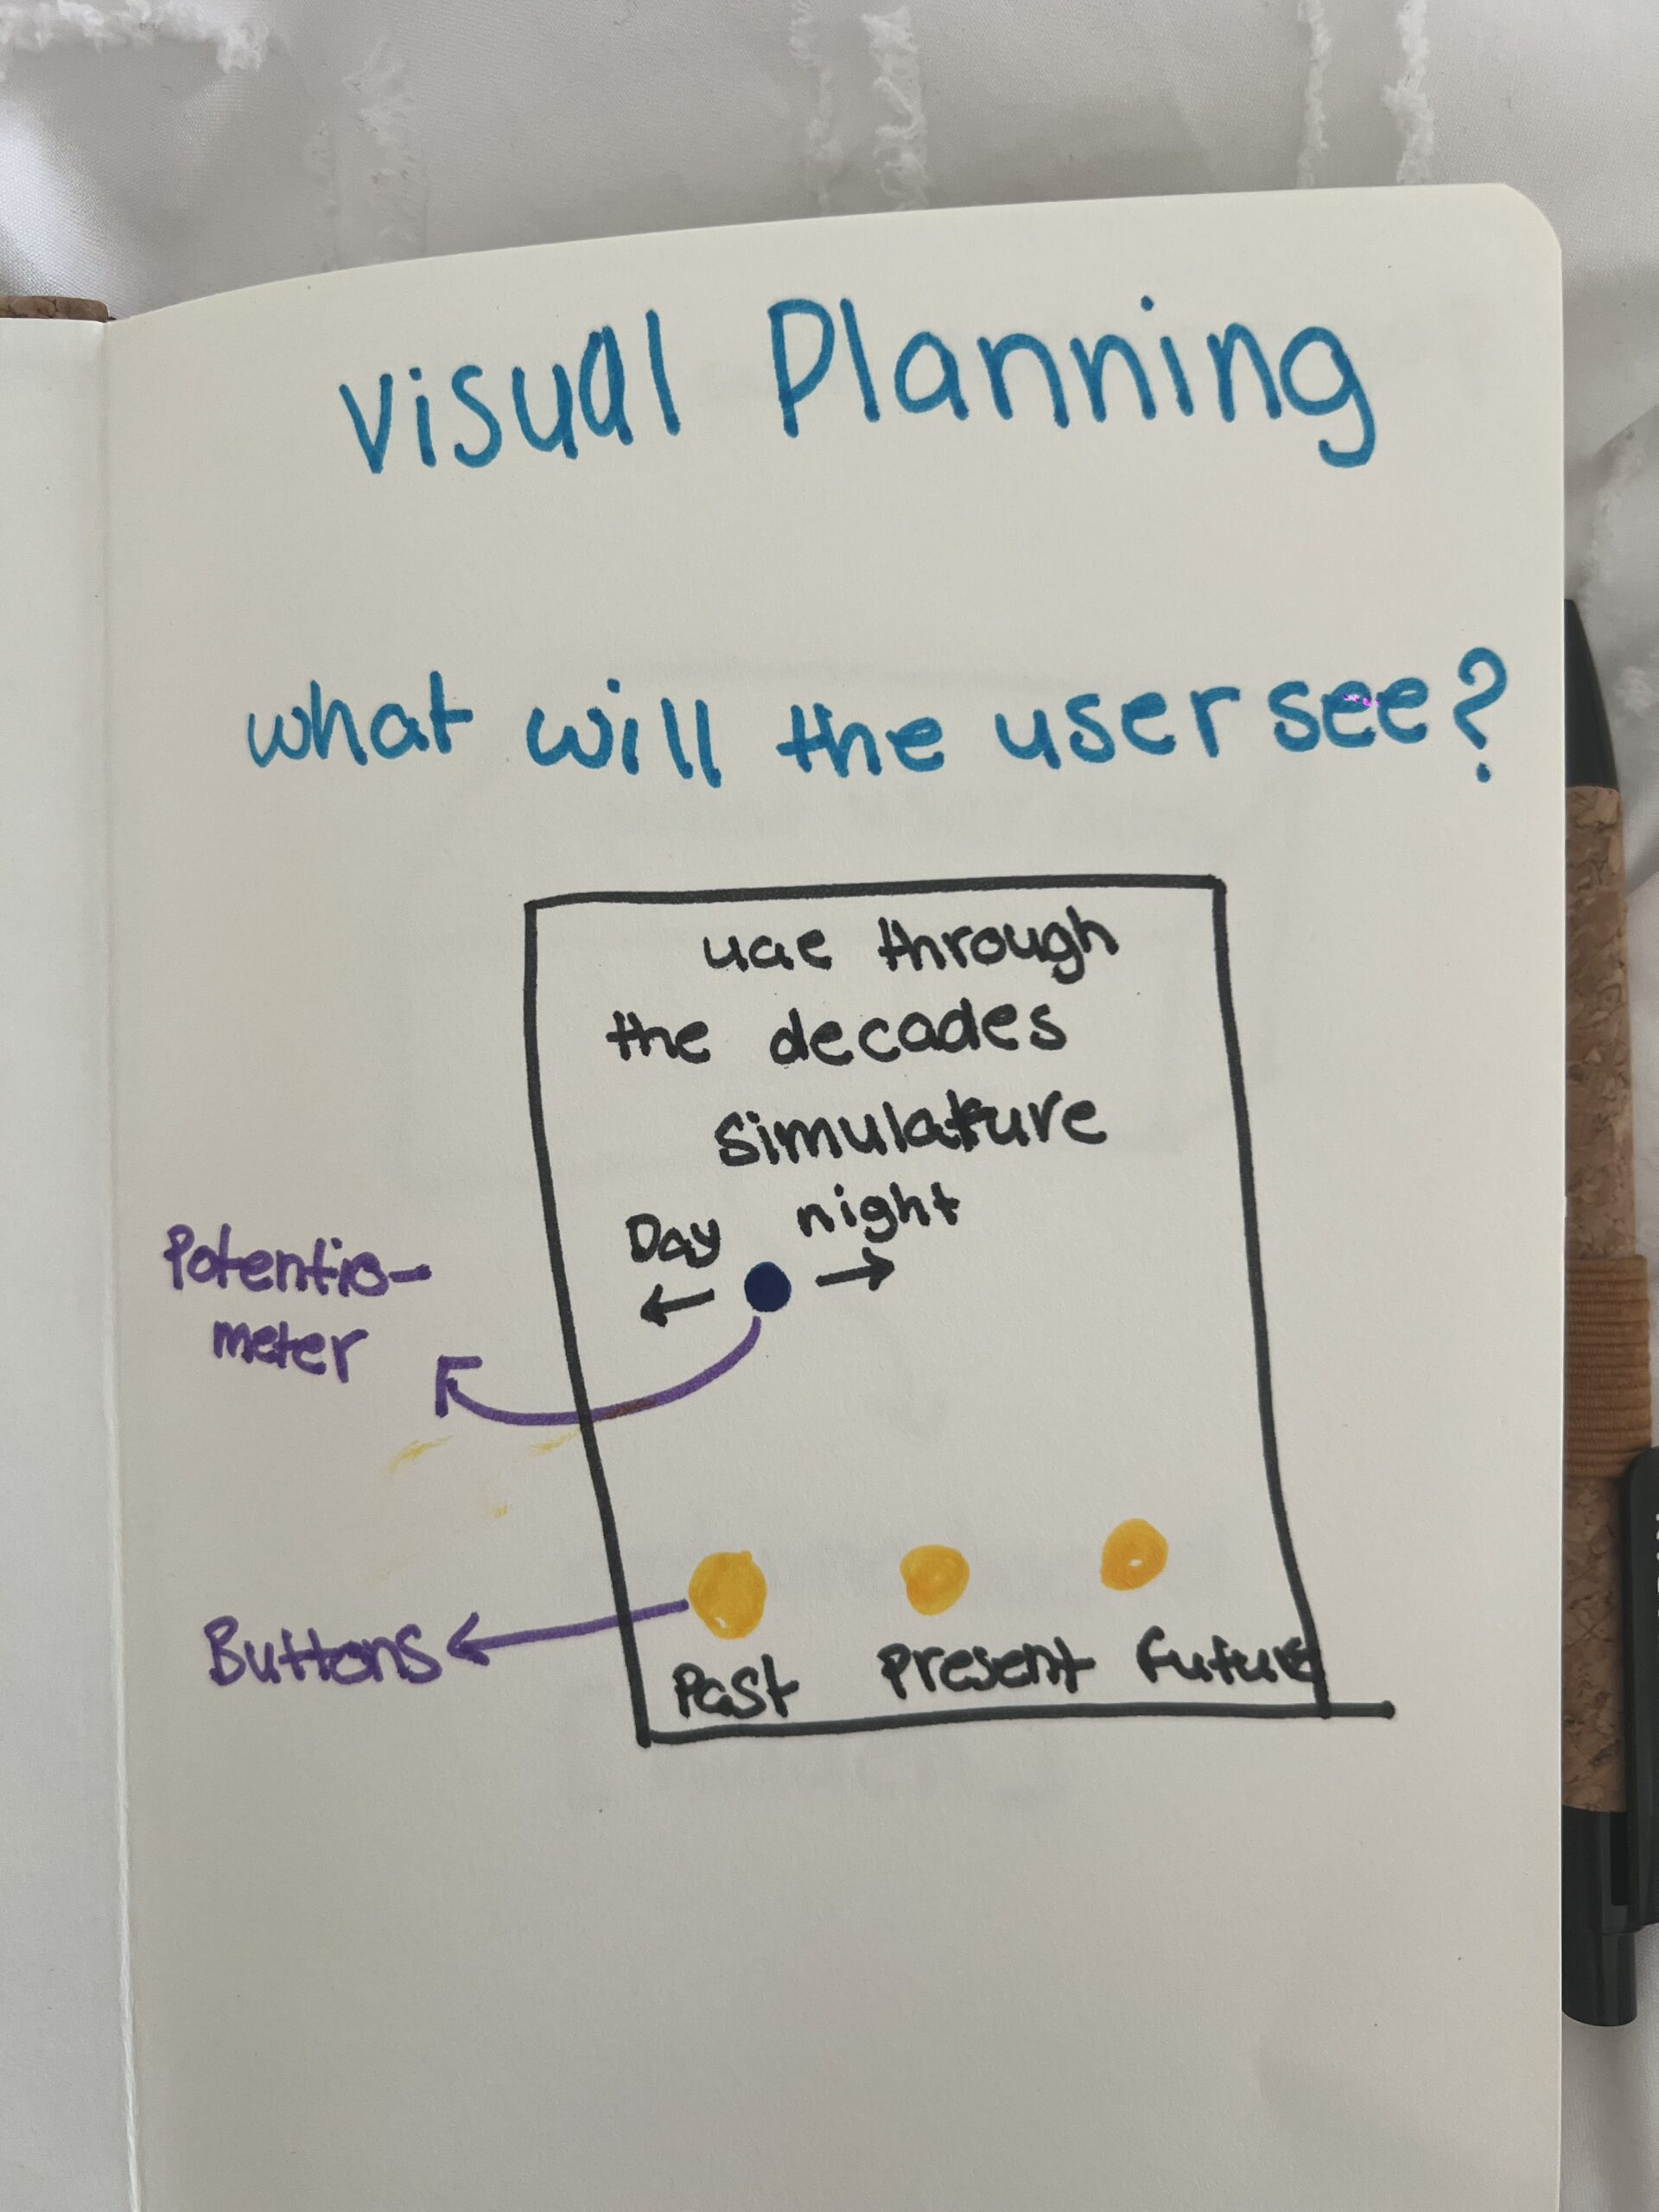
 My goal was to make the mapping extremely obvious. Every person who tested the project understood the basic interaction immediately because the controls directly match the results on the screen. The only part that took a few seconds to discover was that each button can be pressed multiple times to cycle through all images, but users figured it out naturally by experimenting.
Description of Arduino Code (with link/summary)
The Arduino code is fairly simple. It:
• Reads the state of three buttons using INPUT_PULLUP
• Reads a potentiometer value (0–1023)
• Tracks which era is active
• Tracks how many times the user pressed each button (to rotate through 3 images)
// pins
const int pastBtn    = 2;   // Button 1 Past UAE
const int presentBtn = 3;   // Button 2  Present UAE
const int futureBtn  = 4;   // Button 3  Future UAE
const int potPin     = A0;  // Potentiometer day/night

// variables
int era = 0;       // 0 = past, 1 = present, 2 = future
int imgIndex = 0;  // 0, 1, 2

bool pastPrev    = HIGH;
bool presentPrev = HIGH;
bool futurePrev  = HIGH;

void setup() {
  Serial.begin(9600);

  pinMode(pastBtn, INPUT_PULLUP);
  pinMode(presentBtn, INPUT_PULLUP);
  pinMode(futureBtn, INPUT_PULLUP);
}

void loop() {
  bool pastState    = digitalRead(pastBtn);
  bool presentState = digitalRead(presentBtn);
  bool futureState  = digitalRead(futureBtn);

  if (pastPrev == HIGH && pastState == LOW) {
    era = 0;
    imgIndex = (imgIndex + 1) % 3;
    sendData();
    delay(200);
  }

  if (presentPrev == HIGH && presentState == LOW) {
    era = 1;
    imgIndex = (imgIndex + 1) % 3;
    sendData();
    delay(200);
  }

  if (futurePrev == HIGH && futureState == LOW) {
    era = 2;
    imgIndex = (imgIndex + 1) % 3;
    sendData();
    delay(200);
  }

  pastPrev    = pastState;
  presentPrev = presentState;
  futurePrev  = futureState;

  //  update for the potentiometer
  static unsigned long lastSend = 0;
  if (millis() - lastSend > 200) {
    sendData();
    lastSend = millis();
  }
}
//serial
void sendData() {
  int timeVal = analogRead(potPin); // 0–1023

  Serial.print(era);
  Serial.print(",");
  Serial.print(imgIndex);
  Serial.print(",");
  Serial.println(timeVal);
}
Description of p5.js Code
The p5.js code handles:
• Displaying all 18 images
• Fading transitions between images
• Scaling images to full screen
• Playing different audio for each era
• Reading serial data from the Arduino
• Switching between three states:
• Connect screen
• Intro screen
• Simulator screen
The images are the main content 18 total files (6 per era). They were made by taking real images of the UAE and using generative AI tools to convert them into cartoon versions. p5.js simply loads these files and displays them according to the physical input.
Communication Between Arduino and p5.js
The communication uses Web Serial:
1. The user clicks once to connect.
2. The browser opens a Serial Port window.
3. After selecting the Arduino, p5.js starts receiving lines of text like:
4. p5.js splits the line into:
• era (0 = past, 1 = present, 2 = future)
• imageIndex (0, 1, or 2)
• timeVal (0–1023, used for day/night)
Every change on the physical device immediately updates the display on screen.
It feels similar to using a game controller or a Joy-Con everything is physical, and the screen responds instantly.
What I’m Proud of
I am most proud of how clean and professional the final project looks.
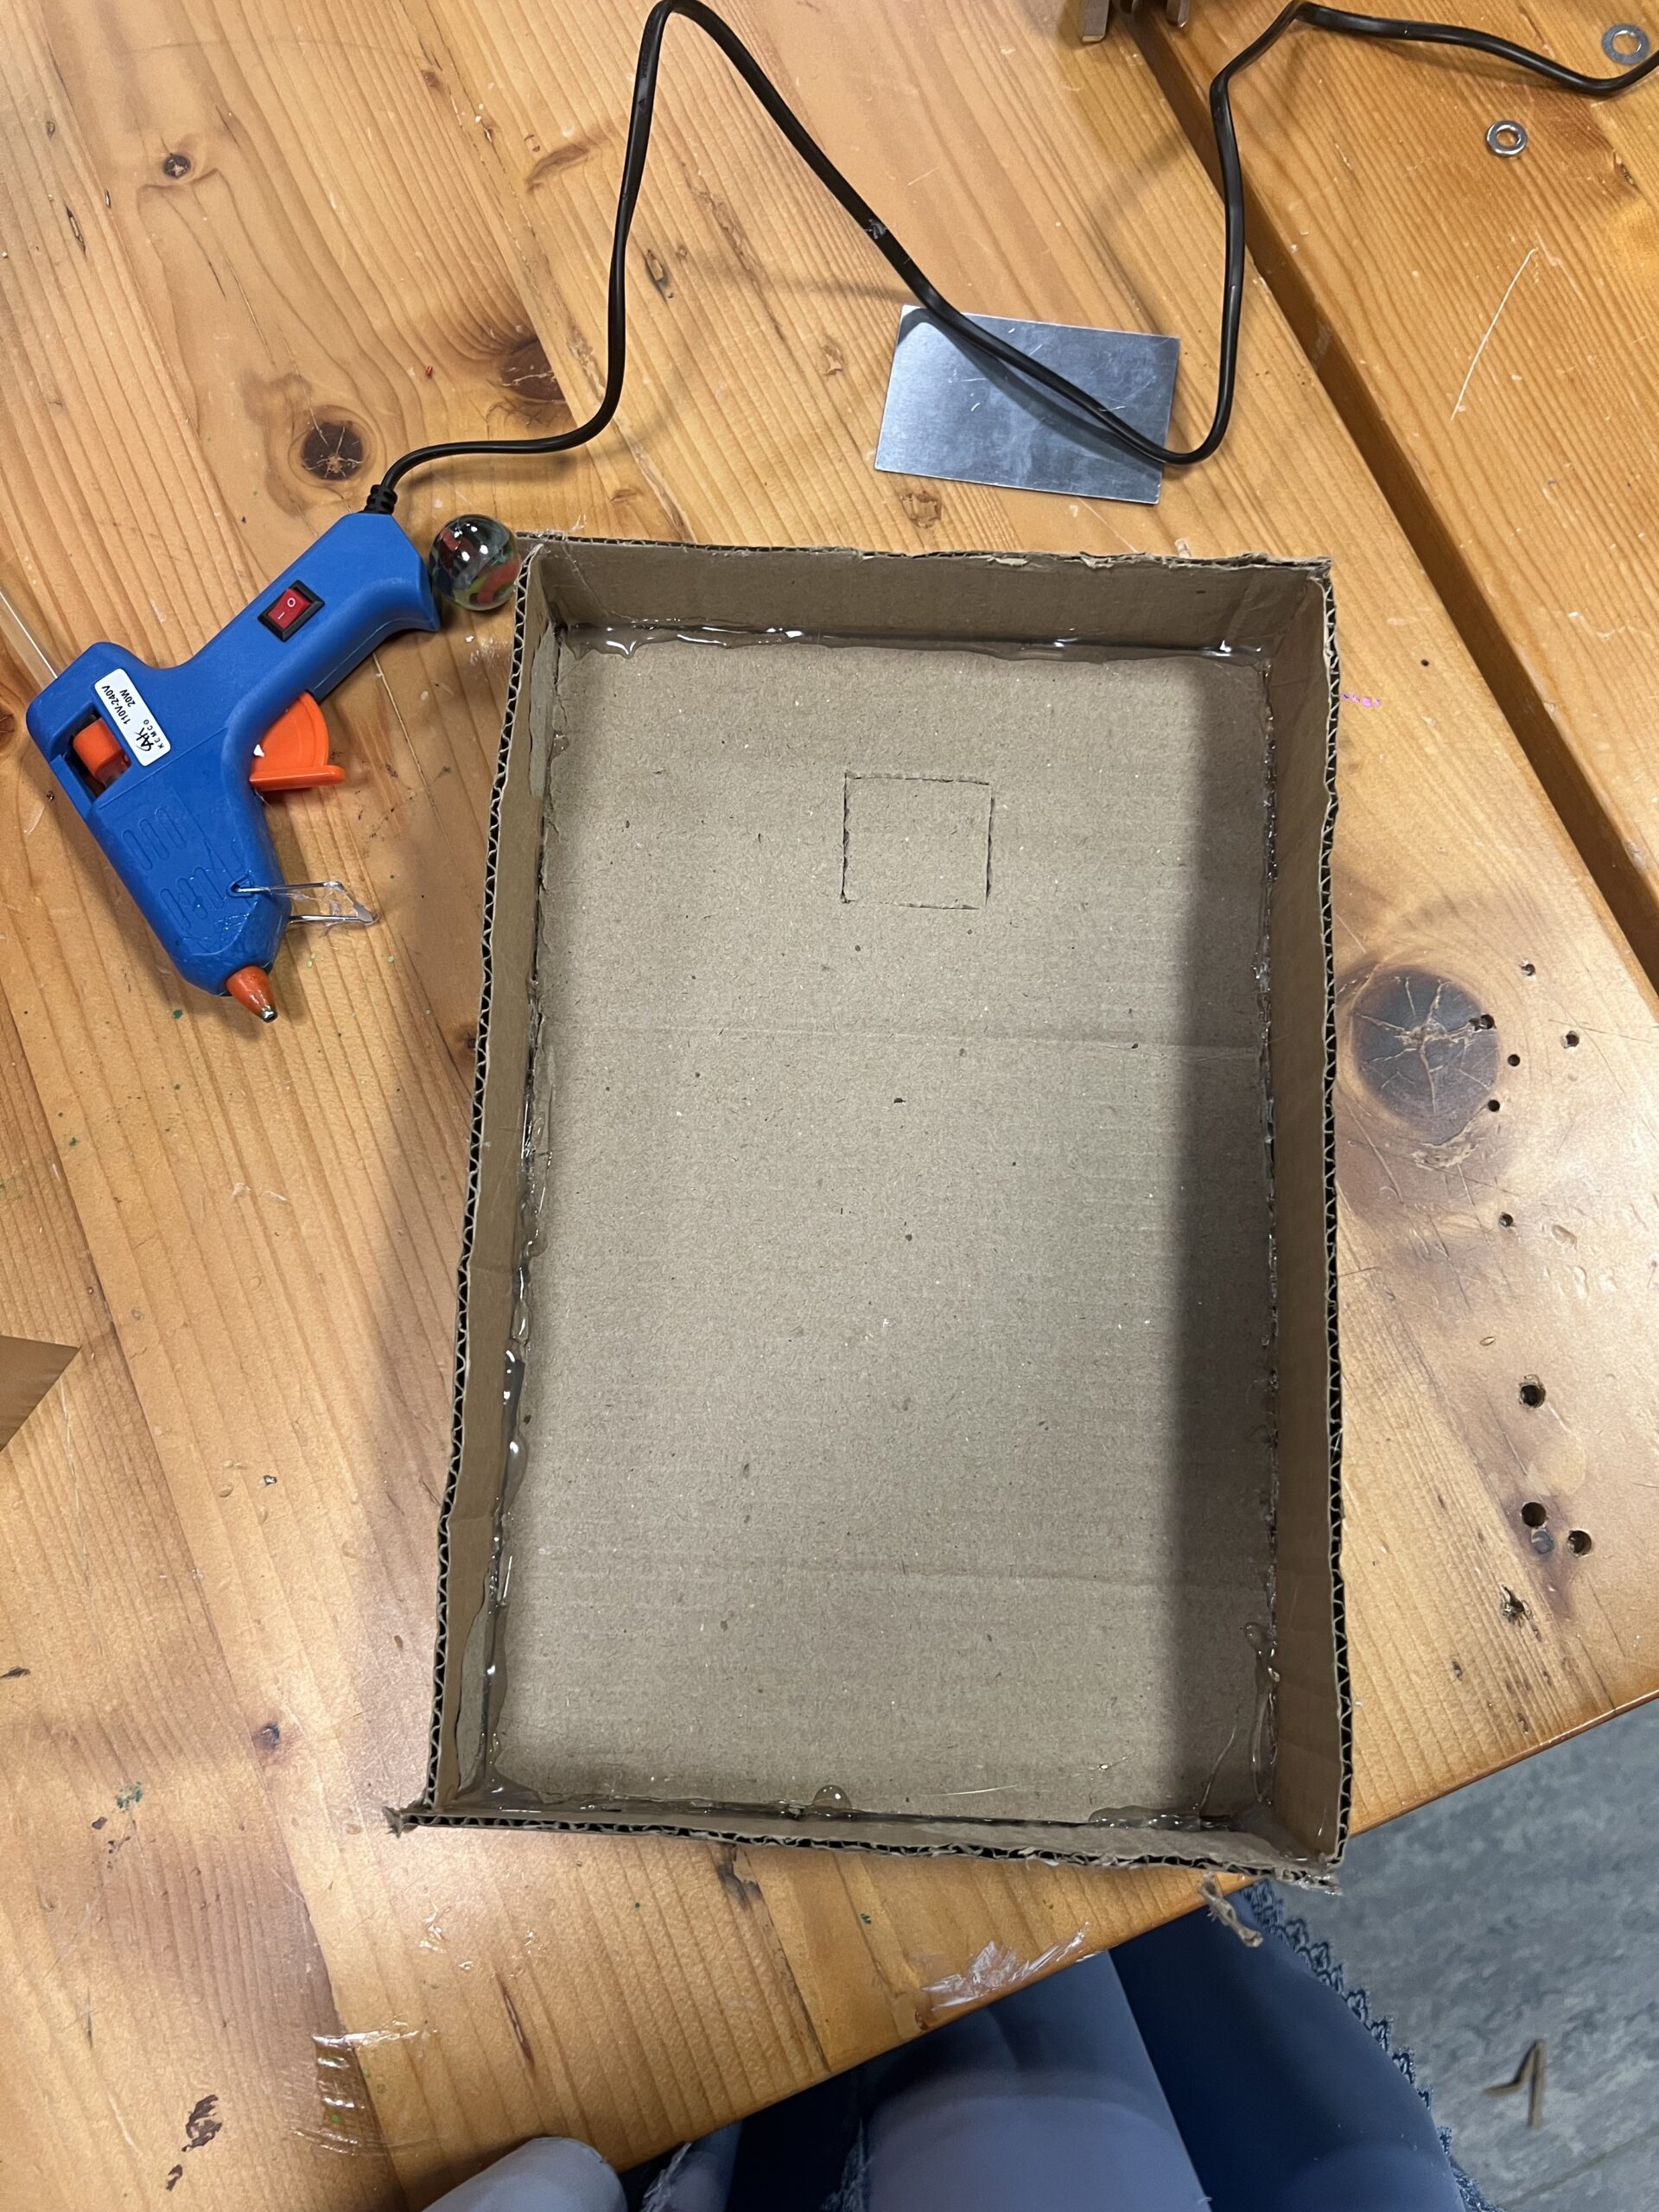
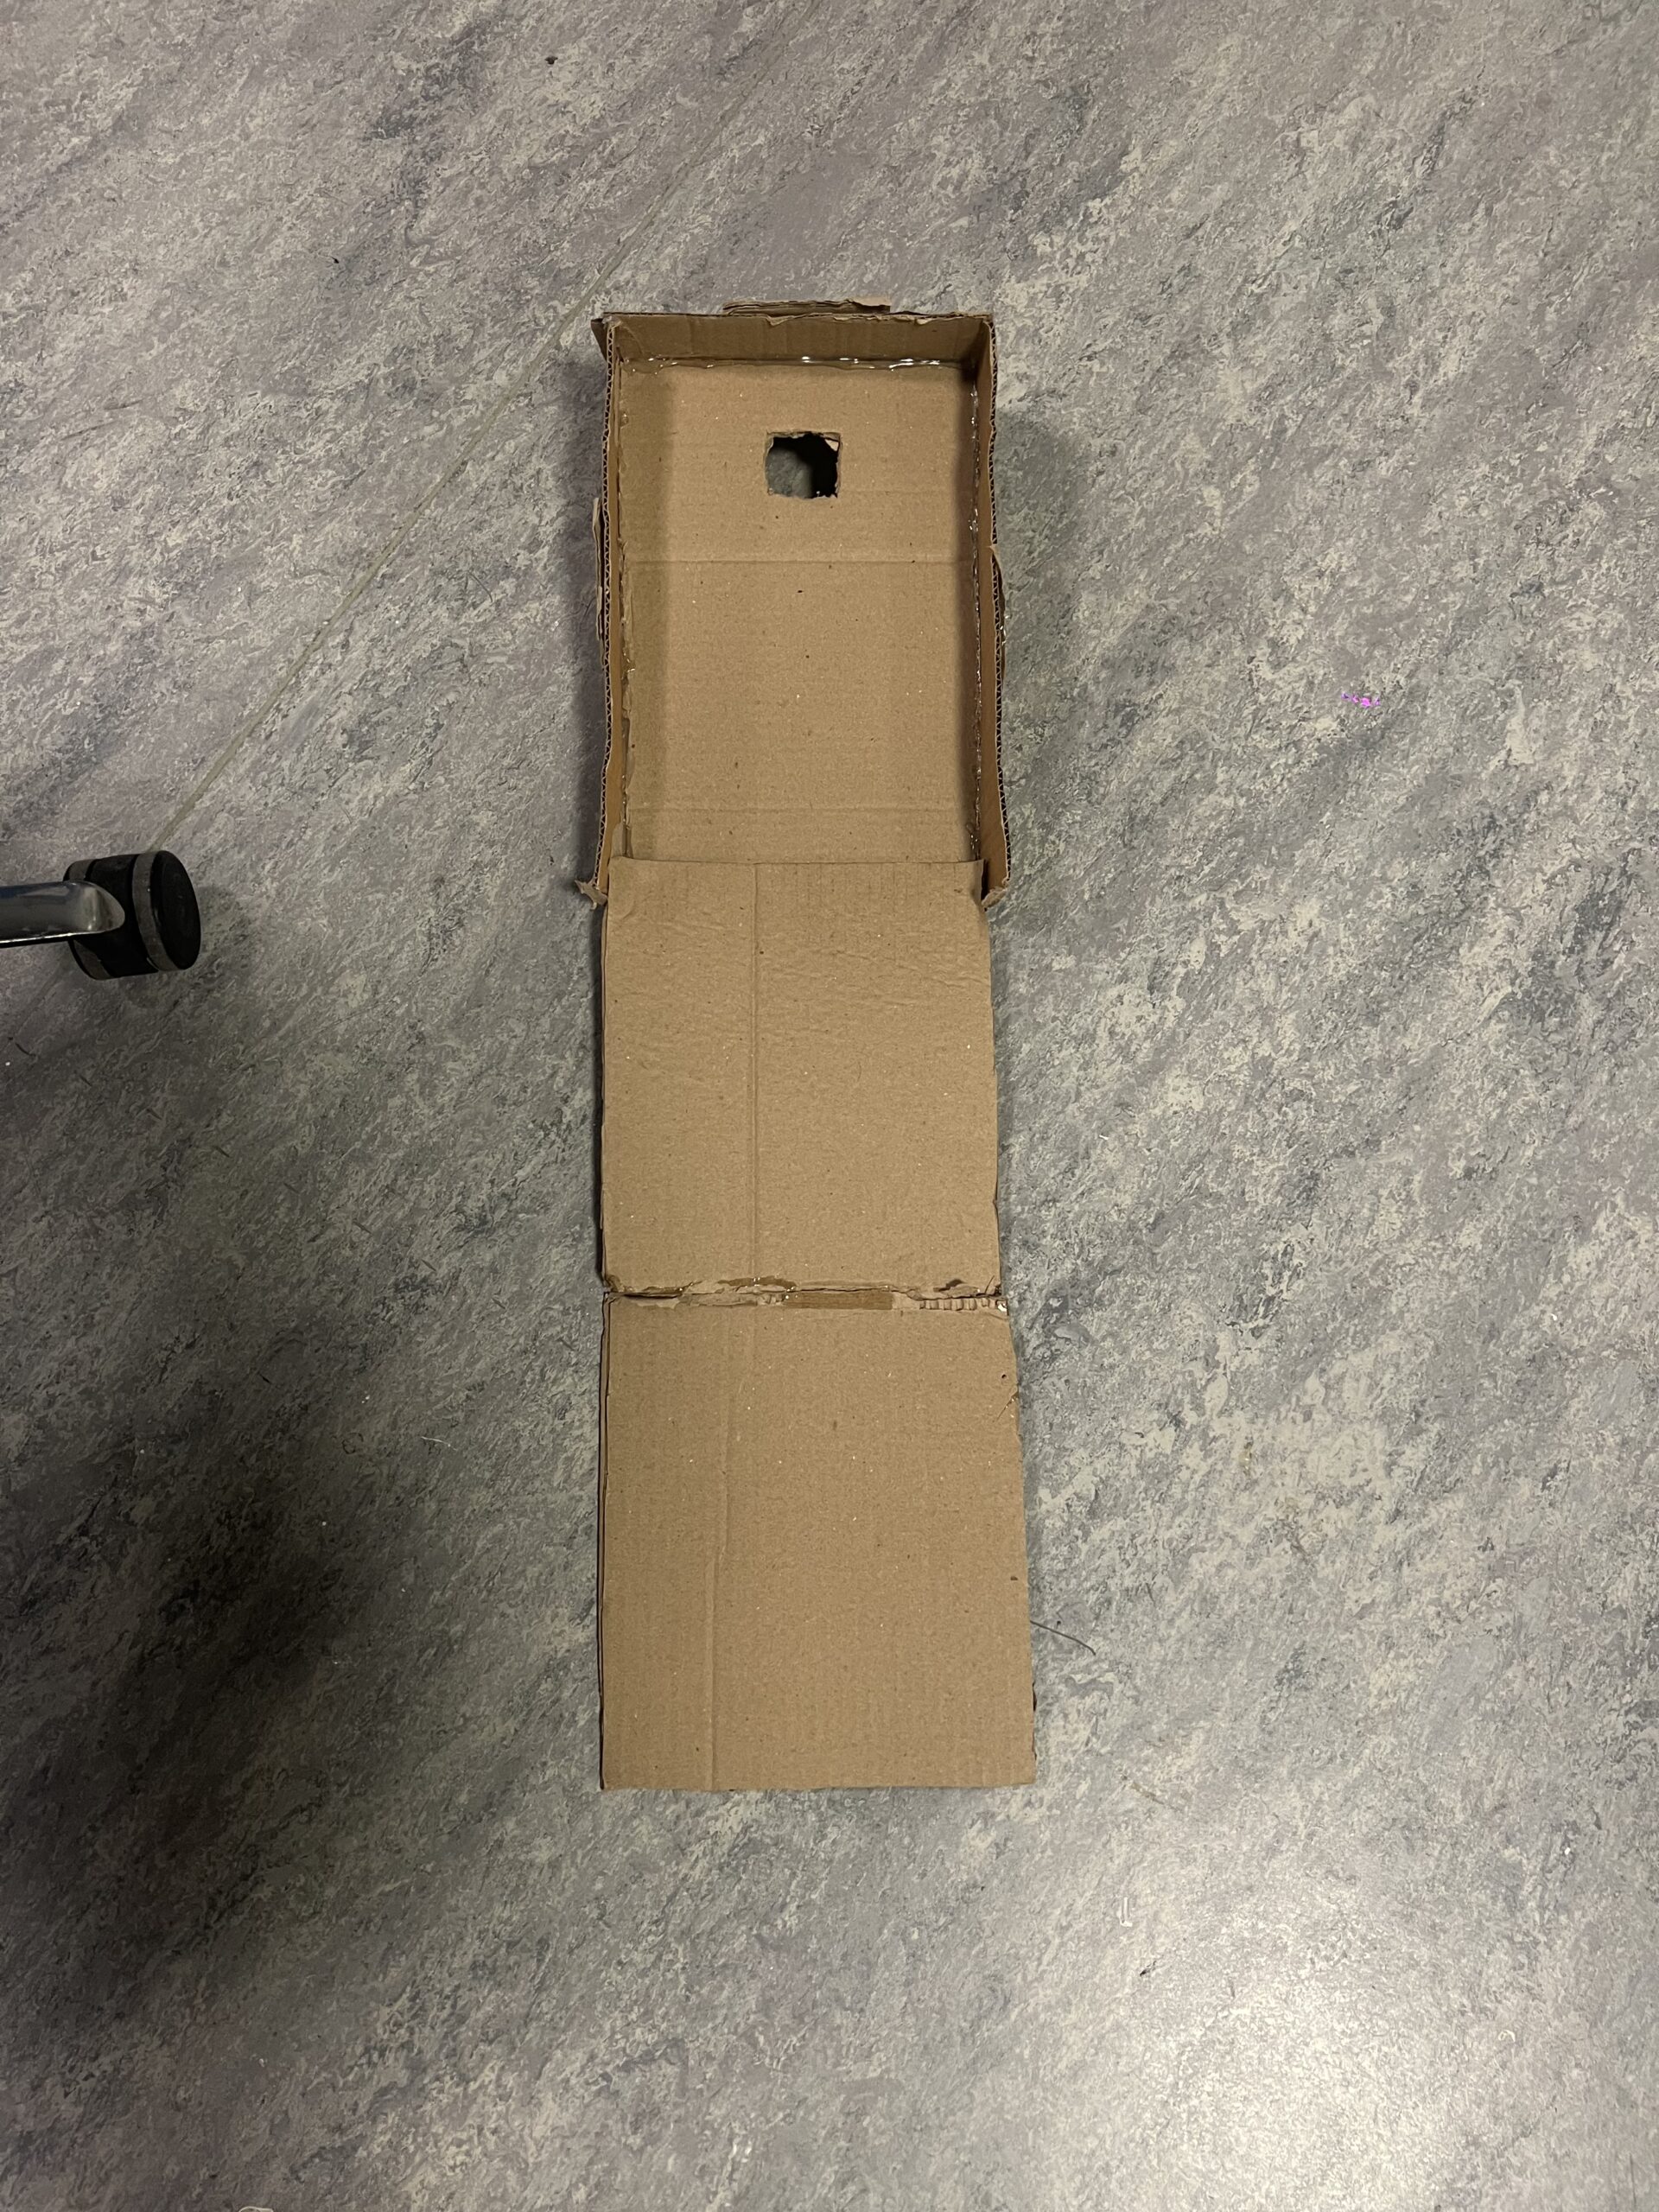
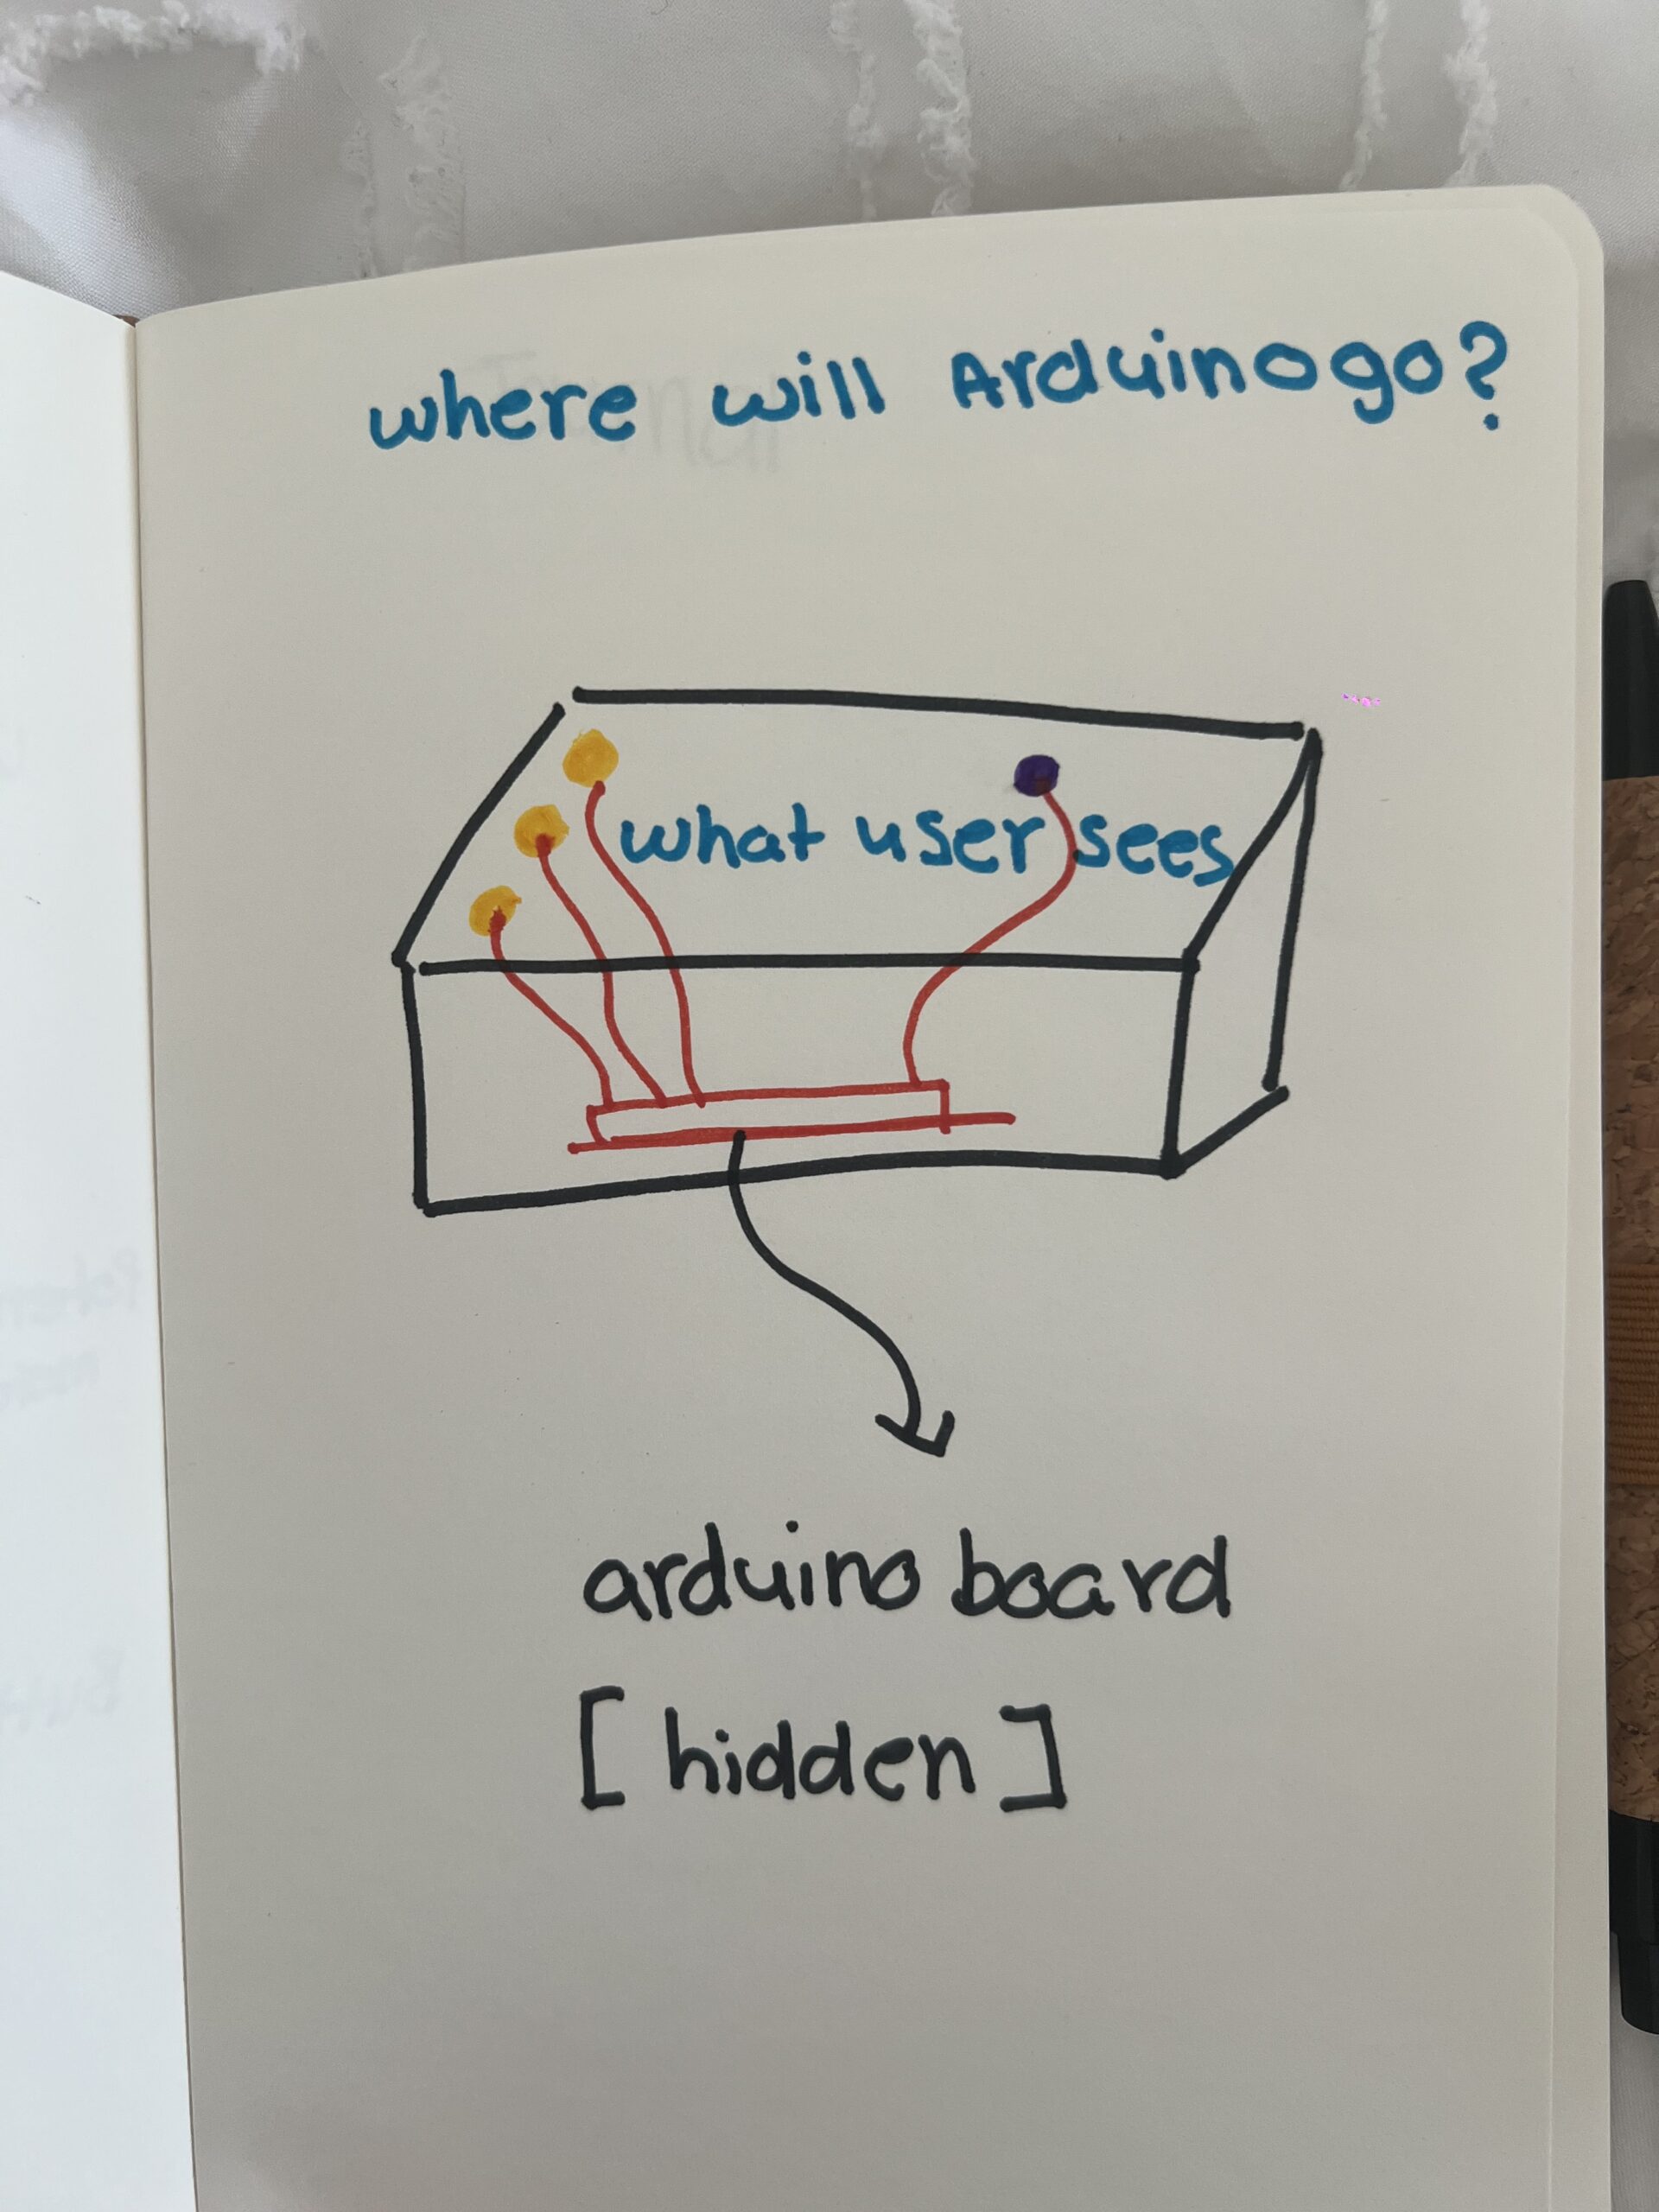
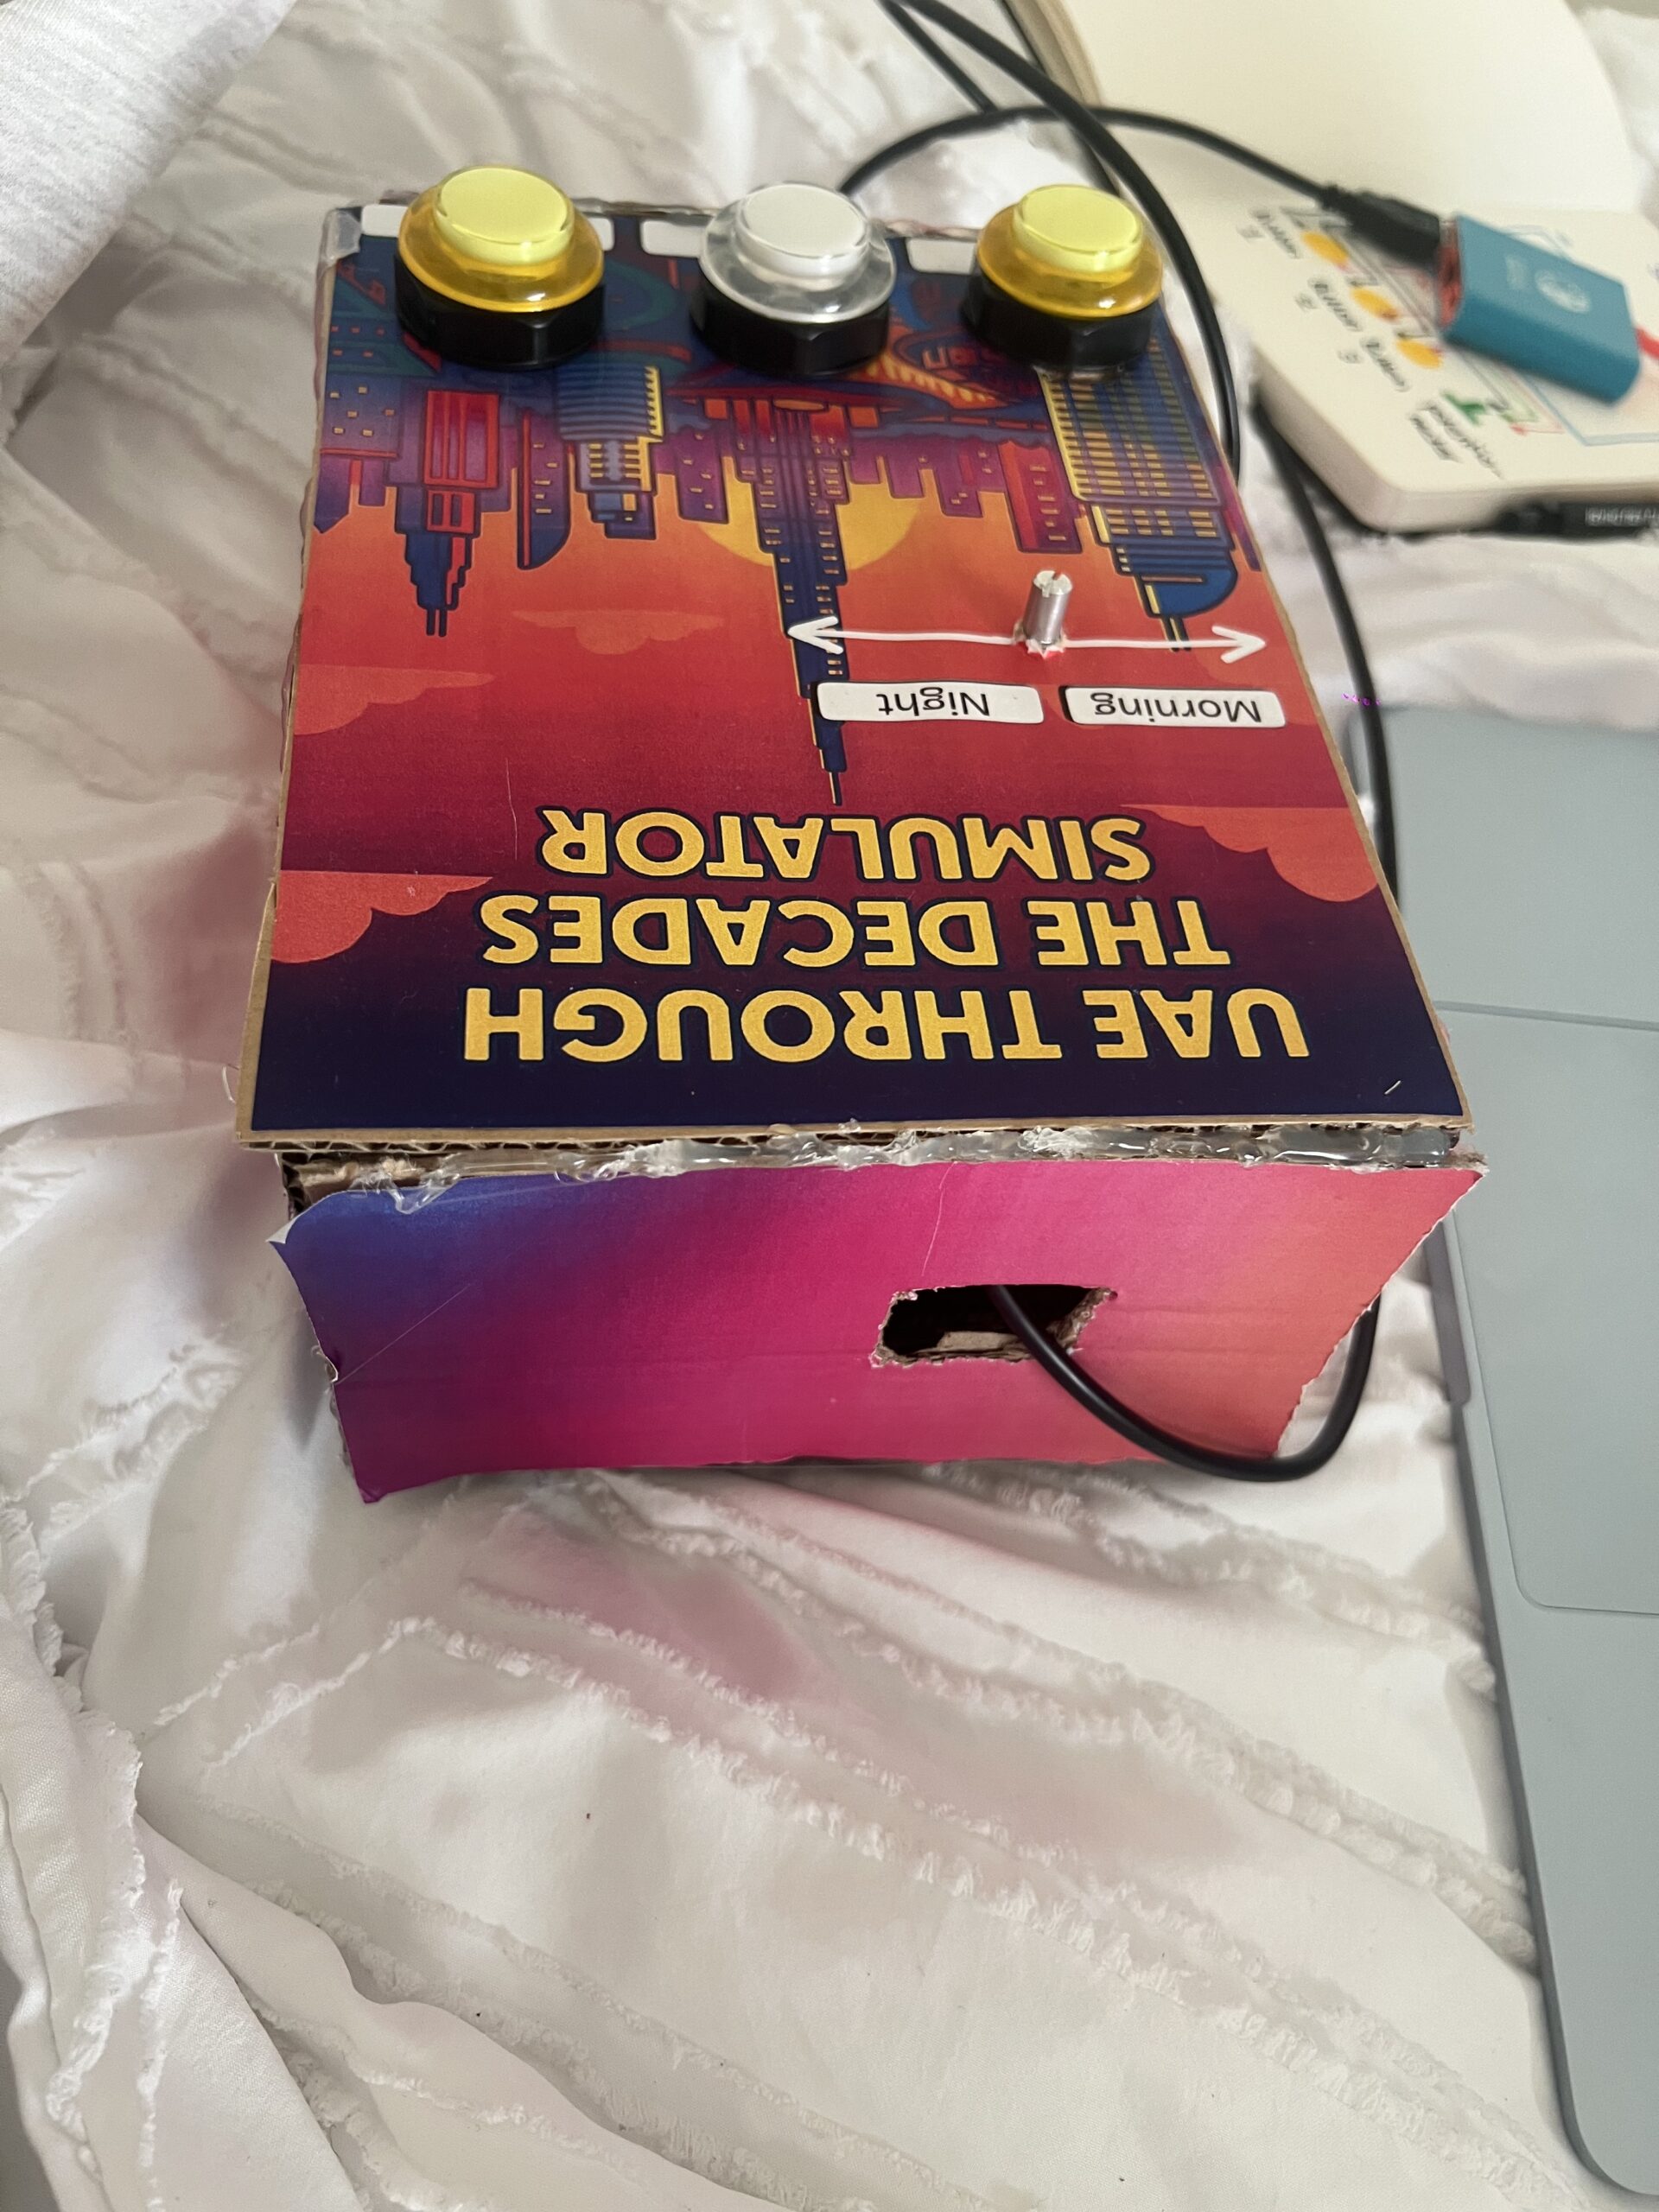
You can’t see any of the wiring I hid everything neatly inside the cardboard housing. The labeling, colors, and layout make the experience very user-friendly. I’m also proud of the fact that people were able to figure it out without me saying anything. When I stepped back and just observed, I realized the design communicated itself very clearly, which was exactly my goal.
Looking back at the entire process, I’m genuinely proud of how much I accomplished and how much I learned along the way. At first, organizing all the images felt extremely tedious because I had so many files 18 images total, each with morning and night versions. I also made a small mistake in the naming of the files, and that one mistake made the whole program stop working. I kept getting errors and I couldn’t figure out why. I had to go through each image name one by one, and because the names were long and similar, it was hard to spot the issue. It took me a very long time to fix something that seemed so small, but once I finally found the mistake and everything started working again, it felt very rewarding. I’m also incredibly proud of the physical construction, especially the welding. This was my first time ever welding metal, and it honestly took me one full hour just to weld the first button. The wires kept slipping, the metal didn’t stick properly, and I felt like I was never going to get it. But after doing it over and over, I suddenly got the hang of it, and by the end I was welding each button in about five minutes. Learning a skill like that felt like a big milestone. It really made me feel like I gained a new hands-on skill something I had never tried before in my life.
In the end, the project came together in a way that made me really proud. The wiring is completely hidden, the design is clean and professional-looking, and people were able to interact with it without any instructions. Seeing the final result made all the tedious moments worth it, and it also made me feel more confident in both my coding and physical building abilities.
How This Was Made
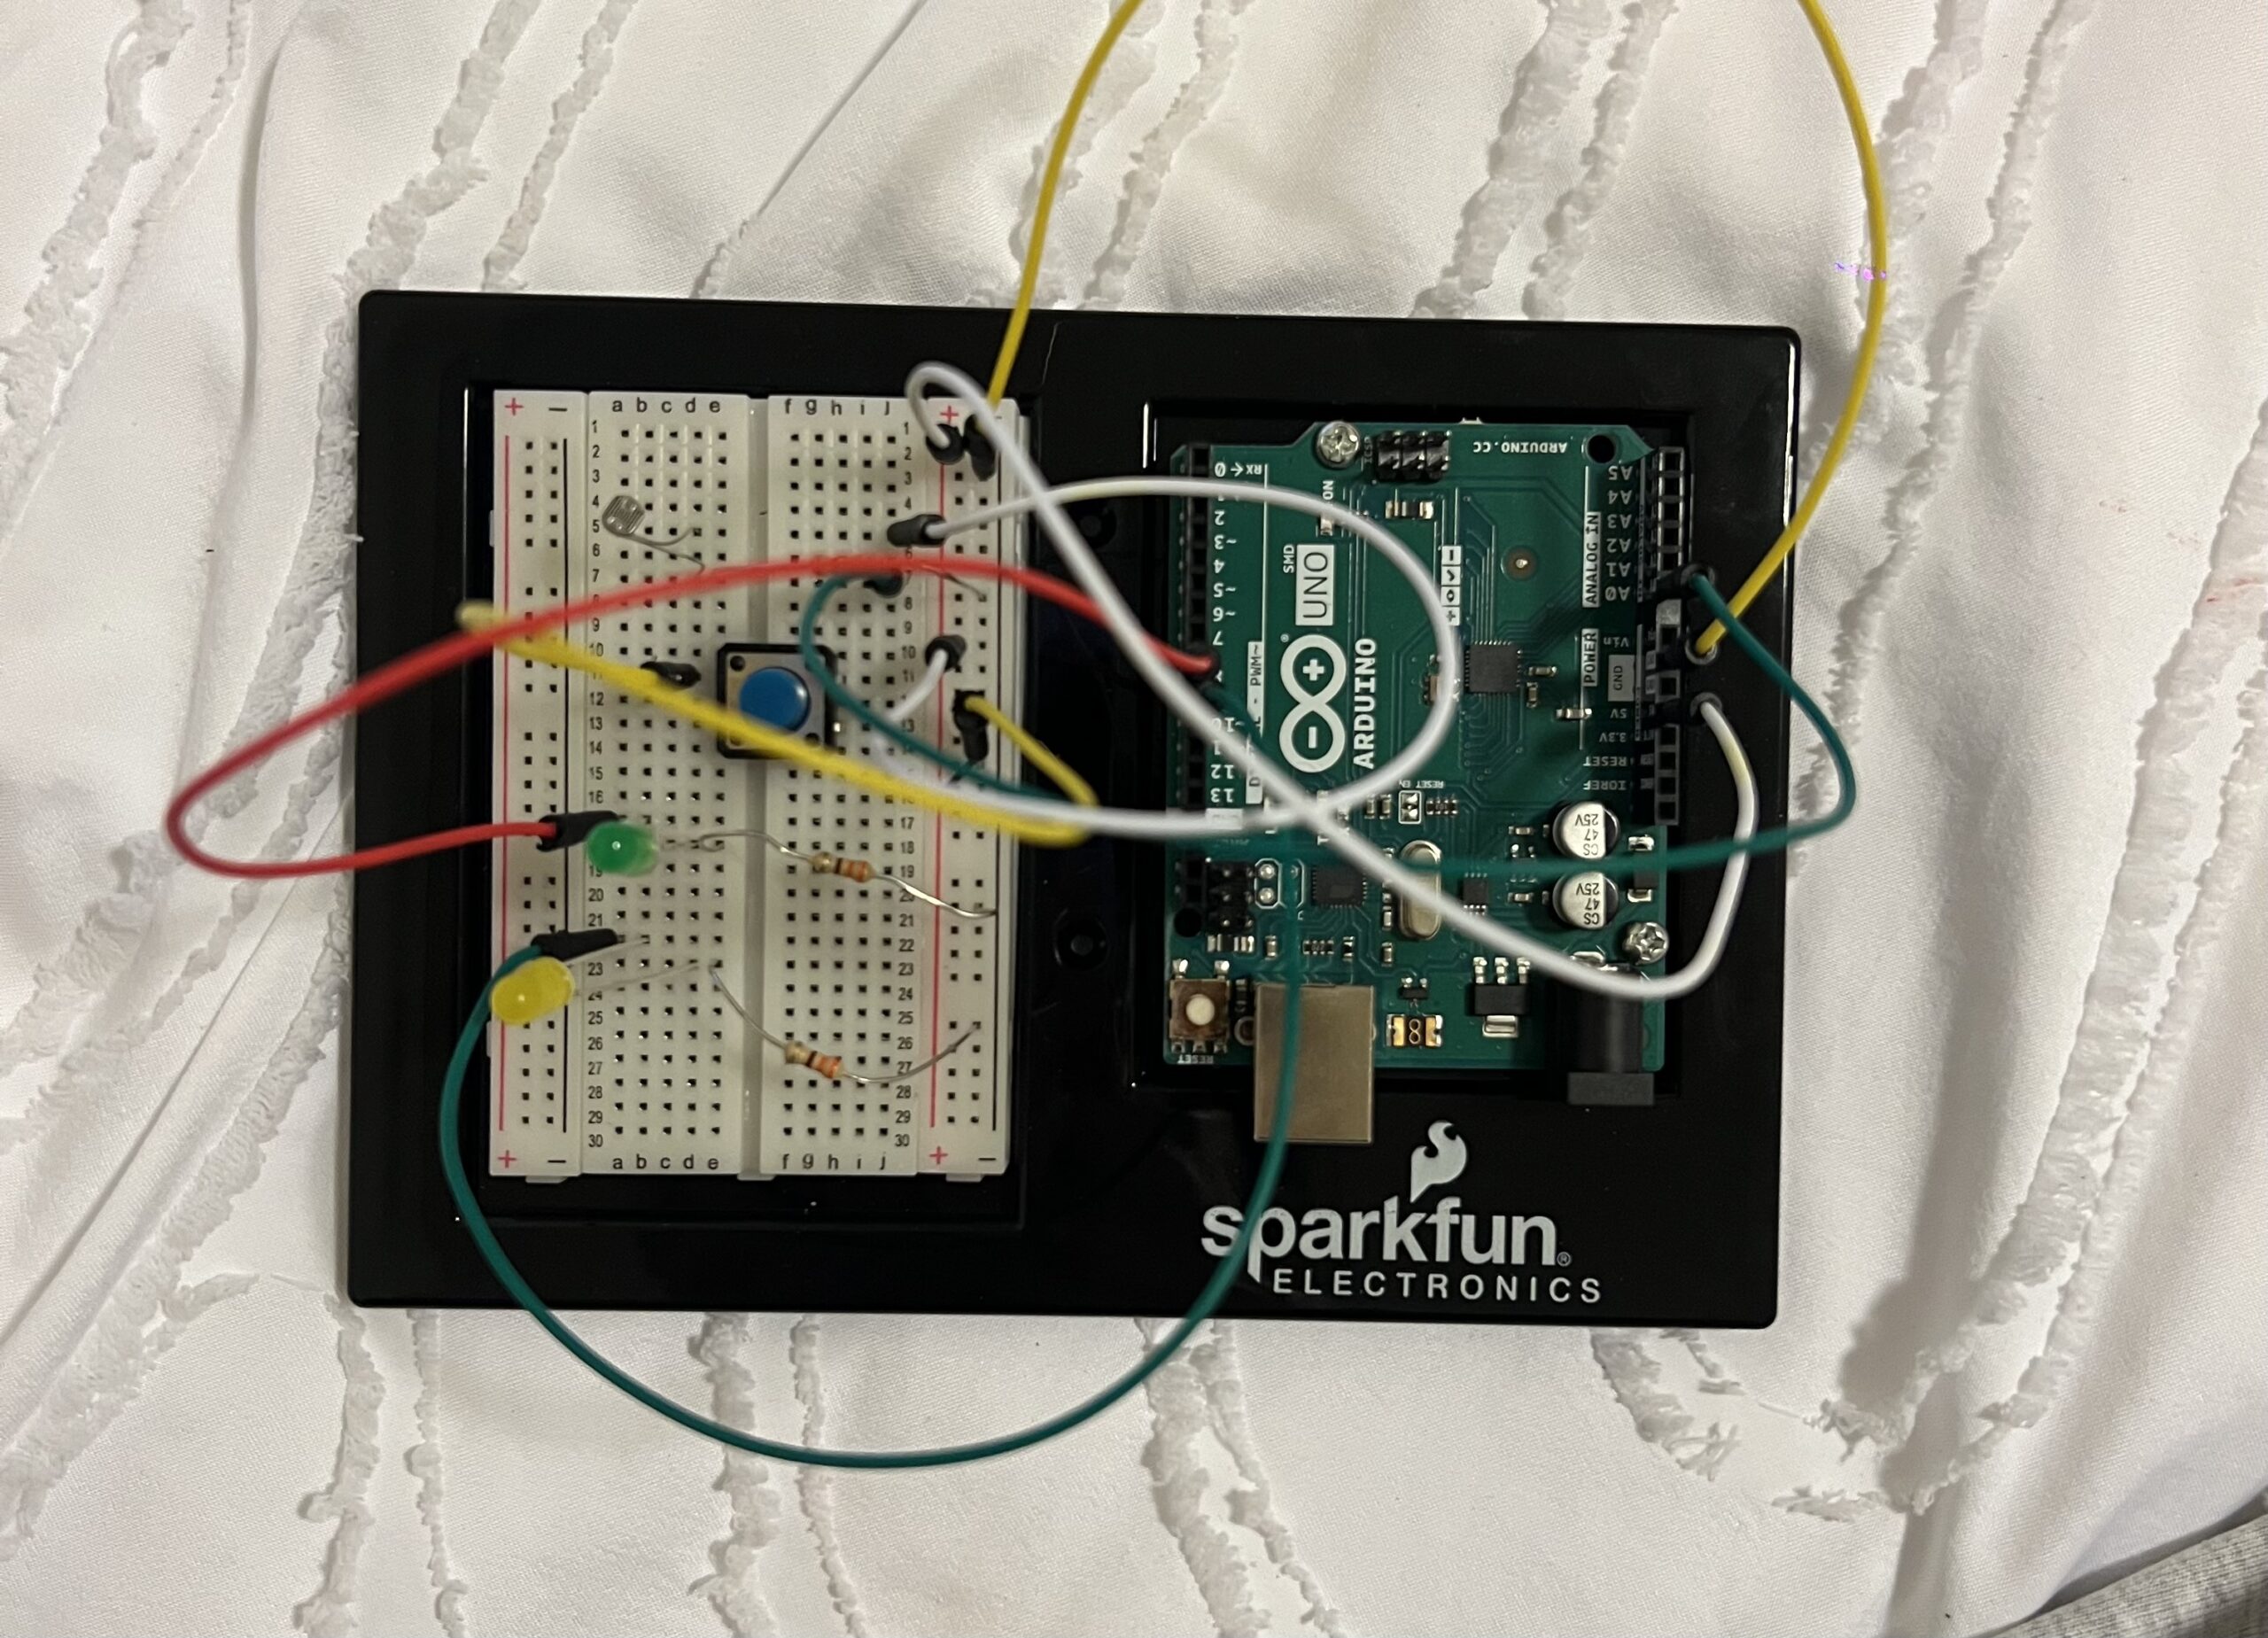
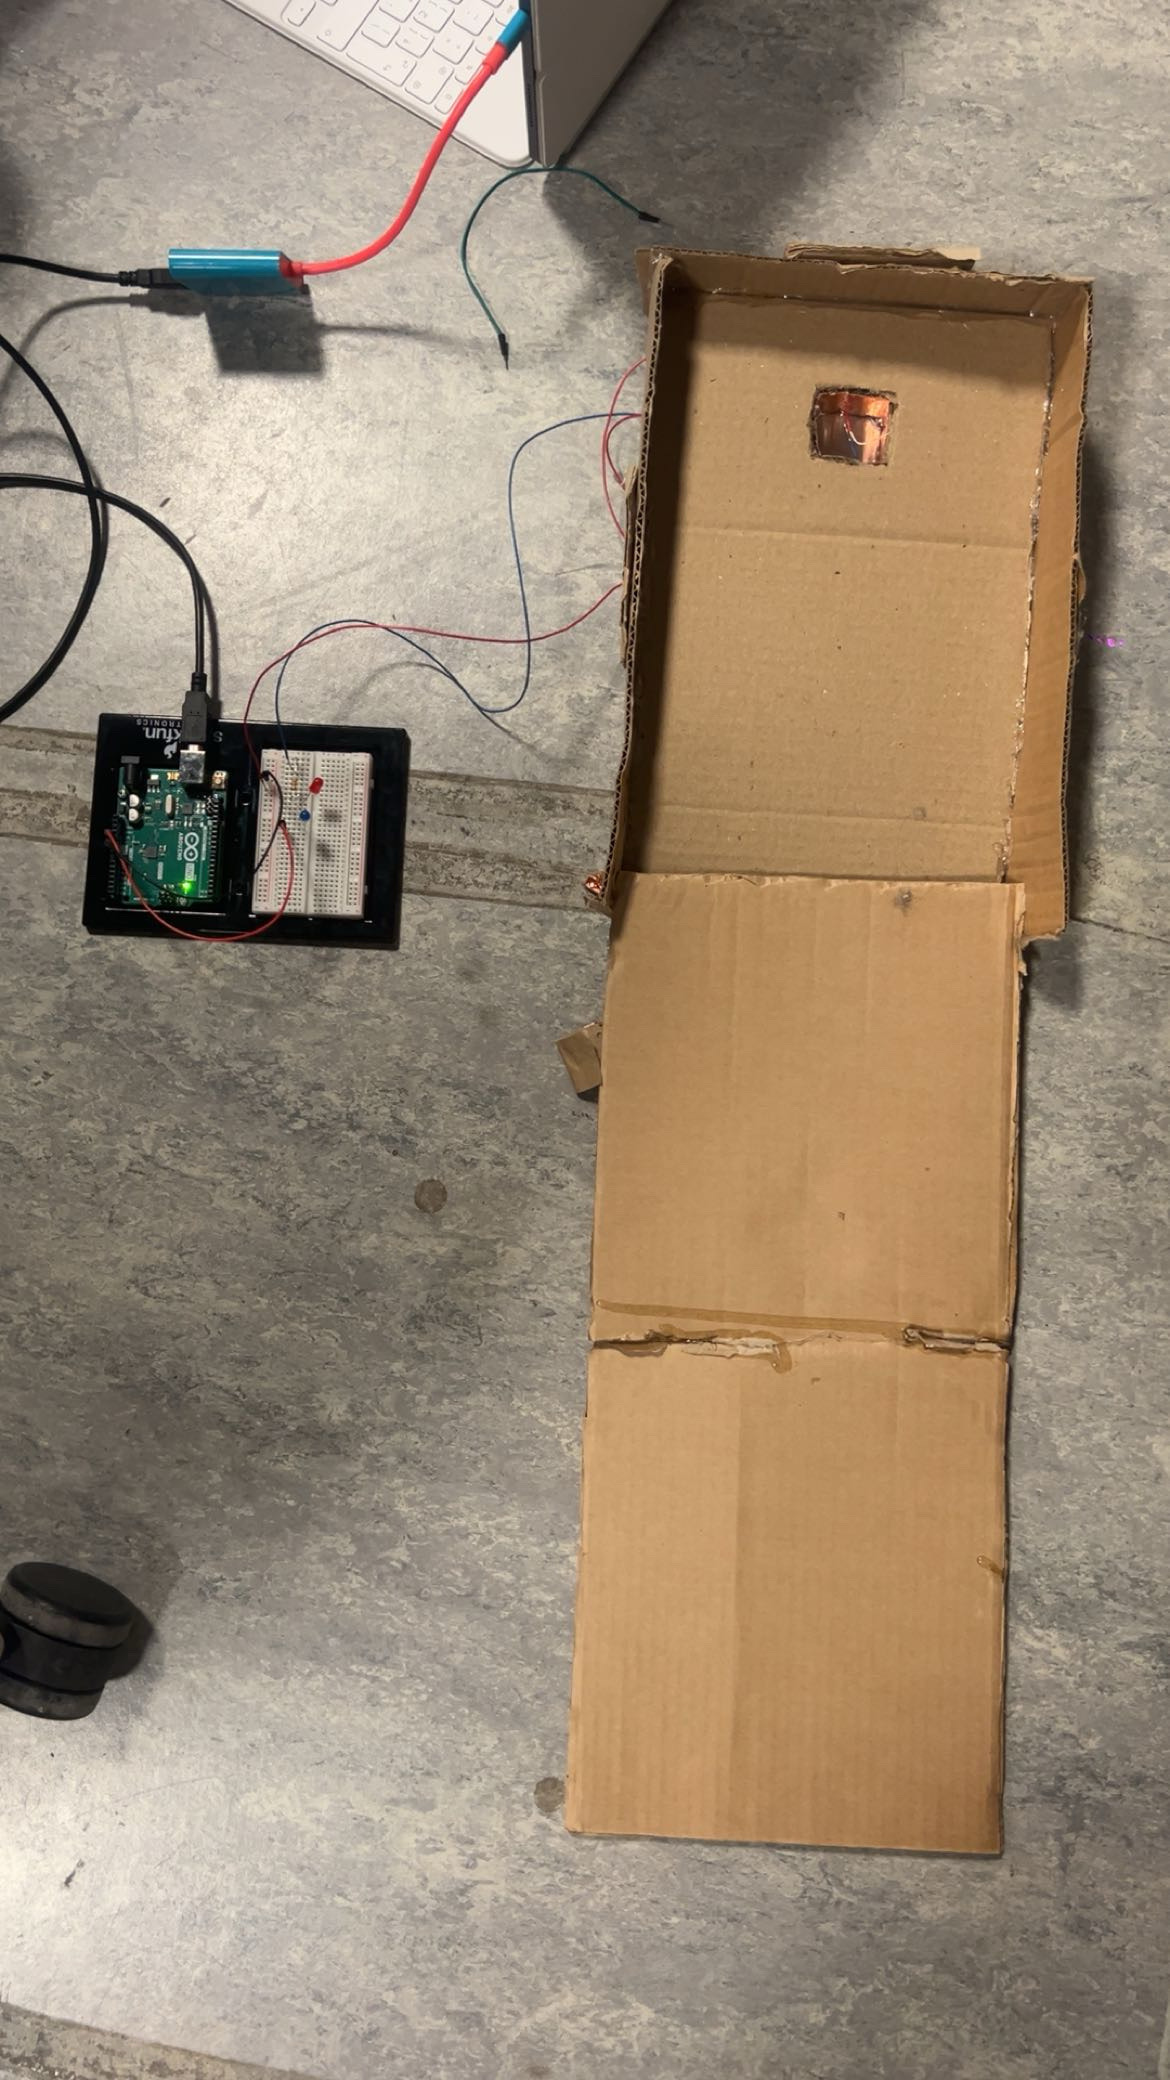
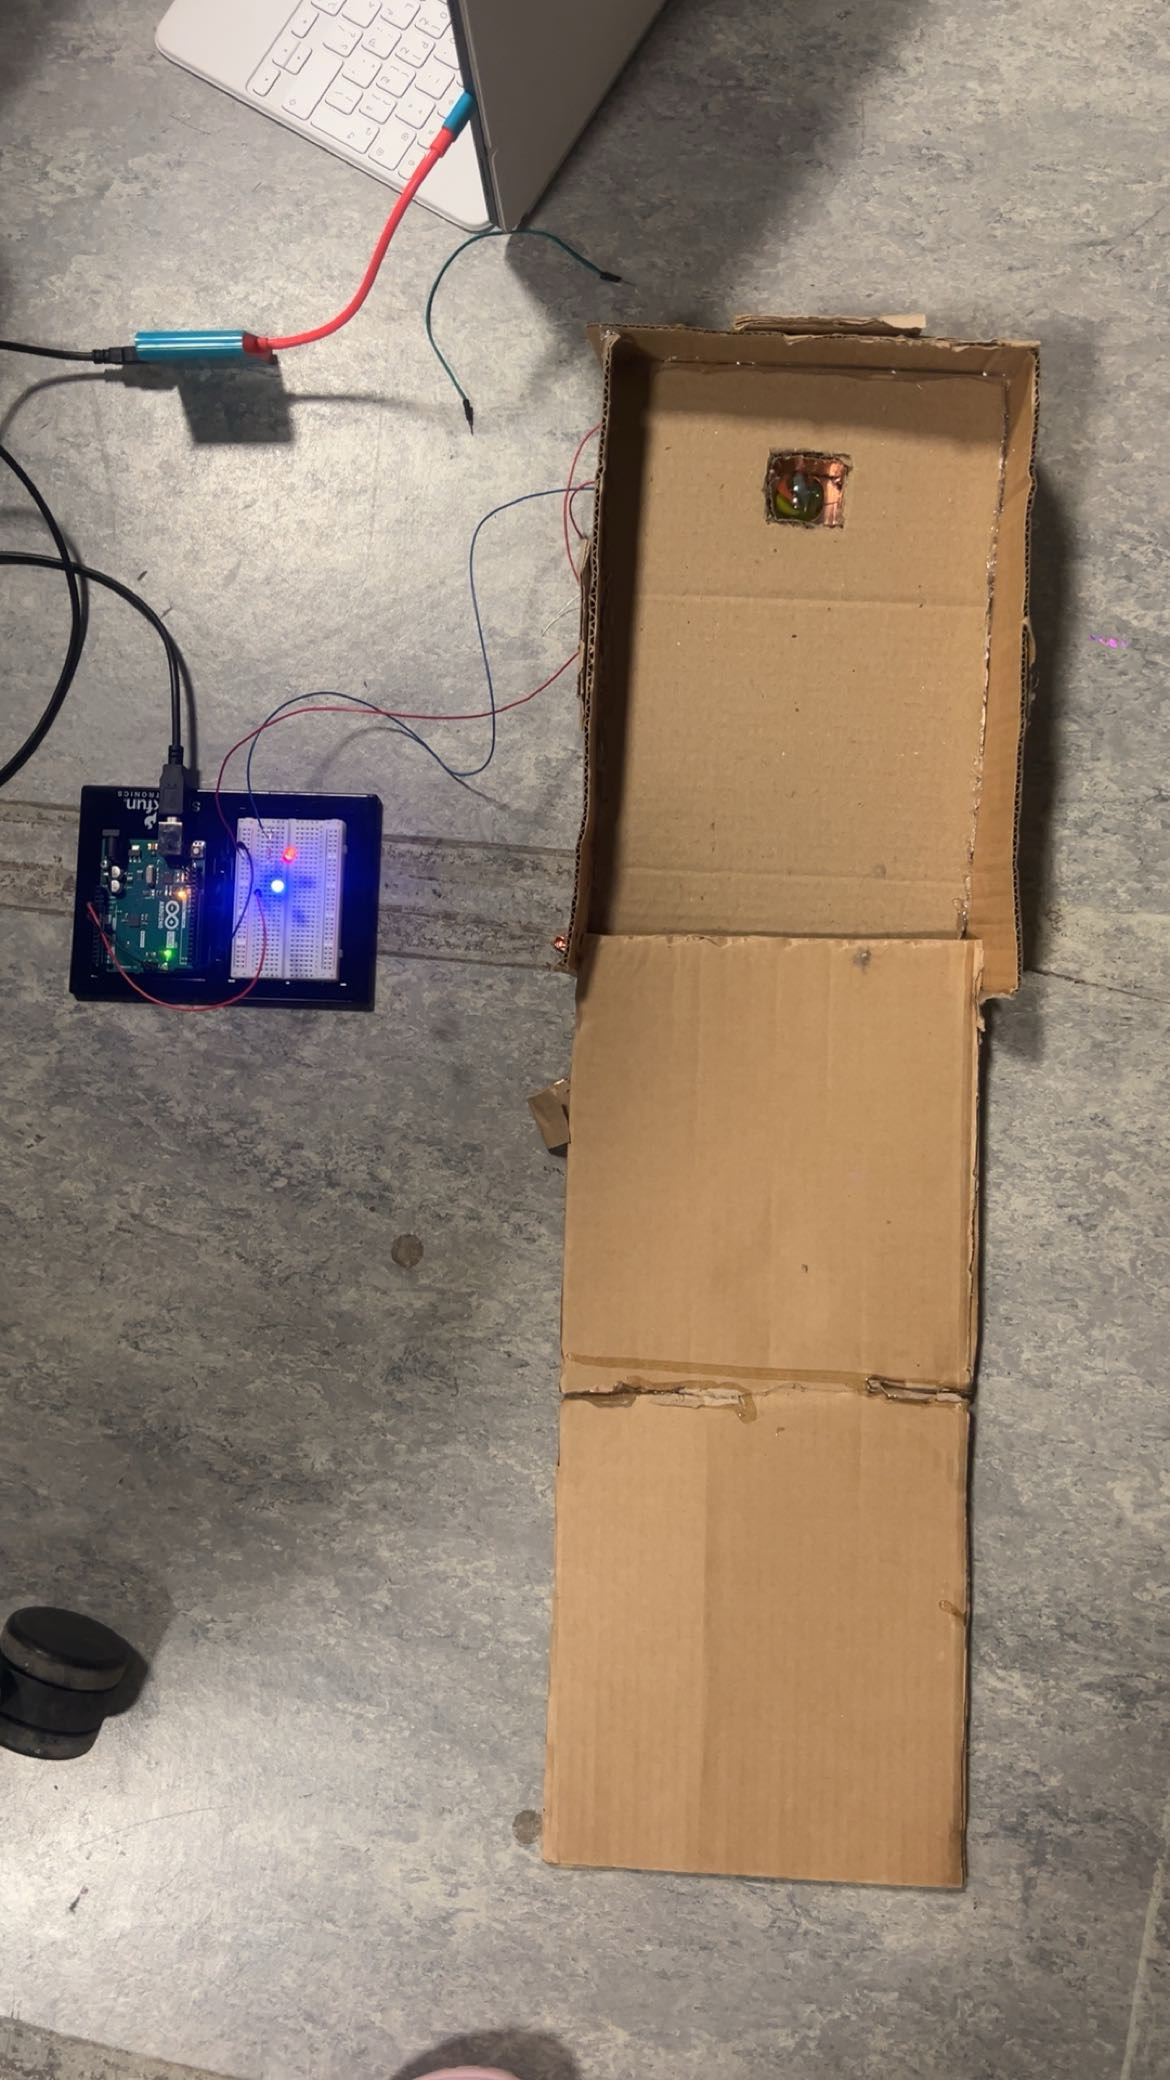
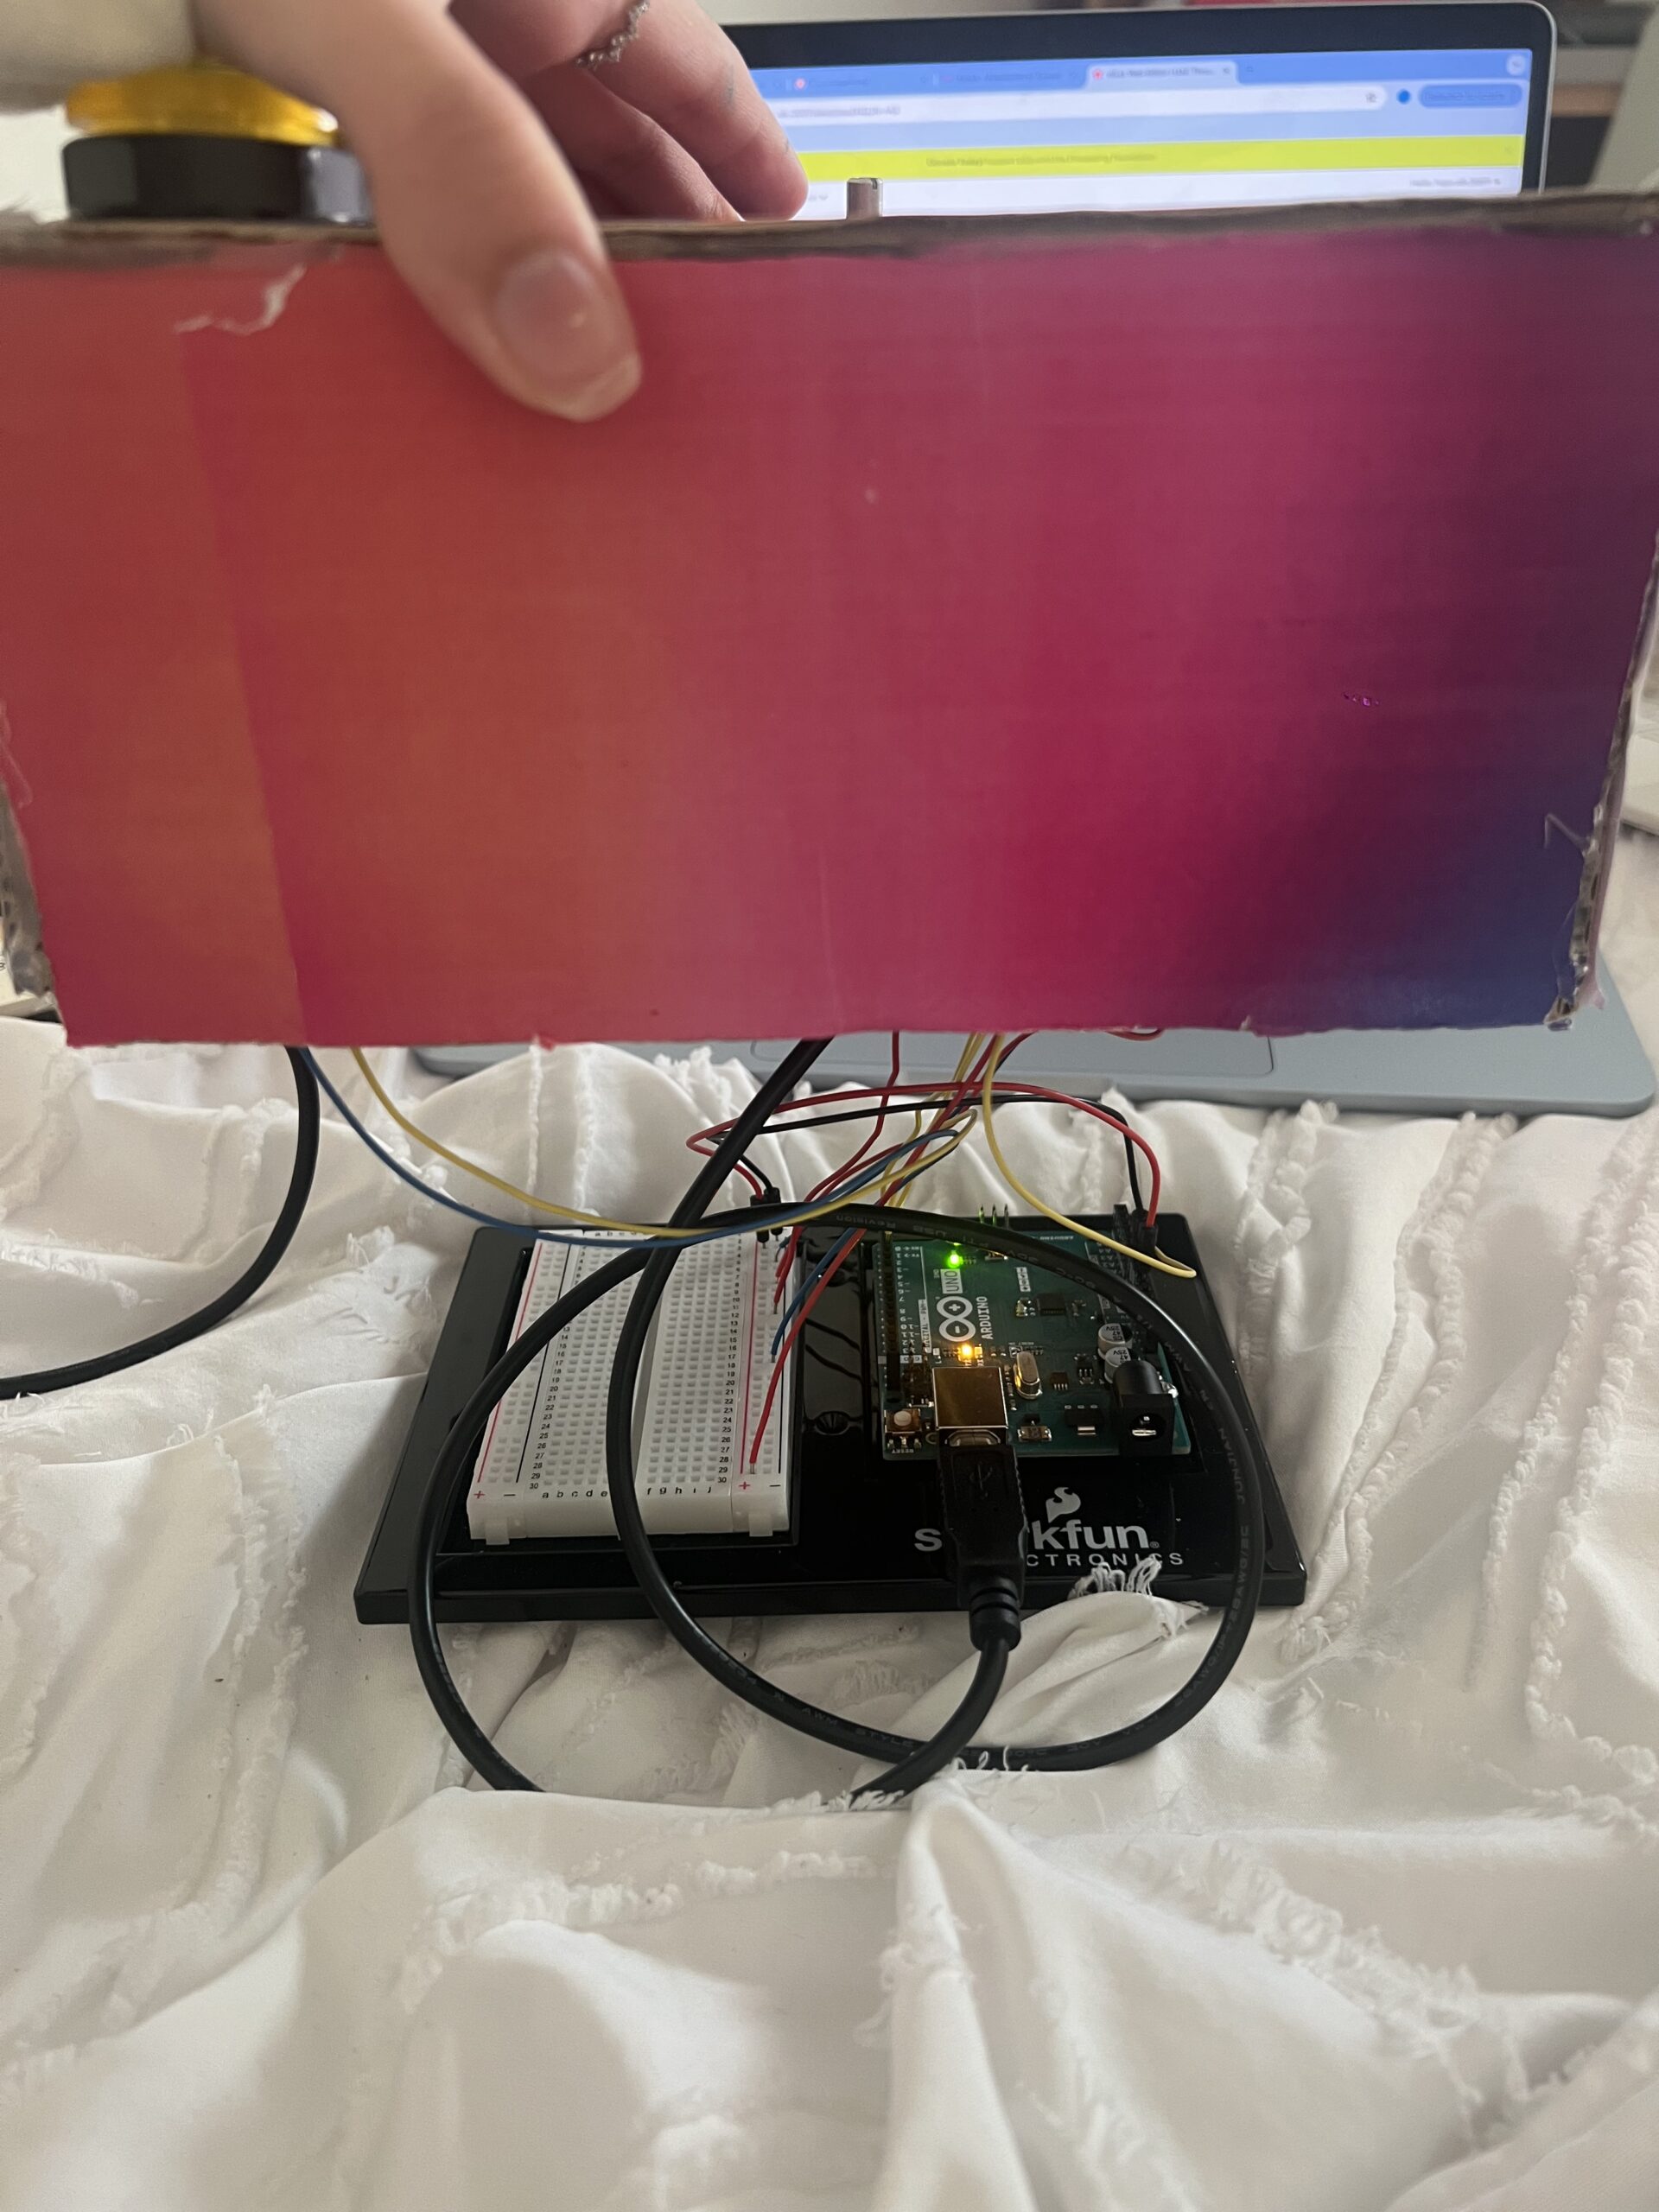
I built the physical simulator using:
- Cardboard and printed graphics
- Buttons and a potentiometer
- Metal wires (which I welded for the first time and it took me one full hour to weld my first button!)
- Arduino and jumper wires
Use of Generative AI
I used AI for visual styling. I first found real photos of the UAE (past, present, and future concept images) and then used AI tools to convert them into cartoon-style illustrations. This helped give the project a consistent artistic style.
I also used AI to help me debug an issue in my p5.js code I sent it the error message and it told me that most probably one of my files name was not the same name I put in the code, which was correct in naming one of my images I accidentally made one of the letters capital and in my code it was lowercase so the code wasn’t running
Design
I used Canva to design the visual aspect
Code Writing & Design
Most of the code is simple enough that I was able to write it myself, but I watched a few YouTube videos to help me understand specific parts, such as Web Serial and Arduino button logic:
Sound source
https://pixabay.com/sound-effects/search/mp3/
Areas for Future Improvement
In the future, I would like to:
• Add more images per era to make the experience richer
• Include more interactive controls, not just day/night
• Maybe add animated elements like moving clouds or cars
• Improve the instruction screen so that users immediately know they can press each button multiple times
• Add richer audio or voice narration explaining the history of the UAE