EXERCISE 01: ARDUINO TO P5 COMMUNICATION
Make something that uses only one sensor on Arduino and makes the ellipse in p5 move on the horizontal axis, in the middle of the screen, and nothing on Arduino is controlled by p5.
P5 code: https://editor.p5js.org/lj2369/full/dO1bxX9t_
let ellipseX = 0; //x value of ellipse to be changed by potentiometer
let B =0;

function setup() {
  createCanvas(640, 480);
  ellipseMode(CENTER);
}

function draw() {
  clear();
  background(0)
  fill(255,0,B);
  ellipse(ellipseX, height/2, 50, 50);


  if (!serialActive) {
    text("Press Space Bar to select Serial Port", 20, 30);
  } else {
    text("Connected", 20, 30);
    // Print the current values
    text('ellipseX = ' + str(ellipseX), 20, 50);
  }
}

function keyPressed() {
  if (key == " ") {

    setUpSerial(); //establish serial communication
  }
}

function readSerial(data) {
  if (data) {    //run only if data is received
    data = data.trim(); // Remove any whitespace
    if (!isNaN(data)) { //check whether data is a number or not
      //debug: console.log("Received:", data);
      ellipseX = int(data);
    }
  }
}
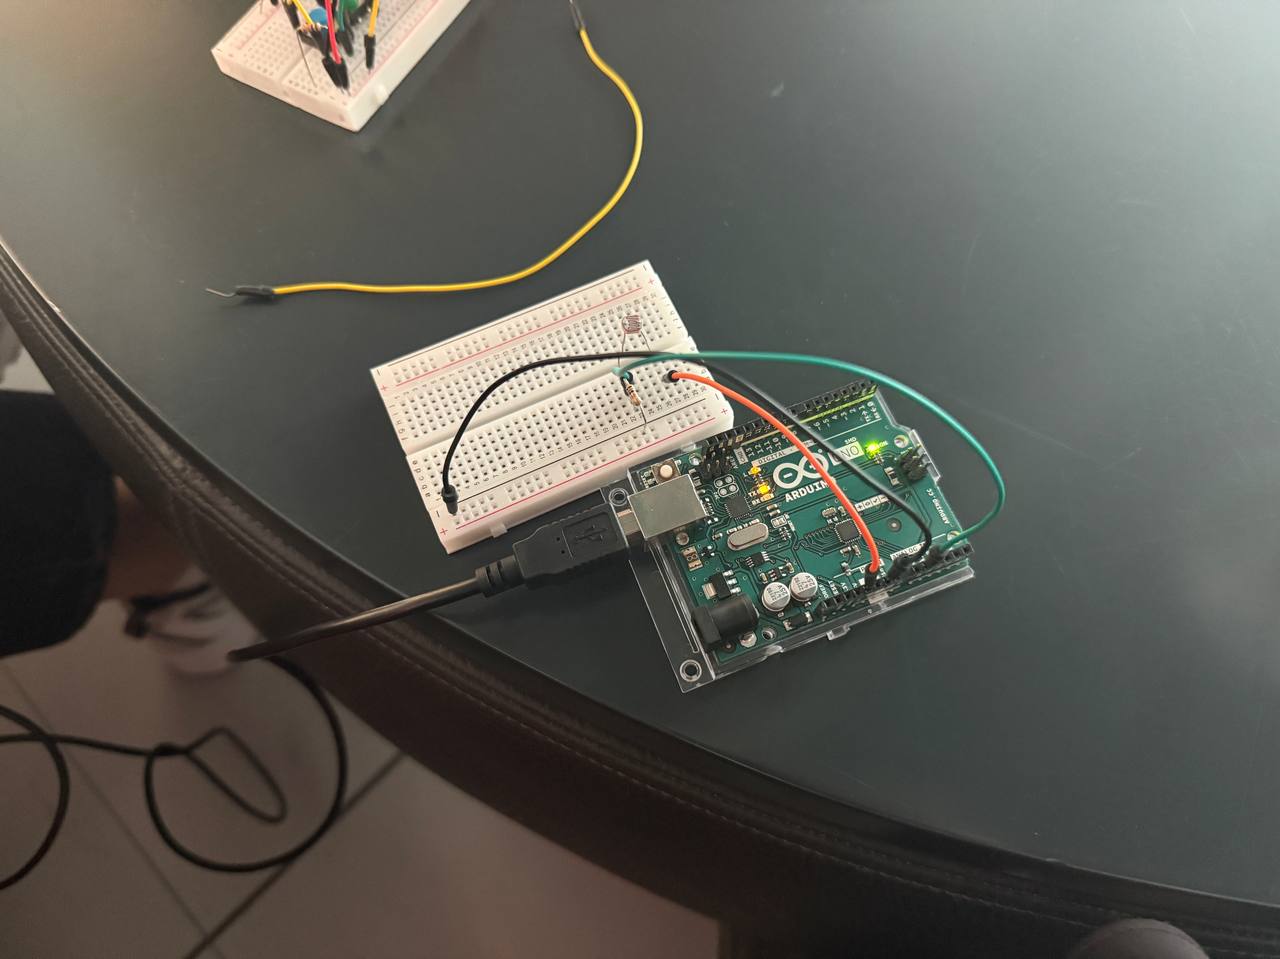
the location of the x of ellipse is being altered by the potentiometer
Arduino ide: https://github.com/lonussss/Intro-to-IM/blob/main/week11exercise1.ino
int sensor = A0;
void setup() {
Serial.begin(9600);
}
void loop() {
int sensorValue= analogRead(sensor);
int mappedValue = map(sensorValue,0,1023,0,640); //mapped value to size of canvas
Serial.println(mappedValue); //send value to p5.js
}
The value from the potentiometer is mapped between 0 and 640, the width of the canvas.
Utilizing a Potentiometer, the ellipse moves along the horizontal axis, while also changing colors by making changes to the B value of fill.
Demonstration:
IMG_3526
EXERCISE 02: P5 TO ARDUINO COMMUNICATION
Make something that controls the LED brightness from p5.
P5 slider to control LED brightness
P5: https://editor.p5js.org/tinganyang/sketches/oFcyYfJaa
let slider;
let brightness = 0;
function setup() {
  createCanvas(400, 400);
  // Create a brightness slider
  slider = createSlider(0, 255, 128);
  slider.position(width/2, height/2);
  slider.style('width', '100px');
}
function draw() {
  background(255);
  if (!serialActive) {
    textAlign(CENTER)
    text("Press Space Bar to select Serial Port", width/2, height/3);
  } else {
    text("Connected", width/2, height/3);
  }
  brightness = slider.value();
}
function keyPressed() {
  if (key == " ") {
    // important to have in order to start the serial connection!!
    setUpSerial();
  }
}
function readSerial(data) {
  console.log(data);
    let dataToSend = brightness + ", \n";
    writeSerial(dataToSend);
}
A slider is created and data from it is sent to the arduino.
Arduino: https://github.com/Ting-AnYang/Intro-to-IM/blob/ebd695cde4ece4858599434e4cc13a205d2b5aef/Week11%20Exercise%202.ino
const int ledPin = 9;
void setup() {
  pinMode(ledPin, OUTPUT);
  Serial.begin(9600);
}
void loop() {
  Serial.println("sensor");
  if (Serial.available() > 0) {
    int brightness = Serial.parseInt();
    brightness = constrain(brightness, 0, 255);
    analogWrite(ledPin, brightness);
  }
}
Based on the input from the p5 sketch, the LED’s brightness is adjusted accordingly.
Demonstration:
IMG_8413
EXERCISE 03: BI-DIRECTIONAL COMMUNICATION
Take the gravity wind example and make it so:
every time the ball bounces one led lights up and then turns off,
and you can control the wind from one analog sensor
Using a potentiometer mapped from -2 to 2, when the potentiometer is towards the left, the wind blows towards the left, and vice versa. The LED lights up every time the ball touches the bottom edge of the canvas.
P5: https://editor.p5js.org/lj2369/full/EbBBWKl0S
function draw() {
  background(255);
  applyForce(wind);
  applyForce(gravity);
  velocity.add(acceleration);
  velocity.mult(drag);
  position.add(velocity);
  acceleration.mult(0);
  ellipse(position.x,position.y,mass,mass);
  if (position.y > height-mass/2) {
      velocity.y *= -0.9;  // A little dampening when hitting the bottom
      position.y = height-mass/2;


    if(serialActive){
      writeSerial("bounced\n");
    }
    }
  // Check for collisions with the left wall
  if (position.x < mass / 2) {
    velocity.x =0; // Reverse horizontal velocity (bounce)
    position.x = mass / 2; // Correct position
  }

  // Check for collisions with the right wall
  if (position.x > width - mass / 2) {
    velocity.x =0; // Reverse horizontal velocity (bounce)
    position.x = width - mass / 2; // Correct position
  }
}

f

function readSerial(data){

  if (data != null){
    wind.x=int(data);
    console.log("working");

  }
}
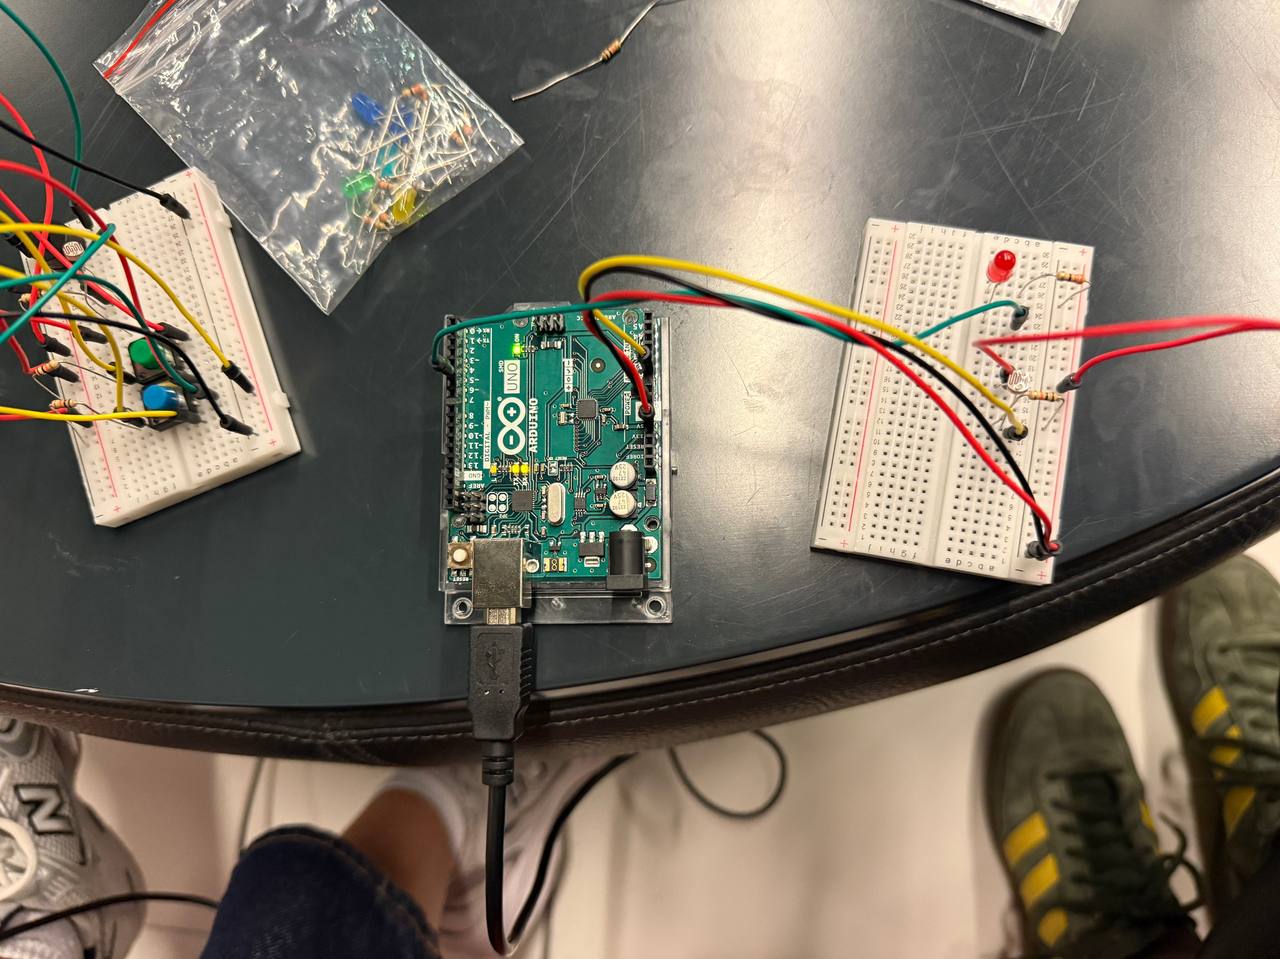
A serial signal is sent to arduino everytime the ball touches the bottom of the canvas, resulting in the led to light up on the arduino. The potentiometer’s value will be reflected in the direction that the wind is blowing on the ball. I also added two walls on the right and left sides of the canvas, to prevent the wind from blowing the ball outside of the canvas.
Arudino: https://github.com/lonussss/Intro-to-IM/blob/main/week11exercise3.ino
int ledPin = 8;       // Pin connected to the LED
int sensorPin = A0;   // Pin connected to the analog sensor
String inputString = "";  // String to accumulate incoming serial data
bool stringComplete = false; // Flag to check if a full command is received

void setup() {
  pinMode(ledPin, OUTPUT);
  Serial.begin(9600);
}

void loop() {


  while(Serial.available()){
    String bounced = Serial.readStringUntil('\n');  //read serial string until new line
    if(bounced == "bounced"){
      flashLED();
    }
  int sensorValue = analogRead(sensorPin); // Read the analog sensor value
  int mappedValue = map(sensorValue, 0, 1023, -3 ,3);  // Map the sensor value to a range (-3 to 3)
  Serial.println(mappedValue); // Send the mapped value to p5.js
  }


}

void flashLED() {
  digitalWrite(ledPin, HIGH); // Turn LED on
  delay(100);                 // Keep LED on for 100 ms
  digitalWrite(ledPin, LOW);  // Turn LED off
}
There’s a function called flashLED which flashes the led 100ms whenever the ball touches the bottom of the canvas. The potentiometer is mapped between -3, and 3. The input will be reflected on the wind in p5.
Demonstration:
IMG_3537