
CONCEPTS:

INTERACTION DESIGN
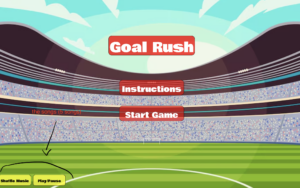
- Title Screen:
- Features:
- Displays the game title with an bold font.
- Includes buttons for “Start Game”, “Instructions” and “shuffle – play/pause” for music.
- Design Choices:
- Used bold colors and a clean layout for clarity and visual appeal.
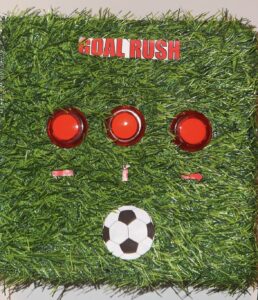
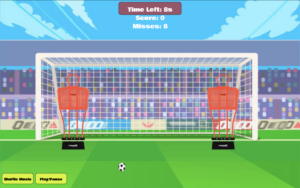
- Gameplay:
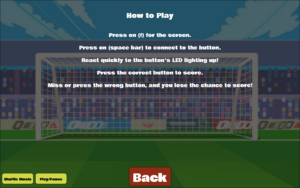
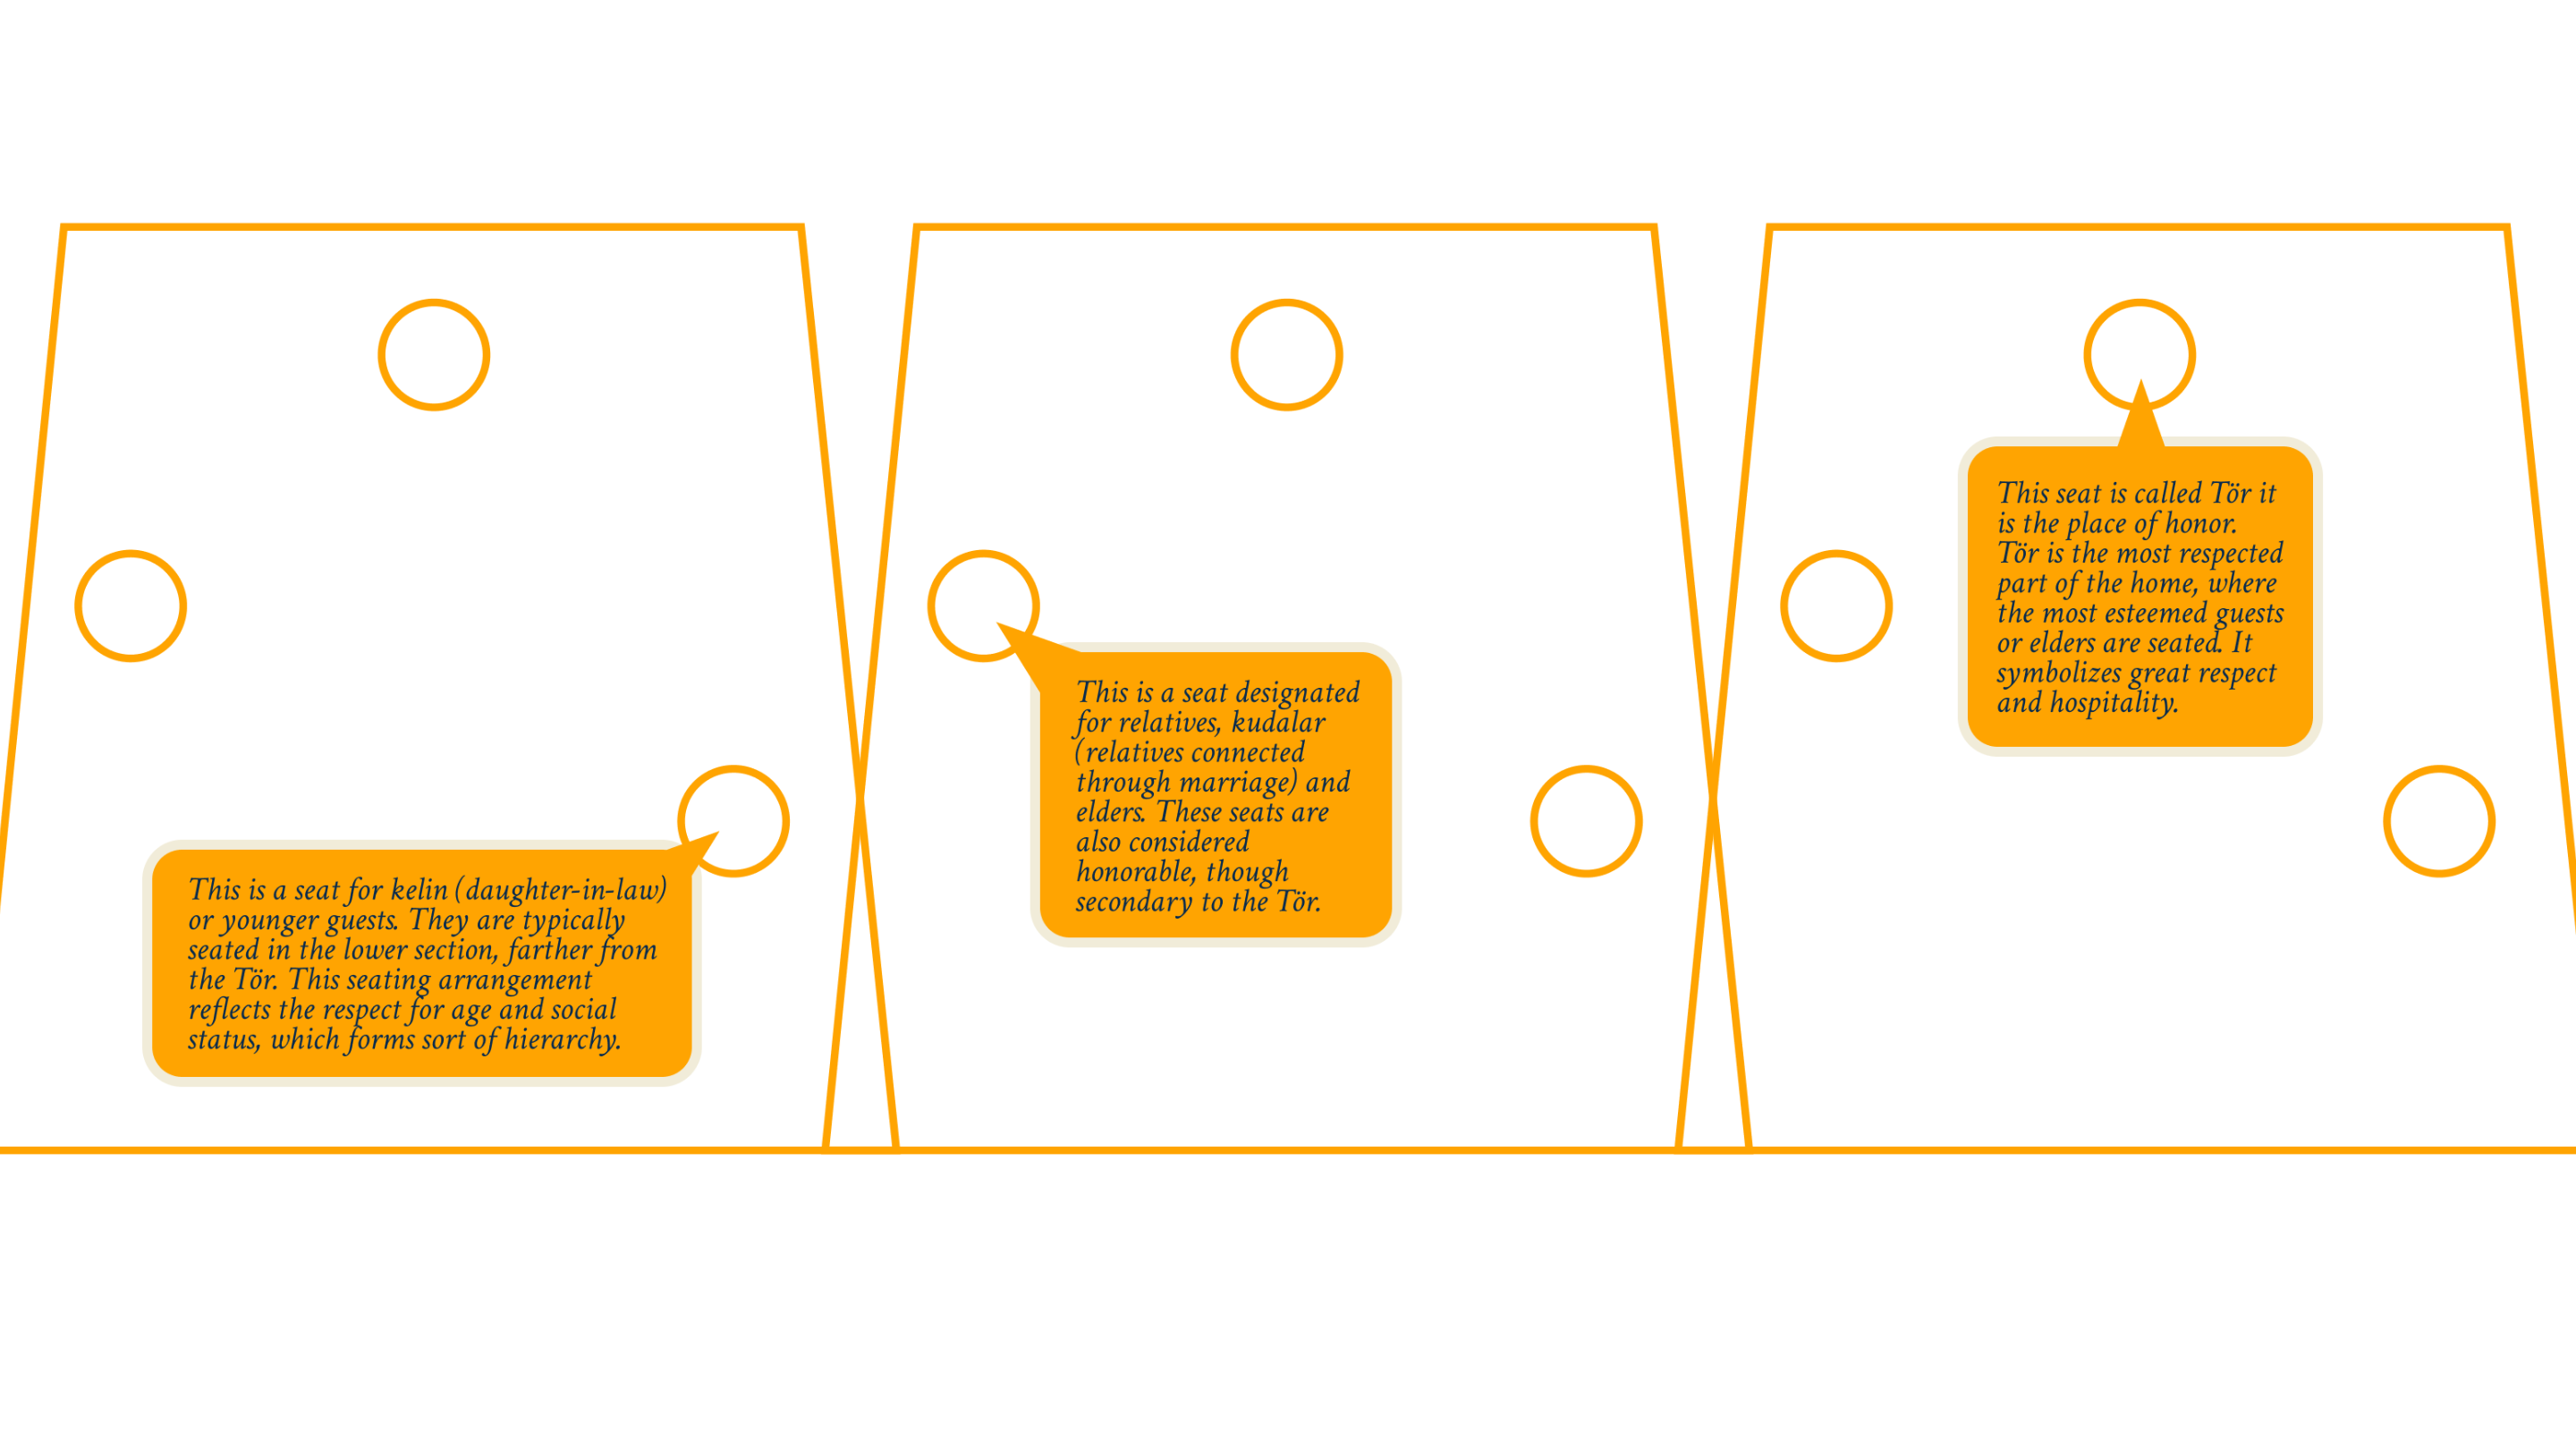
- Press the matching led button that lights up to score.
- Correct button presses make the ball move toward the goal, simulating a successful shot.
- Incorrect or missed presses (not pressed within 1 sec) result in the ball hitting a mannequin, simulating a failed shot.
- Additional on-screen buttons allow players to shuffle music or play/pause background tracks.
- Feedback: The game uses visual (ball movement) and auditory (goal or miss sounds) feedback. Background music inspired by FIFA enhances the immersive experience
- Features:
- End Screen:
-
- Displays the final score and missed attempts.
- Includes buttons to restart the game or return to the main menu
DESCRIPTION OF P5.JS CODE:
The p5.js sketch manages the visuals, sounds, and game state.
- Key Features:
- Dynamic Visuals: Updates scores, displays animations for goals and misses, and tracks time.
- Audio Feedback: Plays sound effects for scoring and missing.
- Serial Data Handling: Receives and processes data from Arduino.
- Code Snippets:
- Serial Data Handling:
function readSerial(data) {
  if (data === "BUTTON:CORRECT") {
    score++;
    // Animate football to the goal
  } else if (data === "BUTTON:WRONG") {
    missedShots++;
    // Animate football to the mannequin
  }
}
- Music Control:
function toggleMusic() {
  if (isMusicPlaying) {
    backgroundSounds[currentTrackIndex].pause();
    isMusicPlaying = false;
  } else {
    backgroundSounds[currentTrackIndex].play();
    isMusicPlaying = true;
  }
}
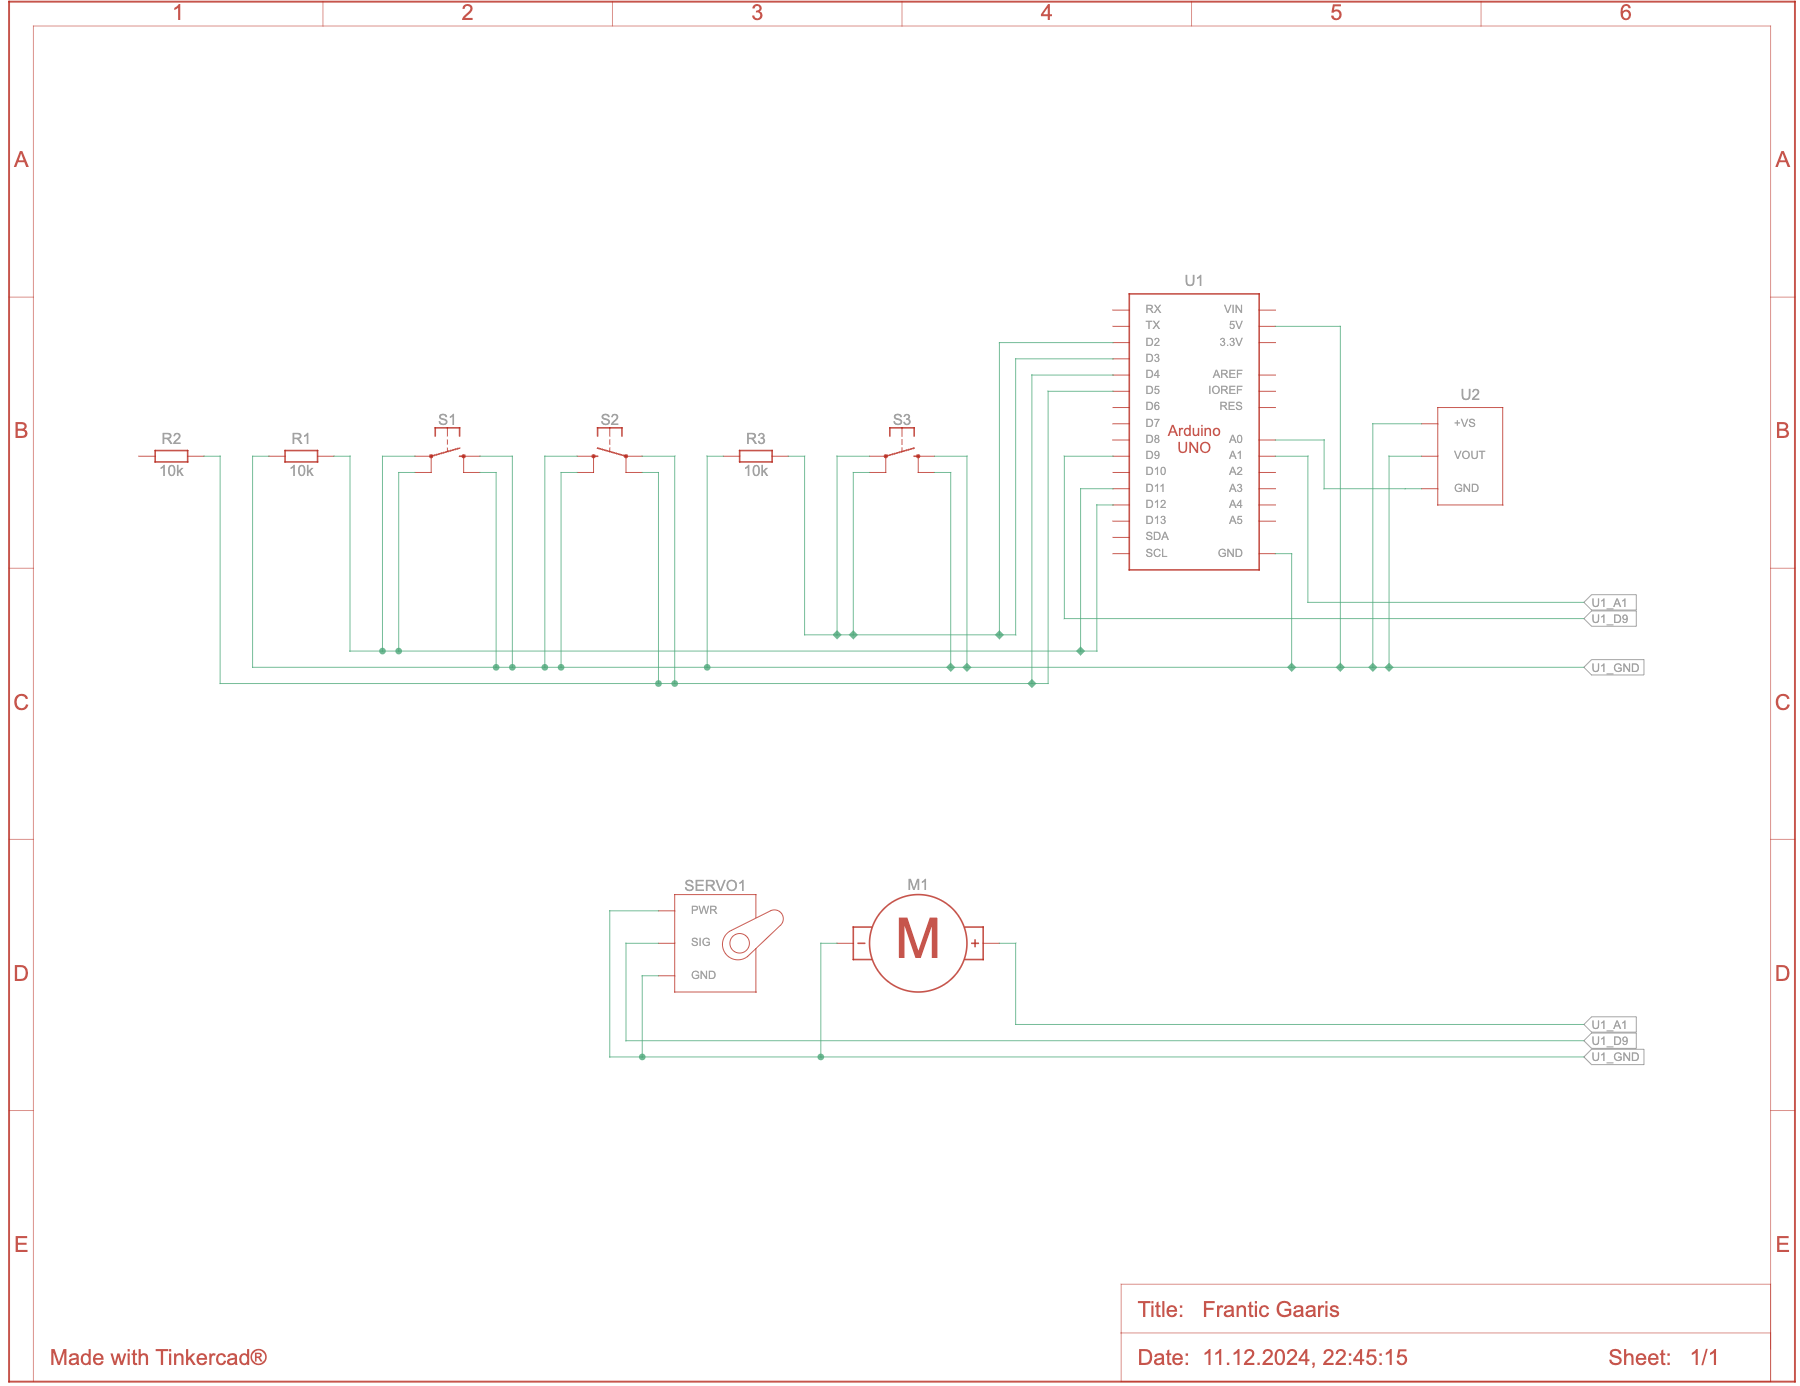
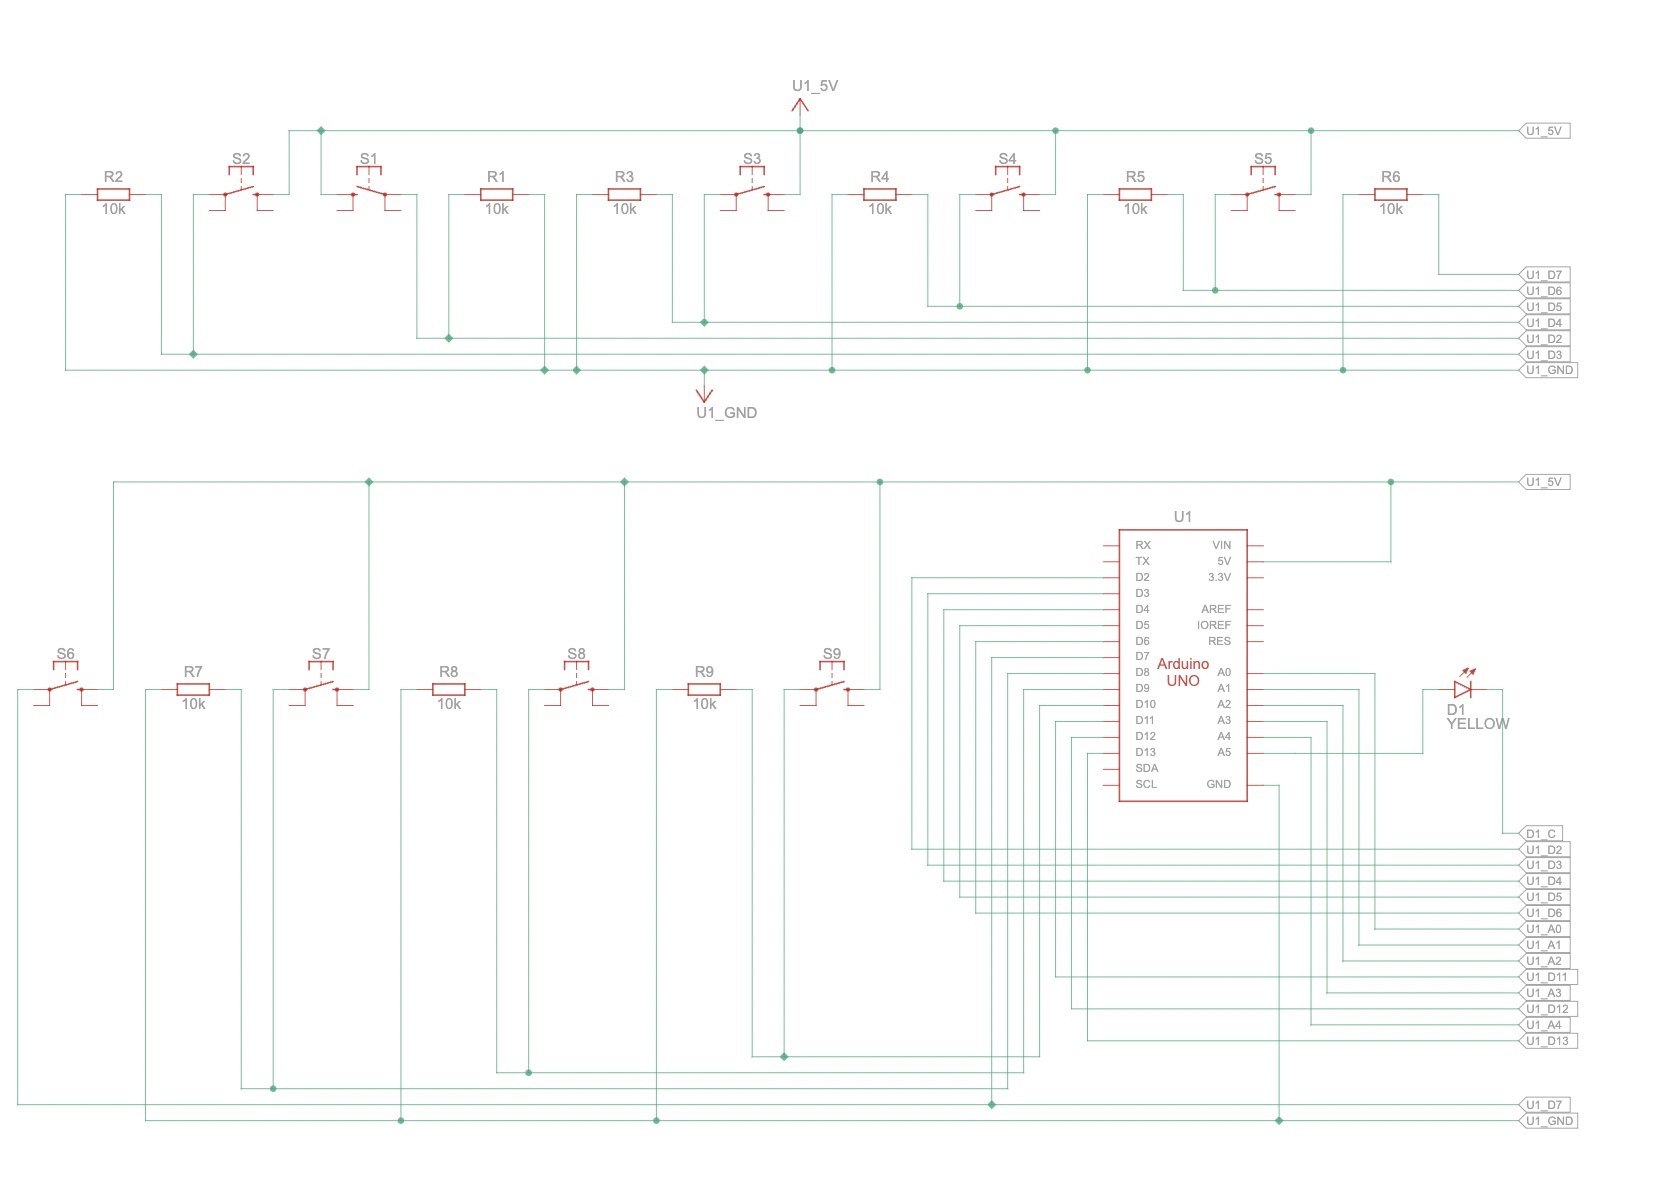
DESCRIPTION OF ARDUINO CODE:
The Arduino code handles LED prompts, button detection, and serial communication with p5.js.
Key Components:
- LED Control:
- LEDs light up randomly, prompting user action:
void lightUpLED(int index) {
  for (int i = 0; i < 3; i++) {
    digitalWrite(ledPins[i], (i == index) ? HIGH : LOW);
  }
}
- LEDs turn off after a button is pressed or the timeout ends:
void turnOffLEDs() {
  for (int i = 0; i < 3; i++) {
    digitalWrite(ledPins[i], LOW);
  }
}
Button Detection:
- Checks if the correct button is pressed:
void checkButtonPress() {
  if (targetLED != -1 && digitalRead(buttonPins[targetLED]) == LOW) {
    Serial.println("BUTTON:CORRECT");
    targetLED = -1;
    turnOffLEDs();
  } else {
    for (int i = 0; i < 3; i++) {
      if (i != targetLED && digitalRead(buttonPins[i]) == LOW) {
        Serial.println("BUTTON:WRONG");
        targetLED = -1;
        turnOffLEDs();
        break;
      }
    }
  }
}
Serial Communication:
- Sends formatted data to p5.js:
void sendLEDSignal(int ledIndex) {
  Serial.print("LED:");
  Serial.println(ledIndex);
}
Listens for responses from p5.js:
if (Serial.available()) {
  String command = Serial.readStringUntil('\n');
  if (command.startsWith("LED:")) {
    targetLED = command.substring(4).toInt();
    lightUpLED(targetLED);
  }
}
COMMUNICATION BETWEEN P5 AND ARDUINO:
How It Works:
- Arduino sends data about user responses (correct or wrong button presses) to p5.js.
- p5.js uses this data to update the game state:
- Correct responses move the football to the goal and increase the score.
- Incorrect responses move the football to a mannequin and increase missed attempts.
- p5.js also sends signals back to Arduino to light up LEDs.
Challenges Overcome:
- Initial miscommunication due to overlapping signals was resolved by implementing a debounce delay in Arduino and validation logic in p5.js.
CHALLENGES FACED:
One major challenge was managing communication between Arduino and p5.js. Initially, multiple data packets were sent for a single button press, causing disruptions in the game. To fix this, I added a debounce delay in the Arduino code:
if (magnitudeG > impactThreshold) {
  Serial.print("BUTTON:CORRECT");
  delay(200); // Debounce to avoid multiple signals
}
This ensured only one signal was sent per button press. I also validated inputs in p5.js by processing only expected packets like "BUTTON:CORRECT", which resolved signal misinterpretations.
Another challenge was ensuring strong soldering connections for the buttons and LEDs. My first attempts were unreliable, but then I secured the connections, improving hardware stability.
WHAT IM PROUD OF:
I’m proud of successfully integrating Arduino and p5.js to create a smooth and responsive game. Features like the animated football, scoring system, and FIFA-inspired music enhanced the user experience. Solving technical issues, such as serial communication and soldering, was rewarding, as they significantly improved the gameplay experience.
FUTURE IMPROVEMENTS:
RESOURCES USED:
https://www.instructables.com/Plug-and-Play-Arcade-Buttons/
https://editor.p5js.org/jps723/sketches/Byvw1lu6Z
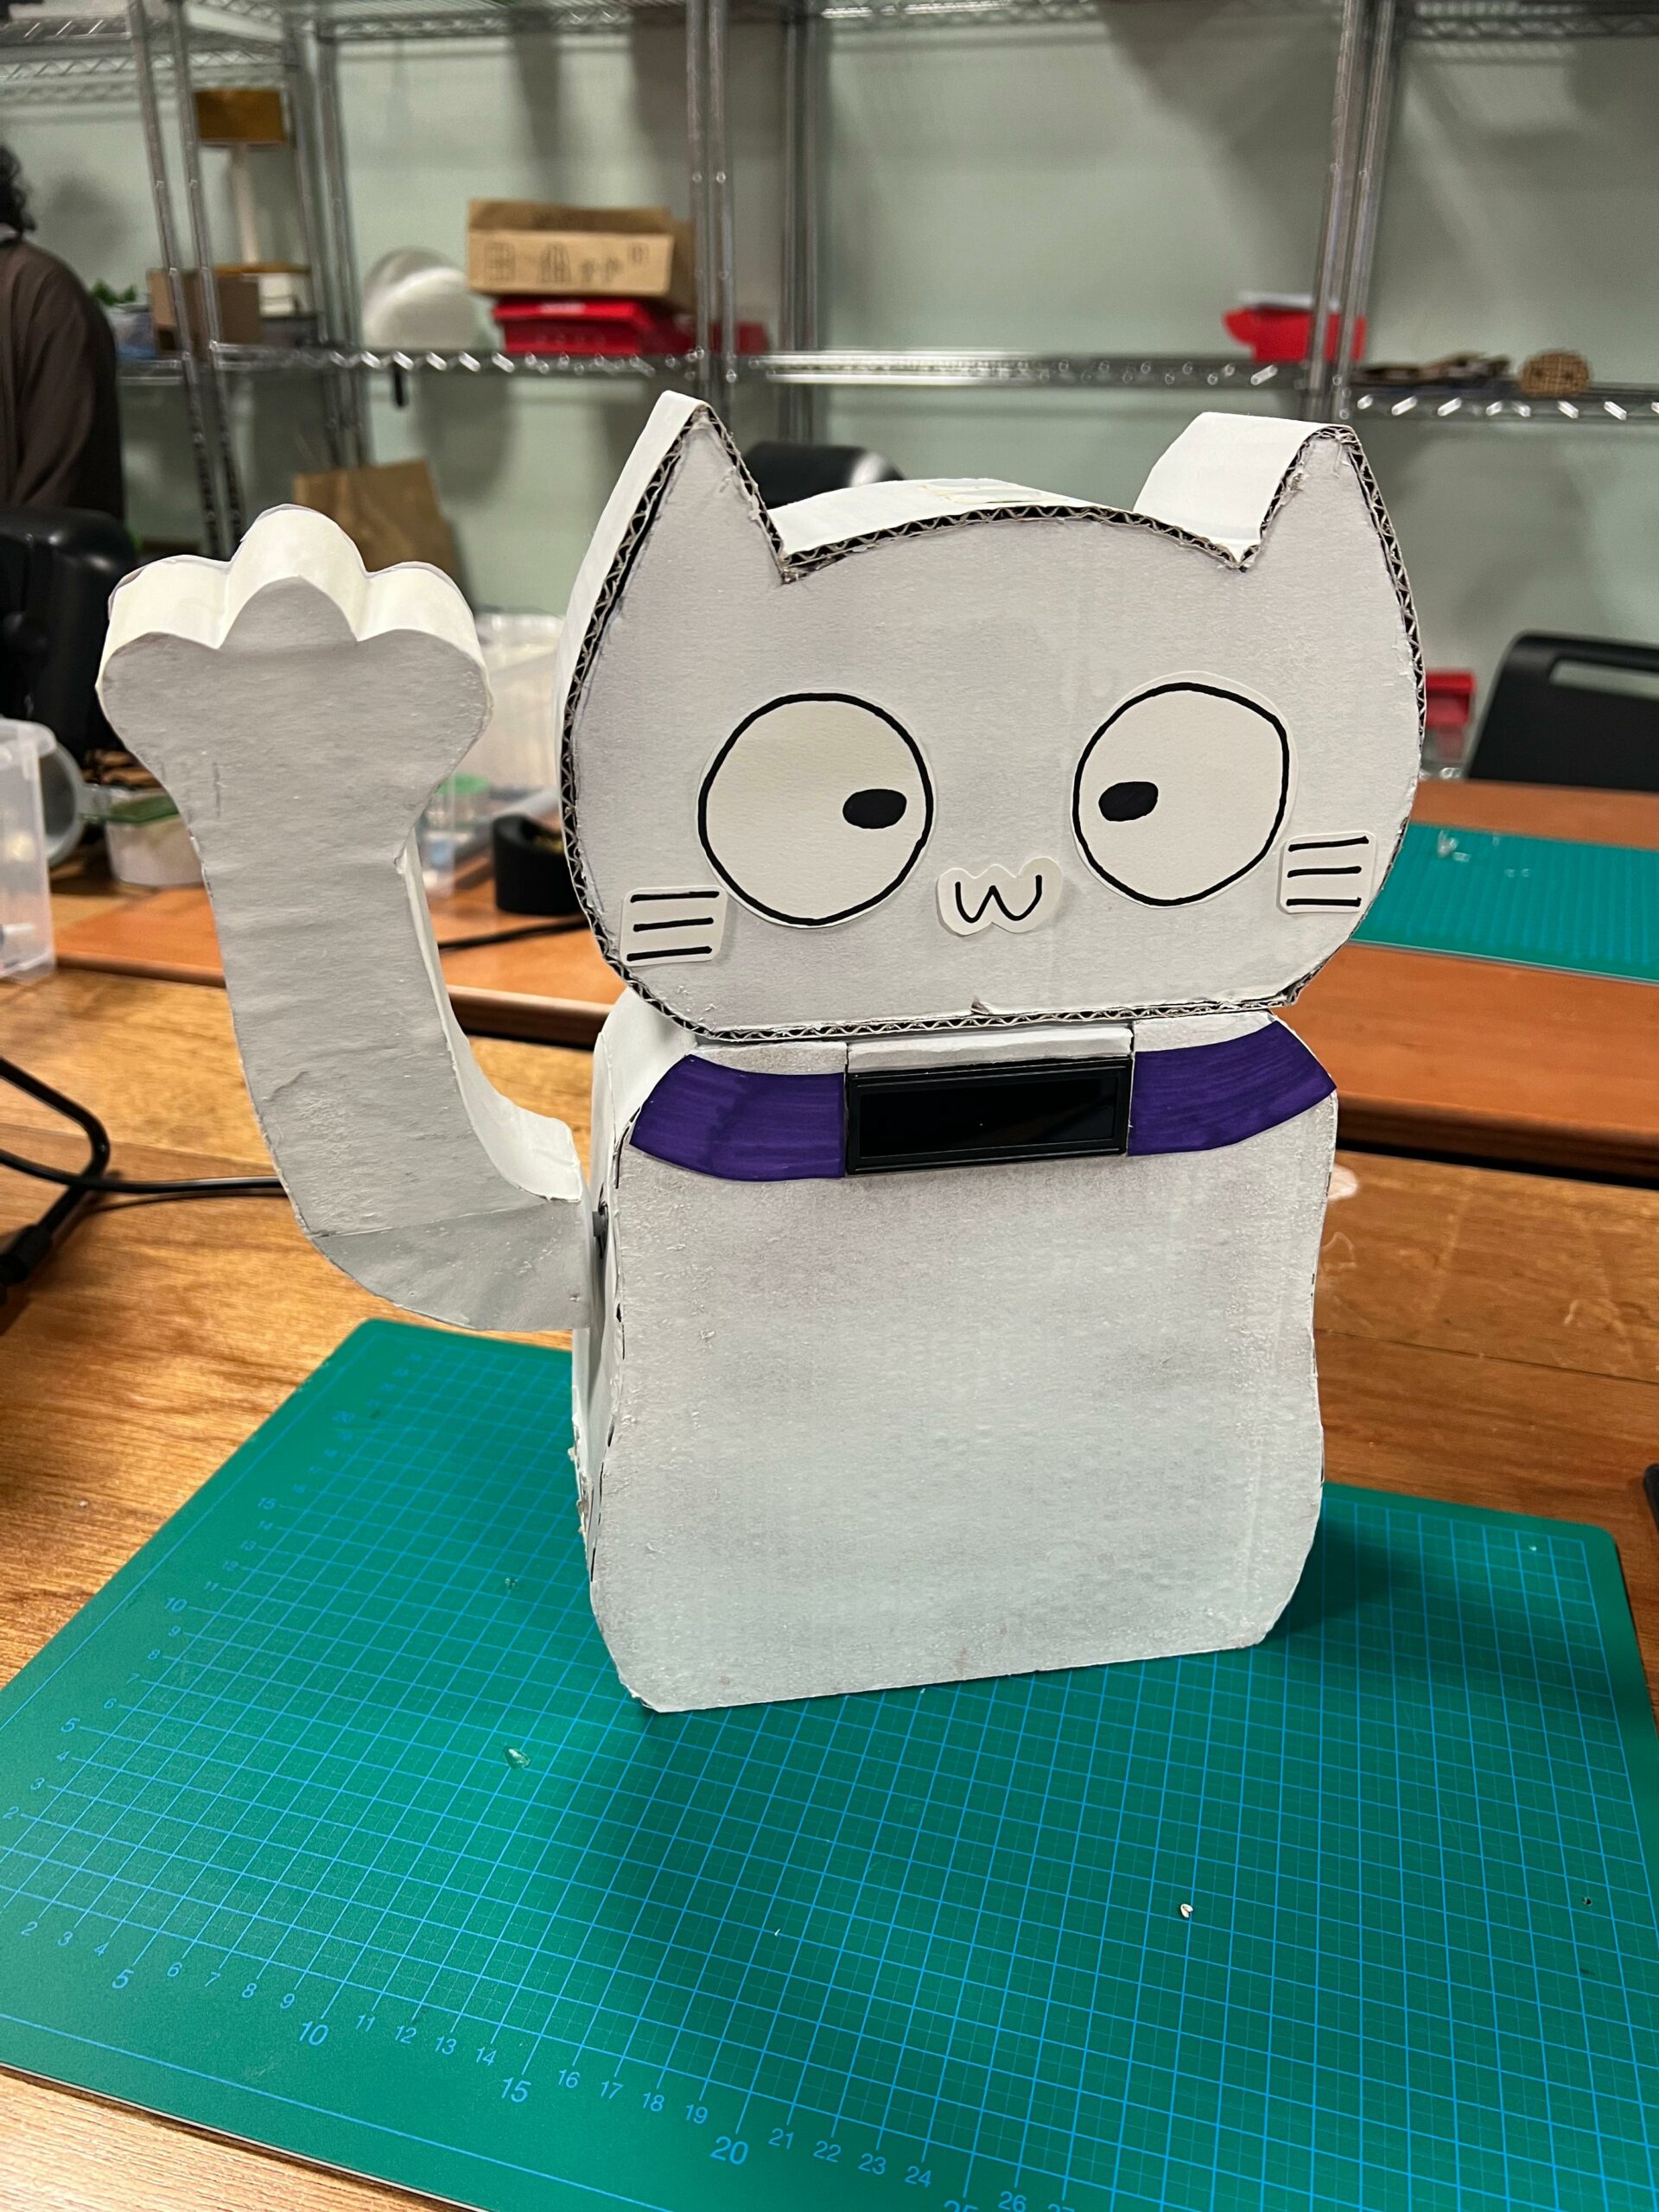
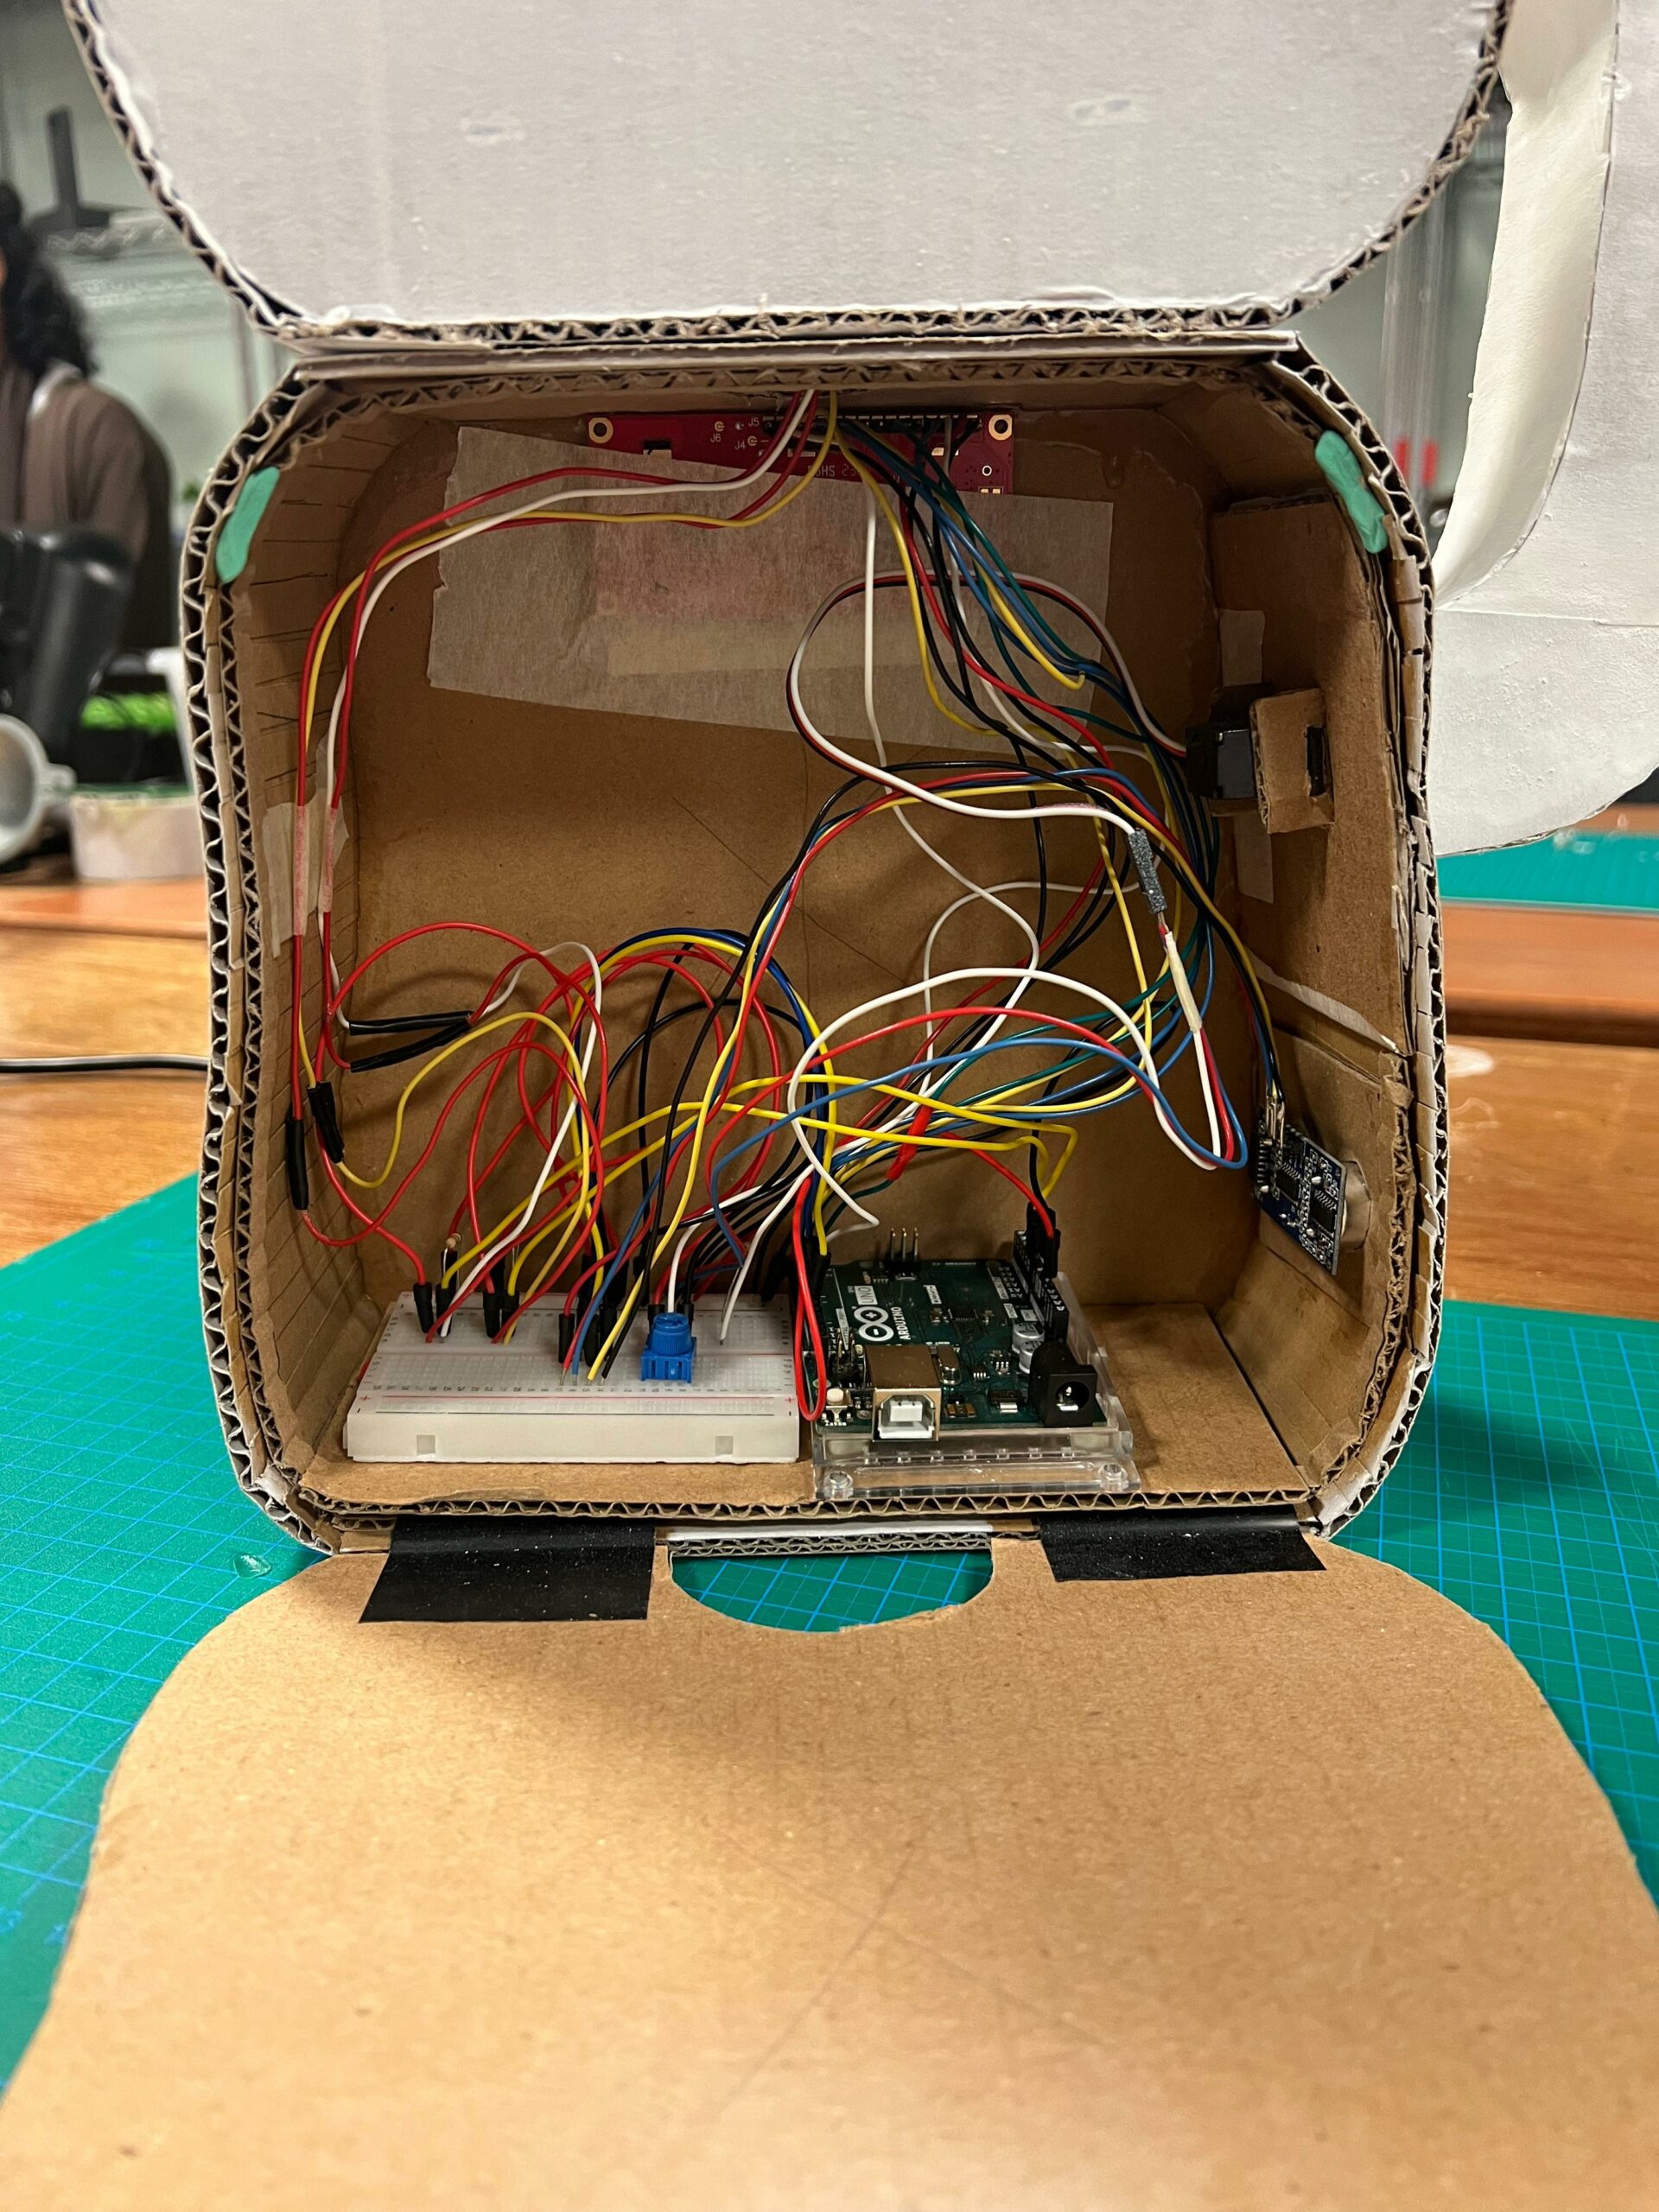
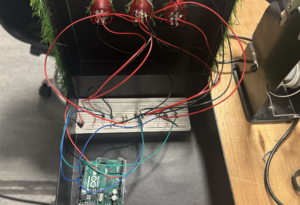
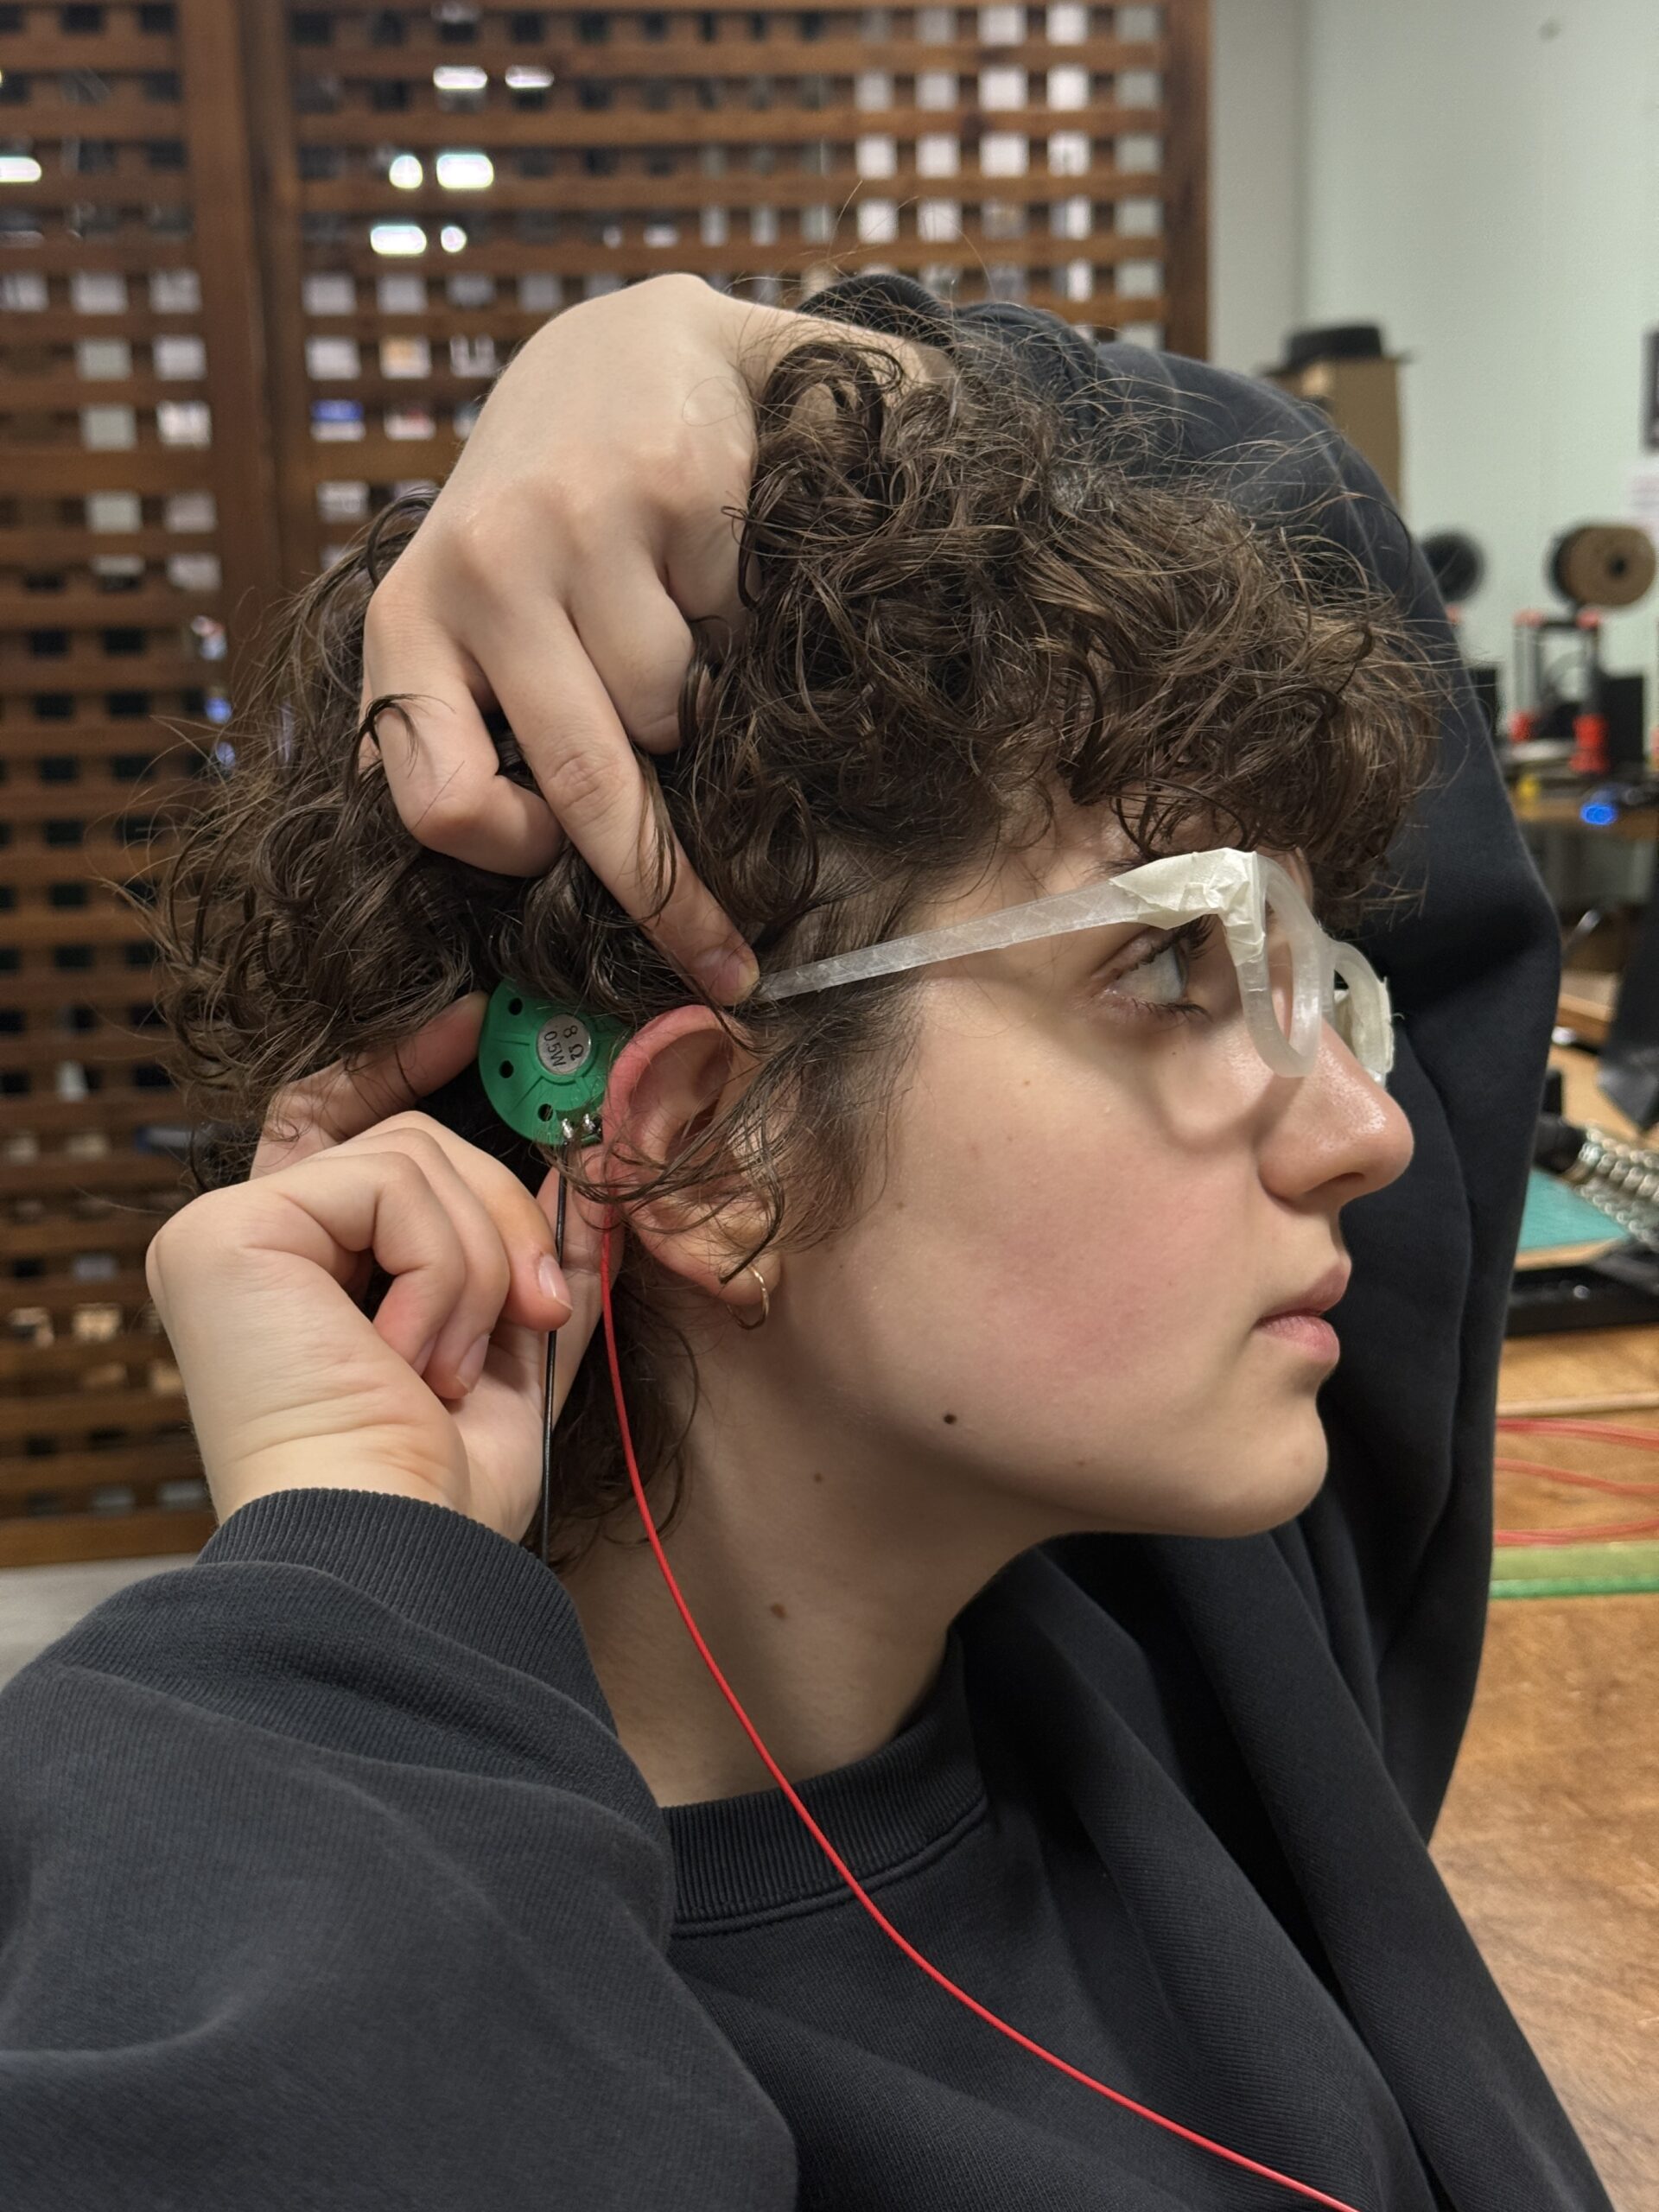 Figure 1: testing the placement of speakers
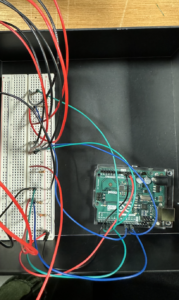
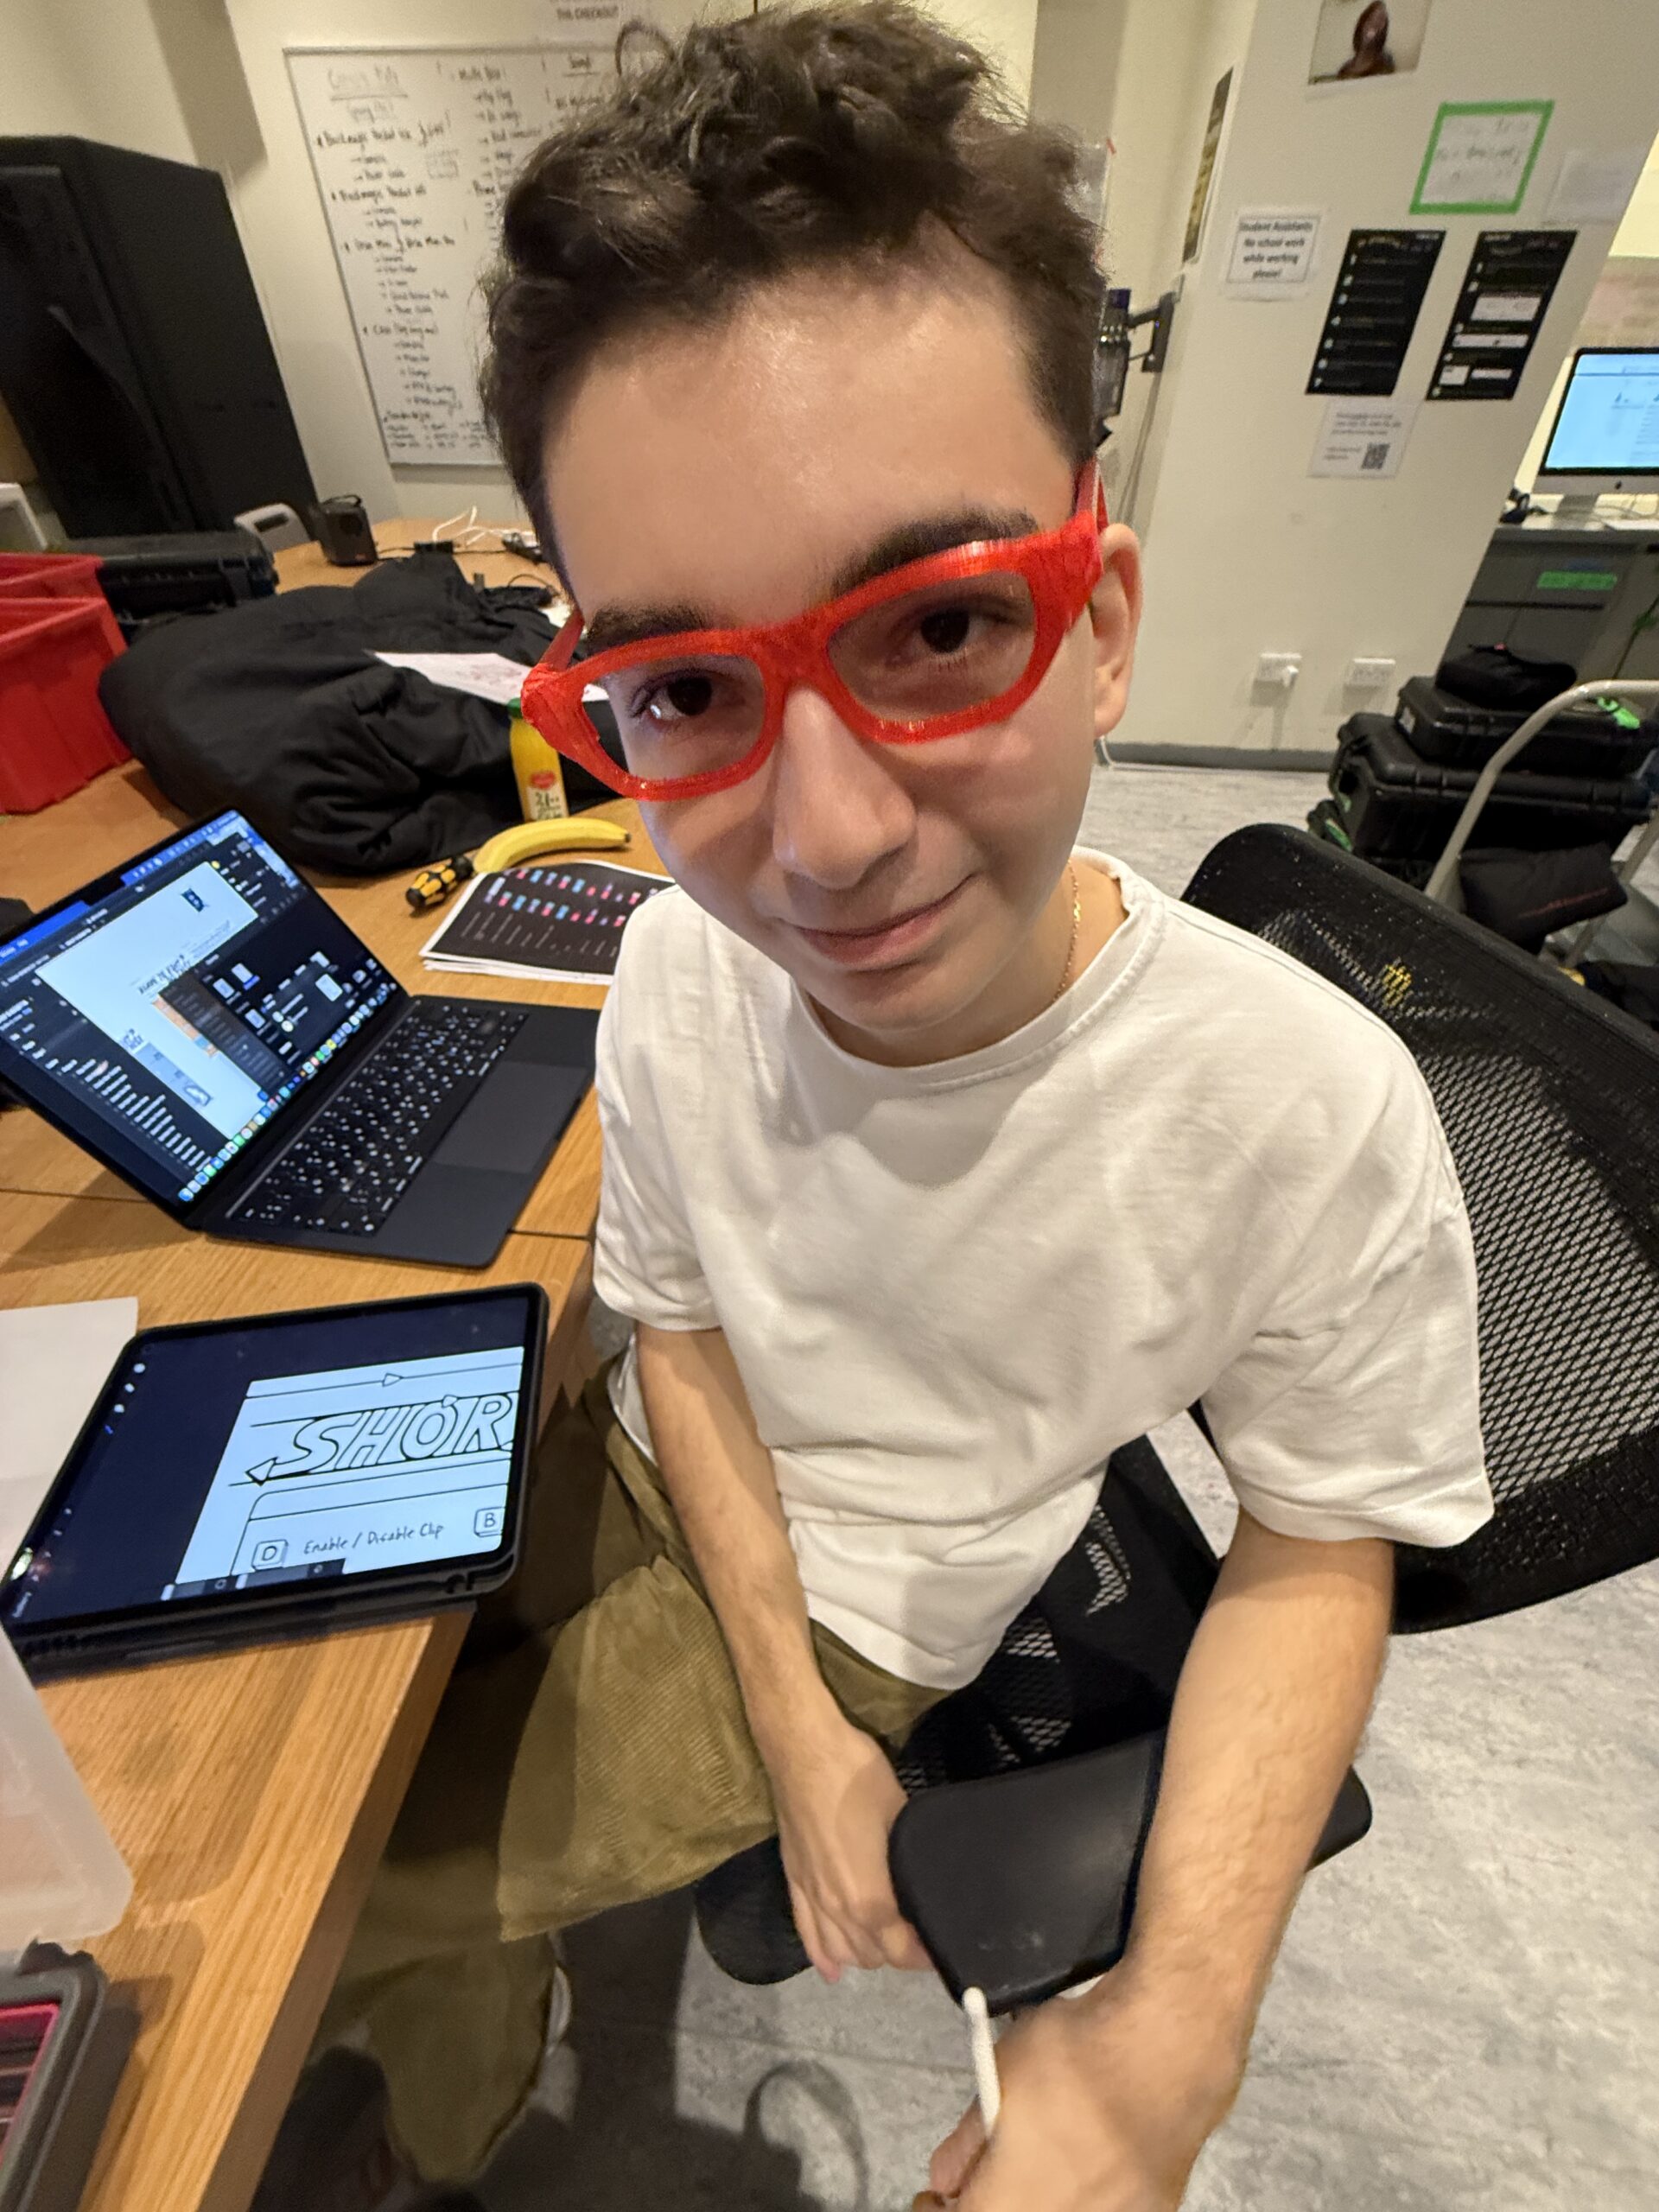 Figure 2: testing the first printed frame downloaded from outside
 Figure 4: spray painting the frame
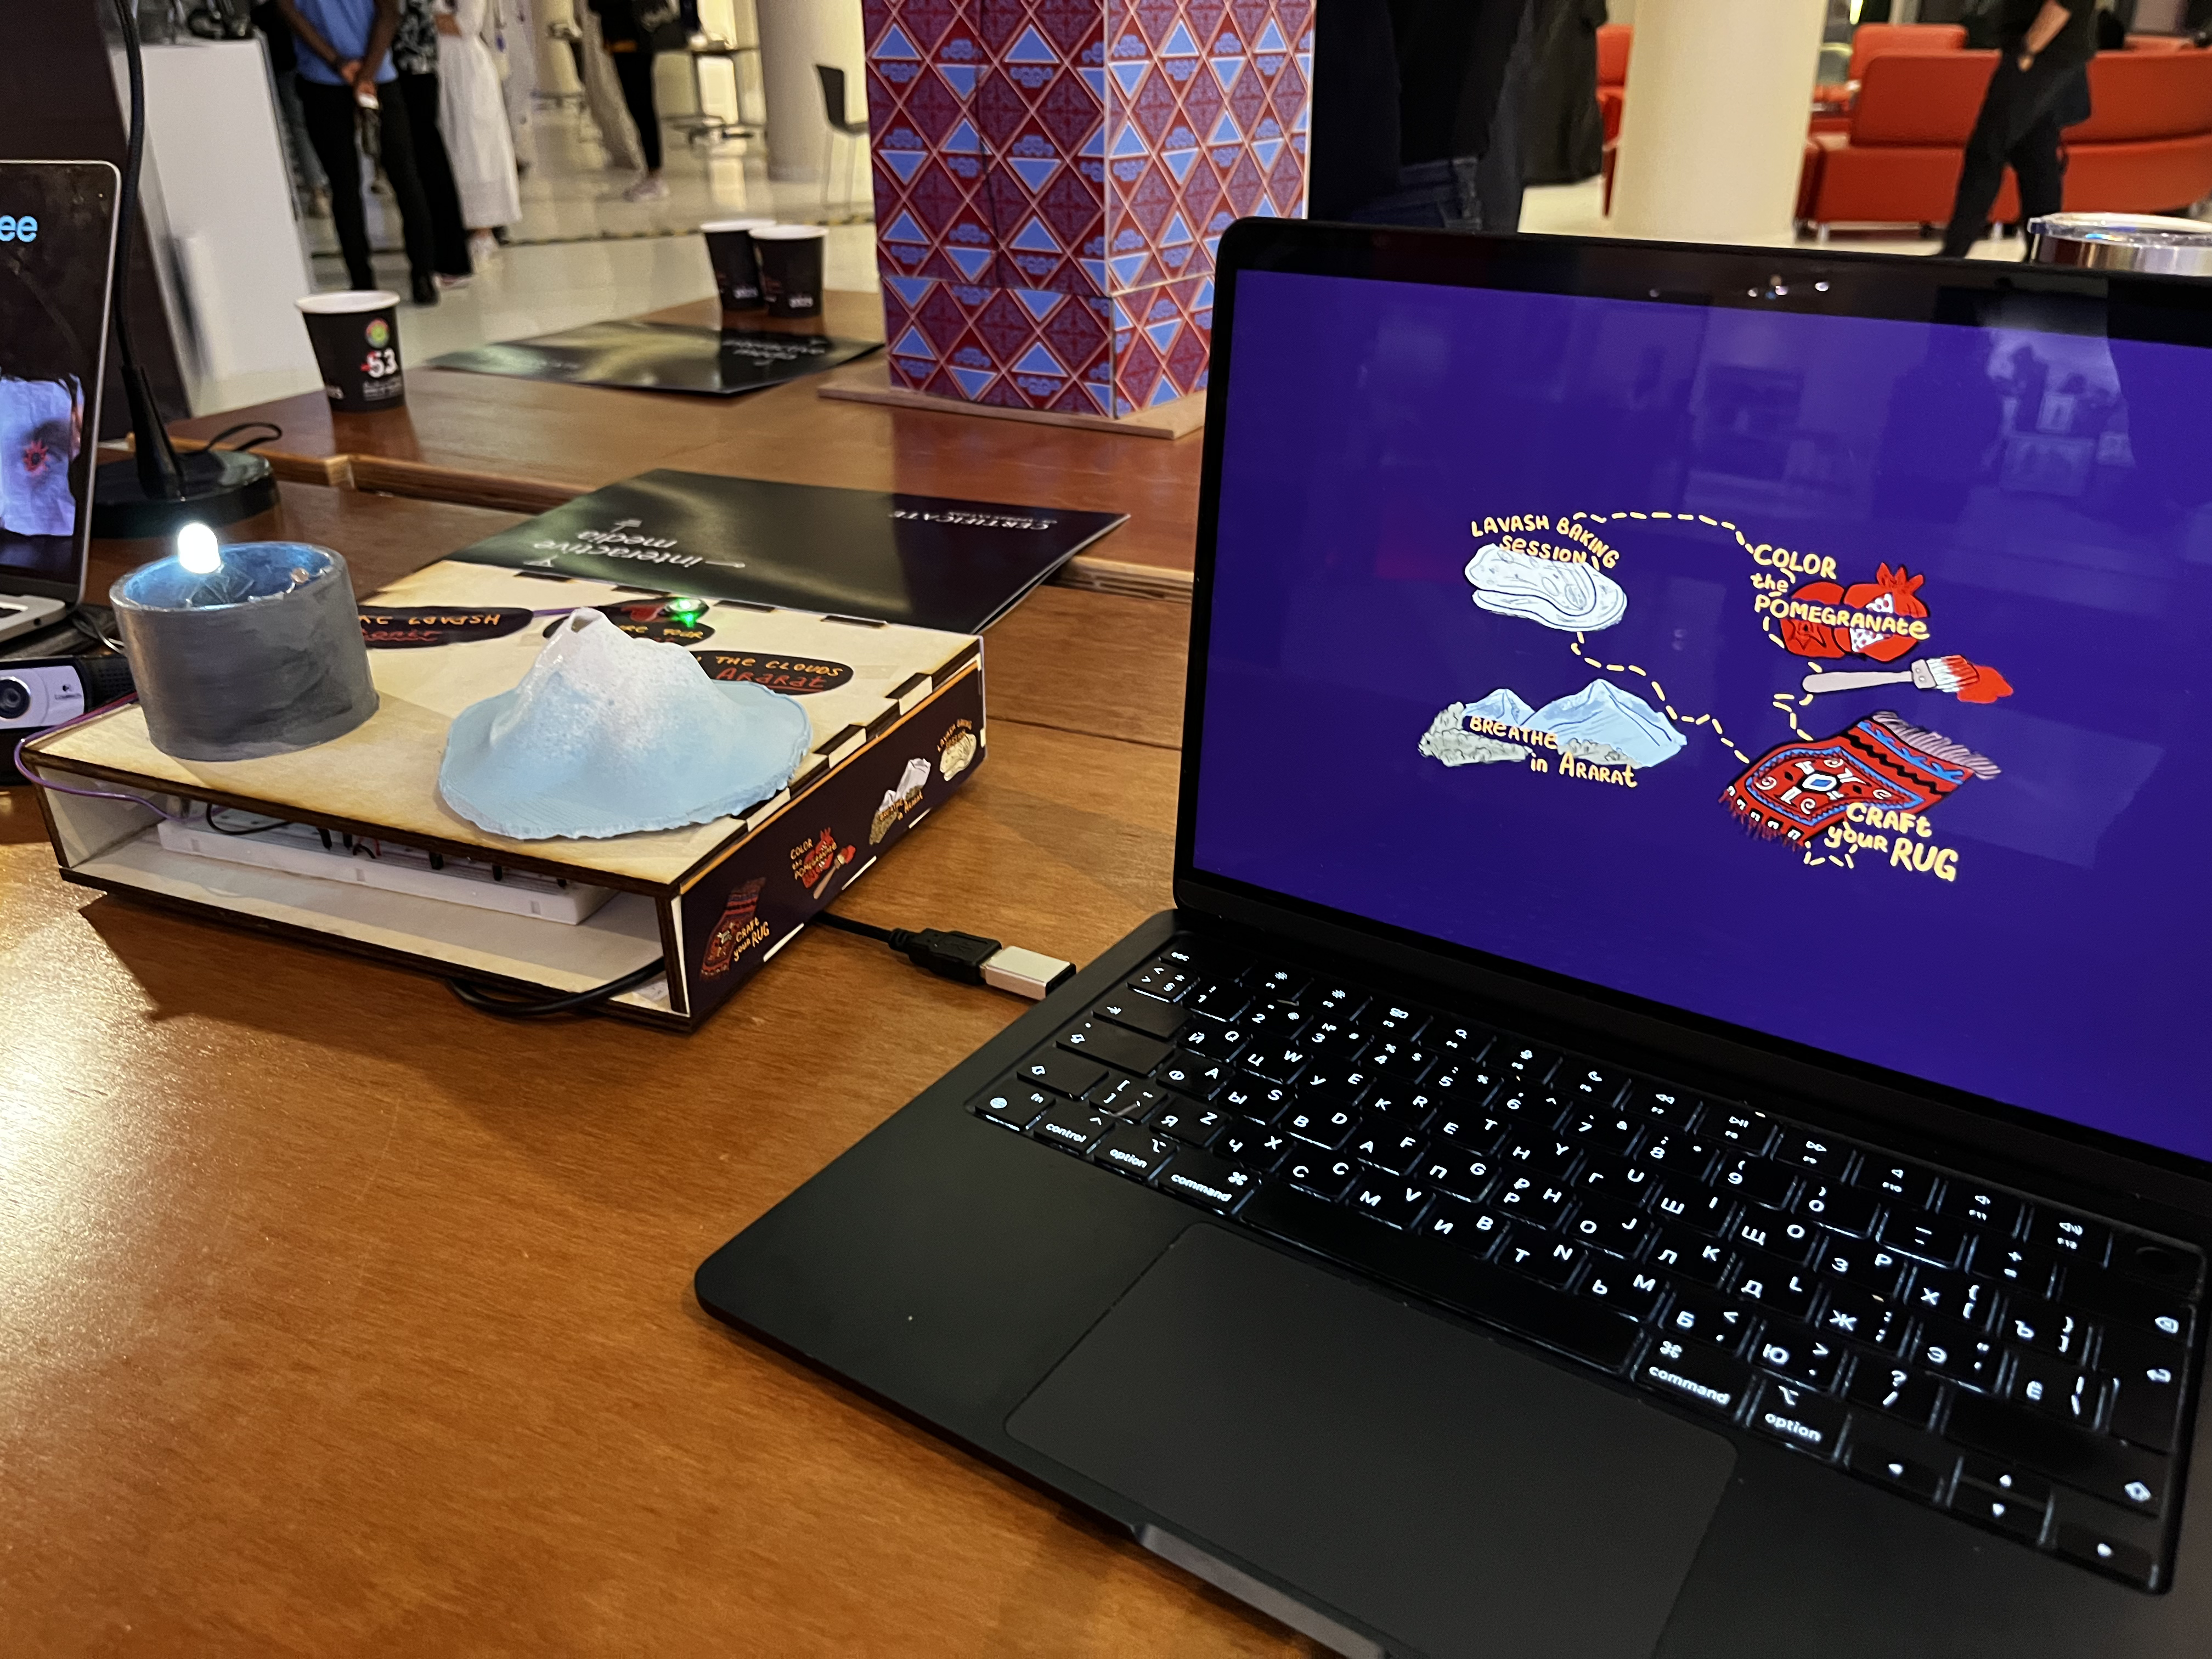
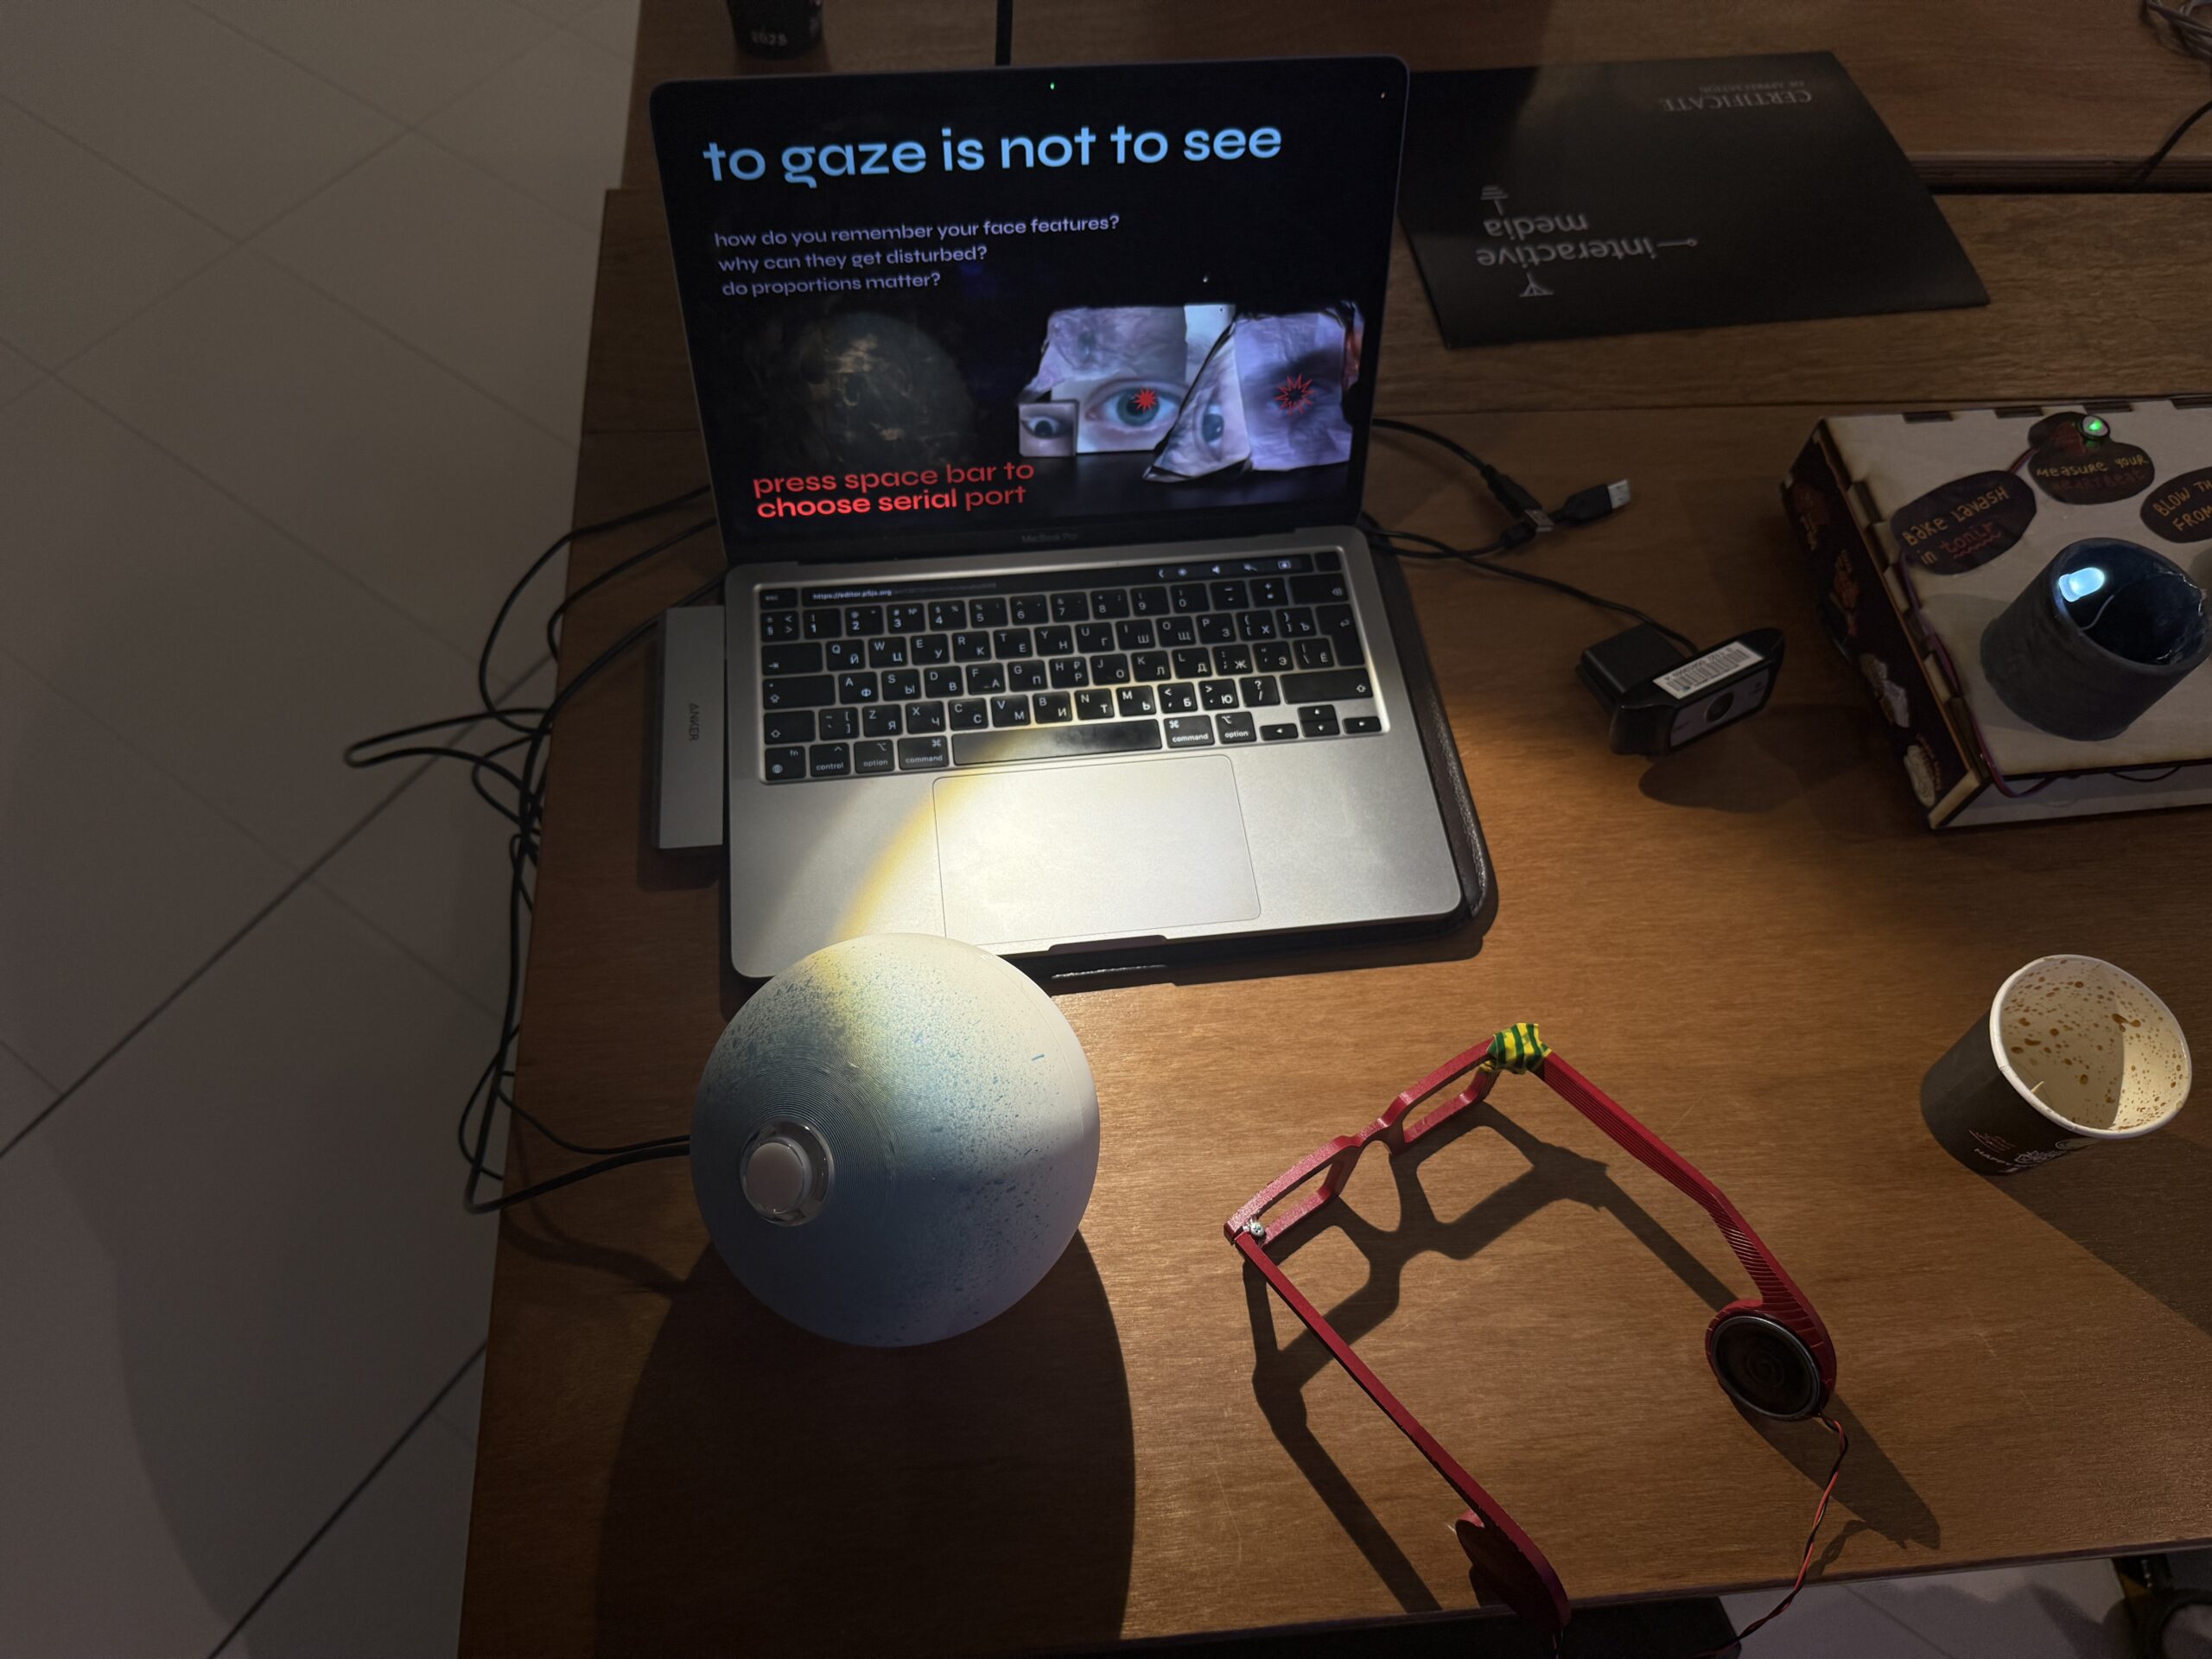 Figure 6: showcase setup
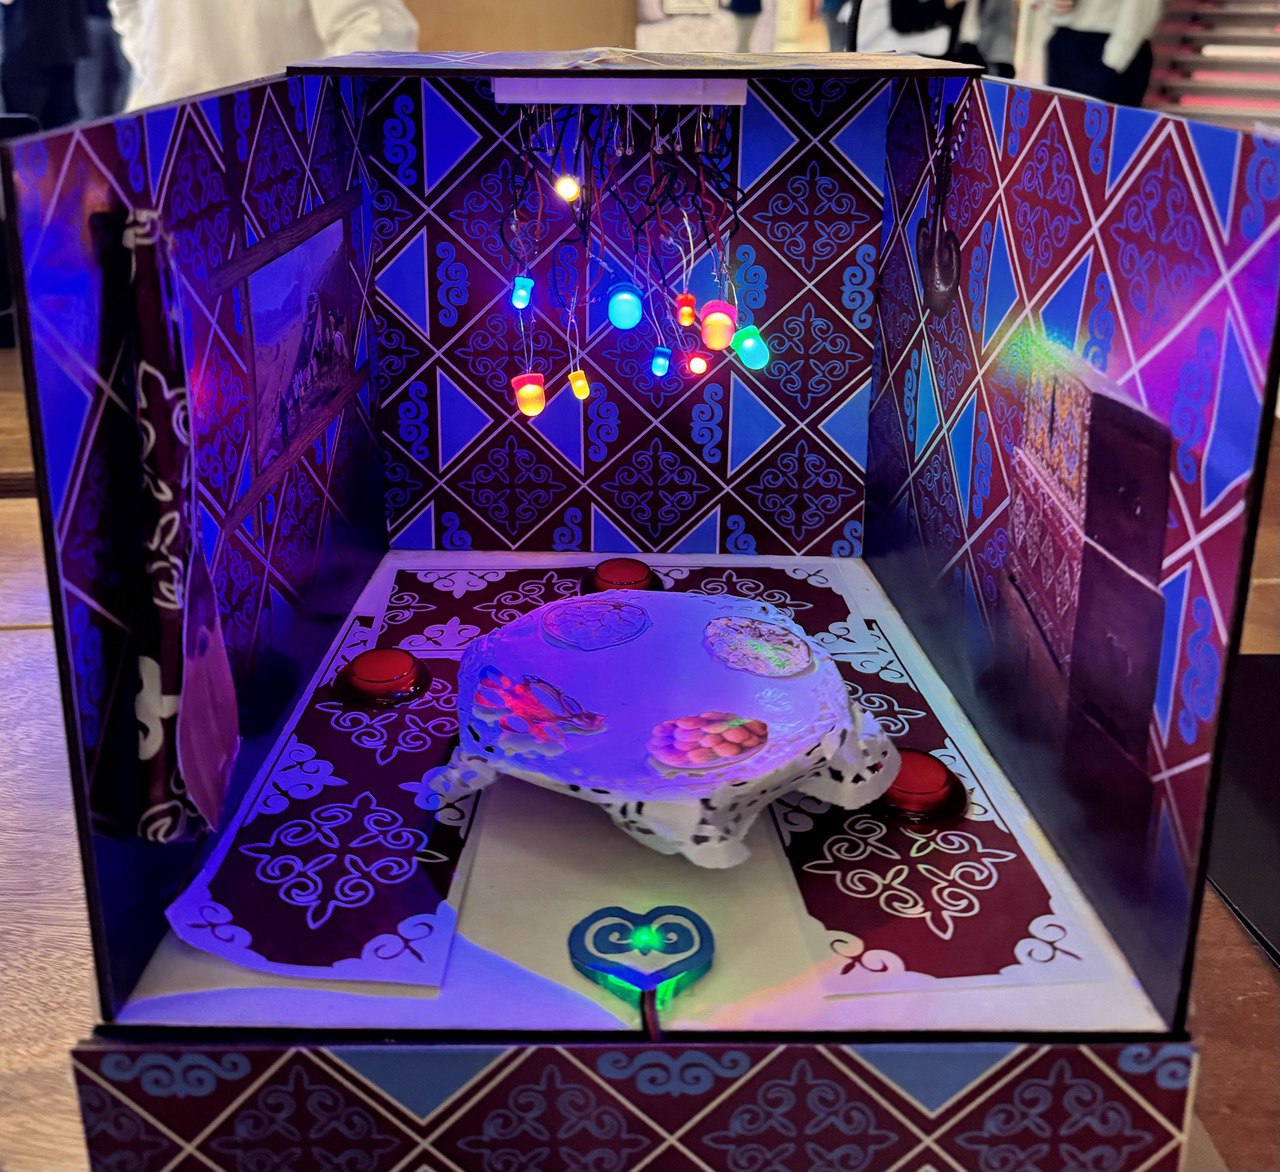


