Concept
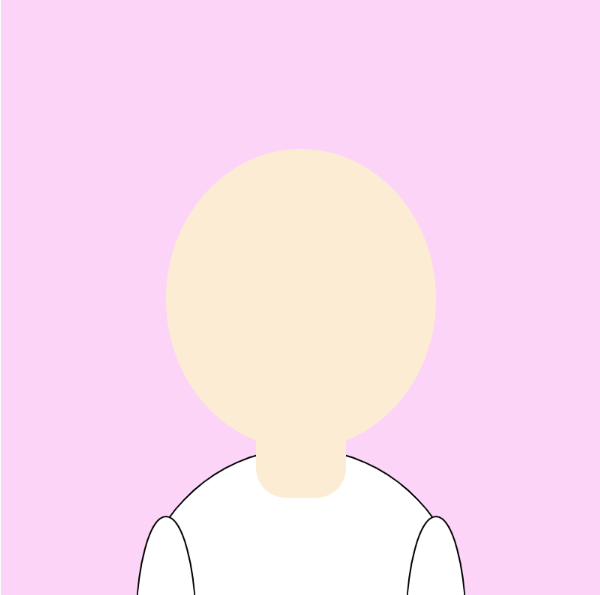
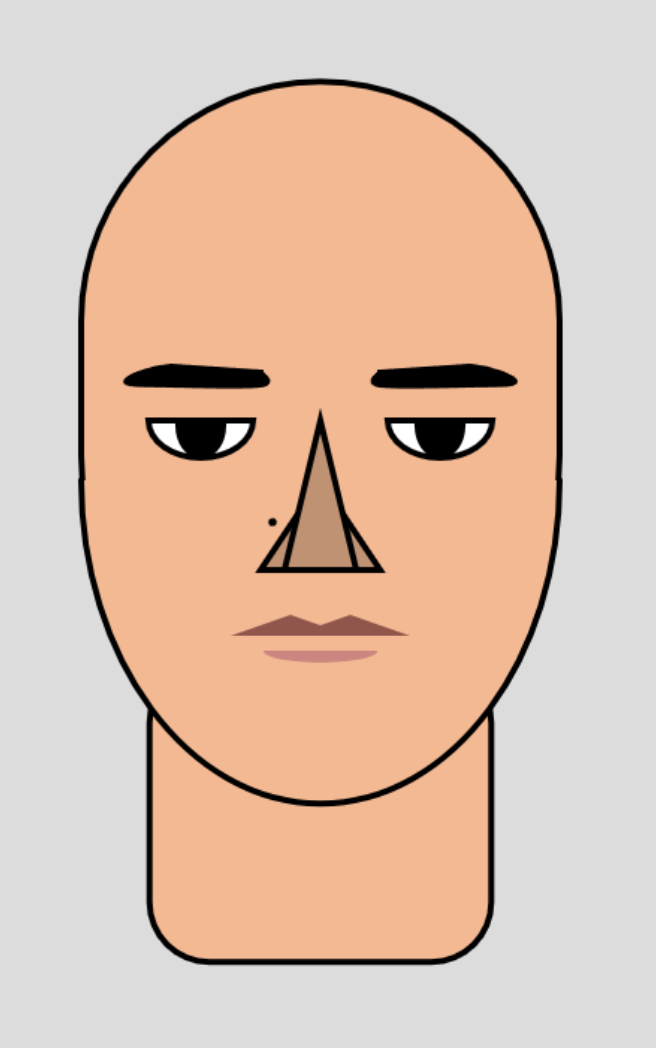
Through the journey of discovering myself in code, I had a lot of grappling in figuring out many things. When I thought of a self-portrait, I thought of creating a cartoonish self that reflects what I like to do. I was so nervous to start coding, as a result, I spent a lot of time watching random videos, and reading through the resources of the P5js library to get inspired and a better understanding of coding. I never properly learned how to code, but I tried before way back. I am honestly happy with the result I have done because I learned a lot in the process. I was enjoying every step even when I was struggling because I knew with time, I would figure it out.
Code that I am proud of:
I am honestly proud of the whole project. Nevertheless, I was so proud of the background I did because it took a considerable amount of time.
function setup() {
  createCanvas(400, 400);

  //declare and initiali   variablnameeI i for the stars in the background - it is in the setup because I only want it toncece create ata e condition to check, if true, run code in curlbracketske,ts and increment the variable

  for (let i = 0; i < numStars; i++) {
    stars[create vectorector(random(width), random(height), random(1, 2)); // gdimensionntion to the background makes the stars feel far away
  }
}

let stars = []; //global variable (array)

let numStars = 400; //variable to control number of stars

function draw() {
  background(0, 0, 60);

  rectMode(CENTER);

  //stars
  fill(255);
  for (let i = 0; i < numStars; i++) {
    ellipse(stars[i].x, stars[i].y, stars[i].z, stars[i].z);
  }
  //inspred by https://editor.p5js.org/jesse_harding/sketches/0szF7gcAx

  //things I like
  textSize(30);
  text("🪐", 45, 80);
  text("🐶", 310, 80);
  text("✈️", 325, 180);
  text("🎹", 40, 180);
  text("☃️", 50, 290);
  text("🧘🏻", 325, 290);
  text("🎨", 190, 45);
  //inspired by https://www.youtube.com/watch?v=ZfFtXzzTwP8
<iframe src=”https://editor.p5js.org/shn202/full/H8OVFkhj9″></iframe>
width=”400″ height=”400″
Reflection and ideas for future work or improvements:
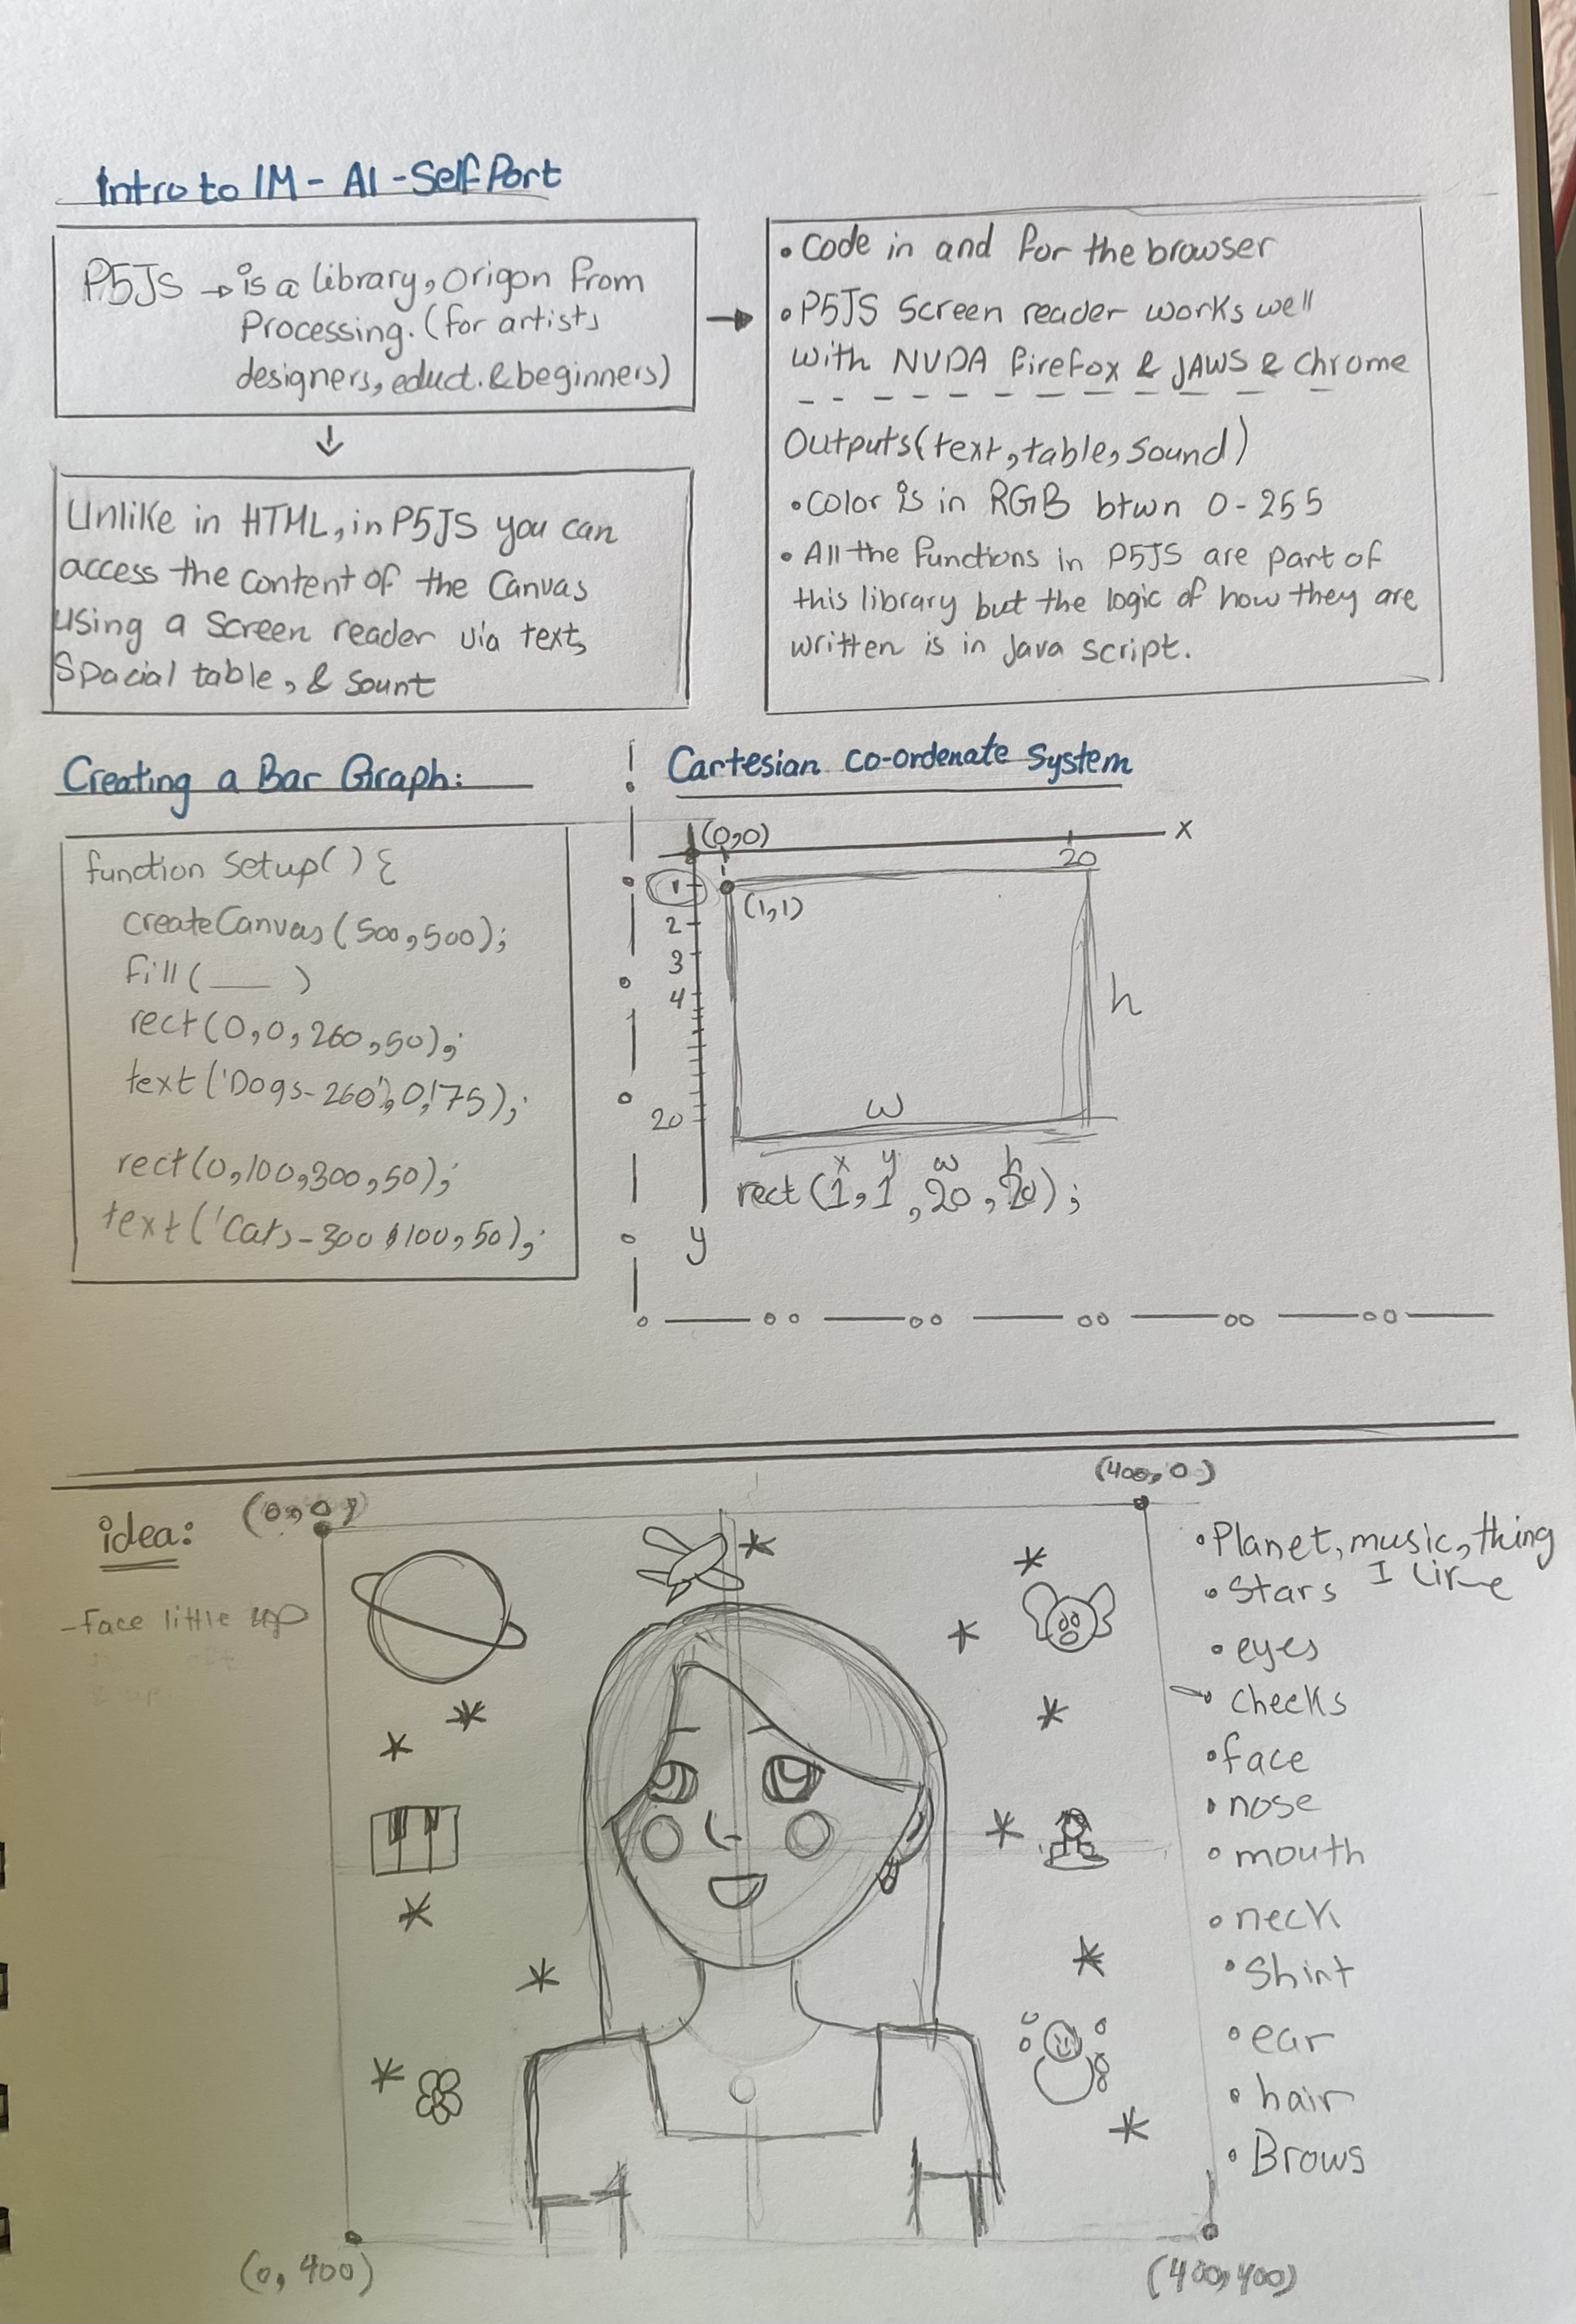
After watching a lot of basic videos on P5JS I started a simple sketch of how I want my Portrait to be. I tried to make it basic so I could use 2D functions from the library. I think organization is key to making every coder’s life easier. If I had planned in more detail, I think my code would have been simpler. During the process of creating my self-portrait, I encountered many challenges because I was challenging myself to do something a little extra.
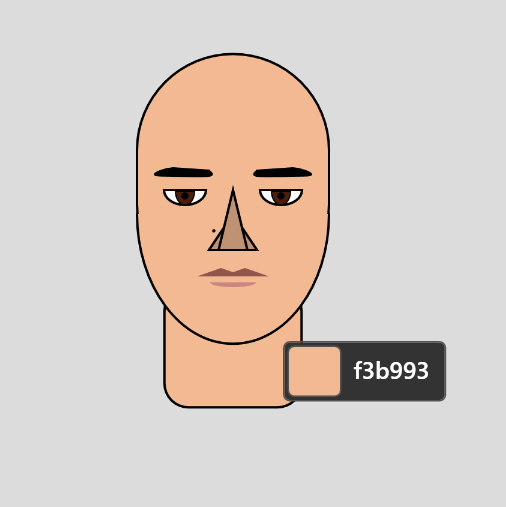
There are a couple of things that I should have employed from the start. which could have made the process easier. One such approach delves into variables for all the colors I wanted to use. Rather than repeatedly going back and forth to copy and paste the color codes from one place to the other. I should have adopted a more efficient technique by creating variables for the colors I intended to use extensively. This would have entailed employing the following method:
var Skin = color(255, 229, 204); //beige

var hair +color(140, 60, 0);  //brawn
During my color selection phase, I came across a valuable website that gives RGB parameters of many colors. yhttps://www.rapidtables.com/web/color/RGB_Color.html
Further, I had a hard time debugging the code. I kept getting an error saying that there was a function that was duplicated. This took me almost a day to figure out, but it turned out to be a common error that people get when the sound in the accessibility feature in the P5js web is turned on. Once I turned it off the error was gone.
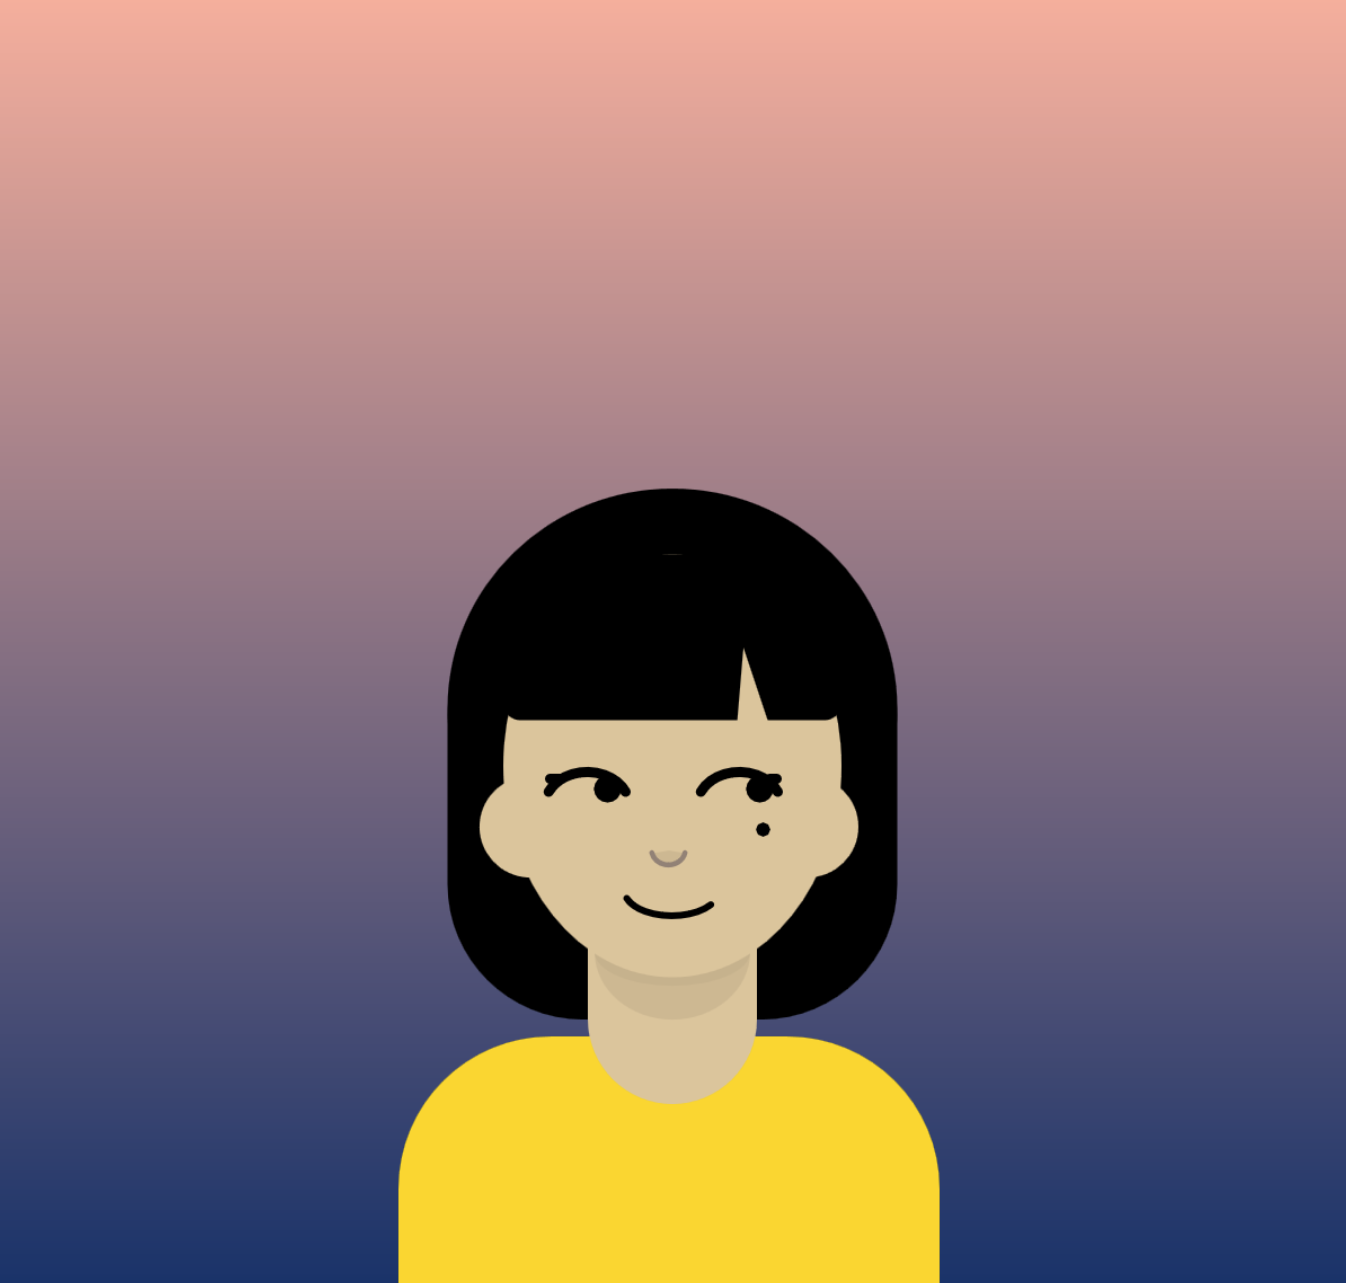
I think I was successful in making my sketch a reality using P5JS. I have learned many things along the way. Among these things was creating the logic behind the stars in the background. After a lot of research, I came across a YouTube video explaining how to do it, even though I followed the video, I had to change little things to make it work for my image.

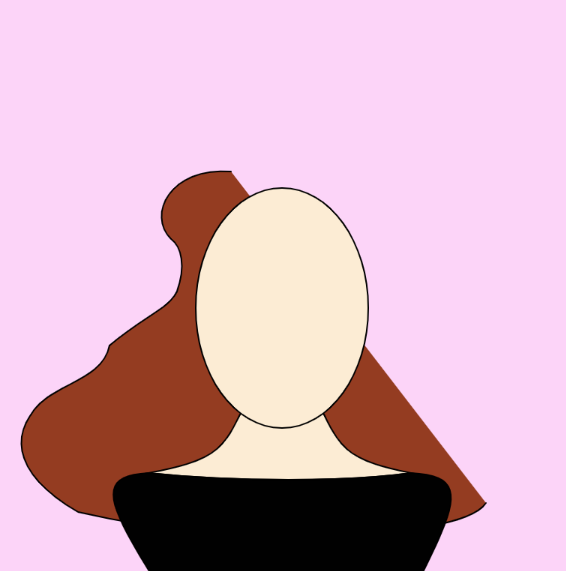
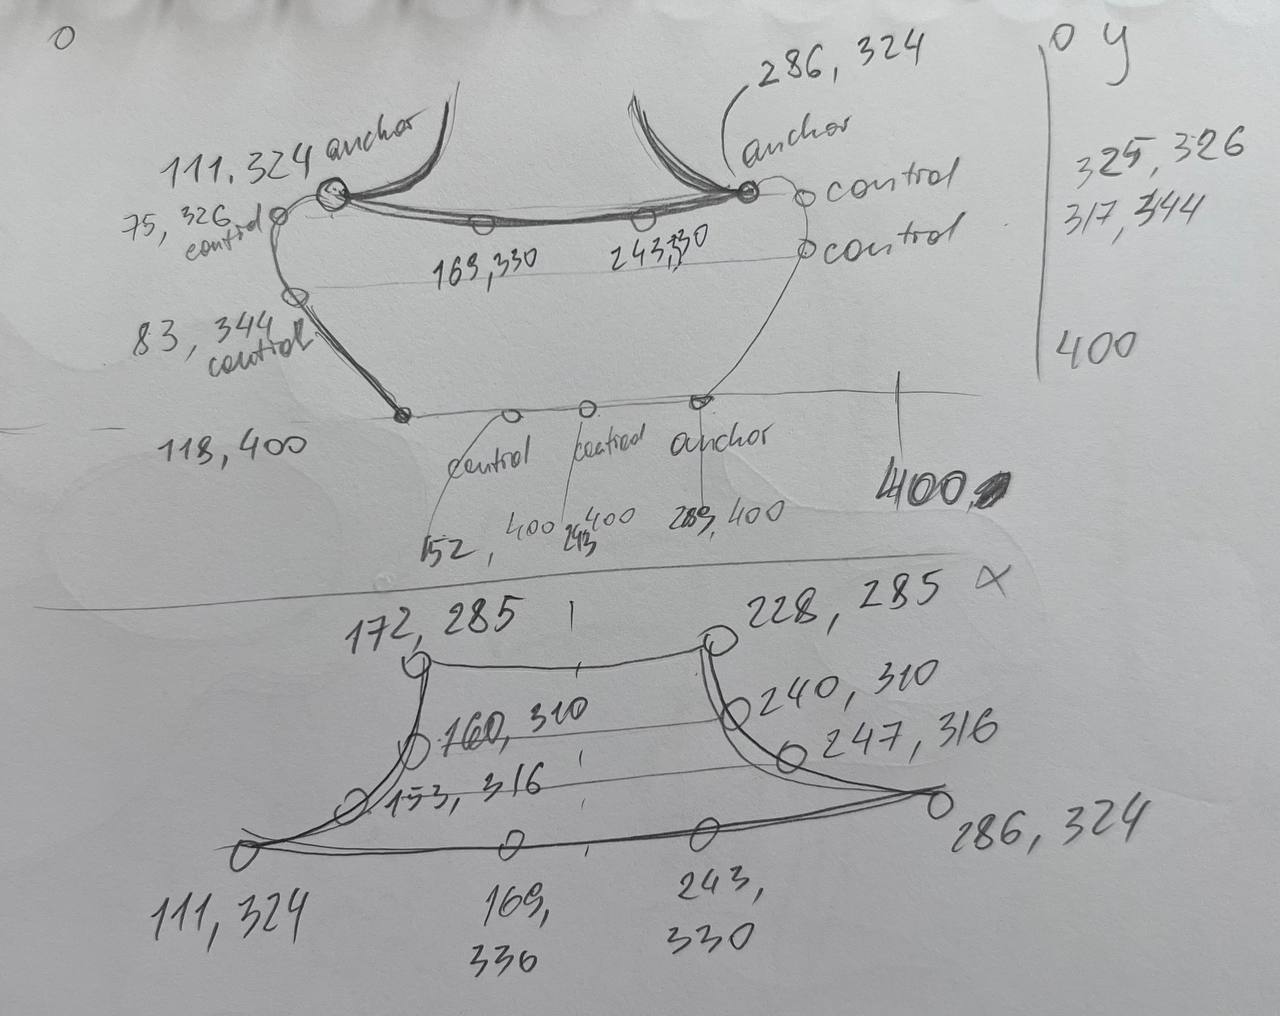
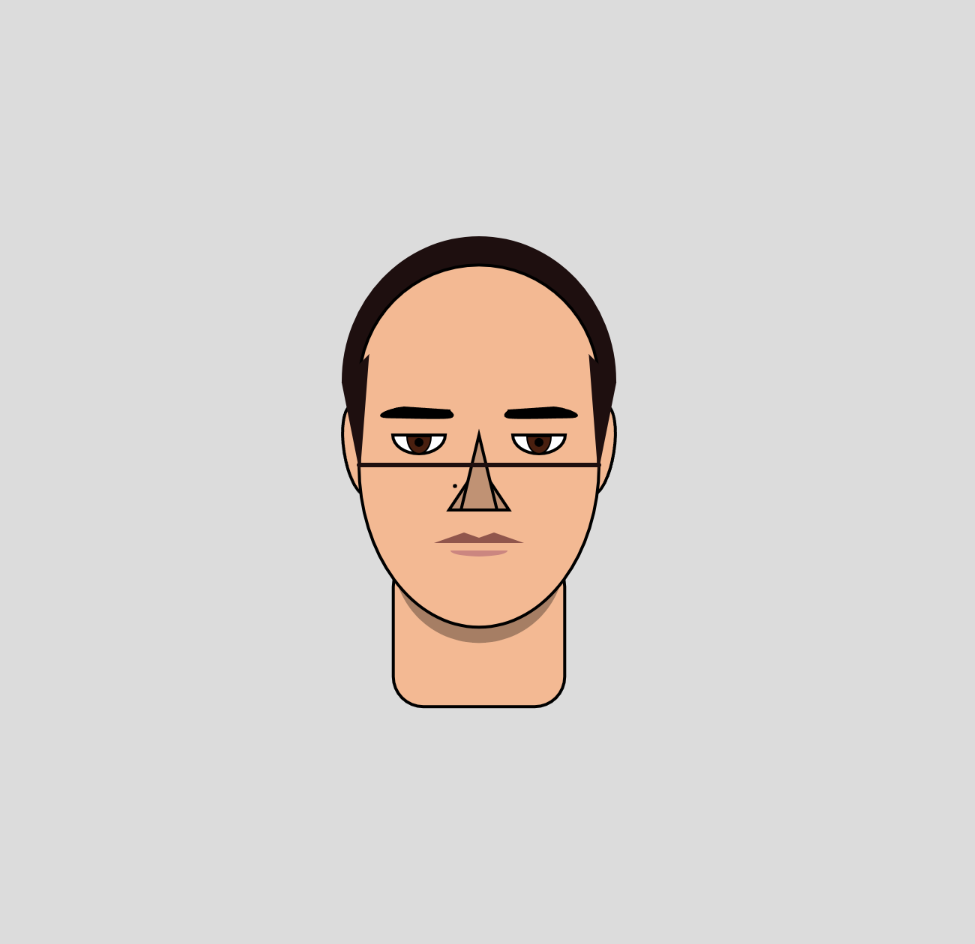
Additionally, drawing the hair was another struggle because I had to figure out how I would rotate the bangs to make them look the way I imagined them to be. I had to do a considerable amount of experimentation and reading on the rotate function in P5js. Figuring out the Pixels parameter was so hard through the whole process and even though there was some logic behind it, visualizing the image and using my eyes to tweak some things was a little experimental.
I am aware that there are easier ways to do my code. However, I tried to adhere to simplicity and my basic knowledge of coding.
Resources:
https://editor.p5js.org/jesse_harding/sketches/0szF7gcAx
https://www.youtube.com/watch?v=ZfFtXzzTwP8
https://www.rapidtables.com/web/color/RGB_Color.html