Creative Reading Reflection – The Art of Interactive Design Ch. 1:
In “The Art of Interactive Design” by Chris Crawford, the concept of interactivity is redefined as a two-way conversation, challenging conventional understanding. Crawford criticizes the misuse of interactivity and highlights its subjective nature, emphasizing the importance of user-centric design. In a tech-saturated world, prioritizing active involvement and meaningful engagement is crucial. Interactivity, according to Crawford, empowers users, giving them a voice in digital and outside interactions. This perspective aligns with user-centric design principles, where the user’s experience is important to aim and empower users by enabling meaningful choices.
However, I couldn’t help but think disagree with his idea of subjectivity. The nature of design and interactivity is subjective, and what one person considers effective or meaningful interaction, another may not. Disagreements can arise due to these differing subjective interpretations.
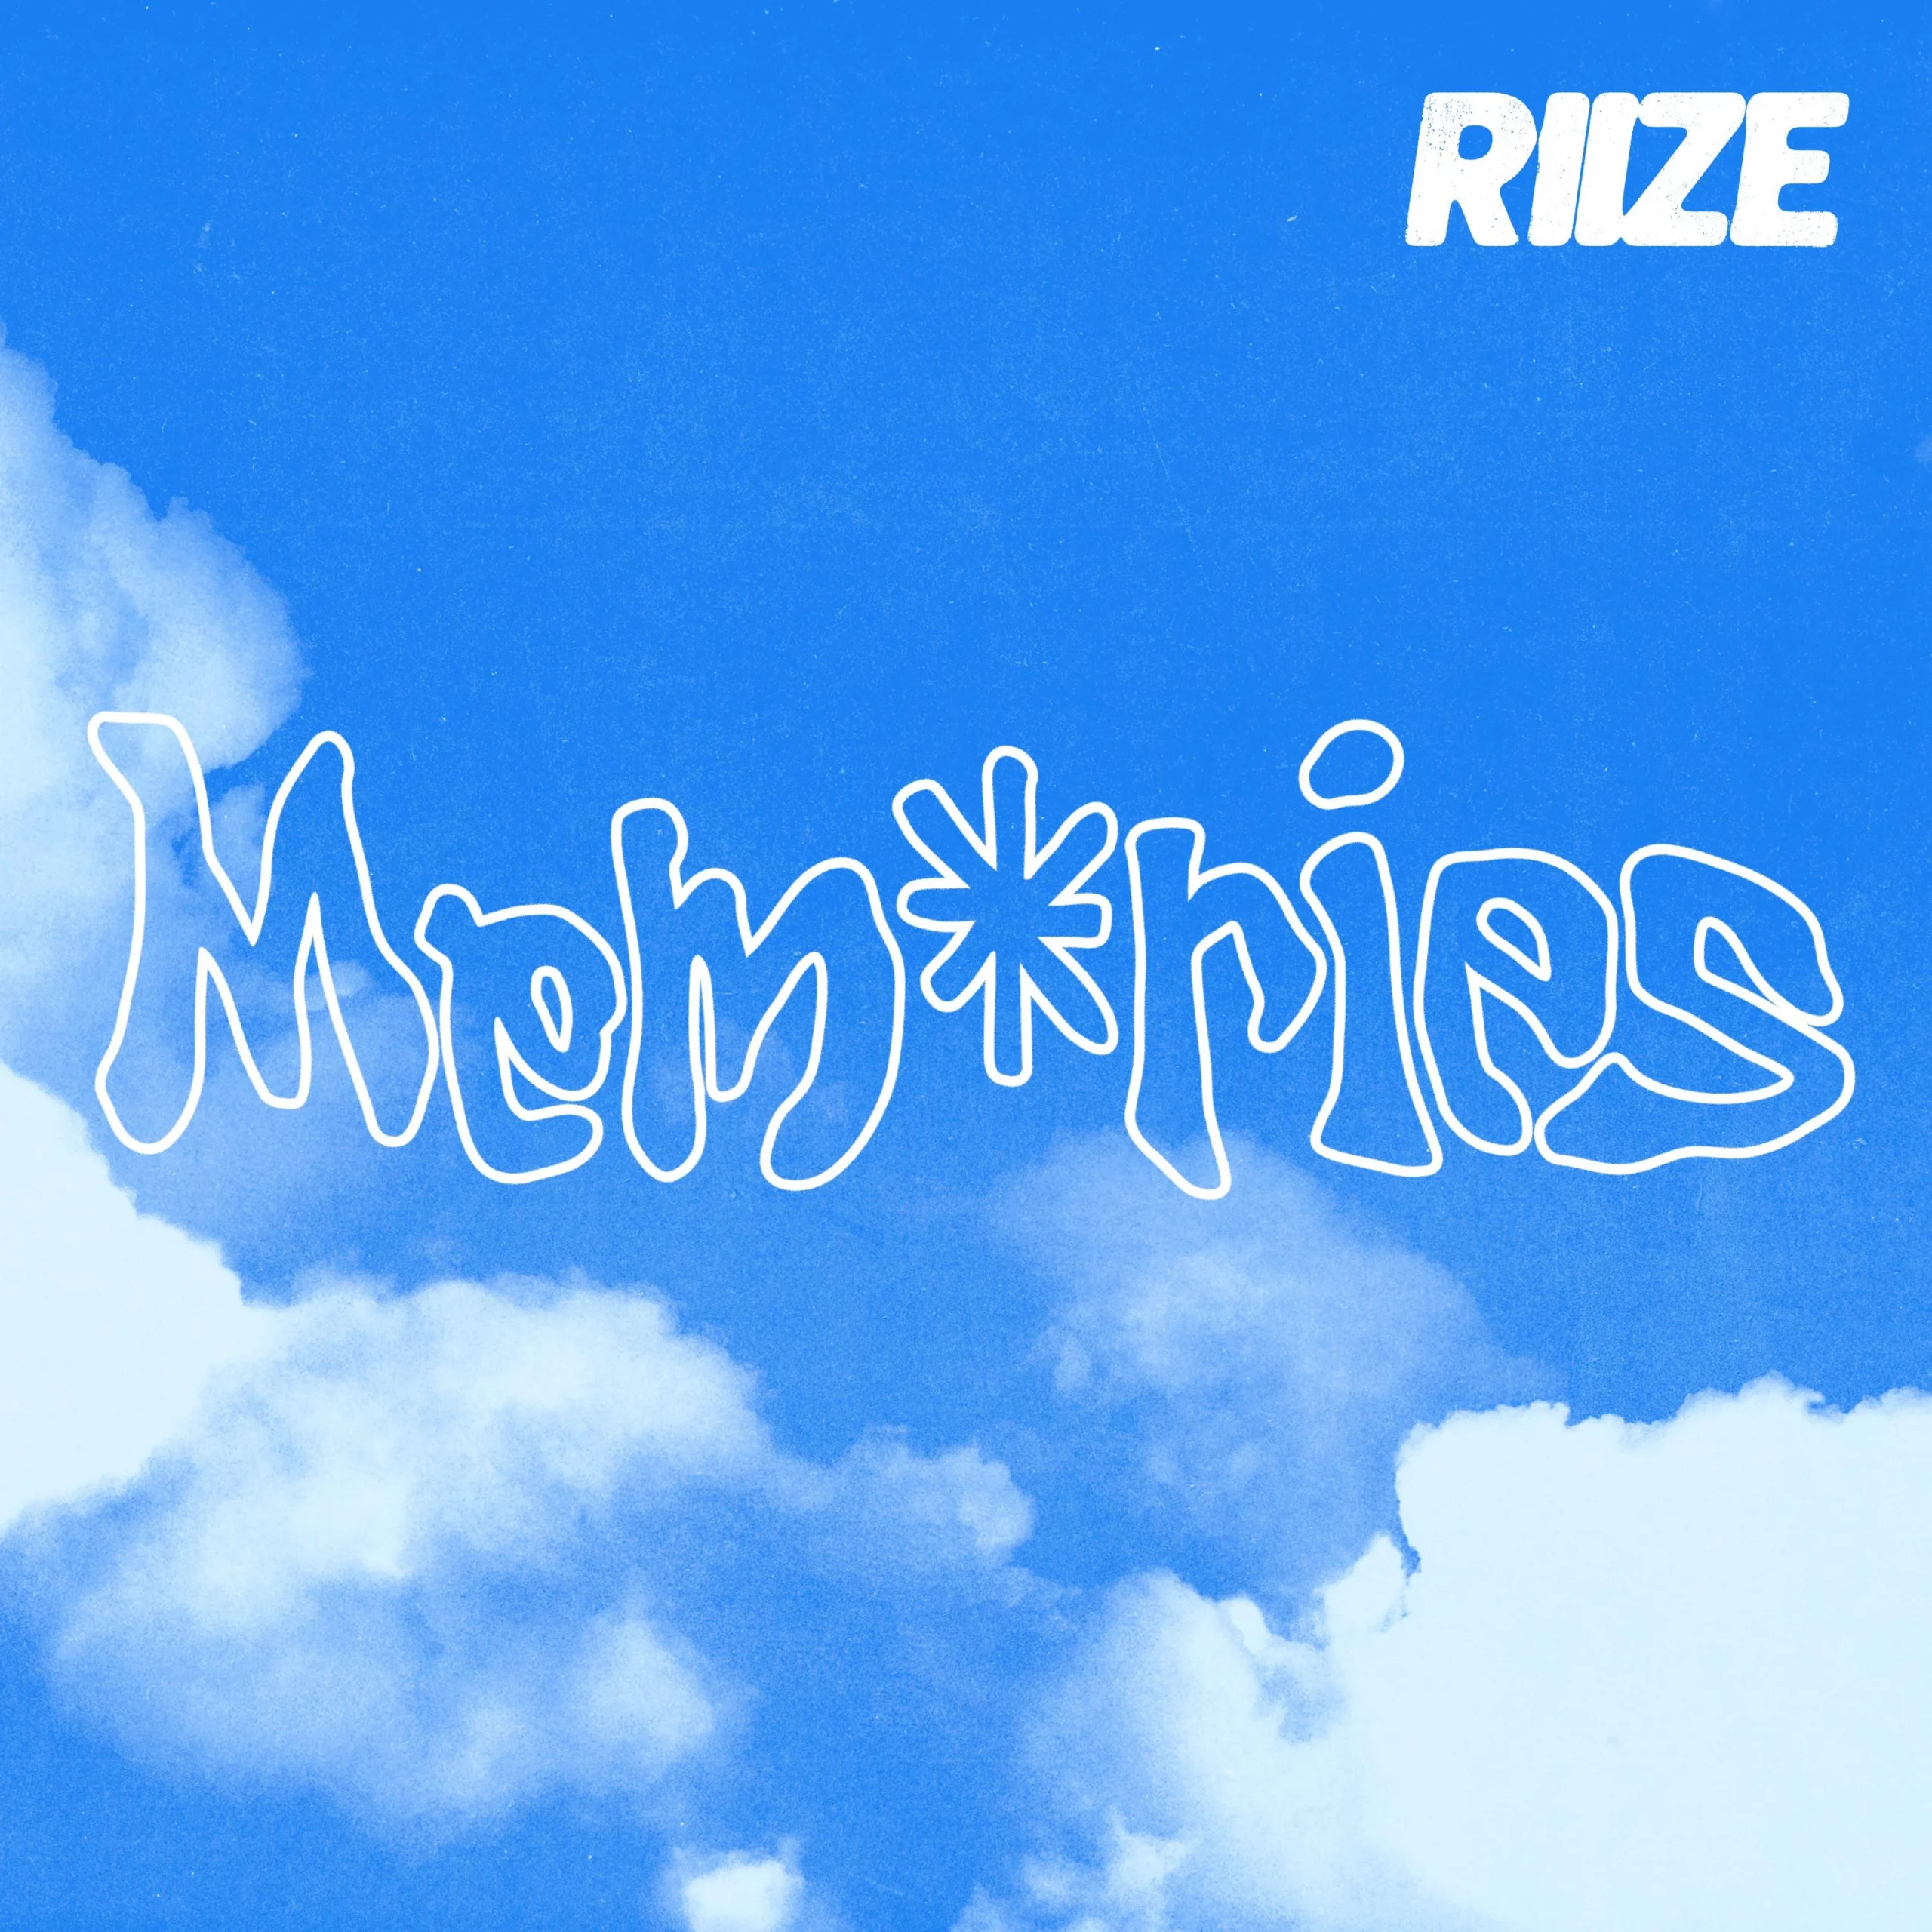
Object-Oriented Programming Assignment – Memories:
Code:
I encountered significant challenges while working on this code. I faced numerous errors, and I had to go through various video tutorials and review my notes extensively to make progress. I even sought assistance from Professor Michael. Despite the difficulties, I eventually grasped the overall concept and aimed to simplify it for my future reference and understanding. Also the longest code I have ever done.
I benefited greatly from Professor Michaels’ Object-Oriented Programming class code, particularly the example titled ‘A Simple Bouncing Ball.’ This example provided me with understanding the concept of classes and featured a very well explained code and result. Professor Michaels’ active guidance after the class to explain and show me how to add a class to my code also significantly contributed to my learning experience.
// variables for cloud
let cloudX1, cloudX2, cloudX3, cloudX4;
let cloudY;

// cloud speed
let cloudSpeed1, cloudSpeed2, cloudSpeed3, cloudSpeed4;

// variables for sun
let sunX;
let sunY;

// variable for font
let font1;

// font function / preload the custom font
function preload(){
  font1 = loadFont("GentyDemo-Regular.ttf");
}

function setup() {
  createCanvas(400, 400);
  cloudX1 = random(width);
  cloudX2 = random(width);
  cloudX3 = random(width);
  cloudX4 = random(width);
  cloudY = random(50, 150);

  cloudSpeed1 = random(1, 3);
  cloudSpeed2 = random(1, 3);
  cloudSpeed3 = random(1, 3);
  cloudSpeed4 = random(1, 3);

  sunX = width / 2;
  sunY = height / 2;

}


function draw() {
  background(135, 206, 250);

  // position of clouds
  drawCloud(cloudX1, cloudY);
  drawCloud(cloudX2, cloudY + 60);
  drawCloud(cloudX3, cloudY + 120);
  drawCloud(cloudX4, cloudY + 180);

  // movement of clouds
  cloudX1 = cloudX1 + cloudSpeed1;
  cloudX2 = cloudX2 + cloudSpeed2;
  cloudX3 = cloudX3 + cloudSpeed3;
  cloudX4 = cloudX4 +cloudSpeed4;

  // reset clouds when they go off-screen
  if (cloudX1 > width) {
    cloudX1 = -50;
    cloudY = random(50, 150);
    cloudSpeed1 = random(1, 3);
  }
  if (cloudX2 > width) {
    cloudX2 = -50;
    cloudY = random(50, 150);
    cloudSpeed2 = random(1, 3);
  }
  if (cloudX3 > width) {
    cloudX3 = -50;
    cloudY = random(50, 150);
    cloudSpeed3 = random(1, 3);
  }
  if (cloudX4 > width) {
    cloudX4 = -50;
    cloudY = random(50, 150);
    cloudSpeed4 = random(1, 3);
  }

  // sun drawing
  fill('yellow');
  ellipse(200, 400, 200, 199);


  // font color, text and position
  fill(255,255,255,150);
  textSize(77);
  textFont(font1);
  text('Memories',200, 200);
  textAlign(CENTER);

}

function drawCloud(x, y) {
  fill(255);
  noStroke();
  ellipse(x, y, 50, 40);
  ellipse(x + 50, y + 10, 50, 40);
  ellipse(x + 30, y, 50, 40);
}
// class for clouds
class Cloud {
  constructor(cloudsx, cloudsy, cloudsspeed) {
    this.cloudsx = cloudsx;
    this.cloudsy = cloudsy;
    this.cloudsspeed = cloudsspeed;
  }

  move() {
    this.cloudsx = this.cloudsx + this.cloudsspeed;
    if (this.cloudsx > width) {
      this.cloudsx = -50;
      cloudY = random(50, 150);
      this.cloudsspeed = random(1, 3);
    }
  }

  display() {
    fill(255);
    noStroke();
    ellipse(this.cloudsx, this.cloudsy, 50, 40);
    ellipse(this.cloudsx + 50, this.cloudsy + 10, 50, 40);
    ellipse(this.cloudsx + 30, this.cloudsy, 50, 40);
  }
}

// variables for clouds
let cloud1, cloud2, cloud3, cloud4;
let cloudY;

// varibales for sun and font
let sunX;
let sunY;
let font1;

// loading the custom font
function preload() {
  font1 = loadFont("GentyDemo-Regular.ttf");
}


function setup() {
  createCanvas(400, 400);
  cloud1 = new Cloud(random(width), random(50, 150), random(1, 3));
  cloud2 = new Cloud(random(width), random(50, 150), random(1, 3));
  cloud3 = new Cloud(random(width), random(50, 150), random(1, 3));
  cloud4 = new Cloud(random(width), random(50, 150), random(1, 3));
  sunX = width / 2;
  sunY = height / 2;
}

function draw() {
  background(135, 206, 250);

  // display and move clouds
  cloud1.display();
  cloud1.move();
  cloud2.display();
  cloud2.move();
  cloud3.display();
  cloud3.move();
  cloud4.display();
  cloud4.move();

  // sun drawing
  fill('yellow');
  ellipse(200, 400, 200, 199);

  // fonts color, text, and position
  fill(255, 255, 255, 150);
  textSize(77);
  textFont(font1);
  text('Memories', 200, 200);
  textAlign(CENTER);
}
Reflection:
As I mentioned, I faced significant challenges throughout this assignment, and by “a lot,” I truly mean a substantial amount. This was my very first attempt at creating a moving and dynamic assignment, and I take pride in the thought and concept behind it, as well as the progress I made in developing the code. While I did seek assistance and revisited videos and notes, it’s all part of the learning process. It might be a simple project, but furthermore I am proud of achieving it.