The first week of the Introduction to Interactive Media course has been a beautiful beginning to this exciting journey. We were introduced to p5.js, a platform for creative coding, and delved right into it by learning to form two-dimensional primitive shapes with the help of available functions. The assignment to create a self-portrait using these concepts allowed me to explore my creativity and translate my imagination into a coded sketch.
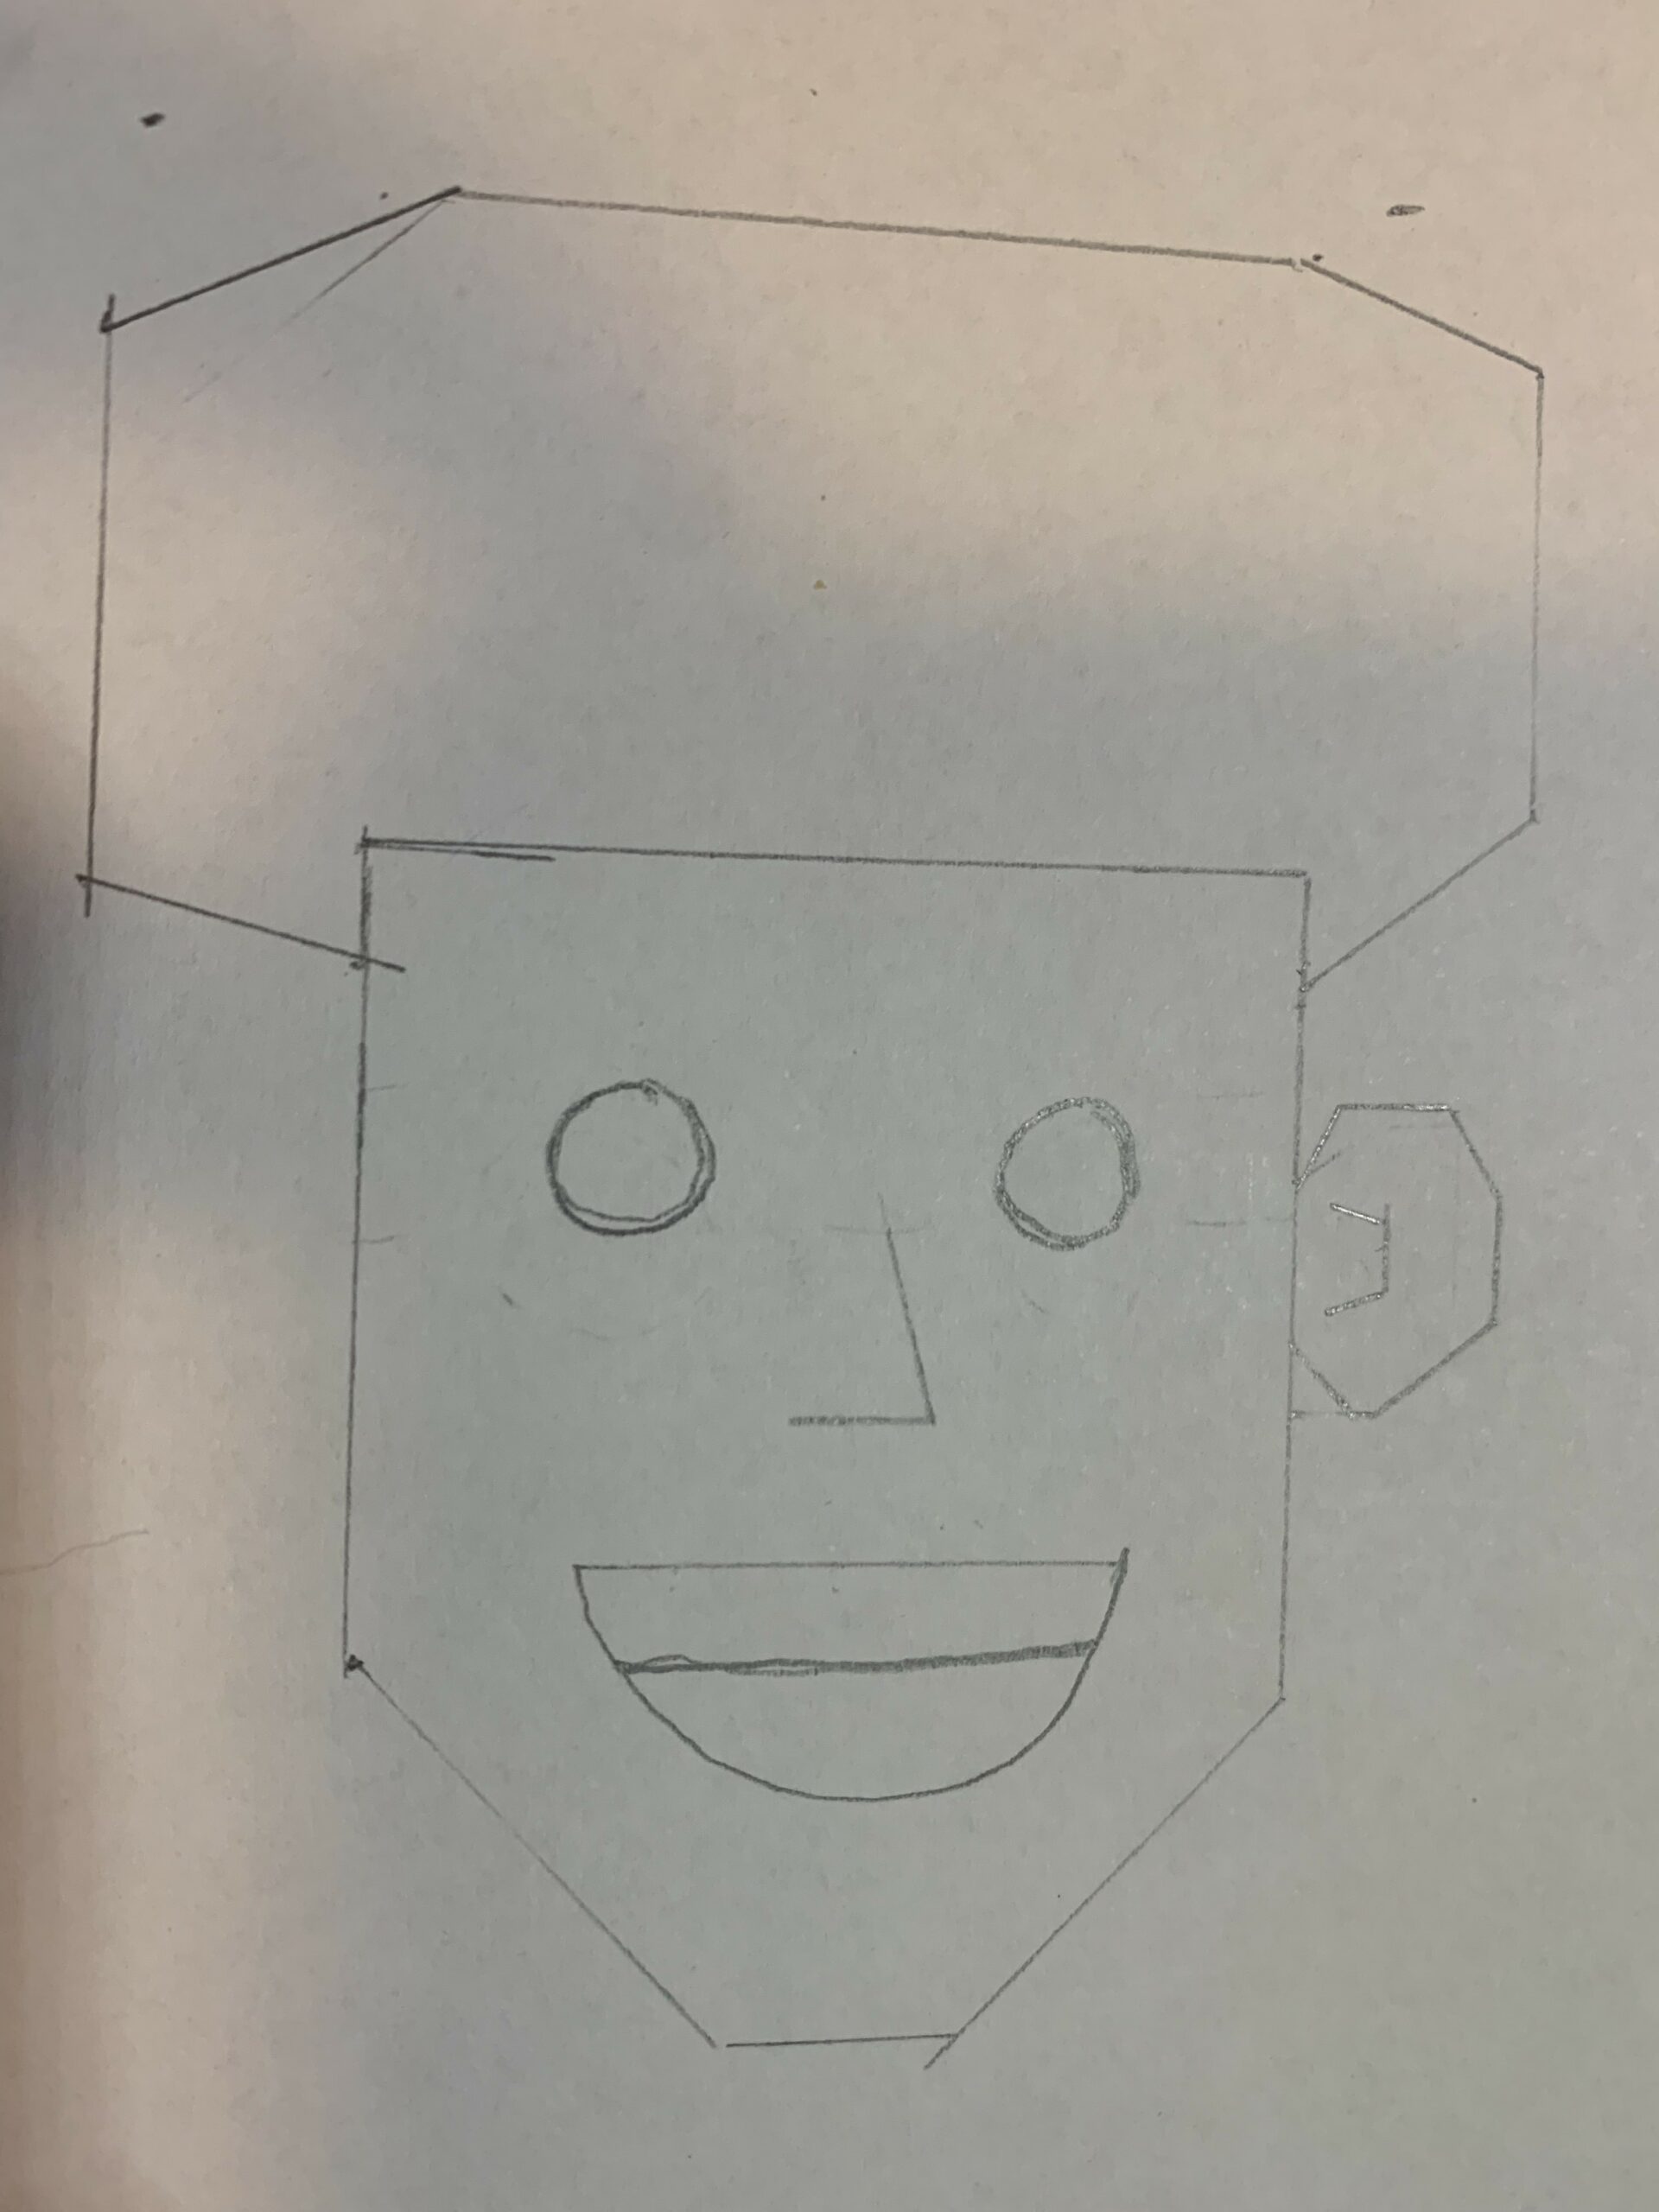
My main goal with this assignment was to incorporate and master all the functions introduced in class. I approached the task without any image in mind and began with a simple ellipse to form the face. The rest of the sketch evolved based on spontaneous decisions. I wanted to achieve a realistic look for the hair, and after a few adjustments, I managed to create it using a combination of ellipses and arcs.
Throughout the process, I was extremely particular with details such as the facial features and the headband and worked to find the exact coordinates to position the shape using the print(mouseX+ ‘ , ‘ +mouseY) command.
To depict a bright sunny day in the background, I have used an arc and lines to create the sun, a simple image of birds using arcs, and a green rectangle to give an impression of the ground.
I wanted to experiment with this new form of creativity by making the sketch interactive. I tried this by incorporating the built-in variables of mouseX and mouseY to make the girl raise her hand, waving with a broadened smile as the mouseX variable crosses 300. This was achieved using the if condition and is a part of the code that I am particularly proud of.
//Waving hand
  if (mouseX>300) {
    quad(315,350,337,350,345,391,325,388);
    quad(337,373,377,315,396,318,348,392);
    circle(337,389,24);
    ellipse(385,312,25,28);
    ellipse(372,307,8,15);
    ellipse(375,295,7,20);
    ellipse(382,295,7,20);
    ellipse(389,295,7,20);
    ellipse(396,301,7,20);
  }
  else {
    rect(318,349,18,52);
  }
In addition, the geometric design on the t-shirt has a fill function with mouseX and mouseY as arguments, making the color change with the movement of the mouse. I have also used these variables to depict the movement of birds. Finally, I have used an if condition to make the girl blink when the mouse is pressed.
//Birds
  if (mouseX) {
    noFill();
    arc(153+(mouseX/5),56-(mouseY/5),47,40,0-HALF_PI,0);
    arc(200+(mouseX/5),56-(mouseY/5),47,40,PI,PI+HALF_PI);
    arc(125+(mouseX/10),85-(mouseY/10),47,40,0-HALF_PI,0);
    arc(172+(mouseX/10),85-(mouseY/10),47,40,PI,PI+HALF_PI);
  }
//Blinking eyes
  if (mouseIsPressed){
    fill('#EDD29C');
    ellipse(227,210,14,15);
    ellipse(275,210,14,15);
  }
  else {
    fill(255);
    ellipse(227,210,14,15);
    ellipse(275,210,14,15);

    fill(0);
    circle(227,212,9);
    circle(275,212,9);

    noFill();
    arc(278,203,10,10,0,QUARTER_PI);
    arc(279,207,11,10,0,QUARTER_PI);
    arc(224,203,10,10,PI-QUARTER_PI,PI);
    arc(223,207,11,10,PI-QUARTER_PI,PI);

    fill(255);
    circle(228,212,4);
    circle(276,212,4);
  }
The assignment turned out to be a wonderful learning experience. I now find myself more confident with the topic. Reflecting on the process, I feel I would have to work on creating variables, which is something I did not include in this sketch. I would also like to explore the concept of loops as I felt the need to have repeated movement in a few places to enhance my sketch.