So, Far…
During this week’s progress report on my midterm project, I focused on a crucial aspect: integrating sound into my steelpan simulation. To achieve this, I created a specialized “object” within my code to neatly organize the sound files for each note. This object, named “noteSounds” in the code, serves as a sort of playlist where I store all the distinct sounds I intend to use. Just like individual songs in a playlist, each sound file is stored separately for easy access.
To ensure precision and avoid any mix-up between notes, I carefully assigned notes to their respective rows on the steelpan. This separation of notes into rows played a key role in achieving accuracy. In essence, rather than directly assigning a sound to a note, I associated it with a specific position on the canvas.
The process involved loading these sound files before using them, much like preparing a playlist before listening to songs. When you click on a note, the code identifies which note you’ve clicked and plays the corresponding sound file. Think of it as striking a key on a piano to produce a sound.
Admittedly, grasping this concept and implementing it did consume a significant amount of time. However, breaking down my code and attaching sound to one row at a time proved to be an effective strategy. It allowed me to avoid overwhelming complexity and troubleshoot more efficiently.
One challenge I encountered was the limited availability of sound files for the steelpan notes on the website I initially used as a source. So, while I downloaded all the available files, they were incomplete and did not correctly represent the notes of the steelpan.
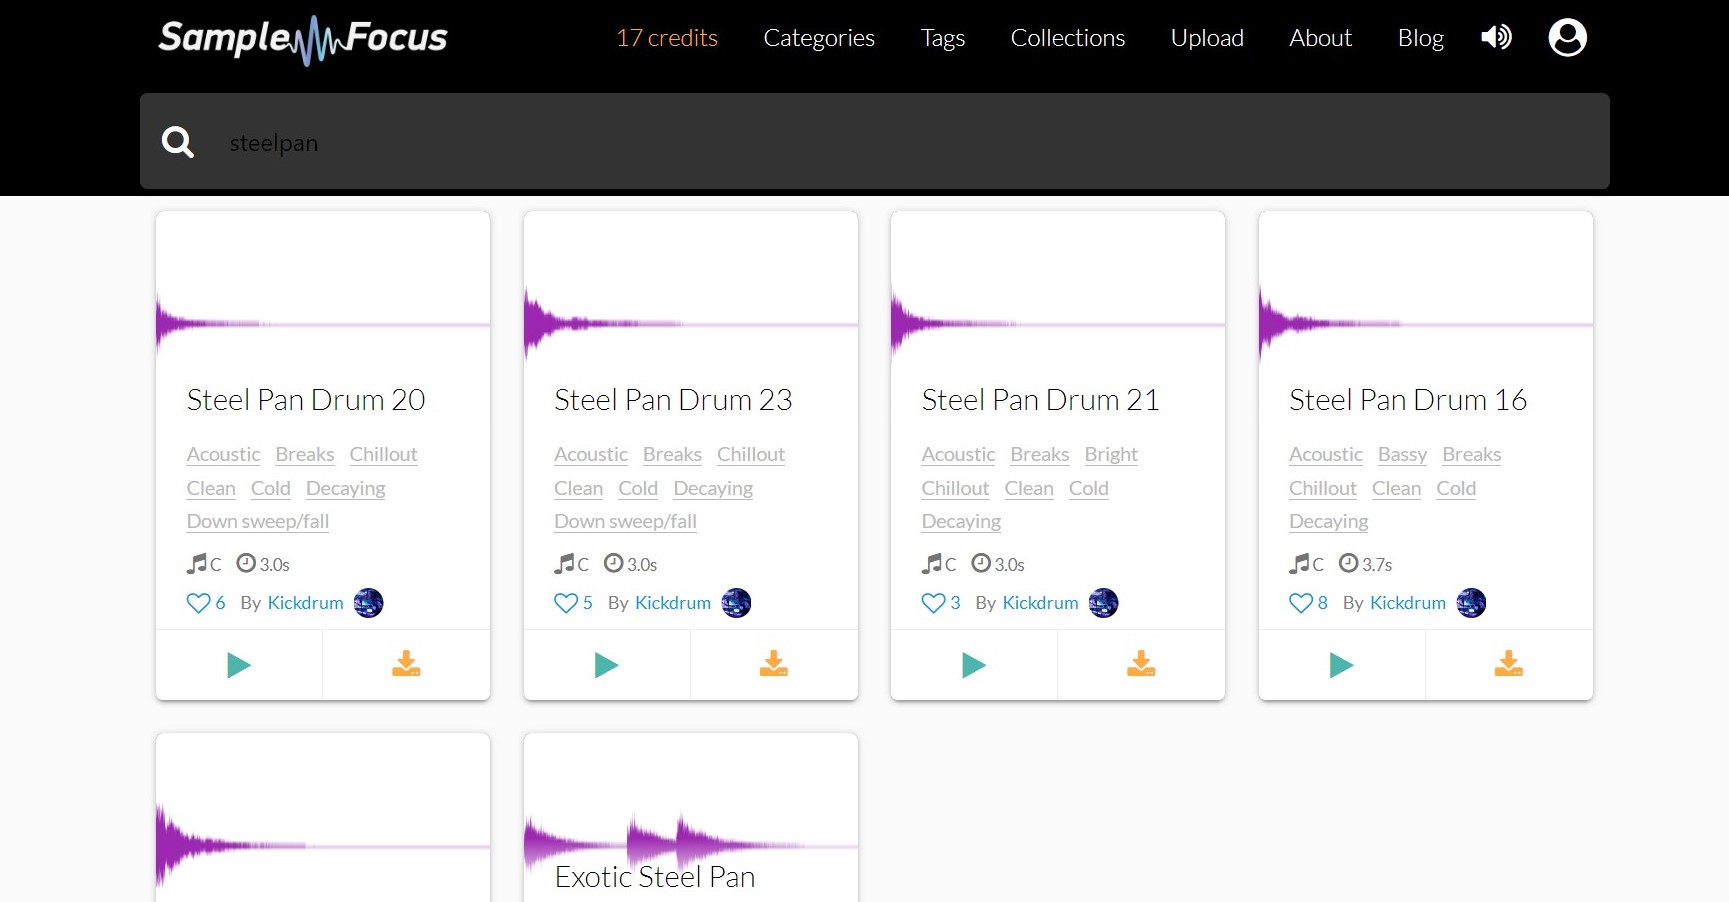
To overcome this, I reached out to a family member who is skilled in playing the steelpan. They played each note and sent me the sound files directly. This resourcefulness enabled me to continue progressing with my project.
For the outer row of notes, I have successfully integrated sound using the available sound files. However, for the middle and core rows, I’ve temporarily included placeholder values. These will be replaced once I receive the sound files from my uncle, who is assisting with this aspect.
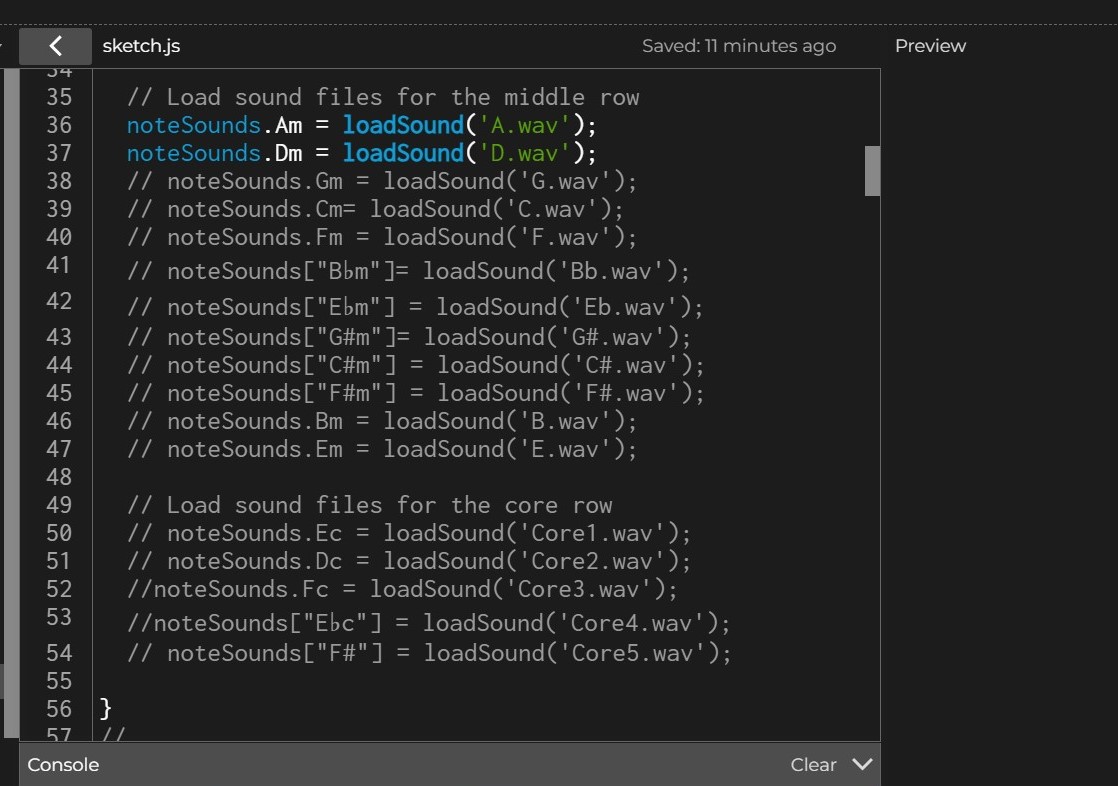
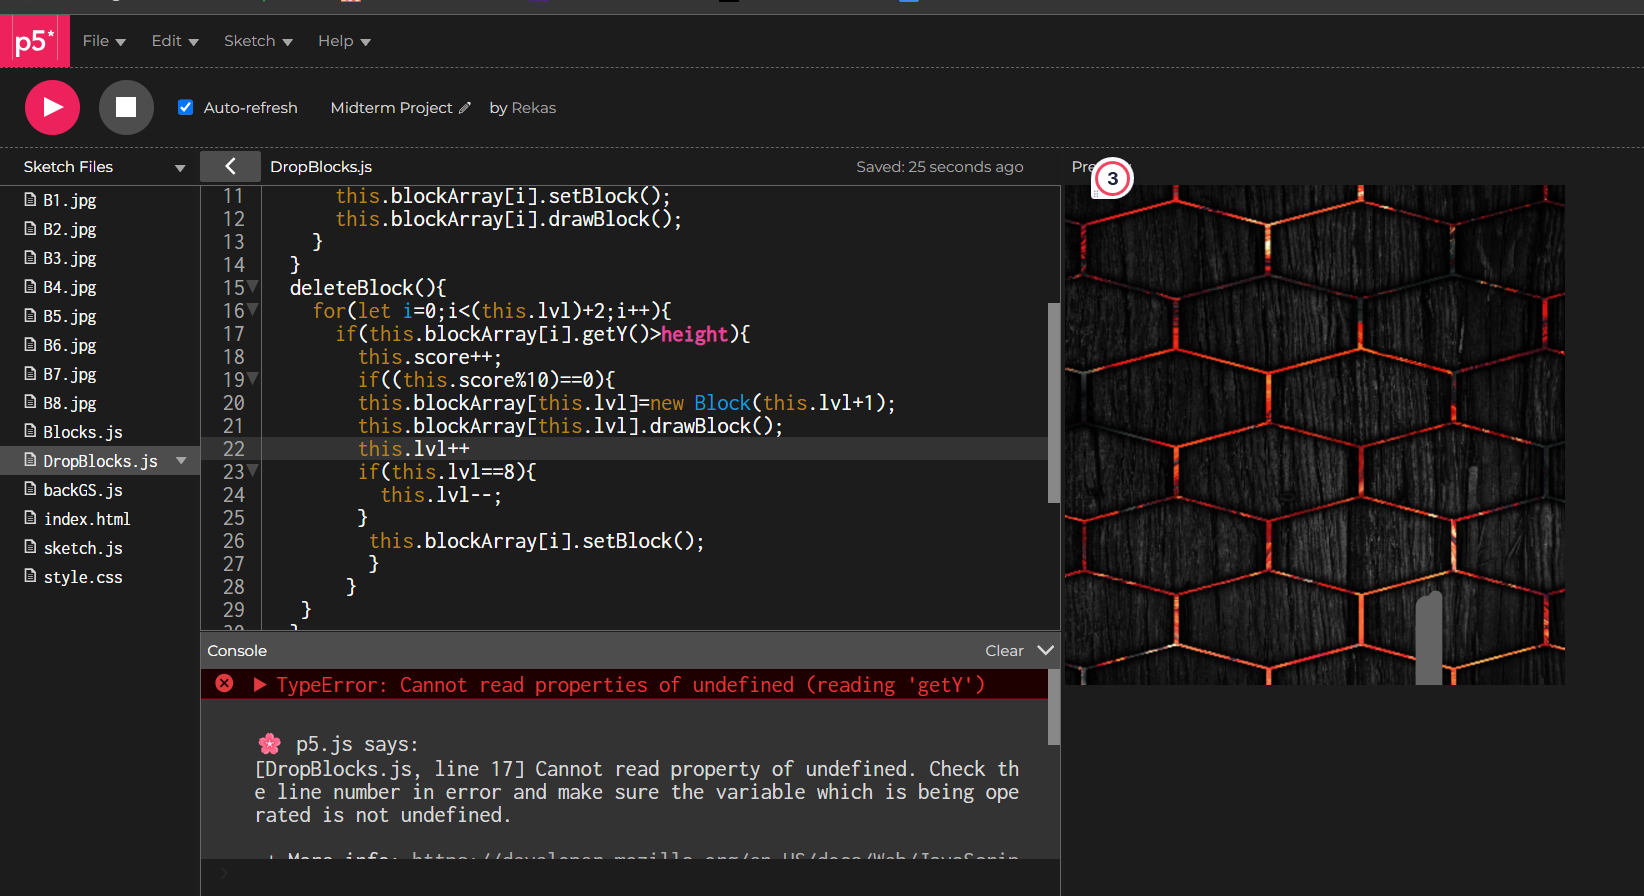
Essentially the code works but, for the moment I have commented out the sound objects until the correct sound files are in my possession.
Future Additions:
Looking ahead, my future additions to the project include refining the instructions screen to ensure its functionality and user-friendliness. This should take approximately one day to complete. Subsequently, I will focus on enhancing the overall aesthetics of my project, bringing it closer to completion.
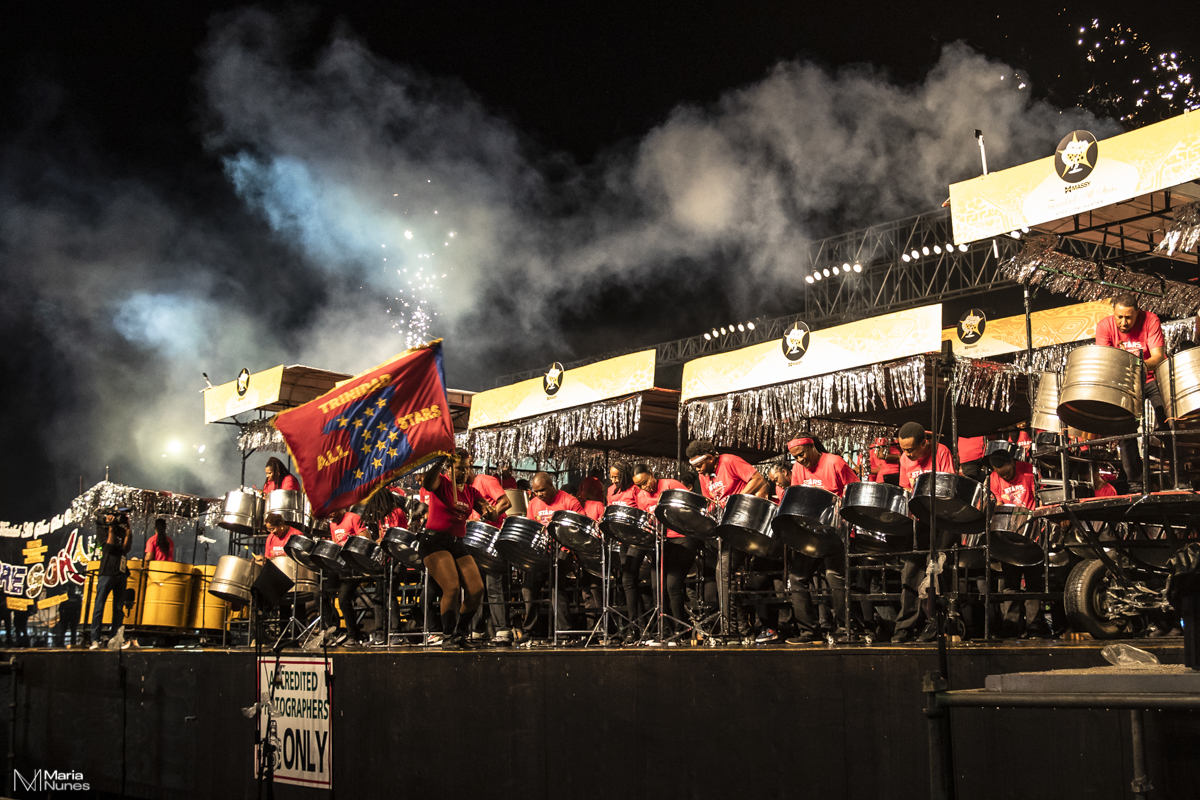
My ultimate goal is to create an engaging and immersive steelpan experience, reminiscent of Trinidad and Tobago’s renowned “Panorama” event, where Steelband compete passionately. I aspire to replicate this cultural experience within my sketch to offer users a genuine taste of the Trinidad and Tobago steelpan tradition.

Below is an embedded sketch of my work:
<iframe “width: 640px; height: 360px; overflow: hidden;” src=”https://editor.p5js.org/KhaleeqaAasiyah/full/pXR0hhpH4″>